Absolutely Delish Apple Crisp!

Apples are the centerpiece of the fall harvest culture.  Some may think pumpkins belong there but I firmly believe the apple is king every autumn in America.  Crisp, sweet, flavorful and so very good for you.

apple crisp

Lots of topping on this serving of apple crisp!

If you can, get the organic ones as the sprays they use on growing apples are none too good for you.  I made this last weekend with some Jonagold apples I grew myself and they were very tasty indeed.  I especially suggest you get your apples at an actual apple orchard.  South of Hellertown is Bechdolt’s Orchard which grows many apple varieties.  Go there if you want the freshest tastiest apples in this geographic area.  Apples grow all over the globe so go where you can get them fresh and crisp! The variety is up to you but I would not suggest any that are not meant for baking; don’t use red delicious as they are for eating only, same for honey crisp apples.

apples

This recipe is out of Gluten-Free Baking Classics, a great cookbook by Annalise G. Roberts with a few minor changes.  I am betting you can use any GF flour mix in this recipe, not like a cake or other baked goods that have very specific flour requirements.  Before I settled on this recipe for crisp I tried a couple other ones but nothing came close to the tasty results I got with this particular one.

gluten free

I have made this recipe several ways.  It is great just as I detail it below.  Or, you can cut un-melted cold butter into the dry ingredients; it works: makes for a firmer and bigger crumb than the melted version below. I like both ways. I have made it egg free but it really needs that egg to pull it together to properly mimic a wheat flour based crisp.  The oats can be left out if you don’t like them. I personally love oats in my crisp so in they go….  A quarter cup of chopped nuts can be added to the topping; really a nice touch too and you know how good nuts like walnuts or almonds are for you!  I don’t like it too sweet so I use the lesser amount of sugar.  This is entirely a personal choice.  You can further up the nutritional value by adding flaxmeal to the dry mix; 2-3 tbsp.

One last thing to know, this is a super easy recipe and it is great for the beginner gluten free cook.  It is hard to mess up if you follow the directions and ingredients closely.

For those who love ice cream, this recipe is absolutely perfect with a big scoop of vanilla ice cream next to it.  I like it warm from the oven but it also is tasty cold the next day, if you have any left over that is!

Angie’s Apple Crisp

1 cup GF flour (mix below)

½ to ¾ sugar

½ cup dry old fashioned oats

1 ¼ tsp baking powder

1 tsp cinnamon

½ tsp xanthan gum

½ tsp. salt

1 lg egg

6 cups thinly sliced apples

1/3 cup butter, melted

Heat oven to 350 degrees.   Put rack in center level of oven.  Lightly butter a 9 inch square glass pan or spray with cooking spray.

I used my stand mixer for this recipe but  you can use a bowl and a spoon or whisk. Combine all the dry ingredients.  Add egg and stir to mix well.   Place apples in the baking pan, top with the dry mix and sprinkle with the melted butter.  Bake 40 minutes until bubbly and the topping is browning.

Brown Rice Flour Mix
2 c brown rice flour (finely ground)

2/3 c potato starch – Not potato flour!

1/3 c tapioca flour

Autumnal Hearty Meal: Perfect Stuffed Peppers

There are times when I get home with plenty of time to cook or nights I feel I can whip dinner up in a few minutes.  And then there are times when I have to work late and don’t get home until after 8 pm.  I am too hungry to start cooking a big meal that could take an hour or more to make.  That is what leftovers are for and where slow cookers can be oh so helpful.  I confess that I have never been a fan of the slow cooker a/k/a crock pot until now.  I always worried the food would be overcooked and/or mushy as well as only having washed out flavor from the long slow cook.  Still, working late makes the concept of the slow. long process seem very attractive and helpful.

Along that thought process I bought a gluten free slow cooker cookbook. I wanted to try out the concept in my real life.  Mondays are a work late night for me and the whole week of food seems to stretch out unfilled and bothersome.  I got out my new cookbook and my ancient trusty crock pot and now, between jobs on Mondays, I fling together the basic ingredients, switch it on and off I go to work.  When I get home four hours later I turn the key and open my front door to heavenly scents of a meal all ready to dish out and enjoy.

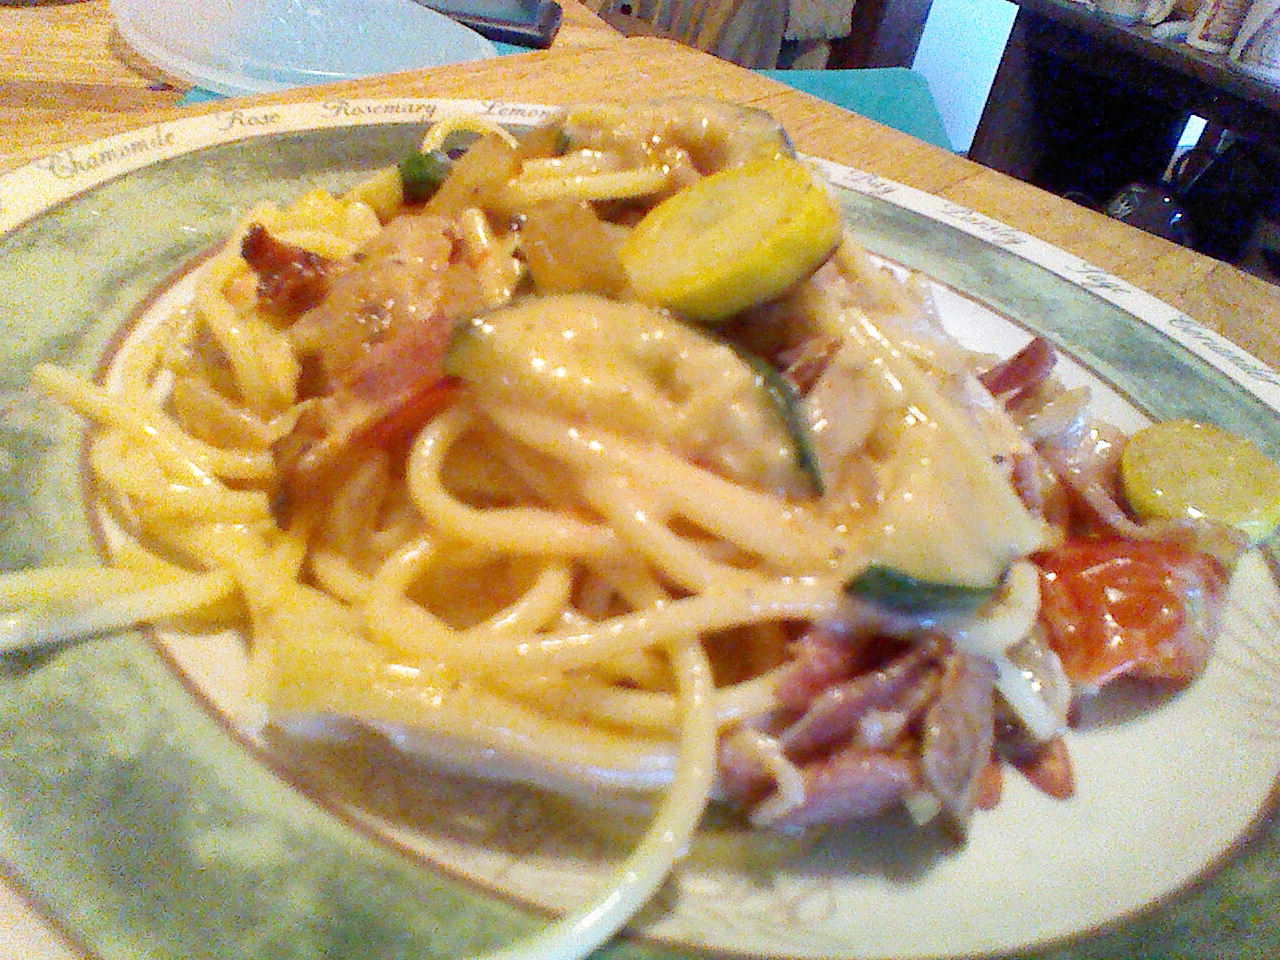
I have made five or six recipes from the new book and have been pretty darn satisfied with the results.  The chicken paprika is amazing.  The only reason I haven’t blogged about it is that I don’t have a picture of it to put with the post. And I could go on and on about the delish Peruvian Chicken with Red Peppers. Anyway, this Monday I created my latest crock pot miracle; homey stuffed peppers.  I didn’t want to make the meatloaf pepper version in my new cookbook so I used my own recipe tailored to the crock pot heating process and my schedule.

stuffed pepper

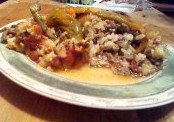
These peppers were well done and rather relaxed. It was hard to get a decent photograph. Trust me; they taste better than they look!

I got up early that morning and made some brown rice and I fried up my onion and ground beef.  It all went in the fridge.  When I stopped by after school to let the dog out I threw the rest of it together and turned the pot onto high.  Four hours later, I was getting a plate and silverware out and was able to eat a real home-cooked meal as soon as I fed my critters their supper.  Fantastic! You could make the filling the night before or that afternoon before baking it in the pot.  That is nice flexibility to use as a busy busy person.

Angie’s Stuffed Peppers

1 medium onion, chopped

1 lb ground beef; I like 90 percent lean

1 tbsp olive or canola oil

1 small garlic clove

½ a beef bullion cube

¼ to ½ tsp thyme

2 cups cooked brown rice

Sea salt to taste

4 medium green peppers

1 8 ounce can of plain tomato sauce

Heat a large frying pan, put in the oil, add the chopped onion; cook until somewhat soft; 5-7 minutes.  Add the minced garlic clove and stir.  Push the onion pieces to the edges and add the ground beef, brown it.  Add the bullion cube and thyme as it gets closer to browned.  Add the cooked rice. Use anything from no salt up to a tsp of sea salt in the filling.  I often use less as I don’t like salty food.  It is purely a matter of taste in this recipe.

green peppers

Cut the peppers off ½ inch below the top. Clean out the guts and steam them (lids too) for 6 or 7 minutes.  Drain any liquid from inside the peppers, let them cool a few minutes so you can handle the warm peppers and stuff them with the rice and meat mixture.

Put ¼ of the tomato sauce on the bottom of the crock pot.  Put a bit of the rice mixture on top.  Then the four stuffed peppers.  Distribute any remaining stuffing around the peppers.  Add 2-3 tbsp water to the pan around the edges (not in the peppers!), pour the remaining tomato sauce around the top of the filling and peppers and put the lid on.

Cook on high for 3-4 hours.  I was at work for 4 hours so that is how long I did mine.  They were quite done.  I did start with cold filling I had made that morning so I am thinking 3 to 3.5 hours would be enough time to cook this dish especially if you start with warm rice/meat filling.

My personal recipe notes:

You can use white rice if you are not into brown rice.  Another substitution would be ground turkey for the ground beef.  Use a bit more seasoning if you go the turkey route.  Red peppers are fantastic if you like them, even orange are very sweet and flavorful for stuffing. I have stuffed peppers with corned beef hash.  Maybe I will post that recipe someday soon…..

I personally like a touch of catsup on the side to add extra flavor.  Hearty and fairly healthy as you are getting brown rice, the green pepper, and tomato sauce and so yummy.  Add a small salad and your meal is complete: I enjoyed a salad of fresh garden tomatoes with a light vinaigrette dressing. Your hubby will cheer when you place this naturally gf meal in front of him!

Chocolate Egg Cream, Frothy, Flavorful and Super Easy

Sometimes I want something chocolaty but I don’t want a brownie, chocolate pudding or ice cream or even a chocolate bar.  I am simply thirsty.  Those are the times I reach for my Hershey’s Chocolate Syrup.  Lickety split I can make an old school drink that is low sugar, low fat and thirst quenching; the venerable chocolate egg cream.  Funny thing is, there is no egg in it and often no cream.  I sometimes do use half and half but you can make this with any sort of milk you like, even one or two percent.  I do discourage the use of skim or non fat milk, at least a little richness is required.

The chocolate egg cream is allegedly from Brooklyn, NYC.  The New York Egg Cream is a variation of the milkshake popular back from the 1880’s which had an egg beaten in it.  The version I have replicated became popular  many decades ago, partially because it was cheaper for soda fountains to make because it had no egg.  I am not a big fan of raw eggs in my drinks so I am happy indeed that this “modern” version is sans egg.  I have been making it for many years, one of my sisters taught me how.

This is such a simple recipe; get a tall glass, squirt about 1-2 tsp. of real Hershey syrup on the bottom, no substitute will do.

hersheyI never measure; just enough to cover the bottom.  Then pour in ½ inch depth of some sort of milk, your choice of richness.  Stir them together well with an ice tea spoon. choc drink

Add 3-6 ice cubes and fill the glass with well chilled seltzer water. Stir it again. I favor flavored seltzer, the raspberry or cranberry are particularly good for this drink as they add quite a bit of flavor and complexity to this simple little thirst quencher!  A fresh bottle makes the foamiest egg cream so I recommend you splurge and start with a new bottle for your drink preparation.

choco egg cream

Be sure to use a tall glass, it just won’t taste the same in a stubby little one!

So, next time you are longing for a refreshing low sugar soft drink but one with a subtle touch of chocolate, make a chocolate egg cream and smile because it is delicious, has no added sugar and if you use one percent milk it is pretty darn low fat.  Light, refreshing, the egg cream is a wonderful “throw back” drink you can enjoy any day of the week!

PS: I hear U-bets Chocolate Syrup from NY is the bomb in a chocolate egg cream. I have to get some 🙂

French Apple Tart….Ooh La La!

Tasty, crisp, ripe apples are pouring into the farmer’s markets and orchard stores right now.  This French apple tart is an old favorite of mine, been making it for years.  I once worked at an office where they would request it whenever we had an office function or party!  I have no idea where I got the original recipe from so I can’t give credit for it, I lost my copy and had to replicate the measurements a number of years ago. Plus, I had to change it a bit in the last time or two to make it gluten free but it tastes just as good as before.  The cinnamon and lemon topping are what makes it so delish.

french apple tart

It should be made with an apple variety that keeps its shape; Granny Smith is the best choice in that regard.  Don’t use one that goes all squishy like Empire or Macintosh.  You only need 3 large apples.

I use my GF tart shell crust which is from Annalise Roberts’ great cookbook; Gluten-Free Baking Classics.  It is very easy; hand pressed into your tart pan.  I would say that this is a cookie crust; sweet and short; very yummy.

It should give you about 6-8 slices of tart. Lesser amount of slices if your family is piggy, the full eight slices if they are not big dessert eaters. I rarely have any of this tart left over for more than 24 hours.  It is very popular with everyone.  I like it for how easy it is to make, how handsome it looks and that I can throw it together quickly with only 3 apples and a lemon.

Crust

1 cup brown rice flour mix; recipe below

¼ cup granulated sugar

1 tsp. xanthan gum

5 tbsp. cold unsalted butter, in 5 chunks

1 tsp. vanilla extract

Mix the dry ingredients in a stand mixer, cut in the butter by mixing it at a med low speed until crumbly.  Add vanilla and mix well.  If it is really dry looking add a tbsp. of water.  Press into the bottom and up the sides of your tart shell as evenly as you can make it.

For this recipe I use a large 10 inch tart pan.  Mine is ceramic so it doesn’t have a removable bottom.   Bake it at 350 degrees for 10 minutes.

Filling

3 large Granny Smith apples; peeled and sliced – not thick or too thin

2 tbsp. sugar

1 tbsp. GF flour

Lay the apple slices in concentric circles in the tart pan over the crust.  Put them really close to each other so there isn’t a lot of space without apples on it.  Mix the sugar and flour and sprinkle over the apples.  Cover loosely with foil and bake 25-30 minutes until the apples are soft if pricked with a fork.  Do not bake until they collapse; the slices should still hold their shape.

While the tart is finishing up its baking time make the topping.

Topping

In a small heavy sauce pan place:

2 tbsp. sugar and 1 tbsp. cornstarch and mix them.

Add all the other ingredients:

¼ cup fresh lemon juice

1 tsp. lemon zest (grate the zest and then juice the lemon)

½ cup water

½ tsp. cinnamon

Cook over medium heat, stirring it constantly with a small whisk or a spoon, until it boils and seems thickened and is no longer opaque.  This should take less then five minutes.  Remove from heat and pour the hot gloppy topping carefully over the hot apple tart taking your time so you cover the entire surface of the apples.  If you like lots of cinnamon you could increase that up to a tsp. of cinnamon in the filling.

Let cool to at least lukewarm before serving.

This tart is perfect with a scoop of vanilla ice cream on the side.  Don’t put it on top or it will not look so nice because of the French cinnamon topping won’t like to share its space with the chilly ice cream!

Brown Rice Flour Mix (for the crust)

2 c brown rice flour; be sure it is finely ground

2/3 c potato starch – Not potato flour!

1/3 c tapioca flour

Autumn Plum Tart, Perfectly Tasty!

There is a huge abundance of fruit in August and September.  Still lots of peaches, plums, grapes and nectarines and the early apples and pears are coming in.  What to bake?  Tough decision, still I love juicy ripe plums but seldom bake with them.  This is one of the only recipes I can make gluten free with blue plums; these are those oval small plums, sometimes called prune or Stanley plums that are only available for a few weeks in the early fall.  They are inexpensive, not too sweet and they get soft and purply delish in this simple tart.

purple plum

It is modeled after some German fruit tarts I had enjoyed in my wheat loving past life.  I think it replicates them quite well.

You will use my favorite cobbler mix as the crust base, which makes this recipe really simple.  I will put the mix recipe down at the end of this post.  I keep it in my freezer and one cup makes great cobbler or this tart base. To this particular batch I added a couple teaspoons of dried lemon peel powder.  This ingredient is made of lemon peels rolled in sugar and dried, leftover after make homemade lemoncello liquor.  They become powder after a few moments in my spice blender. The fine powder adds a subtle lemon flavor but its okay, you don’t absolutely need it to make this recipe work.  It is in the original recipe but I never bothered before to make some even though I had the dried lemon peels.  The addition is great and if you can add it you won’t be disappointed.   lemon peel

A few instructions to assist you if you make this tart: I cut up the plums first and sprinkle them with sugar, let them stand while I mix the dry stuff up and then stir up the wet items in a small mixing bowl.

Be sure to use a 10 inch tart pan; it can be made in a 9 inch one but it may well spill over and burn on the bottom of your oven which is never a good thing.

We like it with a small scoop of vanilla ice cream on the side. It is fine all on its own.  Makes a great breakfast too with a cup of coffee or tea.

plum tart

GF Fall Plum Tart

1 cup cobbler dry mix; recipe below

mix with 1/4 cup sugar

—-

2 eggs

3 Tbps. buttermilk

2 Tbps. melted butter

1/2  tsp. vanilla

1/2  tsp. almond extract

1 ½ lbs prune plums (enough to cover the entire tart pan) cut in halves or quarters. Mix them with 2 tbsp sugar

Directions:

Heat oven to 350 degrees. Mix dry ingredients in a small bowl.

Spray a 10 inch deep tart pan or 9 in pie pan with cooking spray

Beat eggs in bowl, add rest of wet ingredients, mix well, add to dry ingredients, stir briefly just to mix up.  Pour into the prepared pan and spread it out with a spatula.  Top with plums, cut side up, push each in slightly into the batter and cover the entire surface of tart base.

Bake 30 min.  Top with mixture of 1 ½ tsp sugar and ½ tsp cinnamon

Bake ten more minutes or until top looks done.

Cool somewhat before slicing/serving.

Dry Cobbler Mix

2 ¼ cups white rice flour

½ cup potato starch

½ cup tapioca flour

1 tsp. baking soda

4 tsp. baking powder

1 tsp salt

1 tsp. xanthan gum

1/3 cup sugar