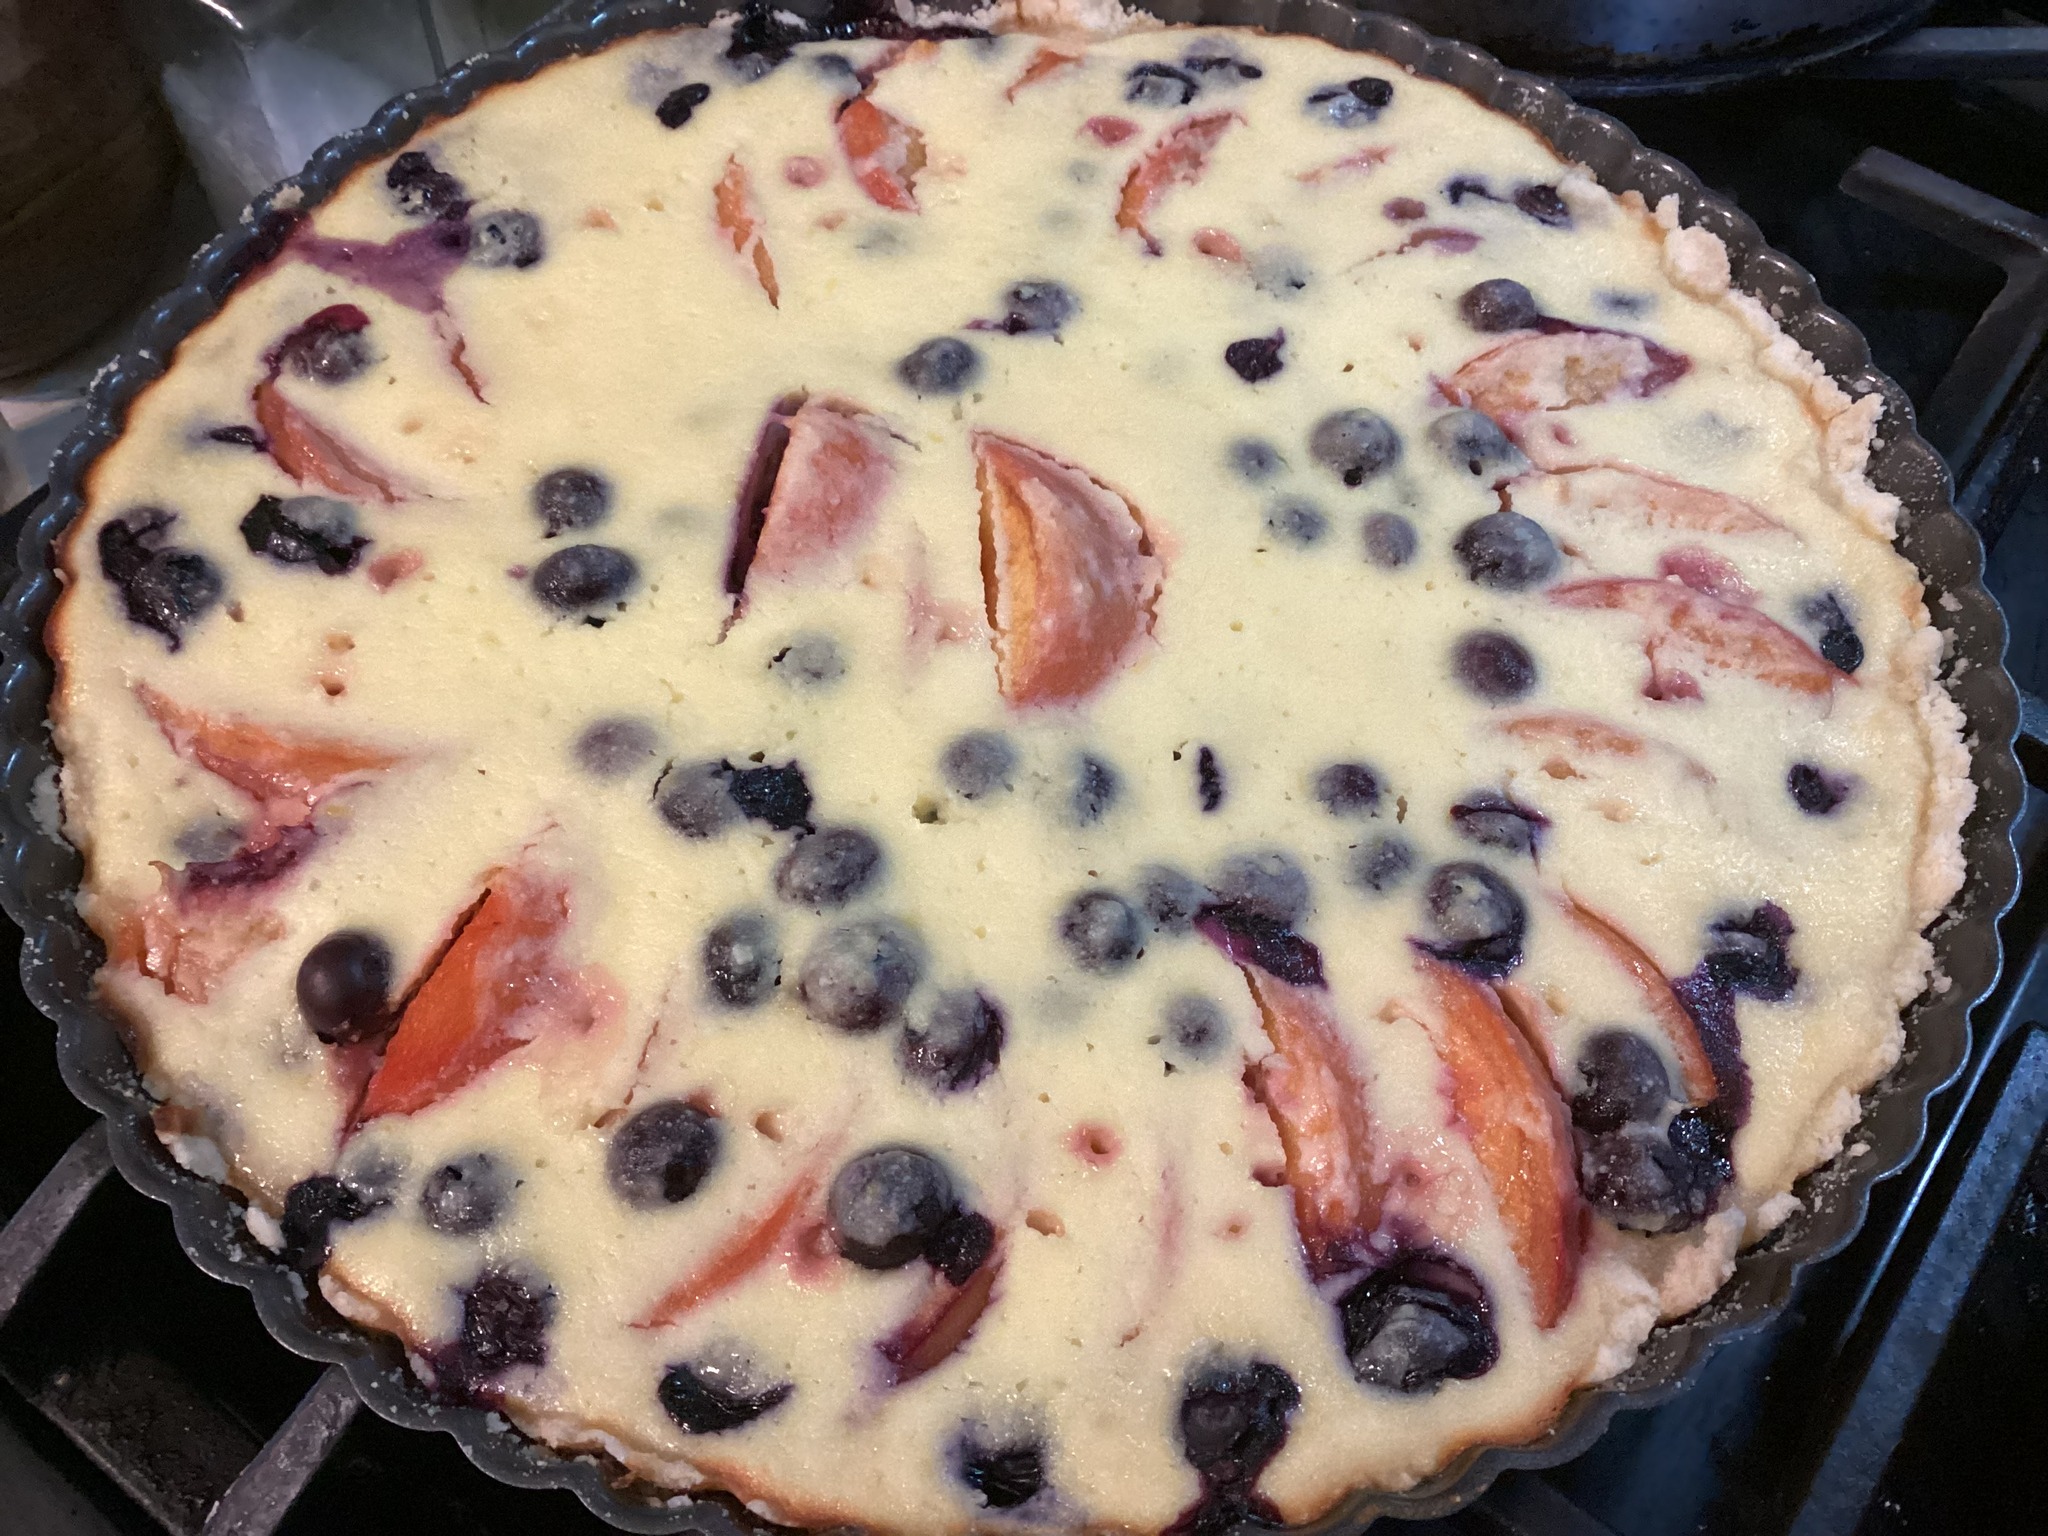
I have made this filling many times. I used a simple, sweet, press in, gf pie crust as I can’t roll pie crust right now. It adds a bit of sweetness and is super easy; no rolling out the pie dough. I added peaches and made it in a larger 11 inch round tart pan. Success!

Notes; you can leave out the lemon ingredients if you don’t want that flavor. I use King Arthur’s basic gf flour blend when I make a homemade crust, the one that is just flours, no xanthan in it. I used fresh peaches and blueberries but I am sure you could make this with raspberries or other fruits.
The ricotta adds a delicate texture and crumb. I used a little of the rind and juice of a lemon. I suggest that you let the ricotta cheese and eggs warm up to room temp before using them, always good advice with gf baking.

Peach Blueberry Ricotta Tart
Cookie crust:
1 1/4 cup brown rice blend; King Arthur Basic GF Blend
1 rounded tsp. xanthan gum
heaping ¼ cup sugar
6.5 Tbsp. cold butter cut into 10 pieces
1 tsp. vanilla extract
Mix the dry ingredients in stand mixer bowl. Add the butter, mix until fine like sand. Add extract. Blend briefly. Spray pan with cooking spray. Sprinkle in the mixture into the pan and spread evenly. Press lightly in with your hands. DO not press too hard or it becomes way too firm.
Or, roll out that premade pie crust and fit into your pan; trim off extra crust. Fill.
Filling:
1 cup ricotta cheese, whole milk is best but part skim will do.
2 lg eggs
1/2 cup sugar
1/2 tsp. vanilla extract
½ tsp. lemon extract
2 Tbsp. fresh lemon juice
1 tsp. lemon rind grated
1 Tbsp. plus 1 Tsp. tapioca starch or corn starch
Pinch sea salt
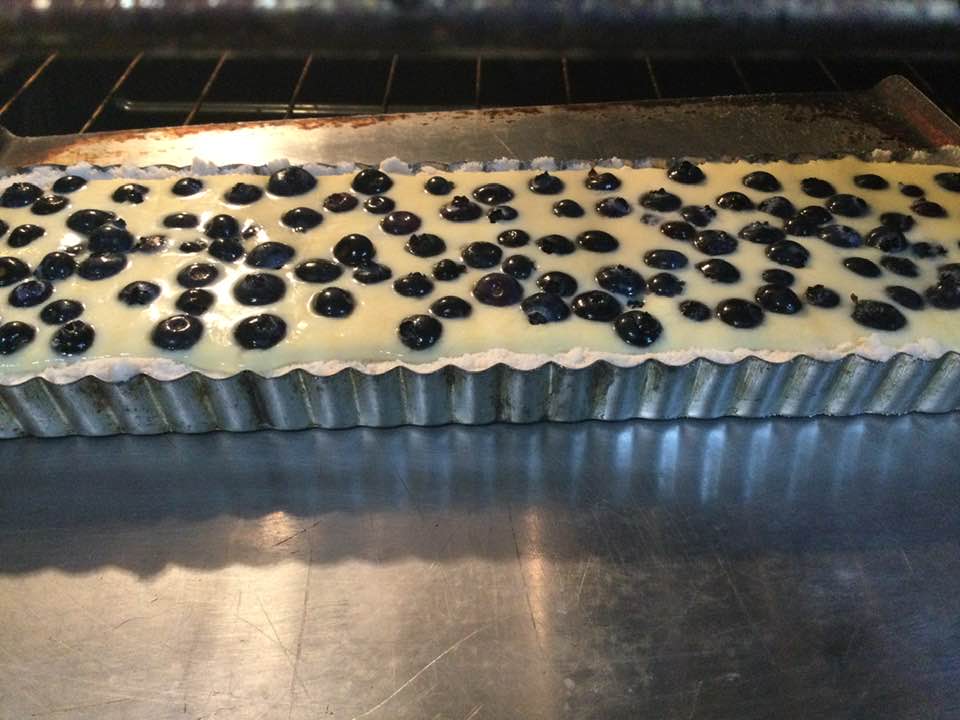
1 heaping cup fresh or frozen blueberries
4 peaches, peeled and sliced (not too thick or too thin!)
DIRECTIONS:
Heat oven to 350 degrees. Put the oven rack as low as possible. Heat a wide pot of water to boiling; gently lower peaches into hot water. Leave in 3 minutes. Remove with a spider ladle. Let cool a few minutes and slip peels off. Slice into 8-10 slices per peach; not thick and definitely not thin!
Mix ricotta with eggs in the mixer bowl you just made the crust in and then add the rest of ingredients except the peaches and blueberries. Lay the fruit in the crust. Scatter or arrange as you desire. Carefully pour into the tart crust.
Bake tart 40 – 45 min at 350 degrees. It should be fairly firm in the center. My crust was a little pale at 40 minutes; next one will be 45 minutes in the oven. Let cool before slicing. You can sprinkle it with powdered sugar if desired. I am always so eager to try everything I bake that I totally forget to do this! Enjoy.
King Arthur Basic GF flour blend: GF Flour blend (if you want to make it yourself)
2 cups brown rice flour
2/3 cup potato starch
1/3 cup tapioca starch