Summer Tomato Soup’s On!

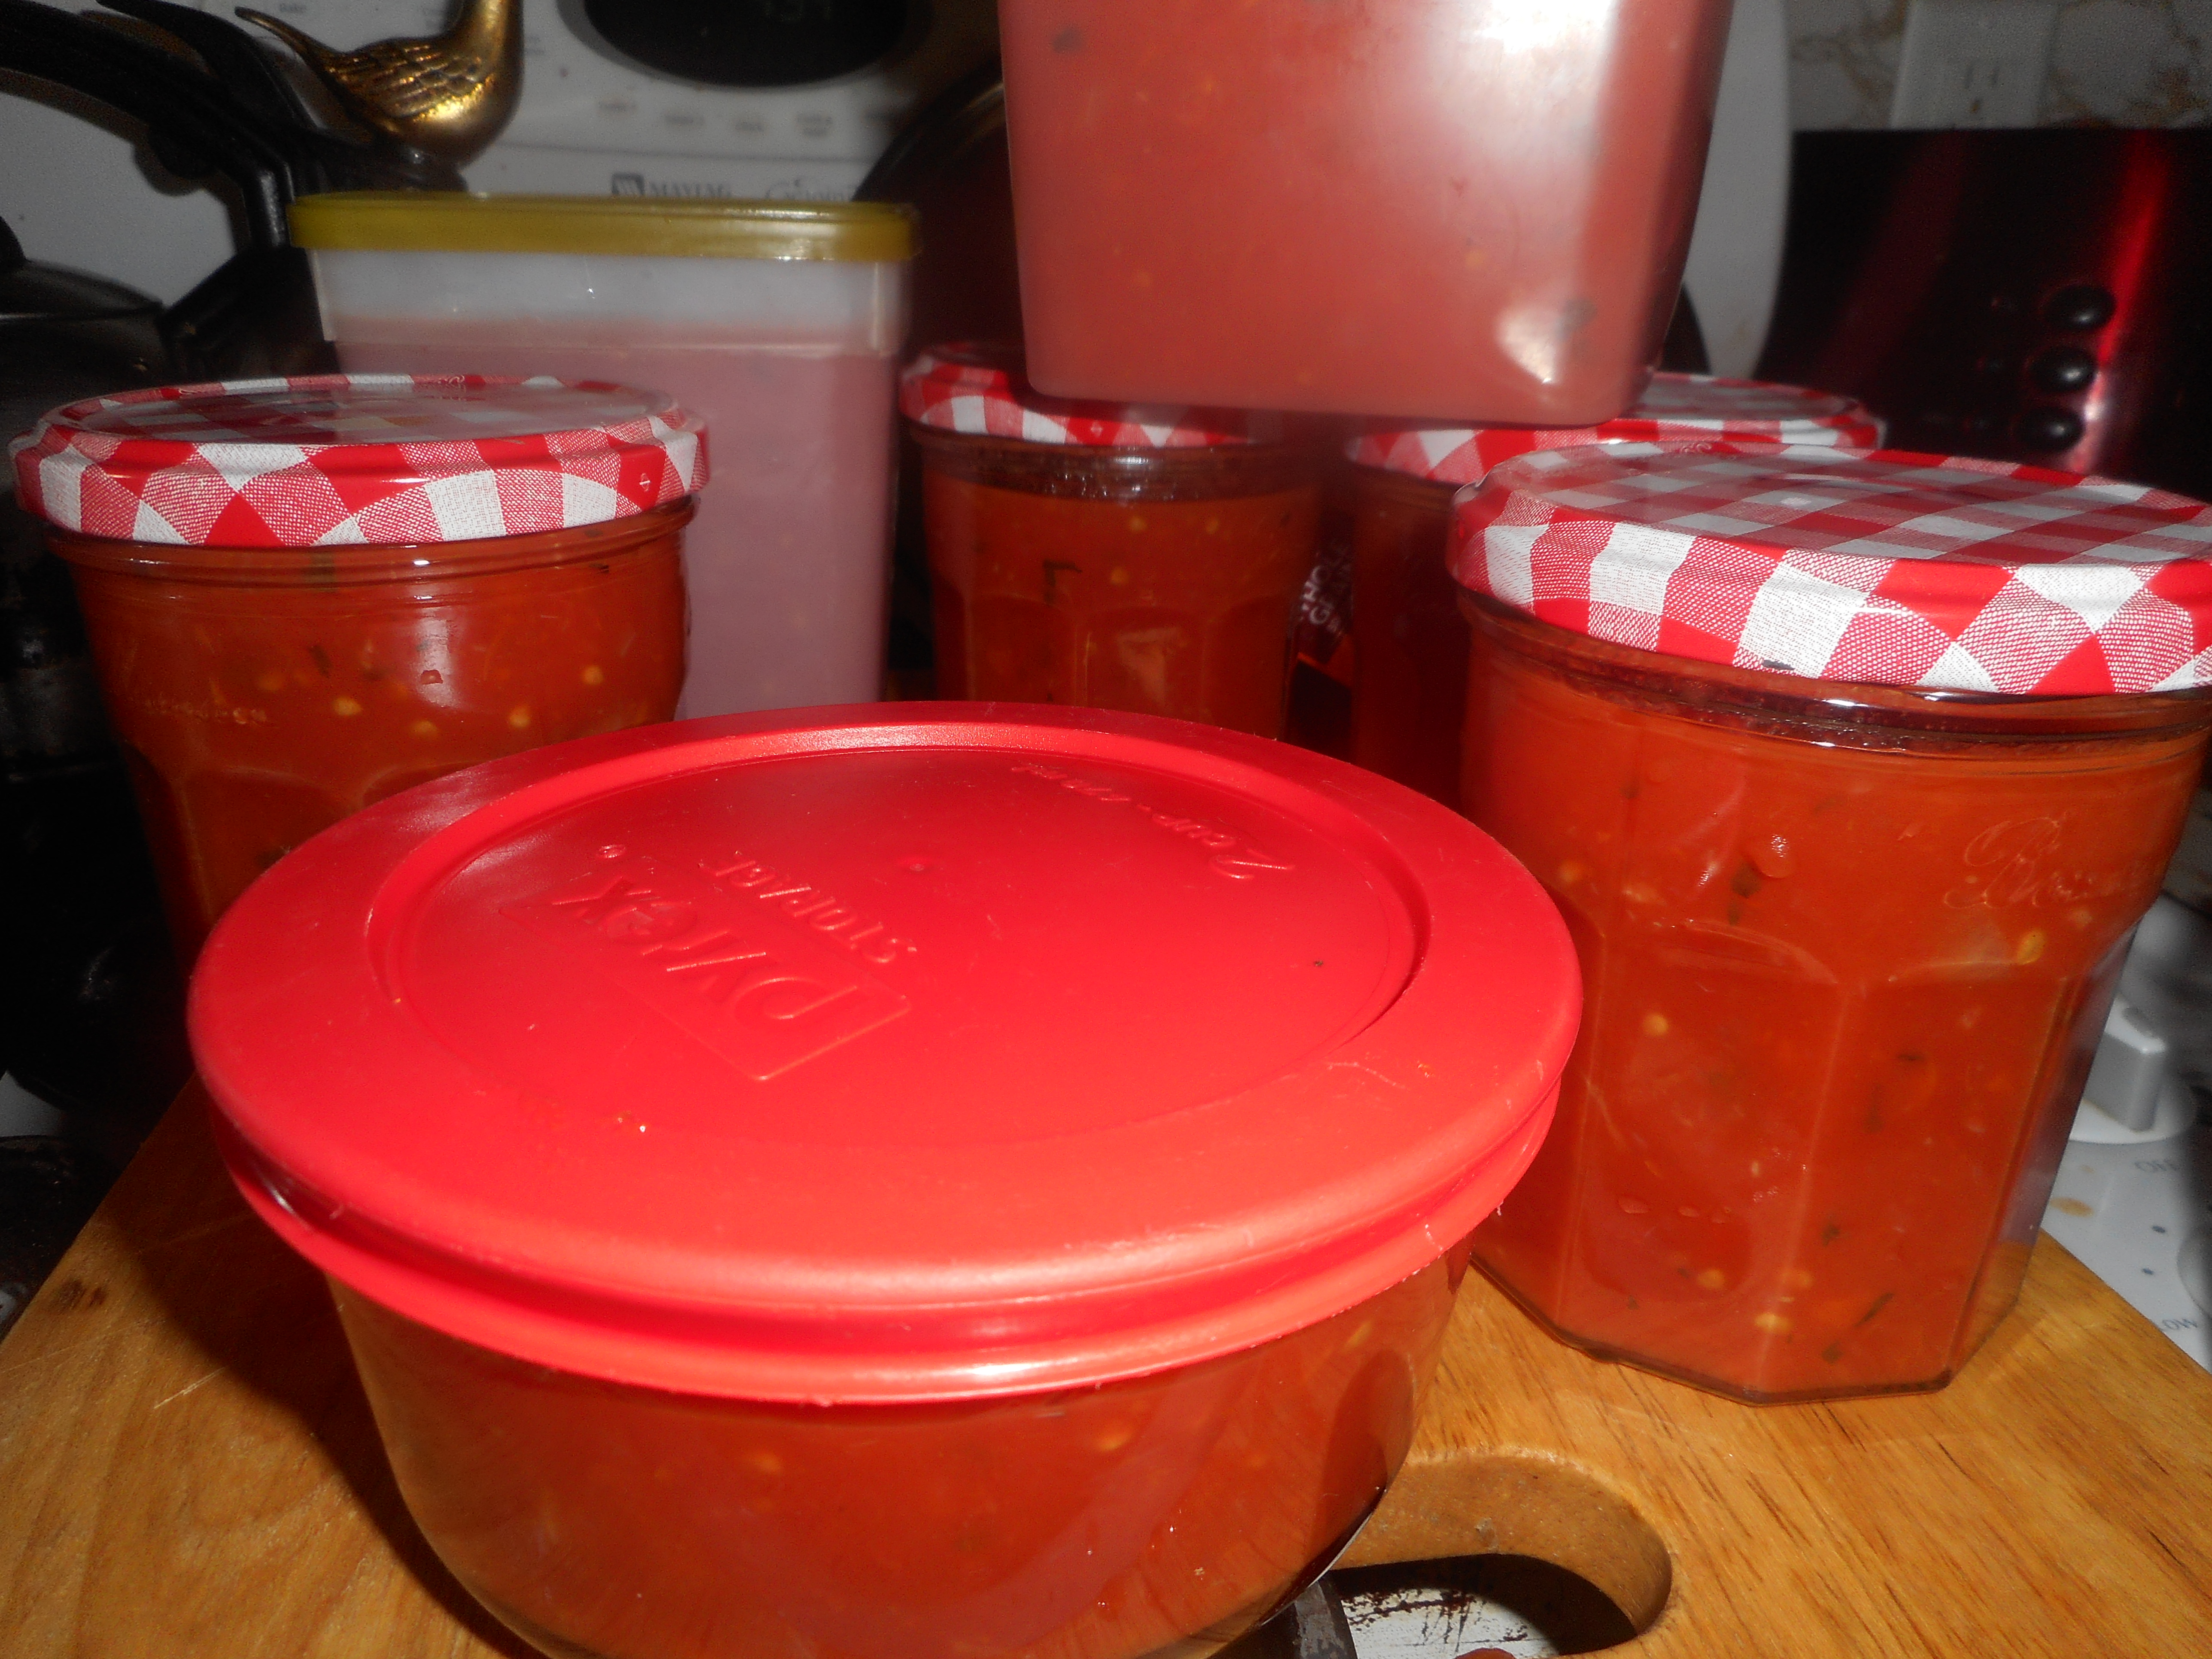
Summer is tomato time around here.  I had tomato salad the other day, a big tomato sandwich Thursday and for lunch I am having homemade tomato soup, made it yesterday.  Last October I made a big batch and froze it in plastic containers, each two servings.  I felt like I was back in summer whenever I had it for lunch last winter. I am freezing lots of it this summer; here are about 9 servings about to go in my big freezer for winter lunches.

rustic apple tart 014

So make some, it is Ina Garten’s recipe simplified a tad.  If you don’t like it creamy leave out the cream or use half and half or whole milk for less calories.  If you are a vegetarian use veggie broth instead of chicken broth.  You can strain it but I prefer it unstrained and chunky. It has a fair amount of garlic which you can reduce as wished.  I cut back on the salt but you can cut it even further as you wish.

Your family will love this soup with a sandwich or salad. It is naturally gluten free.  GF croutons would bring a lovely crunch to it if you have any.

tomato soup

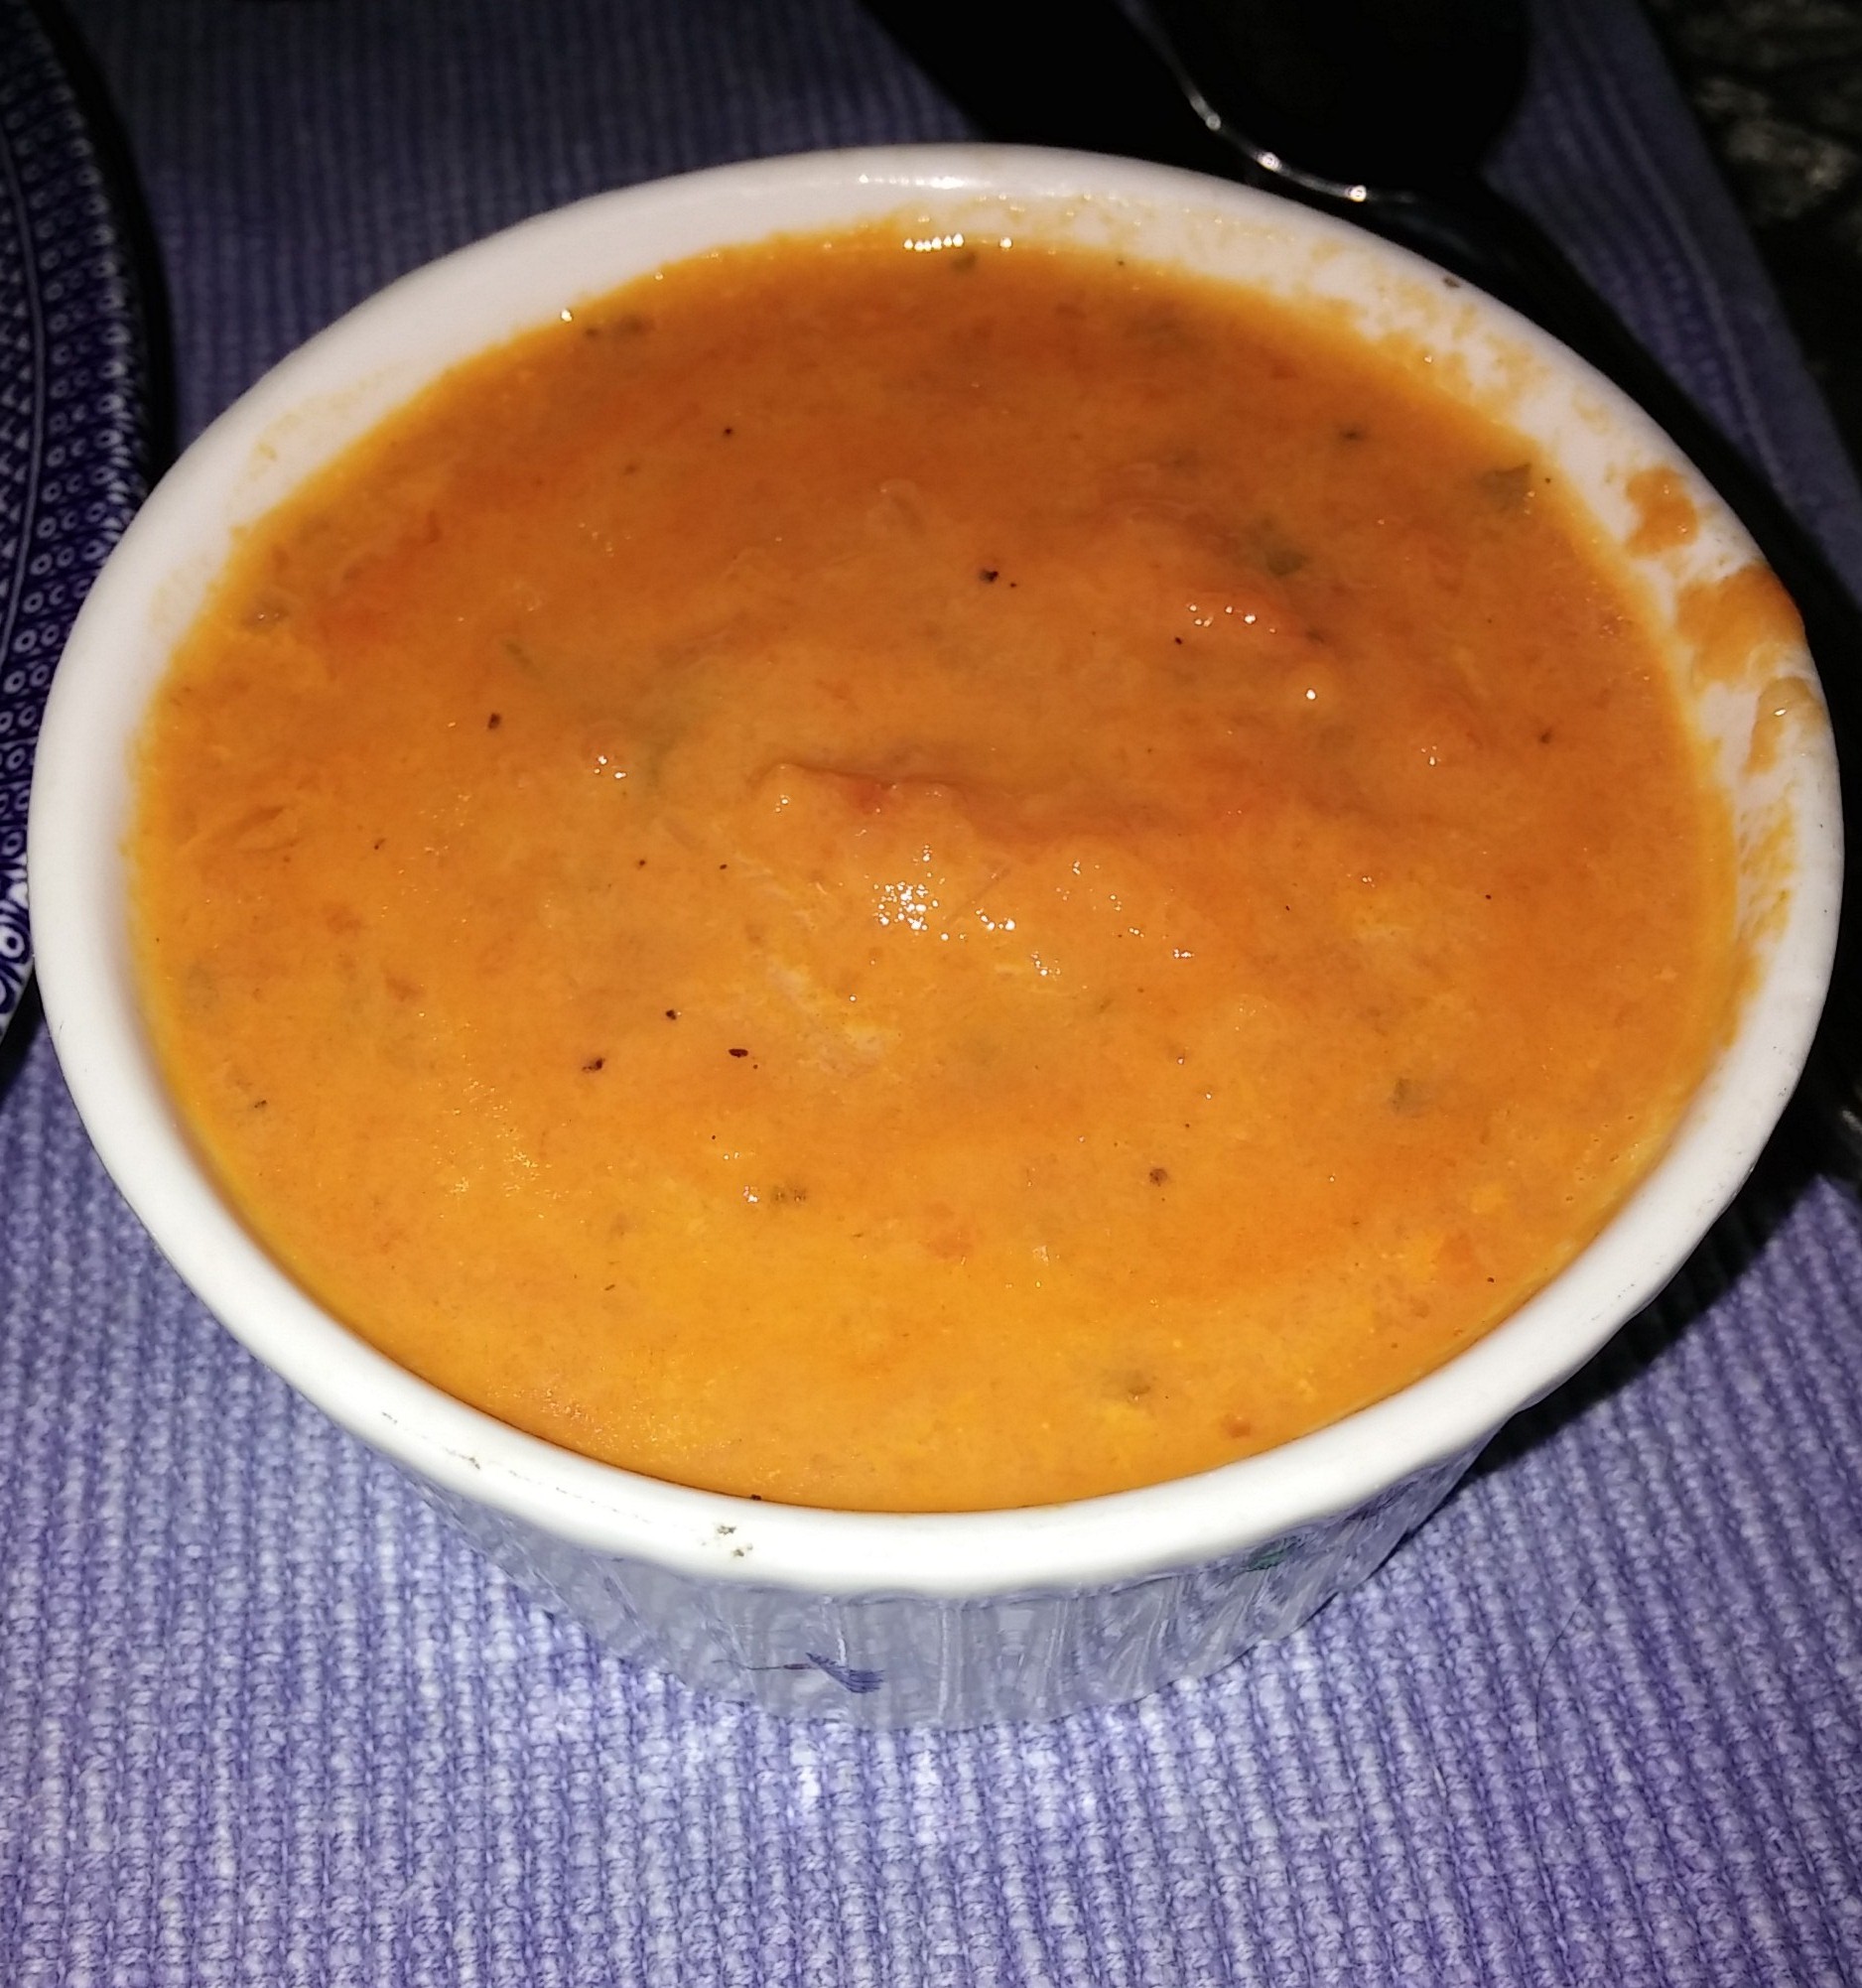
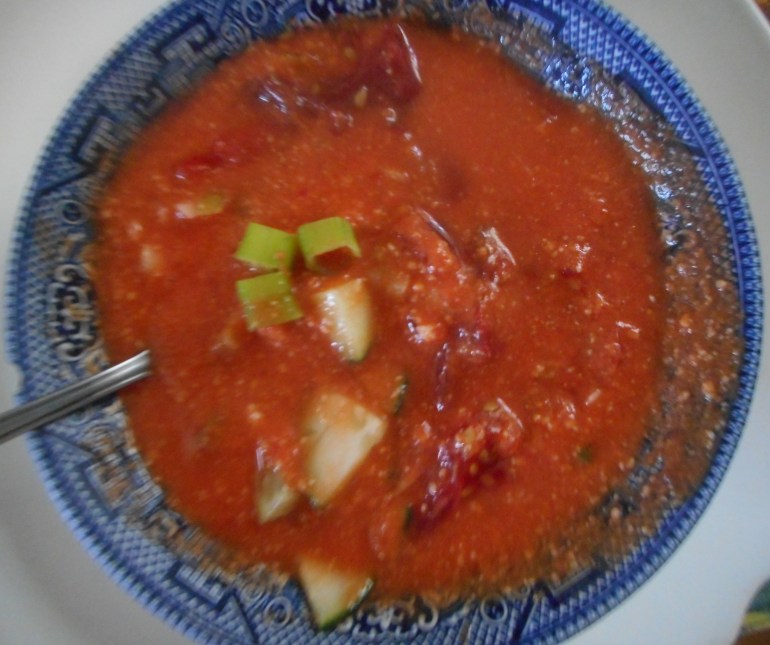
Messy rim but yummy soup!

Cream of Tomato Soup
Ingredients
3 tablespoons extra virgin olive oil
1 1/2 cups chopped red or yellow onions (2 onions)
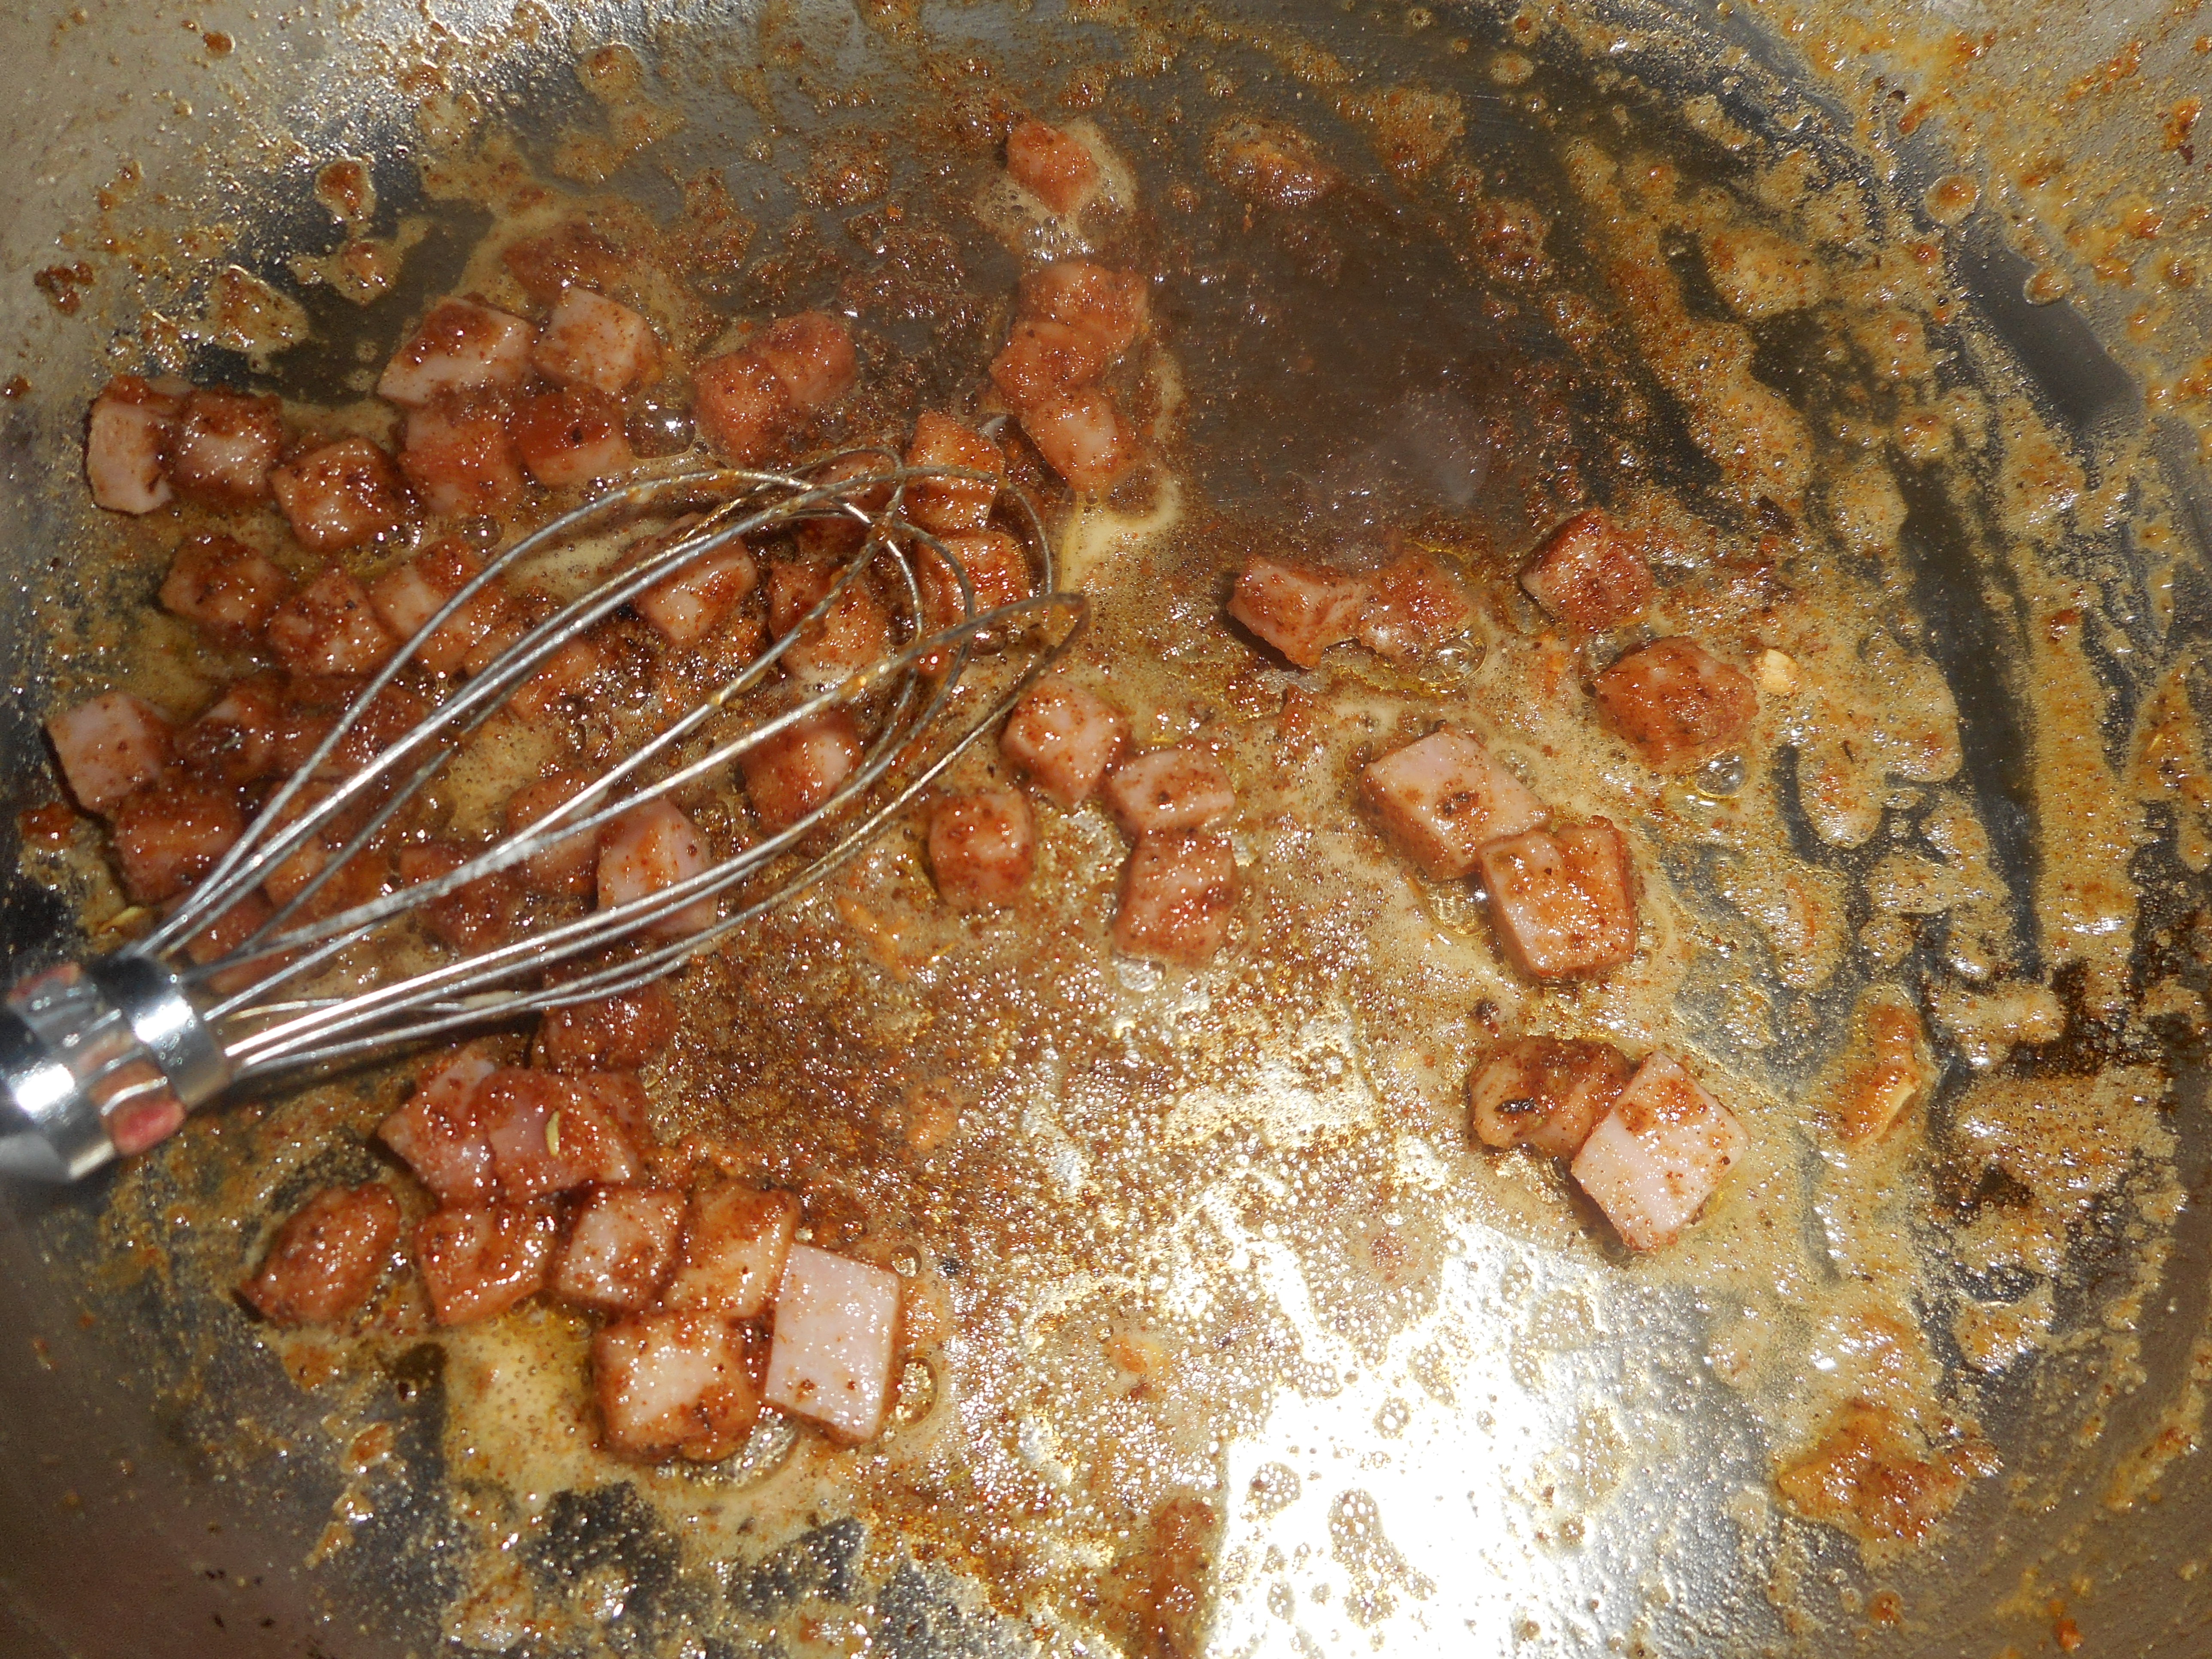
2 carrots, unpeeled and chopped
1 tablespoon minced garlic (3 cloves)
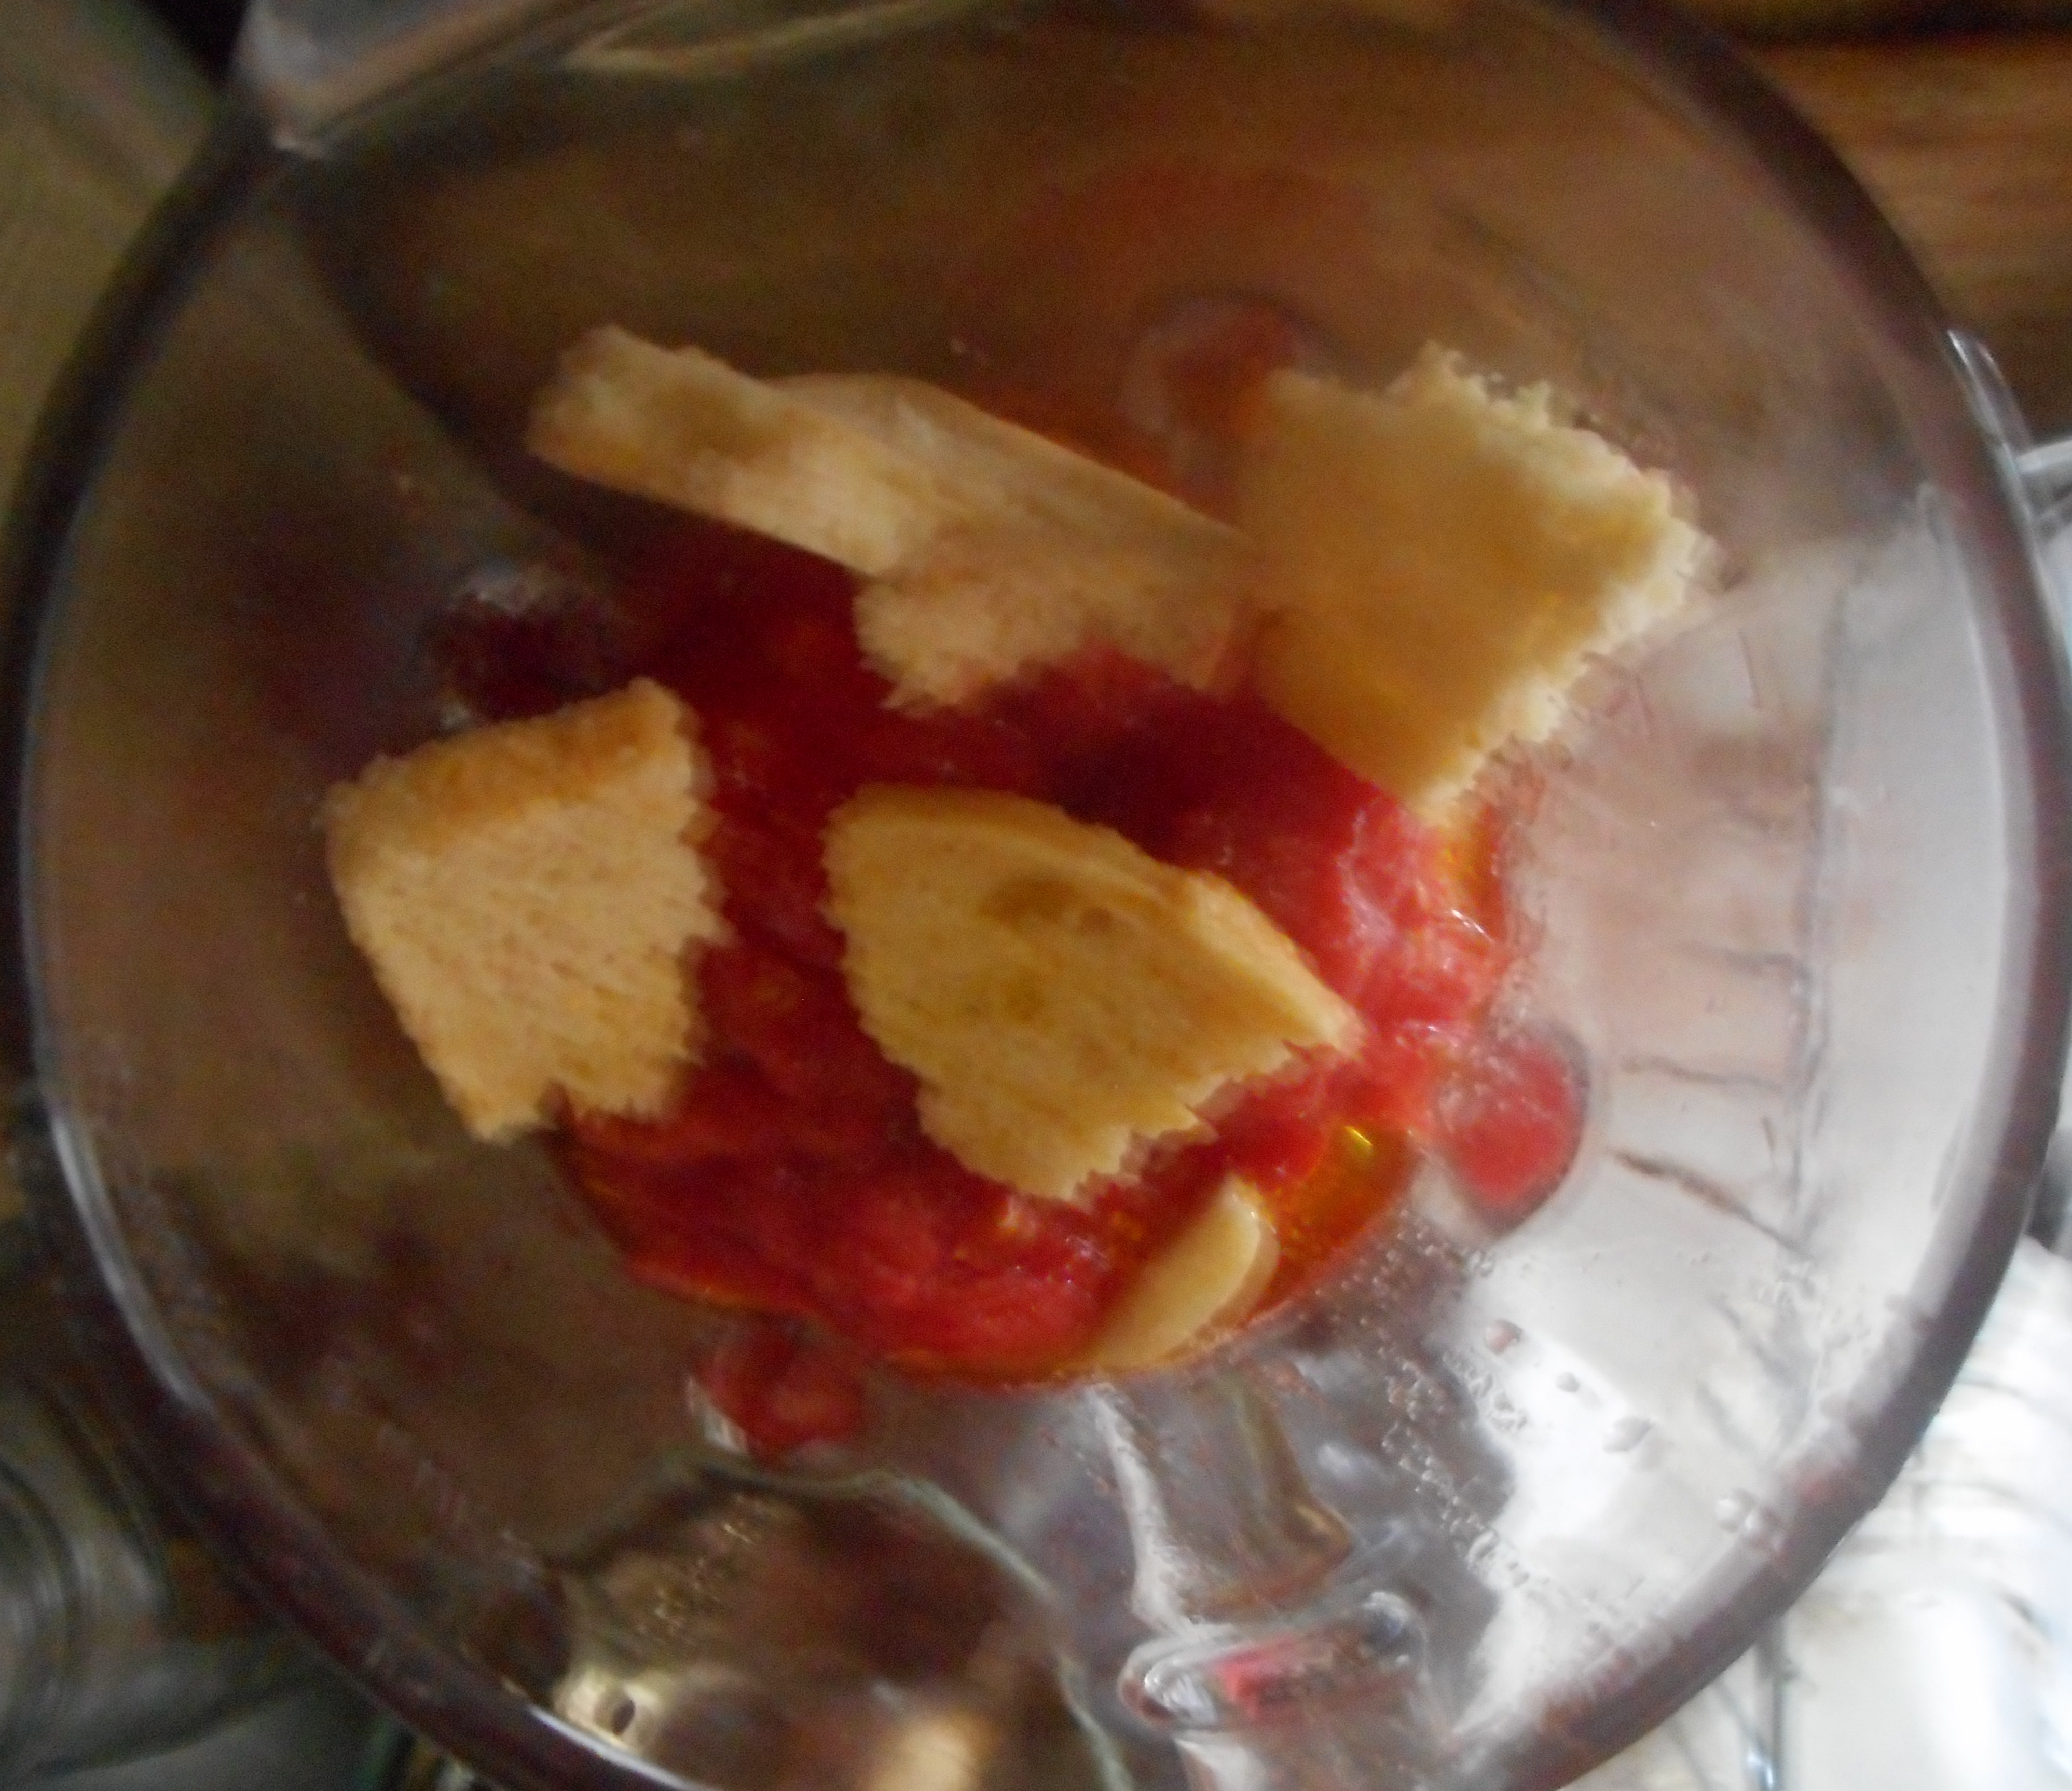
4 pounds vine-ripened tomatoes, coarsely chopped (5-6 large)
1 1/2 teaspoons sugar
1 tablespoon tomato paste
1/4 cup packed chopped fresh basil leaves

3 cups chicken stock, preferably homemade
2 tsp. kosher salt
1 tsp. freshly ground black pepper
3/4 cup heavy cream

Directions
Heat the olive oil in a large, heavy-bottomed pot over medium-low heat. Add the onions and carrots and sauté for about 10 minutes, until very tender. Add the garlic and cook for 1 minute. Add the tomatoes, sugar, tomato paste, basil, chicken stock, salt, and pepper and stir well. Bring the soup to a boil, lower the heat, and simmer, uncovered, for 30 to 40 minutes, until the tomatoes are very tender.

Add the cream to the soup and process it by blending with an immersion blender or run it through your food processor. I use my cute little boat motor blender and leave it chunky just as I love soup to be. Reheat the soup over low heat just until hot and serve plain or with julienned basil leaves and/or GF croutons.

Read more at: http://www.foodnetwork.com/recipes/ina-garten/cream-of-fresh-tomato-soup-recipe.  Originally published August 2014, modified for this post.

Blueberry Peach Crumb Pie – Delicious for Dessert

It is the peak of peach season and blueberries are still in every grocery store so this was a perfect pairing for adaptation to a gluten free pie recipe.   The resulting pie was juicy and flavorful down to the last slice.  We had one this past weekend for a birthday party.

This is an easy pie to create.  Slice and dump together the filling, crumb topping made in mixer bowl you used for bottom crust. You can store any leftover crumb mixture in a sealed container in the fridge; it keeps a few weeks.  This GF crumb topping is perfect for most any fruit pie.  If you prefer a solid crust just double the crust part and top your pie with it.  Be sure to cut some slits for steam escape! I think a lattice crust would be fantastic if a bit more time consuming to construct.

Please make every effort to use local fruit; can get peaches at most farm stands and at farmer’s markets; one on Sunday’s in Hellertown.  This pie really showcases the blueberries more than the peaches. But store peaches can be poor due to chilling so I strongly suggest you get locally grown sweet ripe peaches to make your pie.

To peel; heat 3 inches of plain water, drop the peaches gently in and cook them 1-2 minutes.  Allow to cool somewhat before peeling.  I like to do that over a bowl to catch the juices as I slice each peach.

Bake and enjoy early summer in a pie in just a few minutes of work.  Don’t eat it piping hot; it should be cooled to room temperature or even chilled.  You could certainly serve this with vanilla ice cream.

And this pie works perfectly with fresh nectarines or apricots.  Bonus: no peeling required!  I have to confess I love to make it with nectarines for that reason.  The apricot version is really flavorful so if you ever get about a quart of apricots this is a great recipe for a pie.

crustblueberry peach pie filling

blueberry peach pie unbakedblueberry peach pie, done

Angie’s GF Blueberry Peach Crumb Pie

Crust:

1 c plus 2 tbsp brown rice flour mix (at bottom of recipe)

2 Tbsp sweet rice flour

1 Tbsp. granulated sugar

½ tsp xanthan gum

¼ tsp salt

6 Tbsp. cold butter cut into 6 chunks

1 lg egg

2 tsp fresh orange or lemon juice

Spray 9 inch metal pie pan with cooking spray, dust with white rice flour.

Mix dry ingredients in bowl of stand electric mixer.  Add butter and mix until crumbly and resembling coarse meal.  Add egg and juice.  Mix until it comes together into big chunks.  Shape into a ball with your hands. Put it on a crust sized piece of wax paper (14 x 14 inches more or less), flatten the crust ball some; put on top of it another piece of wax paper and chill it all in your fridge 15-20 minutes while you prepare the filling.

Filling:

2-3 cups sliced fresh peaches, peeled and cut in thick slices

3 cups fresh blueberries – place in medium bowl

Mix with:

½ cup sugar

½ tsp. cinnamon

¼ cup quick tapioca

Add and stir in

2 tbsp. fresh lemon juice

Let stand while you prepare the crust.

Roll out pie crust in a pie bag or between the two sheets of wax paper, try to get the thickness even, no thick middle! Peel off one side of paper and place in pie pan, centered.  Remove other slice of wax paper.  Crimp edges all around.  Fill with fruit mixture.

Crumb topping

Put all four ingredients in the same mixing bowl you made the bottom crust in and mix well with mixer paddle until crumbs form.

¾ c brown rice flour mix

½ c sugar

½ tsp xanthan gum

1/3 c cold butter cut into six chunks

Sprinkle the top of the pie with crumb mix; use as much as you like (all is fine!).  I like about a heaping cup of the mixture.  Up to your personal taste… It sinks partially into the fruit mixture and adds lots of sweetness and eye appeal.

Bake in a preheated 400 degree oven for 45-50 minutes until bubbly and the crumb crust is light brown. You can put a pie juice catcher under the pie as it might bubble over.  This protects the oven bottom from a mess. I put a piece of aluminum foil on top for the last ten minutes.  Cool at least 2 to 4 hours before serving at room temperature.  I think it is best served the same day you make it, or no more then 10 hours after baking for optimal flavor.  The crumbs will get soggy if too much time passes.

blueberry peach pie slice

Note: if you find your bottom crust is not browning enough bake it empty at 375 degrees for ten minutes before filling it with the fruit.  I have a bottom heat pizza style oven which gives me perfect pie crust so I don’t ever have pale pie crust.

 Brown Rice Flour Mix (Same as King Arthur’s GF blend flour)
2 c brown rice flour (finely ground)

2/3 c potato starch – Not potato flour!

1/3 c tapioca flour

This post was originally posted August 2014, minor changes made to it.

Southern Comfort: Cheesy Shrimp and Grits…My Version

Some people aren’t big fans of grits; this recipe could change that for ever as it is pretty easy and darn tasty.  Not diet food; we are talking cheese and cream here. Still, I promise; you and yours will love grits after you whip up this luscious entrée!

I used frozen large shrimp; don’t use very small ones, lacking real shrimp flavor.  My pantry didn’t have fancy country ham; just used some ham steak from the grocery store; was fine. My version has fresh tomatoes on it; love the addition.  This is mostly naturally gluten free; just changed the white all purpose flour for the roux to rice flour.  Use most any blend of gf flour you prefer. No bean flour though; that stuff is nasty for most things.

I ate some of it cold the next day; took it along for a lunch out.  No microwave….still tasty cold.  Enjoy!

shrimp and grits 019shrimp and grits 021shrimp and grits 023shrimp and grits 024shrimp and grits 022shrimp and grits 020shrimp and grits 026

Shrimp and Grits

Ingredients

Shrimp:
1/2 pound (26-30 count) Wild Shrimp
1-2 tsp. Cajun seasoning

3/4 tsp. paprika
1/2 tsp. dried Italian seasoning
Freshly ground black pepper
Grits:
1 cup water
1 gf chicken bouillon cubes
1 tablespoons butter or margarine
1/2 cup quick grits
1 1/2 tsp. tomato paste
3 oz heavy cream  (a glass measuring cup has ounce marks on it)

1 2/3 ounces extra-sharp Cheddar; shred on large grater side
Sauce:
1 tablespoon butter or margarine
1 tsp. minced garlic
1-2 tablespoons rice flour
1/2 cup chicken stock
2 tbsp. heavy whipping cream
1/4 teaspoon Worcestershire sauce
1/4 teaspoon hot sauce (recommend: Texas Pete)
¼ cup sugar-cured country ham diced

1 ripe tomato diced
Directions

First, peel and devein the shrimp. In a small bowl, combine Cajun seasoning, paprika, Italian seasoning and salt and pepper, to taste. Sprinkle the spice mixture over the shrimp to coat well and set the shrimp aside while you get all the ingredients ready for the grits and sauce. You want the shrimp to stand at least 4-5 minutes before you fry them so the flavors soak in somewhat.

Now saute the shrimp in a large saute pan: melt 2 tablespoons of butter, add minced garlic and stir for 30 seconds. Add in the spice-coated shrimp, and cook only until they’re just done and tender. Don’t overcook. Remove the shrimp from the saute pan and set them aside in a bowl.
The roux is next. With all those wonderful drippings from the shrimp in the saute pan, add 1-2 tablespoons of rice flour and stir with a wooden spatula to make a roux. Start with one and add more if you think there is enough butter and drippings to mix with it. Cook for 10 to 12 minutes until roux reaches a medium-tan color, then slowly add the chicken stock and heavy whipping cream. Whisk together and cook for 2 minutes, then whisk in Worcestershire sauce and hot sauce. Set aside.
Next, while the roux cooks, make your grits. In a medium saucepan, bring water, chicken bouillon cubes and 2 tablespoons butter to a boil. Slowly add the grits, whisking often with wire whisk for 5 minutes. Add tomato paste, cream, and cheese. Keep whisking for another 2 or 3 minutes until the grits become creamy. Don’t skimp on the butter and the cream, it gotta have that good stuff so you have that great taste!
And last, toppings. Cook 1 center slice of cured country ham in a saute pan, and cut into cubes. I used a ham steak from the store and cut it in small cubes and sauteed it briefly before mixing it with the shrimp. Dice the tomato up.

To serve place 2-3 heaping spoonfuls of steaming cheese grits onto a place, top with half the shrimp and half the ham cubes. Drizzle that yummy roux sauce over top of the shrimp, and sprinkle on half that chunked up tomato. Enjoy this little bit of that world famous Southern cooking even up here in Pennsylvania!
I made a few changes to this recipe – originally by Joe Barnett: http://www.foodnetwork.com/recipes/shrimp-and-grits-recipe

Lemony and Refreshing Quinoa Salad

I made some lemony quinoa salad the other day, the same one I posted last year stuffed in tomatoes.  This time I just mixed in chunks of ripe homegrown tomatoes and it was very tasty as a side dish to a meal.  Kept well in my fridge for the 2 more days it took me to finish it. So easy to make too.  You could even make it the day before; just add the tomatoes before serving. So I am posting it here so you can try it; one caveat; only use local tomatoes.  Do NOT make this with those pale imitation supermarket tomatoes. It is not possible to create something tasty if you start with poor quality ingredients and those plastic flavored “tomatoes” just will not work in this salad.

quinoa salad 8-14

gazpacho and pork steak 014

Lemony Quinoa Salad

Makes four servings.

Ingredients:

½ cup regular quinoa, (not red or black)

1 cup water

½ a veggie bullion cube

2/3-3/4 cup small dice burpless cucumber

½ cup small dice zucchini

1/3 cup small dice red onion

2 tbsp. fresh mint or parsley, diced finely

1 lemon

3 tbsp.  EVOL (extra virgin olive oil)

1 tbsp. red wine vinegar

Sea salt and fresh black pepper to taste.

2 large ripe tomatoes cut in chunks

Directions

Put the quinoa in the water.  If it doesn’t say rinsed you should put it in a strainer and rinse it for a minute to get off any coating which can be bitter.  Add the half bullion cube, bring to a boil. Reduce heat to a simmer and cook 15 minutes.  Let cool to room temperature before continuing.

Place the cooled quinoa in a mixing bowl.  Dump in the finely chopped veggies and stir.  Sprinkle the fresh herbs on top; even fresh chives chopped fine or basil will work great.   Use a zester or a very fine grater and get as much zest off the lemon (wash the lemon first); you can zest right into the quinoa mixing bowl.  In a small mixing bowl put the juice of that same lemon, the EVOL and red wine vinegar.  If you have more than 3 tbsp of lemon juice add a bit more EVOL and whisk to combine; add in up to ½ tsp salt and ¼ tsp freshly grated black pepper.  Pour ¾ of it over the quinoa and veggies and stir to combine.  Taste and adjust seasoning and add the rest of the dressing if it is needed.  Chill at least 30 minutes. Add the chunked tomato and serve.

gazpacho and pork steak 008

This is a great side dish or, if you have a vegetarian visiting, it is a substantial main dish choice as quinoa has a lot of complete protein in it.

So simple but the combination of fresh lemon juice, lemon zest, red wine vinegar and EVOL makes a great salad dressing.  Do not cook the zucchini – if it is fresh and tender it is fantastic raw in a salad.  If you can’t get one of those European cucumbers use a small regular one and peel the skin off it before dicing. If the seeds are large do not use the center with the seeds.  Your salad will not be as pretty if there are sloppy cucumber seeds in it.

Quinoa salad will keep a few days in the fridge, if it lasts that long! Try it with different fresh herbs: it just won’t taste the same without the fresh summer veggies.  I try to eat seasonally and this is definitely a summer treat!

Refreshing Spanish Gazpacho Soup: Ole Tomatoes!

Hot Hot HOT summer days mean I need a cool recipe. One with minimal cooking: that is easy and tasty.  Plus I want to use some of my garden produce.  This classic Spanish soup called gazpacho is perfect for all of that and my family loves it. It absolutely must be made with ripe summer tomatoes, never ever attempt it with any less than the best vine ripened fruit.  You can get great tomatoes at farm stands, farmer’s markets and even the grocery store; look for the grown local label for the best flavored tomatoes. Please do not use greenhouse tomatoes grown far away and shipped while not really ripe. Your soup will not be full of tomato flavor and it will taste disappointing.  These ripe locally grown tomatoes are vital to the flavor of gazpacho.

I make my gazpacho in the blender but I believe a food processor works okay too.  No heat,  minimal fuss.

My version allows you to add chopped raw veggies in the amount you prefer just before you slurp it down. I prefer its fresh pure flavors to those soulless restaurant versions that are gelatinous and crammed full of a wide assortment of chunked veggies…uggh.

I once had a version of gazpacho similar to mine in a Philadelphia restaurant made with golden yellow tomatoes which was beautiful looking and quite tasty too.

Warning: you do need to peel the tomatoes but that goes pretty fast.  I heat about a wide sauce pan filled 3 inches deep with water to a boil and pop the ripe tomatoes in for 2 to 3 minutes. I put in 4 at a time; done in a couple batches.  Let them cool a bit and then peel off the skin and cut out the blossom end (top) and they are ready to use.

One more important instruction: gazpacho HAS to chill really good; make it early in the morning to serve as a late lunch or better yet; for supper. The colder the better, I actually put my soup bowls in the freezer for 15 or 20 minutes and yank them out just before filling and serving this cold summer delight.

It is a flexible recipe; depends on the size of your tomatoes. This should make close to 60 ounces or just shy of 2 quarts; cut in half if you don’t want too much. But you will wish you had made more…I promise!  It will keep 3-5 days in the refrigerator.

gazpacho and pork steak 004

tomato juice for thinning the soup

gazpacho and pork steak 003

skinned tomatoes ready for soup making

gazpacho and pork steak 006

I am about to press the puree button!

gazpacho and pork steak 007

Still in blender, just pureed soup.

Summer Chill Gazpacho

Soup ingredients:

8 to 10 ripe fat tomatoes (large ones)

About ¼ cup EVOL; best you can afford

2 slices white bread (GF if you have celiac)

1 lemon

2 garlic cloves, peeled

1 to 1 ½ tsp. sea salt

Toppings:

2 large tomatoes diced, heirloom if possible

1 cup diced burpless cucumber

2 scallions, sliced thin, green and white parts

Directions: peel the tomatoes as described above.  When I peel them I do it over a bowl to capture the juices and seeds. I save them, strain off the seeds and I add back the juice as needed to thin the finished soup.    Put 4-5 tomatoes in the blender; add a slice of bread broken up, 2 tbsp. olive oil, the juice of half a lemon and one garlic clove.  Put the lid on and blend well.  Note: do not fill the blender more then ¾ full. Taste; add salt; ½ to ¾ tsp.

Repeat entire process with the rest of the ingredients and thin with reserved tomato juice – it should be thick but not porridge thick.  Mix the two batches together in a big glass bowl; never metal because of the acidity of tomatoes and cover tightly with plastic wrap.  Then chill it at least 3 to 4 hours.

Serve with bowls of toppings to sprinkle on top of the thick soup; diced ripe tomatoes, scallion slices and cucumber ( preferably burpless) cut in small dice.  If you want to guild the lily, top with croutons (gf ones if you have celiac), I don’t bother.

gazpacho and pork steak 012

Note: gluten free bread often gives a slightly different texture to the soup; somewhat less smooth in the look of it and the taste.  It’s okay as it doesn’t affect the flavor: it still is delicious and a bowl of it is so very refreshing on a hot day.  Serve with a sandwich and you have a perfect summer lunch.