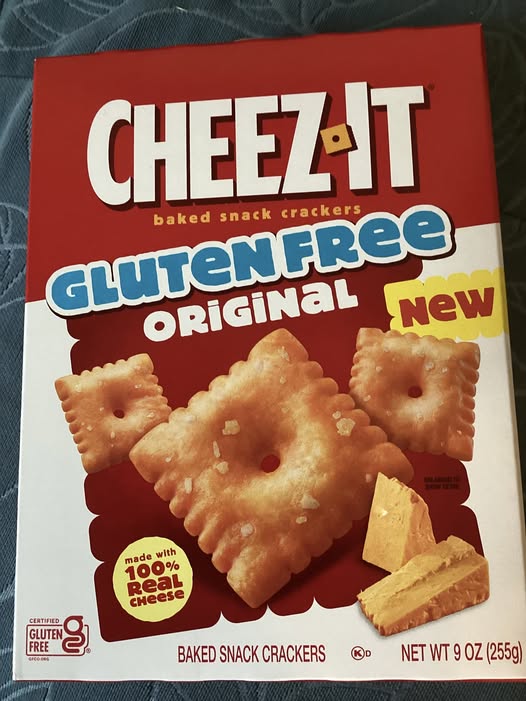
Okay, I have been seeing these new gf Cheez It crackers in social media. Didn’t see them in the Giant grocery store until today; they are not in the gluten free section but right next to regular Cheez Its in the cracker aisle; bold as brass! Buy one get one free; okay; I’ll do that. Got them home. Forgot about them for 3 hours. Opened one and ate just one. Nice crunch. Kinda burnt tasting but in a good way. Ate another. And another. And like 20 more! Okay, they are definitely dangerously addictive. The ingredients are relatively mild for a highly processed food. They are a tad burnt looking; could just be the batch mine were made in; the picture on the package doesn’t look that dark. The price was high-ish but not when you are getting the second one for free. I had to seal up the box and put it away so I couldn’t eat them all. 30 crackers have 150 calories. So, ten small crackers have 50 calories. and it has 2.5 g of saturated fat in those 30 crackers. Plus 230 mg of salt and 5 pm of cholesterol. No sugar; a blessing.
So, if you’re itching to try them; get them now while the sale is on and enjoy this blast from your past; I haven’t had a Cheezit in like 14 years. Tasty if somewhat addictive for me who I like to think of myself as having a non-addictive personality… or highly addictive if that’s your personality. Worth a try regardless. Enjoy! You’re welcome!
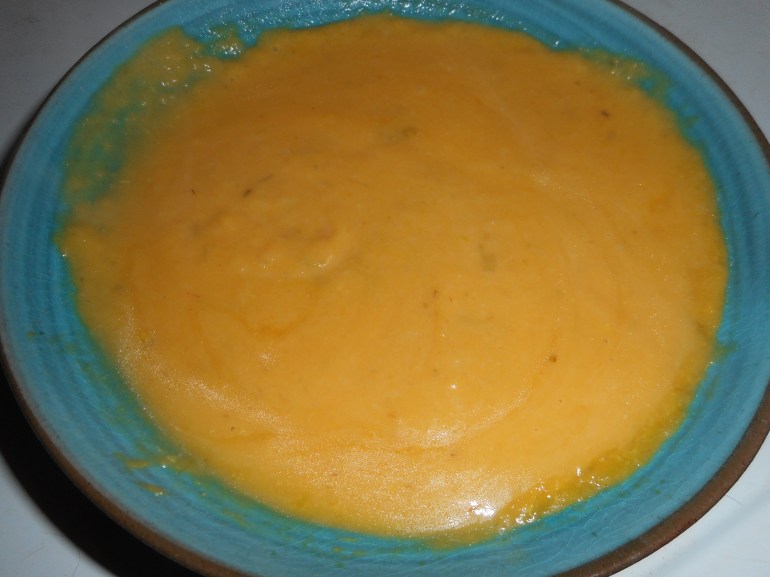
Blast this like-winter weather. It’s no fun unless you like to slog through cold rain or sloppy snow. Soup is often my remedy for winter chillies. This is a simple soup made of roasted produce thinned with chicken broth and a touch of milk. It will warm your tummy and fill you up without too many calories. The leek adds a slightly different flavor and the apple a touch of sweetness which I find refreshing. This mellow winter treat is great with a salad for lunch or a sandwich. No fuss, very little muss. Just a short list of ingredients and a fairly simple recipe. Enjoy!
Roasted Butternut squash Soup
1 decent sized butternut squash
1 medium onion
1 leek
2 fat carrots
1 Rome or Gala apple (any baking apple except Granny Smith will do)
1 garlic clove, unpeeled
3-4 cups of chicken broth, preferably homemade
½-3/4 cup of half and half or whole milk, even 1 percent will work!
Directions:
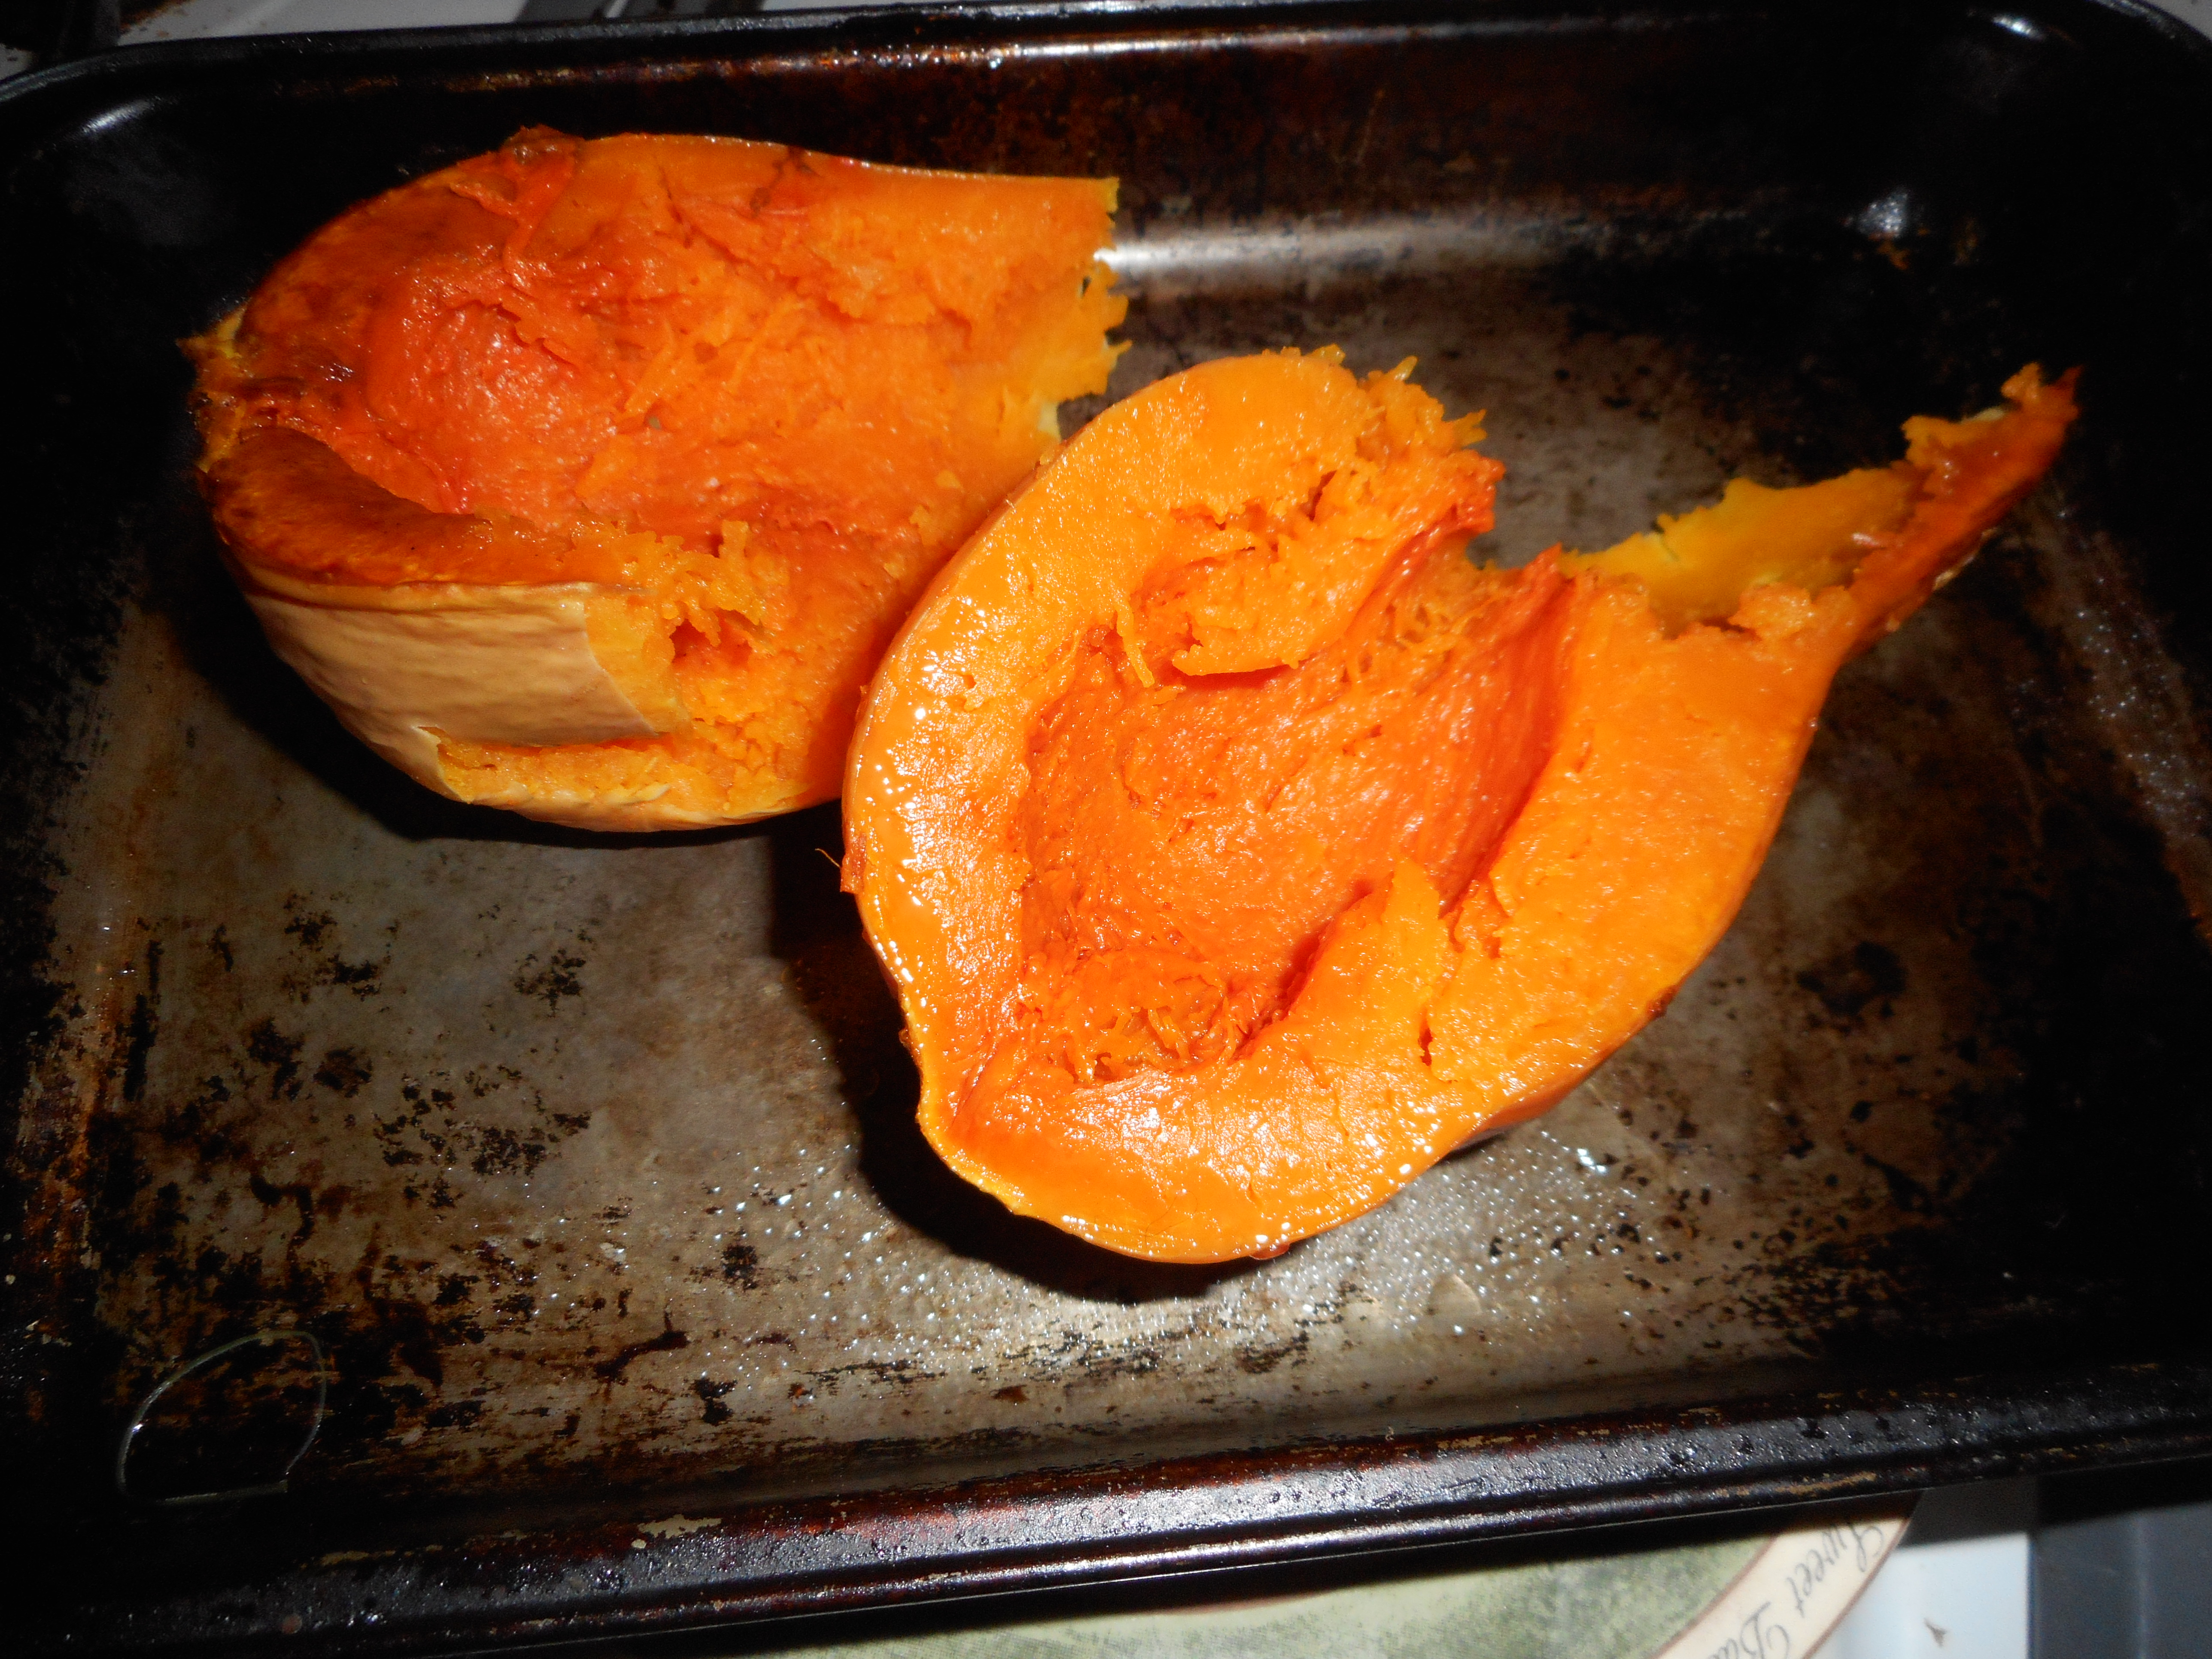
First, cut the butternut squash down the length and scoop out the seeds. No need to peel. Place cut side down on a rimmed baking sheet sprayed with cooking spray. Cut the onion in half and likewise the apple, the leek and carrots; cut off the leek above the light green portion and core the apple halves. Put apples cut side up. Roast them all in a 375 degree oven until the squash is tender when poked with a fork. About 35 to 45 minutes depending on the size of your squash. If the other fruits and veggies are browned and done early slide them off to a plate to cool. Caramelized is fantastic but no burnt leeks in my soup thank you!
When the squash is cool enough to handle, use a big spoon to scoop out all the meat of it into your blender. Add the scooped out contents of the apple halves, the garlic you have squeezed out of its skin, the carrots and leek halves. Pour in 2-3 cups of chicken broth, blend until smooth, and add more broth until you reach a consistency you like. Mine was kinda thick and porridgey. If you prefer to use a food processor that will work or put the scooped out veggies into a large sauce pan and blend with your immersion (boat motor) blender. This will not be as smooth as the blender makes it but it is more fun and less cleaning as no blender container to wash!
After the blending is done pour it into a large sauce pan and add up to ¾ of a cup of half and half or whole milk. I used a half cup but you may like it creamier.
Originally posted in 2014, no recipe changes made to this version.
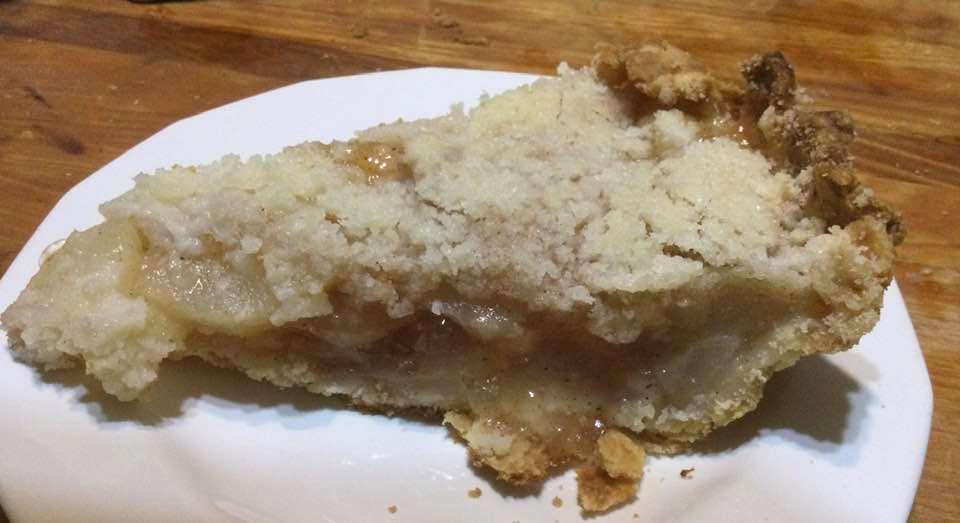
Fresh tasting, locally sourced fruits are a major reason for success in fruit pie baking. I usually get mine from the local orchard where they were grown; about 2 miles from my house. This past Saturday I got some Bosc pears, they are a bit firmer and not as juicy as Bartletts but are renown for baking.
This recipe is a blending of my own pie filling and the pie crust and crumb recipes from Annalise Robert’s cookbook, Gluten-Free Baking Classics. I used slightly less sugar, more fruit, and made a few other changes to create my own special pie using pears instead of apples. Her cookbook is a fabulous resource, and I can’t recommend it enough to anyone trying to bake gluten free for a family member. This pie is like apple pie’s little sister; delicate, tender and so pretty. I promise even pear haters will enjoy a slice of this and we who love pears are just in heaven when we bite into a generous slice of this juicy sweet pie. My guy always claimed to hate pears; so fickle; unripe and then suddenly mushy overripe – I can relate to that happening occasionally, but I persisted and now he enjoyed this pie quite a lot; took home a huge slice of it last night. Go on; make it; you might change someone’s mind too!
Angie’s GF Pear Crumb Pie
Crust:
1 c plus 2 Tbsp. brown rice flour mix (at bottom of recipe)
2 Tbsp. sweet rice flour
1 Tbsp.. granulated sugar
½ tsp xanthan gum
¼ tsp salt
6 Tbsp.. cold butter cut into 6 chunks
1 large egg
2 tsp fresh orange or lemon juice
Spray 9 1/2 metal pie pan with cooking spray, dust with white rice flour.
Mix dry ingredients in bowl of stand electric mixer. Add butter and mix until crumbly and resembling coarse meal. Add egg and juice. Mix until it comes together into big chunks. Shape into a ball with your hands. Put it on a crust sized piece of wax paper (14 x 14 inches more or less), flatten the crust ball some; put on top of it another piece of wax paper and chill it all in your fridge 15-20 minutes while you chop the peeled and cored fruit into ¼ to 1/3 inch slices. I use my plastic pie bag; sturdy and helps me roll the crust thin in the middle.
Filling:
6 cups barely ripe Bartlett or Bosc pears; peeled, cored, and sliced thin – place in medium bowl, pour over it 1 Tbsp. lemon juice
Mix the following dry ingredients in a small bowl and pour over the sliced pears:
1/2 cup granulated sugar
3 tbsp. quick cooking instant tapioca
1/4 rounded tsp. cinnamon
1/8 tsp. nutmeg
Stir gently with a big spoon to blend well. Let stand while you roll out the crust; this time will allow the tapioca to soak up the fruit juice and become that lovely goop my family yearns for!
Crumb topping
Put all four ingredients in the same mixing bowl you made the bottom crust in and mix well with mixer paddle until crumbs form.
¾ c brown rice flour mix
½ c granulated sugar
½ tsp xanthan gum
1/3 c cold butter cut into six chunks
Directions: Roll out pie crust in a pie bag or between the two sheets of wax paper; try to get the thickness even, no thick middle! Peel off one side of paper and place in pie pan, centered. Remove other slice of wax paper. Crimp edges all around. Fill with sweetened fruit mix. Pour the crumb topping (1 to 1½ cup) evenly over this mixture. The more crumbs the thicker the crust they will form; for a really thick crust use all the crumbs from the recipe below.
If you love your pie really sweet add another ¼ cup granulated sugar to the dry mix part of the filling. I found the pie to be plenty sweet but everyone has their own sweetness level.
Bake in a preheated 400 degree oven for 30 minutes with a piece of aluminum foil on top of the pie, then lower the temperature to 375 and bake 20 more minutes uncovered until bubbly and the crust is light brown. I put a pie guard underneath my pie while it bakes to catch any drips. Cool at least 2 hours before serving at room temperature.
Note: I bake pies on the lowest shelf of my oven and that gives me a great browned crust. If your oven doesn’t give a strong bottom heat you might want to pre-bake the crust 10 minutes before filling and topping the fruit.
Naked raw pear pie, I promise it will get tastier looking!Pear pie crumbed and ready for the oven
Brown Rice Flour Mix (same as King Arthur’s Basic gf Flour mix)
Hot late summer days make me crave a cool soup. One with minimal cooking: that is easy and tasty. Plus, I want to use some of my garden produce. This classic Spanish soup called gazpacho is perfect for all of that and my family loves it. It absolutely must be made with ripe summer tomatoes, never ever attempt it with any less than the best vine ripened fruit. You can get great tomatoes at farm stands, farmer’s markets and even the grocery store; look for the grown local label for the best flavored tomatoes. Please do not use greenhouse tomatoes grown far away and shipped while not really ripe. Your soup will not be full of tomato flavor and it will taste disappointing. These ripe locally grown tomatoes are vital to the flavor of gazpacho.
I make my gazpacho in the blender but I believe a food processor works okay too. No heat, minimal fuss.
My version allows you to add chopped raw veggies in the amount you prefer just before you slurp it down. I prefer its fresh pure flavors to those soulless restaurant versions that are gelatinous and crammed full of a wide assortment of chunked veggies…uggh.
I had a version of gazpacho similar to mine in a Philadelphia restaurant made with golden yellow tomatoes which was beautiful looking and quite tasty too, the jar of gazpacho in my fridge right now is yellow as I had 6 big yellow ones to use for this purpose.
Warning: you do need to peel the tomatoes but that goes pretty fast. I heat about a wide sauce pan filled 3 inches deep with water to a boil and pop the ripe tomatoes in for 3 minutes. I put in 4 at a time; done in a couple batches. Let them cool a bit and then peel off the skin and cut out the blossom end (top) and they are ready to use. You can easily halve this recipe; just one blender-full of tomatoes for that and half the rest of the ingredients.
One more important instruction: gazpacho HAS to chill really good; make it early in the morning to serve as a late lunch or better yet; for supper. The colder the better, I actually put my soup bowls in the freezer for 15 or 20 minutes and yank them out just before filling and serving this cold summer delight.
It is a flexible recipe; depends on the size of your tomatoes. This should make close to 60 ounces or just shy of 2 quarts; cut in half if you don’t want too much. But you will wish you had made more…I promise! It will keep 3-5 days in the refrigerator.
tomato juice for thinning the soup
skinned tomatoes ready for soup making
I am about to press the puree button!
Still in blender, just pureed soup.
Summer Chill Gazpacho (makes like 8 servings; I often halve this recipe)
Soup ingredients:
8 to 10 ripe fat tomatoes (large ones)
About ¼ cup EVOL; best you can afford
2 slices white bread (GF if you have celiac)
1 lemon
2 garlic cloves, peeled
1 to 1 ½ tsp. sea salt
Toppings:
2 large tomatoes diced, heirloom if possible
1 cup diced burpless cucumber
2 scallions, sliced thin, green and white parts or
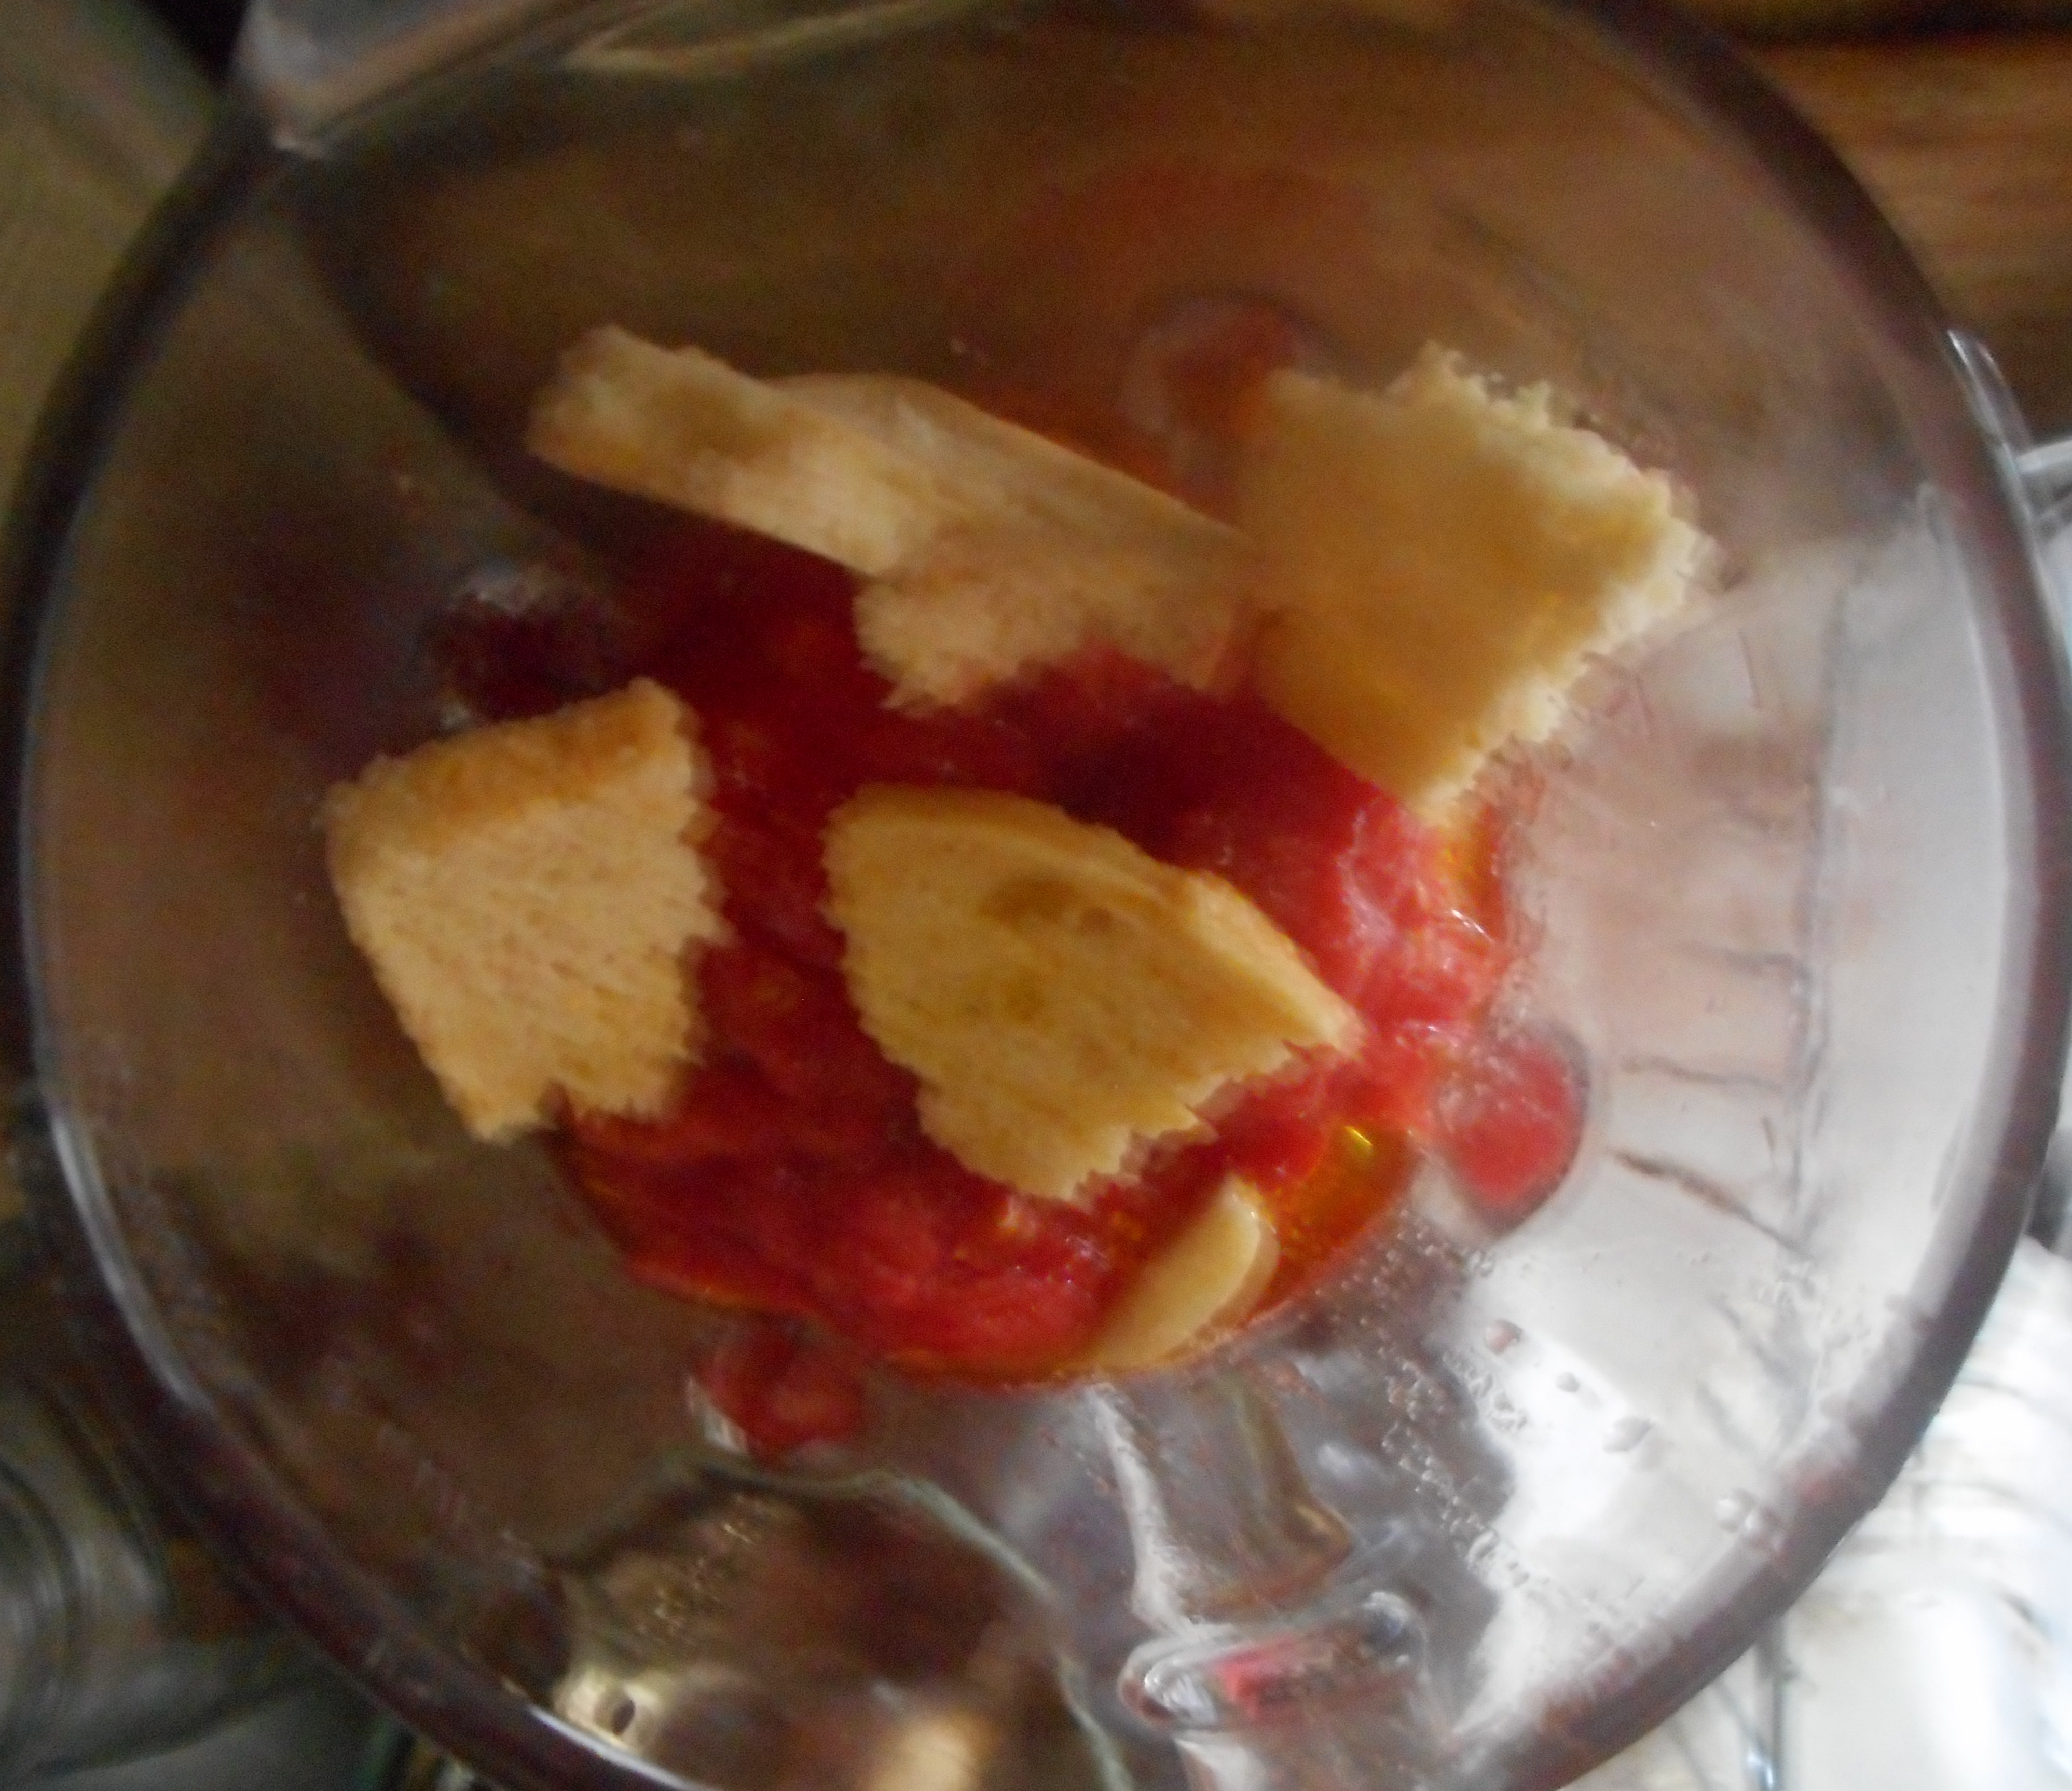
Directions: peel the tomatoes as described above. When I peel them I do it over a bowl to capture the juices and seeds. I save them, strain off the seeds and I add back the juice as needed to thin the finished soup. Put 4-5 tomatoes in the blender; add a slice of bread broken up, 2 tbsp. olive oil, the juice of half a lemon and one garlic clove. Put the lid on and blend well. Note: do not fill the blender more then ¾ full. Taste; add salt; ½ to ¾ tsp.
Repeat entire process with the rest of the ingredients and thin with reserved tomato juice – it should be thick but not porridge thick. Just know that it will thicken as it rests and chills in your refrigerator. Mix the two batches together in a big glass bowl; never metal because of the acidity of tomatoes and cover tightly with plastic wrap. Then chill it at least 3 to 4 hours.
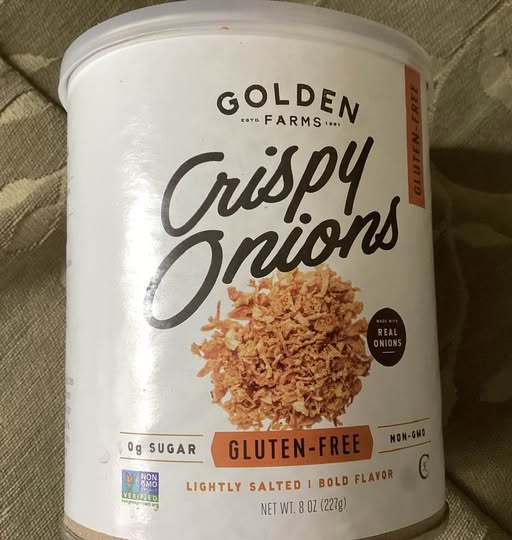
Serve with bowls of toppings to sprinkle on top of the thick soup; diced ripe tomatoes, scallion slices and cucumber ( preferably burpless) cut in small dice. If you want to guild the lily, top with croutons (gf ones if you have celiac), I don’t bother. This most recent batch has been topped with Crispy Onions by Golden Farms.
Note: gluten free bread often gives a slightly different texture to the soup; somewhat less smooth in the look of it and the taste. It’s okay as it doesn’t affect the flavor: it still is delicious and a bowl of it is so very refreshing on a hot day. Serve with a sandwich and you have a perfect summer lunch.
Note: This recipe has not been changed but some additional information is in this repeat posting of this most delicious soup!
I used some chunks of gf sourdough as my croutons in this bowl. Used zucchini not cucumber in topping.
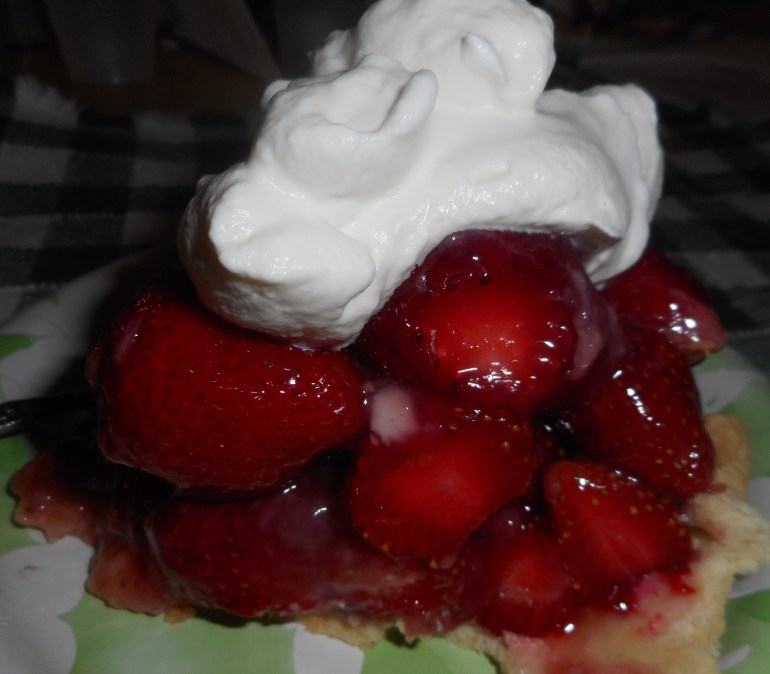
It is passed the height of local strawberry season; but, there is time to make this pie; no baking a filling, no top crust, just ripe sweet berries in a coating of sweet berry goop and real whipped cream! This dessert is so lick-your-fingers yummy that I don’t want you to miss it and have to wait until next June to enjoy this strawberry classic. The local orchard, Bechdolt’s Orchard has some, there are pick your own like Phillips Farm Market or one in Effort or near Summit Hill. Or try a farmer’s market for fresh flavorful local berries. If you can make a crust and stir the strawberry goop you can make this.
If you are one of my wheat loving friends; make whatever basic crust you like. The filling is naturally gluten free.
My mom loved this pie and frankly so does our entire family. Mom never put the cream cheese on the bottom but I like it as it keeps the crust from getting soggy and adds a delicate counter point to the sweetness of the filling.
It is not a great summer if you don’t indulge in this dessert at least once!
Angie’s GF Strawberry Glace Pie
Crust:
1 c plus 2 tbsp brown rice flour mix (at bottom of recipe)
2 tbsp sweet rice flour
1 Tbsp. granulated sugar
½ tsp xanthan gum
¼ tsp salt
6 Tbsp. cold butter cut into 6 chunks
1 lg egg
2 tsp fresh orange or lemon juice
Directions:
Spray 9 inch metal pie pan with cooking spray, dust with white rice flour. (I forget this step a LOT!)
Mix dry ingredients in bowl of stand electric mixer. Add butter and mix until crumbly and resembling coarse meal. Add egg and juice. Mix until it comes together into big chunks. Shape into a ball with your hands. Put it on a crust sized piece of wax paper (14 x 14 inches more or less), flatten the crust ball some; put on top of it another piece of wax paper and chill it all in your fridge 15-20 minutes.
Roll out pie crust in a pie bag or between the two sheets of wax paper, try to get the thickness even, no thick middle! Peel off one side of paper and place in pie pan, centered. Remove other slice of wax paper. Crimp edges all around. Prick it in a dozen places with a fork to keep it from blowing up bubbles. Bake in a preheated 375 degree oven for 15-18 minutes until the crust is light brown. Cool at least 30 minutes before filling.
Glaze:
1 cup mashed very ripe strawberries (I sort through the berries and use only the ripest ones for this part.)
2/3-3/4 cup sugar
3 tbsp cornstarch
½ cup water
Mix sugar and cornstarch in 1 qt heavy bottomed sauce pan, stir in water and mashed strawberries. Cook on medium heat until it boils, stirring constantly. If it seems too thick, add up to half a cup more water. It needs to be thin enough to cling to your berries. Boil and stir one minute. Let cool at least 20-30 minutes or until close to room temperature.
Filling:
3-4 ounces of light cream cheese, room temperature
4-5 cups fresh strawberries, hulled
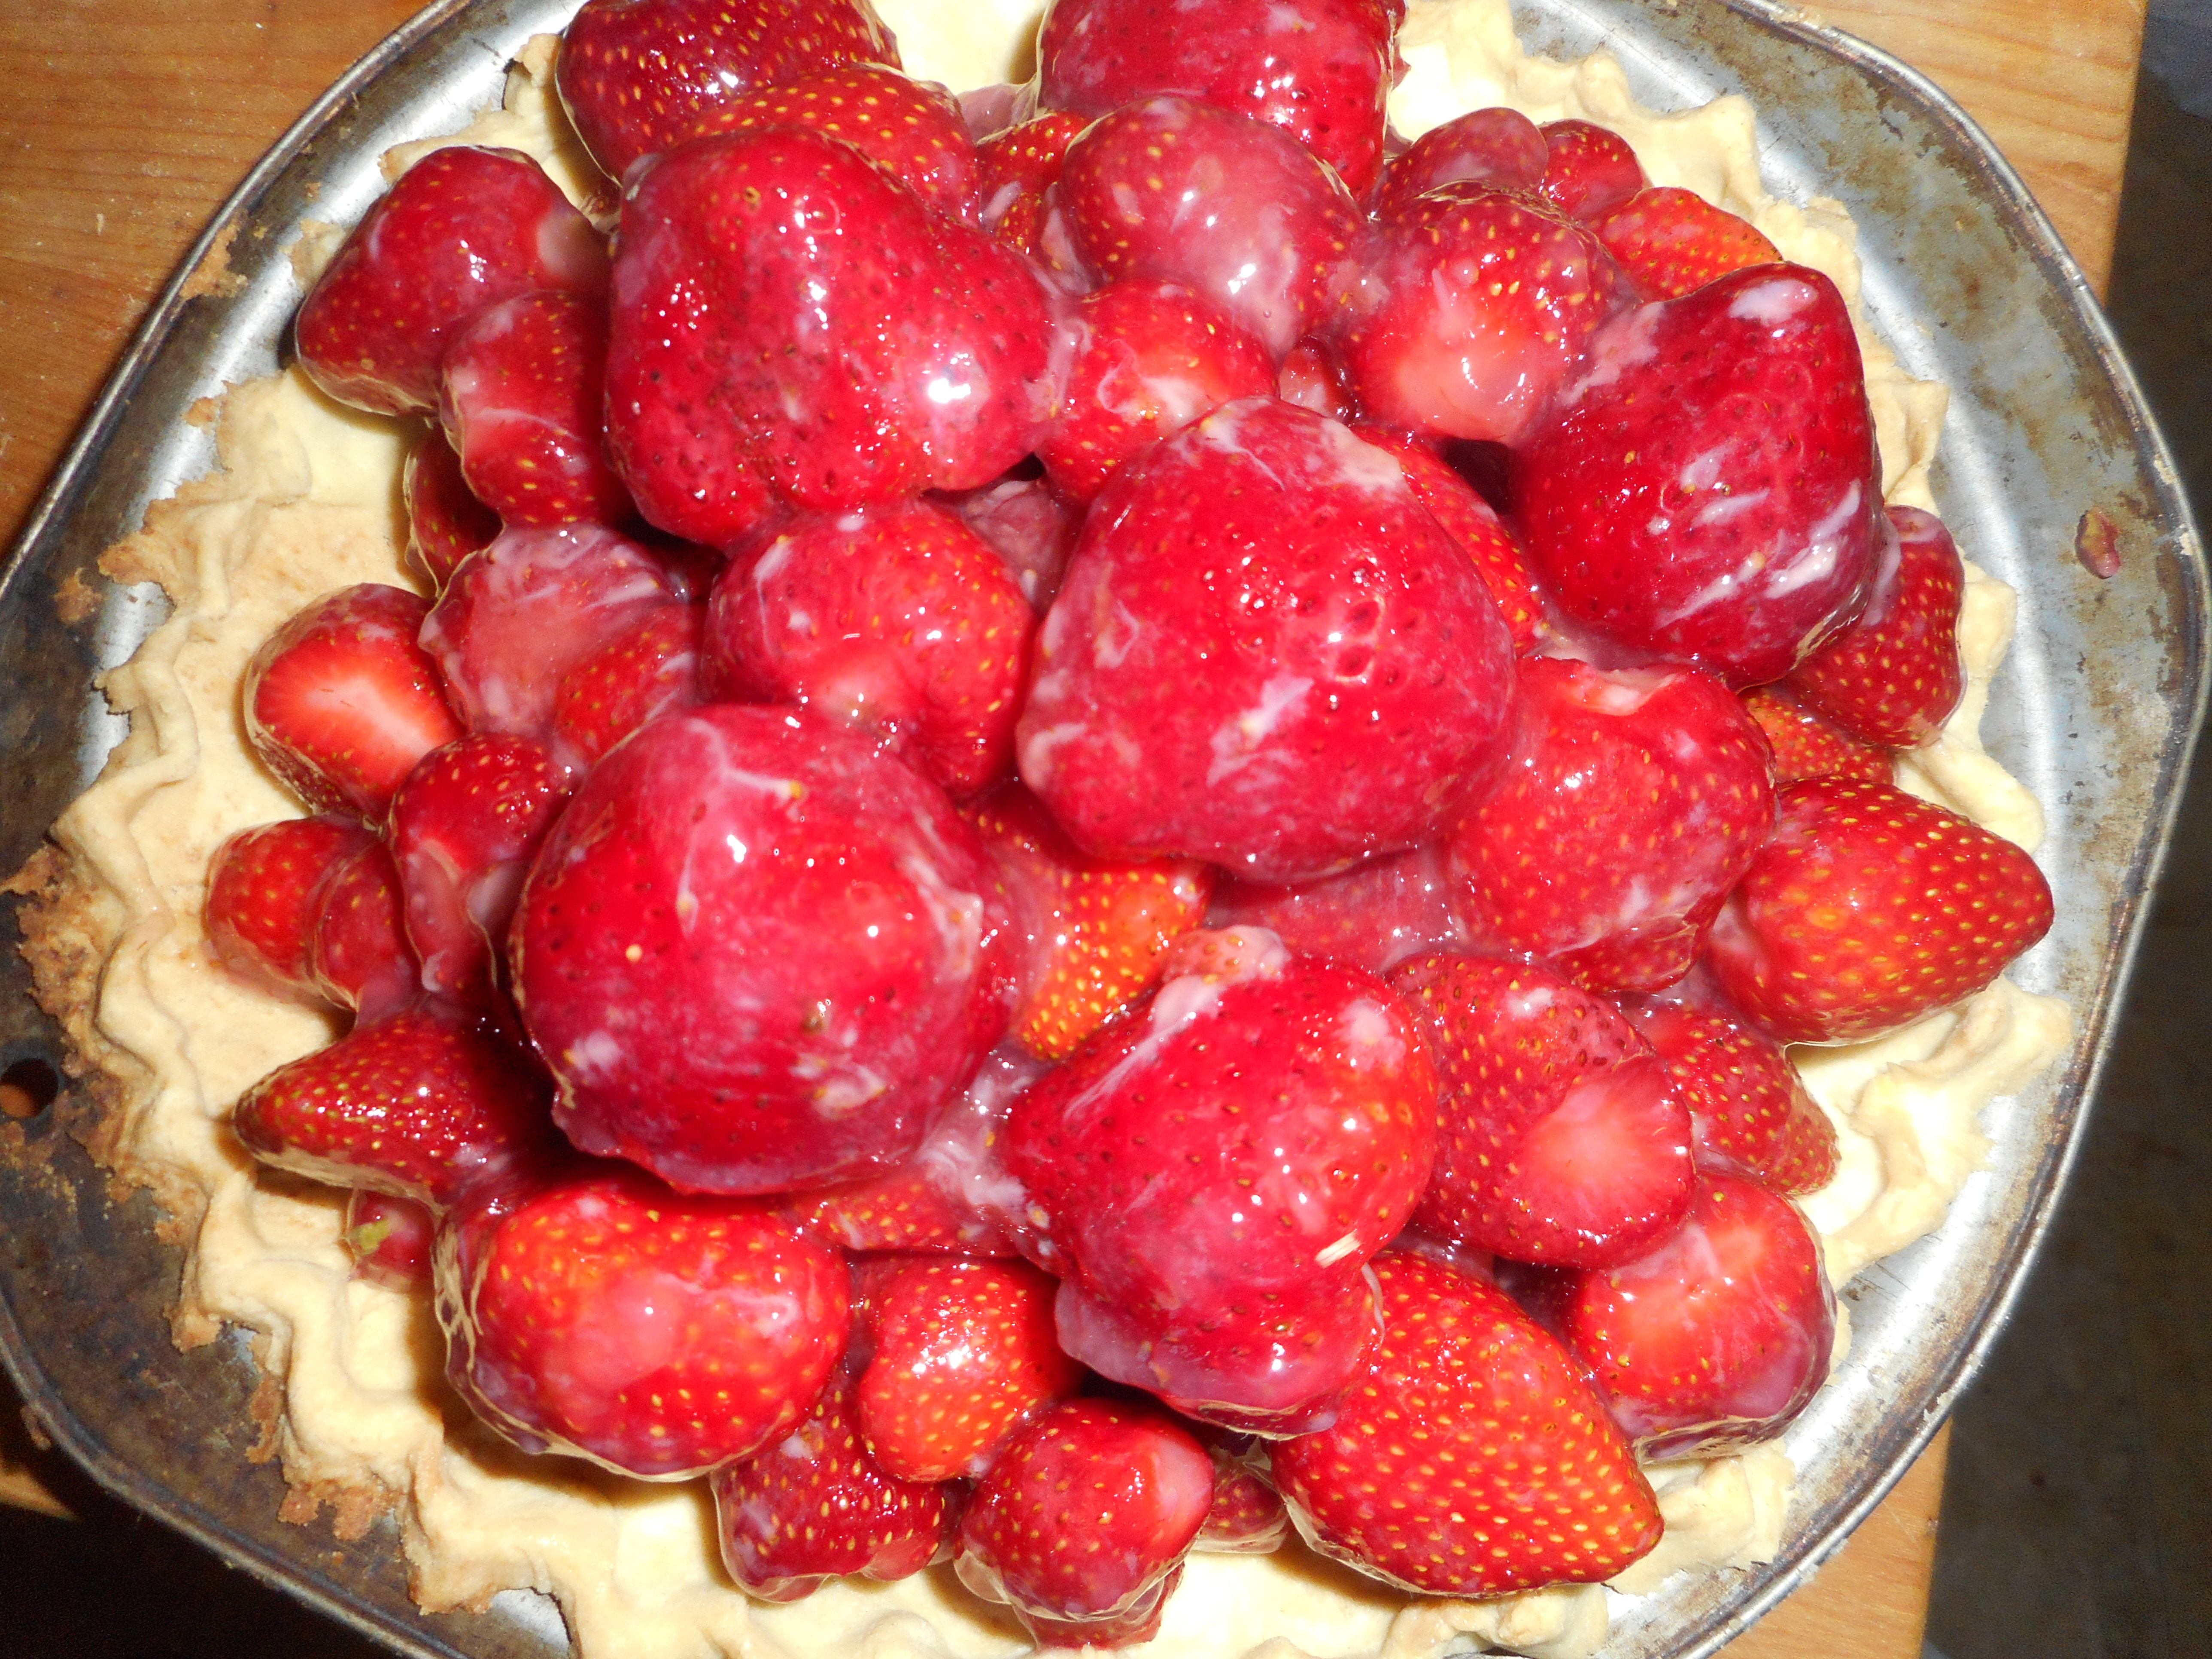
Line the bottom of the cooled pie shell with the cream cheese, spread it as evenly as possible. I use ½ an 8 ounce package. Place berries in a big bowl. Pour the glaze over top and gently mix. Pour the goopy berries into the pie shell. I like to pick the nicest ones for the top of it.
Chill 2-3 hours before serving. Make some real whipped cream, the fake stuff will not do for this pie; 1 cup heavy cream whipped with an electric mixer or a whisk until soft peaks, I like to chill the bowl and beaters for a few minutes as it helps the cream whip faster. Then add 2-3 tbsp powdered sugar and ½ to 1 tsp. vanilla. Beat just a bit longer, until nearly stiff peaks. Slice the pie and top each piece with the whipped cream. Dive in! You won’t be disappointed.
Brown Rice Flour Mix– for crust
2 c brown rice flour