Marshmallow Project

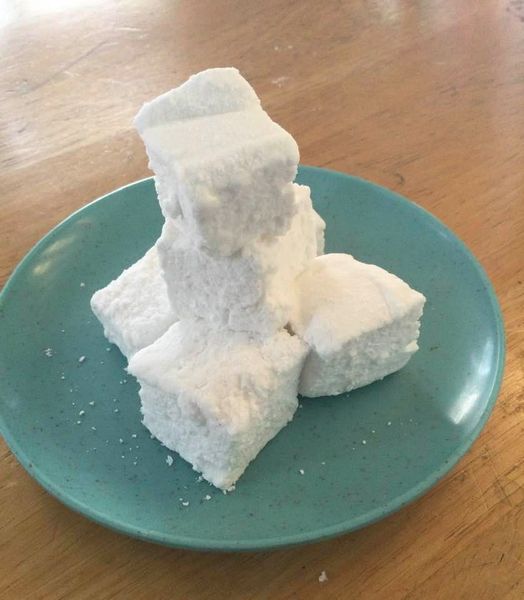
I have always wanted to make my own marshmallows. Just too busy every Christmas. I think my mom made them once when we were kids. Faint memory of soft pillows of yumminess. With covid restrictions and my grands living 1,350 miles away I finally have time. I got this recipe from my sister Karen who makes them every year. It is fairly close to many I have researched. It is not a difficult process but there are a few truths I have gleaned. Do not let the fluff get cool much less cold before you try to pour it into the prepared pan. The pan must be glass or ceramic, 9-x13. Know that as it cools it gets sticky. So, pour it quickly while warm, smooth with damp hands, then sprinkle with powdered sugar and let it stand a good long time to reduce the stickiness. You will find clean up easy with lots of hot water.

You can buy a box of unflavored jello; inside the box are 5 packets of dry unflavored gelatin. I think each packet is one tablespoon.

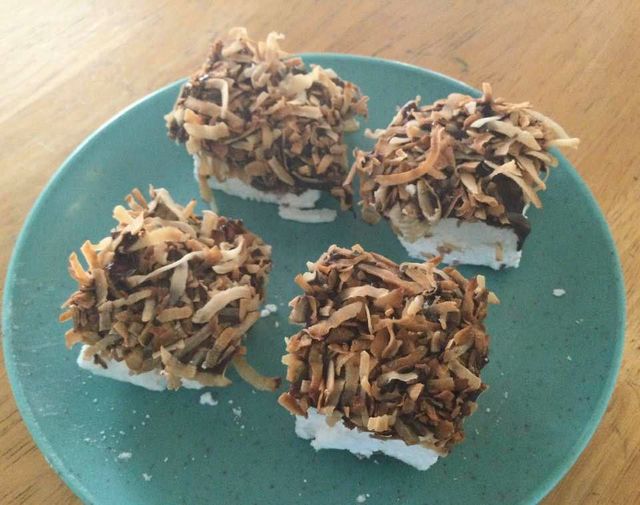
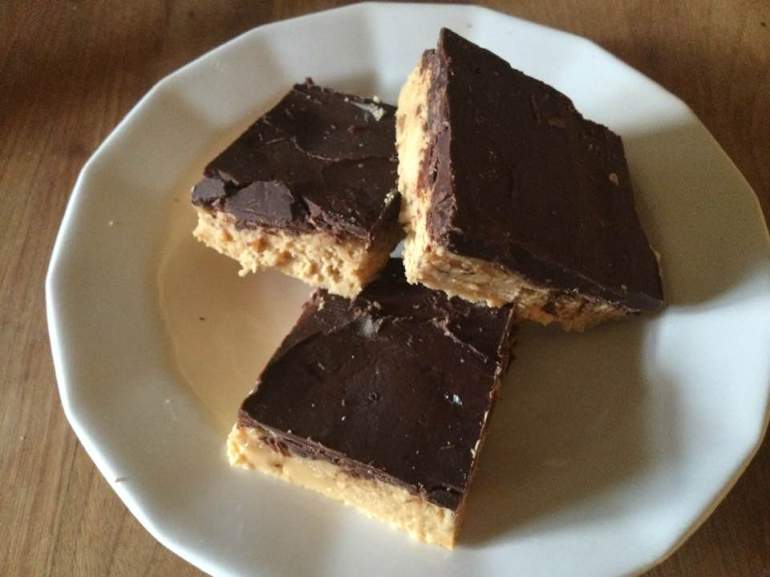
People like to flavor them with extracts like peppermint, almond or other fruity flavors. You can dip them sticky into melted chocolate and then dip/roll in crushed peppermint or coconut. Try sprinkles or other fun toppings. I did dark chocolate and toasted coconut; I loved it best with both toppings! It is a keeper and yet I am not that big of a fan of typical marshmallows; just so much better!

Karen’s Homemade Marshmallows

2 ½ Tbsp. unflavored gelatin

1 ½ cups white sugar

1 cup white corn syrup

¼ tsp. salt

2 Tsp vanilla

Confectioners sugar (maybe ½ a cup total)

Directions

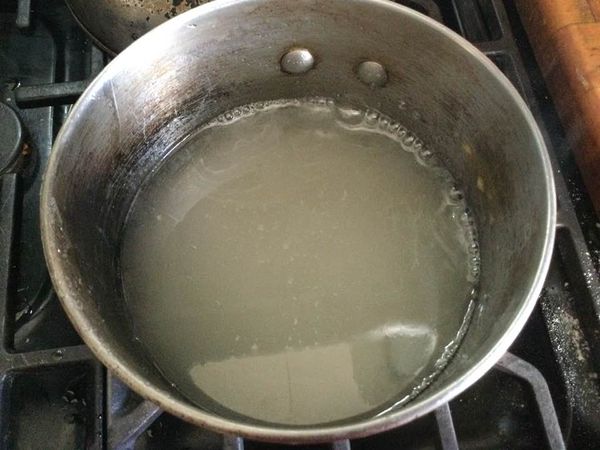
Combine gelatin with ½ cup cold water in mixer bowl; let stand 30 min. At the 20 minute point start the wet sugar pan: combine sugar, corn syrup salt and ½ cup cold water in a small heavy saucepan. Heat to dissolve sugar. Wash down sides of pan with wet pastry brush. Put on candy thermometer. Heat on high, stirring, until it reaches 240 degrees. Immediately turn off.

Turn on your stand mixer, on low and add hot sugar mix slowly and carefully to gelatin mix until blended. Then turn up to high and beat 10-15 minutes until white and tripled in volume.   If you are using a KitchenAid you will probably have it done by 10 or 11 minutes. Stop before it cools. 

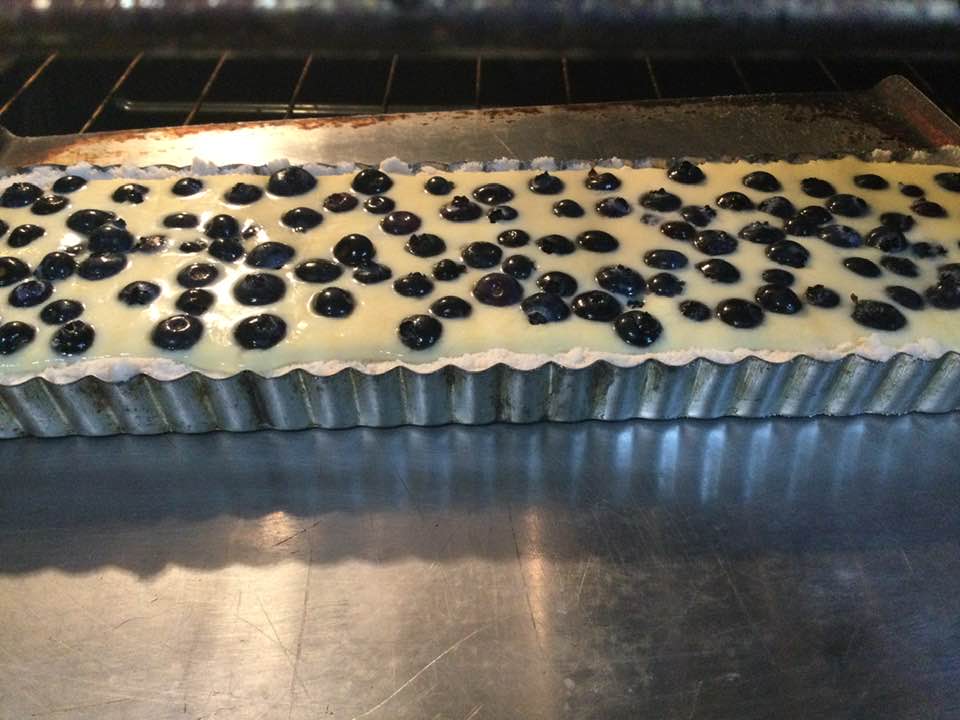
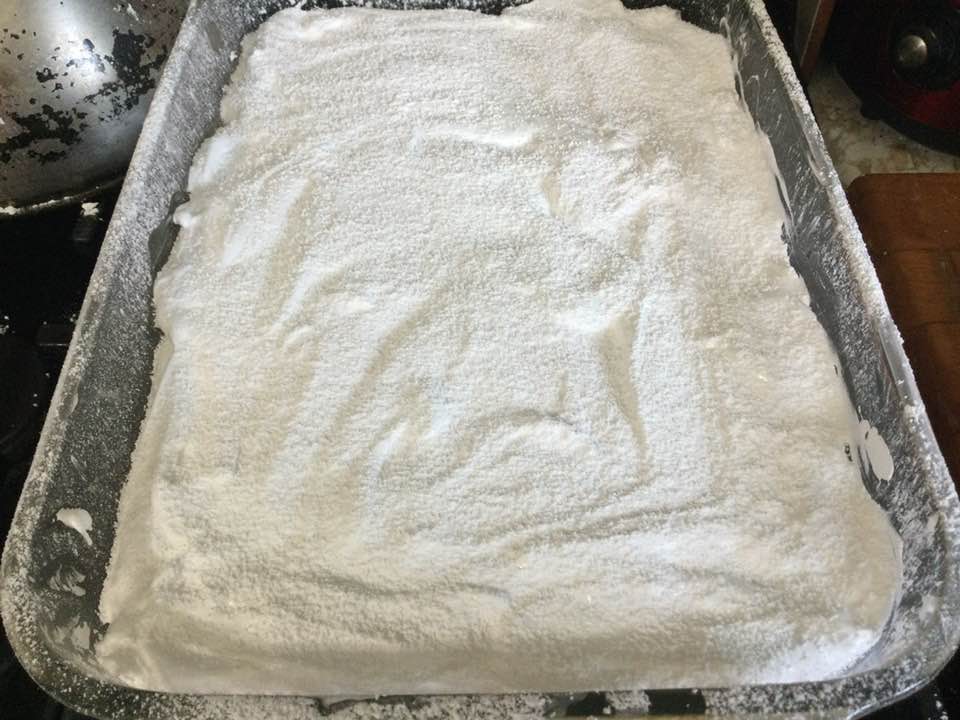
While it beats, put a decent amount of powdered sugar in 9×13 glass pan; very thick, thick sprinkle to well coat the entire inside of the pan is best. Maybe a ¼ inch thick. Pour hot sticky mixture into it. Smooth top with wet hands. Sprinkle with more powdered sugar. Let stand 8-12 hours. Longer is better.

Dump out onto powdered cutting board (this is where lots of powdered sugar put in before helps it free from pan) and cut with dry pizza wheel into rows and cubes. If tool gets sticky wash in hot water and dry before cutting more. Dip some into melted chocolate. Then dip in plain or toasted coconut. Roll them in toasted coconut. Or powdered sugar. For kids try colored sprinkles.   

You can use different flavorings instead of the vanilla. Next batch!  I stored each variety in a different container so the flavors stay distinct and it is easy to pick what I want.

These make excellent gifts wrapped in cellophane or put in baggies. Enjoy!

You could give these as a hot chocolate DIY gift; especially nice if you give homemade cocoa mix.  My ratio mixture per serving is 1 heaping Tbsp each of sugar and plain unsweetened cocoa. So put equal amounts in a jar and dip out 2 heaping tablespoons per serving. So… I heat ½ cup water with the dry stuff (Double for the two servings) and then add 1 ½ cup milk to it; heat stirring often until hot but not boiling. You can add a sprinkle of cinnamon if you like and of course some small homemade marshmallows.  This simple recipe makes 2 mugs of hot chocolate.

Buckeye Candy Bars

OMG: these buckeye candy bars are big trouble. Easy to make; 4 ingredients, not that much sugar, no baking.  TROUBLE! I can’t believe I have never made them before; where was this amazing treat hiding? They are seriously tasty and rather addictive.  And they are naturally gluten free; just no flour in these babies so no one will miss as it doesn’t belong in buckeyes.

I rarely buy peanut butter cups as I gobble them up immediately. These bars taste very close to a peanut butter cup. And they need no baking so kids could definitely make a batch all on their own.  A must make treat for anyone addicted to chocolate and peanut butter together.

The recipe is either plain or chunky peanut butter; commercial not natural peanut butter; the natural won’t work. You could make them with dark chocolate chips; I am thinking about that! They store at room temp asl long as your room isn’t too hot; I wouldn’t make these in the  hot days of summer unless you plan to keep them refrigerated.  You can cut them in small square or big ones or long bars to mimic a candy bar; what ever floats your boat.

I made a 9×9 square of them; you can easily double the recipe and make it in a 9×13 pan. It goes without saying that a box of these is a lovely gift for a dear friend!

Buckeye Candy Bars

Ingredients

1/2 stick of softened butter plus 1.5 Tsp. more for the chocolate layer

¾ cup creamy or chunky peanut butter

1.5 cups powdered sugar; sift if lumpy

6 oz of semi-sweet chocolate chips (half a bag)

Directions:

Line a 9×9 baking dish with parchment paper or wax paper. Put the half cup of butter and peanut butter in a mixing bowl; beat with electric mixer until smooth. Add in the powdered sugar gradually running the mixer on slow speed. It needs to be well combined; press into the prepared pan. Melt the chocolate chips and 1.5 Tsp. butter in microwave on low. Stir to combine. Drop blobs of chocolate over the pan and spread over the peanut butter mixture until a thin even layer is achieved. Chill at least 30 minutes before cutting into bars or squares.

Store in cool location. Lasts about a week if no one finds your stash and gobbles them up! You could wrap in heavy duty foil and freeze for a few weeks. Thaw before eating, 30-60 minutes on countertop.

Easy to double recipe and make in a 9×13 pan.  Enjoy!

Thumb Print Cookies 2.0 GF and Fabulous!

As children we each had our favorite cookies to make, this was traditionally my next older brothers’ to bake but once grown up I began to make them ‘cause they are addictively tasty.  I love it made with apricot jam, you can used chopped slivered almonds instead of walnuts for that version.  But, any flavor good quality jam will work, pick what you like.  I used two flavors this time; homemade peach jam and some store bought but excellently flavored raspberry jam. Like getting two cookies out of one batch of dough.

xmas cookies 003
xmas cookies 002

A few  Christmases ago a dear friend gave me a new cookbook “Gluten-Free Christmas Cookies” by Ellen Brown.  I have tried several recipes and all were fantastic including this one, I swapped the candied red and green cherries for jam, but you can go old school and use those freaky candied cherries. It is made with cornstarch and white rice flour; not a flour blend but you should be able to find rice flour in a gf flour department or in a Chinese grocery store. Every grocery store has cornstarch. Use the jam you like to put on your toast!

Jam Thumbprint Cookies

Ingredients:

1 ½ cup white rice flour

1 cup sifted confectioner’s sugar

½ cup cornstarch

1 tsp. xanthan gum

1 tsp. cream of tartar

Pinch of salt

2 sticks unsalted butter sliced into thin slices

1 lg egg

1 Tbsp. whole milk

1 tsp. vanilla extract

1 cup finely chopped walnuts

½ cup jam; raspberry, peach, strawberry

INSTRUCTIONS: Combine dry ingredients in a large bowl food processor, steel blade, blend briefly.  Add butter to work bowl and process off and on until it resembles coarse meal.

Combine egg, milk and vanilla in a small bowl; whisk. Drizzle into the work bowl, pulse about 10-12 times until it forms a stiff dough.  If it doesn’t come together, add more milk a tsp. at a time. I added a tsp. more of milk to get the dough to form up.

Chill the dough for 15 to 20 minutes.

Heat oven to 350 degrees. Put racks in the middle of the oven. Place chopped walnuts in a wide shallow bowl and roll 1 1/2 inch balls of dough.  Roll them in the chopped walnuts, place on a parchment paper lined baking sheet.  Press an indent in with a finger and fill with about ½ tsp. jam.  Bake 14-15 minutes, until just firm but not browned.  They will be very delicate to the touch.  Let cool 2-3 minutes on sheet before carefully moving them to a cooling rack using a metal pancake turner. I bumped a couple and they just fell apart on the sheet; very fragile while hot.  They will solidify once they cool.  I store mine in cookie tins or Tupperware containers.  They won’t last as long as wheat flour based cookies but they get snapped up fast so that shouldn’t be a problem.  I supposed you could freeze them for a week or two if necessary.

They are not too sweet and so delicate, great with a cup of tea or coffee.  As good, if not better, then when I made them with all purpose wheat flour years ago before I had to go gluten free.  Your family will be amazed that they are gf, no one you serve them to will ever guess.  Totally tasty and fun to make with your kids! Enjoy.

This is a reposting of the same recipe I posted back in 2016. Minor text changes.

Nut Tassies….Tasty Addiction

Nut tassies are a local favorite here in eastern Pennsylvania. They look like a tiny pecan pie, about the size of one giant bite! I have eaten them at many people’s homes, heavenly delish and best made with pecans.  In all fairness, I never made them when I could still eat all purpose white flour. Perhaps it is that I was able to just snag them off a cookie plate at someone’s holiday party. Now that such was no longer a possibility, I started looking and found a great recipe on food.com, a classic tassie recipe complete with cream cheese dough pie crust and a filling almost identical to the traditional filling. And it was gluten free for folks like me…eureka!

I whipped up a batch of these gf tassies for a family Christmas gathering.  Even after chilling the dough my crust was very crumbly and with trepidation I rolled a ball a bit over an inch in diameter and it held together. Then I dropped it in my mini muffin tin and used my finger to spread it out and up the sides.  It worked and the tassies were simply delish!

As to the pecan filling, I didn’t chop my nuts really fine; left some in chunks to give a bigger texture which I prefer. The filing is so simple; chop the nuts, then dump the sugar and eggs in a mixing bowl, add the softened butter and the vanilla and nuts; stir and it is ready to spoon into the little crust cups you just created.

Here is the link to the recipe I used: http://www.food.com/recipe/gluten-free-pecan-tassies-105371

They are easy to make and totally yummy to devour.  I find it takes me 2-3 bites to down one of these treat.  Happy baking folks!

2-nut-tassies

Originally posted December 2016. Minor text changes.

Chocolate Chippers to Cheer About!

Years ago I searched for the holy grail of GF baking: home made chocolate chip cookies.  Bet you thought I was going to say some sort of bread!  That’s another post entirely.  Anyway, when I went GF almost 8 years ago I made a batch of chocolate chippers that were gf. They were rather sweet and didn’t taste all that great.  I keep looking for something that would approximate the real deal cookies I loved all my life.  Recipes I came across seemed to require that I buy weird vegetable shortenings or use Crisco. I draw the line at Crisco. Or they used odd flour blends and I feel it’s just not worth it to me to add another flour mixture just for one cookie recipe.  So I had not made chippers in years.  Missed them….desperately.  Store ones I tried were small, hard, drab in flavor and incredibly pricey. Until I went to King Arthur’s website and looked in their cookie recipes.  There it was: cookies made with the same flour blend I use and made with butter, one of my few chosen shortenings.  Glowing reviews and advice; said to make them and refrigerate a day or better yet, freeze them formed and ready to bake in a few minutes.  Comments about how much they are like Tollhouse cookies, great texture and flavor.  Bingo, this seemed so hopeful. So…Less than a week later I made up a batch; Goal scored; perfect brown sugar nutty flavor and texture; not too hard or too soft. I am a happy chocolate chip cookie lover at last! Lots of you probably bake chocolate chip cookies for Christmas so I decided to reblog this cookie so you could easily make a batch.

spicy-tomato-jam-005

When I first made them I put some in my cookie jar, closed it tightly and 4 days later those cookies (what remains) were still delicious. That is pretty long for a gluten free baked good. By the fifth afternoon my last cookie in there was getting soft so suggest not holding them for more than 4 days in a jar. A big bonus I love isthat they can be frozen ready to bake in like 12 minutes.

<img

This is my go to basic chocolate chip cookie recipe; none other will do. I love that I can freeze them ready to bake and in 12 minutes I have warm fresh gooey cookies!

So, if you are still looking for a great gf chocolate chip cookie look no further:

http://www.kingarthurflour.com/recipes/gluten-free-chocolate-chip-cookies-recipe.  Enjoy!

Originally published in 2016. Minor text changes.