Peach Custard Pie with Cinnamon Crumble Crust

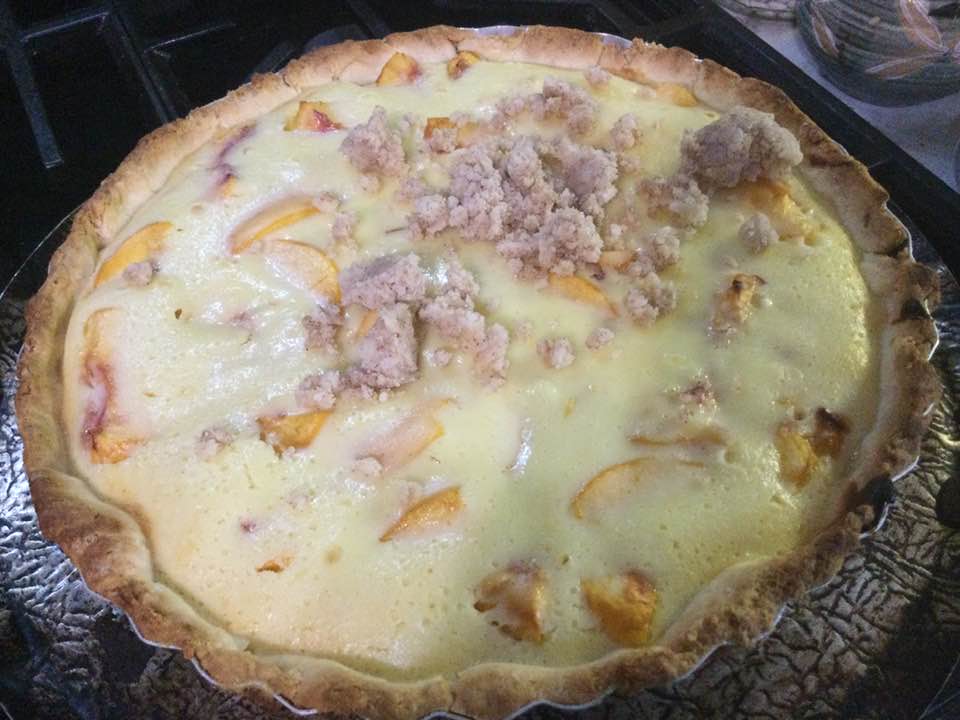
Hey, it is STILL peach season!! But not for long and those last peaches tend to be less than the best…so get baking now! This recipe is a translation of a pie made with all purpose flour that I saw somewhere, an adaptation of a Good Housekeeping recipe to make it gluten free and with cinnamon crumbs. I used my favorite gf crust and the crumbs I use: with the addition of cinnamon in the crumbs. I don’t know why I never added cinnamon before; it was inspired I guess by this recipe. We enjoyed it yesterday afternoon, still warm from the oven. I actually like it even better today after 24 hours. It is so very peaches and cream! Just a lovely classic combination. Years ago I made a peach cheese tart which was delish but has less peaches and that is made with cream cheese. This creamy filling is a simple mixture of plain Greek yogurt, sugar, egg yolks and vanilla which is healthish by the nature of the yogurt. I froze the egg whites for angel food cake this fall. The construction is very easy; no fancy decorating. Just a treat to eat, no need for ice cream; the cream is in there!

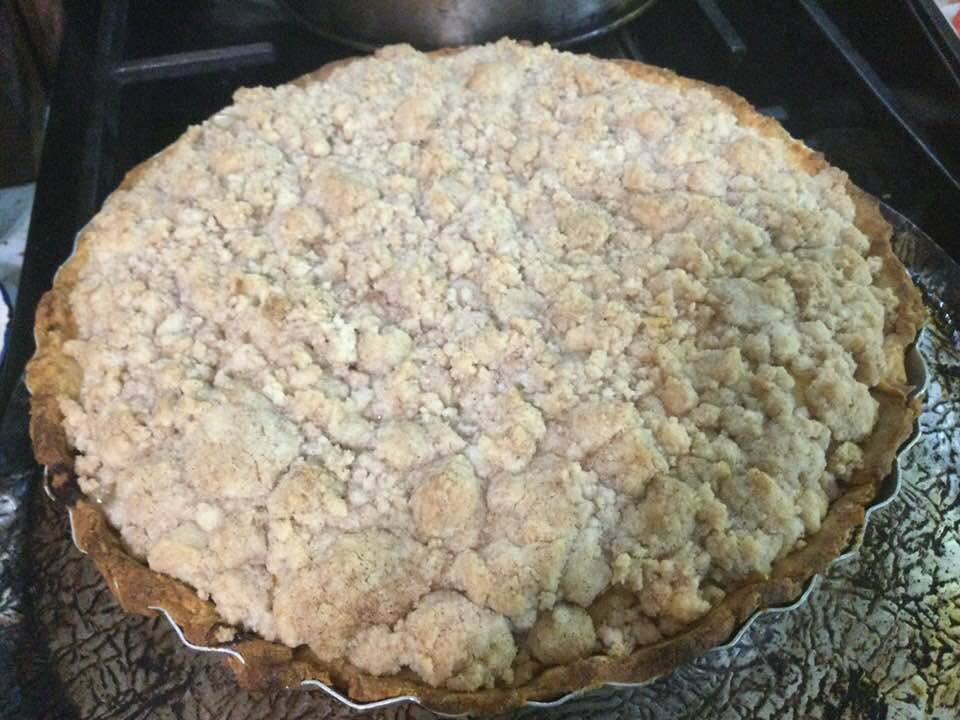
Notes: I used a lot of crumbs; you can cut back to half that recipe of crumbs if you like. I suppose you could use canned peaches but I wouldn’t unless it was the dead of winter…. I doesn’t look like much when you put it in the oven to do the first bake but man, it sure does get pretty with the crumbs on top. Nectarines would be n ice; no peeling required. Enjoy!

Peach pie, no crumbs, before first baking
Hot out of oven, just starting to put crumbs on.
All crumbed up and ready to bake.
Wow; that’s a lot of crumbs; we love it that way but you could use far less if you wanted; even just a cup of crumbs…

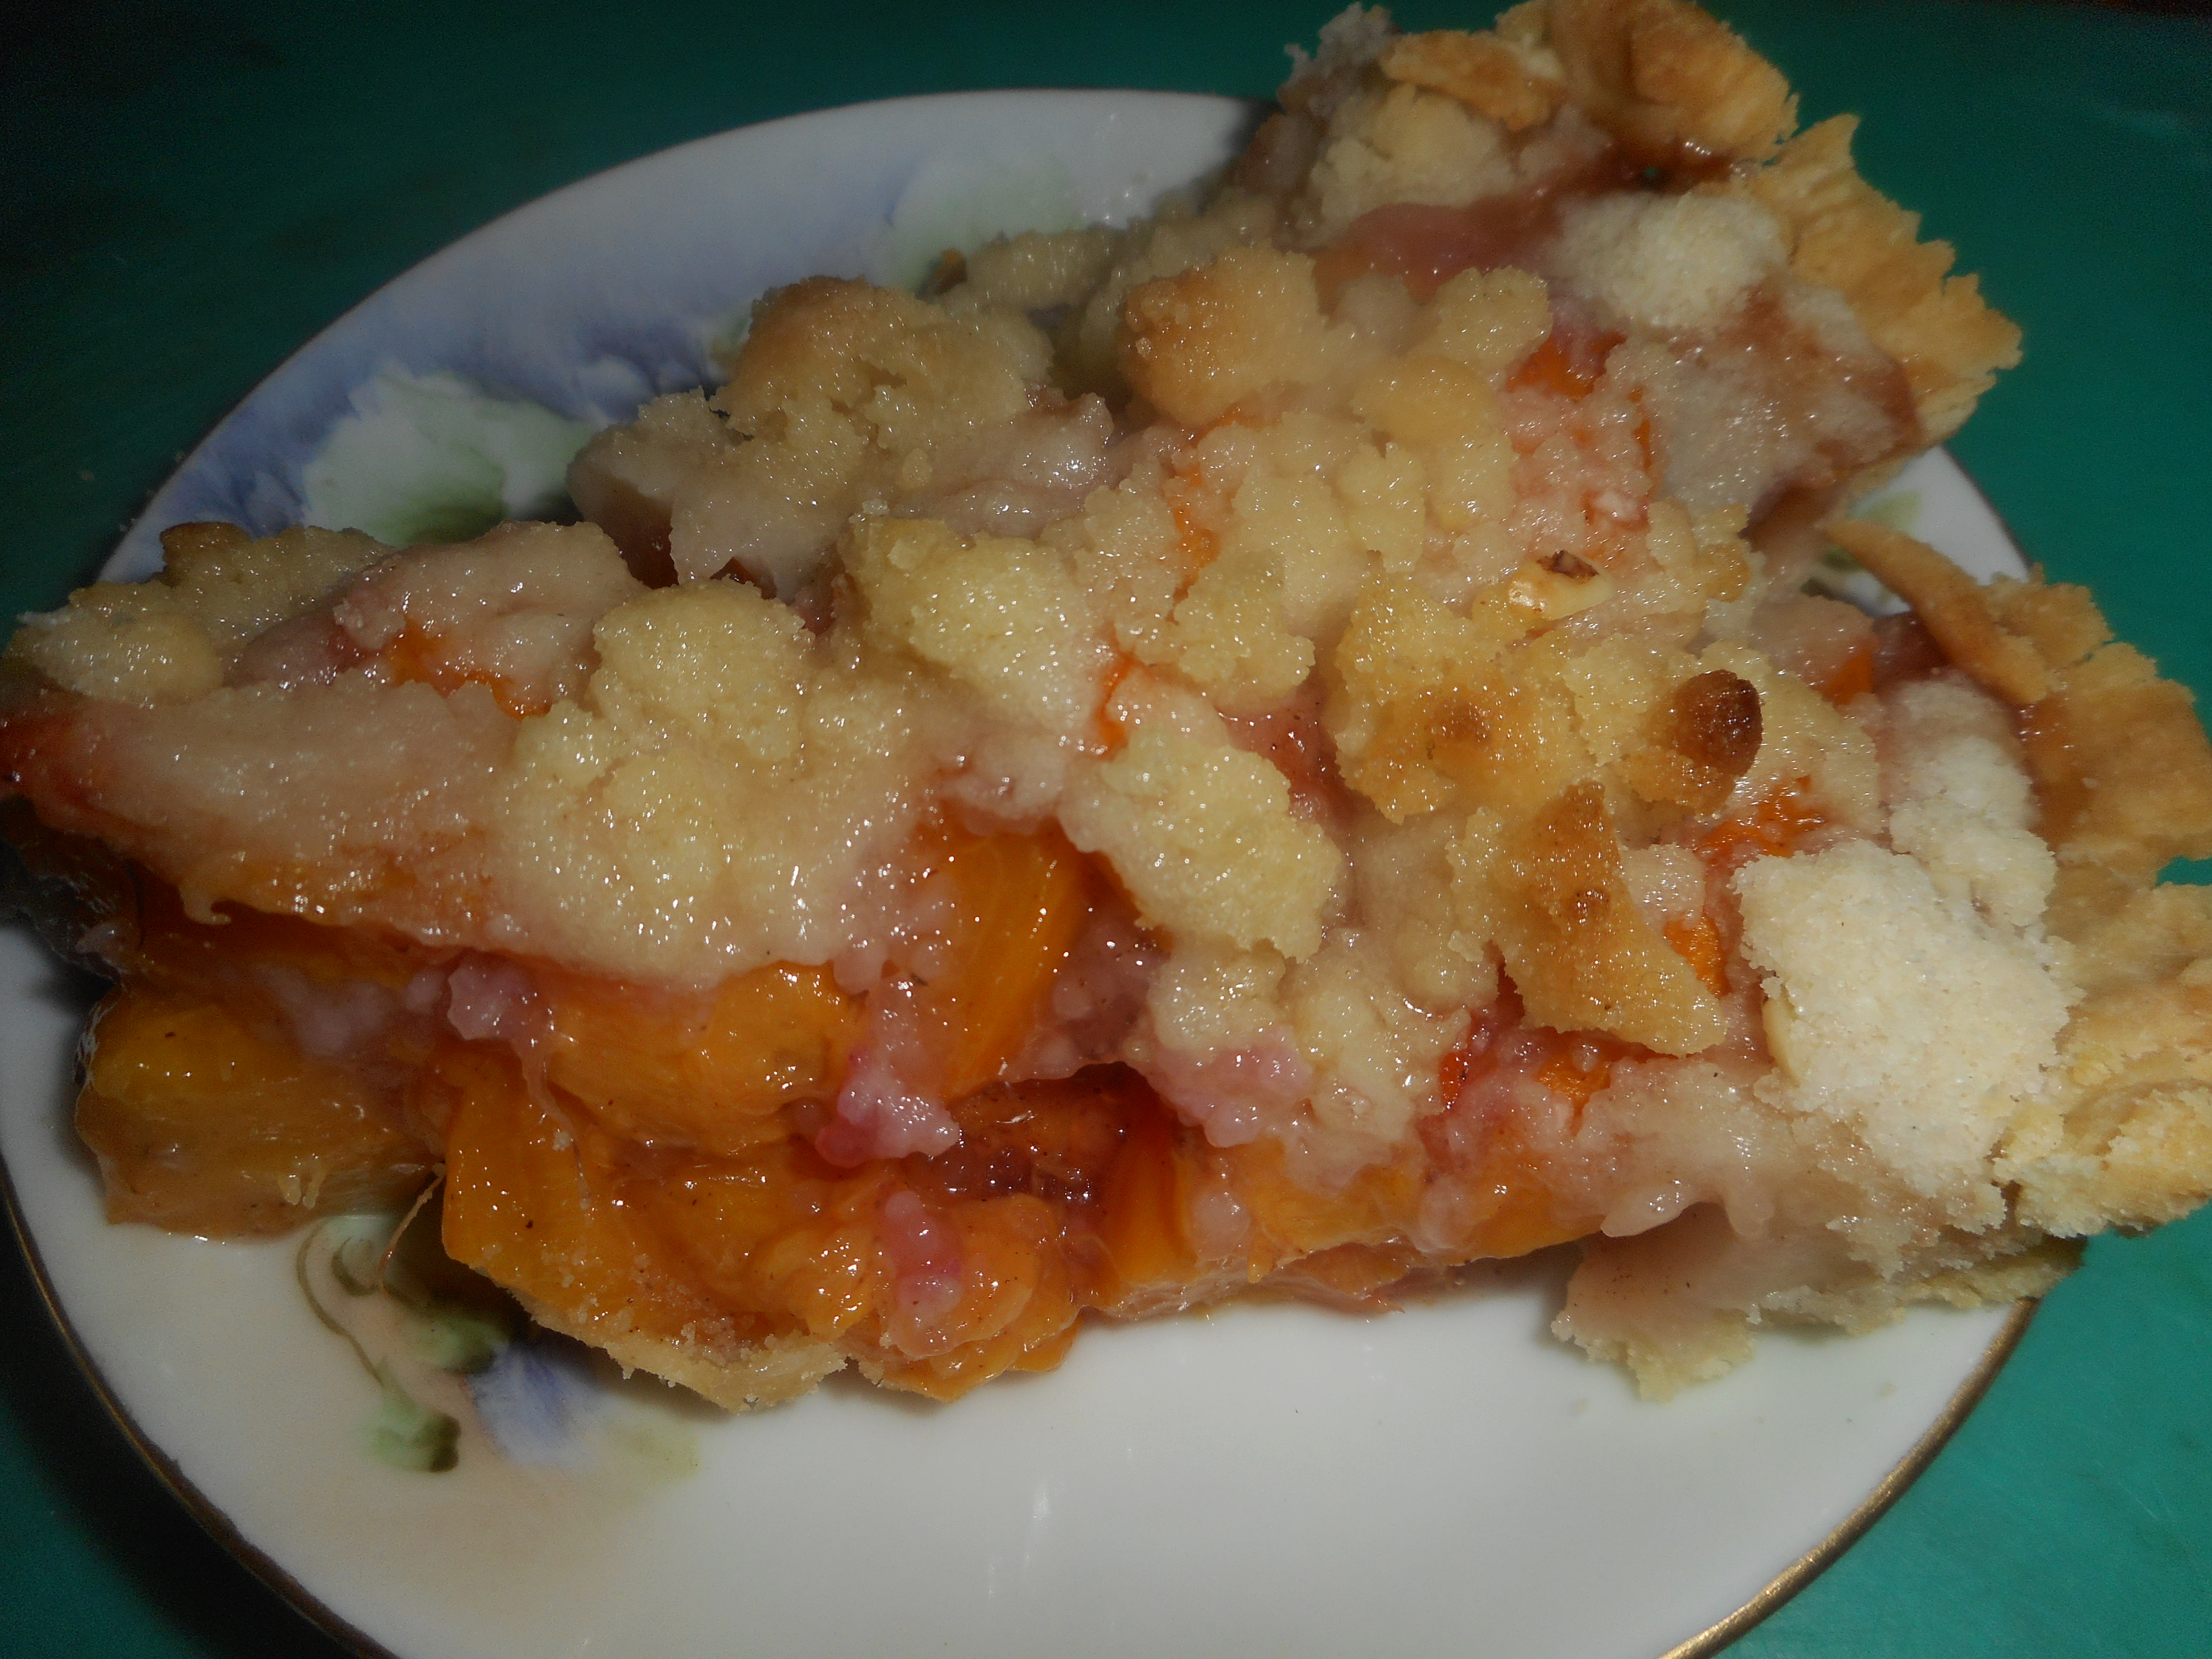
Angie’s Peach Custard Pie

CRUST:

1 c plus 2 tbsp brown rice flour mix (at bottom of recipe)

2 tbsp sweet rice flour

1 Tbps granulated sugar

½ tsp xanthan gum

¼ tsp salt

6 Tbps cold butter cut into 6 chunks

1 large egg

2 tsp fresh orange or lemon juice

Spray 9 inch metal pie pan with cooking spray, dust with white rice flour.

Mix dry ingredients in bowl of stand electric mixer.  Add butter and mix until crumbly and resembling coarse meal.  Add egg and juice.  Mix until it comes together into big chunks.  Shape into a ball with your hands. Put it on a crust sized piece of wax paper (14 x 14 inches more or less), flatten the crust ball some; put on top of it another piece of wax paper and chill it all in your fridge 15-20 minutes while you prepare the filling.

Filling:

3 1/2 cups sliced fresh peaches, peeled and cut in half inch slices

Mix in a medium bowl the following ingredients:

1 cup plain Greek yogurt, I prefer whole milk, and let it warm up a bit first

2/3 -3/4 cup sugar, sweeter if you like it that way or if peaches are not fully ripe

3 egg yolks, room temp.

1 1/2 tsp. pure vanilla extract

1/4 cup brown rice mixture flour

Crumb topping

¾ c brown rice flour mix

½ c sugar

½ tsp xanthan gum

1/2 tsp. cinnamon

1/3 c cold butter cut into six chunks

Put all five ingredients in the same mixing bowl you made the bottom crust in and mix well with mixer paddle until crumbs form.

+++++++++++++++++++++++++++++++++++++

Directions: Turn oven on to 425 degrees. Put the oven rack on the bottom shelf position. Once the crust is chilled some but not hard, Roll it out and fit into the pie shell. Trim off excess crust. I like to chill those crumbs of crust and roll out to make a jam filled hand pie. Anyway, put the sliced peaches in the pie shell in a fairly even layer, as the filling and crumbs will hide it there is no need for a pretty design. Then pour the filling over it and bake for 30 minutes. I turned down my oven to 375 after 20 minutes. I am considering lowering the temp to start at to 400 degrees; my crust edges got too browned for my liking. While it bakes those 30 minutes make the crumbs. Carefully remove the pie from the oven and sprinkle the top of the pie with crumb mix;  I used all of it but you could use a bit less if you don’t want a thick crumb layer. Bake an additional 15-20 minutes until crumbs are browned. Let stand at least 1 to 11/2 hours before slicing and serving. Enjoy!

Thickly crumbed, still warm and lush with fresh peach flavor and that creamy filling all around and in every bite!

Peach Crumb Pie

It is near the peak of peach season so get some peaches and whip up a delicious gluten free peach pie.   This is an easy pie to create.  Slice and dump together the filling, crumb topping made in unwashed mixer bowl you used for bottom crust. You can store any leftover crumb mixture in a sealed container in the fridge; it keeps a few weeks.  I let my mix spin a few more moments in the stand mixer for extra big crumbs for this pie; love that look. If you prefer a solid crust just double the crust part and top your pie with it.  Be sure to cut some slits for steam escape! And if you don’t have time, buy a ready-made crust but homemade is always best.

Please make every effort to use local fruit; can get peaches at orchards like Bechdolt’s near Springtown, at most farm stands and at farmer’s markets; one on Saturdays in Easton or Sunday’s in Hellertown.  This pie really showcases great tasting peaches. If you use lousy peaches your pie will taste crummy. But, here’s the thing: store peaches can be poor in flavor and texture due to improper chilling so I strongly suggest you buy only locally grown, sweet, ripe peaches to make your pie.  I love when they have a pink blush; it makes the pie so pretty and perhaps even tastier!

peaches      raspberry-jam-014

To peel easily; heat 3 inches of plain water, drop the peaches gently in 4-5 at a time and cook them 2-3 minutes.  Use the lesser time for more ripe peaches. Allow to cool somewhat before peeling.  I like to do that over a bowl to catch the juices as I slice each peach.

Bake and enjoy late summer in a pie in just a few minutes of work.  Don’t eat it hot; it should be cooled to just warm if you like it so or room temperature or even a bit chilled.  You could certainly serve this with vanilla ice cream.  And this pie works perfectly with fresh nectarines, bonus: no peeling required!


Angie’s GF Peach Crumb Pie

Crust:

1 c plus 2 tbsp brown rice flour mix (at bottom of recipe)

2 tbsp sweet rice flour

1 Tbps granulated sugar

½ tsp xanthan gum

¼ tsp salt

6 Tbps cold butter cut into 6 chunks

1 large egg

2 tsp fresh orange or lemon juice

Spray 9 inch metal pie pan with cooking spray, dust with white rice flour.

Mix dry ingredients in bowl of stand electric mixer.  Add butter and mix until crumbly and resembling coarse meal.  Add egg and juice.  Mix until it comes together into big chunks.  Shape into a ball with your hands. Put it on a crust sized piece of wax paper (14 x 14 inches more or less), flatten the crust ball some; put on top of it another piece of wax paper and chill it all in your fridge 15-20 minutes while you prepare the filling.

Filling:

6 cups sliced fresh peaches, peeled and cut in thick slices, place in medium bowl

Mix with:

½ cup sugar

1/4 tsp. cinnamon (optional)

3-4 Tbsp. quick tapioca

Stir in 1 tbsp. fresh lemon juice and ¼ tsp. almond extract

Let stand while you prepare the crust.

Roll out pie crust in a pie bag or between two sheets of wax paper, try to get the thickness even, no thick middle! Peel off one side of paper and place in pie pan, centered.  Remove other slice of wax paper.  Crimp edges all around.  Fill with fruit mixture.

Crumb topping

Put all four ingredients in the same mixing bowl you made the bottom crust in and mix well with mixer paddle until crumbs form. If you let them go extra long you get big fat crumbs if you want that look and I did!

¾ c brown rice flour mix

½ c sugar

½ tsp xanthan gum

1/3 c cold butter cut into six chunks

Sprinkle the top of the pie with crumb mix; use as much as you like.  I like about a heaping cup of the mixture.  Up to your personal taste… It sinks partially into the fruit mixture and adds lots of sweetness and eye appeal.

Bake in a preheated 400 degree oven for 45-50 minutes until bubbly and the crumb crust is light brown.  Cool at least 1 to 4 hours before serving at room temperature.  I think it is best served the same day you make it, or no more then 12 hours after baking for optimal flavor.  The crumbs will get soggy if too much time passes. Mine was still very good the next day; just not as great as when really fresh.

mom's new watch 013

Note: if you find your bottom crust is not browning enough bake it empty at 375 degrees for ten minutes before filling it with the fruit.  I have a bottom heat pizza style oven which gives me perfect pie crust so I don’t ever have pale pie crust.

Brown Rice Flour Mix (Same as King Arthur GF All purpose blend)
2 c brown rice flour (finely ground)

2/3 c potato starch – Not potato flour!

1/3 c tapioca flour

Note: This post was originally blogged by me the late summer of 2015. Minor changes made.

Zucchini Corn Pasta

Summer is high and the produce is plentiful. Folks who are tired of the same old stuff made out of y our cherry tomatoes and squash should consider this dish. And it is an excellent use of corn on the cob; cooked and cut off. A certain famous lady chef whose name is Padma is credited with this recipe. I saw it on fb but they added corn and cherry tomatoes. I actually couldn’t find the recipe; link broken so I recreated it for myself. You can modify it as you like; my goddaughter tried it with roasted poblano peppers in it! Nice idea. Mine was lushly buttery and the corn was perfect. Every time I bit into a tomato it burst in my mouth into a delightful tomato treat.

Don’t skip the squash; it isn’t that squashy tasting; the other flavors are there and it is a symphony of summer produce. Good quality fresh sweet corn is critical. Use more cheese, or less, use vegan cheese! Fake butter if you must. Or Swap butter for olive oil if you want but I believe the butter to be a critical flavor ingredient.  Let me know what variations you try!

I served it with oven baked chicken thighs cooked in paprika, lemon, onion and garlic. And some great homemade focaccia and my garden steamed beans. Any summer protein will be awesome with this.

I just added the corn.
Tomatoes on board!
Fresh pasta added, I know it looks blah but trust me it was delish!

Zucchini Corn Pasta

Ingredients

4 cups shredded summer squash; I used a mixture of 50/50 zucchini and trombocini Italian long squash

2 ears of fresh corn

2 or 3 shallots; about 1/3 cup = chopped

4-6 tbsp butter

1 tbsp. EVOL

2 garlic cloves

1 1/3 cup cherry tomatoes

½ -2/3 cup freshly grated parmesan cheese

½ lb fettucine (gf for me!)

Directions:

Shred squash on large hole of grater; put in a strainer and let drain for 15-45 minutes.

Heat a big pot of water for the pasta. Steam corn in ¼ cup water in covered large frying pan for 6-7 min. Let cool; you are going to slice off the corn with a large sharp knife.

Cook your pasta one minute less than the directions on the packaging. I used some fresh pasta from Aldi’s so I only cooked it 4-5 minutes. Time it to be done about when you add the cherry tomatoes to the sauce.  Save ½ cup of the pasta water to thin the sauce.

Chop shallots, add to the big frying pan from the corn which you dumped out the water and heated with the olive oil and 2 tbsp of the butter. Cook the shallots 3-4 minutes.  Add the summer squash; I added the trombocini first as it cooks a tad longer than zucchini. Add 2 tbsp butter and 2 good sized garlic cloves. Cook 4 or 5 minutes, stirring to make sure nothing burns. While it cooks cut the corn off the cob. Add the corn, stir well, add the cherry tomatoes. Cook 2-3 minutes until they are warmed. Add the parmesan cheese. Stir well, add some hot pasta water and two more tbsp of butter (if desired) to thin it to your taste. Add salt and pepper as you wish. Eat immediately. Enjoy!

Note: I whipped this up on the fly so my cooking times are rough estimates. Next time I make it I will watch the time and update this recipe as necessary.

With oven baked chicken thighs, fresh focaccia and my garden beans.