
Subscribe to continue reading
Subscribe to get access to the rest of this post and other subscriber-only content.


Subscribe to get access to the rest of this post and other subscriber-only content.
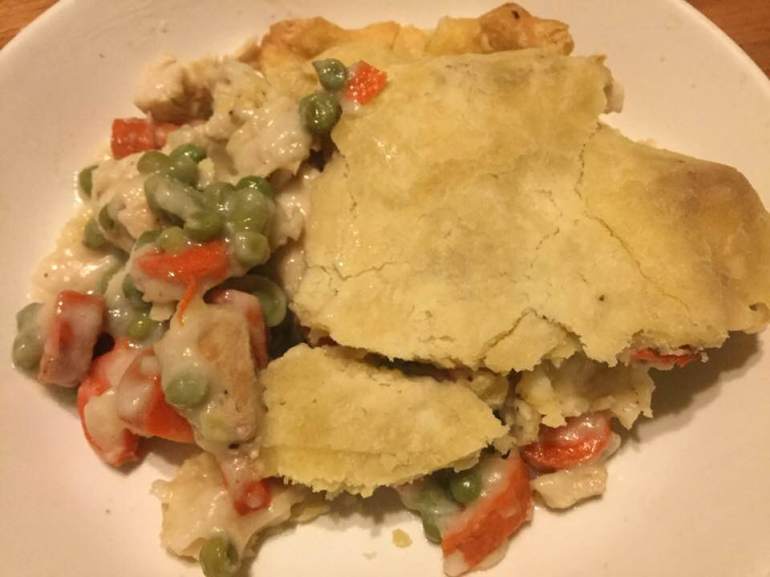

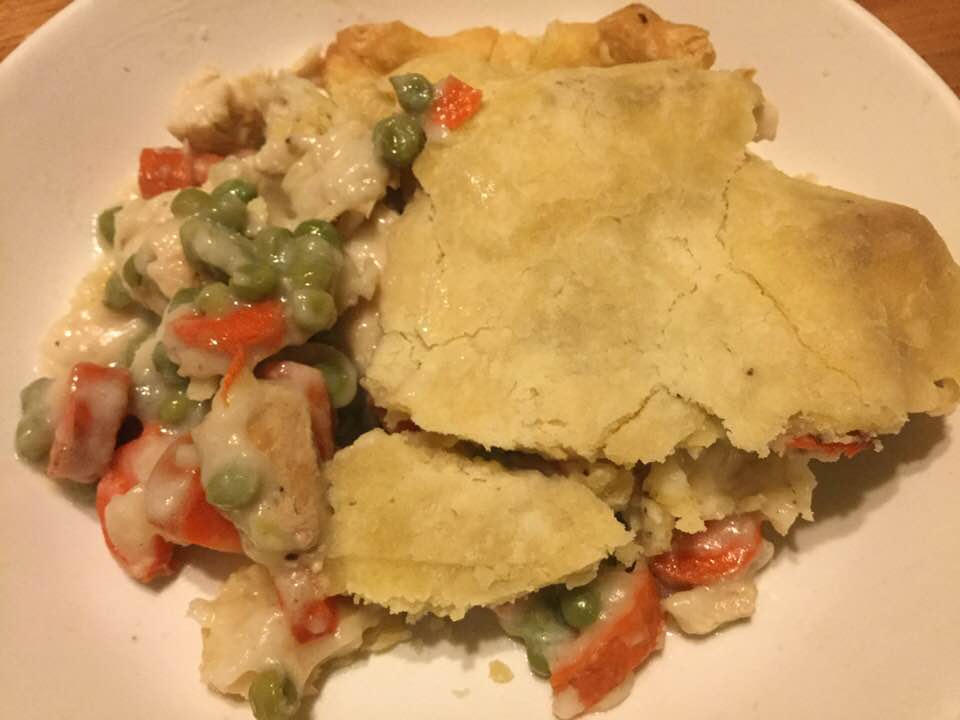
If you have any leftover chicken from a roast or rotisserie bird this is an excellent way to use it up. You will need two cups of chicken to make this delectable entrée: chicken pot pie. My version tracks pretty close to that you can find in a 1970’s Betty Crocker Cookbook. Gluten free though…because I must! You can toss it together in about 30 minutes and it bakes in 35 more. Your tummy will thank me. I put some celery seeds in the pie crust for extra flavor. I generally make it with just a top crust which is less calories. If you want the full deal; double the crust ingredients and make a bottom crust too. Your creation will be a delicious and substantial meal for sure! This crust bakes up flaky and delicate; perfection for a pot pie.
Notes: you can use light or dark meat or combo. I used baby carrots this time; cut them across into 4 little nibs; they were organic and had a delicious tender flavor.
Chicken Pot Pie
Crust:
1 c plus 2 Tbsp. brown rice flour mix (at bottom of recipe)
2 Tbsp. sweet rice flour
1 tbsp. sugar (You will never know it is in there; it makes the crust more flakey)
½ tsp xanthan gum
¼ tsp salt
6 Tbsp. cold butter cut into 12 small chunks
1 large egg
2 tsp fresh orange or lemon juice
Directions: Mix dry ingredients in bowl of stand electric mixer. Add butter and mix until crumbly and resembling coarse meal. Add egg and juice. Mix until it comes together into big chunks. Shape into a ball with your hands. Put it on a crust sized piece of wax paper (14 x 14 inches more or less), flatten the crust ball some; put on top of it another piece of wax paper and chill it all in your fridge 15-20 minutes.
Pie filling
1/3 cup butter: I used ¼ cup plus some canola oil to reach 1/3 cup
1/3 cup white rice flour (or another gf flour)
½ cup finely chopped onion
½ tsp. sea salt
¼ tsp. black pepper, freshly ground
1¾ cup good quality gluten free chicken broth
2/3 cup whole or two percent milk
2 cups diced cooked chicken
4 large carrots, diced or 16 plus baby carrots
¾ cup frozen peas (or a ten-ounce bag of frozen carrots and peas)
½ to 1 tsp. celery seeds (optional)
Heat butter/oil in large frying pan, add onion, cook 5-7 minutes until soft and translucent. While it cooks, cook the diced carrots for 4-5 minutes in a ¼ cup of water in a saucepan, lid on. Then turn off the heat, uncover it and throw in peas, set aside.
Heat the oven to 425 degrees.
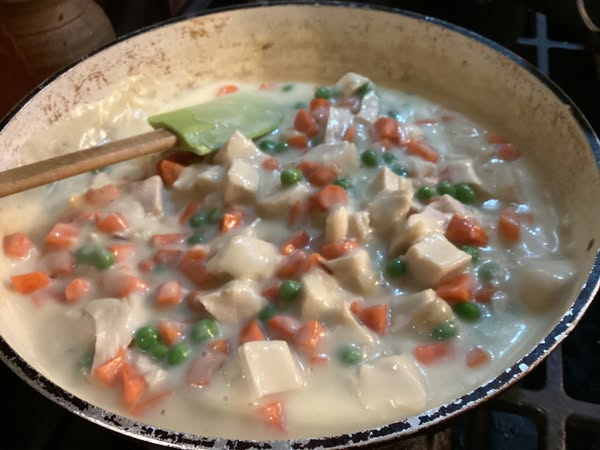
Add flour, salt and pepper to the fry pan with the butter and onions, cook 2-3 minutes, stir often. Add broth (I held back about 2 tbsp. to make sure it wasn’t watery) and while it heats keep stirring. Add the milk when the mixture is hot but not boiling, stir well until it boils and then let it boil one minute, still stirring. Add the chicken and then the drained carrots and peas, Stir well. Add rest of broth if needed.
Roll out the pie crust thick; just big enough to cover the top of your 9 inch pie pan [about 11 inches] (I always use a glass pan but I am pretty sure you can use a metal one). I like to roll it just 2/3 of the way out and then sprinkle with about ½ -1 tsp. celery seeds. Roll it the rest of the way and the seeds will be embedded in the crust. I like the subtle flavor they add, a touch of really old-fashioned tastiness my mom would approve of!
Pour the hot chicken mixture into the pie pan and top with the crust. Make sure no crust hangs down; trim to look nice. If you want to go super rich just double the crust recipe and roll half so you can put a bottom crust in before you pour in the filling. Top with your celery seed crust, seal to bottom crust (if you used one) and do cut a few gashes for venting… place pie on a pie drip catcher. My pie pan is always very full, and that pie drip pan is wonderful for keeping the filling from dripping on my oven. You could use a cookie sheet or a sheet of aluminum foil to catch drips.
Bake 30-35 minutes until crust is light brown and the pie is bubbly.
Let the pie cool five to ten minutes before serving.
All you need is a salad, and you have a wonderful balanced meal. Enjoy!
Brown Rice Flour Mix (same as King Arthur basic blend)
2 c brown rice flour
2/3 c potato starch
1/3 c tapioca flour
The crust is from Annalise Roberts’ great cookbook: Gluten-Free Baking Classics.


If you have any leftover turkey still lurking in the freezer this is an excellent way to use it up. You will need two cups of turkey to make this rib sticking entrée: turkey pot pie. My version tracks pretty close to that you can find in a 1970’s Betty Crocker Cookbook. Gluten free though…cause I must! You can toss it together in about 30 minutes and it bakes in 35 more. Your tummy will thank me. I put some celery seeds in the pie crust for extra flavor. I generally make it with just a top crust which is less calories. If you want the full deal; double the crust ingredients and make a bottom crust too. Your creation will be a delicious and substantial meal for sure!
Notes: you can use light or dark meat or combo. I used baby carrots this time; cut them across into 4 little nibs; they were organic and had a delicious tender flavor.


Angie’s Turkey Pot Pie
Crust:
1 c plus 2 Tbsp. brown rice flour mix (at bottom of recipe)
2 Tbsp. sweet rice flour
1 tbsp. sugar (You will never know it is in there; it makes the crust more flakey)
½ tsp xanthan gum
¼ tsp salt
6 Tbsp. cold butter cut into 12 small chunks
1 large egg
2 tsp fresh orange or lemon juice
Directions: Mix dry ingredients in bowl of stand electric mixer. Add butter and mix until crumbly and resembling coarse meal. Add egg and juice. Mix until it comes together into big chunks. Shape into a ball with your hands. Put it on a crust sized piece of wax paper (14 x 14 inches more or less), flatten the crust ball some; put on top of it another piece of wax paper and chill it all in your fridge 15-20 minutes.
Pie filling
1/3 cup butter: I used ¼ cup plus some canola oil to reach 1/3 cup
1/3 cup white rice flour (or another gf flour)
½ cup finely chopped onion
½ tsp. sea salt
¼ tsp. black pepper, freshly ground
1¾ cup good quality gluten free chicken broth
2/3 cup whole or two percent milk
2 cups diced cooked turkey
4 large carrots, diced or 16 plus baby carrots
¾ cup frozen peas (or a ten ounce bag of frozen carrots and peas)
½ to 1 tsp. celery seeds (optional)
Heat butter/oil in large frying pan, add onion, cook 5-7 minutes until soft and translucent. While it cooks, cook the diced carrots for 4-5 minutes in a ¼ cup of water in a saucepan, lid on. Then turn off the heat, uncover it and throw in peas, set aside.
Add flour, salt and pepper to the fry pan with the butter and onions, cook 2-3 minutes, stir often. Add broth (I held back about 2 tbsp. to make sure it wasn’t watery) and while it heats keep stirring. Add the milk when the mixture is hot but not boiling, Stir well until it boils and then let it boil one minute, still stirring. Add the turkey and then the drained carrots and peas, Stir well. Add rest of broth if needed.
Heat the oven to 425 degrees.
Roll out the pie crust thick; just big enough to cover the top of your 9 inch pie pan [about 11 inches] (I always use a glass pan but I am sure you can use a metal one). I like to roll it just 2/3 of the way out and then sprinkle with about ½ -1 tsp. celery seeds. Roll it the rest of the way and the seeds will be embedded in the crust. I like the subtle flavor they add, a touch of really old-fashioned tastiness my mom would approve of!
Pour the turkey mixture into the pie pan and top with the crust. Make sure no crust hangs down; trim to look nice. If you want to go whole hog double the crust recipe and roll half so you can put a bottom crust in before you pour in the filling. Top with your celery seed crust, seal to bottom crust (if you used one) and do cut a few gashes for venting… place pie on a pie drip catcher. My pie pan is always very full, and that pie drip pan is wonderful for keeping the filling from dripping on my oven.
Bake 30-35 minutes until crust is light brown and the pie is bubbly.
Let the pie cool five to ten minutes before serving.
All you need is a salad, and you have a wonderful balanced meal. Enjoy!
Brown Rice Flour Mix (same as King Arthur basic blend)
2 c brown rice flour
2/3 c potato starch
1/3 c tapioca flour
The crust is from Annalise Roberts’ great cookbook: Gluten-Free Baking Classics.
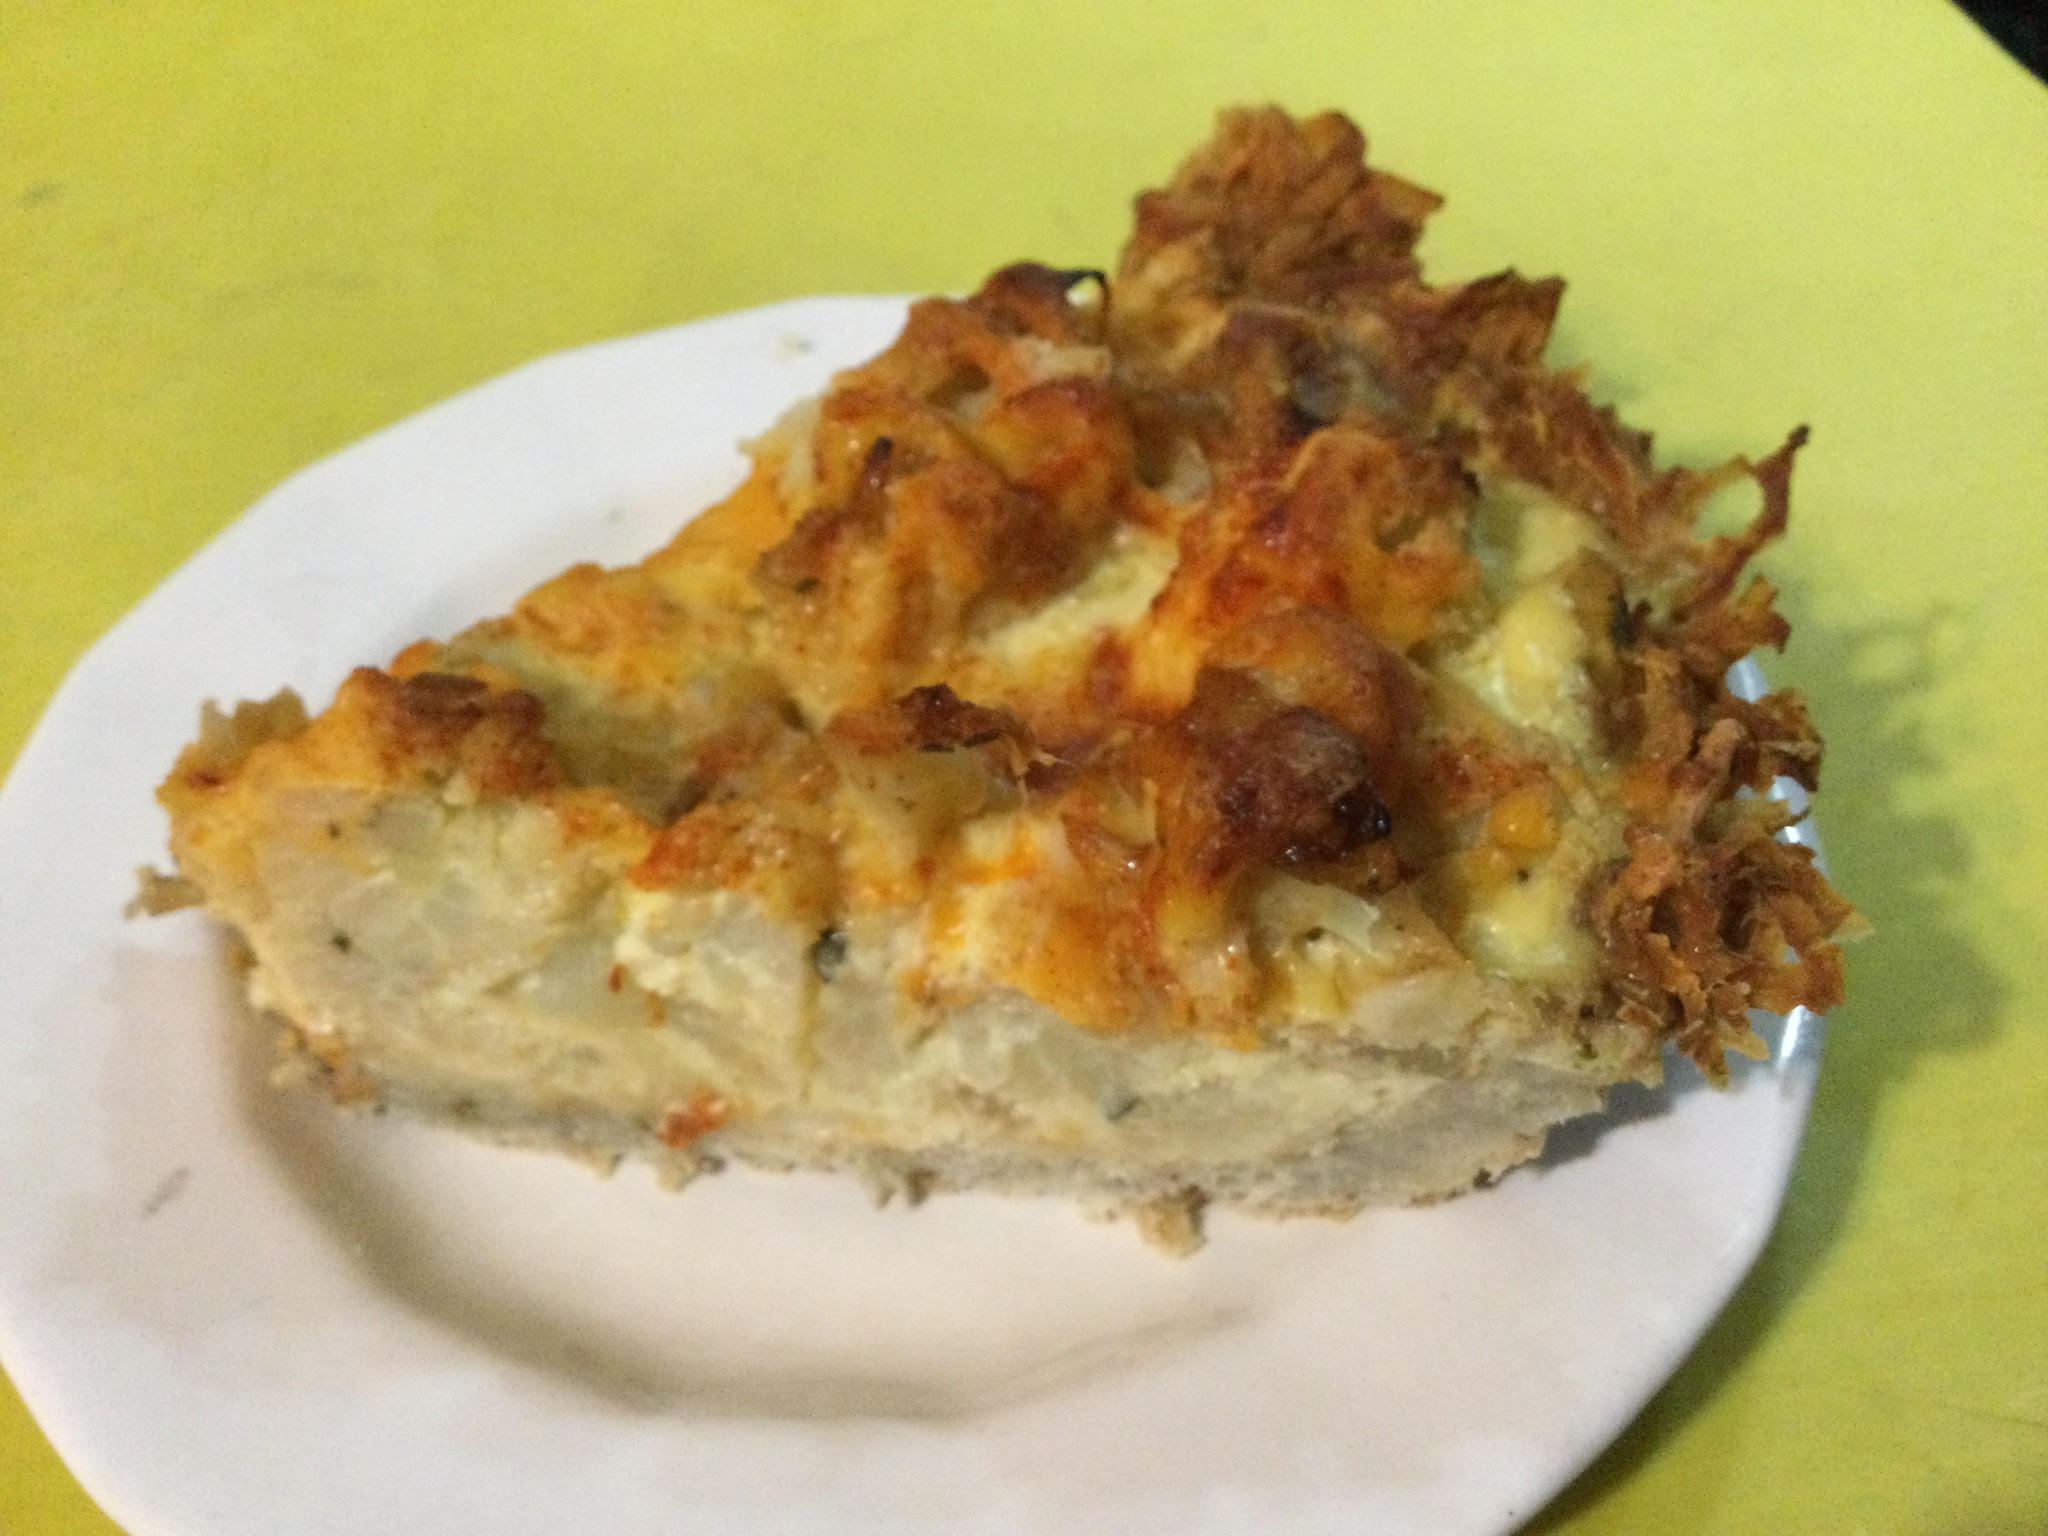
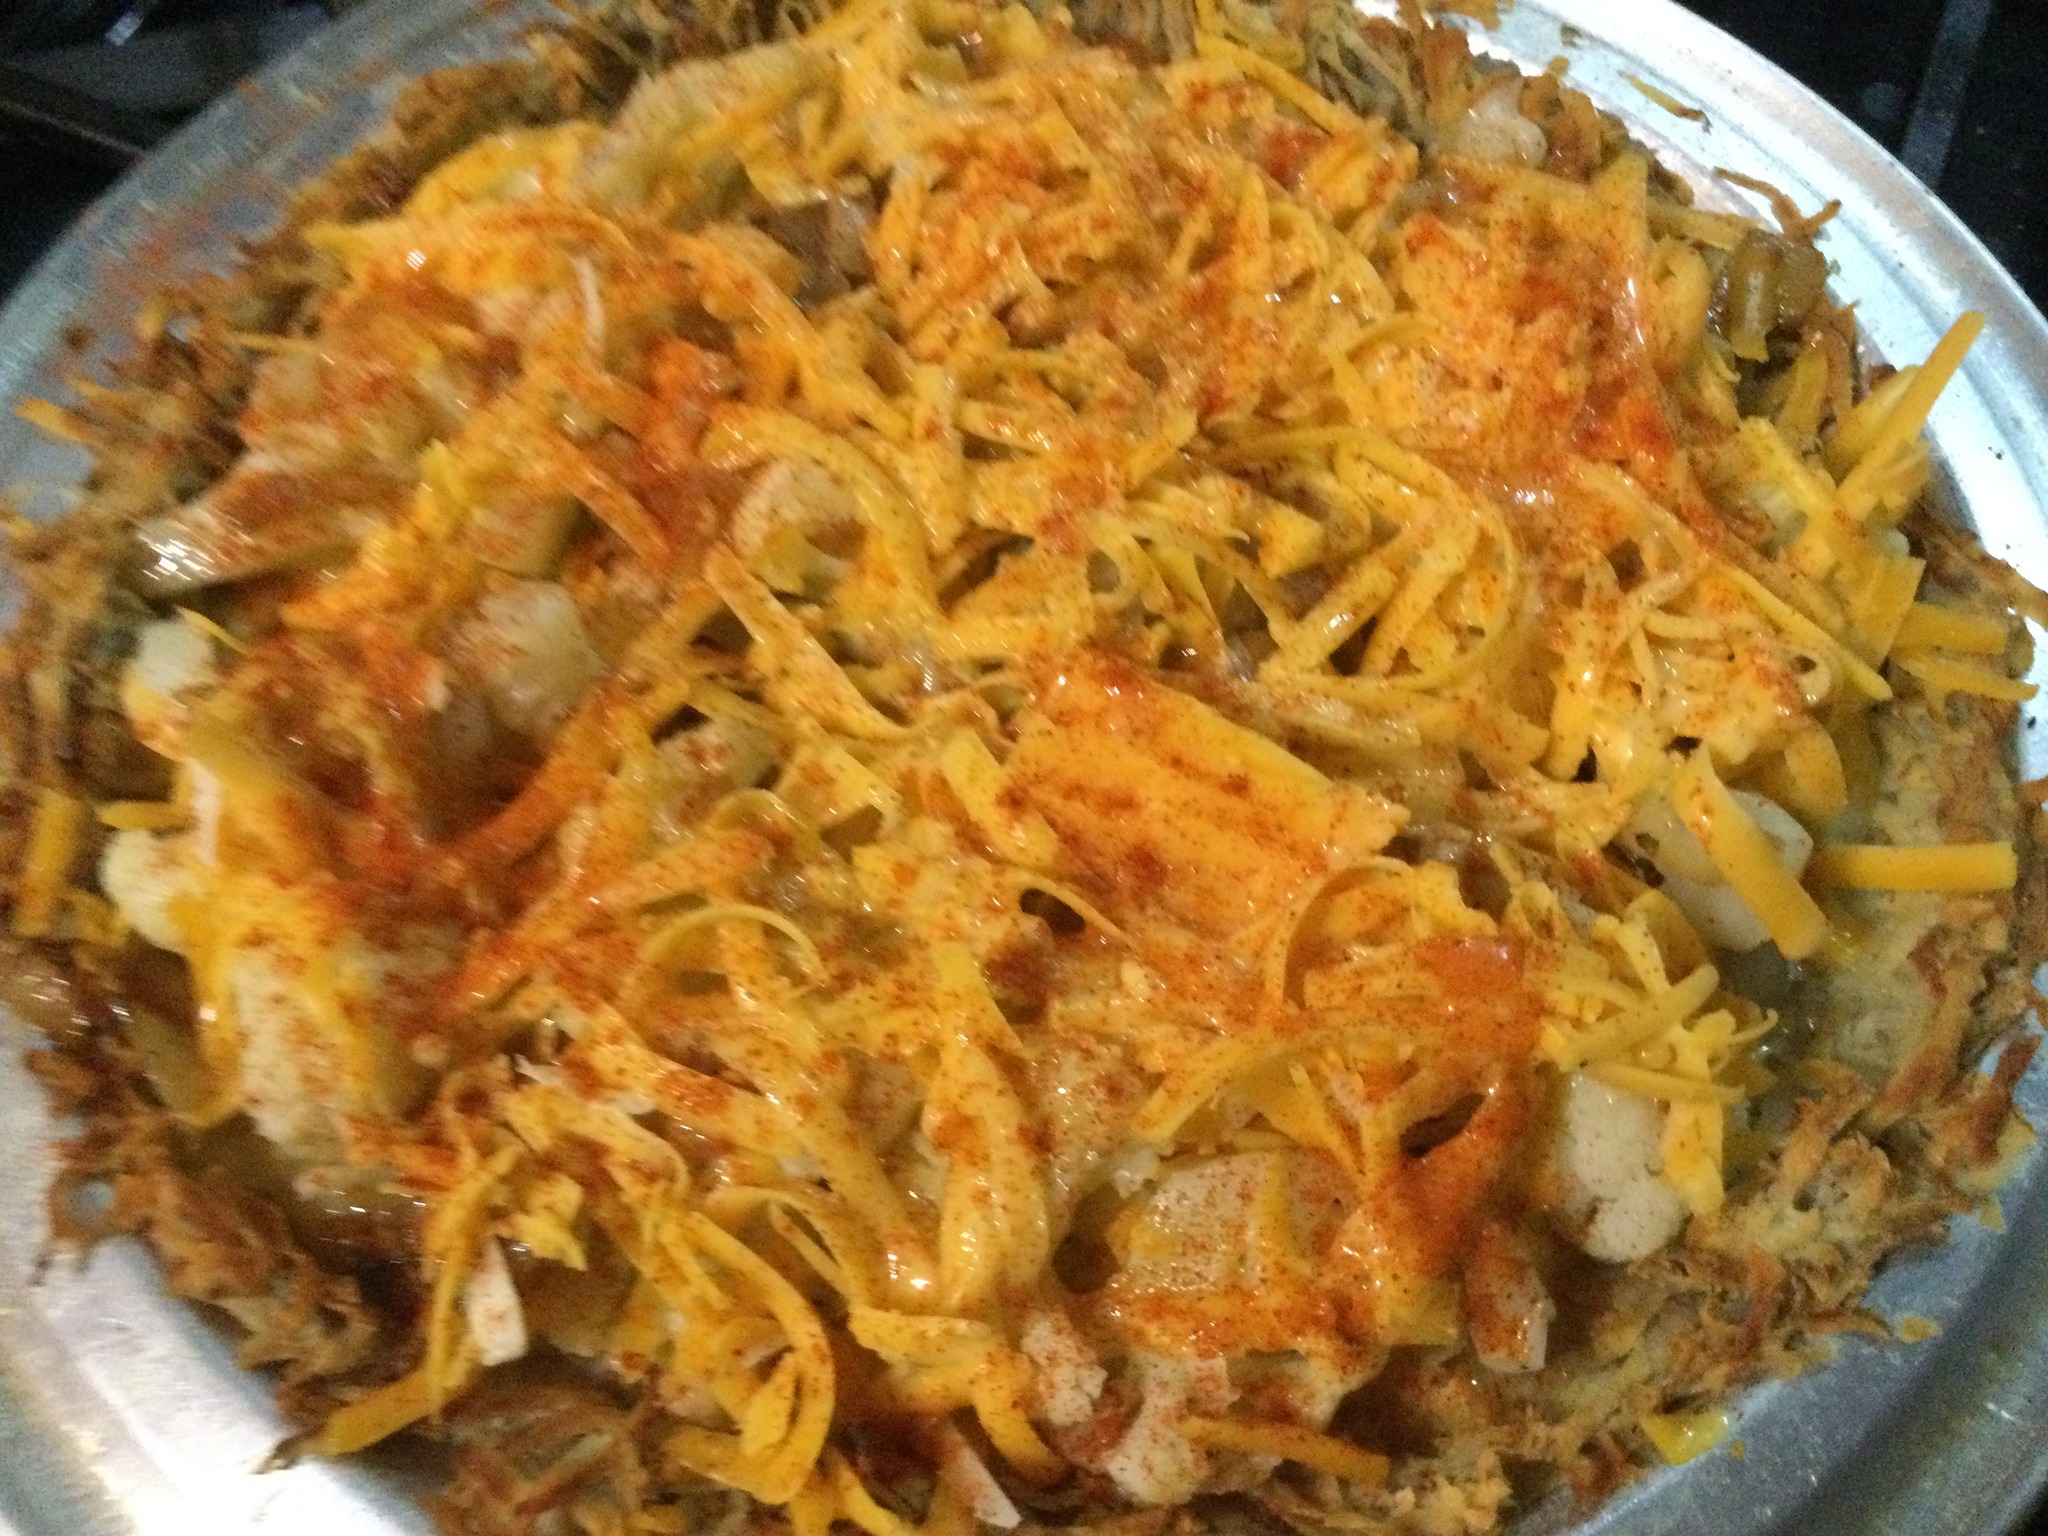
If you have a nice head of cauliflower, you can put it to good use in this vegetarian entrée. I love the cheesy cauliflower flavor of it, pretty substantial served with a yam and a beet salad; a great meal. It isn’t that difficult to construct; the crust is shredded raw potatoes mixed with an egg and some salt and pressed into the pie pan. You bake it for about 45 minutes and then gently lay in some shredded cheese, then the cooked veggie filling, top it with more cheese, pour on the egg custard and sprinkle it with paprika before baking it to a crispy tender pie that should serve 6 unless you are piggish; then 5 large slices!
The no traditional pie crust makes this easy to create. Nothing tricky at all in this recipe. Just a few steps to put it together. It is pretty much naturally gluten free, just a bit of rice flour to dust the pan with; I dusted the excess right into the shredded potatoes. Just a bit of flour in the pie pan and in the crust.

Cauliflower Cheese Pie

Ingredients:

POTATO CRUST: 1 tsp. sea salt
1 lg egg, beaten
1 -3 tsp. gf flour, divided
Directions: Heat oven to 400 degrees. 4 large potatoes; washed. I left them unpeeled but you can peel if you prefer to do that. Grate each whole potato on coarse side of a box grater. I did it right into a large mixing bowl. I like to press a couple paper towels on top to soak up any excess liquid. Add rest of ingredients and stir well. Press into a pie tin sprayed with cooking spray and then dusted with rice flour. I used a big spoon to lay it around the pan and then a fork to press it into the shape of the pie tin. I left a bit above the glass/metal rim to form a nice rim of the crust. Spray the potatoes all over with the cooking spray. Bake 40-45 minutes. Make the filling while it bakes.
CAULIFLOWER FILLING:
About 3 cups cut up flowerets of raw cauliflower
1-2 Tbsp. mild olive oil or sunflower oil
1 large onion, diced
2 garlic cloves, minced
¼ tsp dried thyme
¼ tsp. dried basil
Directions: Cut up the cauliflower; it was about ¾ of the head. Heat a ½ inch of water in a large sauté pan. Add the cauliflower, put a lid on and cook 5-6 minutes until just tender. Gently pour the pan into a large colander to drain well. Then heat the oil in the same pan. Add the chopped onion; sauté on low 5-6 minutes, I like to add a couple Tbsp of water to let it steam; then add the garlic, and then the dried herbs. Stir and let cook another minute. The onion should be soft, cook longer if needed. When done, turn heat off; gently add the drained cauliflower and a quarter to a half tsp sea salt. Mix gently. While the crust is still baking make the custard.
CUSTARD:
3 large eggs
½ cup whole or 2% milk
1 2/3 cup grated cheddar cheese: I used mostly sharp cheddar with a bit of Monterey Jack cheese too.
Directions: beat the eggs in a medium mixing bowl until fairly blended, add the milk.
When the crust comes out turn the oven down to 350 degrees. Pour half the grated cheese into the hot crust, distributing it evenly. Gently spoon the cauliflower filling on top. Sprinkle with the rest of the cheese. Pour the custard in all over the top. Sprinkle well with paprika and bake 40 minutes; until the custard looks done. Let set 10 minutes before slicing. Enjoy!
It keeps 4-6 days in the fridge; well wrapped. I heat a slice at a time in the microwave. A lovely lunch indeed!


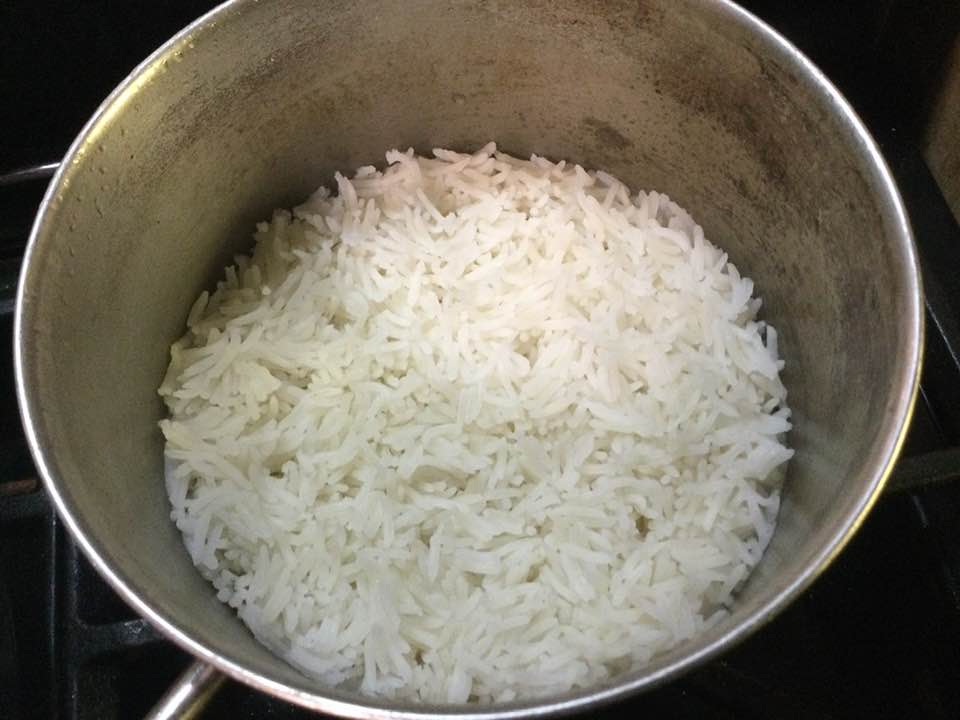
My family had this special dish that my mom found in a magazine. She always called it Chicken Angelique and I have never seen it in a cookbook. It was small bite sized cubes of chicken breast fried until browned and done inside. You make a lovely French sauce of celery, green onions, garlic, bacon, broth and milk. Serve it on top of fluffy white rice and have a side dish of steamed fresh asparagus and it was a meal for royalty. My mom made it only for company like my grandparents or aunts and uncles. She served it on her and my father’s twenty fifth wedding anniversary when I was a kid. When Mom turned 100 my sister Karen and I made it for her birthday supper and it was a good as I ever remembered it. A small labor of love for our lovely mother and she was thrilled to enjoy it on that momentous occasion.
Notes: The raw chicken cuts into cubes better if it is partially frozen. I had frozen it for 5 days and I cut it up before it thawed fully. Do use the entire scallion minus the roots of course! It adds a nice hint of scallion to the sauce. My sister put enough of the green leaves that her sauce was pale green; quite lovely actually. That one slice of bacon is very important; adds a special bit of flavor. Do not use anything less than 2 percent milk in the sauce. I prefer whole milk which is what my mom used. We had a milk cow, and she used a mechanical separator machine that gave a stream of milk and a lesser stream of thick cream. Use tender celery and real butter for the best flavor. I used rice flour, but you can use all-purpose flour if you don’t need to be gluten free. Enjoy!

Mom’s Chicken Angelique, serves 4-5
Ingredients:
2 chicken breasts
½ tsp. salt and 3 Tbsp. rice flour (pepper is optional)
1 Tbsp and 1 tsp. butter
1-2 Tbsp. mild olive oil or canola oil
Sauce:
1 slice cold bacon; mince it up
1 smaller rib celery chopped finely
4 green onions chopped finely
1 small clove garlic minced
1 Tbsp. mild olive oil
2 chicken bouillon cubes dissolved in 1 cup boiling hot water
1 small bay leaf
1/8 tsp. thyme, skimp it a bit
2 Tbsp rice flour or slightly less all purpose flour
1 cup plus 3 Tbsp. whole milk
1 medium egg yolk (I used the smallest egg out of a dozen large ones) Stirred up a bit
8 oz fresh small mushrooms; slice them medium thin after cutting of the bottom of the stem
1 tbsp butter and 1 tsp. oil
Make the sauce first. Using a large sauce pan; heat it; add oil, bacon, celery, green onions; cook 2-3 minutes; add the garlic and cook another minute. Light brown; not dark brown. Add the hot bullion, the bay leaf and the thyme. Simmer it covered for 15 minutes. (while the sauce simmers, slice the raw mushrooms and cook them in a tablespoon of butter and a dash of cooking oil. Turn off when they look done. Back to the sauce: you can then blend it in a blender until smooth but we never bother with that step. Mix a tablespoon of flour with half a cup of the milk and add to the sauce; heat on medium stirring constantly until it starts to thicken. Put the rest of the flour in with another half cup of milk; add to sauce and cook a few moments. Add a half cup of the sauce into the cup with the stirred-up egg yolk to warm it up and then dump it all back into the sauce pan. Stir well as you add the rest of the milk. It should be like slightly thick gravy. Add the sautéed mushrooms to it. Turn to the lowest setting to keep it warm while you make the chicken.
The chicken should be skinless; cut it up into 1-inch cubes. Roll in flour that you salted a bit. Heat a large saucepan, add the oil and butter. I did my chicken in 3 batches. There should be a bit of space between the cubes. Turn them 1-2 times to brown the sides. I used a dinner fork to do that. I put the done ones into a bowl, and you will probably need to add another tablespoon of oil for each batch. When they are all browned you are ready to bring It together with the sauce. You should have made some white rice to serve with them. And a vegetable like asparagus, peas or whatever you enjoy. Pour the hot cooked cubes into the sauce and serve it on a bed of hot rice. Some people sprinkle some paprika or fresh parsley on top, but I don’t really bother with that. Enjoy!
