Cherry Sunrise Pie for Easter

Next Sunday is Easter, the day of baked ham, chocolate candy eggs which I can’t eat and brightly colored eggs to hide for the three year old to find. I want our lunch dessert to be special yet not too heavy or fattening.  I want an attractive pie, with fruit in it and was hoping to make something easy.  I plan to have my cherry sunrise pie again; it was a big hit last Easter.

It has to have a gluten free crust for me but if you are making it for the wheat eating public there are ready made crusts out there that will make this so simple.  Frey’s Better Foods and Wegmans both have gf. graham cracker crust all ready to fill; so convenient.

I like this in the spring when there isn’t much fresh fruit available to make a decent pie.  You could make it the night before or early in the morning. I will post a picture of an individual slice this Easter when we enjoy it for lunch dessert; we gobbled it all down last year before I thought of taking a picture of just one slice.

photo 1

Cherry Sunrise Pie

One pie crust: bought ready-made or DIY.  I make mine from an 8 oz box of gluten free graham crackers crushed and mixed with 1/3 cup melted butter and pressed gently into a 9 inch pie pan.  Bake at 375 degrees for 9 or 10 minutes.  Let cool completely before filling.  You can make it a day ahead of time to shorten the work of putting together the actual pie.

Ingredients for filling

18 or 19 oz can of crushed pineapple in own juice

1 21 oz can of cherry pie filling

1 8 oz pkg light cream cheese, room temp.

½ tsp vanilla

1 cup heavy cream

¼ cup powdered sugar

Directions

Drain the pineapple for 20 min; save the juice!  I used my microwave to gently warm the cream cheese. I unwrapped it and placed the cold slab on a small plate and warmed it on a very low heat until supple and smooth.  Dump in a mixing bowl, add 2 tbsp pineapple juice, the vanilla, 1/3 cup crushed pineapple, ½ cup cherry pie filling.  If you are smart you will mostly use the goopy stuff and not too many cherries.  Save them for on top! Next, stir this all together really well.

Then whip the chilled heavy cream in a separate bowl with an electric mixer until soft peaks form, add powdered sugar and mix well with the mixer; be careful not to over beat it.  If it gets clumpy you went too far.  Fold this into the cream cheese mix until it isn’t streaky with white areas.

Gently spoon the filling into the pie shell, spread it out to fill the entire bottom.  I used a spoonula (blend of spoon and spatula) and smooth the top with a flat cake spatula.  I like to leave a sort of tiny ridge on the outer edge to keep the pineapple from spilling out onto the crust.  Then carefully pour the rest of the cherry pie filling in the center spreading it to cover ¾ of the top from the center out.  Finally, use a spoon to put clumps of pineapple around the outer rim of the cherry filling.  Chill at least 2 hours, preferably 4.  Cut and slice. No adornments are needed.

It has a light fluffy consistency and it isn’t that sweet.  Great to top off a big meal; not too filling and the fresh fruity taste is a spring treat.  Try it soon and you will be giving the recipe out afterwards!

Lemon Meringue Pie Heaven

This pie is old school delicious.  This is my mom’s bastardized version of a Betty Crocker recipe and made gluten free with my favorite crust.  It has no gelatin for you gel haters! I make it with the lesser amount of sugar in the filling but you can more than double it if you are a sweet freak.  I have never met a man who didn’t love it, well…maybe one. My friend Russel doesn’t care for anything with lemons. But his wife Claire adores lemon so this pie is for her and Mom…and my brother Christopher who often requests this pie when he is in town.

lemon pie 008

If I have them, I always use Meyer lemons for this recipe.  Your pie will have a delicate flavor – so light I sometimes call it lemon cloud pie!  Don’t worry; regular lemons work just fine. It can be difficult to find Meyer lemons and pricy too.

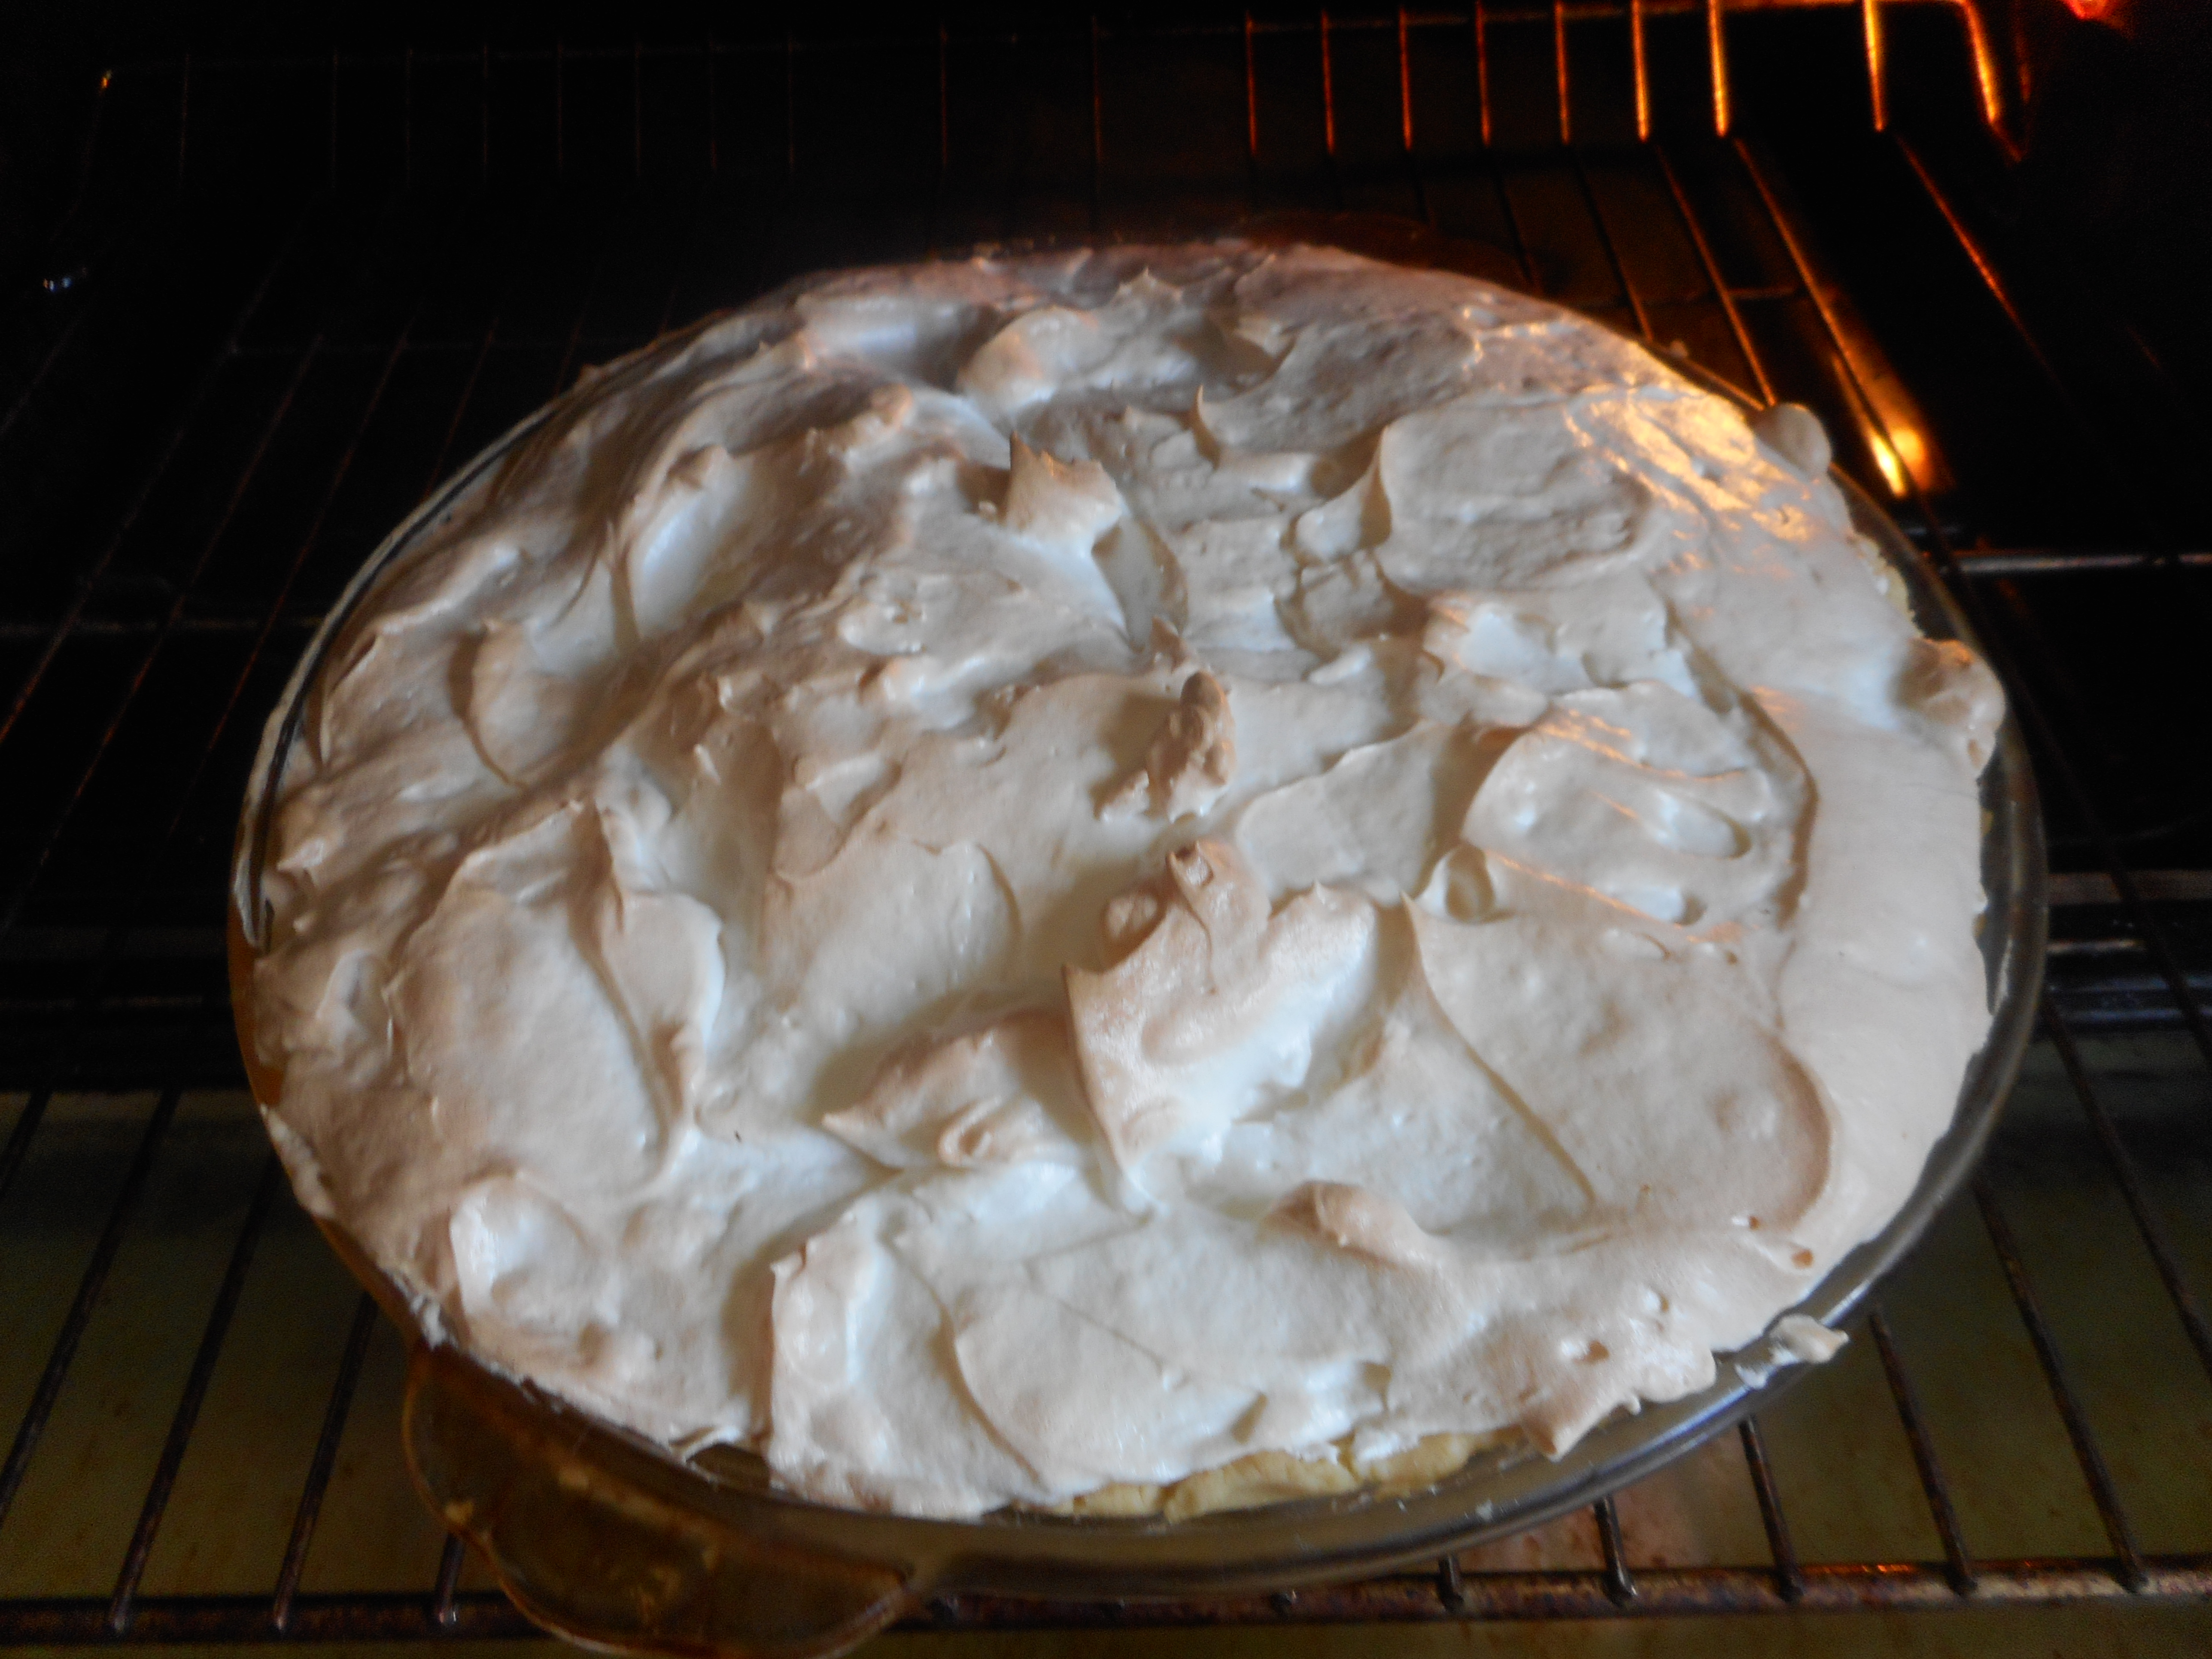
I have never gotten my mom to admit it but I am positive she added extra egg whites to her meringue.  Her pie was towering with the white fluffy stuff unlike my nearly level pie made with just three whites.  It is up to you how impressive you want your dessert to look. But if you have company you might want to go for the big bang of a four- five egg white meringue topping for maximum wow power!

My mom added the corn syrup to replace some of the reduced sugar and because it makes the texture of this pie creamier and more delicate.  Don’t make this pie on a very humid day or the meringue will weep and bead on the top.  It will taste fine but the look will suffer from the humidity.

Store any leftover pie in the fridge. It doesn’t keep more than two days but frankly none of it ever lasts more than two days.

lemon pie 002

lemon pie 004

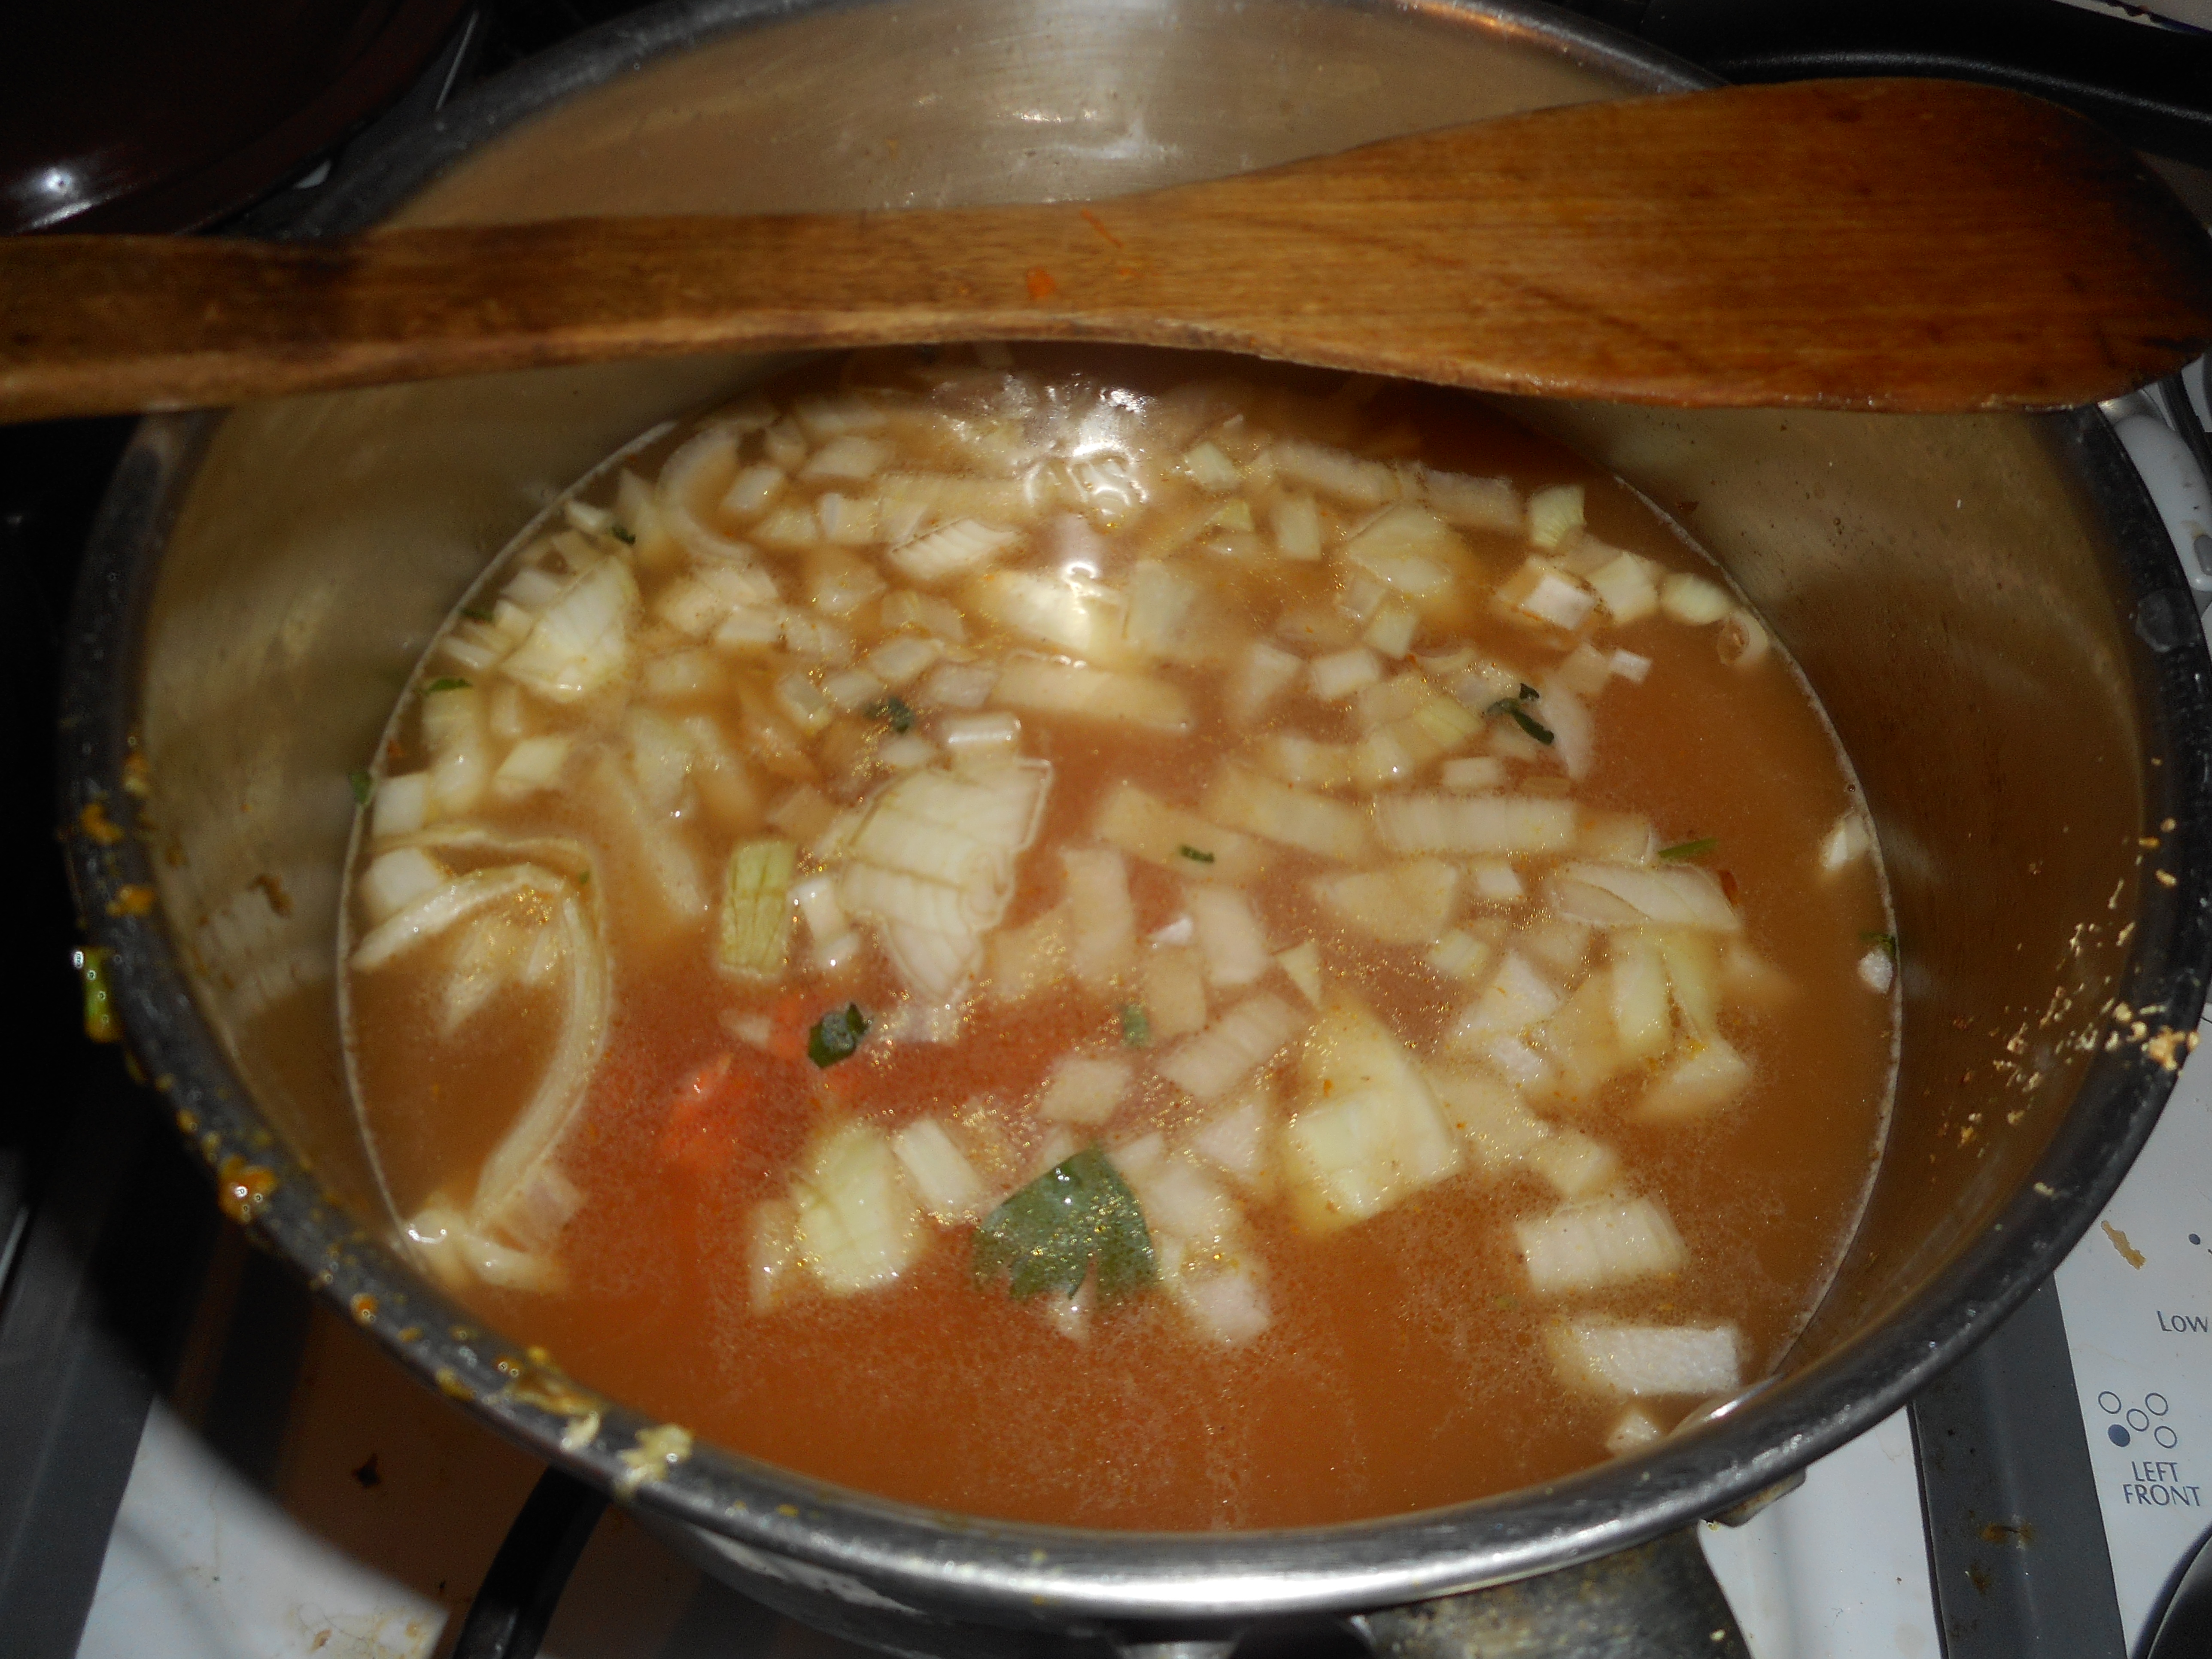
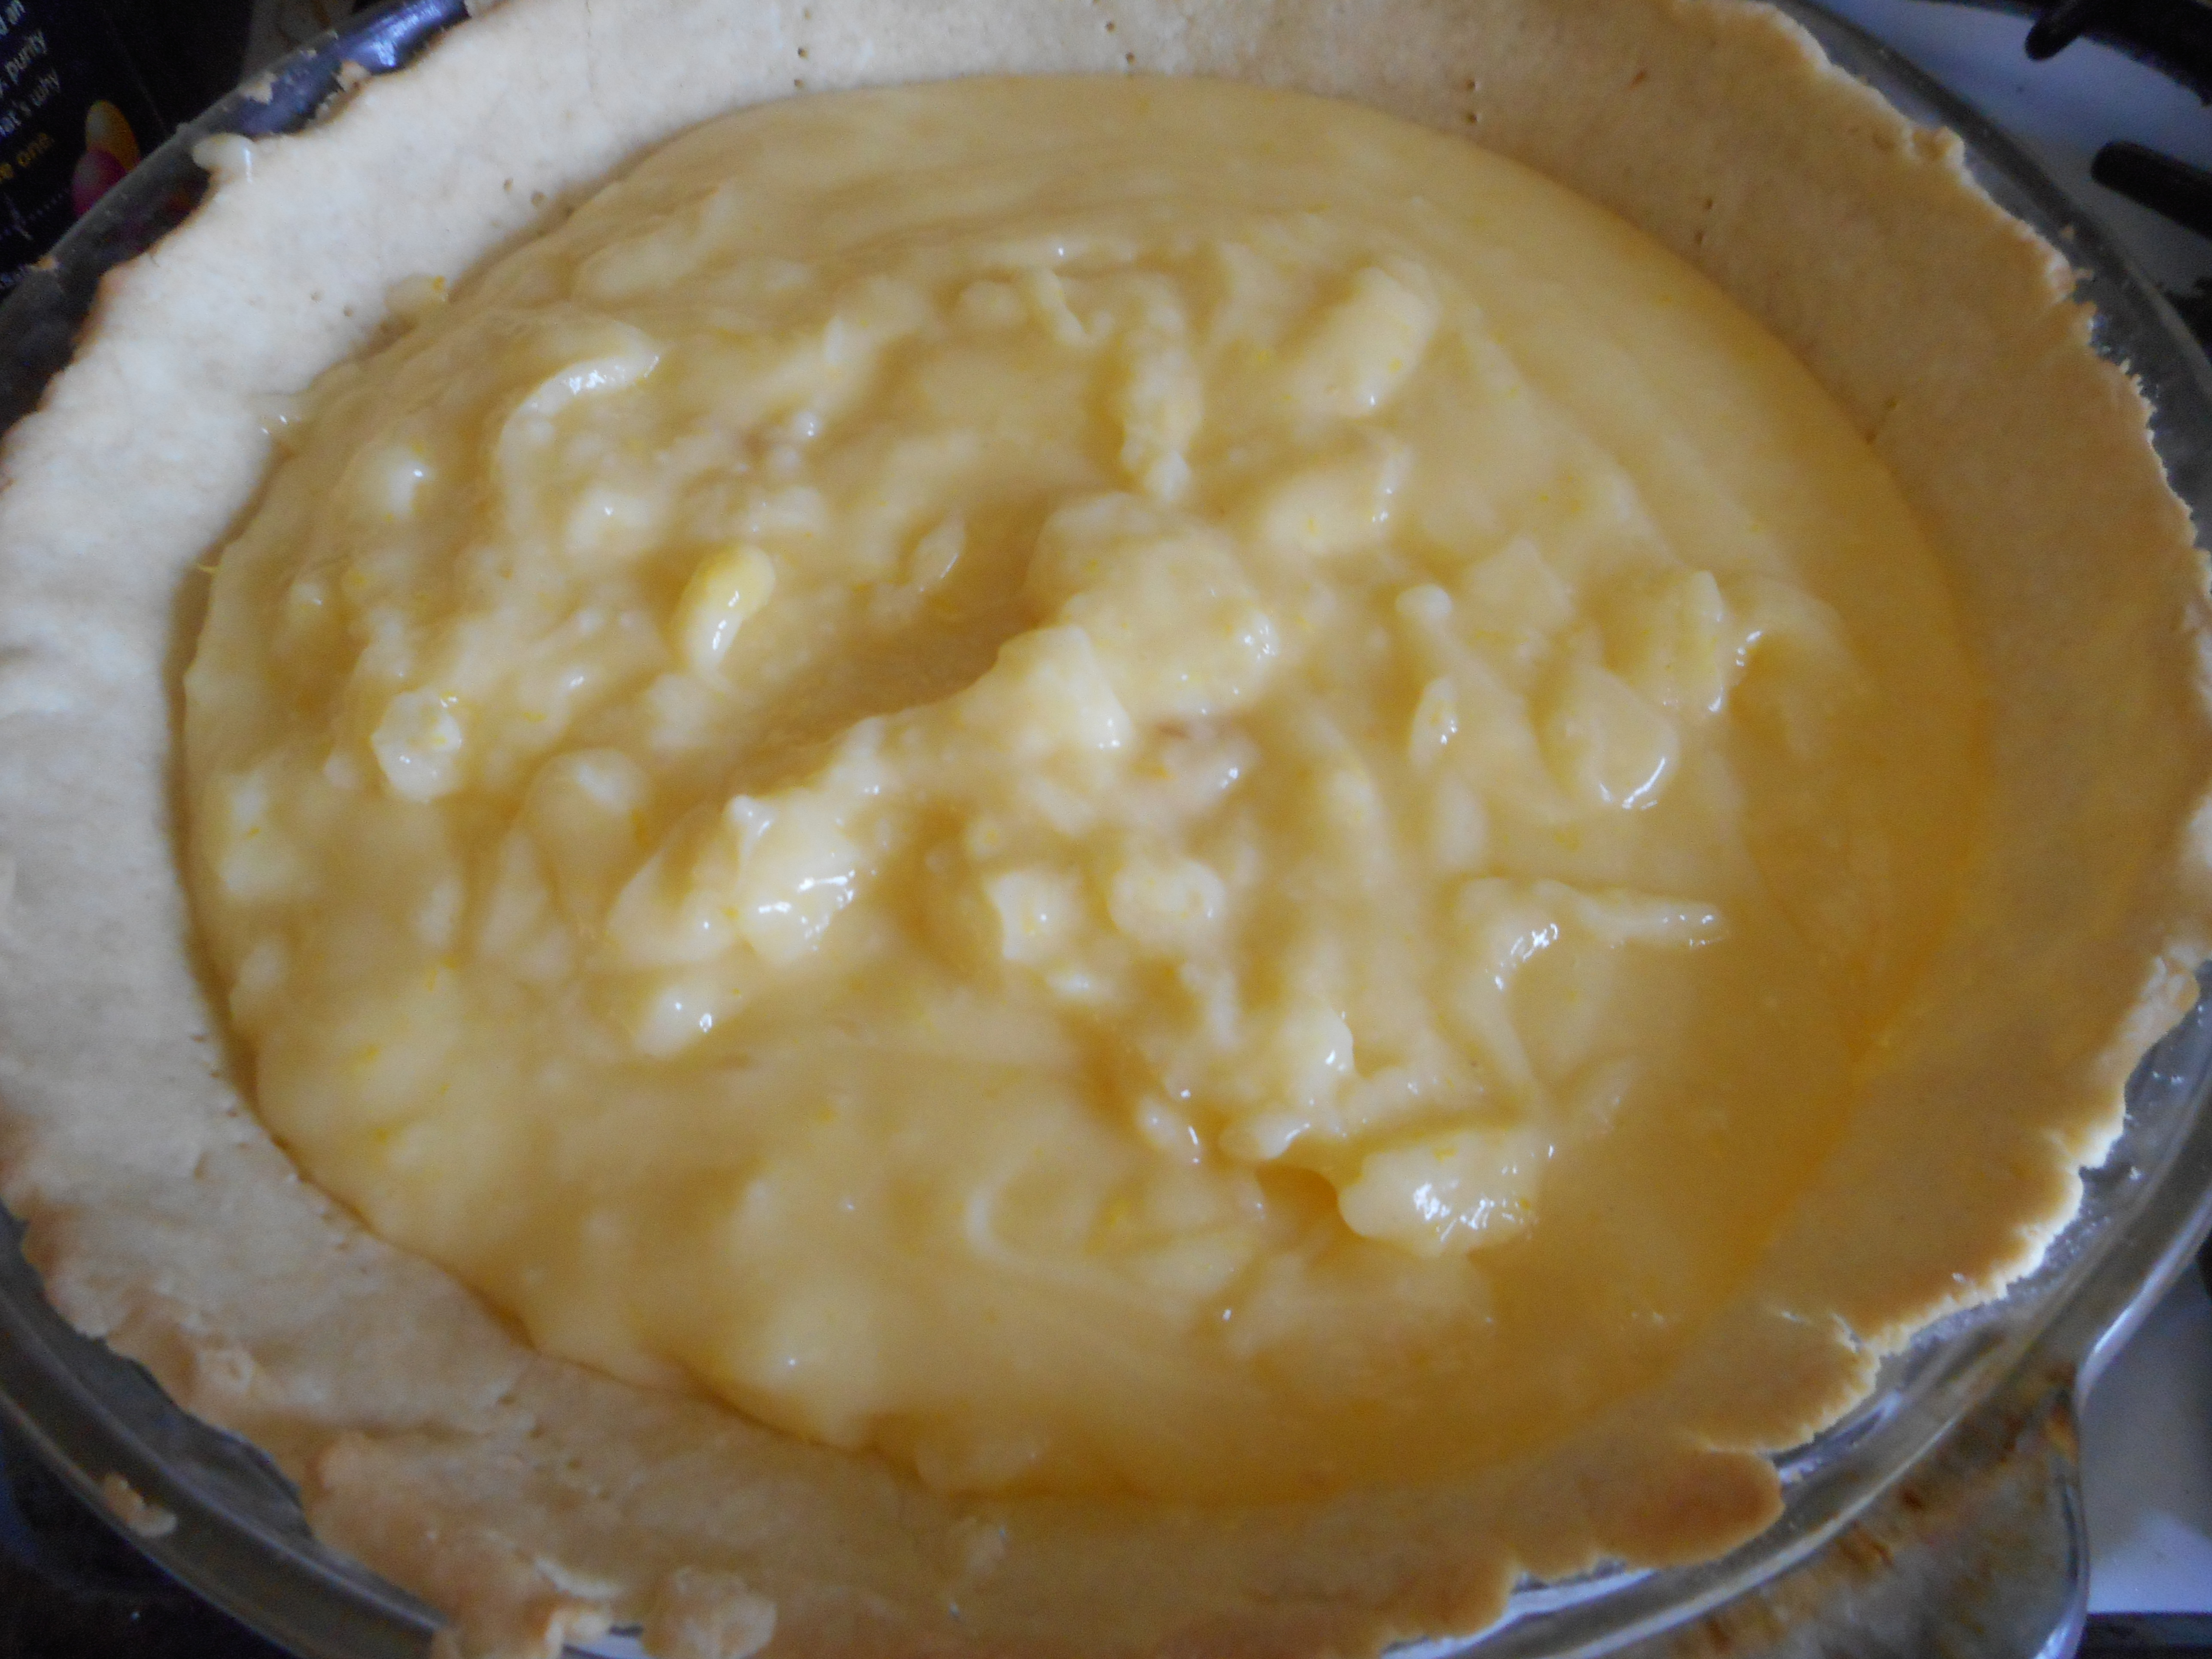
Thickened cornstarch, sugar and water mix all stirred up.

lemon pie 001

Baked pie crust.

lemon pie 003lemon pie 005lemon pie 006lemon pie 007lemon pie 008

Mom’s Lemon Meringue Pie

Crust:

1 c plus 2 tbsp brown rice flour mix (at bottom of recipe)

2 tbsp sweet rice flour

1 Tbps. granulated sugar

½ tsp xanthan gum

¼ tsp salt

6 Tbps. cold butter cut into 6 chunks

1 lg egg

2 tsp fresh orange or lemon juice

—————

Spray 9 inch metal pie pan with cooking spray, dust with white rice flour.

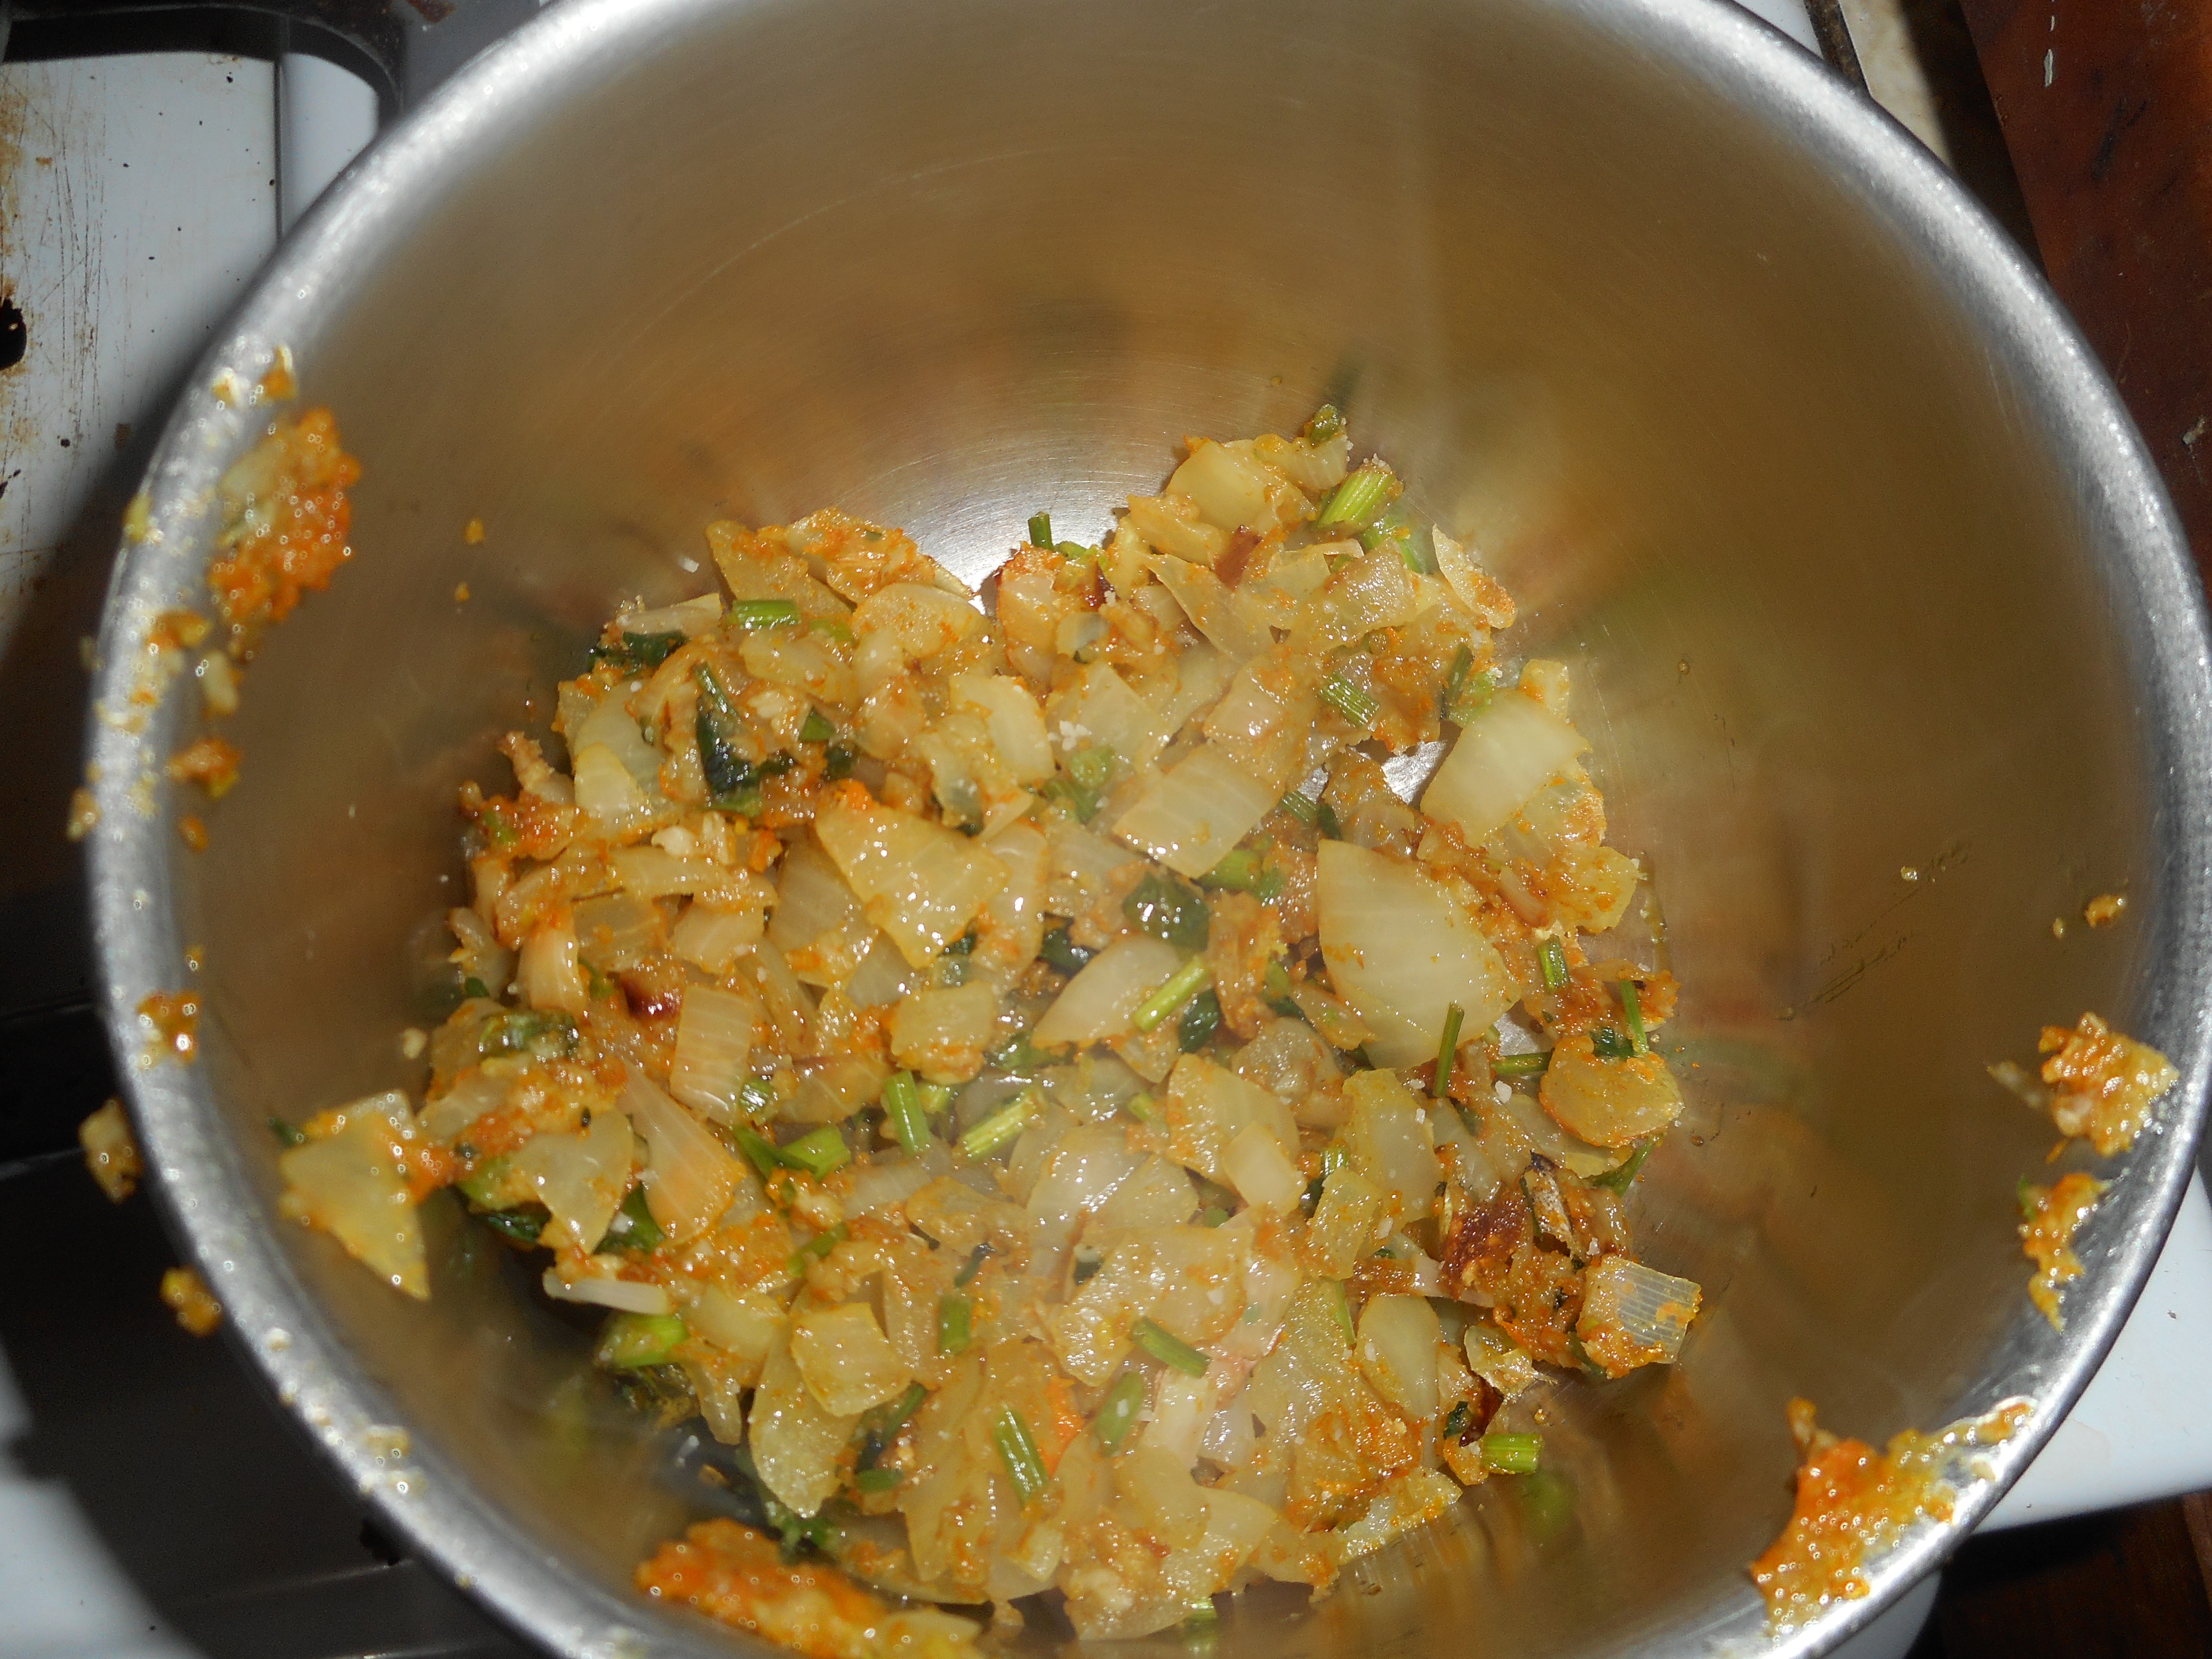
Mix dry ingredients in bowl of stand electric mixer.  Add butter and mix until crumbly and resembling coarse meal.  Add egg and juice.  Mix until it comes together into big chunks.  Shape into a ball with your hands. Put it on a crust sized piece of wax paper (14 x 14 inches more or less), flatten the crust ball some; put on top of it another piece of wax paper and chill it all in your fridge 15-20 minutes. Then roll it out and line a 9 inch pie pan with it.  Make sure you get the middle nice and thin; this crust can be tough to get the center as thin as the edges. Prick it all over with a fork to keep it from bubbling out and bake the empty crust at 375 for 10-12 minutes until light brown.  Let cool to room temperature.

Lemon Filling:

Ingredients:

1/3 to ¾ cup sugar

1/3 plus 1 tbsp. corn starch

1 ½ cup water

3 eggs, separated; yolks for filling, save whites for meringue

3 tbsp. butter cut in small chunks

2 tsp. lemon zest

½ cup fresh lemon juice

2-3 tbsp. clear corn syrup

Directions:

Start oven heating to 400 degrees for browning the topped pie.

Mix the sugar and corn starch in a heavy bottomed medium sized saucepan.  Add the water, stirring.  Heat until it boils, stirring constantly, boil one minute, take off heat.  Beat yolks briefly in a small mixing bowl, then add the hot stuff slowly to it; half the hot mixture, stirring constantly.  Then dump it all back into the saucepan, bring to a boil, stir like a crazy person so it doesn’t scorch. Boil 1 minute at medium heat.  Remove from heat and stir in the butter. Let it melt as you stir. And then stir in the lemon juice and zest. Glug in some corn syrup. Pour the hot lemon filling into the pie crust.  Top while still hot with the meringue you just beat up. Make sure you get the meringue all the way across the top and along every single edge. No cracks, no gaps. Bake it 10-11 minutes until light brown. Cool to room temperature (avoid drafts while it cools) and then chill your masterpiece for 2-6 hours.  Slice and serve. Makes six-seven lovely slices.

lemon pie 012

This slice is from the second day; we were in a feeding frenzy and forgot to take a picture when the pie was cut and served. It is a tad weepy from the passage of time.

Meringue topping

three egg whites (or 4-5)

¼ tsp. cream of tarter (or 1/2 tsp)

6 tbsp. granulated sugar (or 8-10 tbsp.)

Directions:

Beat the three whites and the cream of tarter until it is past the foamy stage, add the sugar half a tbsp. at a time beating on high until the whites are stiff and glossy.  This will take several minutes.

If you add one or two extra egg whites add another ¼ tsp. cream of tarter and add 2 tbsp. sugar for each extra white.

—————–

Brown Rice Flour Mix  (same as King Arthur blend)
2 c brown rice flour

2/3 c potato starch

1/3 c tapioca flour

The High Cost of Gluten Free = DIY Baking!

Everyone knows gluten free foods cost more.  They cost more partially due to higher costs for some ingredients and partially the extra cost in the process to avoid cross contamination.  The rest of the increased cost is the greed of manufacturers who know they have us gf types over the proverbial barrel.

I, myself, find that baking my own treats and desserts is much more fun than buying expensive stuff that can taste like cardboard.  It is an adventure to bake gluten free.  Sometimes the desserts can be even tastier than they were with all purpose flour.  It is so rewarding when that happens!  Some recipes are easier than others.

This post was inspired by my friend Cortney who is gluten free but says she isn’t much of a baker.  My goal is to encourage her and others in the same boat to get baking.  Begin with something easy and build your baking confidence.

brownies

A good starting point would be brownies.  The recipe I use; see post recipe from March 28, 2014, is very easy to put together and they are crazy good.  The method is actually identical to how I made my classic version when I used all purpose flour years ago.

2024-11-05 apple muffins 008muffin close up 002

Another fairly easy thing to make – muffins. I have posted a number of excellent muffin recipes over this past year.  The recipes are very similar to each other. Basically, you mix the dry ingredients and keep dumping in the rest of the ingredients in the order listed.  Stir briefly to combine and spoon into greased muffin tins and bake.  One point: don’t use more than two kinds of fruit or the flavor will be confused. Muffins are tasty, useful and easy peasey.

oat muffins 007xmas cookies 002xmas cookies 006cowboy cookies

Once you get comfortable with brownies and muffins then you can upgrade to making cookies.  I have found a few great ones and some of them aren’t too difficult. Russian teacakes are very similar in technique to the wheat flour based version but are actually better in texture and flavor.  Another great cookie is the cowboy cookie; see my post last fall. Please try cookie baking, they are much yummier than ones you can buy and frankly cheaper.

rolls

When you get more confident you can try making rolls. I have posted a recipe or two I use often.  The puffy ones I make in muffin pans are so so easy and everyone loves them.  I guarantee it!

Once you get rolls down you can think about that bread thing.  I like making gf french bread.  You do need that special pan with the tiny holes and the rolling shape for cradling the dough/loaves.  The recipe I love is from food.com. Easy peasy and great for family dinners.

blueberry peach pie slice

Then there is pie; I really love the crusts I use for regular pie and the cookie crust for gf tarts.  Both are made in the mixer and the texture and flavor is very good. The crumb crust is so easy and I dump together the crust ingredients in my stand mixer to stir it up.  Chill briefly and roll out between wax paper, parchment paper or in a pie bag (my choice!) Check some of the recipes I have posted for pies or tarts.

These suggestions should get you started in the right direction to conquer gluten free baking. I will give you a few months to get down those six suggested baking areas for beginners.  Then we can revisit and go for trickier stuff!

You CAN do gf baking even if you are not much of a baker.  There isn’t any kneading and not as much shaping or forming as with white wheat based flours.  Don’t be psyched out by your fears of the freaky gluten free flours.  Don’t buy every flour under the sun like I did! I use that brown rice blend for a lot of my recipes. Two very good choices for a ready made mix are Better Batter or Cup 4 Cup.

PS: I read an article recently that is full of great advice; if you are new to gluten free or struggling with it; read this twice! I did…. http://www.moneytalksnews.com/21-delicious-ways-eat-gluten-free-budget/?all=1

Bake on my friends, bake on!

Micro Greens Are In My Salad!

microgreensMicrogreens…what the heck is that?  Well…it is just basically sprouts grown in dirt.  Today for my lunch salad I used some baby kale and the first of my micro greens which I started a couple weeks ago.  As well as some burpless cucumber and cauliflower.  I poured some homemade olive oil vinaigrette over it.  It was awesome!

kale and micro greens 024

This post is a revised version of one I posted last May. Being as it is still too cold to even plant my peas I am very glad for my microgreen crop which is growing in a tin can that once held bamboo shoots! Just poke a few holes in the bottom and you have the perfect shallow container to grow them.

I got my seed mix from superseeds.com a/k/a Pinetree Seeds of Maine, a family business which has been around since 1979.  I have found it to be a great place for inexpensive, good quality seeds and plants.  I get most of my seeds there. They happen to have a book on sale there about microgreens; see picture in this post.

Anyhow, last winter I bought a packet of these microgreens from Pinetree. I chose the kitchen sink variety; a mixture of many greens and veggies.  I planted them 1/3-1/2 inch deep in seed starter medium.  Watered them well, and waited. In just 7-8 days the first shoots appeared.  I made one for my neighbor Grace who’s house is warmer than mine and hers sprouted in only 4-5 days! I was thrilled with the more than 95% germination rate.  That meant that my pot was packed solidly with tiny shoots.  Maybe a tad too tightly……. I put them in the kitchen window sill.  Watered them almost daily and turned them around every other day. Some grew extra fast; pea shoots that were nearly 2 inches taller than the rest of the plants.

Grace’s plants grow much faster in her warm kitchen and were soon ready to snip but I had a bit of a time getting her to see that they were for eating now! Grace, a retired florist is elderly and must not have heard my initial directions fully as she thought they were for planting out in the garden.  Eventually she took my advice and snipped off the pea shoots which were like 6 inches tall and enjoyed them in salads. micro greens, orchids, lemon coolers 009

In less than three weeks I was getting out my kitchen scissors and snipping off a section of my shoots to toss on a just made salad. This boosted the nutritional value of my salad considerably.  Not to mention the interesting flavor of all those tangy sprouts!

Sprinkled on my salad they added lots of phytonutrients, vitamins and minerals.  They are a great flavor booster for your side or main salad.

Phytonutrients are what you say?  Well, one definition, courtesy of Wiki links is this:

The term is generally used to refer to those chemicals that may have biological significance, for example antioxidants, but are not established as essential nutrients.[1] Scientists estimate[citation needed] that there may be as many as 10,000 different phytochemicals having the potential to affect diseases such as cancerstroke or metabolic syndrome.   From: http://en.wikipedia.org/wiki/Phytonutrients.  FYI: Wiki Links uses phytochemicals as a synonym of phytonutrients.

According to medterms.com:

Currently, the terms “phytonutrient” and “phytochemical” are being used interchangeably to describe those plant compounds which are thought to have health-protecting qualities.

Anyhow, definitions aside, microgreens are chock full of those healthy phytonutrients as well as crunch and flavor.  A small handful would be perfect in a spring salad or on top of a burger.

So, if you are not much of a gardener but want fresh salad stuff that is cheaper, fresher and healthier for your body than you can buy just about anywhere, get some packets of microgreens and start planting!

If you don’t have any pots lying around most any container with drainage will do.  I used a shallow empty tin can from oriental veggies. Last winter I used a half and half container scrubbed clean and laid on its side with the uppermost side cut off and a few holes punched in the bottom.  I filled it with potting soil.  Do avoid soil mixtures with Miracle Grow in them.  In a few short weeks you will be able to cut and enjoy your own super sprouted greens. Go forth and sprout!

Italian Sausage and Pepper Spaghetti: Perfetto!

Sometimes necessity is the mother of tasty invention in my kitchen! This is a “what’s in the fridge” post.  I had some nice looking organic Italian pork sausage in long sandwich links.  I had a red pepper and some onions and a can of crushed tomatoes.  I wanted to make a pasta dish but was craving sausage with peppers and onions.  This is my invention: sausage and pepper spaghetti.  Sounds basic but I never thought of combining the concepts of that old favorite: sausage with onions and peppers with a fairly traditional red spaghetti sauce.  This recipe marriage turned out just delicious. Plus it was relatively quick and easy too. My kind of recipe…

I made sure to not overcook the sauce so it was rather fresh flavored and I cooked the pasta for a couple minutes in the sauce and sausage mixture.  I cut my onions and peppers into two sizes to give variety in the chunky sauce.

Of course, if you would like to use another protein like chicken sausage, go for it. This is not one of those recipes where you have to follow the instructions and ingredient list perfectly.  Be creative and use what you have on hand. Go with the freshest and best quality ingredients available, don’t stray too far from the concept and it will be hard to go wrong with this entrée.

I honestly don’t think gluten free spaghetti could have been any better than this tasted. To put it another way, I didn’t miss wheat based pasta when I chowed down on this homey meal.  I would serve it without hesitation to my wheat loving family knowing they would enjoy every bite just like me.

Here are all my cooking pictures; sometimes it is annoying when they are all spaced out in the recipe; clumping them together for your convenience!


spagetti and raspberry muffins 013spagetti and raspberry muffins 014spagetti and raspberry muffins 015spagetti and raspberry muffins 016spagetti and raspberry muffins 018spagetti and raspberry muffins 019spagetti and raspberry muffins 020

Angie’s Spaghetti with Sausage and Peppers

Ingredients

1 lb fresh Italian sausage

1-2 tbsp. of EVOL

1 large yellow onion, sliced in long strips, half diced

1 large red pepper, sliced into long strips and half diced

2 garlic cloves, one minced and one sliced

1 tsp. dried basil

½ tsp. dried oregano

1 bay leaf

1 28 oz can crushed tomatoes

2 tbsp. white wine

Directions

I used a large cast iron frying pan; I know what you are thinking! Cast iron and tomatoes…not a great choice….well it fries stuff so well and I didn’t cook the sauce really long – so I think it was okay to use cast iron. But, in any case, use a large pan; 12 to 14 inch with at least three inch sides to hold all that sauce.  Heat the pan; add the olive oil, when it is hot put in the sausage links.  Brown on two opposite sides; about 4 minutes a side.  Add the onions, stir it up and put the links on top of the onions.  Cook 3 minutes, add the sliced/chopped pepper and stir well.  Cook a minute or two, add the garlic, cook one minute, stir it up and add the canned crushed tomato and the herbs and stir again. I rinsed the tomato can out with the white wine and poured it in.  Cook on low heat for 20 minutes.

Make the pasta, I used GF Barilla, salt the water well and stir it almost constantly while it boils. I undercooked it a minute.  Drain quickly, return to the pasta pot, pour in the sauce and sausage and cook 2 minutes.  Be sure to stir it several times as the sauce blends into the pasta so it doesn’t stick on the bottom.  Taste to be sure the pasta is done and adjust the seasoning; salt and pepper to your liking.

Serve with some freshly shredded real parmesan cheese on top; much better than that canned pre-grated cheese. Perfection!