Strawberry Tartlets to Tempt Romance!

Yes, it is the end of July but juicy ripe strawberries can be found in the supermarket and some produce stands like Lehigh Valley Produce on Main Street in Hellertown even now! I saw baskets of fresh berries earlier today at LV Produce.

This is a sweet and romantic dessert; two could share one deep dish tartlet! If you weren’t piggish that is….  Maybe everyone needs their own tartlet.  Totally your call. But do try to make these as they are not difficult and strawberries are very healthy and delicious even in August!

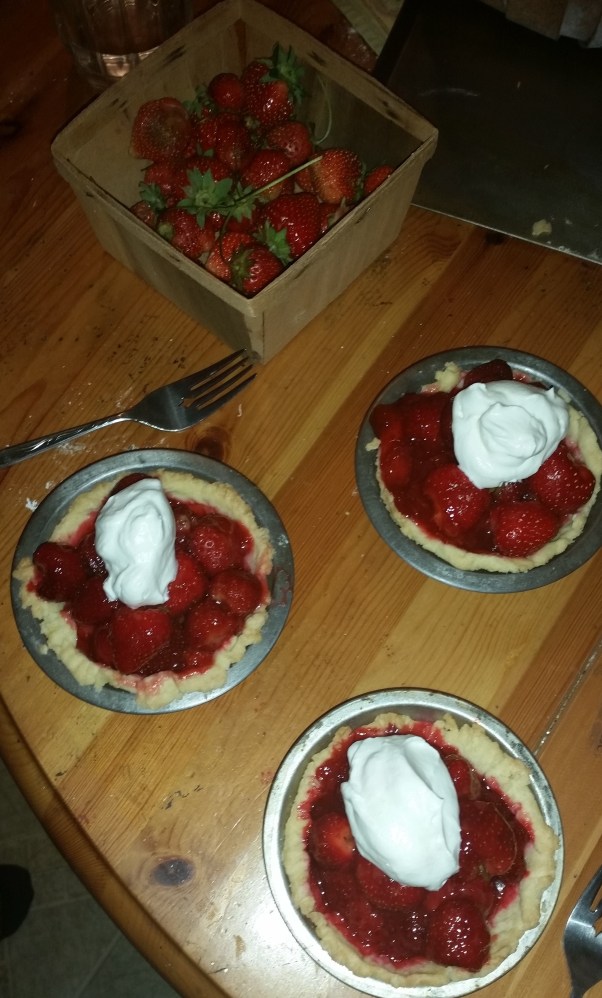
Angie’s GF Strawberry Glace Tartlets

Makes 4-6 tartlets; lesser number if deep dish ones and more if the flat bottom style that hold less berries.

Crust:

1 c plus 2 tbsp brown rice flour mix (at bottom of recipe)

2 tbsp sweet rice flour

1 Tbps. granulated sugar

½ tsp xanthan gum

¼ tsp salt

6 Tbps. cold butter cut into 6 chunks

1 lg egg

2 tsp fresh orange or lemon juice

Spray 4 inch metal tart pans or 4 inch mini deep dish pie pans with cooking spray, dust with white rice flour. Set aside.

Mix dry ingredients in bowl of stand electric mixer.  Add butter and mix until crumbly and resembling coarse meal.  Add egg and juice.  Mix until it comes together into big chunks.  Shape into a ball with your hands. Put it on a crust sized piece of wax paper (14 x 14 inches more or less), flatten the crust ball some; put on top of it another piece of wax paper and chill it all in your fridge 15-20 minutes.    tart shells ready to bake

Cut it into 4 balls and roll out each ball into a small pie crust in a pie bag or between the two sheets of wax paper, try to get the thickness even, no thick middle! Peel off one side of paper and place in mini pie pan, centered.  Remove other slice of wax paper.  Crimp edges all around.  Do again until you have 4 shells and use all the crumb leftovers to make a fifth tartlet crust.  Bake in a preheated 375 degree oven for 10-13 minutes until the crusts are light brown.  Cool at least 30 minutes before filling.

Glaze:

1 cup mashed very ripe strawberries (I sort through the berries and use the riper ones for this part.)

2/3-3/4 cup sugar

3 tbsp cornstarch

½ cup water

 Directions:

Mix sugar and cornstarch in 1 qt heavy bottomed sauce pan, stir in water and mashed strawberries.  Cook on medium heat until it boils, stirring constantly.  Boil and stir one minute.  Let cool at least 20-30 minutes or until close to room temperature.

Filling:

4 ounces of light cream cheese, room temperature

4-5 cups fresh strawberries, hulled

Line the bottom of the cooled tart shells with the cream cheese, spread it as evenly as possible. I use half of an 8 ounce package.  Place berries in a big bowl.  Pour the glaze over top and gently mix.  Pour the goopy berries into the mini pie shells.  I like to pick one really nice one for the top of each tartlet.  strawberry tartlets

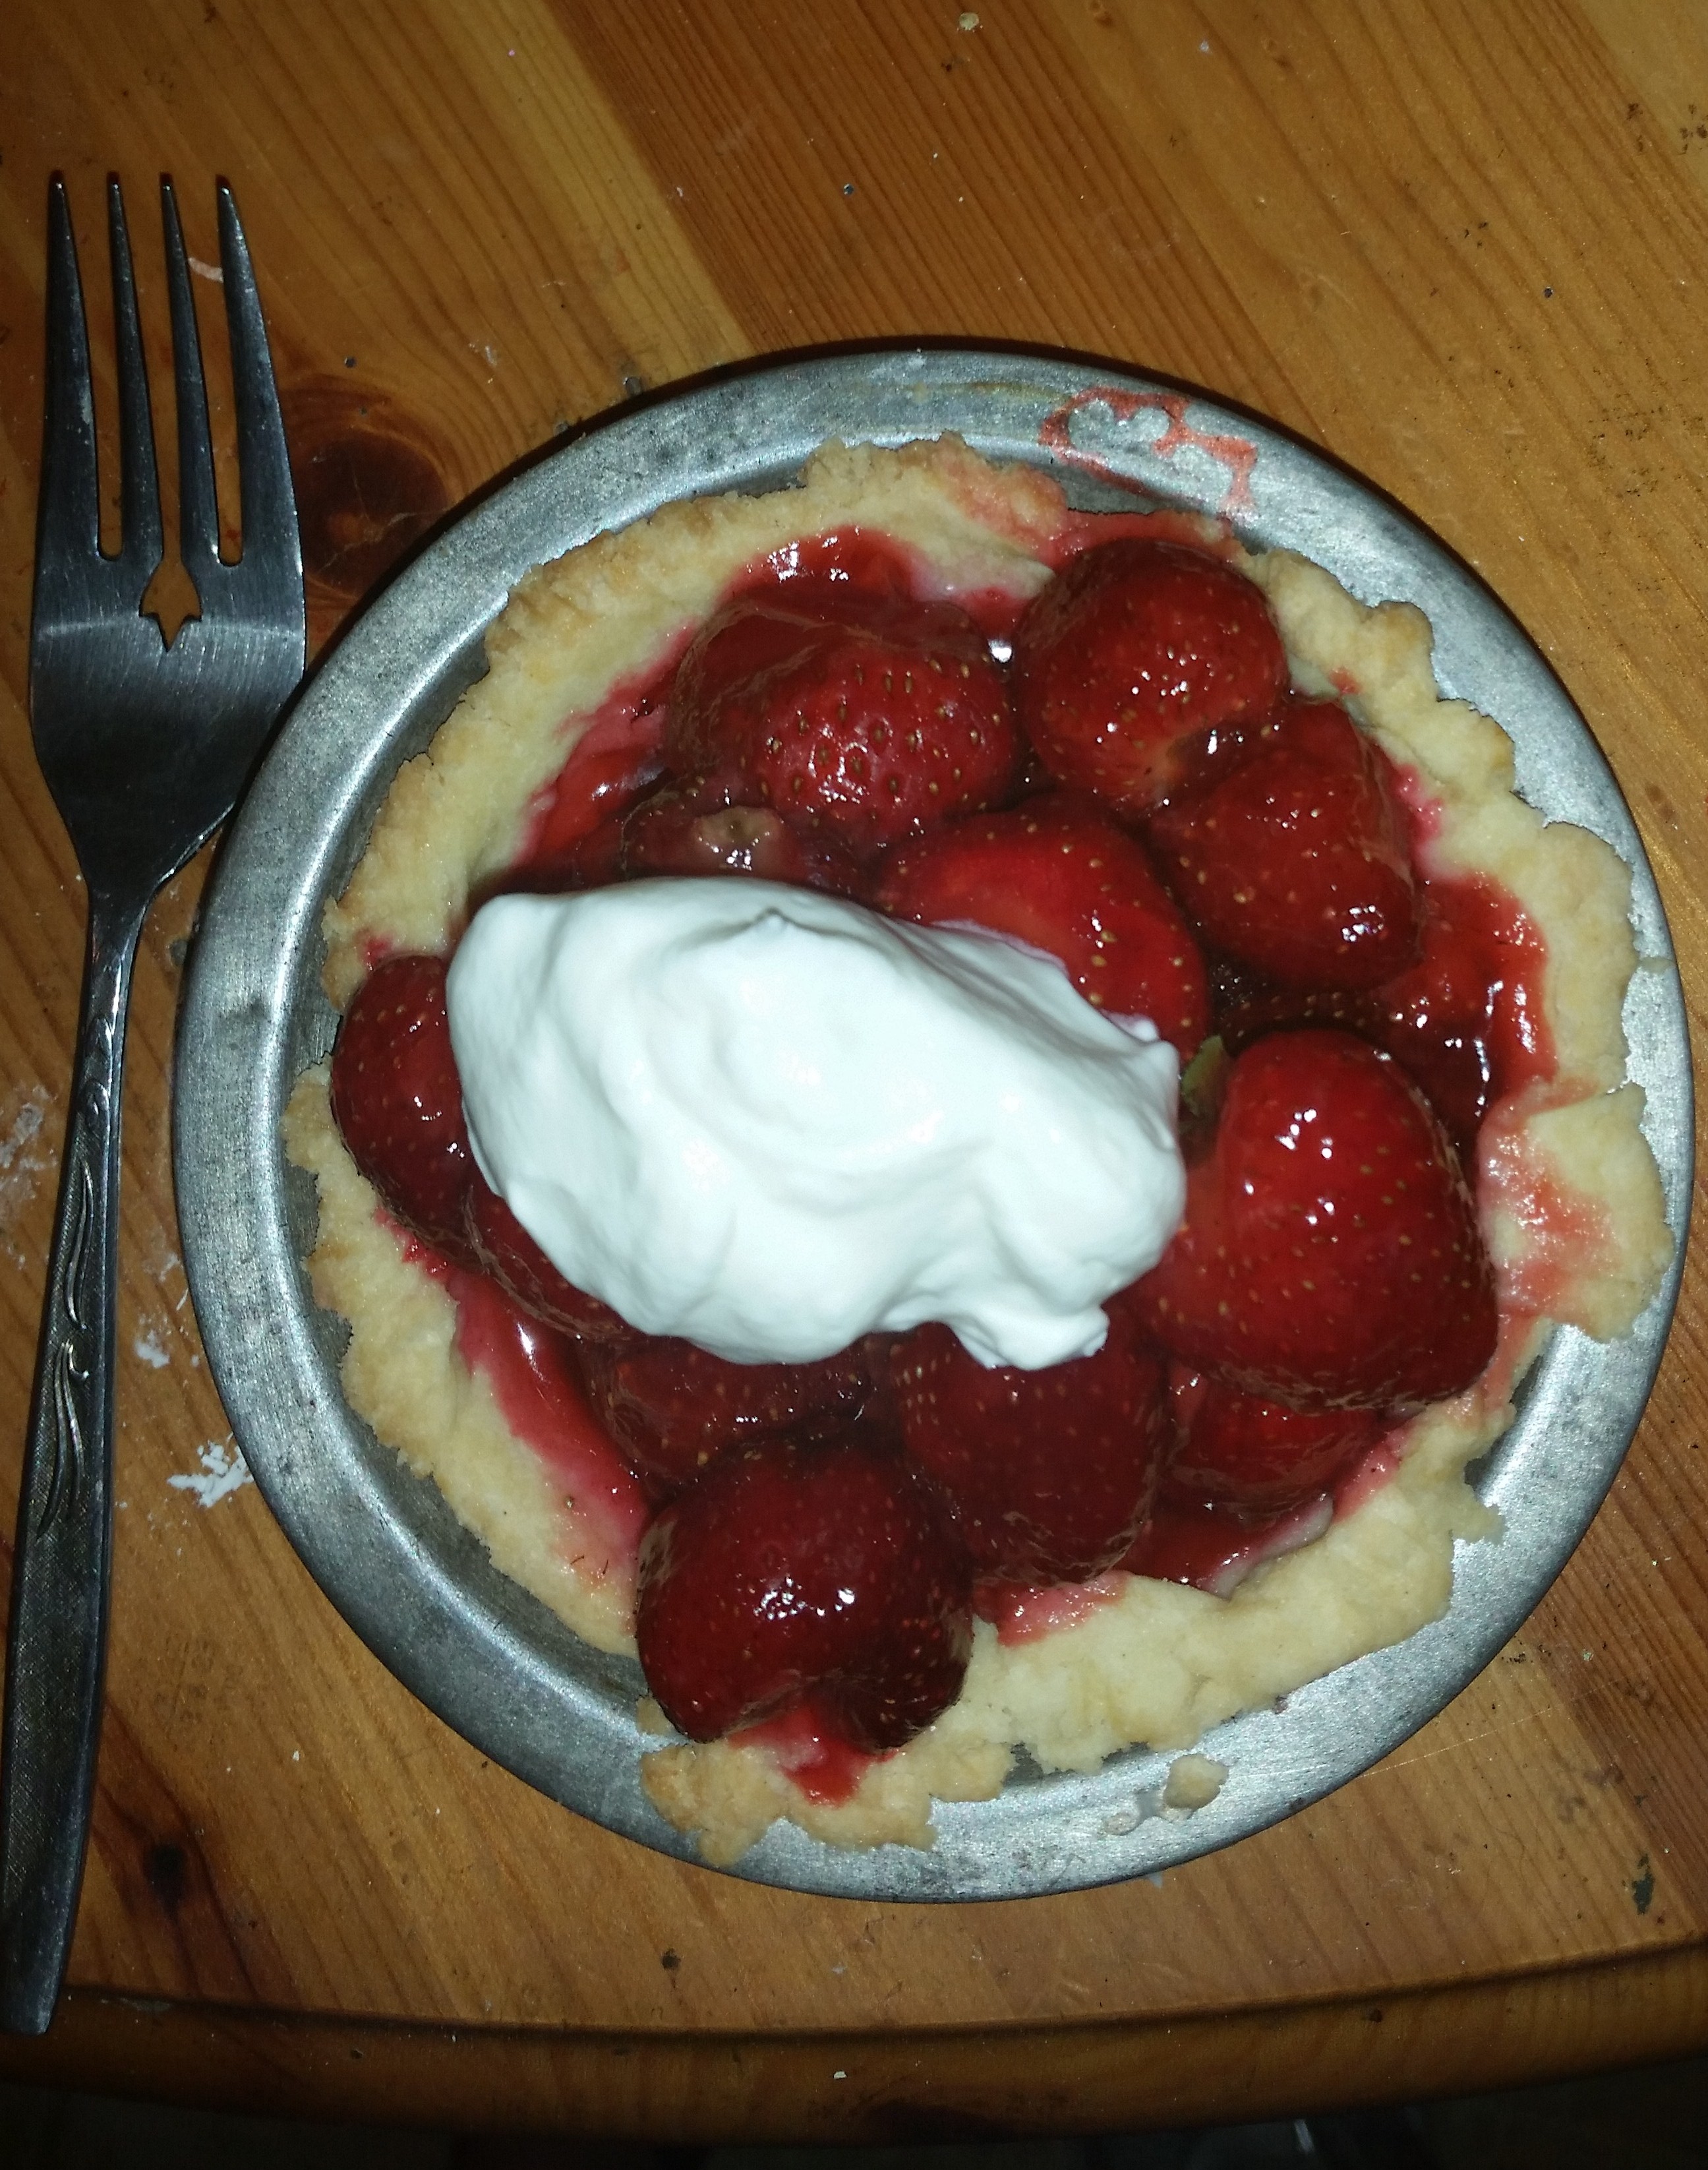
Chill 1-2 hours before serving.  Make some real whipped cream, the fake stuff will not be right; 1 cup heavy cream whipped with an electric mixer or a whisk until soft peaks, I like to chill the bowl and beaters a few minutes as it helps the cream whip faster.  Then add 2-3 tbsp powdered sugar and ½ to 1 tsp. vanilla.  Beat just a bit longer, until nearly stiff peaks.  Top each tartlet with the whipped cream.

Dive in, one deep dish tartlet is a substantial dessert.  If you make them in a flat bottomed round tartlet it will make more tartlets; less berries are needed to fill it.  I have a pair of those sort of pans; each pan makes 4 tartlets.  They would be a good alternative to the deep dish tartlet pan.

Either way this is a yummy dessert to share with someone you love.

Brown Rice Flour Mix– for crust
2 c brown rice flour

2/3 c potato starch

1/3 c tapioca flour

Pretty Tasty Pickles in a Big Jar

Some of us adore pickles and some dislike them.  If you are a pickle fan read on.  If not, read anyway as these are far better than the tired flabby canned pickles found at the grocery store.  A good gardening friend gave me this recipe.  It is really easy and rather fun to construct.  Even better is that you can pickle most any veggies. I have tried zucchini, carrots, cauliflower, green peppers and red peppers.  Of course, cucumbers are in there too!

You do need a couple grape leaves.  You might be able to find a neighbor with a grape vine.  I am betting you could use wild grape leaves from a state park or along a country road.   They really add to the authenticity of it so snag a few from somewhere.

Also needed are 3 dill heads (the flowers of a dill plant).  This might be more problematic but if you know a real gardener, aka someone like me, you can beg the dill heads as frankly they are not used much for cooking and I was happy to give some to the friend who gave me this recipe.  Grow your own dill for next summer; it is so easy to do and it does reseed and come back year after year.  Dill is lovely in potato salad and in other salads like my stuffed tomatoes which I plan to blog about later this week!

Refrigerator Pickles

2 cups white vinegar

¼ cup salt;  I used kosher salt in mine

4 cups water (I used 3 as my jar was slightly smaller than a gallon)

¾ cup sugar

————–

3 garlic cloves cut up

3 dill heads

2 grape leaves

Bring the first four ingredients to a boil in a sauce pan and let cool fully.  Put the other three ingredients in the bottom of a gallon jar.  Cut up your veggies and pile in the jar.  Top with the vinegar mixture. Put on the lid. Put in the fridge and let marinate for 3 days before trying it.

I have used pickling cucumbers, regular cukes, short zucchini spears, broken up cauliflower heads, thin slices of white turnip and pepper strips.  pickle jar  I want to try broccoli next!  Maybe celery?

My grandson who is three and a half clamors for the pickle jar to come out when he eats meals here.  I say, eat your lunch and you can have some pickles! He gobbles up his food and waits expectantly for me to fish out a pickle or two.

I like how fresh they are and how crunchy the pieces still are. Plus they have no additives or preservatives.  Naturally gluten free is important to those of us with wheat allergies.

You can keep adding veggies as you use them up.  I think the tough part is fishing them out of the jar.  The other day I lost a fork in there but luckily it didn’t go to the bottom of the jar; a cuke round stopped its descent! Now, go pickle fresh veggies and have some fun with it….

Bread Worth the Work; GF AND Tasty!

Baking tasty gluten free bread is sort of the Holy Grail for us folks with celiac disease.  I miss the flavor and texture of good quality bread.  I have tried many recipes that left me dissatisfied with the bread I baked.  In years past I used to make many different types of yummy wheaty bread.  The truth is that without the protein in wheat flour it is difficult to make satisfying gf bread.

Early this winter I discovered a website “Gluten Free on a Shoestring” by Nicole Hunn and bought the cookbook that had just come out “Gluten Free on a Shoestring Bakes Bread.” I have made some of her recipes and had moderate success.  I will say that her breads are generally really good the first day you bake them.  I often freeze my leftovers before going to bed so they remain tasty.   I have made her pretzel rolls, lean crusty whole-grain bread and submarine rolls (from her website).  This week I made two of her recipes and I want to tell you about the bread.

It is zucchini yeast bread. Unusual because it is a savory bread, not a sweet dessert bread. Plus it has to chill in the fridge for at least 12 hours! I made the dough up Friday night and put it in a greased bowl, covered it with plastic wrap and put it in the fridge.  This chilled resting period allows for better texture and ease in forming the bread dough.  I shaped it Sunday afternoon, let it rise a bit more than an hour and popped it in the oven. Forty minutes later it was done, golden brown, raised a bit and smelled spectacular.  I took it to my mom’s for Sunday supper along with my best friend Bernie who was my college roomie and my goddaughter Danielle, her firstborn.  We had slices with our vegetarian dinner as Danielle doesn’t eat meat.

It was spectacular, fragrant, moist, crisp crust.  I could almost swear it had cheese in it and I knew it didn’t!  Second slices were had and I was so proud of a gf bread which hasn’t happened very often.

Her flour mixes are a bit complicated and some of the ingredients are pricey but if you just want the best bread I would say her recipes are a must have so you can treat yourself to the tastiest gf bread I have ever enjoyed.

Nicole Hunn’s website is “Gluten Free on a Shoestring.”  Check it out as it is chock full of her latest recipes.  She tries them out and showcases them on her blog before they appear in her books.  I believe she is about to bring out a cookbook where she re-creates gf a favorite commercial treat like the cookies and breads of Starbucks and the like.  It will be at least her fourth cookbook.

This bread alone is worth the effort of making up her special flour mixes; first you make her basic gf flour and then you use it to make her bread flour.  She uses whey protein powder to give the protein boast gf bread recipes need to allow for best flavor and texture.   There is also pectin powder in the flour mix.  These unusual ingredients allow her breads to be shaped and formed, even braided!   The doughs are tricky sometimes to work with but I am glad I am trying and I get to eat the tasty results!

Check out her website, http://glutenfreeonashoestring.com/ and try a recipe.  The zucchini yeast bread recipe is on it.  If you long for yummy tasting, fine textured bread Nicole Hunn is your baker to follow.  I use several gf cookbooks but for bread, her information is revolutionary and worth investigating.  Good baking!

My Eating Out Adventures on Vacation….In One Word…Yummy!

I have to say that eating out GF is easier in the city and in the more pricey restaurants.  My guess is that they have clientele who speak their mind and have asked for GF choices.  So when I was in Boston last week I was lucky enough to be invited out to Legal Seafood with my sister and her husband’s family.   They gave me a separate GF menu which noted what was safe for me and was quite extensive.  I had my food brought by a separate server whom I believed to be an assistant restaurant manager.  I have some incredible gluten free food including tempura deep fried calamari and a safe for me seafood casserole which was rather rich but totally yummers! Full of shrimp, scallops, lobster and scrod in a bed of sherry and cheese gf bread crumbs.  Crazy good!  Also had a couple of gf dinner muffins, two small raw oysters with a champagne mignonette.  Blood orange sorbet for dessert.

The other restaurant I ate at was called Davios.  Our very attentive waiter gave me a gf menu and discussed the options with me. I had gf gnocchi with mushroom sauce and it was fantastic. Then I enjoyed a fillet of halibut over roasted potatoes and corn, the fish was amazing and perfectly prepared.  I had tastes of the safe food my sister and her husband ordered before they put their forks into the dish. The gf bread was warmed slices and the napkin it came nestled in was a different color from the regular bread napkin, a visual signal to the server that it was gf. 

I was stuffed but someone ordered me a dessert; they didn’t want me to sit with nothing while they ate volcano cake with ice cream! I enjoyed a lovely bowl of ripe raspberries. Perfection and actually made my full tummy feel fantastic.

I had a gf hot dog at Fenway. It wasn’t that thrilling; the bun was near to stale.  But my ice cream bar made up for it; vanilla with a band of chocolate ice cream and coated in dark chocolate.  Same as I have had in the past and just as good. Great ball game, very enjoyable.  The GF stand did have a sign but it said “gluten friendly” and that is just plain weird!

In contrast to Fenway, last week I visited the gf stand and ate a gf hot dog at an Iron Pigs game. It was wonderful.  A big, juicy hot dog snugged in a tasty and not crumbly bun.  They also have a large sign saying Gluten Free and their menu says it too.  Well done Iron Pigs even if they lost the game 9 to 2.  I can’t wait to go back for another hot dog.

To summarize, it is always a good sign when a restaurant has a separate gf menu and when their servers are knowledgeable about what is safe and what isn’t.  Both of those things are reassuring to a celiac eating out and make the restaurant experience safer and less stressful. I was very lucky on my trip and did not feel ill or glutened.

Now if only I could get some more of that gf calamari…….and an Iron Pigs gf hot dog with lots of yellow mustard!

Image

Delicate Cheesy Quiche To Enjoy This Summer

Okay, if you are an ardent quiche hater you might be thinking that over again.  This quiche recipe may change your mind. It is not heavy or goopy and the light cheesey taste will win you over.

I like to use fresh veggies in it and my favorite versions always have bacon. If you dislike any of my chosen veggies or the bacon; change them.  Cubed ham will work very well too or make it just vegetarian.  Quiche is a nice summer supper; you can make it the day before and re-warm the slice slightly before serving.  It goes well with a salad or some fruity yogurt or a cup of soup.

This recipe has a rather unusual and easy crust. If you prefer something else just sub in your favorite non-sweet crust.  I have made it with my basic gf brown rice flour mixture pie crust but this is so easy and a different taste you may find growing on you.  Very healthy too!

Angie’s Quiche

Crust

1 tbsp butter

¾ cup toasted buckwheat grouts


Filling

4-6 slices bacon cut in to ½ inch chunks

1 onion sliced into medium width rings

1 cup zucchini slices; I cut the rounds in half

1 small 4 oz can mushroom pieces, drained

1 ¼ cup 1 percent plain cottage cheese

1/3 cup whole milk or half and half

3 large eggs

¼ tsp dried thyme

½ cup 1/3 inch cubes of swiss, Monterey jack or mild cheddar cheese

A sprinkle of paprika

Directions:

Cook the bacon until it is very close to done.  I like to use a cast iron pan.  Stir the bits often so they don’t stick or burn.  Turn off and decant on to a paper towel, leaving the bacon grease in the pan as much as possible.  I turn the heat back on, med high and sauté the onions for at least 5 minutes, until they soften.  I steam the zucchini slices until almost soft 3-5 minutes. Drain the zucchini slices well.  Put the onion slices/pieces on a paper towel to drain.

Rub the butter around the entire bottom and sides of a 9 inch metal pie pan.  Gently tip in the grouts and roll the loose ones so they stick all over the buttered pan.  Let the excess ones cover the bottom with a thicker layer.  I don’t always use all ¾ cup; sometimes I use a tad less.

Put the cottage cheese, milk, thyme and eggs in the blender.  Blend 30 seconds until smooth.

Gently, layer the bacon in the grouted pan, then the mushrooms, onions and zuke.  Sprinkle with the cheese cubes.  Carefully pour in the blended filling and sprinkle with paprika. Sometimes I don’t use zuke (the winter time when it isn’t as tasty) and sometimes I skip the cheese topping.  Occasionally I used smoked paprika for my sprinkling.

Bake 35 min at 325 degrees; maybe 5 extra minutes if it seems really squishy. It shouldn’t be too firm.  As it bakes the buckwheat swells up and forms a crust.  Let stand a minimum of 30 minutes before slicing.  I definitely use a knife around the edge and a pie server for loosening the bottom crust.

It keeps several days in the fridge if any is left over!  Cover it tightly with plastic wrap.  You can swap out the ingredients as you wish and as to your fridge can provide for fillings.  Just the blender ingredients should stay the same although I have used different milks; please do not use skim milk though because it is too thin and your quiche will not be as yummy as whole milk or half and half can make it.

FYI: buckwheat is not wheat, it is a seed and is somewhat related to rhubarb.  It has no gluten.  Some of you people may be familiar with buckwheat pancakes.  I make buckwheat gnocchi pasta which is yummy.  It is a good ingredient to add to your grain arsenal.

Do try this when the heat cools off a bit.  It only bakes 35 minutes so the oven isn’t running all that long.  Enjoy!