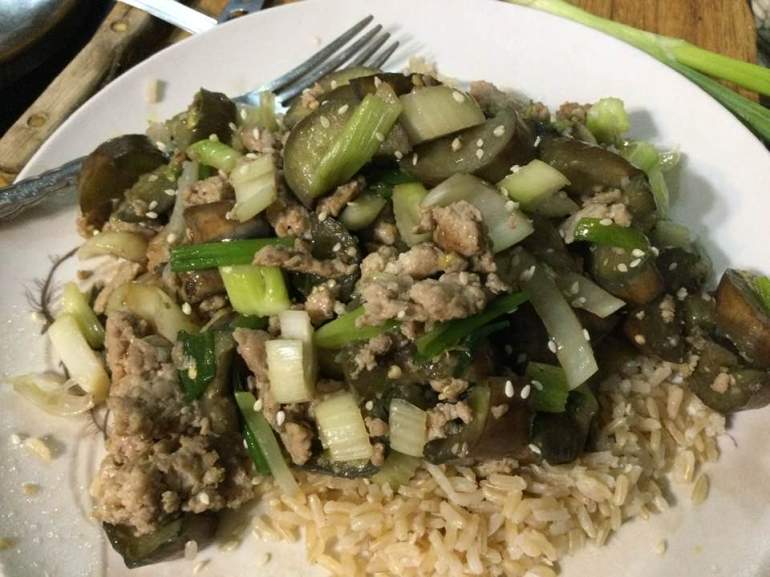
There is this recipe for chowed eggplant with ground pork that I make often when I can find skinny Japanese eggplants. Chowed means stir fried. It comes out great every time I make it, slight addiction is my position on this recipe. This latest version uses ground chicken thigh meat instead of ground pork. If you get tired of pork or don’t eat it chicken is an excellent choice. I bought it at Valley Farm Markets; their meats can’t be beat for flavor and value! I suppose you can used ground chicken breast too. Anyway, it worked very well.
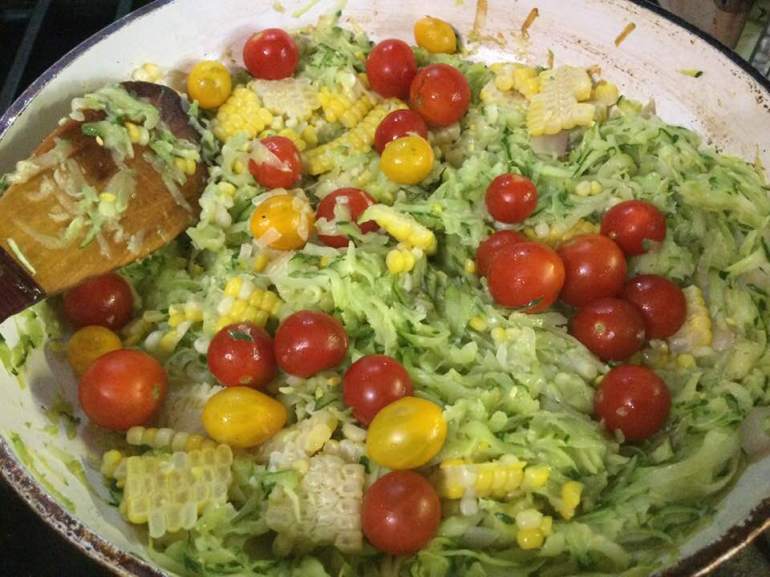
I often add veggies; last time it was some sticks of fresh zucchini from my garden and a bit of sliced cabbage. THis time I added celery rounds. Both times it was delish for sure. The original recipe is by Jeff Smith, out of his cookbook, The Frugal Gourmet Cooks Three Ancient Cuisines; China, Greece and Rome. It is full of great recipes; where I got my potsticker and other dim sum recipes. No judging here of Chef Smith; just enjoying great food…
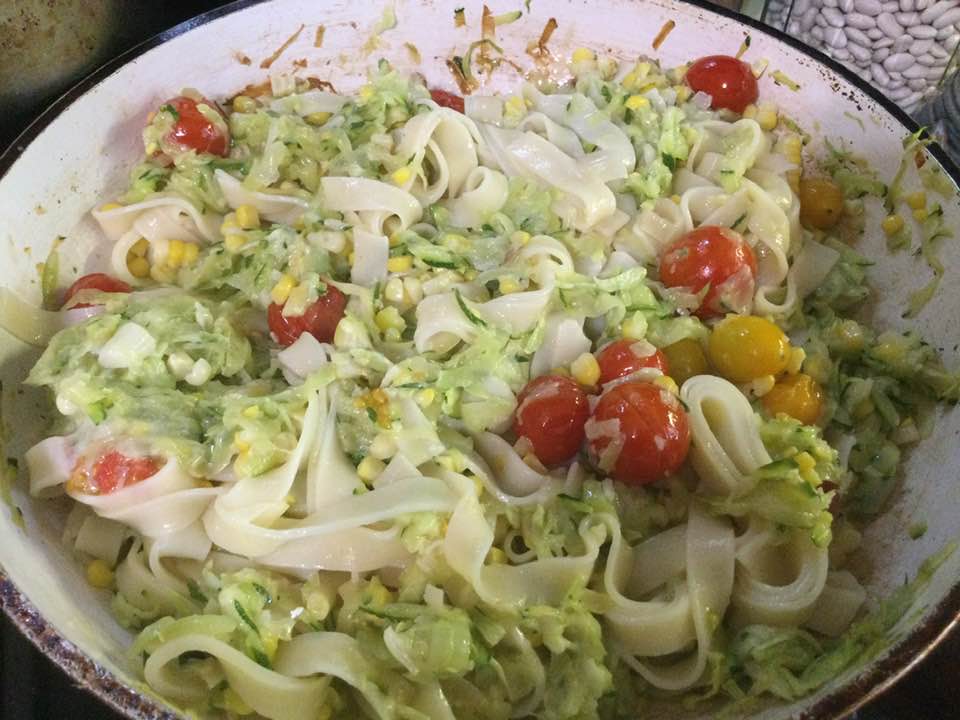
Notes; can change out zucchini and or cabbage, for green beans, celery, carrots, pea pods…but you can’t change out the eggplant. Ground pork is excellent this way as well. Can use yellow onion rather than green if you prefer; cook a bit longer than scallions if you do. You could also serve this with rice noodles; the wide kind you let soak in boiling hot water for ten minutes; that’s all the cooking it needs.


Angie’s Eggplant with Ground Chicken
1 lb skinny Japanese eggplant
1 tsp salt
½ tsp. light soy sauce, gf
1 ½ tsp. dry sherry or rice wine
½ tsp. grated fresh ginger
½ lob ground chicken, preferably thigh meat
2 tbsp. mild olive oil or peanut oil
2 cloves of garlic minced
3-4 green onions sliced in 1 to 2 inch lengths and cut in half if white part
1 cup zucchini strips; long rectangle shape
2/3-1 cup sliced green cabbage; not too thin
1 tsp. toasted sesame oil
Pinch sugar
Directions:
Cut unpeeled eggplants into ½ inch thick diagonal slices and cut each in half the long way. Sprinkle with salt, let stand ½ hour draining in a colander. Pat dry with paper towels.
Mix meat with soy sauce sherry and fresh ginger, let stand 20 to 30 minutes.
Slice or chop veggies.
Heat wok and add 1 tbsp. oil. Add ground meat mixture and flatten a bit; cook until browned lightly; flip over and brown other side; no pink showing; chop up with utensil and set aside. Add rest of oil and then garlic, cook 30 seconds, add eggplant, cook until it appears more than half done; about 5 minutes; then add zucchini and cabbage, stir for 4-5 minutes, add sesame oil and green onions. Stir a minute, add pinch sugar, wok until cabbage is crisp tender.

Serve with brown or white rice. I made my brown rice in my handy instant pot pressure cooker. I did a cup of long grain brown rice, 1 ¼ cup water, 1 tsp. oil, ½ tsp. sea salt; Manual high pressure for 20 or so minutes, ten minutes natural release. Easy peasy.
There is this recipe for chowed eggplant with ground pork that I make often when I can find skinny Japanese eggplants. Chowed means stir fried. It comes out great every time I make it, slight addiction is my position on this recipe. This latest version uses ground chicken thigh meat instead of ground pork. If you get tired of pork or don’t eat it this is an excellent choice. I bought it at Valley Farm Markets; their meats can’t be beat for flavor and value! I suppose you can used ground chicken breast too. Anyway, it worked very well.
I added some sticks of fresh zucchini from my garden and a bit of sliced cabbage. It was delish for sure. The original recipe is by Jeff Smith, out of his cookbook, The Frugal Gourmet Cooks Three Ancient Cuisines; China, Greece and Rome. It is full of great recipes; where I got my potsticker and other dim sum recipes. No judging here of Chef Smith; just enjoying great food…
Notes; can change out zucchini and or cabbage, for green beans, carrots, pea pods…but you can’t change out the eggplant. Ground pork is excellent this way as well. Can use yellow onion rather than green if you prefer; cook a bit longer than scallions if you do. You could also serve this with rice noodles; the wide kind you let soak in boiling hot water for ten minutes; that’s all the cooking it needs.
Angie’s Eggplant with Ground Chicken
1 lb skinny Japanese eggplant
1 tsp salt
½ tsp. light soy sauce, gf
1 ½ tsp. dry sherry or rice wine
½ tsp. grated fresh ginger
½ lob ground chicken, preferably thigh meat
2 tbsp. mild olive oil or peanut oil
2 cloves of garlic minced
3-4 green onions sliced in 1 to 2 inch lengths and cut in half if white part
1 cup zucchini strips; long rectangle shape
2/3-1 cup sliced green cabbage; not too thin
1 tsp. toasted sesame oil
Pinch sugar
Directions:
Cut unpeeled eggplants into ½ inch thick diagonal slices and cut each in half the long way. Sprinkle with salt, let stand ½ hour draining in a colander. Pat dry with paper towels.
Mix meat with soy sauce sherry and fresh ginger, let stand 20 to 30 minutes.
Slice or chop veggies.
Heat wok and add 1 tbsp. oil. Add ground meat mixture and flatten a bit; cook until browned lightly; flip over and brown other side; no pink showing; chop up with utensil and set aside. Add rest of oil and then garlic, cook 30 seconds, add eggplant, cook until it appears more than half done; about 5 minutes; then add zucchini and cabbage, stir for 4-5 minutes, add sesame oil and green onions. Stir a minute, add pinch sugar, wok until cabbage is crisp tender.
Serve with brown or white rice. I made my brown rice in my handy instant pot pressure cooker. I did a cup of long grain brown rice, 1 ¼ cup water, 1 tsp. oil, ½ tsp. sea salt; Manual high pressure for 20 or so minutes, ten minutes natural release. Easy peasy.