My World Without Wheat by Angela E. Drake continues here
Menu
Widgets
Social Links
Search
Author: Angela Drake
Angela Drakehttp://AWorldWithoutWheat.wordpress.comElementary school teacher, circulation desk clerk at my local library, mother of Kasey, Nonna to Aiden and Liam, volunteer at Musikfest, gardener, potter in stoneware, quilter, gf baker, hiker, camper, birdwatcher and addictive reader.......
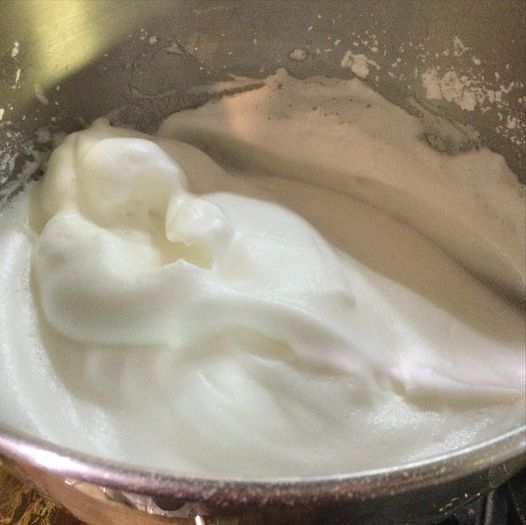
Have you ever heard of aqua faba? Means bean water and that is what it is; the water in a can of cooked chick pea beans. Aqua faba is used for making vegan whipped cream, no lie! It is pretty simple; drain the water from a can of chickpeas; only they are recommended; other beans make a poor substitute and have a very pronounced beany flavor. Put the liquid (should be ¾ cup from one can of chick peas) into a stand mixer bowl. Beat until foamy, add ¼ tsp cream of tarter which helps form a sturdy structure and beat for 9 or 10 minutes. In the last minute add 1 to 3 tsp vanilla extract and then 1/3 to 2/3 cup powdered sugar. Use immediately. Here is the site for more information: https://www.allrecipes.com/article/aquafaba/. I think the chocolate mousse sounds especially promising. It is rather similar to my mousse recipe other than it lacks the strong coffee and booze I add!
I looked into aqua faba whipped cream as my goddaughter was visiting and she is a vegan; I wanted to make a parfait for dessert and we got to talking about this interesting stuff. Neither of us ever made it but we were game to try it. We followed the recipe fairly closely. It looked a lot like whipped egg whites. I found it rather insipid but I am betting that if you make the chocolate mousse the chocolate will disguise the less than exciting flavor of this vegan fluff. Plus, I was out of vanilla so we made it almond flavored and skimped on that and the sugar. Maybe it needs more sweetness and a lot of vanilla to taste the best…. Let me know if you try it; curious what you think.
So, if you are just going gluten free let me give you some advice. Things to do, things you should get and things not to bother with. I wish I had read a column like that when I was first plunged into gluten free eating.
If you plan to make baked goods, I suggest a stand mixer in the KitchenAid family; nothing big; just a standard/classic model. So many gf breads need a long beating before you put them in a pan. The stand mixer is a workhorse in my gluten free kitchen, used for breads, cookies, muffins and other baked goods requiring a long beating. I also have attachments for shredding large amounts of cabbage, for grinding cranberries for relish and I just got some for rolling out sheets of pasta. There are attachments for making sausage, for grinding grain and for straining out seeds from veggies and fruits. It’s a big investment but mine is 25 years old and still working despite my frequent usage.
I have a 8.5 x 4.5 heavy duty aluminum bread pan for gf quick and yeast breads. The taller sides and slightly narrowed width is particularly helpful for yeast bread rising. Definitely helpful to me as a baker. My pizza pan is heavy duty too. I have various baking sheets and pie pans sized to what I bake frequently. Sturdy muffin pans and English muffin rings are useful.
Yeap; this is my fav bread pan, full of quick bread. The ridge sides are taller than 9×5 pans; just makes a great loaf of bread.
A well-functioning oven is critical to gf baking; you need those even temperatures for sure. I used to have a second oven with bottom heat; great for pizza and gf pie crusts. My current range is more traditional. I put my rack just above the oven bottom and my pie crusts come out perfectly browned. Just as good as the pizza oven I sadly gave up when it died.
You should get an instant read thermometer, use my constantly and it is great for temping proteins to know when they are ready. A set or two of solid measuring cups are vital as are 2 sets of measuring spoons and a liquids measuring cup; I have a one cup and a two cup size of those. A large, medium and small whisk set is needed as are spatulas for scraping bowls. I have a OXO pie crust rolling bag; very sturdy and well made; is a huge help in pie crust rolling; much better than the cheaper ones; the translucent silicon sides are excellent for the crust rolling process. My cheap one lasted a year; this OXO one is about 3 years old and in perfect condition.
Best pie roller bag ever!
I store some flours in my freezer; whole grain ones especially. Others are just in large storage jars in my kitchen and pantry. I have tried many mixes and brands and find a few are my favorites; King Arthur basic gf flour is my workhorse blend. I also really like Better Batter for a host of recipes especially quick breads. Kim’s GF Flour blend is wonderful for making pizza and focaccia. I made an old school muffin mix to use for cobblers Bette Hagman’s book, More from the Gluten-Free Gourmet – You can find the mix recipe in my post: https://myworldwithoutwheat.com/2020/05/20/rhubarb-cobbler-spring-treat/
When starting out start slowly. Look at recipe comments and try new things. I do want to give a shout out to King Arthur’s website and their large amount of wonderful gf recipes. They are well tested; work every time and have great flavor and texture. Their chocolate chip cookies are the bomb! I also love their cake mixes they sell; makes a bigger double layer cake than other brands of available store gf mixes.
Things I don’t care for: quinoa flour and almost all bean flours. Chickpea flour has some specific recipes it works well in. I avoid using all white flours except in a few cases as it is pretty devoid of nutrients and of flavor. I make a great French bread and I subbed in brown rice for white rice flour; much better flavor. Look at my most recent pizza dough recommendation; this one is a game changer; must try it; easy to do and it makes enough for two crusts.
Rediculously good crust…and easy to make.
There are many cookbooks available. My hands down favorite is Annalise Roberts, Basic Gluten Free Baking. Her pie crust is perfection. I love her muffins, the waffles are the best and the chocolate cake is excellent. She has another one full of heritage recipes which has proved to be a super source of party desserts. Maybe you should read some of my blog posts for ideas of what to make/bake. I had some excellent blueberry muffins my neighbor made with Bob’s Red Mill 1 to 1 blend; so tender and delicious. I had shied away from that blend for a long while but those muffins totally changed my mind.
Don’t let anyone tell you that gf baked goods always taste bad; not the least true. My mom swore for years that my gf angel food cake had to be made with all purpose(gluten) flour. I had to swear that I never ever bake anything with gluten-based flour to convince her.
great crust helps make a great tartThe Daffodil Cake!
So get out there and bake some good stuff. I never post a recipe unless I make it for myself and most of them, I made over and over again. They are all delicious things you can feel confident in making. Enjoy baked good again. Really.
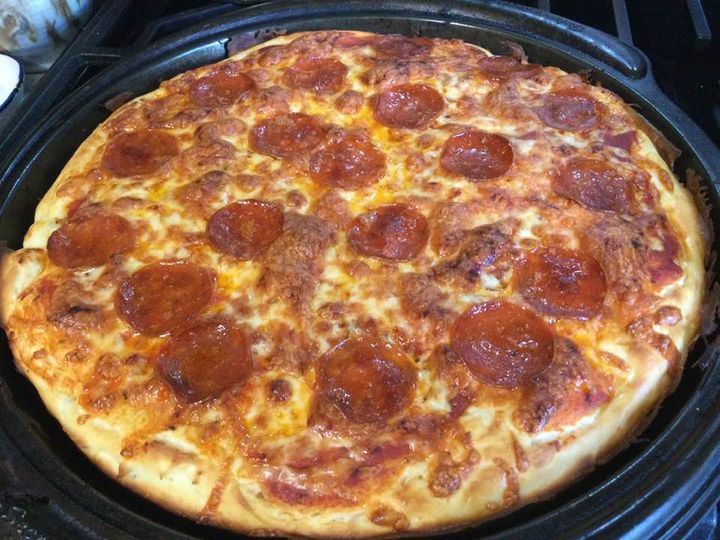
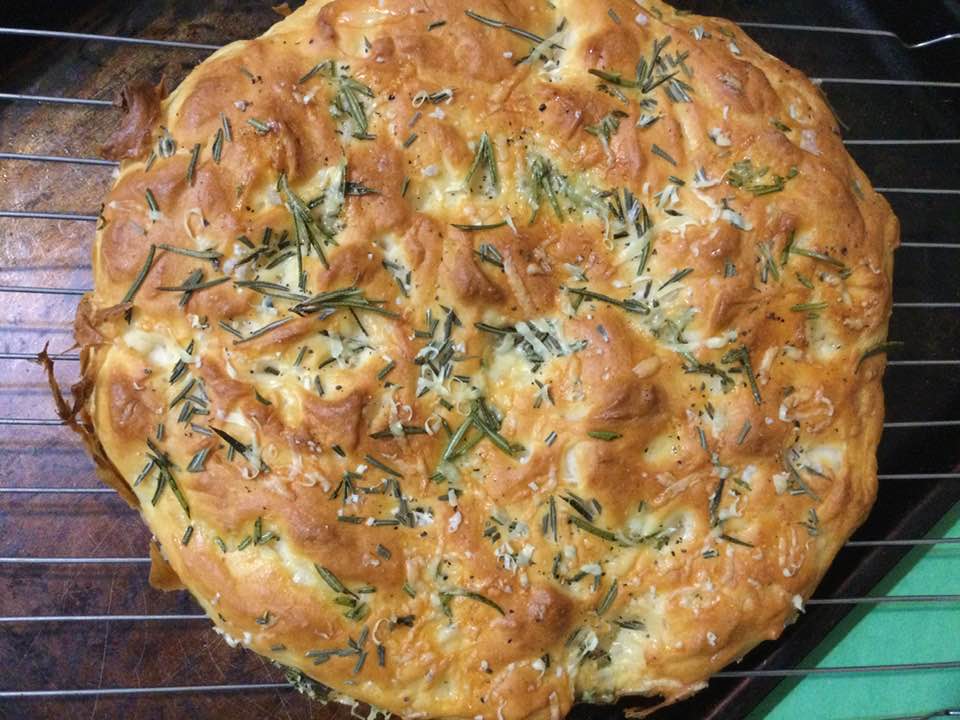
Pizza is a tough food to replicate gluten free. For a year I didn’t really try. I finally attempted one by Annalise Roberts. It has that thin crust which is almost cracker like. Not bad in flavor and definitely better than ones I get in restaurants or buy premade. I have made that crust many times. Then, a revolution – this winter I found this awesome pizza dough that makes the best focaccia bread that I have every made crust ever; crispy bottom and soft top. Perfectly delicious bread to go with an italian meal. And then I discovered that it makes a wonderful pizza too. Have made both several times.
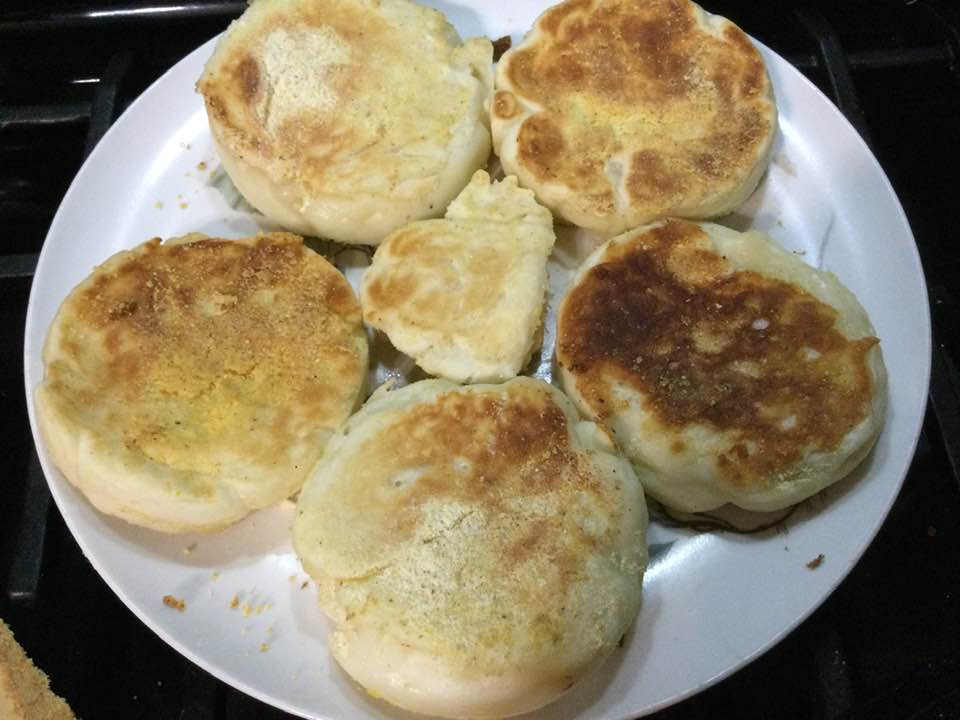
This week I used some of the dough to make English Muffins; the first half became a pizza of epic beauty and lovely flavor. The muffin recipe is actually the base recipe for the other two foods. Oh, my goodness; they are definitely the best English muffins I have made since going gluten free. Thank goodness I bought English muffin rings years ago; that recipe back then didn’t work but this one does. It’s a keeper; the texture, flavor, looks, taste; all is much better than any others I have made. I love that it is “baked” under a lid on your griddle or electric fry pan. I used my cast iron griddle on a low setting.
Best process is if you let the dough rise 2 hours in your kitchen warmth and then refrigerate it for 4-10 hours or overnight. It can be used as soon as you take the bowl out of your fridge.
It contains white rice flour, cornstarch, potato starch, tapioca starch, and xanthan gum. Super easy to do with a good scale. And these are fairly standard ingredients; nothing too weird. Far cheaper too than buying those 1 to 1 mixtures or any gf blended flour. Totally worth it! You make enough flour blend for like 4 pizzas. The recipe makes enough for two 12-14 inch pizzas or 2 focaccias. I like to do a pizza and on a second day something different from the remaining dough. It will keep for several days in the fridge. That’s timesaving; one dough; two recipes.
I did the focaccia first, then tried pizza…was blown away by it and this week the English muffins flipped my lid with their texture, looks and flavor. They all are just fabulous in texture and flavor. Really head turning for me for how close they came to all purpose flour baking of my past…may not be as healthy as a multigrain dough but it sure brings back good memories and is so enjoyable. If you bake gf; this dough is super easy to make in a stand mixer and let rise, chill it and make a great pizza. Just plan for it as the dough is better if it has that refrigeration period. Ditto for the English muffins although the round tin molds make them look just perfect. I used a thick pizza pan to make my new favorite pizza and a cast iron frying pan for the focaccia; no kneading, no super liquid messy stuff; it is sticky but it doesn’t need much forming. I promise you won’t be disappointed. Enjoy!!
This pie was revolutionary for me. Been debating buttermilk pie for a long time; felt chess pie (a southern standard) was too sweet and buttermilk pie sounded bland. Finally found a great recipe that wasn’t too sweet and had a perfect texture. It is from a great new cookbook; “Pie Academy” by Ken Haedrich. This was the first thing I baked from it. Won’t be the last. This guy knows pies!
FYI: It doesn’t have a strong buttermilk presence, more of an undertone. The main thrust is a delightful light caramel flavor and that creamy texture I was hoping for. It is otherwise neutral and perfect all by itself.
Of course, I made my pie gluten free; used my trusty favorite pie crust and put 3 tbsp. of King Arthur basic gf blend in it in place of all purpose flour.
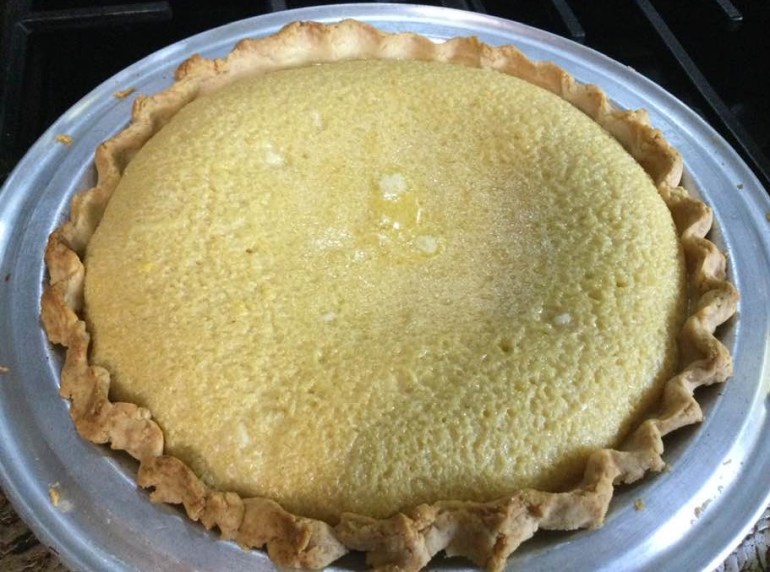
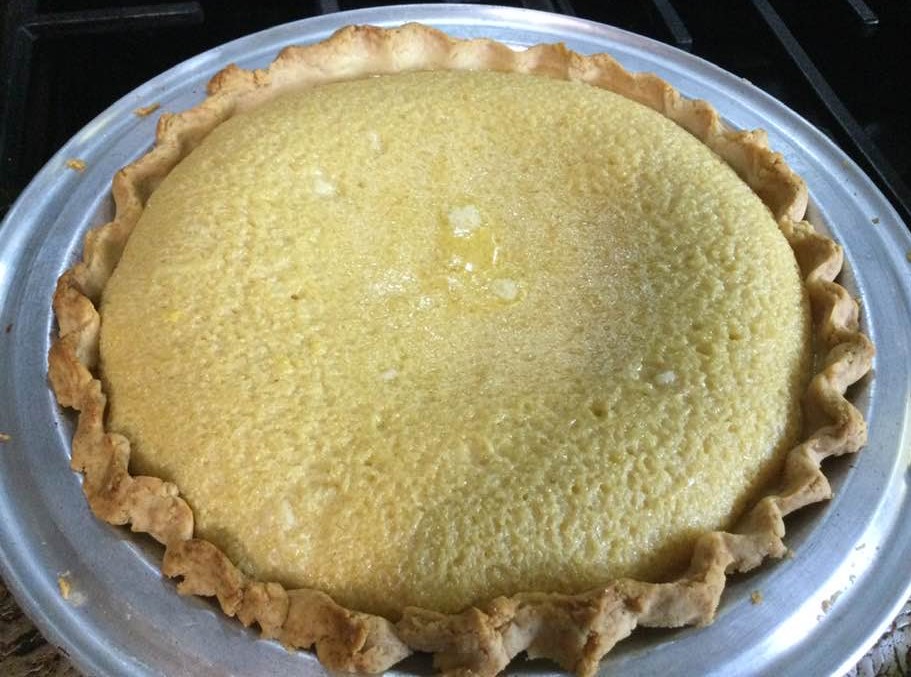
Just baked; kinda puffed up. It will settle back as it cools. Please do not eat this warm much less hot. Room temp is best! Don’t let it’s simple appearance fool you. It is a subtle blending of sugars, buttermilk, vanilla, eggs and butter. Mmmm…….
Indiana Buttermilk Pie
One pie crust; prebake it for 10 min at 375. I let mine cool about 10-15 min before filling it. Here’s my recipe:
1 c plus 2 tbsp King Arthur basic gf flour mix
2 tbsp sweet rice flour
1 Tbsp. granulated sugar
½ tsp xanthan gum
¼ tsp salt
6 Tbsp. cold butter cut into 6 chunks
1 lg egg
2 tsp fresh orange or lemon juice
Directions: Spray a nine inch pie pan with cooking spray, dust with white rice flour. Set aside. Half the time, no 90 percent of the time I don’t bother…
Mix dry ingredients in bowl of stand electric mixer. Add butter and mix until crumbly and resembling coarse meal. Add egg and juice. Mix until it comes together into big chunks. Shape into a ball with your hands. Put it on a crust sized piece of wax paper (14 x 14 inches more or less), flatten the crust ball some; put on top of it another piece of wax paper and chill it all in your fridge 15-20 minutes. Roll out and fit into pie pan, don’t leave the center too thick! Bake at 375 for 10 minutes. Let cool at least 10 min before filling.
Filling Ingredients:
½ c packed light brown sugar
½ c sugar
3 Tbsp flour (I used King Arthur basic gf blend)
1/8 tsp salt
3 lg eggs plus one yolk
1 tsp vanilla
1 ½ c. buttermilk
3 tbsp. unsalted butter; melted
Directions: I used my stand mixer (you can use a food processor too or even a portable mixer). I put the dry ingredients in the bowl and mixed them briefly. Add the eggs and yolk and mix well. Add rest of ingredients; blend until all smooth; check to make sure the very bottom got blended too. Oven should be 350 degrees. Put pie shell on a baking sheet or pie drip pan and carefully pour in the creamy mixture. Bake on lowest shelf for about 40 min. Do not let it come out jiggly; should be fairly firm. Let cool on rack until room temperature before slicing. It is also nice chilled. Enjoy!
Something sort of sweet for a spring weekend, no fresh fruit available in the house. But I have a bag of pecan halves. Perfect. I wanted a whole tart not some small individual tarts like I’ve made in the past so I just used my long rectangular tart; it worked great, correct amount of filling. You can also use a 9 inch round tart pan . A rectangular one is kinda fun to cut in narrow slices across the width. And a tart is not quite as thick as a pie; I like the crust and filling proportions.
Notes: You have to use dark corn syrup. Yes, I know corn syrup is an unhealthy item but sometimes you just have to go wicked! It’s worth it, I promise. Cross my heart. Oh and NO margarine. Butter! Or Earth Balance if you don’t eat real butter.
This tart was awesome as is but are also great with some freshly whipped cream or vanilla ice cream which is quite popular at my house.
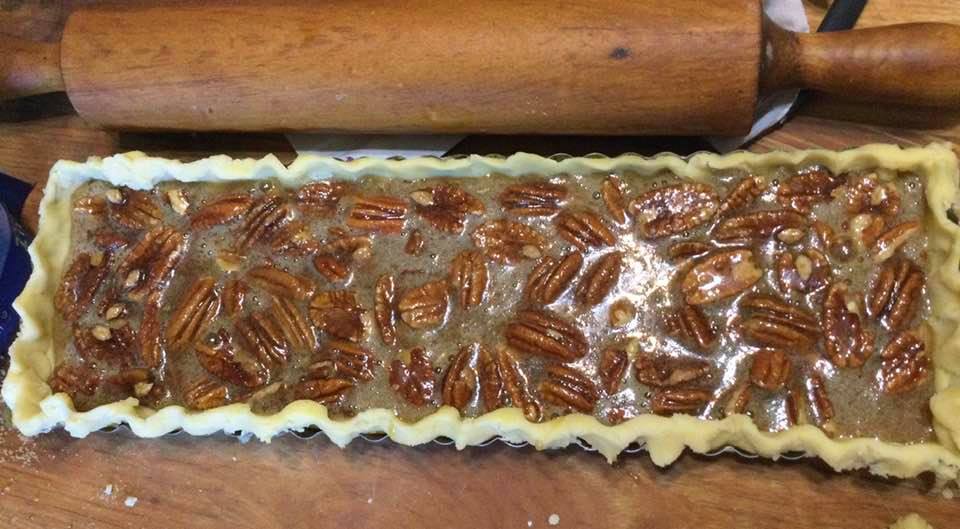
Ready for the oven….
Angie’s GF Pecan Tart
Crust:
1 c plus 2 tbsp brown rice flour mix (at bottom of recipe)
2 Tbsp sweet rice flour
1 Tbsp granulated sugar
½ tsp xanthan gum
¼ tsp salt
6 Tbsp cold butter cut into 6 chunks
1 large egg
2 tsp fresh orange or lemon juice
Crust directions: Mix dry ingredients in bowl of stand electric mixer. Add butter and mix until crumbly and resembles coarse meal. Add egg and juice. Mix until it comes together into big chunks. Shape into a ball with your hands. Put it on a crust sized piece of wax paper (14 x 14 inches more or less), flatten the crust ball some; put on top of it another piece of wax paper and chill it all in your fridge 15-20 minutes while you get the rest ready.
Filling:
2 large eggs
1/3 c sugar
1/4 tsp sea salt
2 and a half tbsp. melted butter
1/2 cup dark corn syrup
1 cup pecan halves
Sprinkle cinnamon
Filling: Beat eggs, sugar, salt, butter and corn syrup in a bowl until well mixed, can use a hand held mixer. Stir in pecans and a good sprinkle of cinnamon.
Assembly: Roll out pie crust between the two long sheets of wax paper; try to get the thickness even, no thick middle! Peel off one side of paper and lay in long rectangluar tart shell or a round one if that’s what you got. Crimp edges all around. Fill your shell with pecan mix. Bake in a preheated 375 degree oven on a low shelf for 25 or so minutes until set and crust edges lightly browned. Cool at least 1/2 hour before serving warm or at room temperature or even slightly chilled.