Fennel Italian Bread, Fantastico!

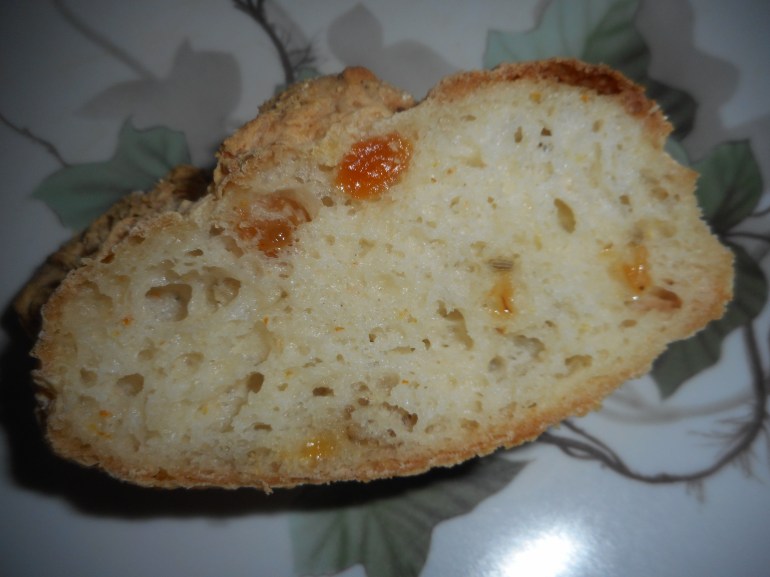
When my family asks for French bread I have just one great recipe I love: the base recipe for this posted bread is my go-to recipe.  It always tastes great; the original came from food.com, I have modified that recipe somewhat. I think it is better for my changes.  I have made it like 10 times.  This is a recent variation I created adding some extra ingredients. I think it isn’t too raisiny: the golden chunks are very attractive and tasty in the fresh bread.  The fennel is critical to make the flavor pop while the orange zest adds a nice undertone. This is the best bread I have made since going gluten free.

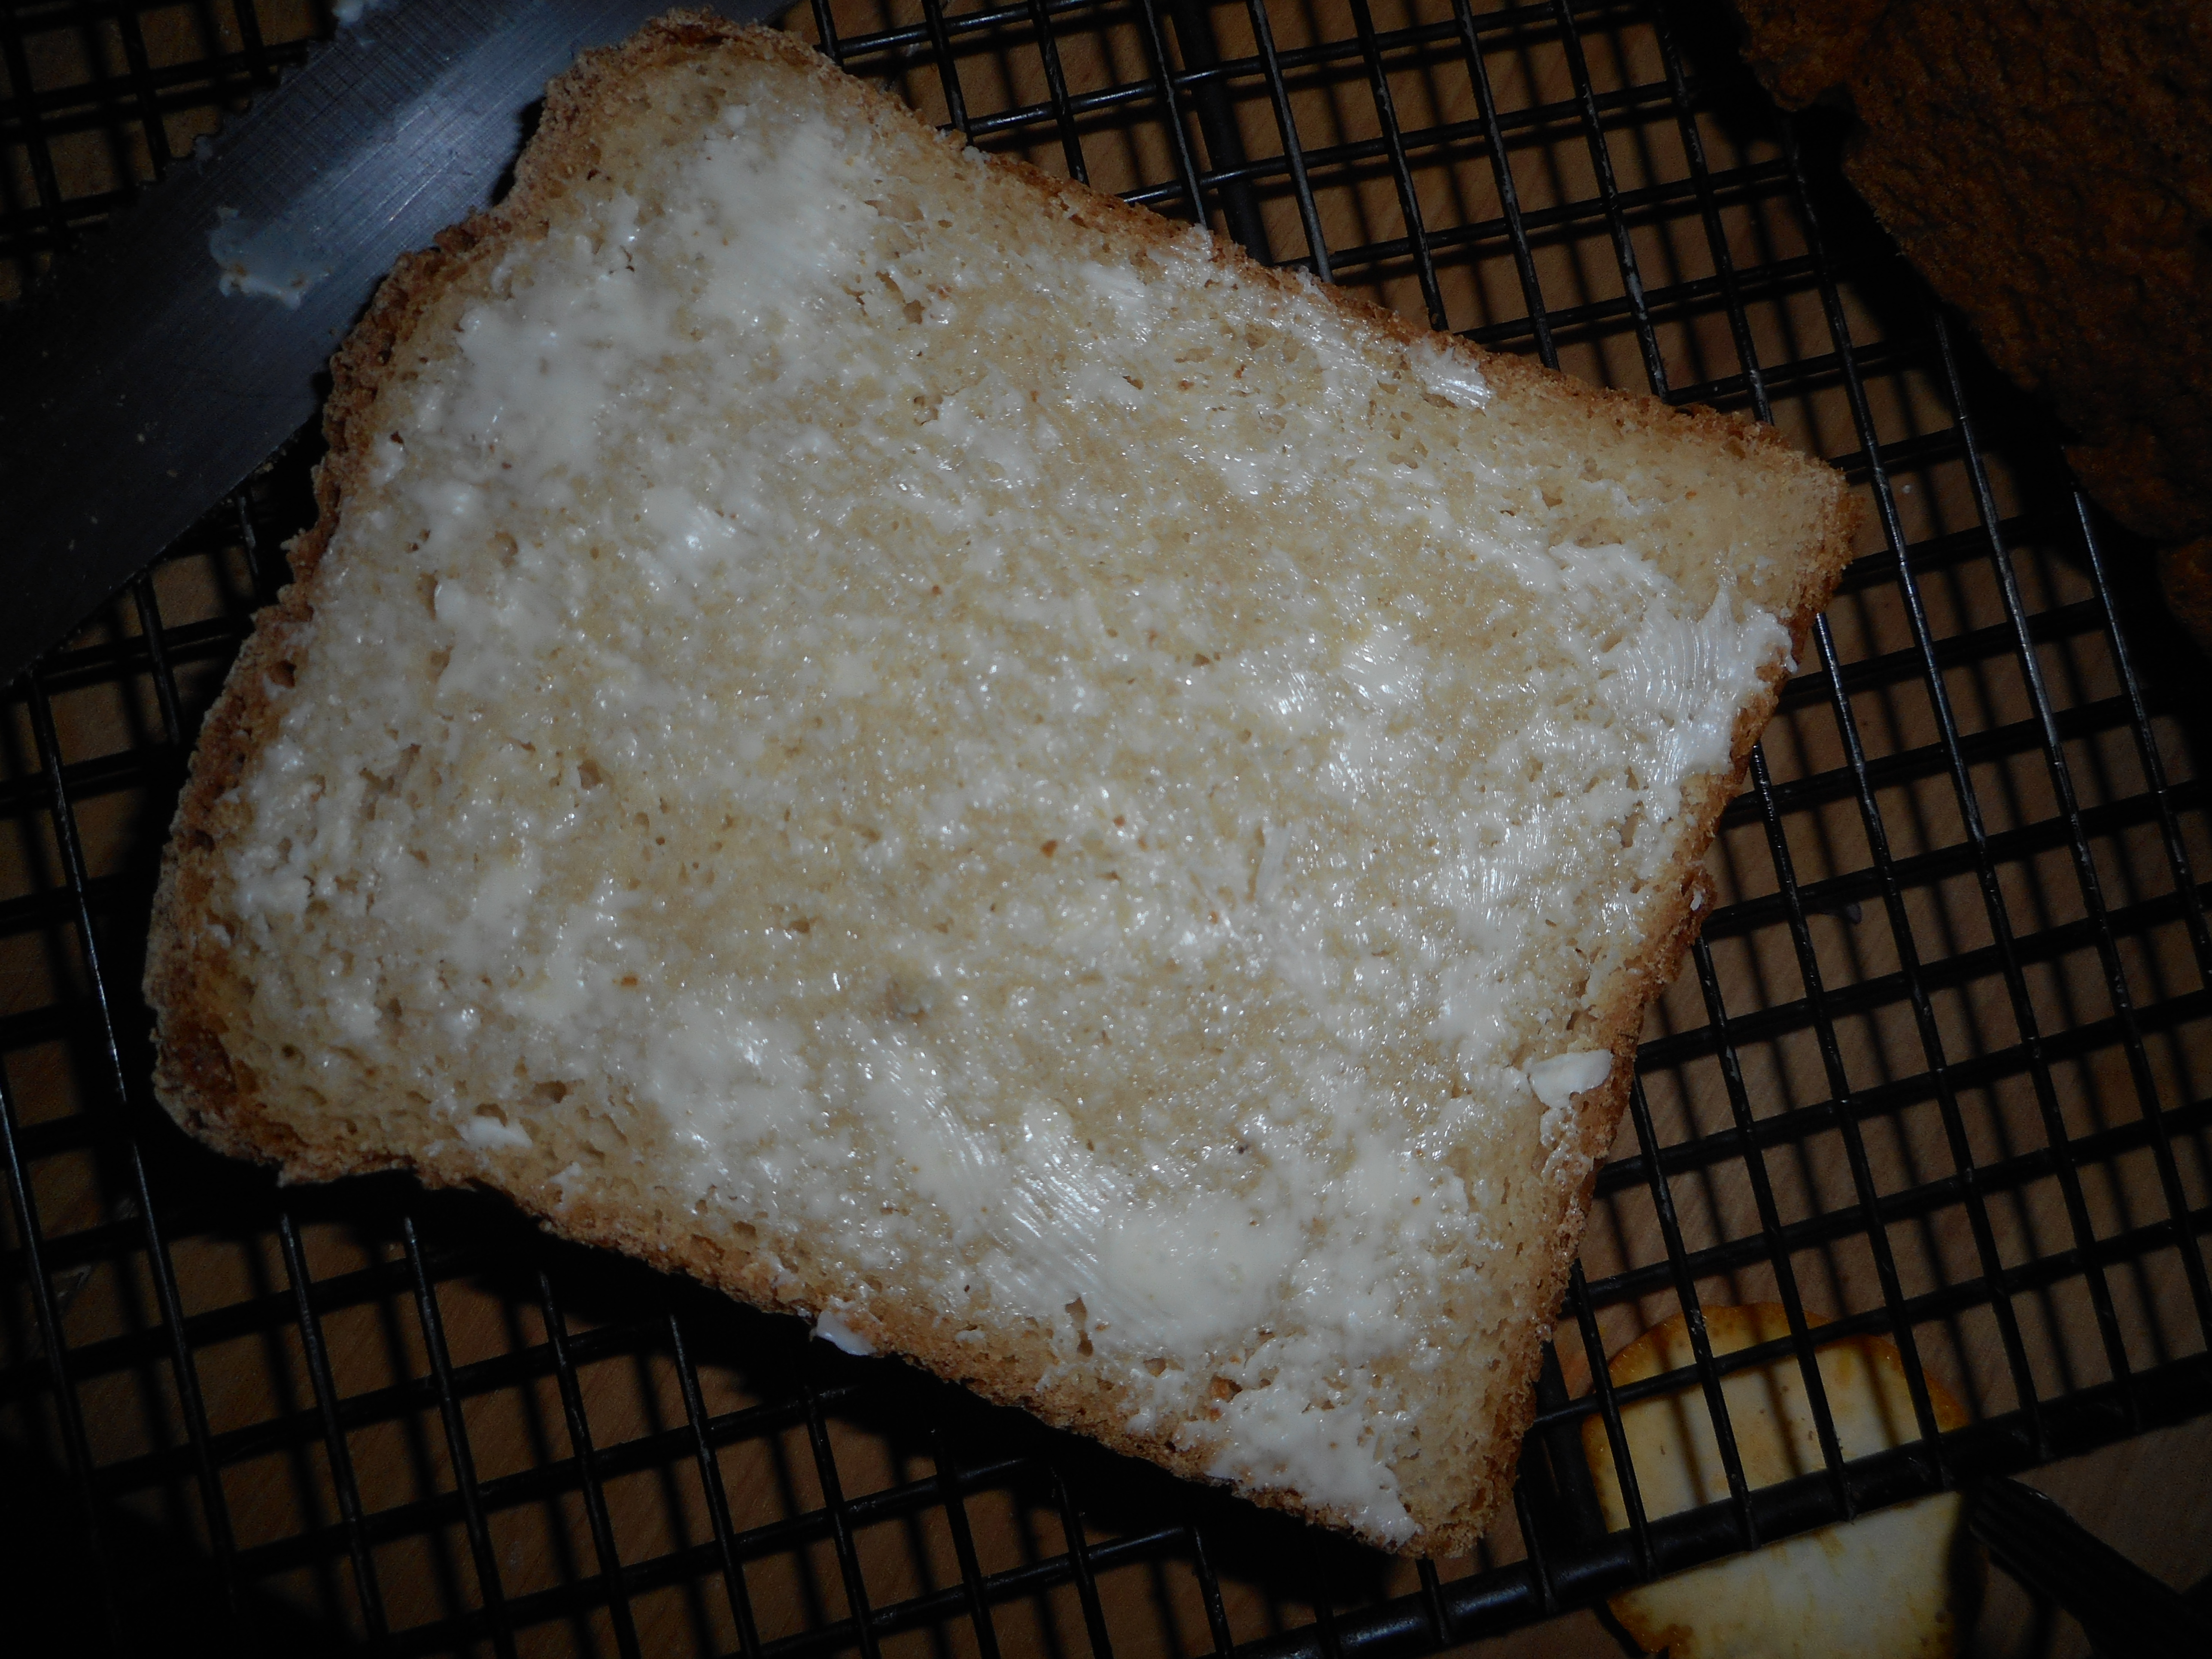
I served it to my family with some homemade shrimp cannelloni and it was a perfect combination.  You can butter your slice for extra yumm but it is still delish without butter. I bet it would go great with ham for Easter luncheon.

This dough is very easy and quick to mix up.  You need to keep an eye on it rising; should be in a warm but not hot location.  Sometimes I turn on my oven and let it heat to 105 degrees upon which I turn it off and put in the bread.  Just warm enough and no drafts inside there.  Once it is getting close to ready you need to preheat the oven; take the bread out first if yours is rising in there!

My sisters loved this bread, Karen said it was like a “religious experience” eating it; she had four slices! Snuck the fourth when I left the room to get some water… And they both love good French bread and are not GF either so if they adored it that says something!

It is still tasty the next day.  I think it would make fantastic French toast. 

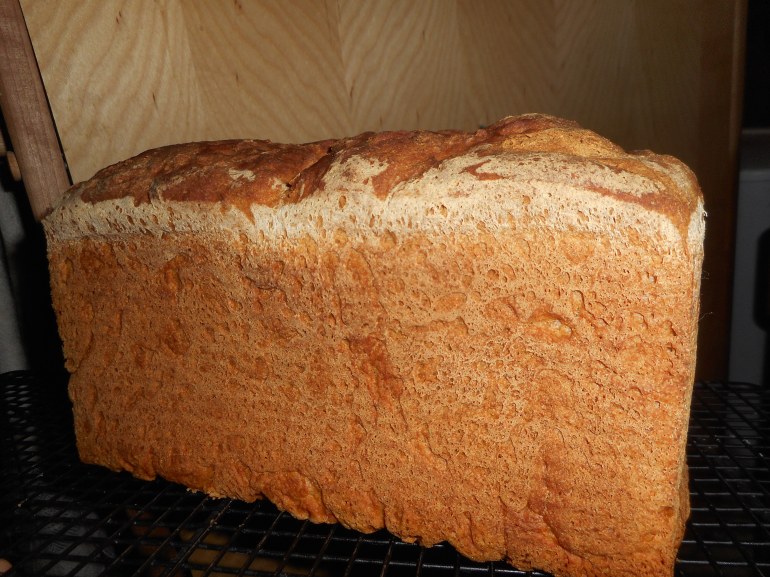
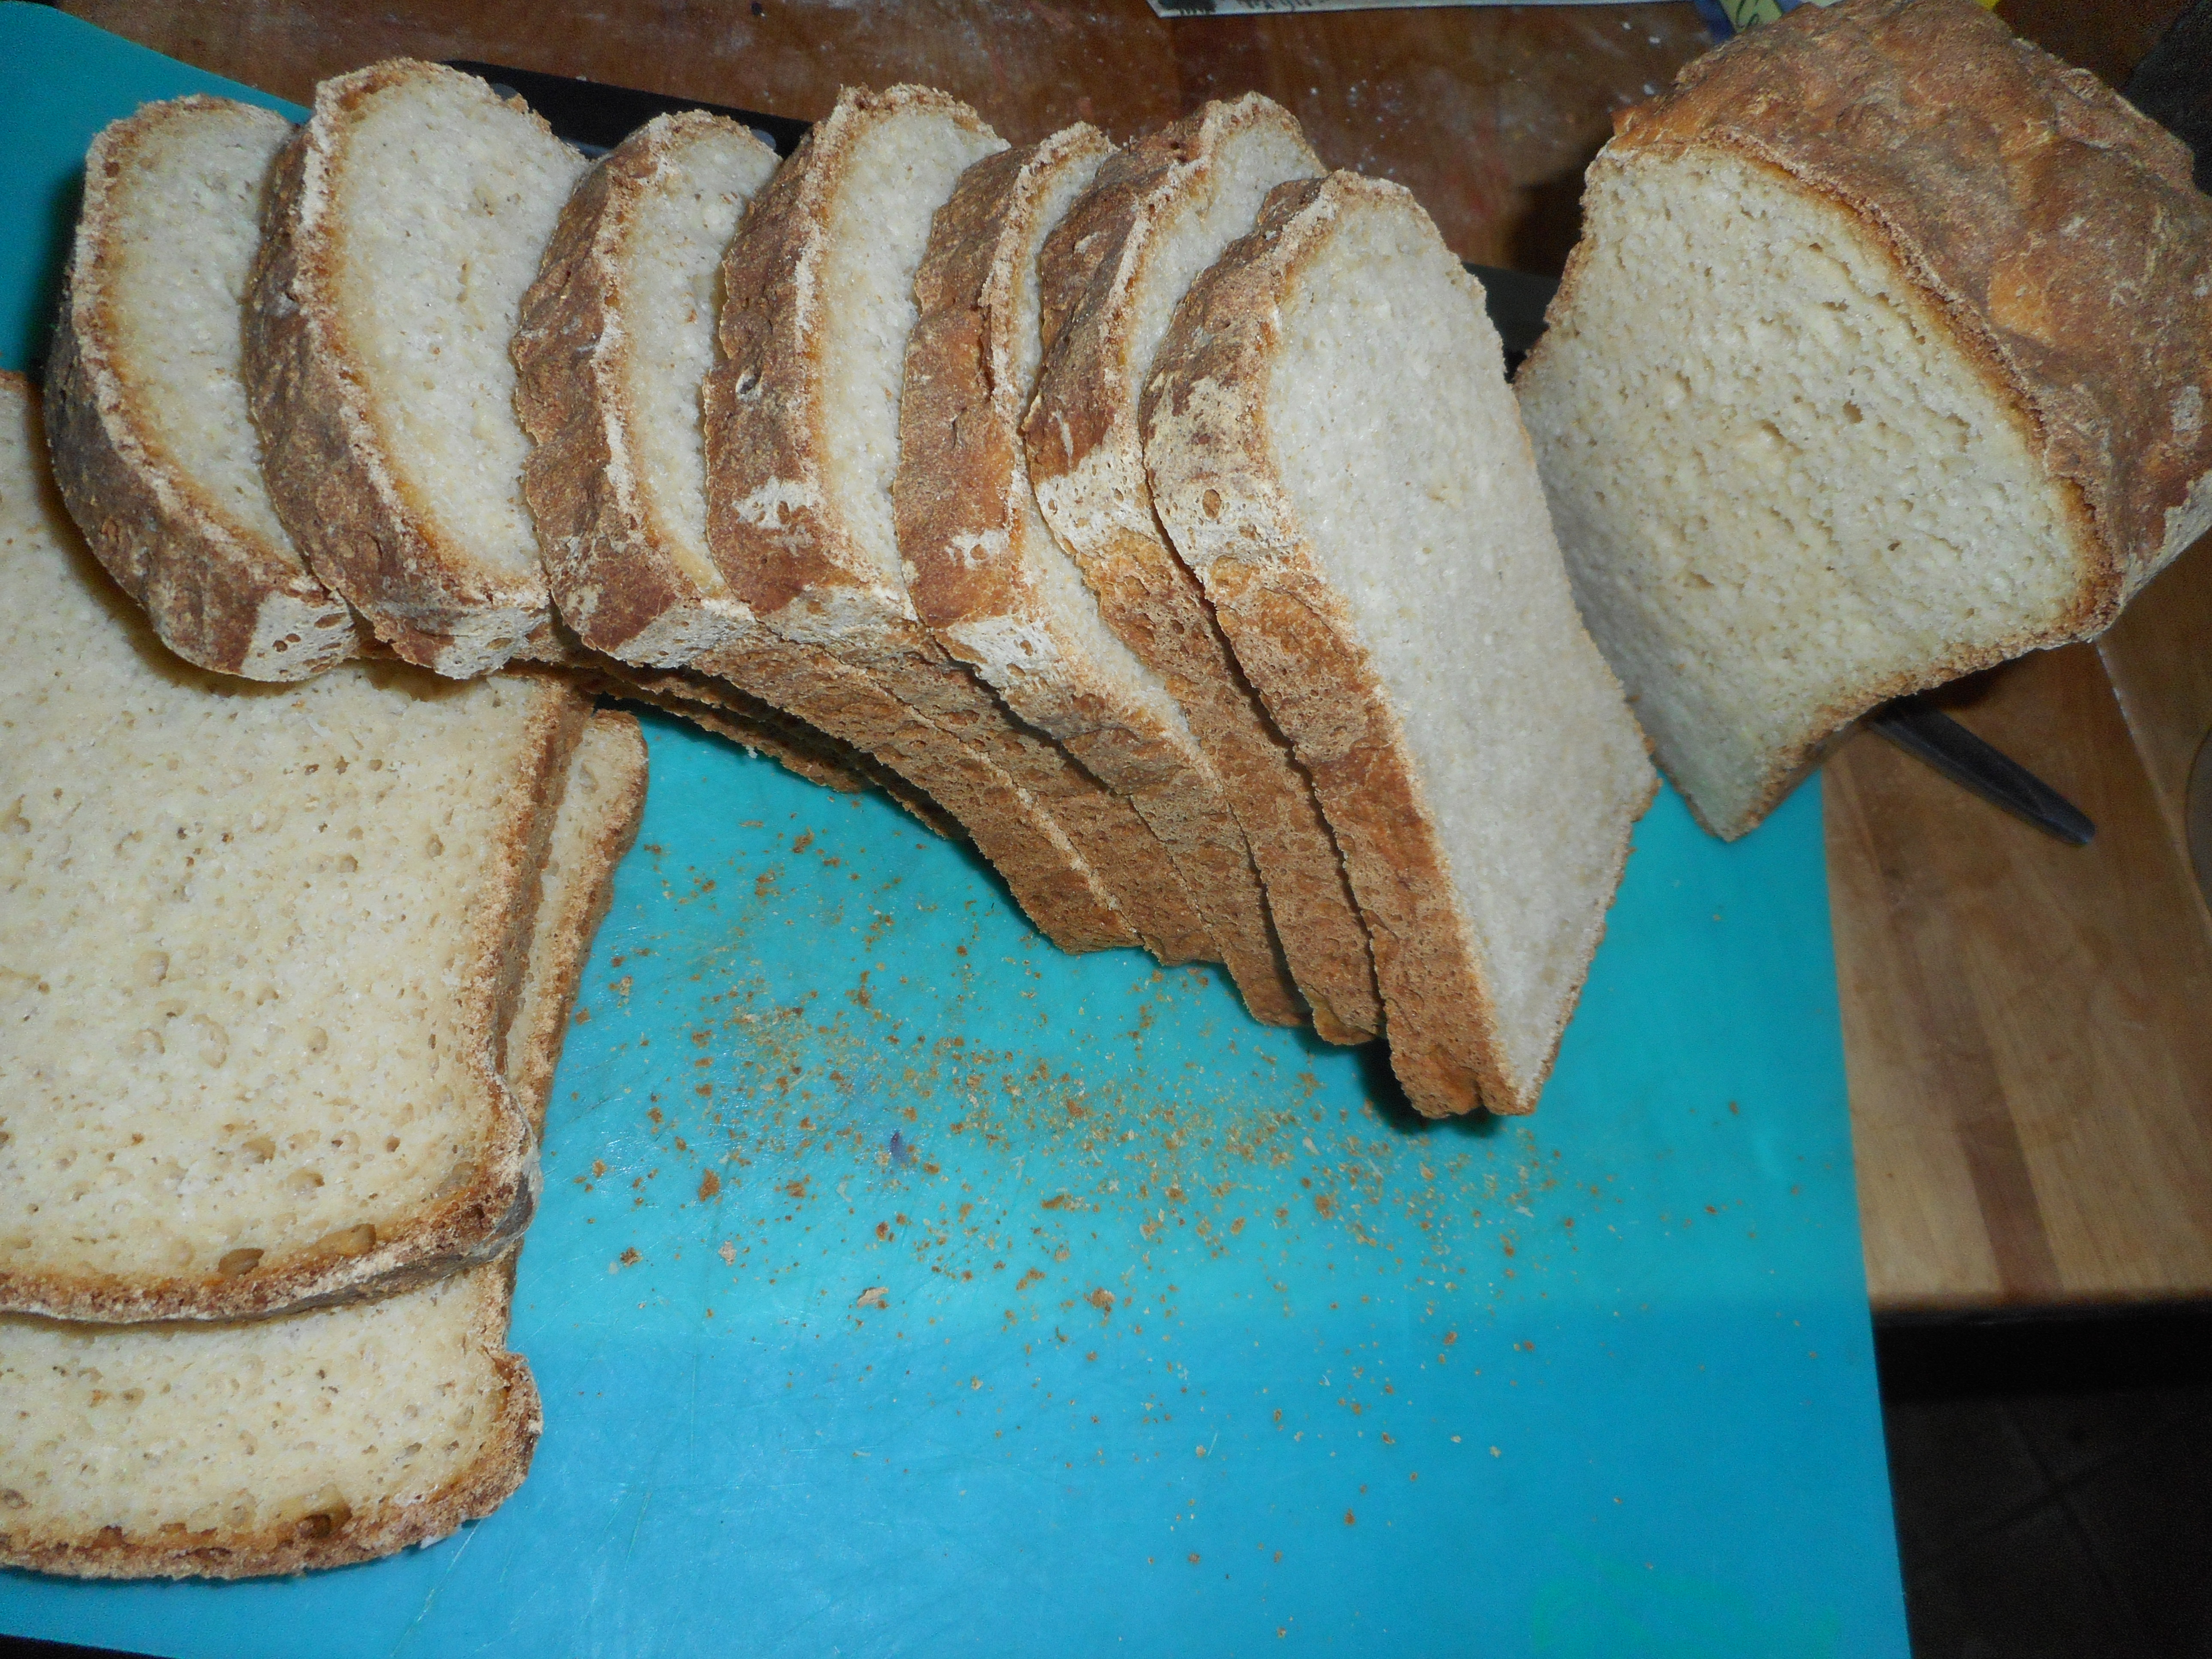
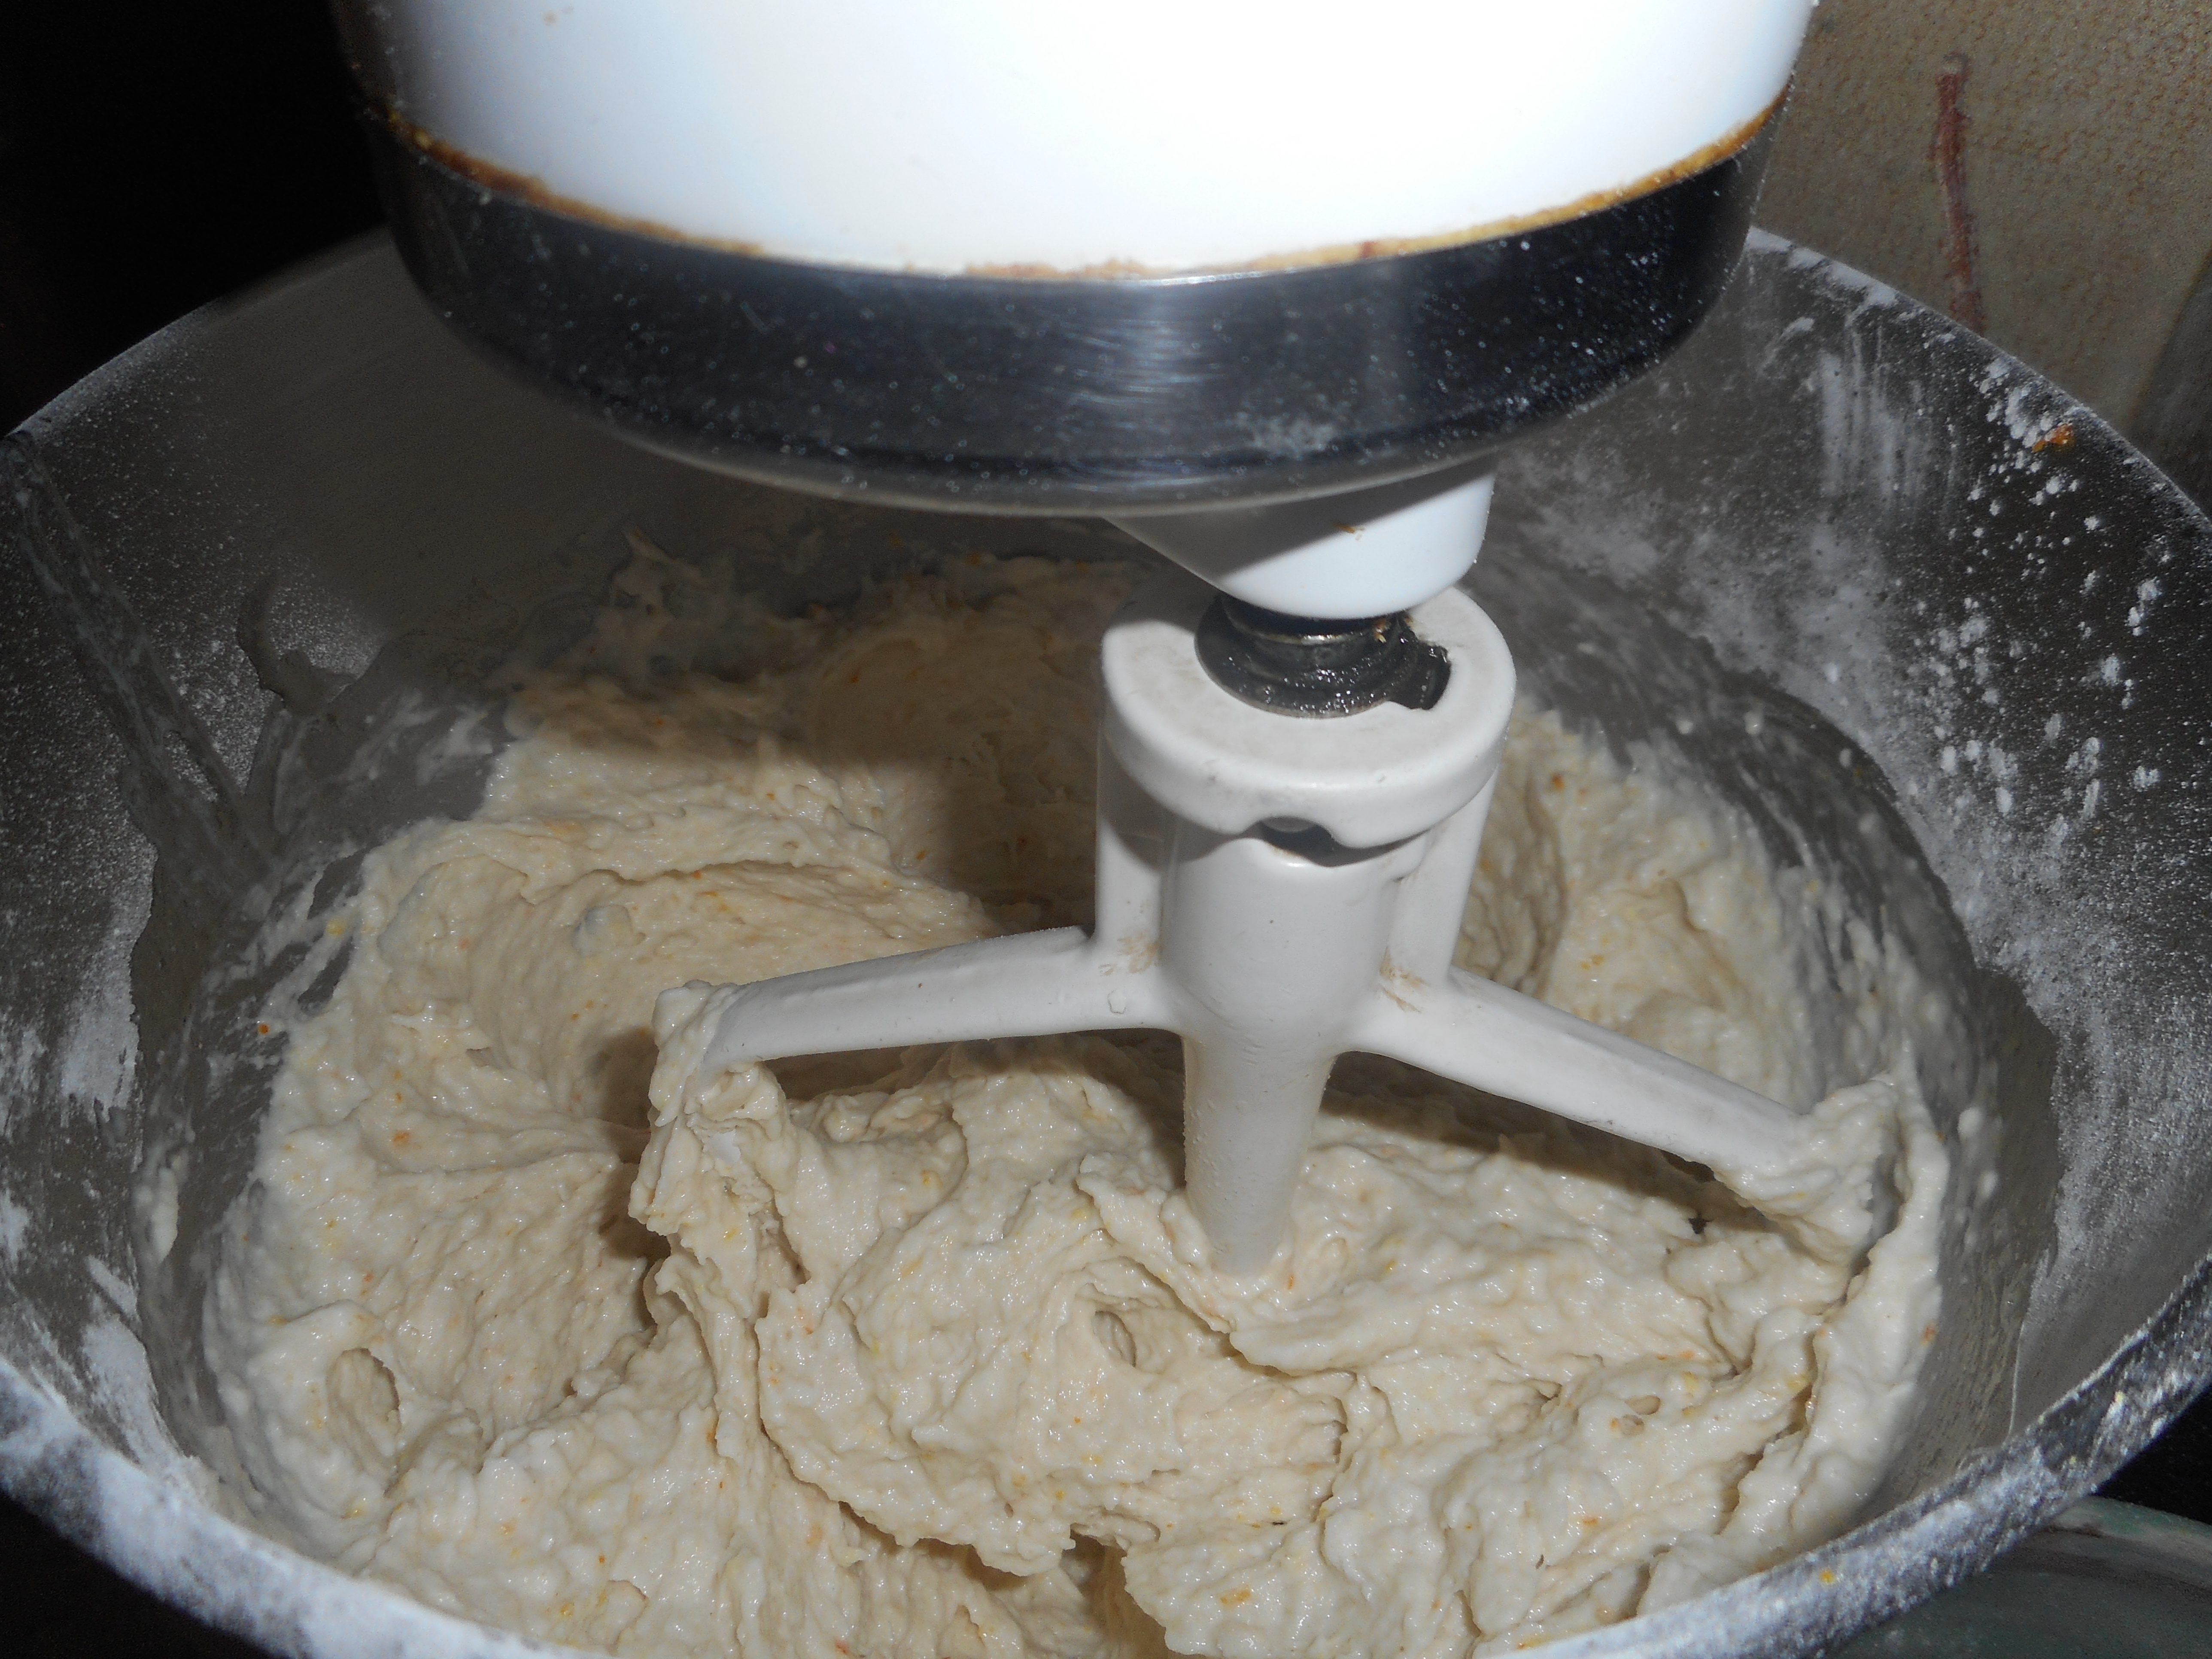
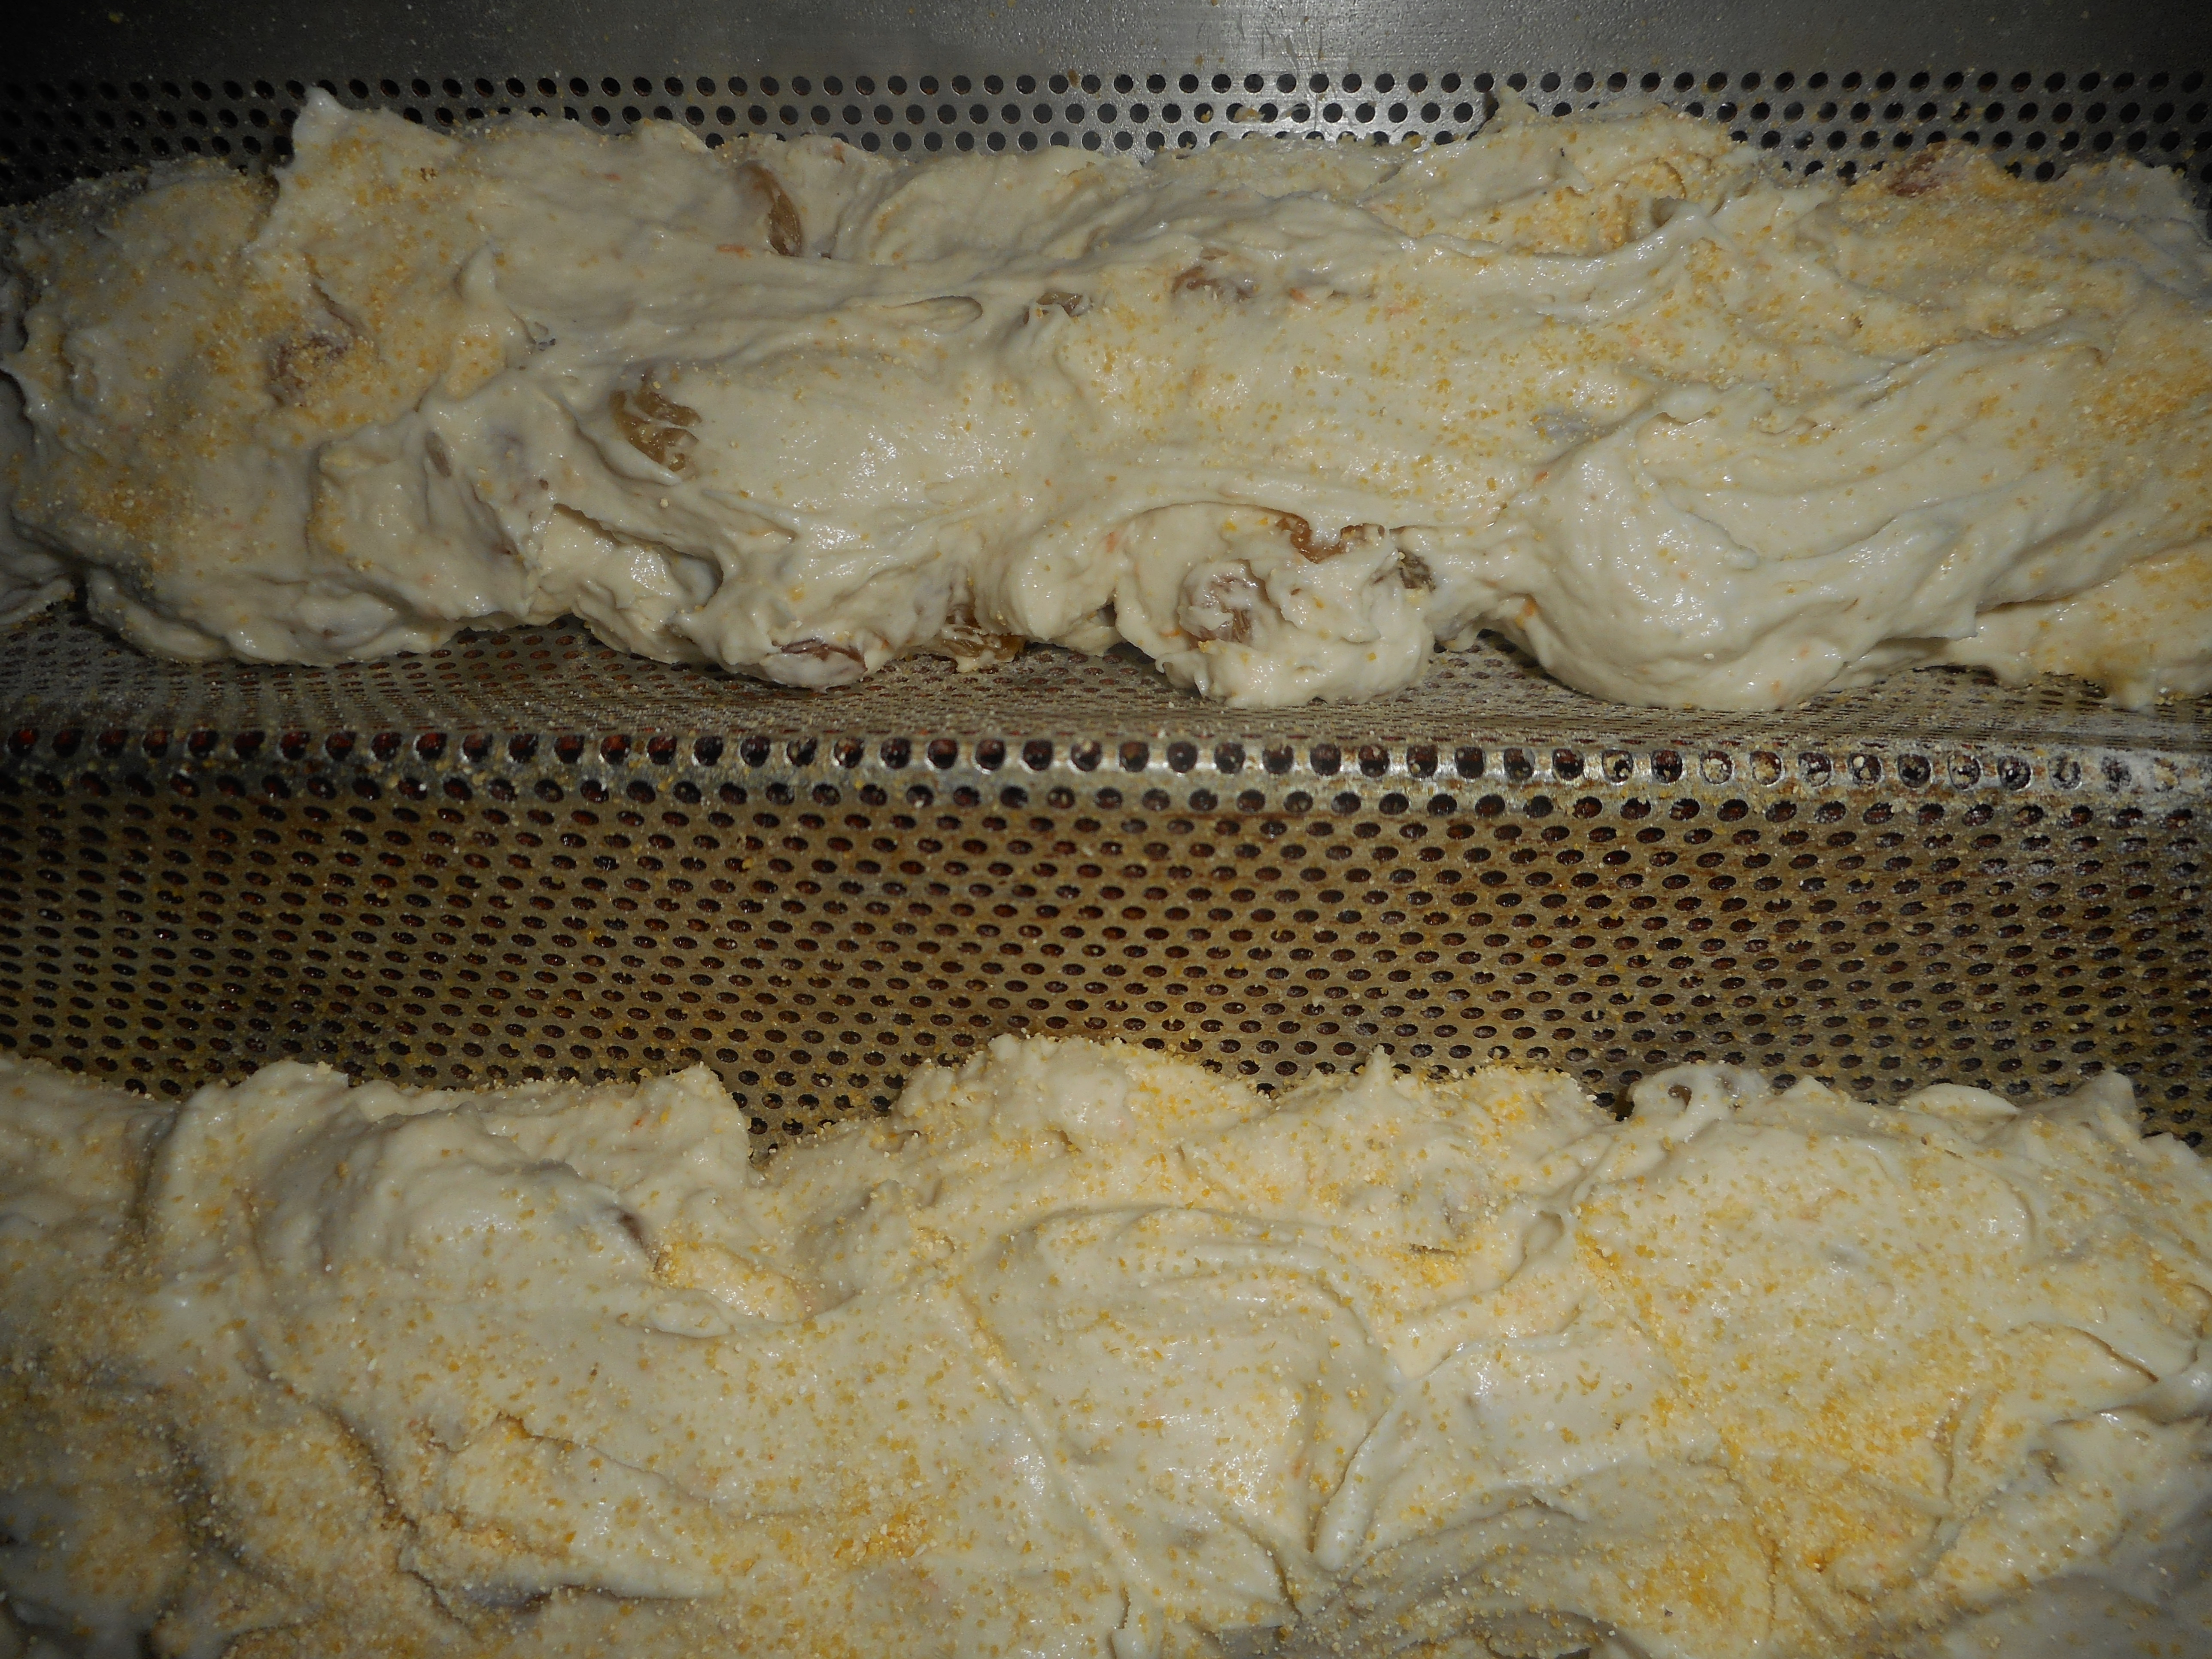
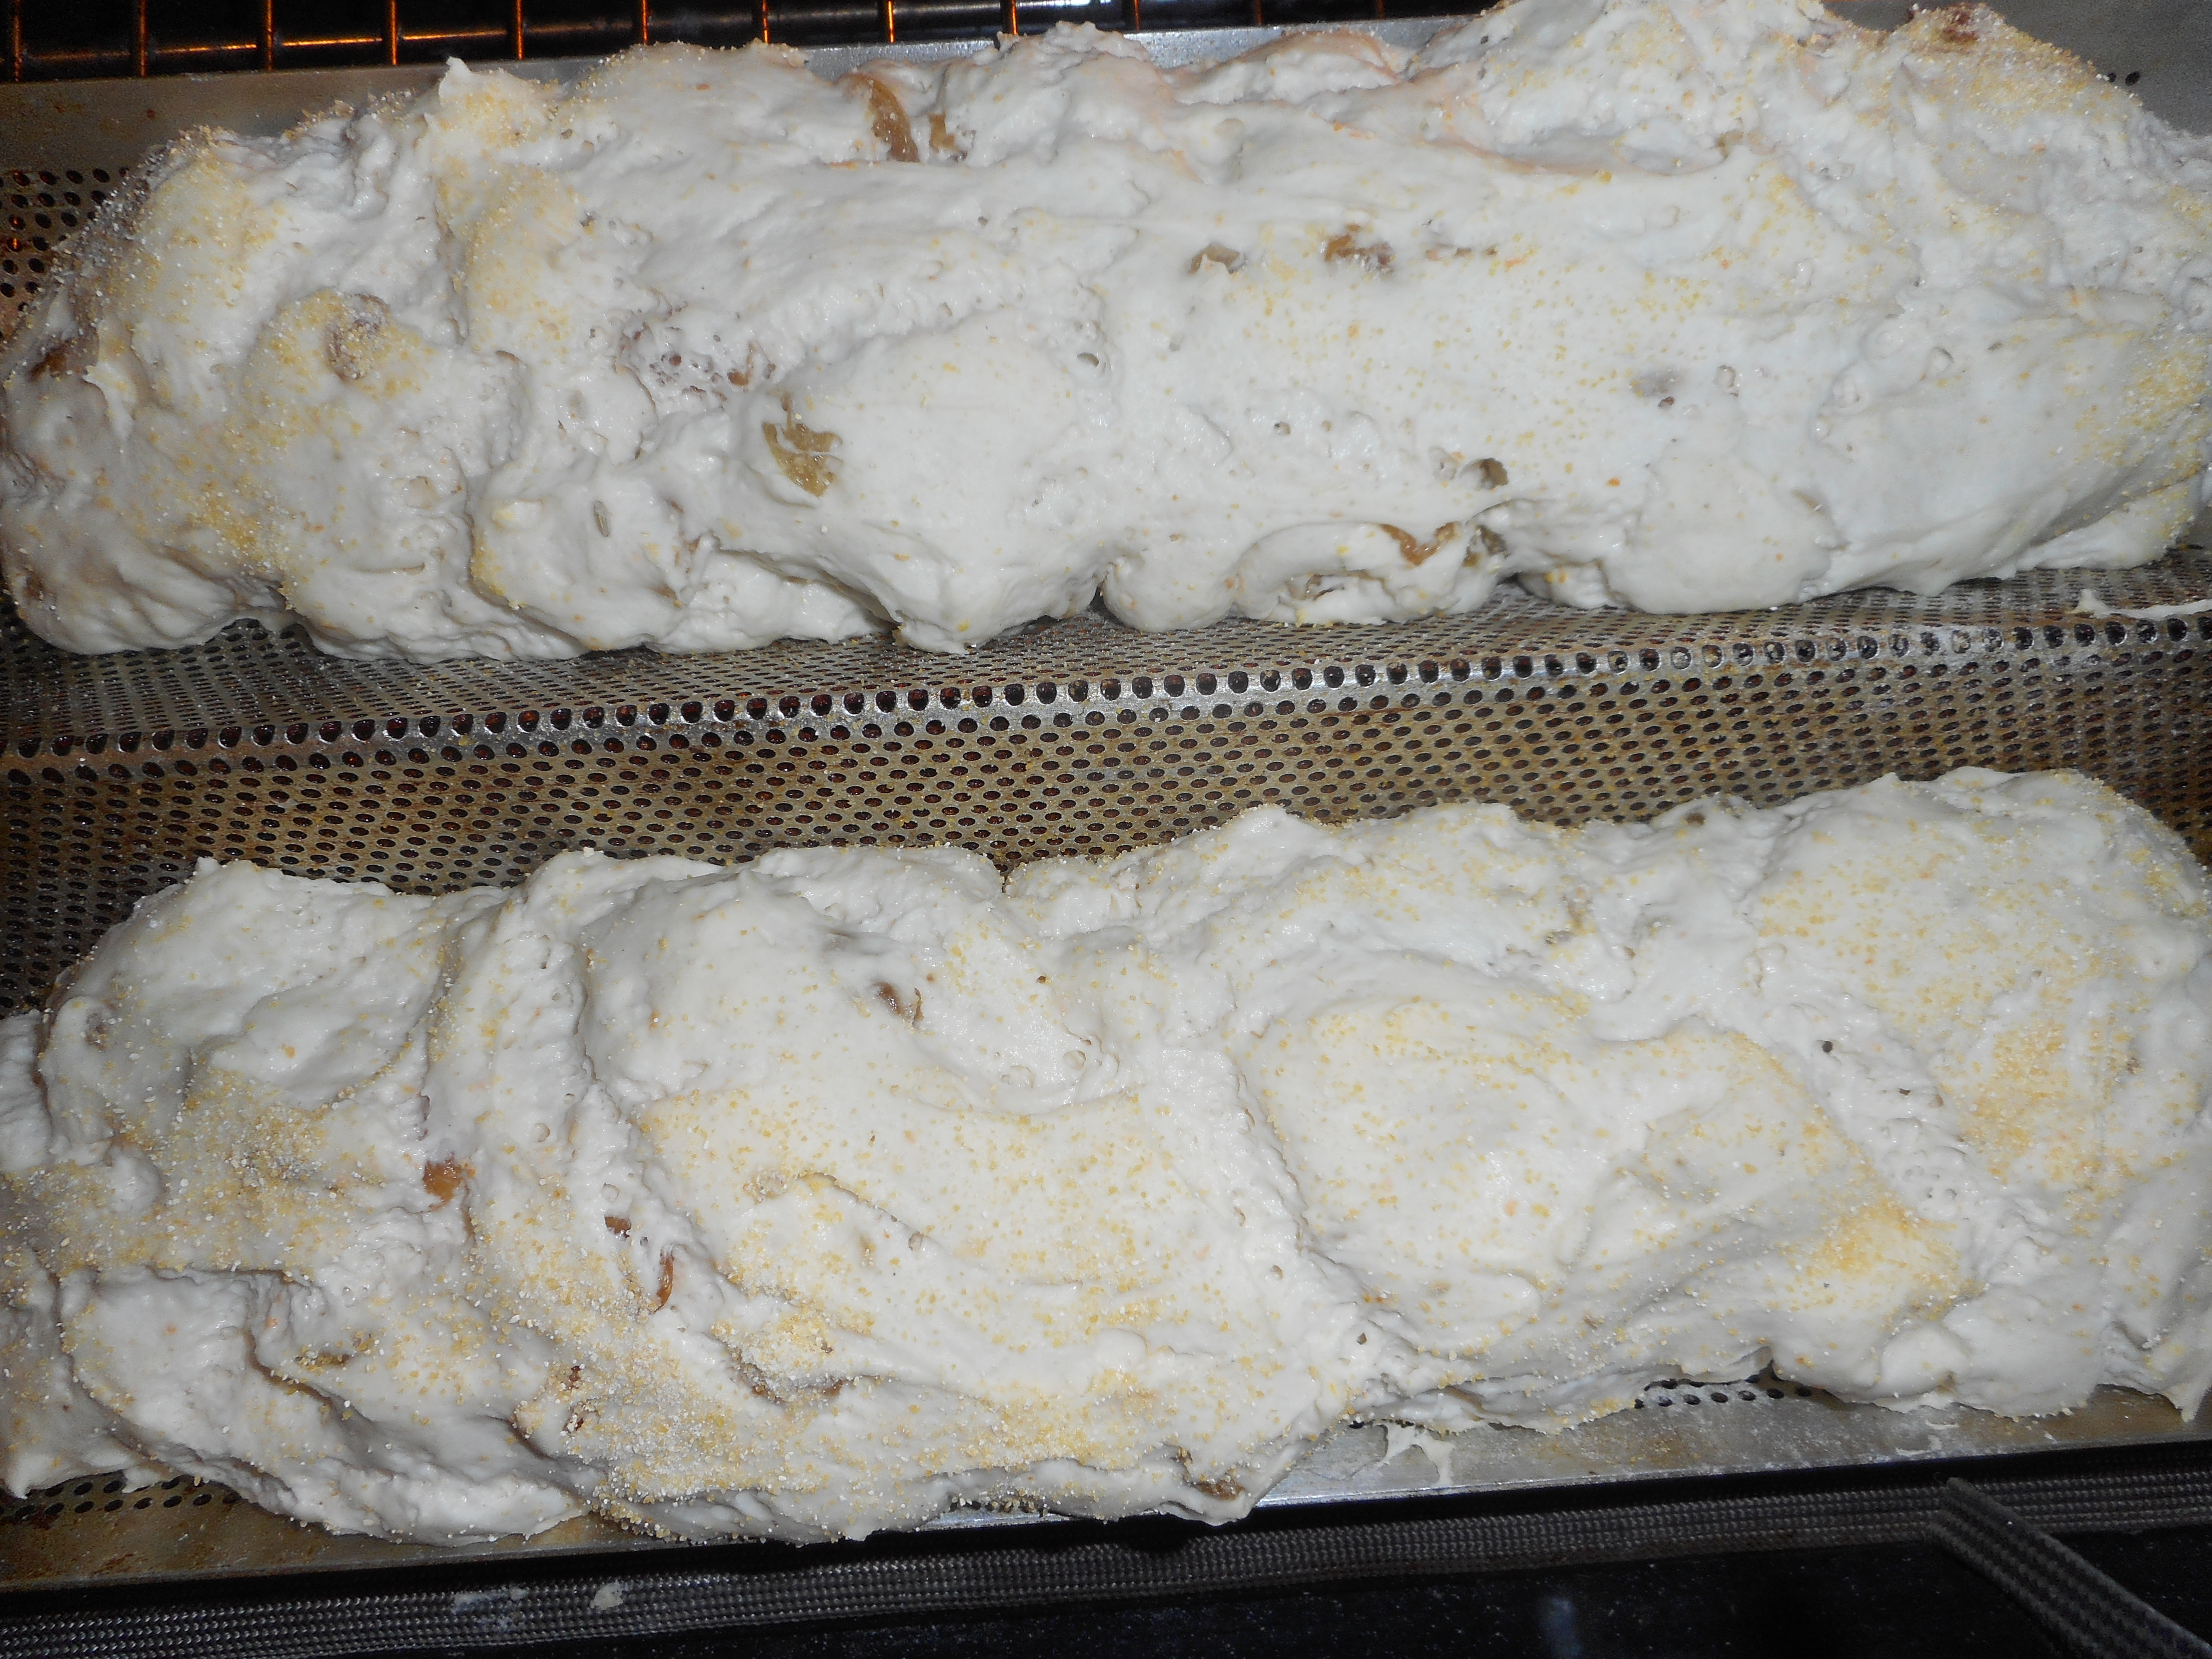
These pictures are all together for your convenience: in order of the recipe; the dry ingredients, the bread dough in the stand mixer, same dough with the added raisins and fennel seeds, the bread before rising, after rising just as I put it in th oven, freshly baked and a lovely slice about to be eaten by me!

fennel italian bread 004 fennel italian bread 005 fennel italian bread 007 fennel italian bread 008 fennel italian bread 009 fennel italian bread 011 fennel italian bread 012

Gluten Free Fennel Italian Bread

Makes two loaves

1 cup white rice flour

1 cup brown rice flour; throw it briefly in the blender if it isn’t finely ground

1 cup tapioca flour

3 tsp. xanthan gum

1 1/2 tsp salt

2 tsp. sugar

1 ½ cups lukewarm water; about 90-95 degrees

1 tbsp. yeast

½ tsp. ginger

2 tbsp. melted butter

3 egg whites, room temp.

1 tsp. cider vinegar

3/4 cup golden raisin

1 ½ tsp. fennel seed

1 tsp. orange zest

Directions:

Put the flours, gum and salt in bowl of stand mixer, blend. Add the zest, beat briefly to blend.

In two cup measuring cup or small bowl dissolve yeast, ginger, and sugar in the lukewarm water; let stand 3-5 minutes until foamy.

Dump into the dry ingredients; add the butter, egg whites and vinegar.  Beat on high for 3 minutes. Add the raisins and fennel; beat on med low for 20-30 seconds to blend it in.

While the three minute beating goes on, spray French bread pans, those ones with the tiny holes everywhere and the half round shape; spray them with cooking spray and dust all over with yellow cornmeal.

Glop the bread dough in blobs close together into the pans to make two loaves; it will be like soft putty.  Smooth the top with your fingers that you dampened in water.  Try to push in any raisins right on the surface. Cut 3 slashes diagonally on the top.  Sprinkle with a touch of cornmeal.

Let rise for 30 minutes until doubled.  Bake in pre-heated 400 degree oven for 40 to 45 minutes until golden.

Cool at least 10 minutes before slicing into thick pieces.

Sandwich Bread Worth Baking

Gluten Free bread is not generally known for rising high in the pan.  Nor does it often taste good enough to enjoy once the first day has passed.  Worse yet, it is mostly terrible in sandwiches, all crumbly and messy. I have tried a few recipes and, especially in the sandwich bread area, nothing was worth mentioning much less putting in this blog.  Until I baked the sandwich bread from the How Can It Be Gluten Free Cookbook, created by the America’s Test Kitchen team.  This cookbook promises “revolutionary techniques and groundbreaking recipes” right on the cover.  What I love about it is the discussion on how they came up with the final recipe; all the changes and reasons why things were added/subtracted or changed to create the best possible final result.  I guess it is the science teacher in me but those discussions are my favorite part of this book.

chickpea soup, salad, bread 014

A tall handsome loaf!

The bread recipes use one extra ingredient which put me off, I’m sort of getting tired of excessive ingredients and so many flour mixes after only two years of living gluten free.  Anyway, the ingredient is powdered psyllium husk.  The cookbook says psyllium husk powder is critical to building a stronger protein network that traps gas and steam, key to producing a taller loaf (pg171).  It took me a while but finally, I got a bag of it at Frey’s Better Foods right here in town, $6.75 in a twist tied baggie; bulk packaging lowers the price quite a bit from the commercially packaged versions.  It is a brown/gray powder.  Doesn’t look magical.  But apparently, it is!  My loaf rose and rose, to the top of my special tall sided 8 ½ x 4 inch pan.  And it stayed tall through the baking process, no shrinking or sagging either as it cooled.  It is found on page 171, classic sandwich bread.  I thought it tasted sort of like multigrain bread, not as white as I expected, which is fine by me.  The creating is typical of gf breads: mix the dry ingredients and in a separate bowl the wet ones, mix and beat well.  You do have to make up their flour mix: a blend of white and brown rice flours, potato starch, tapioca starch and non fat dry milk powder.  Not too fancy but yes, another big jar of flour mix to store somewhere…

sandwich bread, winter salad 001

Cuts nice, lots of slices for sandwiches or toast.

Anyway, it was tall and handsome and sliced easily into individual slices to enjoy now and to freeze for later.  There are lots of other recipes in this book that I plan to try. If you are serious about gluten free baking this recipe and this book are well work a good look.  I am having a sandwich today for lunch and I am excited, bread that looks normal and holds together, no more crazy crumbling sandwiches!

chickpea soup, salad, bread 015

Still slightly warm, buttered and ready for my first taste!

Classic sandwich bread

2 cups warm water, about 110 degrees

2 large eggs, room temp

2 tbsp butter melted

3 cups plus 2 tbsp ATK flour mix (recipe below)

1 1/3 cup oat flour

½ cup non fat dry milk powder

3 tbsp powdered psyllium husk

2 tbsp. sugar

2 ¼ tsp. dry yeast

2 tsp baking powder

1 ½ tsp salt.

Directions:

Spray an 8 ½ by 4 inch loaf pan with cooking spray.

Wisk the wet ingredients in a small bowl.  Mix all the dry ingredients in the large bowl of your stand mixer. Slowly pour in the wet ingredients, mixing slowly; scrape bowl sides down as you go; takes about a minute.  Increase the beater speed to medium and beat for 6 minutes, it should look very thick; sort of like a cookie dough. Glop it into the prepared pan, trying to fill the corners well. Then, smooth the top with your dampened fingers and spray with a bit of water.  Make a foil collar for your pan; if you have the tall pan like I do such a collar is not necessary.  The recipe says you can use a stapler to secure it around the pan. Cover the dough with a piece of plastic wrap and let rise at room temp until doubled. I heated my oven to 100 degrees and turned it off – popped the bread in and this gave it a nice warm temperature as my kitchen’s room temp is much too chilly for bread dough.  It took about 55 minutes for mine to rise; recipe says an hour.

Spray the loaf lightly with water before popping into the oven to bake at 350 until golden and firm and it sounds hollow if you tap on it. Although how you can tap on a hot loaf of bread is sort of beyond me!  Try to remember to rotate it half way through the time, I forgot…. Mine was done at an hour and 15 minutes; recipe says 1 ½ hours.  Let cool in pan ten minutes, cool on wire rack for two hours before cutting.  So don’t be diving into this bread warm; not happening.  If you cut gf bread too soon it can collapse and or get gummy in texture.  I hate the gummies so I resist the temptation to cut early and so should you!  This makes good toast too and great gf crumbs.