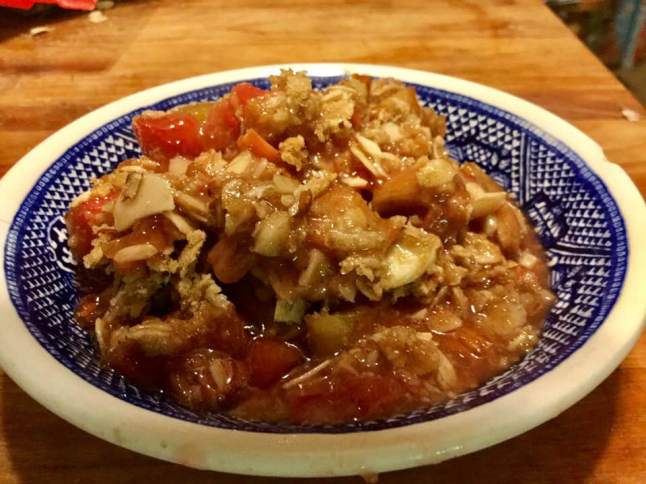
It’s still rhubarb season, at least at my house and garden. This dessert is super easy and super yummy. I swear it tasted like there were cherries in there! I never made rhubarb crisp until last spring; I make apple crisp all the time in the fall and winter…so glad I tried it. I am sharing this tasty quick dessert with you once again. Makes a yummy breakfast too!
It keeps about 3 days depending on humidity. I have a glass baking dish with a plastic lid for keeping things fresh; works great.
Notes: any gf flour blend will do, I use King Arthur blend. You can use sliced or slivered almonds. Or no nuts! Tried it with both nuts and I prefer walnuts. I think the walnuts add a hint of cherry flavor to the result. But great with no nuts too…
Rhubarb Crisp
Ingredients
Fruit layer
4-5 cups rhubarb cut into ½ inch bits (I do 5 cups)
¾ cup sugar (could use up to a cup if you like it sweeter)
¼ cup tapioca starch (or cornstarch if you chose)
3/4 tsp. cinnamon
Topping
½ cup gf flour blend
1 cup gf rolled oats (not quick ones!)
½ cup light brown sugar
½ tsp. cinnamon
¼ cup brown sugar, not packed
¼ cup butter, cold
½ cup walnuts (optional)
DIRECTIONS:
Heat oven to 350 degrees. Spray the inside of 8×12 glass baking dish; any dish roughly that size will do. In a large mixing bowl dump all the dry ingredients; sugar, starch and cinnamon. Mix a bit; add rhubarb, mix well. Dump into baking dish.
Dump all dry ingredients left except nuts into the bowl of a stand mixer, blend briefly. Add butter which you have cut up into about 12 or more tiny bits; a few cuts with a knife do it quick. Blend a minute or so until you can’t see the butter. Add nuts. Pour over the rhubarb. Bake on middle shelf for 35 to 40 minutes; the thicker the layer of fruit is the longer it takes; you want it bubbling and the top lightly browned. Let cool at least 15 or 20 minutes. Goes great with vanilla ice cream or plain Greek yogurt on top. Store with a tight lid on top. Enjoy!
This is my favorite rhubarb pie and my go to recipe for a great spring dessert.
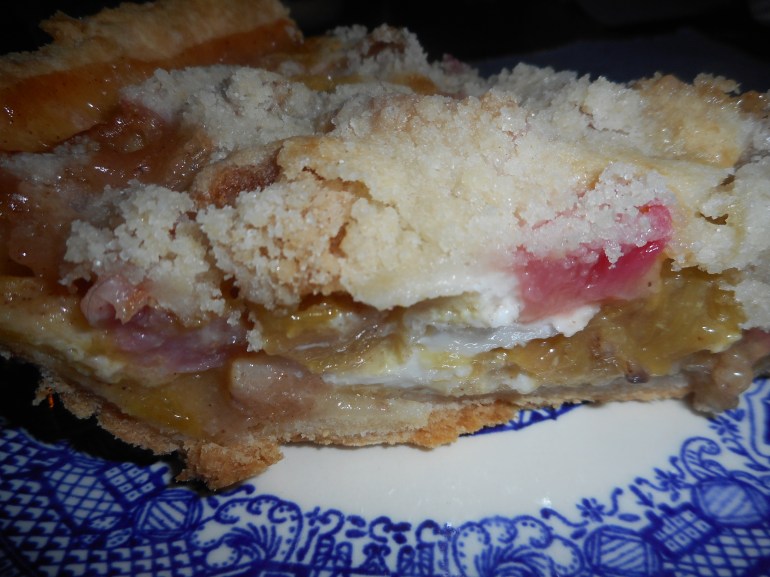
This is an easy pie even though it has several steps. It is different from the usual rhubarb pie because the texture is a bit closer to a crumb cake, no wet, slimy texture and no ultra sour flavor. I think this version tastes even better than it did when I made it with wheat-based flour. This GF crust will work for any pie and the GF crumb topping is perfect for any crumb pie topper. What I am giving you is my mixture of three recipes with some small modifications over time to create one of my favorite GF pie recipes. I know it has several steps, but each one is easy, and you can use these crust and crumb recipes for other pies.
I like it because it has a great texture, and the flavor is complex but subtly rhubarby. It isn’t really soft or all that custardy but more cake-like in texture. It is a game changer of a rhubarb pie. I promise you that!
Angie’s GF Rhubarb Custard Pie
Crust:
1 c plus 1 tbsp brown rice flour mix (recipe for blend at bottom of pie recipe)
2 tbsp sweet rice flour
1 Tbsp. granulated sugar
½ tsp xanthan gum
¼ tsp salt
6 Tbsp. cold butter cut into 6 chunks
1 lg egg
2 tsp fresh orange or lemon juice
——————
Spray a 9-inch metal pie pan with cooking spray, dust with white rice flour. I must confess I forget this step a lot of the time and it doesn’t seem to matter much….
Mix dry ingredients in bowl of stand electric mixer. Add butter and mix until crumbly and resembling coarse meal. Add egg and juice. Do not leave out the juice; it is critical to the crust texture and structure! Mix until it comes together into big chunks. Shape the sticky mess into a ball with your hands. Put it on a crust sized piece of wax paper (14 x 14 inches more or less), flatten the crust ball some; put on top of it another piece of wax paper and chill it all in your fridge 15-20 minutes while you chop the rhubarb into ½ inch chunks.
And make the crumbs while the crust ball chills:
Crumb topping
Put all four ingredients in the same mixing bowl you made the bottom crust in and mix well with mixer paddle until crumbs form.
¾ c brown rice flour mix
½ c sugar
½ tsp xanthan gum
1/3 c cold butter cut into six chunks
Make the fruit Filling:
5 cups cut up fresh rhubarb – place in medium bowl
Mix with dry mix made of
2/3 – 1 c sugar (depends on how sweet you like your pie) I go with 2/3 cup
¼ c brown rice flour mix (see below recipe)
½ tsp nutmeg
Sprinkle cinnamon
Rolling out the bottom crust: My sister bought me one of those pie crust plastic bag thingies; has a zipper around the edge. By OXO: I love it; it works better than wax paper which can get soft and tear as you roll out the crust. King Arthur Flour sells an inexpensive one on line. I highly recommend you get the OXO version for making scratch pie crust. Or maybe improvise with a sheet of heavy duty plastic! Strong enough to work with the rolling pin and better than wax paper.
Roll out pie crust in a pie bag or between the two sheets of wax paper, try to get the thickness even, no thick middle! Peel off one side of paper and place in pie pan, centered. Remove other slice of wax paper. Crimp edges all around. Fill with dry rhubarb mix. Pour the following wet mix evenly over this mixture: Wet mix: 3 eggs (171 grams) beaten lightly with 1/3 c milk (not skim), and ¼ tsp almond extract.
Sprinkle the top of the pie with the crumb mix; use as much as you like. I like about 2/3-3/4 of the mixture. Up to your personal taste… It sinks into the rhubarb and wet mixture to create an almost cake like texture and the crumb crust adds lots of sweetness and eye appeal.
Bake on the bottom shelf in a preheated 375-degree oven for 55-60 minutes until bubbly and the crust is light brown. Cool at least 2 to 4 hours before serving at room temperature.
Brown Rice Flour Mix (same as King Arthur’s Basic GF Blend) [Not Measure for Measure or baking mix] 2 c brown rice flour
2/3 c potato starch
1/3 c tapioca flour
This post was originally published in the late spring of 2013. I revised it somewhat since then. I have made this pie many times in past years to rave reviews. One of my friends had it for dessert at my house and said it was the best pie she had ever eaten, gluten free or not! Spring is rhubarb season. Go forth and make pie!
We all long for things familiar, things remembered from our childhood. Especially when it comes to cookies. In my family the holidays were framed by a huge array of fancy cookies, no chocolate chips or peanut butters for my relatives but we had spritz, springerle, butter horns, almond crescents, Russian tea cakes, candy cane cookies, and sugar cookies rolled, cut into Christmas shapes like trees, bells, stars or reindeer and sprinkled with fancy-colored sugars. So going gluten free meant finding ways to re-create the special cookies I loved. My first effort was the Russian or Mexican tea cakes, and the results were utterly delicious. Last year I made spritz cookies and they were a big hit. I have the newest cookbook by Annalise Roberts, “The Heirloom Collection” and so far, nothing has disappointed. If you like to bake gf it is a must purchase, not just for cookies but tarts and lots of other tasty treats.
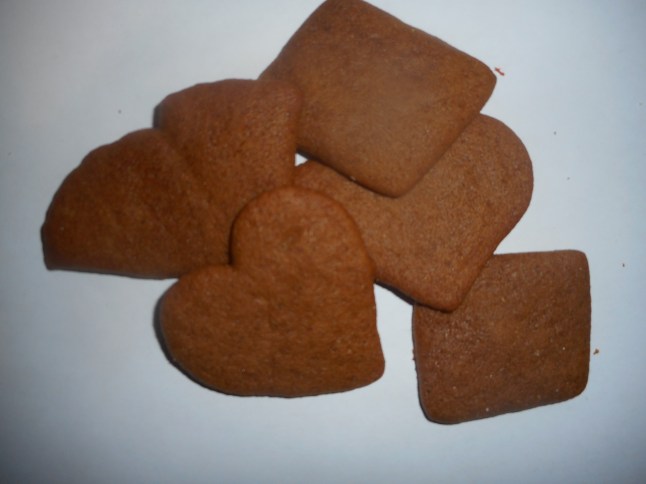
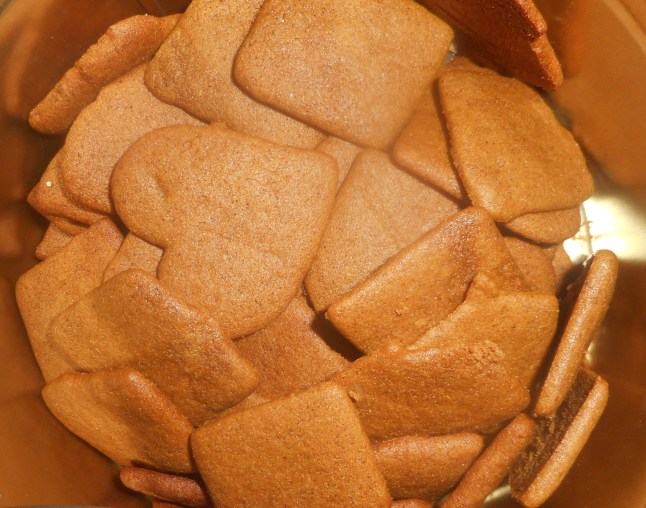
Today I bring you her Moravian Spice Cookies. I chose them for many reasons – the memories of spicy cookies being foremost. I am blogging this recipe for a friend who avoids chocolate as well as gluten: makes it hard to find great cookies. I think you will love this cookie for its flavor and crisp texture. I live not far from Bethlehem which is the home base for the Moravian Church. You can buy these cookies in the Moravian Book Shop but probably not gluten free. So now those who can’t eat gluten can have them to enjoy this holiday season.
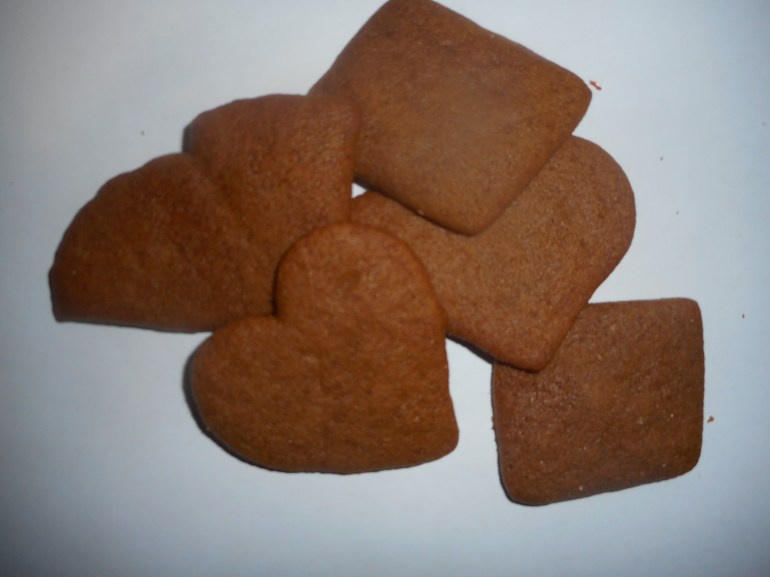
You can cut them out in shapes but I found I liked to mostly make diamonds using a sharp knife. I did do some hearts and ornament shapes but it was tough going to get them off the wax paper and onto the baking sheet without distorting their original shape. You can take her advice and chill them further to facilitate the moving process. I do love them any shape they are!
Moravian Spice Cookies
1 1/4 cup brown rice blend (recipe below)
1 tsp. baking soda
1 tsp. cinnamon
1 tsp. ginger
1/2 tsp. cloves
¾ tsp. xanthan gum
¼ tsp. salt
3 tbsp. butter or vegetable shortening (room temp)
¼ cup packed dark brown sugar
1/3 cup molasses
Directions: First combine the dry ingredients in a small bowl; mix well.
Beat shortening, brown sugar and molasses in your big mixer bowl until smooth, add flour mixture and blend until well combined. Shape dough into two disks, chill about 30 minutes, lay between two sheets of wax paper, roll into a very thin (1/8 inch thick) sheet. Cut into 2 inch or less shapes, move with spatula onto a cookie sheet lined with parchment paper. If they are sticky and hard to lift up return the sheet to the freezer for a few minutes until they are stiff enough to move. Bake at 325 degrees for 8-11 minutes. Make sure they are fully baked or they won’t be crisp. Leave on the cookie sheet a minute before moving to a cooling rack. Store in an airtight cookie jar or tin.
Spicy and crisp. Great with a cup of coffee or tea! Annalise says you can reduce the spices for less zing; 3/4 tsp. cinnamon, ¾ tsp. ginger and ½ or less of cloves.
Brown Rice Flour Mix (same as King Arthur GF flour)
2 c brown rice flour
2/3 c potato starch
1/3 c tapioca flour
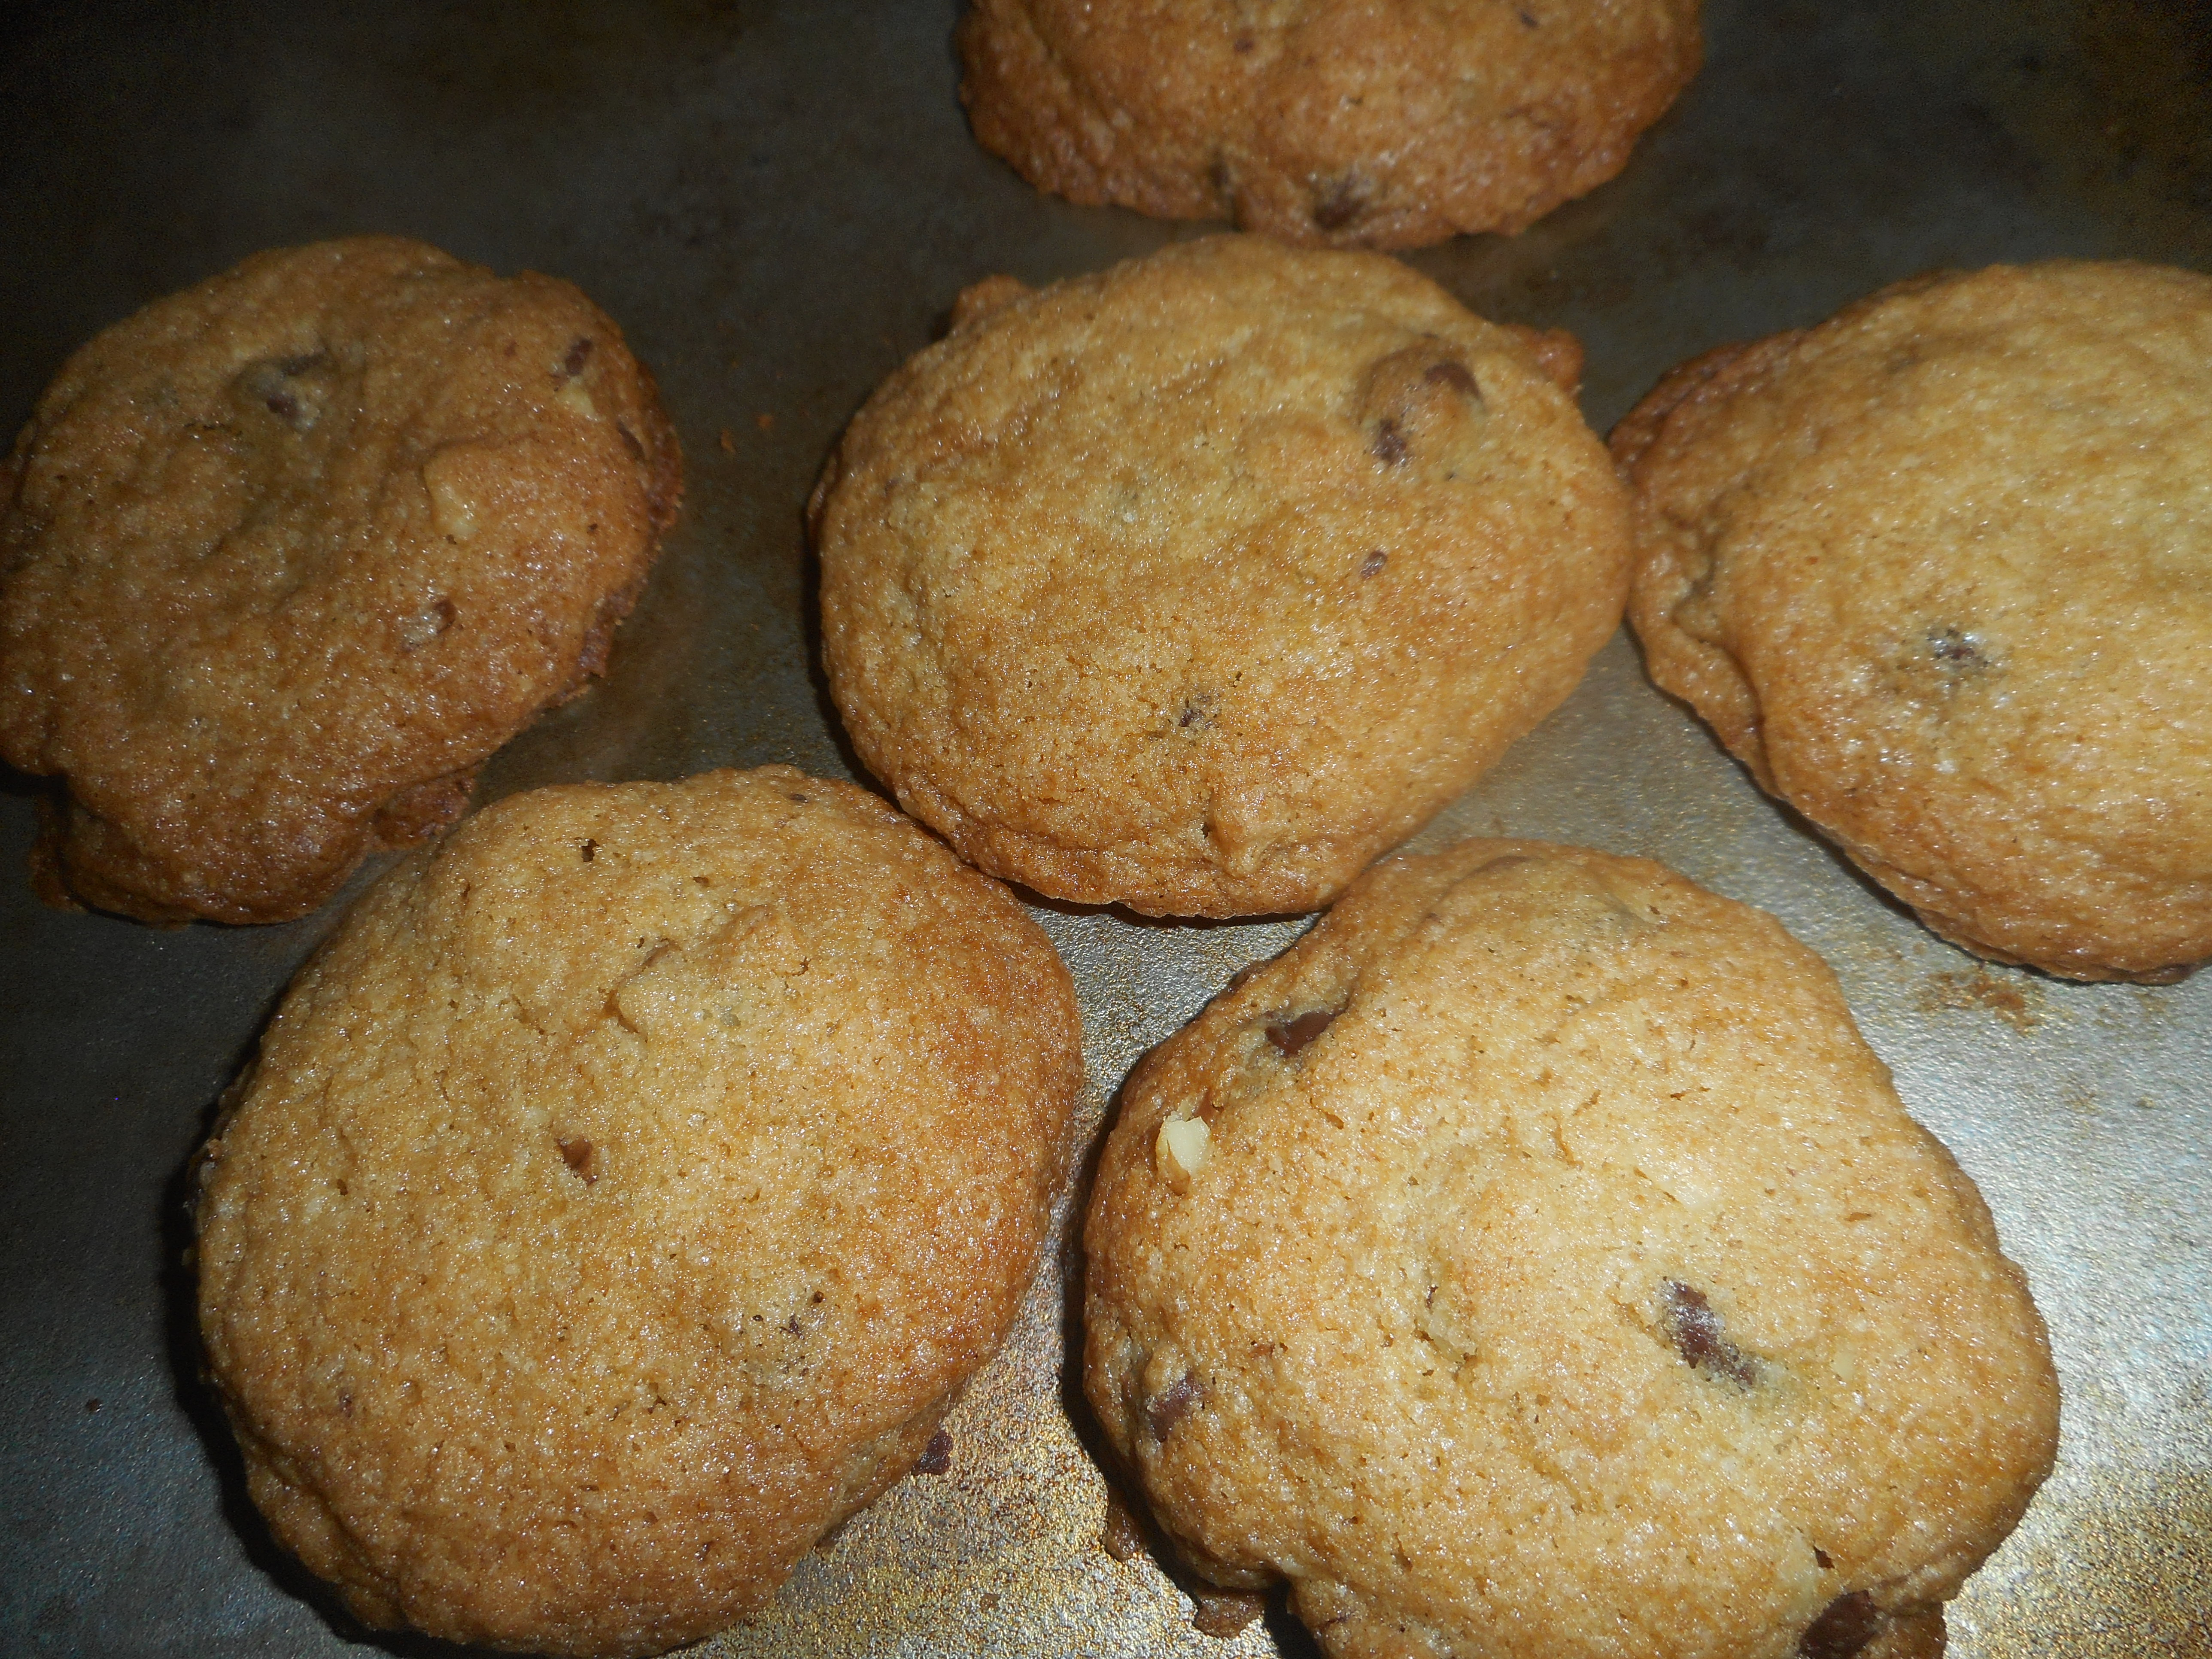
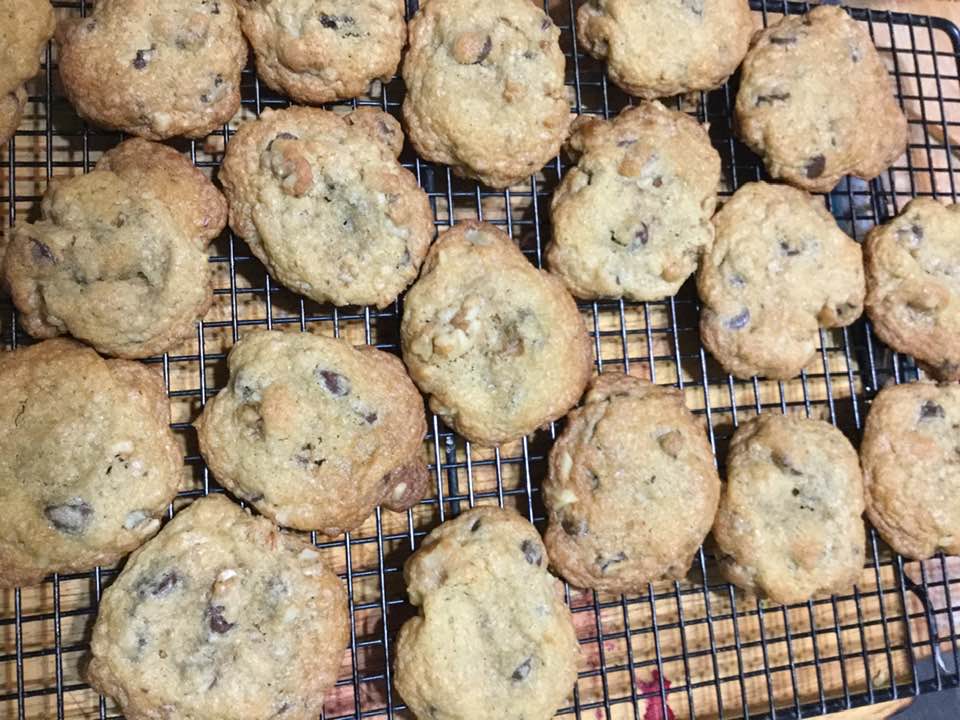
Years ago I searched for the holy grail of GF baking: home made chocolate chip cookies. Bet you thought I was going to say some sort of bread! That’s another post entirely. Anyway, when I went GF almost 9 years ago I made a batch of chocolate chippers that were gf. They were rather sweet and didn’t taste all that great. I keep looking for something that would approximate the real deal cookies I loved all my life. Recipes I came across seemed to require that I buy weird vegetable shortenings or use Crisco. I draw the line at Crisco. Or they used odd flour blends and I feel it’s just not worth it to me to add another flour mixture just for one cookie recipe. So I had not made chippers in years. Missed them….desperately. Store ones I tried were small, hard, drab in flavor and incredibly pricey. Until I went to King Arthur’s website and looked in their cookie recipes. There it was: cookies made with the same flour blend I use and made with butter, one of my few chosen shortenings. Glowing reviews and advice; said to make them and refrigerate a day or better yet, freeze them formed and ready to bake in a few minutes. Comments about how much they are like Tollhouse cookies, great texture and flavor. Bingo, this seemed so hopeful. So…Less than a week later I made up a batch; Goal scored; perfect brown sugar nutty flavor and texture; not too hard or too soft. I am a happy chocolate chip cookie lover at last! Lots of you probably bake chocolate chip cookies for Christmas so I decided to reblog this cookie so you could easily make a batch.
When I first made them I put some in my cookie jar, closed it tightly and 4 days later those cookies (what remains) were still delicious. That is pretty long for a gluten free baked good. By the fifth afternoon my last cookie in there was getting soft so suggest not holding them for more than 4 days in a jar. A big bonus I love is that they can be frozen ready to bake in like 12 minutes. Super fast warm fresh gooey chocolate chippers!
This is my go to basic chocolate chip cookie recipe; none other will do. I love that I can freeze them ready to bake and in 12 minutes I have warm fresh gooey cookies!
So, if you are still looking for a great gf chocolate chip cookie look no further.
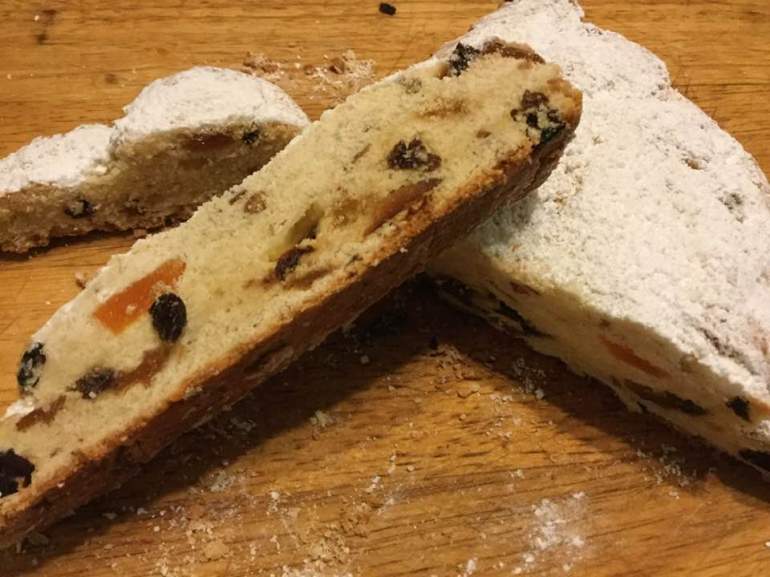
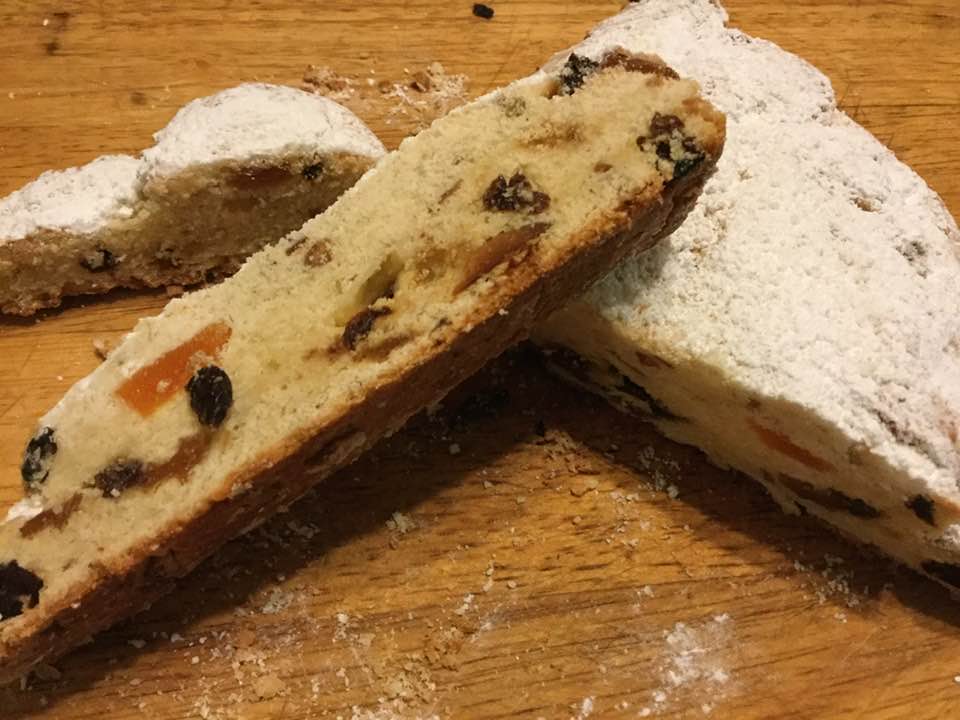
The classic Christmas stollen bread is made with yeast. So don’t tell your gluten eating friends that this quicker, easier gluten-free version, made with baking powder as the rising agent, is even tastier in my humble opinion. Filled with dried fruit and toasted almonds and covered with a layer of melted butter and powdered sugar, this is more like pastry and is delicious with a cup of coffee or tea. Great choice for when company is coming as it isn’t that much work or time needed to create this masterpiece. Everyone will think you slaved all day to bake it. No need to tell them how easy it is! Its origins are Germanic but it isn’t heavy or dry; flaky and tender, pastry perfection. If you are searching for the perfect gluten free holiday treat; look no further. I cannot say enough good things about this treat. It is loved by all, and that second loaf makes a wonderful gift. I am looking forward to enjoying stollen this afternoon; in the oven baking right now!
I first made it about 6 years ago, lost the recipe; had to get it again from the King Arthur Flour’s web site customer service center as they had removed it from their recipe rotation. They said it needed some tweaking. I disagree, it is just delectable although shaping it can be rather messy. It is far easier made without yeast which adds steps and can be finicky. I frankly don’t miss the yeast like I once thought I would. This dough is very tender and flavorful, I have been known to eat leftover tidbits raw it is that tasty. My family adores this pastry treat and will do nefarious things to get more stollen at Christmastime.
Notes: You could use orange rind instead of lemon rind and the dried fruit selection is entirely up to your tastes or your pantry. If you dislike the raisins substitute more dried fruit. One more good thing; it doesn’t require aging like a fruit cake. As soon as it cools you can cut a fat piece and enjoy a slice of heaven on earth!
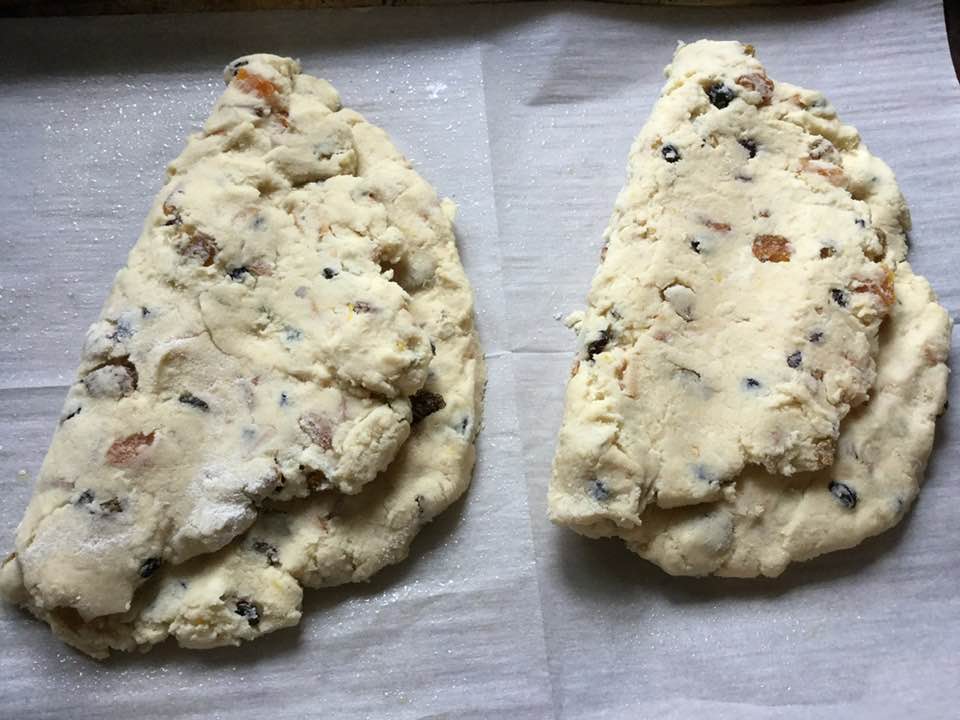
Adding the butterButter is now integrated into dough using pastry cutter
Dough
2 1/4 cups King Arthur basic blend Gluten-Free Flour
1/2 cup granulated sugar
1 1/2 teaspoons baking powder
1/2 teaspoon salt*
3/4 teaspoon xanthan gum
1/2 cup (8 tablespoons) cold butter
3/4 cup ricotta cheese, part-skim milk type, let warm a bit to get it close to room temp. Can use whole milk ricotta if that is what you have.
2 large eggs, room temp
1 teaspoon vanilla extract
Grated rind of 1 small lemon; or 1/4 teaspoon lemon oil, or 1/4 teaspoon lemon extract
1/2 cup golden raisins
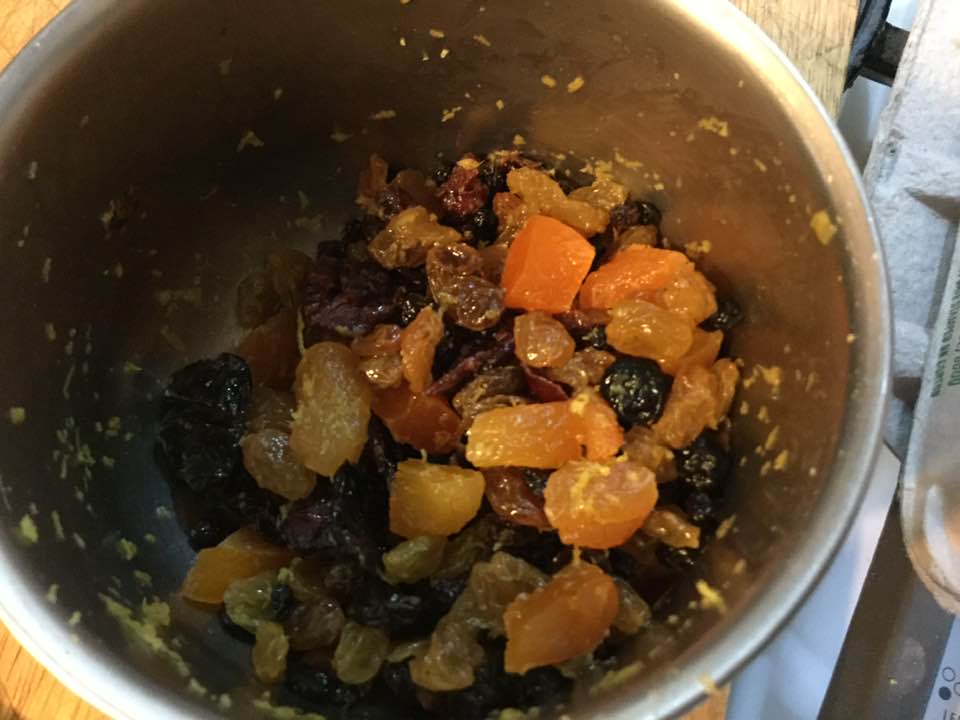
1/2 cup of your favorite dried fruits, chopped to 1/2″ pieces Yes, dried, not fresh. (I do apricots, cherries, currents, raisins or peaches/pears)
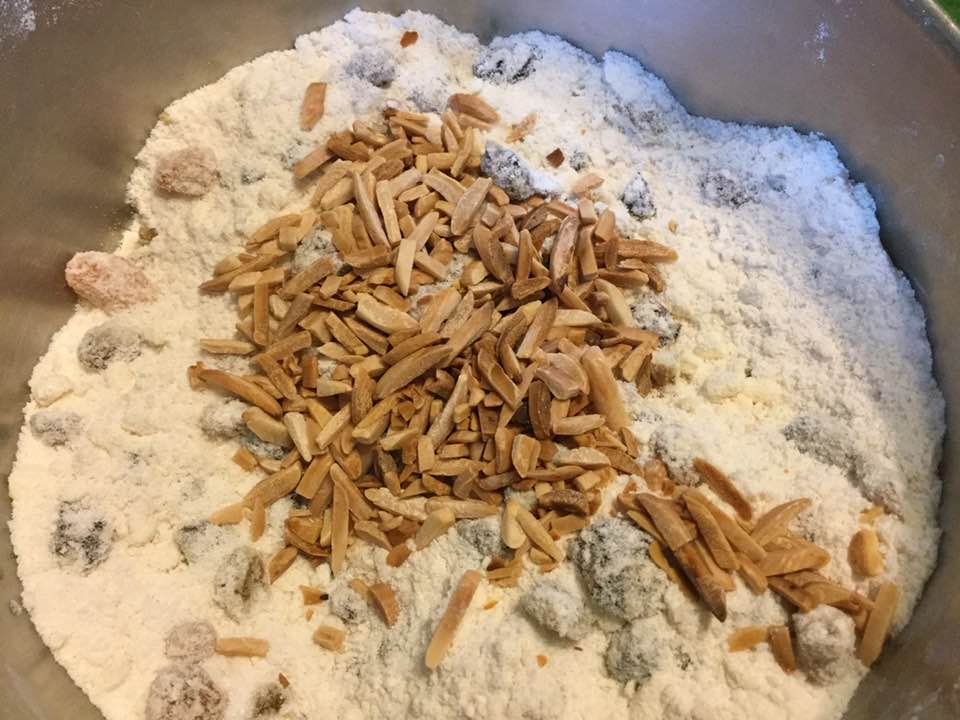
1/3 cup slivered almonds, toasted and cooled
—————
*Reduce the salt to 1/4 teaspoon if you use salted butter.
dried fruit and citrus zest
Topping
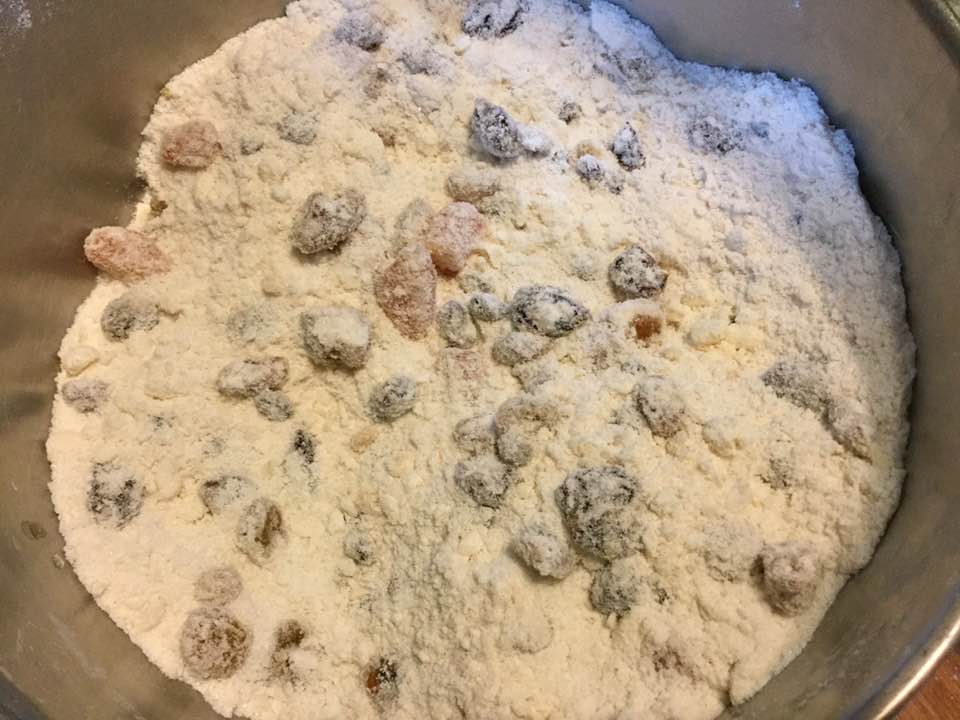
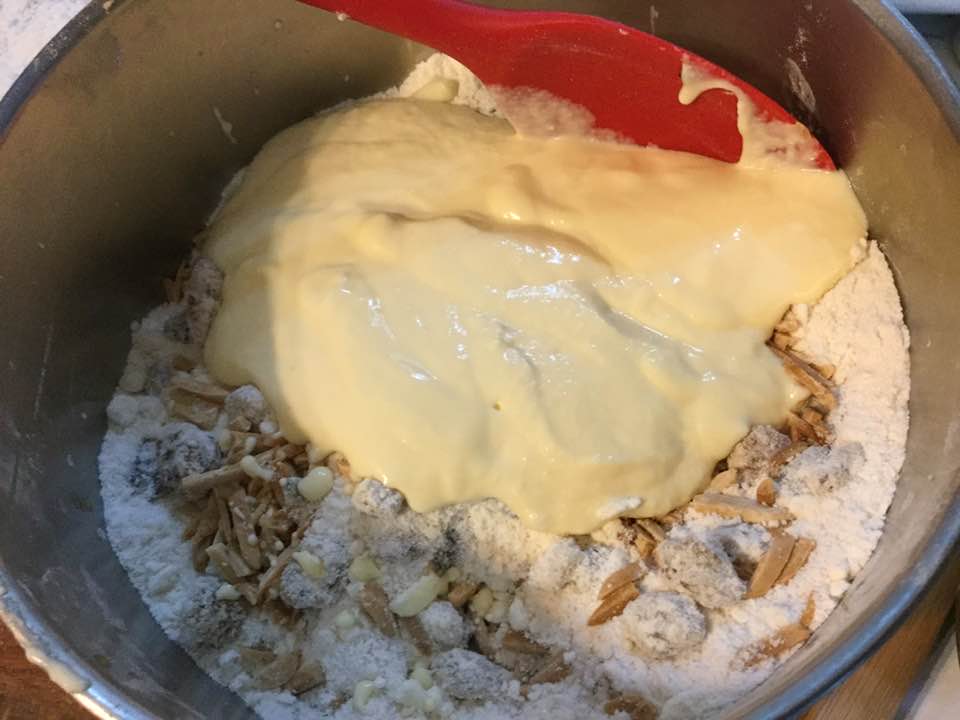
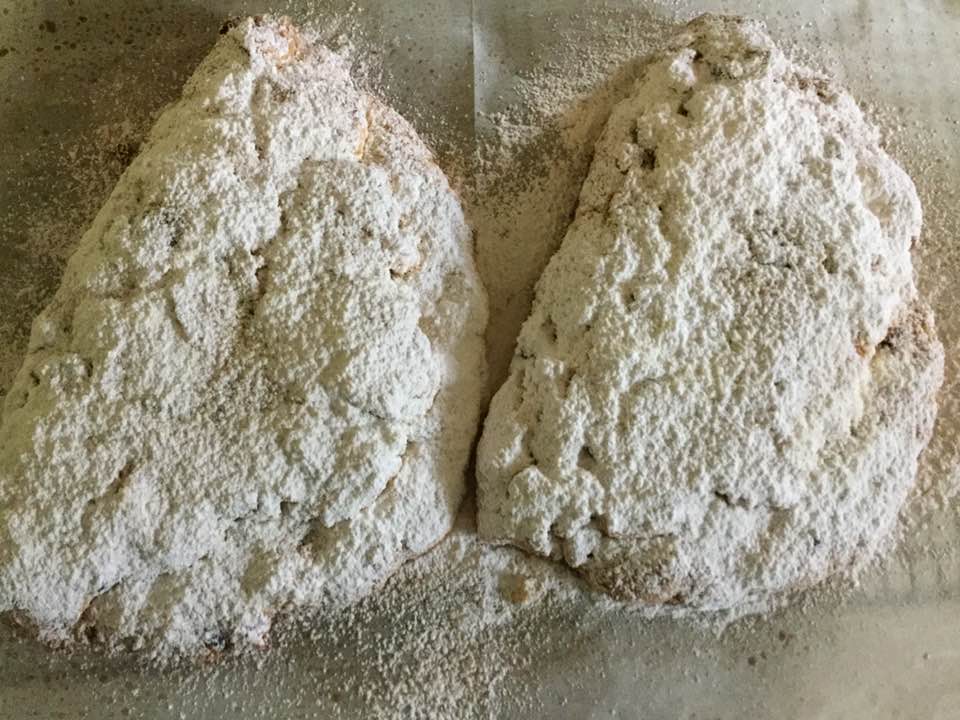
the dried fruit is mixed in!Adding the toasted almondsAdding the wet mixture into the dry doughformed stollen ready to bakebaked and powderedMore powdered sugar sprinkled on using a sieve
4 tablespoons butter, melted
2/3 cup confectioners’ sugar
Directions
1. Preheat your oven to 325°F. Lightly grease a baking sheet, or line it with
parchment.
2. Whisk together the flour, sugar, baking powder, salt, and xanthan gum in a mixing bowl.
3. Cut the cold butter into small chunks, then blend it into the flour mixture to form uneven crumbs.
4. In a separate bowl, mix together the cheese, eggs, vanilla, and flavors.
5. Toss the fruit and almonds with the flour mixture until evenly distributed. Then combine the wet and dry ingredients, mixing until most of the flour is
moistened.
6. Turn the dough out onto a lightly floured work surface, and knead it two or three times, until it holds together. Divide it in half.
7. Pat each piece of dough into an 8″ x 7″ oval about 1/2″ thick.
8. Fold each piece of dough roughly in half, leaving the edge of the top half about 1/2″ short of the edge of the bottom half. Should you fold the long way, or the short way? The long way will give you a longer, narrower stollen, with shorter slices; folding the short way will give you a wider, fatter stollen, with longer slices. I do the long way, your choice.
9. Use the edge of your hand to press the dough to seal about 1″ in back of the open edge; this will make the traditional stollen shape. It’s also the familiar Parker House roll shape, if you’ve ever made them. The dough will probably crack; that’s OK, just smooth it out as best you can.
10. Carefully place the shaped stollen on the prepared baking sheet.
11. Bake the stollen until they’re very lightly browned around the edges and on top, about 40 minutes. A cake tester inserted into the center should come out clean.
12. Remove the stollen from the oven, and transfer them to a rack. Brush them each with 2 tablespoons melted butter. Sprinkle heavily with confectioners’ sugar.
13. Allow the stollen to cool, then brush with butter again, and sprinkle with sugar again. Wrap in plastic wrap until ready to serve; serve within a week. If desired, sprinkle with additional sugar just before serving.
14. Yield: two 1-pound stollen loaves. I like to freeze one for another occasion if I am not gifting it right away. Enjoy!