Blueberry Sourdough Scones

Scones, tender, flakey, full of yumminess… something I used to make years ago. Kinda gave up on them, had made some but sort of heavy. So, I assumed all scones were generally pretty sad when made gluten free. Well, last summer I attempted them and made a batch with leftover sourdough starter which is generally called discard. I had created the starter last week using brown rice flour and had made a tasty loaf of seeded white sourdough bread in my 8.5 x 4.5 tall, sided loaf pan. So, I was looking for a way to use up the excess sourdough starter. I couldn’t find a recipe for blueberry sourdough gf scones, so I took a gluten-based recipe and reconfigured it to make with a one for one blend: specifically, Bob’s Redmill 1-1 Blend. I used a half cup of thick starter. I left out the recipe’s lemon ingredients as I just wanted blueberry and scone as the flavors. I also returned the dairy back to real dairy like actual butter and milk.

 I ate the first one when it was just to room temperature. It was like heaven in a scone shape. Crisp outside, tender inside. Bursts of blueberries rendered me speechless. It was somewhat of a religious experience for a baker like me. I have never eaten such a tender delicate gluten free baked item. The crumb was moist and as perfect as I could ask for. You have to try this! I don’t know what you can sub for the sourdough starter. Maybe Greek yogurt? Maybe you should just make starter so you can bake these scones. 

I used a gram scale to measure the dry ingredients and it gives very exacting measurements, so I highly recommend using one.

Frozen blueberries work so well; because they keep the dough chilly as you mix it with a wooden spoon and then kneading it with (clean) bare hands.  Trust me, it is easy to make and utterly decadent despite no icing or chocolate or nuts. I made it with some nuts and chocolate the next weekend. Fabulous! The recipe is somewhere on this site… You could try some other types of frozen berries. Let me know how it turns out!

Since then, I have made them a few times and I kind of like making a big square of the dough and cutting it into 12 small squares; smaller is more what I like in a serving. I do freeze them; generally best eaten in less than a month. Just bake them a couple of minutes less.

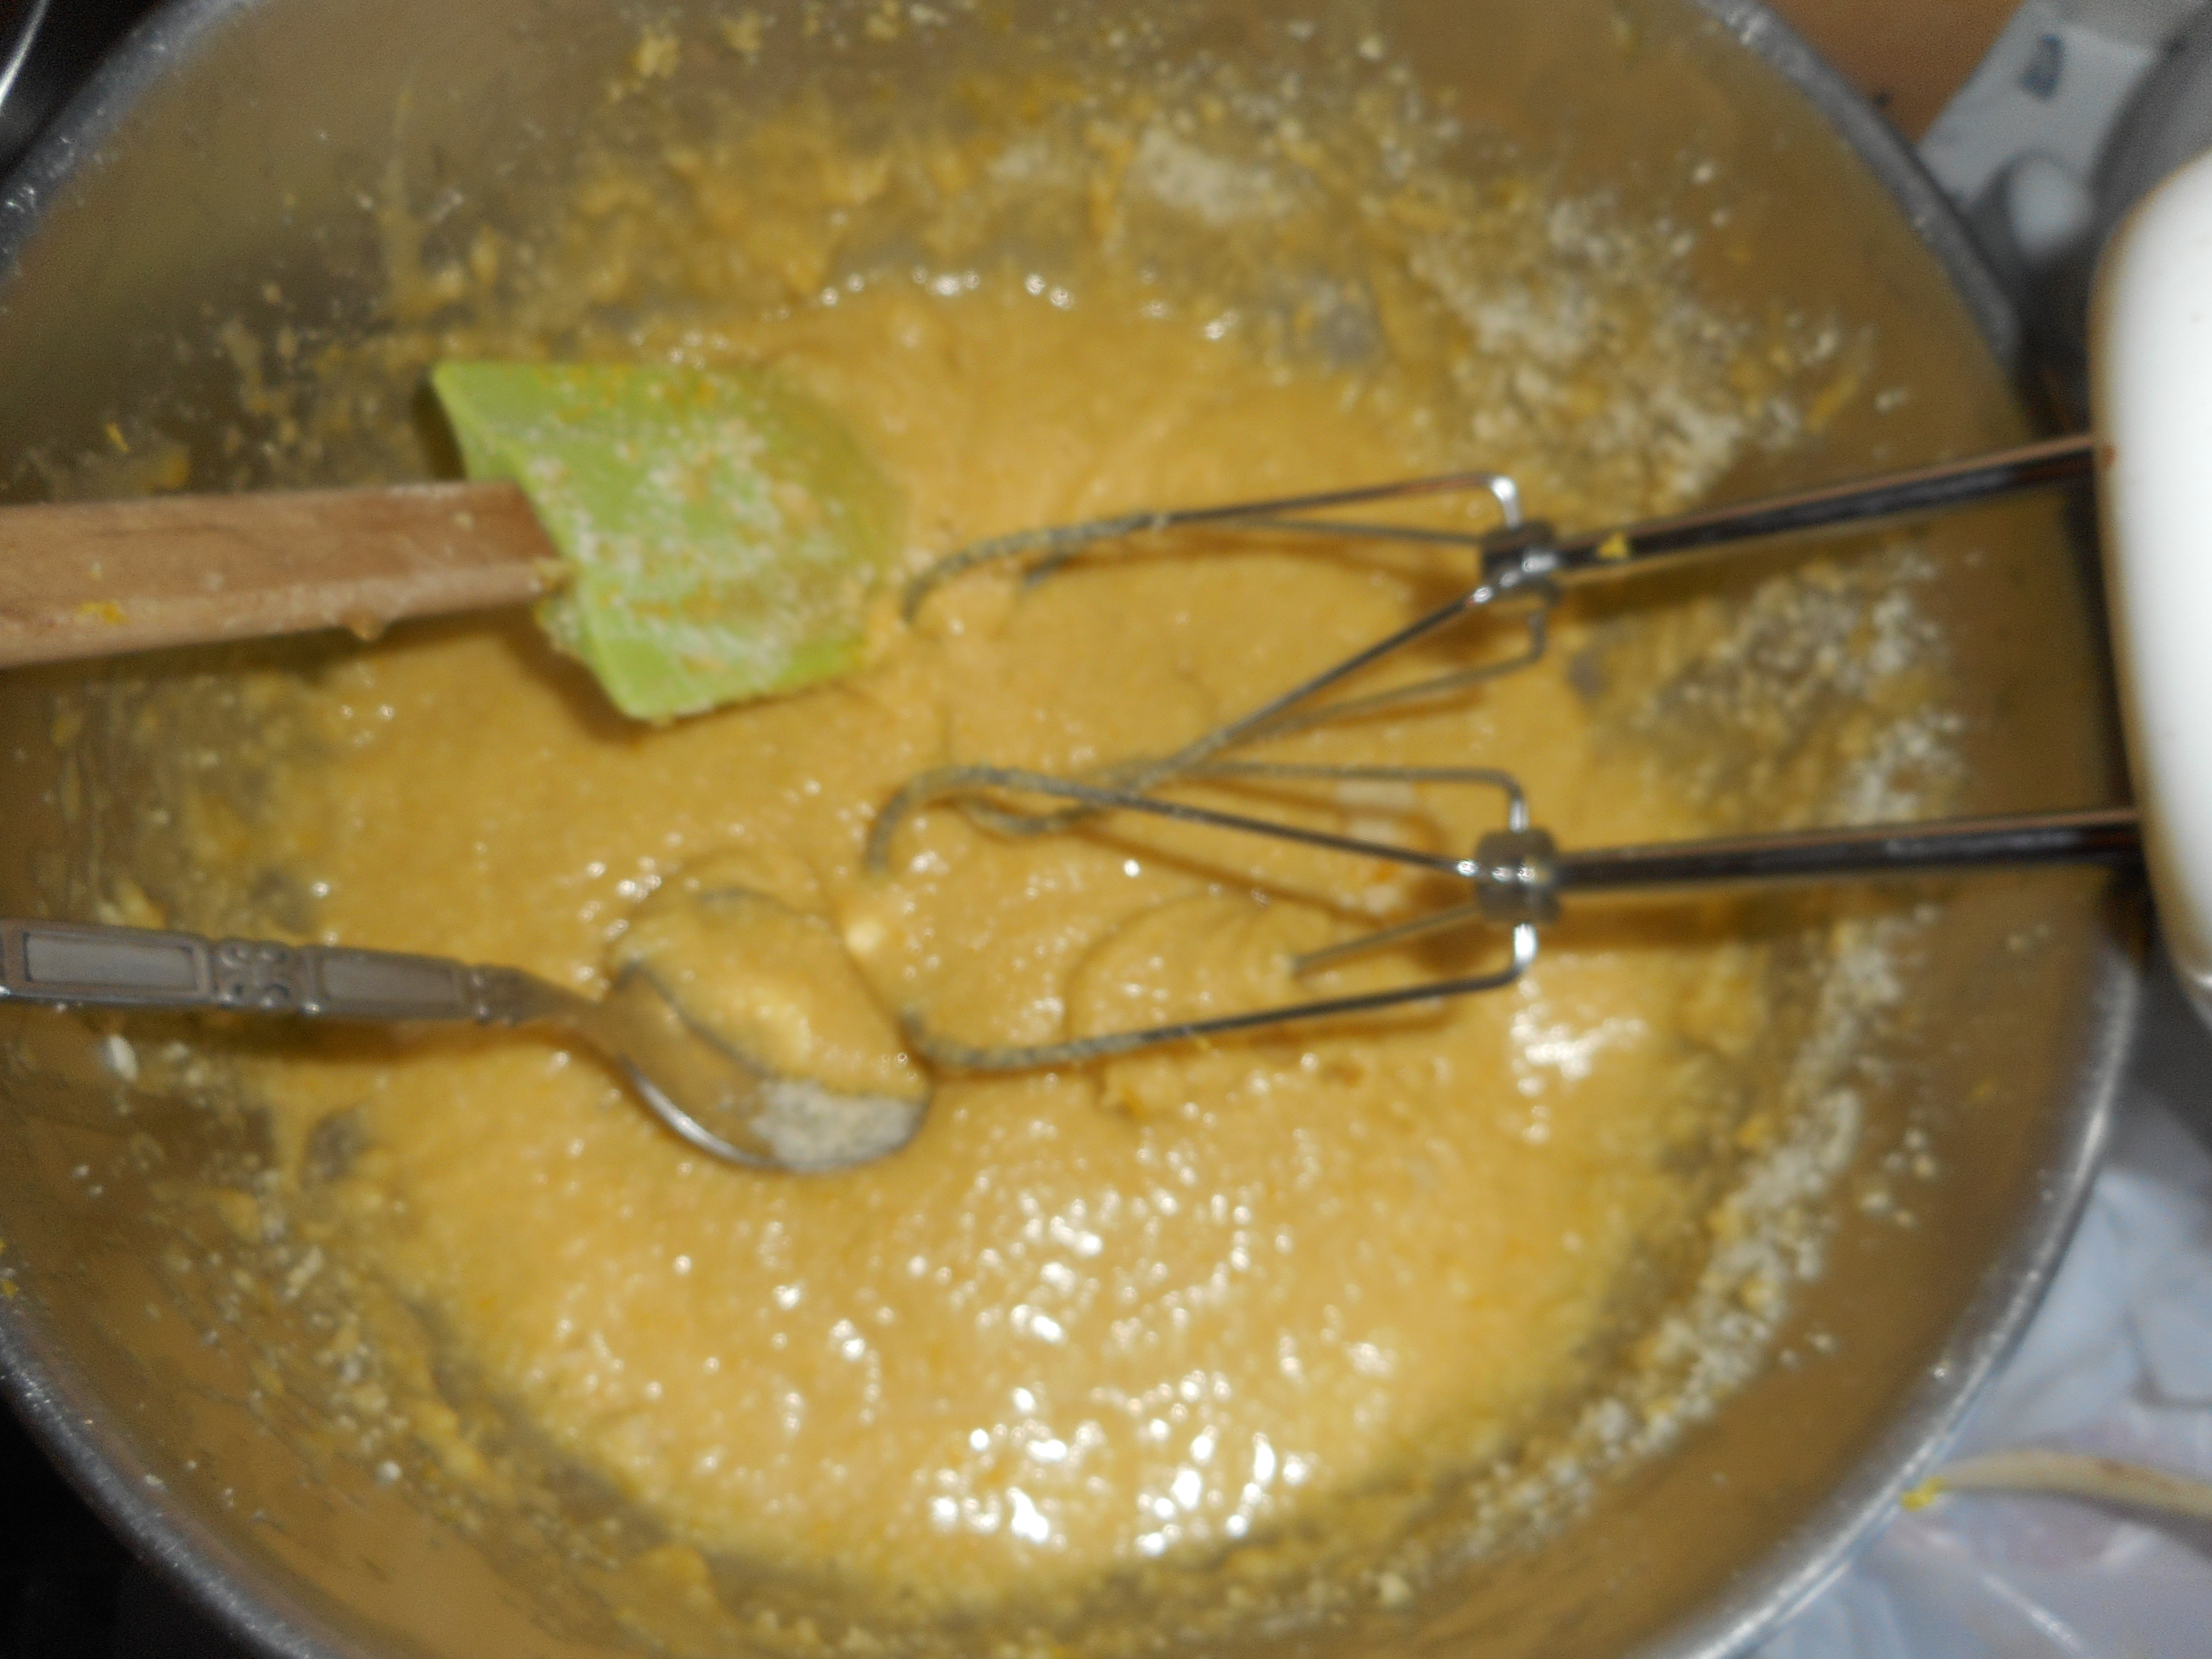
As I am about to mix it together.
Ready to bake scones.
Just baked scones still on sheet from oven

Angie’s Blueberry Sourdough Scones (GF of course)

Ingredients:

200 grams 1-1 Gluten free flour blend; I used Bob’s Redmill

50 grams almond flour

100 grams granulated sugar

2 ½ tsp. baking powder

¼ tsp. salt

7.5 Tbsp of cold butter

1 heaping cup of fresh or frozen blueberries

½ cup sourdough starter (Use the discard if you are creating discard)

1 large egg

1/3 c cold whole milk

Directions:

Mix all dry ingredients in a large mixing bowl. Cut in cold butter with a butter cutter or 2 knives. Until it is tiny pebbles of dough and butter.

Add the egg, starter and ¼ c of the milk. Mix to break up egg and start the blending process. Add in the frozen berries (or fresh) and continue stirring. As it gets to be a thick dough dump it out on your breadboard with all the dry bits and hand knead it to coalesce it into a thick dough. Form it into a large disc; about 8-9 inches across. Cut into 8 wedges; cut in half, then quarters then again into eighths. Spread them out on a cookie sheet that you have sprayed with cooking spray. Put the sheet in a cold place to chill while you heat the oven. Heat to 355 degrees.

Put the sheet in to bake. If you have a convection cycle they will be done in about 25 minutes; the outside needs to be light brown, bottom browned and they look done. I tried 18-20 min but that wasn’t enough. I think my total was 26 minutes. If you don’t have convection they will likely take a few more minutes.  Let cool on pan for 5 minutes and move to a rack. I got distracted and just left the pan of scones on the rack! They cooled rapidly and I couldn’t resist eating one. Plain. Now I am not hungry for lunch. I just want more scones.

Enjoy! I think they will freeze nicely; vacuum sealing would be a good way to go about it.

Blueberry Rhubarb Sourdough Scones

Scones, tender, flakey, full of yumminess… something I used to make years ago. I had made some several years ago but they were sort of heavy. So, I assumed all gf scones were generally pretty sad until last spring when I attempted them with leftover sourdough starter, generally called discard. I had created the starter using brown rice flour and was looking for a way to use up the excess sourdough starter. I couldn’t find a recipe for blueberry sourdough gf scones, so I took a gluten-based recipe and reconfigured it to make with a one for one blend: specifically, Bob’s Redmill 1-1 Blend. I used a half cup of thick starter.

A week later I made the recipe again but added finely chopped rhubarb stalks (never the leaves; poisonous) and made them somewhat smaller and a different shape. Made with real dairy like actual butter and whole milk.  I ate the first one when it was still warm. It was heaven in a scone. Crisp outside, tender inside. Bursts of sweet blueberries and tangy rhubarb gave the perfect taste experience. It was just as good as the blueberry ones from this spring, maybe even better. I have never eaten such tender gluten free baked items as these sourdough scones. The crumb was moist and the texture perfect and they are red, white and blue, patriotic! A great breakfast or company treat that no one will believe are gluten free.

I cut them in more of a square shape, so I got 12 squarish scones, a bit smaller than the 8 wedges that are commonly done but I wanted smaller as those big wedges are just a bit too much for my afternoon snack! It is hard to make skinny long wedges plus I didn’t think they would freeze well; break up. These rectangular ones are quite sturdy considering how delicate the crumb is.

I don’t know what you can sub in for the sourdough starter. Perhaps some plain Greek yogurt? Maybe you should just make starter so you can bake these scones.  You could use vegan butter and I think it will be delicious!

I didn’t take any pictures except of the done cooling scones; wasn’t thinking about this blog, I guess. Next time I make them I will take a few.

I don’t know what flavor I will make next, but I do know there will be many next times. Frozen blueberries worked so well; keeping the dough chilly as I mixed it with a wooden spoon and then kneading it with my bare hands. So, other frozen fruits are in my freezer…. Trust me, it is easy to make and utterly decadent despite no icing beyond a couple teaspoons of sugar sprinkled on top. I may make it with some with cut up frozen strawberries next week!

Angie’s Rhubarb and Blueberry Sourdough Scones (GF of course)

Ingredients:

200 grams 1-1 Gluten free flour blend; I used Bob’s Redmill but King Arthur 1-1 blend works well too

50 grams almond flour

100 grams granulated sugar

2 ½ tsp. baking powder

¼ tsp. salt

7.5 Tbsp of cold butter

1 cup of finely chopped rhubarb; 1/3 inch size is good

1 half cup of fresh or frozen blueberries

½ cup sourdough starter (Use the discard if you are creating discard)

1 large egg

1/3 c cold whole milk

Directions:

Mix all dry ingredients in a large mixing bowl. Cut in cold butter with a butter cutter or 2 knives. Until it is tiny pebbles of dough and butter.

Add the egg, starter and ¼ c of the milk. Mix to break up egg and start the blending process. Add in the chopped rhubarb and the frozen blueberries (or fresh) and continue stirring. As it gets to be a thick dough dump it out on your breadboard with all the dry bits and hand knead it to coalesce it into a thick dough. Form it into a large square about 9 inches across. Cut into 12 squares; cut in three strips; then across to make 12 squares or rectangles depending on how square your original rolled out dough was. Spread them out on a cookie sheet that you have sprayed with cooking spray. Sprinkle with 2 tsp. of granulated sugar or chunky sugar if you have some. Put the sheet in a cold place to chill while you heat the oven. Heat to 355 degrees.

Put the sheet in to bake. If you have a convection cycle they will be done in about 20 minutes; the outside needs to be light brown, bottom browned and they look done. I tried 18 min but that wasn’t enough. If you don’t have convection they will likely take a few more minutes.  Let cool on pan for 5 minutes and move to a rack. They cooled rapidly and I couldn’t resist eating one while it was warm. So tasty and I loved how patriotic my scones look!

Enjoy! I they freeze nicely; vacuum sealing would be a good way to go about it if you are freezing for more than a week.

First posted in 2022.

Flour-less Lemon Cake with Candied Lemon Slices

Cake….always a party pleaser.  I enjoy it on special occasions but confess it is not one of the things I am good at baking, never was even when I could use regular flours.  And don’t get me started on the birthday cake curse I am crouching underneath.  But sometimes you just need that fancy dessert that serves a crowd and makes everyone happy.  This cake is fairly easy to make, is gluten free and has great lemon flavor. The honey is more of an undertone. Each bite has a satisfying texture due to the almond flour, not heavy but not light with a lovely moisture built in from the honey and olive oil. The tiny bit of potato starch helps make that great texture. No butter either; extra virgin olive oil does the trick. Make sure your eggs and whites are all at room temperature for maximum loft when whipped.

The candied lemon slices take a bit of effort but look great on top. I know I was happy with the results when I bit into my slice of yummy cake!

This recipe comes from Food Network’s test kitchens and I made only minor changes, used slightly less water making the syrup as it seemed too thin even after simmering 20 minutes and no pomegranate seeds for on top; it is spring and pomegranates are a fall fruit. I looked; none to be found. I used a half pint of fresh raspberries and they were perfect – added great color and flavor.

If you can get Meyer lemons they are recommended because of their awesome flavor but I used the usual ones from the grocery store and they worked out fine. I thought the candied slices were tasty although a couple of guests who didn’t much like lemon skipped their candied lemon while still enjoying the cake itself.  It is a very impressive looking cake with a tender moist texture. Extra syrup on top is a tempting option!

I put all my pictures together in a chunk; they can be annoying sprinkled through out the recipe when you are trying to make it.  I often use my tablet to make my own recipes straight off my blog posts so I know what I am talking about here!

Easter 001Easter 002Easter 003Easter 005Easter 004Easter 006Easter 011Easter 013

Flourless Lemon Honey Cake with Candied Lemon

Ingredients

¼ cup EVOL plus more to grease pan

1 ¾ cup almond flour plus more to dust the pan

1/3 cup potato starch

½ tsp. salt

1 ½ cups sugar

2/3 cup honey

3 lemons; two zested and juiced and the third sliced very thinly

4 eggs separated

2 egg whites

½ tsp. vanilla extract

¼ tsp. almond extract

Chopped or slivered almonds; ¼-1/3 cup

½ pint fresh raspberries

Directions:

Brush the sides and bottom of a 9 inch spring form pan which you lined the bottom with a round of parchment paper; brush with EVOL and dust with almond flour.  Put rack in middle level in oven.  Heat oven to 325 degrees.

Mix flour, starch and salt in medium bowl.  Combine ½ cup sugar, 1/3 cup honey, lemon zest, 4 egg yolks, vanilla and almond extract in mixer bowl.  Mix on medium high until creamy; about 3 minutes.  Reduce the speed to low, beat in the flour mixture just until blended.

In a separate clean bowl beat the 6 egg whites until foamy, about a minute.  Gradually beat in ½ cup sugar until stiff glossy peaks form, 3 minutes maybe 4.  Gently fold about 1/3 of the beaten egg whites into the cake batter, and then fold in the rest of the whites until just barely incorporated.  Pour batter into prepared pan.  Bake until golden brown and springs back when pressed lightly; 50-55 minutes.  Place pan on a cake rack to cool completely.

While it is baking you should make the candied lemon slices.  Put the slices in a small saucepan, cover with water, bring to a simmer over high heat; maybe 3 minutes.  Drain, return to pan and cover with fresh water, repeat the heating.  Do this three times total. It gets the bitterness out of the unpeeled slices. Put the slices back in the pan; add the remaining ½ cup sugar, 1/3 cup honey, the lemon juice of the two lemons and 3/4 cup water.  Bring to a simmer over high heat, reduce heat to medium, cook, stir occasionally.  Cook until lemon slices are tender and the honey liquid is thickened; becomes like a syrup; about 20-25 minutes.  Set aside to cool.

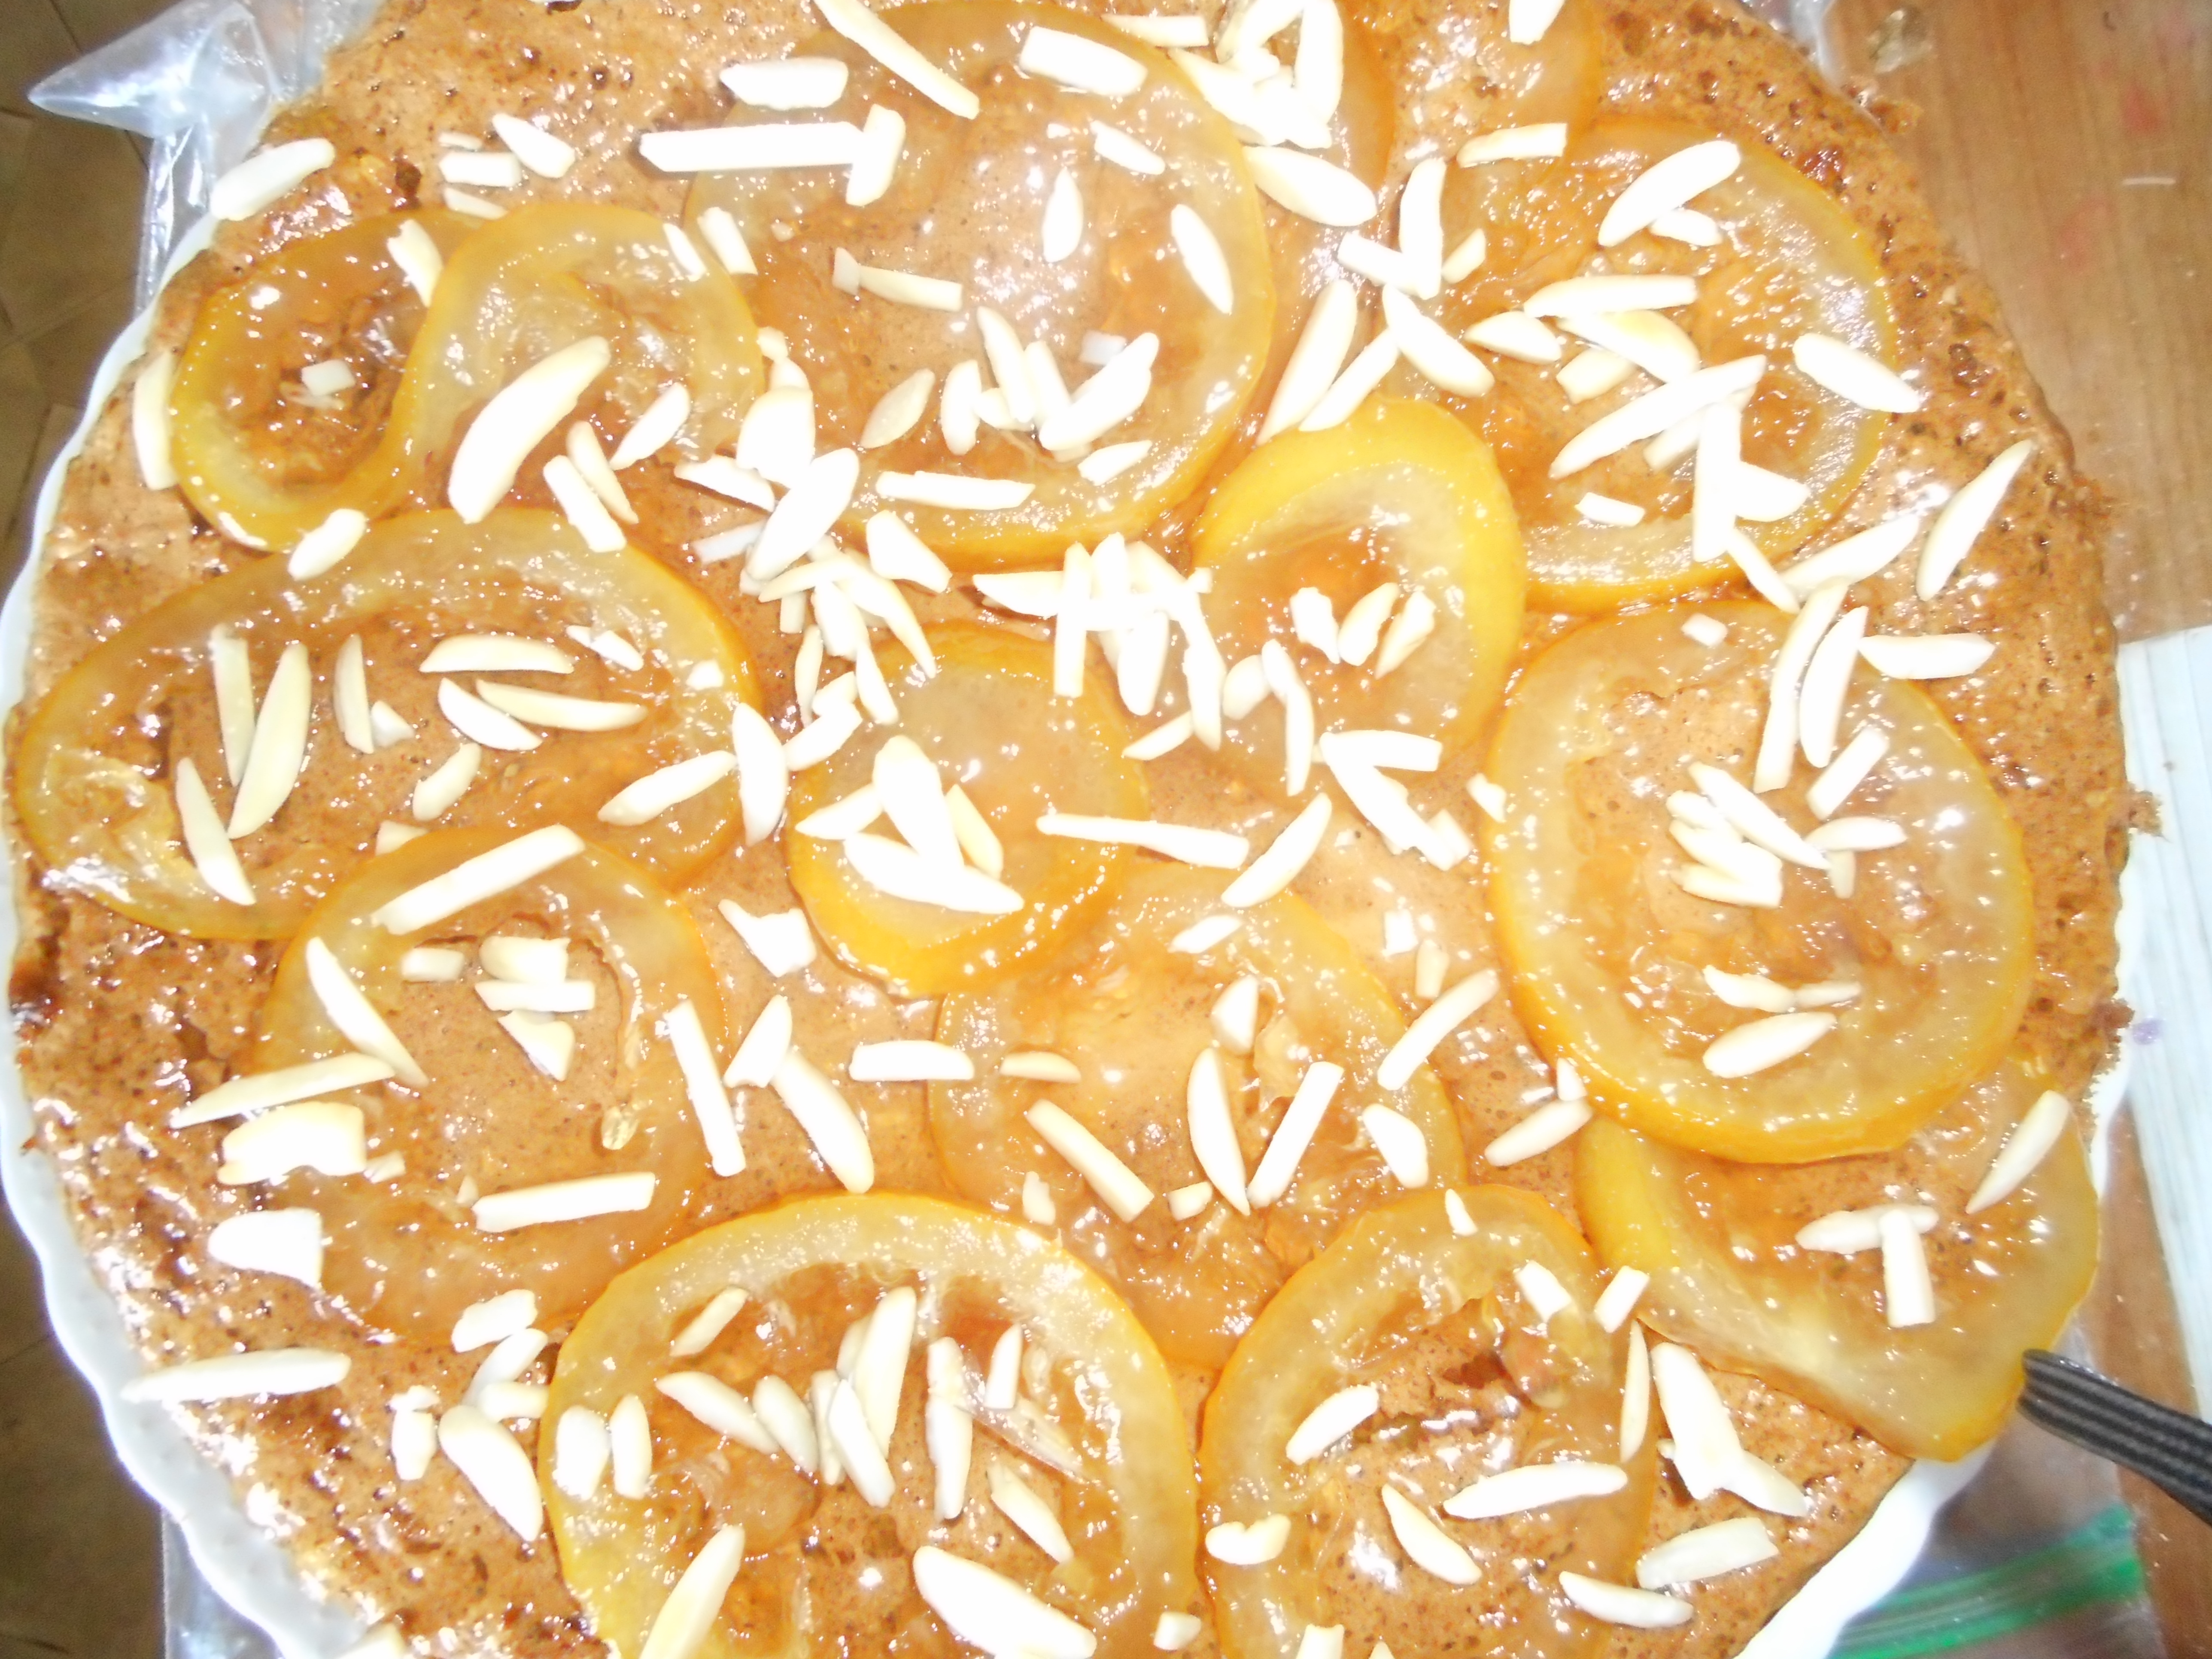
Unmold the cake: run a knife around the edge of the pan, remove pan.  Flip cake to take off parchment paper.  Place on a serving plate.  Use a fork to remove the lemon slices from the syrup and brush the cake all over with some of the lemon syrup.  Then decorate the cake with them. Sprinkle with the raspberries and pass the leftover lemon honey syrup along with the cake.

Serves 8-10.

Originally posted in the spring of 2015.

Irish Soda Bread

I have tried a few gf recipes but there is only one Irish soda bread that I like these days: the one in Annalise Robert’s Baking Gluten-Free Classics cookbook. I embellish it with a tsp. of orange rind and I use less caraway seeds. It doesn’t keep particularly well so plan to make it to eat that day or the next. By the third day it is just not as great in flavor or texture but for that 2-day slot it can’t be beat for a gf soda bread. I have friends who don’t care for the seeds or orange rind grated in, but I love them; that’s what makes it great for me. Her cookbook is my baking bible, the best by far of all my gf cookbooks. I am going to put the ingredients and rough directions here, but you need to get her book and start baking. I promise you won’t be disappointed. It is head and shoulders above the rest for classic stuff like this. I do warn you that I altered her recipe as I am not a fan of buttermilk powder; I use the real deal of the buttermilk so no buttermilk powder and water here!

Irish Soda Bread

Ingredients:

1 3/4 cup King Arthur Basic gf flour

2 Tbsp. sugar

2 Tsp. baking powder

1 tsp. baking soda

3/4 tsp Xanthan gum

1/4 tsp. salt

1 tsp. grated orange rind

2 tsp. caraway seeds

3/4 cup buttermilk

3 Tbsp. canola oil

1 large egg.

Directions: Heat oven to 350 degrees. Lightly grease an 8 inch cake pan.

Mix dry ingredients in large mixing bowl; mix in raisins, peel and caraway seeds.

Combine wet ingredients in smaller bowl, until well blended; I whisk them.

Add the wet to the dry and mix 30 seconds or less; until just well blended; use a big spoon and shape dough into a ball. Put in the prepared pan and use your hands to spread it out to a 6 inch circle. Use a sharp knife to cut a cross deep into the top. Bake on center rack until dark golden brown and cake tester is dry. About 35-40 minutes. Cool to room temperature before cutting; definitely do not cut it hot! Enjoy!

Not My Mom’s Rice Pudding, Better!

I always loved rice pudding as a child, creamy custard studded with raisins and topped with a good sprinkle of cinnamon.  But the rice itself was kinda drab, not much flavor and it was not well blended with the rest of the pudding.  A few years ago, I found a recipe that caused a rice pudding revolution in my kitchen: it used sweet rice which is a white short grain oriental rice.  You could substitute Arborio rice if you like, what I have used in my most recent batch. I buy sweet rice in oriental grocery stores but I think Wegmans may carry it too.  Each grain absorbs the milk as it cooks and releases a lot of creaminess as well as providing a soft squishier rice that gives the pudding a more blended feel than my mom’s usage of long grain rice that stayed firm and separate from its pudding surrounding.

This recipe is naturally gluten free.  No one eating it will think, “Oh, darn, another of those weird GF recipes!”  They will just think, “I wonder if she will think I am piggy to want seconds of this?

I think in a pinch you could skip the second part where you briefly bake the pudding but I never do, I think it helps the pudding form the best texture.  Do sprinkle the top with cinnamon unless it is something you despise.  I recommend whole milk as it makes pudding taste so good but if you prefer two percent that will work.  I do not recommend skim milk for pudding. Ick on the texture and flavor of such a mutant pudding!  And this recipe is great with chopped dried apricots, dried cherries, golden raisins, or even currents or in it instead of raisins. My original recipe had lemon peel and apricots in it. Recently I put a few long orange peelings in it and a cinnamon stick while it cooked on the stove top which gave it a delicate orange flavor which played well with the raisins. So, you can alter it to suit your mood and your ingredients. I sometimes just use 3 whole eggs rather than end up with two extra egg whites.  Especially with the price of eggs these days.

I am making it tonight in the “classic” form; with raisins and sprinkled with cinnamon. I can’t wait to enjoy a cup of warm and creamy rice pudding.

rice pudding

These cold days make pudding such a treat.  What could be more comforting after a cold walk with the dog than a bowl of wickedly creamy homemade rice pudding.

Creamy Rice Pudding

Ingredients

¾ cup sweet or Arborio rice

1 quart whole milk

1/3 cup raisins

1/3-1/2 cup granulated sugar, depending on your sweetness needs! I go with 1/2 cup

2 egg yolks

2 whole large eggs

1 tsp pure vanilla

A good sprinkle of cinnamon

Directions:

Rinse the rice in a strainer briefly, (I forgot to do this last week!)  place in a heavy bottomed 1 ½ quart saucepan, pour in the milk (4 cups) and stir frequently as it heats on medium to a bubbly simmer.  Add the raisins and turn down the heat to low, cover and cook 25 minutes.  Be sure to stir it every 5-7 minutes to separate the rice and keep it from scorching on the bottom.  Add the sugar, stir well.  Mix up the egg yolk and whole eggs in a bowl with a whisk and add in some of the hot mixture; maybe 1/3 to ½ cup.  Dump it all back in the pot and stir well.  Turn off the heat and add the vanilla.

Heat your oven to 300 degrees. Butter the bottom and sides of a low ceramic or glass baking dish. I like an oval myself, that shape is what my mom usually used!  Pour in the pudding, removing any lemon or orange peel and the cinnamon stick if you used such and sprinkle it well with cinnamon to dust the surface.  Bake for 20 minutes.  Often,I put it in a hot water bath created with a 9×13 cake pan and some hot tap water. Did this last week.  This method produces a lovely delicate custard, worth the extra fuss.

It is tasty warm and wonderful the next day.  Some people guild the lily with toppings of whipped cream, grated lemon or orange peel or even whipped mascarpone cheese.  Up to you how you dress it up!  I occasionally serve a homemade cookie on the side for added crunch value.  Enjoy!

Originally published in 2015; minor text changes made.