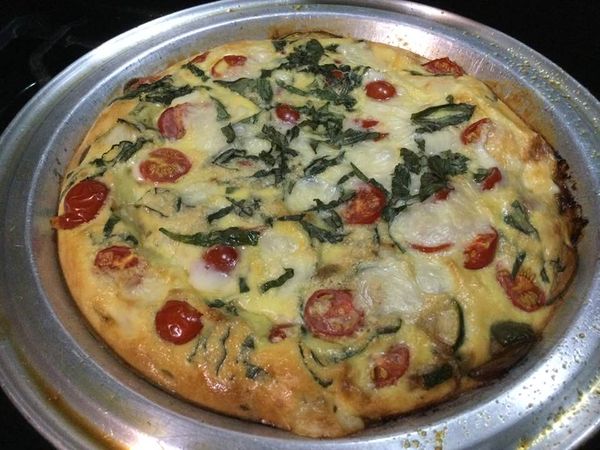
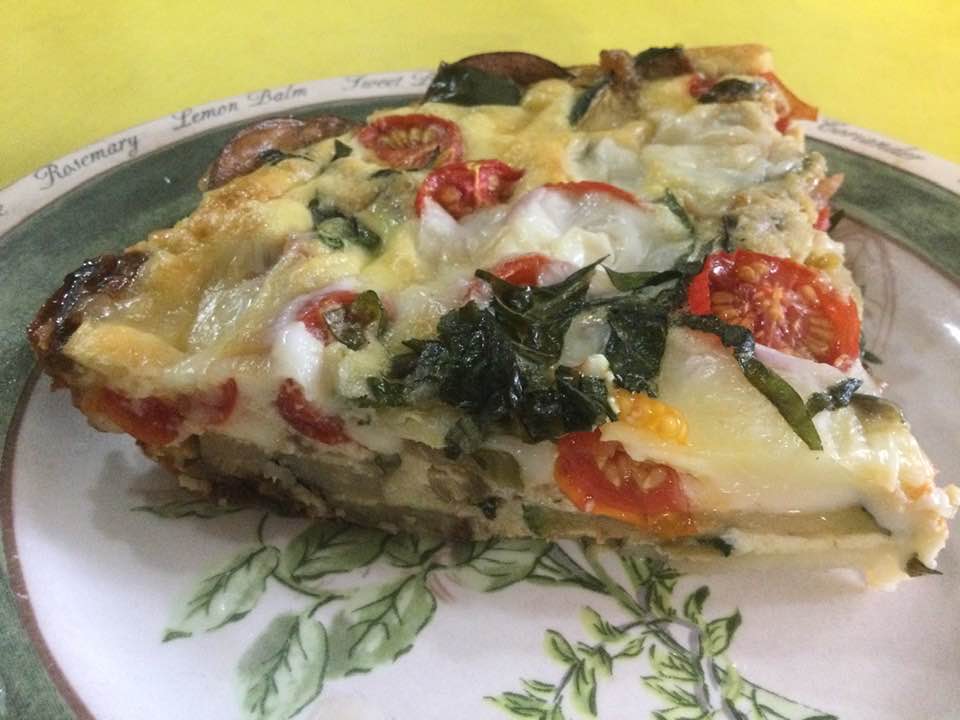
Sometimes you just don’t feel like making a traditional crust. This was one of those times. I had a homegrown zucchini, some cherry tomatoes, cheese, eggs, and 2 potatoes. Quiche for supper! This is a different filling recipe than my usual one; it is more eggs, half and half instead of milk and no cottage cheese; cubed mozzarella cheese. It was a delicious change of pace especially with the julienned fresh basil leaves sprinkled all over the top. You could use other veggies; I went with what I had. The garden’s bounty and it didn’t fail me.
Just baked, still pretty hot.
Angie’s Zucchini and Tomato Quiche
Ingredients
2 large russet potatoes, washed well and sliced very thin: about 1/8 inch thick.
cooking spray
5 large eggs
1/3 cup half and half
about 4-5 ounces cubed mozzarellla cheese
about 1/3 cup sliced onion; I used one small onion
2 Tsp EVOL
approximately 1 to 1-1/2 cups sliced zucchini
1/4 tsp garlic powder
1/2 cup or so cherry tomatoes, halved
6-7 large basil leaves Jullianned
Directions:
Heat oven to 375 degrees. Spray a 8.5-9 inch metal pie pan with olive oil cooking spray. Line it with potato slues on the bottom and half way up the sides. Spray again all over with the olive oil cooking spray. Bake 20 min; don’t let it get really brown. Turn oven down to 350 after removing pie shell.
Mix eggs and half and half in blender; 10 seconds or so.
Sautee the onion rings in some EVOL; maybe 2 tsp of it. Add squash after 2-3 minutes. Cook until softening; maybe 5 minutes. Sprinkle with garlic powder. Pour into warm potato crust. Sprinkle with tomato halves and cheese cubes. Pour egg mixture gently over it Sprinkle with basil leaves.
Bake in 350 degree oven 30-35 minutes; if it looks like it is browning too much turn heat back to 335 degrees.
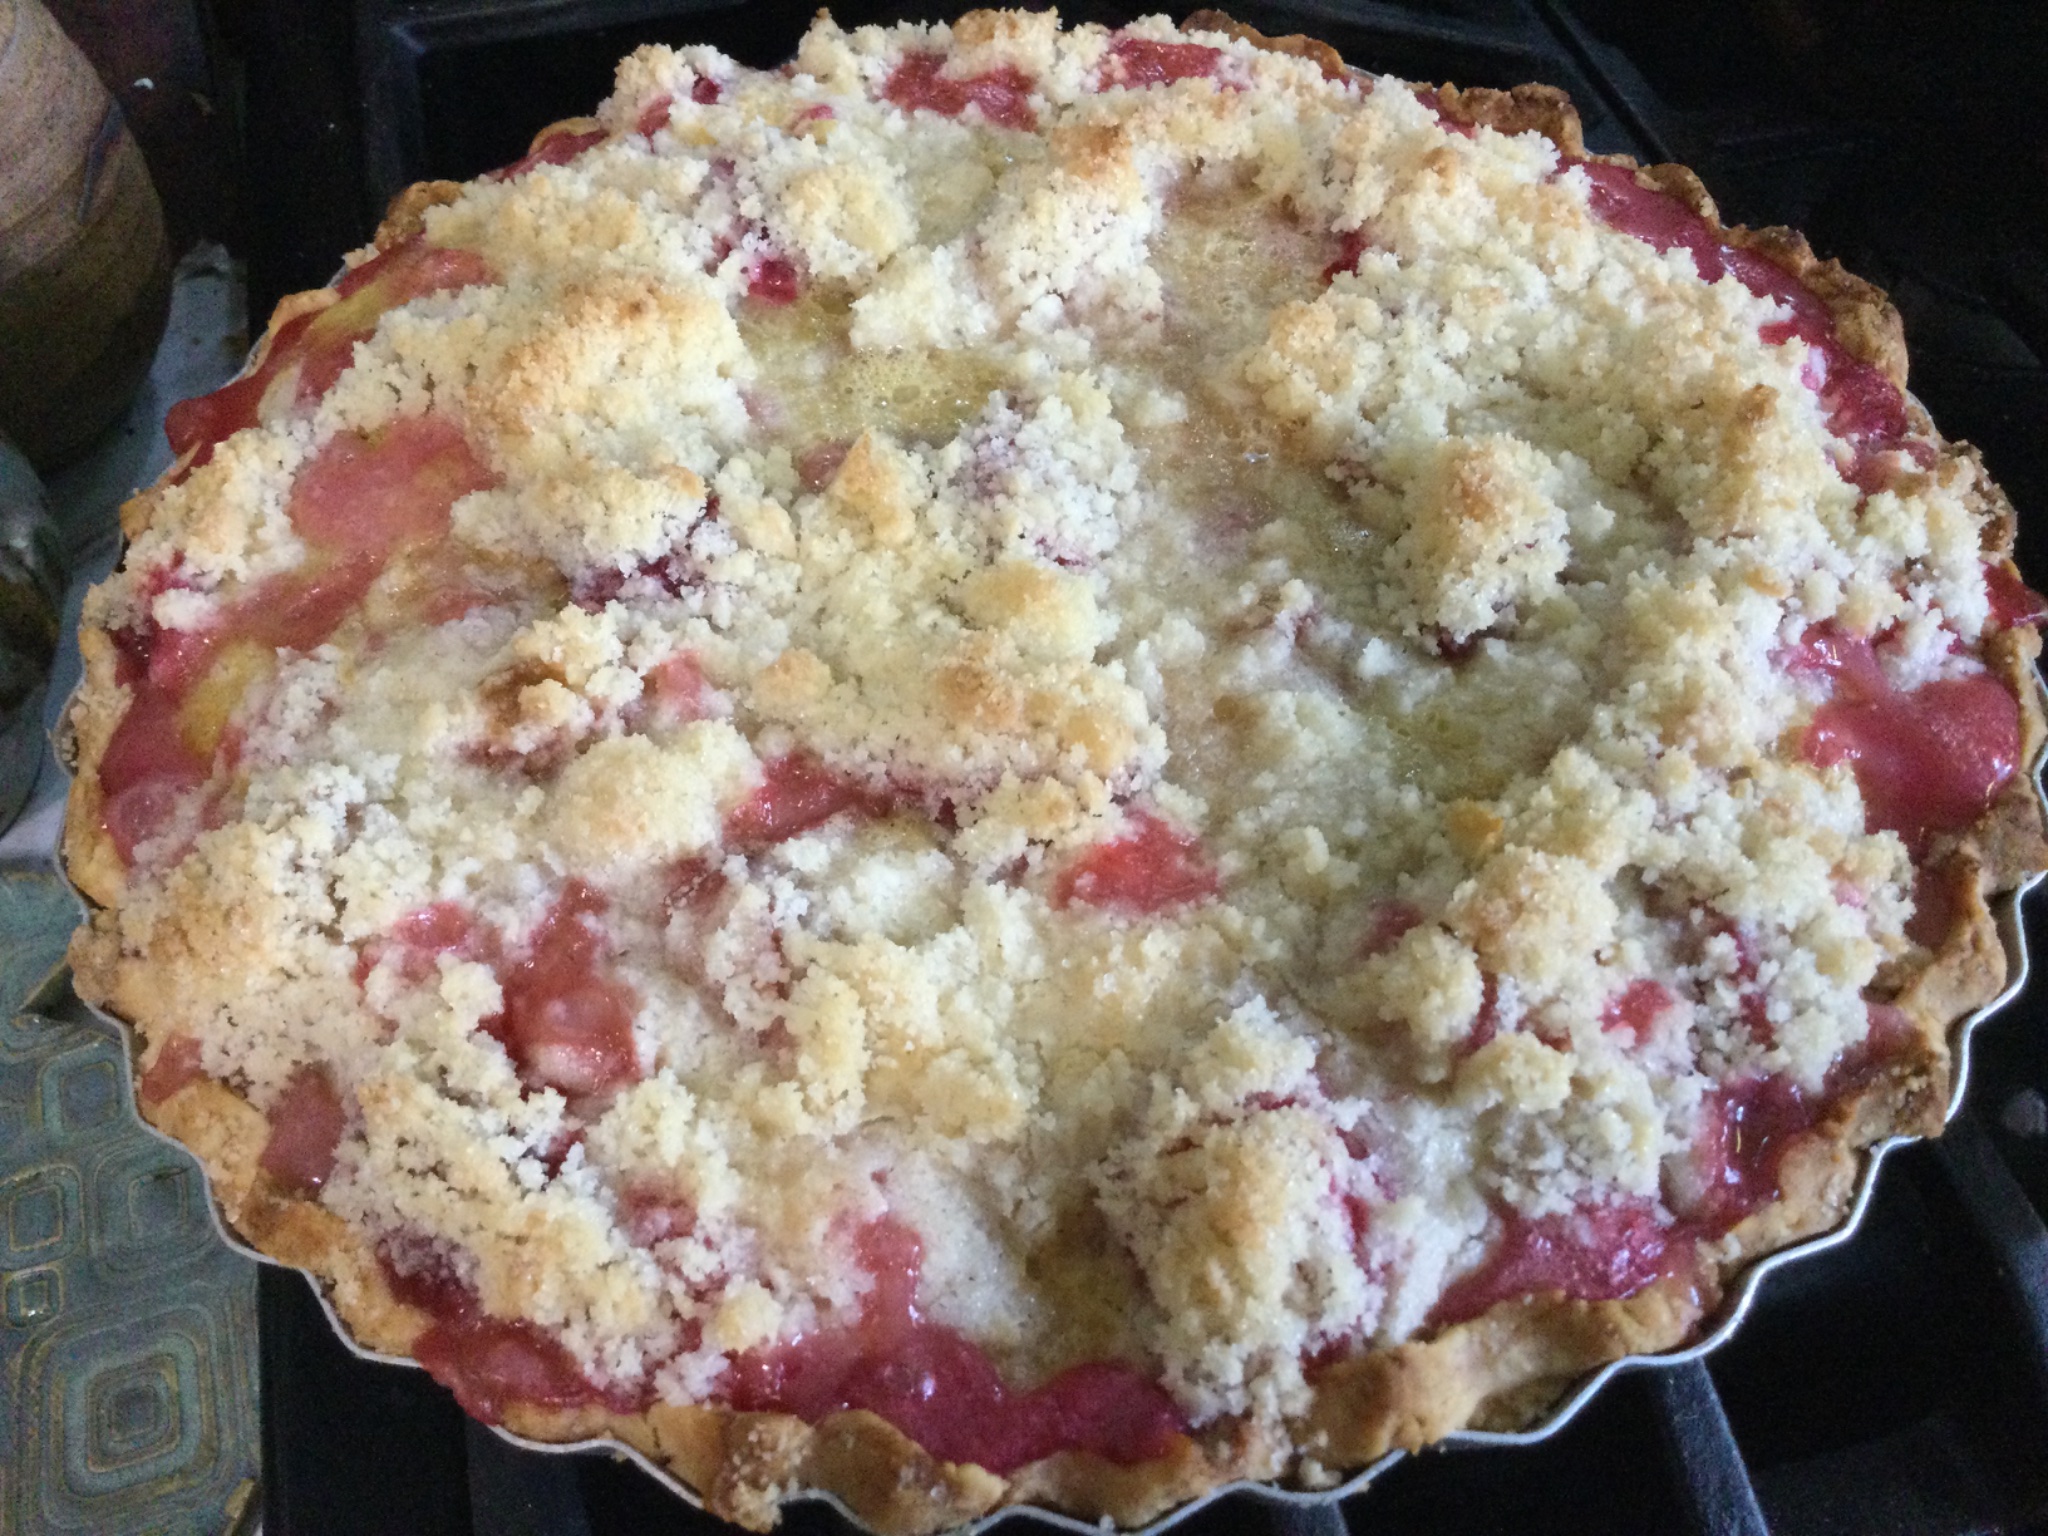
Surprisingly blueberries and rhubarb really do go together so well. Blueberries are uncooked: with milk or cream or baked in a cobbler or a fruity crisp. Rhubarb is called the pie plant for good reason; it makes a lovely pie from a humble plant stem. But this, this is my current obsession, the two together in a custard pie. Not just any old custard but one made with Greek yogurt and eggs. Easy to throw together, creamy, never runny textured and a lusciously fruity flavor that may make you have to eat a second slice! The blueberries do tend to take over the rhubarb flavor of this pie. Of course, there are more than twice as many blueberries by volume and they are just a stronger flavor than rhubarb which gives a bit of a tart under taste to this pie. You could play with the proportions of the two fruits; this is the amounts which I used. This pie will be tasty to even the biggest rhubarb dissenter. Really!
WARNING: This pie goes soft in 2 humid days so plan to gobble it down within that time frame or face the soggy crust syndrome. Inevitable with gf crust and a custard filling in hot/humid weather.
I don’t recommend frozen or canned fruit for this pie, simply not good enough and you must use plain, unsweetened Greek yogurt in the filling, plain yogurt is too runny. And no, it can’t be made without the eggs it just wouldn’t work as a custard if there are no eggs. The version with peaches uses 3 yolks in there. I tried it with two whole eggs beaten up: success! And one last warning; applicable to 100 percent of my recipes: Please don’t try it with Measure for Measure gf flour; this is calibrated for using King Arthur’s Basic GF Blend.
I hope you give it a try; super easy and super delicious. Best pie of the summer hands down! Make one Saturday morning…we couldn’t wait for a slice still faintly warm……. I thought I took a picture of a slice; no luck there and it is all gone. Next time! It does look pretty much like the blueberry peach custard pie I posted last summer.
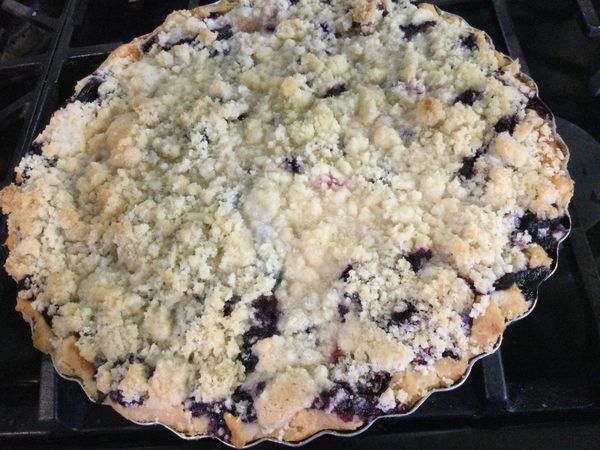
Naked pie! About to go in and bake for 25 minutes and then the crumbs go on top.Just out of the oven….cooling…a molten mass of fruit and custard and sugary crumbs!
Angie’s Blueberry and Rhubarb Custard Crumb Pie
CRUST:
1 c plus 2 tbsp brown rice flour mix (at bottom of recipe)
2 tbsp sweet rice flour
1 Tbps granulated sugar
½ tsp xanthan gum
¼ tsp salt
6 Tbps cold butter cut into 6 chunks
1 large egg
2 tsp fresh orange or lemon juice
Spray 9 or 10 inch metal pie pan with cooking spray, dust with white rice flour.
Mix dry ingredients in bowl of stand electric mixer. Add butter and mix until crumbly and resembling coarse meal. Add egg and juice. Mix until it comes together into big chunks. Shape into a ball with your hands. Put it on a crust sized piece of wax paper (14 x 14 inches more or less), flatten the crust ball some; put on top of it another piece of wax paper and chill it all in your fridge 15-20 minutes while you prepare the filling.
Filling:
2-3 cups sliced fresh rhubarb cut in half inch slices (2 cups if 9 inch pie, 3 cups for 10 inch pie)
4 cups blueberries; rinsed
2/3 cup sugar, sweeter if you like it that way or if peaches are not fully ripe
2 Tbsp. tapioca starch
Mix in a medium bowl the following ingredients:
1 cup plain Greek yogurt, I prefer whole milk, and let it warm up a bit
2 whole large eggs or 3 egg yolks, close to room temp.
1 tsp. pure vanilla extract
2 tbsp. brown rice mixture flour (King Arthur Basic GF blend)
Crumb topping
¾ c brown rice flour mix (King Arthur Basic GF Blend)
½ c sugar
½ tsp xanthan gum
1/2 tsp. cinnamon
1/3 c cold butter cut into six chunks
Put all five ingredients in the same mixing bowl you made the bottom crust in and mix well with mixer paddle until crumbs form.
+++++++++++++++++++++++++++++++++++++
Directions: Turn oven on to 400 degrees. Put the oven rack on the closest to the bottom shelf position. Once the crust is chilled some but not hard, Roll it out and fit into the pie shell. Trim off excess crust. I like to chill those crumbs of crust and roll out to make a jam filled hand pie. Anyway, put the sliced rhubarb and blueberries in a bowl and add the sugar and tapioca. Let stand 5 minutes. Then pour into the pie shell in a fairly even layer, as the filling and crumbs will hide it there is no need for a pretty design. Then pour the filling that you just mixed up over it , tap the pie on the counter sharply 2-3 times to settle in the filling and bake for 25-30 minutes. I turned down my oven to 375 after 15 to 20 minutes. While it bakes those 25-30 minutes make the crumbs. When your timer goes off, carefully remove the pie from the oven and sprinkle the top of the pie with crumb mix; I used about 3/4 of it but you could use a bit less if you don’t want a thick crumb layer or all of it for a really heavy crumb. Bake an additional 15-20 minutes until crumbs are lightly browned. Let stand at least 1 to 11/2 hours before slicing and serving. Enjoy!
Scones, tender, flakey, full of yumminess… something I used to make years ago. I had made some several years ago but they were sort of heavy. So, I assumed all gf scones were generally pretty sad until a few months ago when I attempted them with leftover sourdough starter, generally called discard. I had created the starter the week before using brown rice flour and was looking for a way to use up the excess sourdough starter. I couldn’t find a recipe for blueberry sourdough gf scones, so I took a gluten-based recipe and reconfigured it to make with a one for one blend: specifically, Bob’s Redmill 1-1 Blend. I used a half cup of thick starter.
Last week I made the recipe again but added finely chopped rhubarb stalks (never the leaves; poisonous) and made them somewhat smaller and a different shape. Made with real dairy like actual butter and whole milk. I ate the first one when it was still warm. It was heaven in a scone. Crisp outside, tender inside. Bursts of sweet blueberries and tangy rhubarb gave the perfect taste experience. It was just as good as the blueberry ones from this spring, maybe even better. I have never eaten such tender gluten free baked items as these sourdough scones. The crumb was moist and the texture perfect and they are red, white and blue, perfect for the holiday on Monday! A great breakfast or company treat that no one will believe are gluten free.
I cut them in more of a square shape, so I got 12 squarish scones, a bit smaller than the 8 wedges that are commonly done but I wanted smaller as those big wedges are just a bit too much for my afternoon snack! It is hard to make skinny long wedges plus I didn’t think they would freeze well; break up. These rectangular ones are quite sturdy considering how delicate the crumb is.
I don’t know what you can sub in for the sourdough starter. Perhaps some plain Greek yogurt? Maybe you should just make starter so you can bake these scones. You could use vegan butter, but it will be better with the real deal!
I didn’t take any pictures except of the done cooling scones; wasn’t thinking about this blog, I guess. Next time I make them I will take a few.
I don’t know what flavor I will make next, but I do know there will be many next times. Frozen blueberries worked so well; keeping the dough chilly as I mixed it with a wooden spoon and then kneading it with my bare hands. So, other frozen fruits are in my freezer…. Trust me, it is easy to make and utterly decadent despite no icing beyond a couple teaspoons of sugar sprinkled on top. I may make it with some with cut up frozen strawberries next week!
Angie’s Rhubarb and Blueberry Sourdough Scones (GF of course)
Ingredients:
200 grams 1-1 Gluten free flour blend; I used Bob’s Redmill but King Arthur 1-1 blend works well too
50 grams almond flour
100 grams granulated sugar
2 ½ tsp. baking powder
¼ tsp. salt
7.5 Tbsp of cold butter
1 cup of finely chopped rhubarb; 1/3 inch size is good
1 half cup of fresh or frozen blueberries
½ cup sourdough starter (Use the discard if you are creating discard)
1 large egg
1/3 c cold whole milk
Directions:
Mix all dry ingredients in a large mixing bowl. Cut in cold butter with a butter cutter or 2 knives. Until it is tiny pebbles of dough and butter.
Add the egg, starter and ¼ c of the milk. Mix to break up egg and start the blending process. Add in the chopped rhubarb and the frozen blueberries (or fresh) and continue stirring. As it gets to be a thick dough dump it out on your breadboard with all the dry bits and hand knead it to coalesce it into a thick dough. Form it into a large square about 9 inches across. Cut into 12 squares; cut in three strips; then across to make 12 squares or rectangles depending on how square your original rolled out dough was. Spread them out on a cookie sheet that you have sprayed with cooking spray. Sprinkle with 2 tsp. of granulated sugar or chunky sugar if you have some. Put the sheet in a cold place to chill while you heat the oven. Heat to 355 degrees.
Put the sheet in to bake. If you have a convection cycle they will be done in about 20 minutes; the outside needs to be light brown, bottom browned and they look done. I tried 18 min but that wasn’t enough. If you don’t have convection they will likely take a few more minutes. Let cool on pan for 5 minutes and move to a rack. They cooled rapidly and I couldn’t resist eating one while it was warm. So tasty and I loved how patriotic my scones look!
Enjoy! I think they will freeze nicely; vacuum sealing would be a good way to go about it if you are freezing for more than a week.
This is a variation on my favorite rhubarb custard pie which is my go-to recipe for a great spring dessert. I added strawberries to please my guy who isn’t a huge rhubarb fan. The strawberries add their special flavor and he really enjoyed this pie this past weekend. So did I! Our new favorite pie…
This is an easy pie even though it has several steps. It is different from the usual rhubarb pie because the texture is a bit closer to a crumb cake, no wet (aka slimy texture) and no ultra-sour flavor. I think this new strawberried version is great for those who doubt the power of rhubarb! This GF crust will work for any pie with a traditional dough and the GF crumb topping is a great choice for any crumb pie topper. This is my mixture of three recipes with some modifications which come together to create one of my favorite GF pie recipes. I know it has several steps but each one is easy and you can use these crust and crumb techniques for other pies.
I like it because it has a great texture and the flavor is complex but subtly rhubarby. It isn’t really soft or all that custardy (if I didn’t say the word custard you would never know) but has a more cake-like texture. It is a game changer of a pie. I promise you that!
Fruit in the unbaked pie shell.
Angie’s GF Strawberry Rhubarb Custard Pie
Crust:
1 c plus 1 tbsp brown rice flour mix (recipe for blend at bottom of pie recipe)
2 tbsp sweet rice flour
1 Tbsp. granulated sugar
½ tsp xanthan gum
¼ tsp salt
6 Tbsp. cold butter cut into 6 chunks
1 lg egg
2 tsp fresh orange or lemon juice
——————
Spray a 9 inch metal pie pan with cooking spray, dust with white rice flour. I must confess I forget this step a lot of the time and it doesn’t seem to matter much….
Mix dry ingredients in bowl of stand electric mixer. Add butter and mix until crumbly and resembling coarse meal. Add egg and juice. Do not leave out the juice; it is critical to the crust texture and structure! Mix until it comes together into big chunks. Shape the sticky mess into a ball with your hands. Put it on a crust sized piece of wax paper (14 x 14 inches more or less), flatten the crust ball some; put on top of it another piece of wax paper and chill it all in your fridge 15-20 minutes while you chop the rhubarb into ½ inch chunks.
This pie is ready to bake!
My sister Karen bought me one of those pie crust plastic bag thingies; has a zipper around the edge. By OXO: I love it; it works better than wax paper which can get soft and tear as you roll out the crust. King Arthur Flour sells an inexpensive one on line. I highly recommend you get the OXO version for making scratch pie crust. Or maybe improvise with a sheet of heavy duty plastic! Strong enough to work with the rolling pin and better than wax paper.
Filling:
4-5 cups cut up fresh rhubarb – place in medium bowl
1 1/2-2 cups sliced fresh strawberries
Mix with dry mix made of
2/3 – 1 c sugar (depends on how sweet you like your pie) I go with 2/3 cup
¼ c brown rice flour mix (see below recipe)
1/4 tsp nutmeg
Sprinkle cinnamon
Roll out pie crust in a pie bag or between the two sheets of wax paper, try to get the thickness even, no thick middle! Peel off one side of paper and place in pie pan, centered. Remove other slice of wax paper. Crimp edges all around. Fill with dry rhubarb mix. Pour the following wet mix evenly over this mixture:
Liquid mix: 3 large eggs beaten lightly with 1/3 c milk (not skim), and ¼ tsp almond extract.
Crumb topping
Put all four ingredients in the same mixing bowl you made the bottom crust in and mix well with mixer paddle until crumbs form.
¾ c brown rice flour mix
½ c sugar
½ tsp xanthan gum
1/3 c cold butter cut into six chunks
Sprinkle the top of the pie with the crumb mix; use as much as you like. I like about 2/3 of the mixture. Up to your personal taste… It sinks into the rhubarb and wet mixture to create an almost cake like texture and the crumb crust adds lots of sweetness and eye appeal.
Bake in a preheated 375 degree oven for 55-60 minutes until bubbly and the crust is light brown. Cool at least 3 to 4 hours before serving at room temperature.
The pie is just out of the oven, hot and smells wonderful!
Brown Rice Flour Mix (same as King Arthur’s Basic GF Blend) 2 c brown rice flour
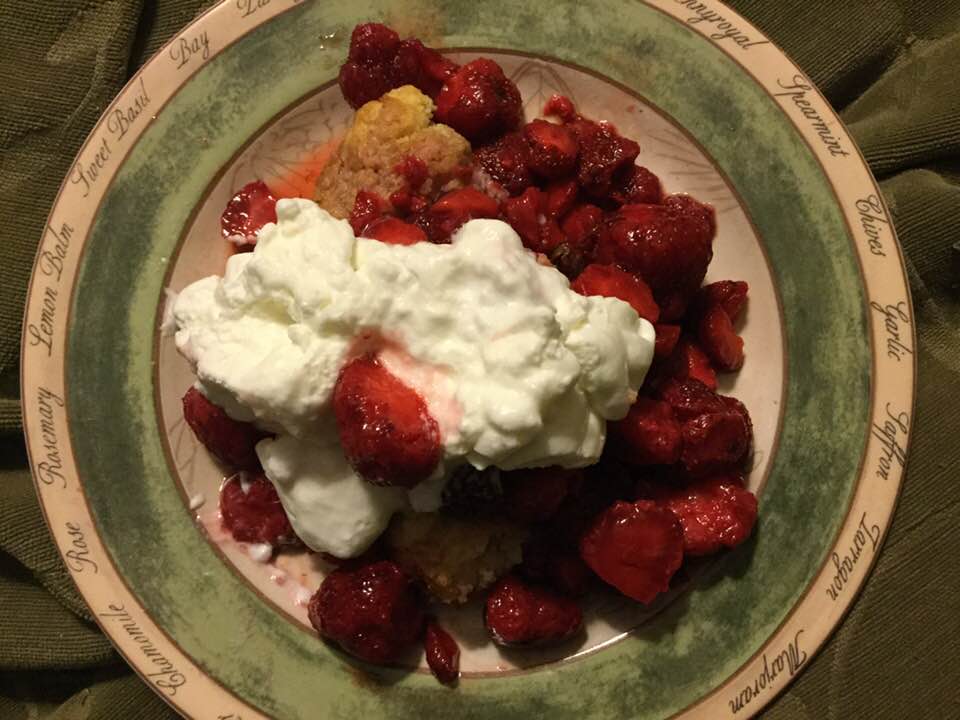
Strawberry shortcake is a classic and no one turns down a slice of it at at a family gathering. I am not sure where I got the gf shortcake recipe; maybe my old Bette Hagman Gourmet Cookbook. I used to make a fantastic shortcake when I could still use all purpose flour but my gf biscuit version is pretty tasty. But there is one thing, you gotta make it with the best freaking strawberries you can find. None of those ultra firm ones with whitish cores that are shipped in from far away. You need juicy ripe scented red berries that are served over a gluten free short bread. My local season is peaking now so try for local grown berries – the riper the better and it will taste great!
My mom always made a gorgeous version of strawberry shortcake. When I was a kid she would serve it as an entire meal. I have done that and it is kinda cool. Pre gluten free I generally made a huge oval biscuit with a smaller topping biscuit that I split off and buttered the split area before topping with berries and the smaller biscuit and topped with more ripe berries and a pillow of softly whipped heavy cream. Oh berry perfection! Now I bake it in two separate pans but the construction of the final product is the same otherwise. The pictures on construction are a couple of years old but the process is the same and the results are consistently heavenly….
Mom’s Strawberry Shortcake, GF2.3
Biscuit dough
1 cup white rice flour
2/3 cup potato starch flour
4 tsp. baking powder
1 tsp. baking soda
2 tbsp. sugar
½ tsp. salt ½ tsp. xanthan gum
6 tbsp cold butter
1 medium egg
2/3 cup buttermilk
2-3 tsp. sugar (optional)
2 tsp. soft butter
————————–
Other ingredients:
2 quarts ripe strawberries
½ cup sugar
2-3 tbsp. Karo light syrup
1 cup heavy whipping cream
½ tsp. real vanilla
2 tbs. powdered sugar (if you like your cream sweet)
Directions Heat oven t0 400 degrees. Mix the dry ingredients in a medium mixing bowl. Cut in the cold butter until it is small pebbles. Add the egg and most of the buttermilk. Mix with a spoon; add rest of buttermilk if you need it. It should be a bit sticky, don’t over mix; just until dry is blended in. Spray the inside of an eight inch cake pan and a 6 inch cake pan with cooking spray. If you don’t have a small pan just use two 8 inch ones. Pat ¾ of the dough into the 8 inch; make it about ¾ to 1 inch thick and try to smooth the top and side edges a bit. Put the rest of the dough in the smaller pan and do the same smoothing. Make that one ½ to ¾ inch thick. Optional: take 2-3 tsp. of granulated sugar and sprinkle it over top of them. I think it gives a great finish to the shortcake. Bake them about 20 to 25 min; the smaller one should be done in 20 minutes; a golden light brown. Set on a cooling rack for a few minutes.
While it bakes, get the berries ready. Hull 2 quarts of fresh ripe berries. Place them in a glass mixing bowl; chop through them a few strokes with a sharp knife. Add ½ cup sugar and about 2-3 tbsp. Karo light corn syrup to the berries. Stir well and refrigerate until the shortcake is baked. You could do this berry preparation up to two hours in advance. No more or they will start to disintegrate.
Place the fairly hot bigger layer on a large platter, one big enough to hold the shortbread and still have room for a generous overflow of strawberries. Butter lightly if you wish. Top with several big spoonfuls of berries. Don’t worry if there is juice in the berry bowl; there should be; melted down sugar and Karo syrup with berry juice will give you a delish berry liquid. Top with the second smaller biscuit and then more berries. Cut into chunks. Top with freshly whipped cream; beat a cup of heavy whipping cream until it is softly whipped. Add ½ tsp. vanilla and ¼ cup sugar if you wish it sweet. Be sure to pour the berry juice over your shortcake; it soaks in and adds to the strawberry experience.
My dad liked to pour unbeaten cream over his shortcake. My mom usually set out the whipped cream, a jug of cream and some whole milk so we could choose how to finish off your personal shortcake. I might add that I grew up on a farm, so this was raw milk from grass pastured cows; fantastic cream equaling a freaking perfect shortcake topper. We also grew our own berries; no chemical sprayed on them ever.’
Notes: Karo is sugar syrup; I know, I know its not very healthy but it is only a bit and it improves the berries’ flavor to have some. Just do it. And while I am being bossy: please use real whipped cream. So easy to make and if you are going to the trouble of a scratch shortcake you need the real deal topping. It is hugely worth it. I actually stored some whipped cream in the fridge overnight and it was still decent the next day although the texture is a bit softer than it originally was. Strawberry shortcake is a decadent treat but honestly no more so than a sundae you get at an ice cream place. SO go ahead and indulge. Enjoy!
If there is any left over it makes a great breakfast the next morning!