9 Years Gluten Free

Life moves on so rapidly: I just passed 9 years of eating totally gluten free. It is much easier than that first year. That was sure a lot to learn; terrifying making my first all gf meal for others. Fairly easy now. I quite enjoy the challenge of baking gf. I just made the most delicious gf blueberry scones this weekend. Tender and not that difficult to put together. It has been an interesting journey in my cooking/eating/lifestyle. I am glad to be able to eat safely food that I feel is as tasty as what I made before my celiac diagnosis.

I found a great pizza recipe with puffy chewy crust that is just delish. I think this latest bake is a favorite for me; loaf pan sourdough bread with seeds. Makes awesome toast. I made avocado toast last week and practically swooned with the incredible flavor of it. My angel food cake is just as delicate in its gf form. I made gravy that no one complains about and muffins that are easy and tasty. Recently I joined a gf sourdough baking group on fb. I didn’t expect there to be such an interest nor such beautiful breads. Yes, it is a good way to live, and no one should feel that being gf is impossible.

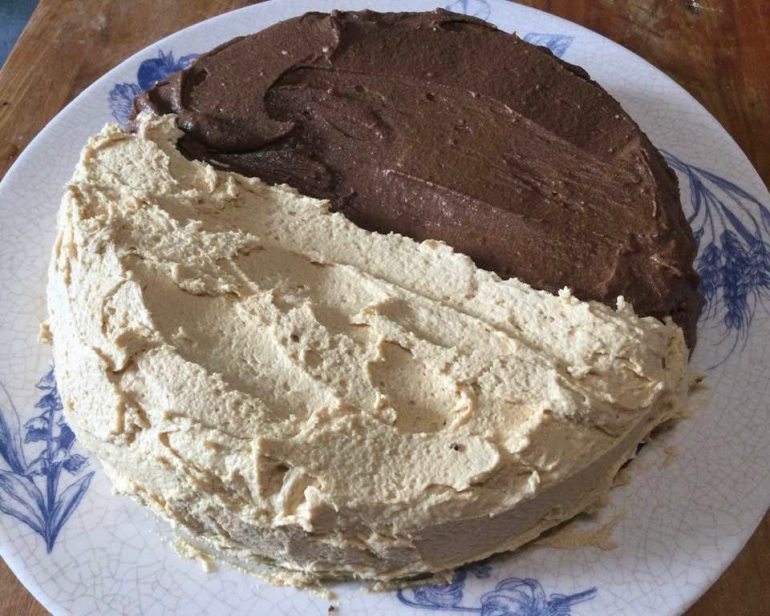
I have fully embraced the 1 for 1 baking flour blends; they are so great when you want to make an old favorite recipe into a gf version. Those scones I made were done with Bob’s Redmill 1-1 blend. As were all the fig ricotta cakes I make in the fall; based on a celebrity chef’s recipe that she says is her favorite cake. It is certainly a favorite of mine. So many pies and tarts come out of my oven, all gf and all a delight to share with my guy who doesn’t have to eat gf but never complains at what I put on the table for dinner.

Don’t get me wrong; eating out is generally a major challenge in the area of Pennsylvania where I live, very few places have more than a few items (if you are lucky!) on their menu that are gluten free. And don’t get me started on “gluten friendly” statements on menus. Uggh! The pandemic kinda reduced me to only home meals. I was unwilling to eat out other than an outside table. As things loosen up, I hope to soon eat out again and safely enjoy someone else’s cooking. Can’t wait.

Eating at family is possible although has been majorly crimped by covid worries. I hope to resume family visits later this spring. My sisters are very good at cooking gf for me. As are a number of friends. I feel so blessed to have caring people in my life that make it possible to share a meal or treat.

I still enjoy writing my blog on living gf. It is uniquely satisfying. I also love the process of remaking old recipes into gf versions. The new challenge of gf sourdough baking has me so intrigued. I just borrowed a cast iron oval Dutch oven and plan on testing it soon with some sourdough recipes. Fun to create and you get to eat your results!

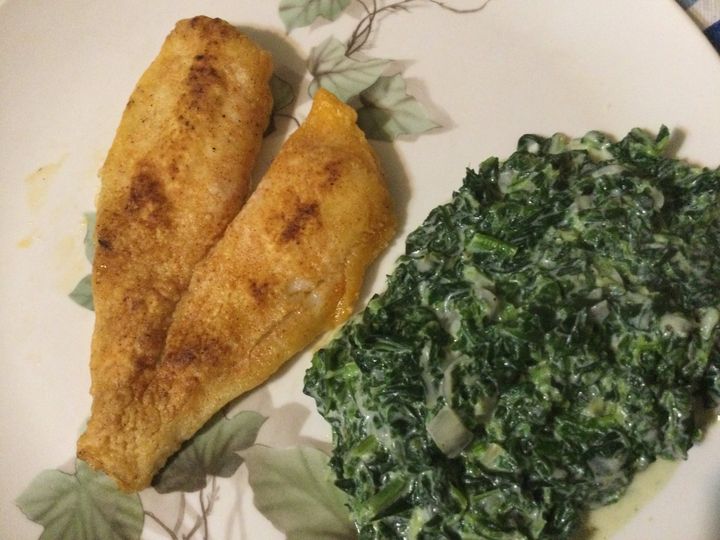
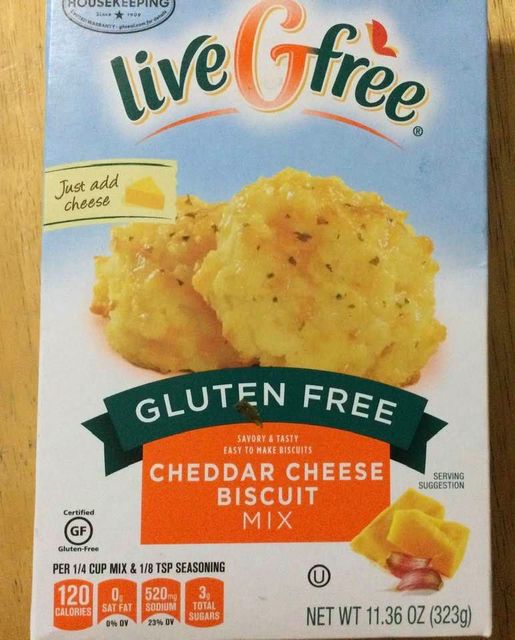
So, if you are newly trying out the gf lifestyle due to celiac don’t freak; just try new things and work at eating safely. Honestly there are so many things that are naturally gf to eat, rice dishes, potato recipes, grains like quinoa. Lots of possibilities. Just read the ingredients on any packaged goods as hidden items and cross contamination is a real issue you will have to deal with. You may want to look back to my earliest blog posts; they were on the process of going gf and what it felt like; might be helpful for your journey to a gf lifestyle.

I am truly blest by my life and by what I create in my kitchen. A nine year journey that has gone pretty well on the whole. I hope your gf life is just as excellent!

Blueberry Sourdough Scones

Scones, tender, flakey, full of yumminess… something I used to make years ago. Kinda gave up on them, had made some but sort of heavy. So, I assumed all scones were generally pretty sad when made gluten free. Well, today I attempted them and made a batch with leftover sourdough starter which is generally called discard. I had created the starter last week using brown rice flour and had made a tasty loaf of seeded white sourdough bread in my 8.5 x 4.5 tall, sided loaf pan. So, I was looking for a way to use up the excess sourdough starter. I couldn’t find a recipe for blueberry sourdough gf scones, so I took a gluten-based recipe and reconfigured it to make with a one for one blend: specifically, Bob’s Redmill 1-1 Blend. I used a half cup of thick starter. I left out the recipe’s lemon ingredients as I just wanted blueberry and scone as the flavors. I also returned the dairy back to real dairy like actual butter and milk.  I ate the first one when it was just to room temperature. It was like heaven in a scone shape. Crisp outside, tender inside. Bursts of blueberries rendered me speechless. It was somewhat of a religious experience for a baker like me. I have never eaten such a tender delicate gluten free baked item. The crumb was moist and as perfect as I could ask for. You have to try this! I don’t know what you can sub for the sourdough starter. Maybe Greek yogurt? Maybe you should just make starter so you can bake these scones. 

I don’t know what flavor I will make next but I do know there will be a next time. Frozen blueberries worked so well; keeping the dough chilly as I mixed it with a wooden spoon and then kneading it with my bare hands.  Trust me, it is easy to make and utterly decadent despite no icing or chocolate or nuts. I may make it with some nuts and chocolate next weekend. Can. Not. Wait.

As I am about to mix it together.
Ready to bake scones.
Just baked scones still on sheet from oven

Angie’s Blueberry Sourdough Scones (GF of course)

Ingredients:

200 grams 1-1 Gluten free flour blend; I used Bob’s Redmill

50 grams almond flour

100 grams granulated sugar

2 ½ tsp. baking powder

¼ tsp. salt

7.5 Tbsp of cold butter

1 heaping cup of fresh or frozen blueberries

½ cup sourdough starter (Use the discard if you are creating discard)

1 large egg

1/3 c cold whole milk

Directions:

Mix all dry ingredients in a large mixing bowl. Cut in cold butter with a butter cutter or 2 knives. Until it is tiny pebbles of dough and butter.

Add the egg, starter and ¼ c of the milk. Mix to break up egg and start the blending process. Add in the frozen berries (or fresh) and continue stirring. As it gets to be a thick dough dump it out on your breadboard with all the dry bits and hand knead it to coalesce it into a thick dough. Form it into a large disc; about 8-9 inches across. Cut into 8 wedges; cut in half, then quarters then again into eighths. Spread them out on a cookie sheet that you have sprayed with cooking spray. Put the sheet in a cold place to chill while you heat the oven. Heat to 355 degrees.

Put the sheet in to bake. If you have a convection cycle they will be done in about 25 minutes; the outside needs to be light brown, bottom browned and they look done. I tried 18-20 min but that wasn’t enough. I think my total was 26 minutes. If you don’t have convection they will likely take a few more minutes.  Let cool on pan for 5 minutes and move to a rack. I got distracted and just left the pan of scones on the rack! They cooled rapidly and I couldn’t resist eating one. Plain. Now I am not hungry for lunch. I just want more scones.

Enjoy! I think they will freeze nicely; vacuum sealing would be a good way to go about it.

Angie’s Creamed Spinach

Creamed spinach is such an old-fashioned side dish. Like something your great grandma would concoct for a family dinner. Old school but, there is a reason it is still around. It’s delicious and it is a comforting reminder of olden days. My mom made it. I always loved it but rarely make it. I guess I thought it was just too much work. Tonight, I attempted it using a mixture of recipes and it was delish with my pan-fried flounder. It’s a nourishing side that I know I will make again now that I have it figured out and gluten free, of course!

I think that if you double the cream cheese you could leave out the tablespoon of flour. I used white rice flour in mine. Or use more flour and no cream cheese. I used a box of frozen spinach, convenient and inexpensive. You cook it for a couple of minutes and drain it well. My recipe used a shallot, but onion will certainly work. The cream cheese is a thickener, but it also makes it so creamy. I used whole milk but saw recipes using half and half or even heavy cream; I went with a less rich approach. Up to you and your preferences. It reheats well, add a touch more milk to keep it loose and creamy. Enjoy!

I know; that’s a lot of creamed spinach! It was a small fillet of flounder. First creamed spinach in years so I kinda indulged myself…

Creamed Spinach (for 4)

Ingredients:

1 6×4 inch box of frozen spinach

2 Tbsp butter

1 small shallot or small onion, peeled and diced fine

¼ tsp garlic powder

1 or 2 Tbsp. rice flour

1-2 ounces cream cheese (one of each of rice flour and cream cheese or 2 of either of them)

¾ cup whole milk

1/8 tsp. ground nutmeg

½ tsp. sea salt and freshly ground black pepper if you like – 1/8 tsp of that

1/3-1/2 cup freshly grated parmesan cheese; best quality

Directions:

Heat ½ cup water in a saucepan, add box of frozen spinach (I let mine thaw on countertop for nearly an hour first). Break up the spinach with a fork. Let it cook 2 minutes. Pour into a strainer and let it drain while you start the sauce.

Melt 1 tbsp butter in a 9 inch fry pan or even a wide sauce pan. Add the finely chopped shallots or onion. Cook 3-4 minutes on medium, add flour and stir, add cream cheese (I suggest you first soften it in the microwave) FYI: My stirring device was a flat whisk. Add the milk, whisk until it is well blended and smooth.  Sprinkle with nutmeg and salt/pepper and add that other tablespoon of butter. Stir while it cooks on low for 1-2 minutes. Add 1/3—1/2 cup freshly grated parmesan cheese and stir it gently. Serve immediately.

Cheddar Cheese Biscuits: Guilty Pleasure

I don’t buy redi-made mixes that often, in fact I have never bought a gf biscuit mix except these. From Aldi’s; a fav hangout! Cheddar cheese biscuits in the orange and blue box. This was my fourth or fifth time making them.

You add water, quarter cup oil and a third of a cup of grated cheese, stir and it becomes this slightly weird fluffy white stuff that looks more like cotton batting than anything else. Next, plop big clumps of this fluffy mixture onto a parchment paper lined (or baking oil sprayed) baking sheet and pop them into the hot oven to bake.  After about 16-17 minutes out comes the pan.  Each biscuit gets brushed with a buttery mixture you create with an herb/garlic powder that is blended with fresh melted butter. Super easy to make and definitely popular at my house.

cheddar cheese bisquits

They are nicely browned on the bottom and very tender. The buttery flavor definitely has a garlic vibe going on. We had them with sausage lasagna I made for supper.  My guy took home a container of lasagna and two biscuits. He left happily clutching his treats including those biscuits.   That should tell you they are tasty; Joe does not need to eat gf and he is fairly picky about his bread.  If it passes the Joe test; it is pretty tasty! This time I used colby cheese; mild cheddar and a great choice for them.cheddar cheese bisquit

They were a couple bucks and the add ins are minimal. I made 10 decent sized biscuits. I froze two which were destined for consumption in future weeks of February and March. Totally yummy even if not particularly healthy, white gf flour, sugar, cheese and butter as major components.  Not gonna tell you how many calories are in them, but frankly regular rolls have lots of calories. If it tastes buttery it gonna have calories…. Still, not often I find something this easy to make and this tasty.  I put this in my win win column. Enjoy!

Reposted from 2020 with minor changes.

Almond Flour Chocolate Cake

My guy wanted chocolate cake for Valetine’s Day. With chocolate icing. I don’t care for chocolate icing and was kinda tired of cake after the holidays. This cake has a more distinct crumb due to the almond flour…. the only other flour in it is tapioca starch so it is gluten free which I need. It is easy to make; no tricky process here plus it is dairy free which can be helpful to some folks. I made it but used half peanut butter icing and half chocolate: just made a half batch of each. It was a big it with my man; he took home the chocolate iced portion and I feasted on the peanut butter iced half.

Mine sunk a little in the middle; I think my 4 eggs were all kinda large; there is variation in a dozen eggs; try not to get the 4 largest from the box, live and learn. I did bake it the full time. The center was like fudge; quite yummy if squishy. The peanut butter icing was the bomb!!

Chocolate cake ingredients:

1 1/2 cup almond flour (not almond meal)

1/2 cup tapioca starch

1 1/4 cup sugar

3/4 cup cocoa

1/2 tsp. kosher salt

1/2 tsp baking soda

1/2 cup canola oil

4 large eggs at room temp

2 tsp. vanilla extract

Directions: mix the dry ingredients in a medium bowl; I used a whisk. Spray a 9 inch cake pan and line the bottom with a round of parchment paper. Heat the oven to 350 degrees, shelf for baking set in the middle. In a large mixing bowl beat the eggs until well blended, blend in the oil and vanilla until smoothly blended. Add in the dry ingredients 1/3 of it at a time; blend in and do the next third and then the final third. Pour into the cake pan. Let stand 5 minutes. Bake 30-34 minutes until tester comes out clean. Let cool in the pan for 15-20 minutes before turning out onto a drying rack. Ice when completely dry.

Chocolate icing (this is a half recipe)

1/4 cup room temp butter

2 tbsp. cocoa

1/2 tsp vanilla extract

a pinch of kosher salt (about 1/8 tsp)

1 cup powdered sugar

2 Tbsp. milk (may need another tsp)

Beat the butter with your mixer until fluffy, add the other ingredients and beat until fluffy; add extra milk if too stiff.

Peanut butter icing (half recipe)

1/2 cup creamy peanut btter

2 Tbsp. room temp butter

1/2 tsp vanilla

1 1/4 cup sifted powdered sugar

2 Tbsp. milk (may need another tsp or two)

Beat the peanut butter and butter until fluffy; add the rest of the ingredients and beat until fluffy; add extra milk if too stiff.

Ice half the cake with the chocolate icing and the other half with peanut butter. Enjoy!