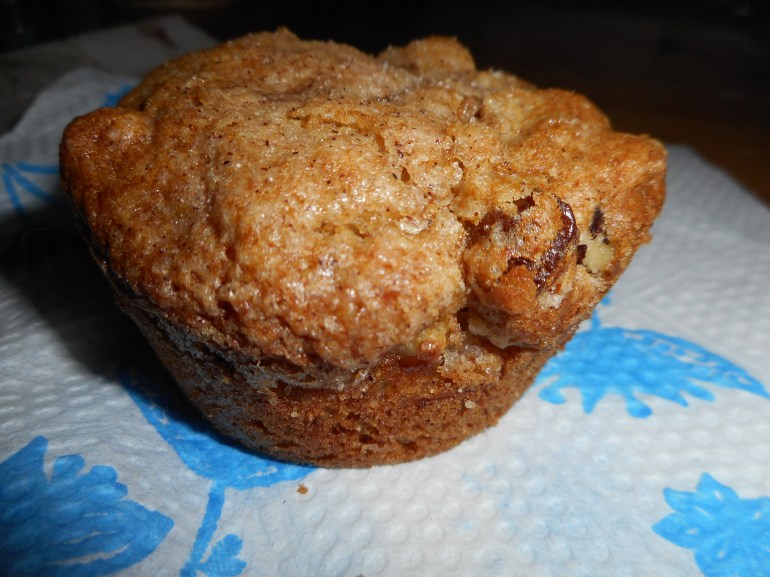
I had no portable baked snacks and a bowl of apples so I figured it was time for apple muffins. This is another great recipe out of Annalise Robert’s cookbook; Gluten-Free Baking Classics. It is very similar to her banana nut muffins. If I had to have just one GF cookbook hers would be the one for me.
 I use so many of her recipes and her quick breads are outstanding! The apple cinnamon muffins did not disappoint: light, crunchy outside with a great cinnamon apple flavor. I put some golden raisins in my muffins but if you are not a fan; leave them out. They are my addition to this easy to make recipe. I also used half mexican cinnamon; a touch spicier than regular cinnamon but very good in these muffins. I ran out of cinnamon and was happy to have a close alternative to flavor these treats.
Do use a baking apple; not red delicious which are solely an eating apple and don’t use a extra firm one like the tasty Granny Smith; they won’t get soft enough during the rapid baking of these tasty little treats. I got a half peck of mixed baking apples from Bechdolt’s Orchard a week ago and have used them in several recipes– not an apple yet that wasn’t fantastic in flavor and texture.

I enjoyed eating a muffin still warm out of the oven. It is smart to freeze any you won’t eat in 2 days; ziplock freezer bag works great. They make super snacks. These apple muffins are kinda delicate; if you want to take them on a hike or car ride put them in a plastic food box – the rigid sides will keep your muffins safe from crushing.
Apple Cinnamon Muffins 
2 cups brown rice flour mix (see below)
2/3 c granulated sugar
1 tbsp. baking powder
1 tsp. baking soda
¾ tsp xanthan gum
¼ tsp salt
2 tsp cinnamon
1 c chopped apple; peel and core the apple!
½ c chopped walnuts
¼ cup golden raisins (optional)
2 large eggs beaten
½ c milk, 1 or 2 percent
½ c canola oil
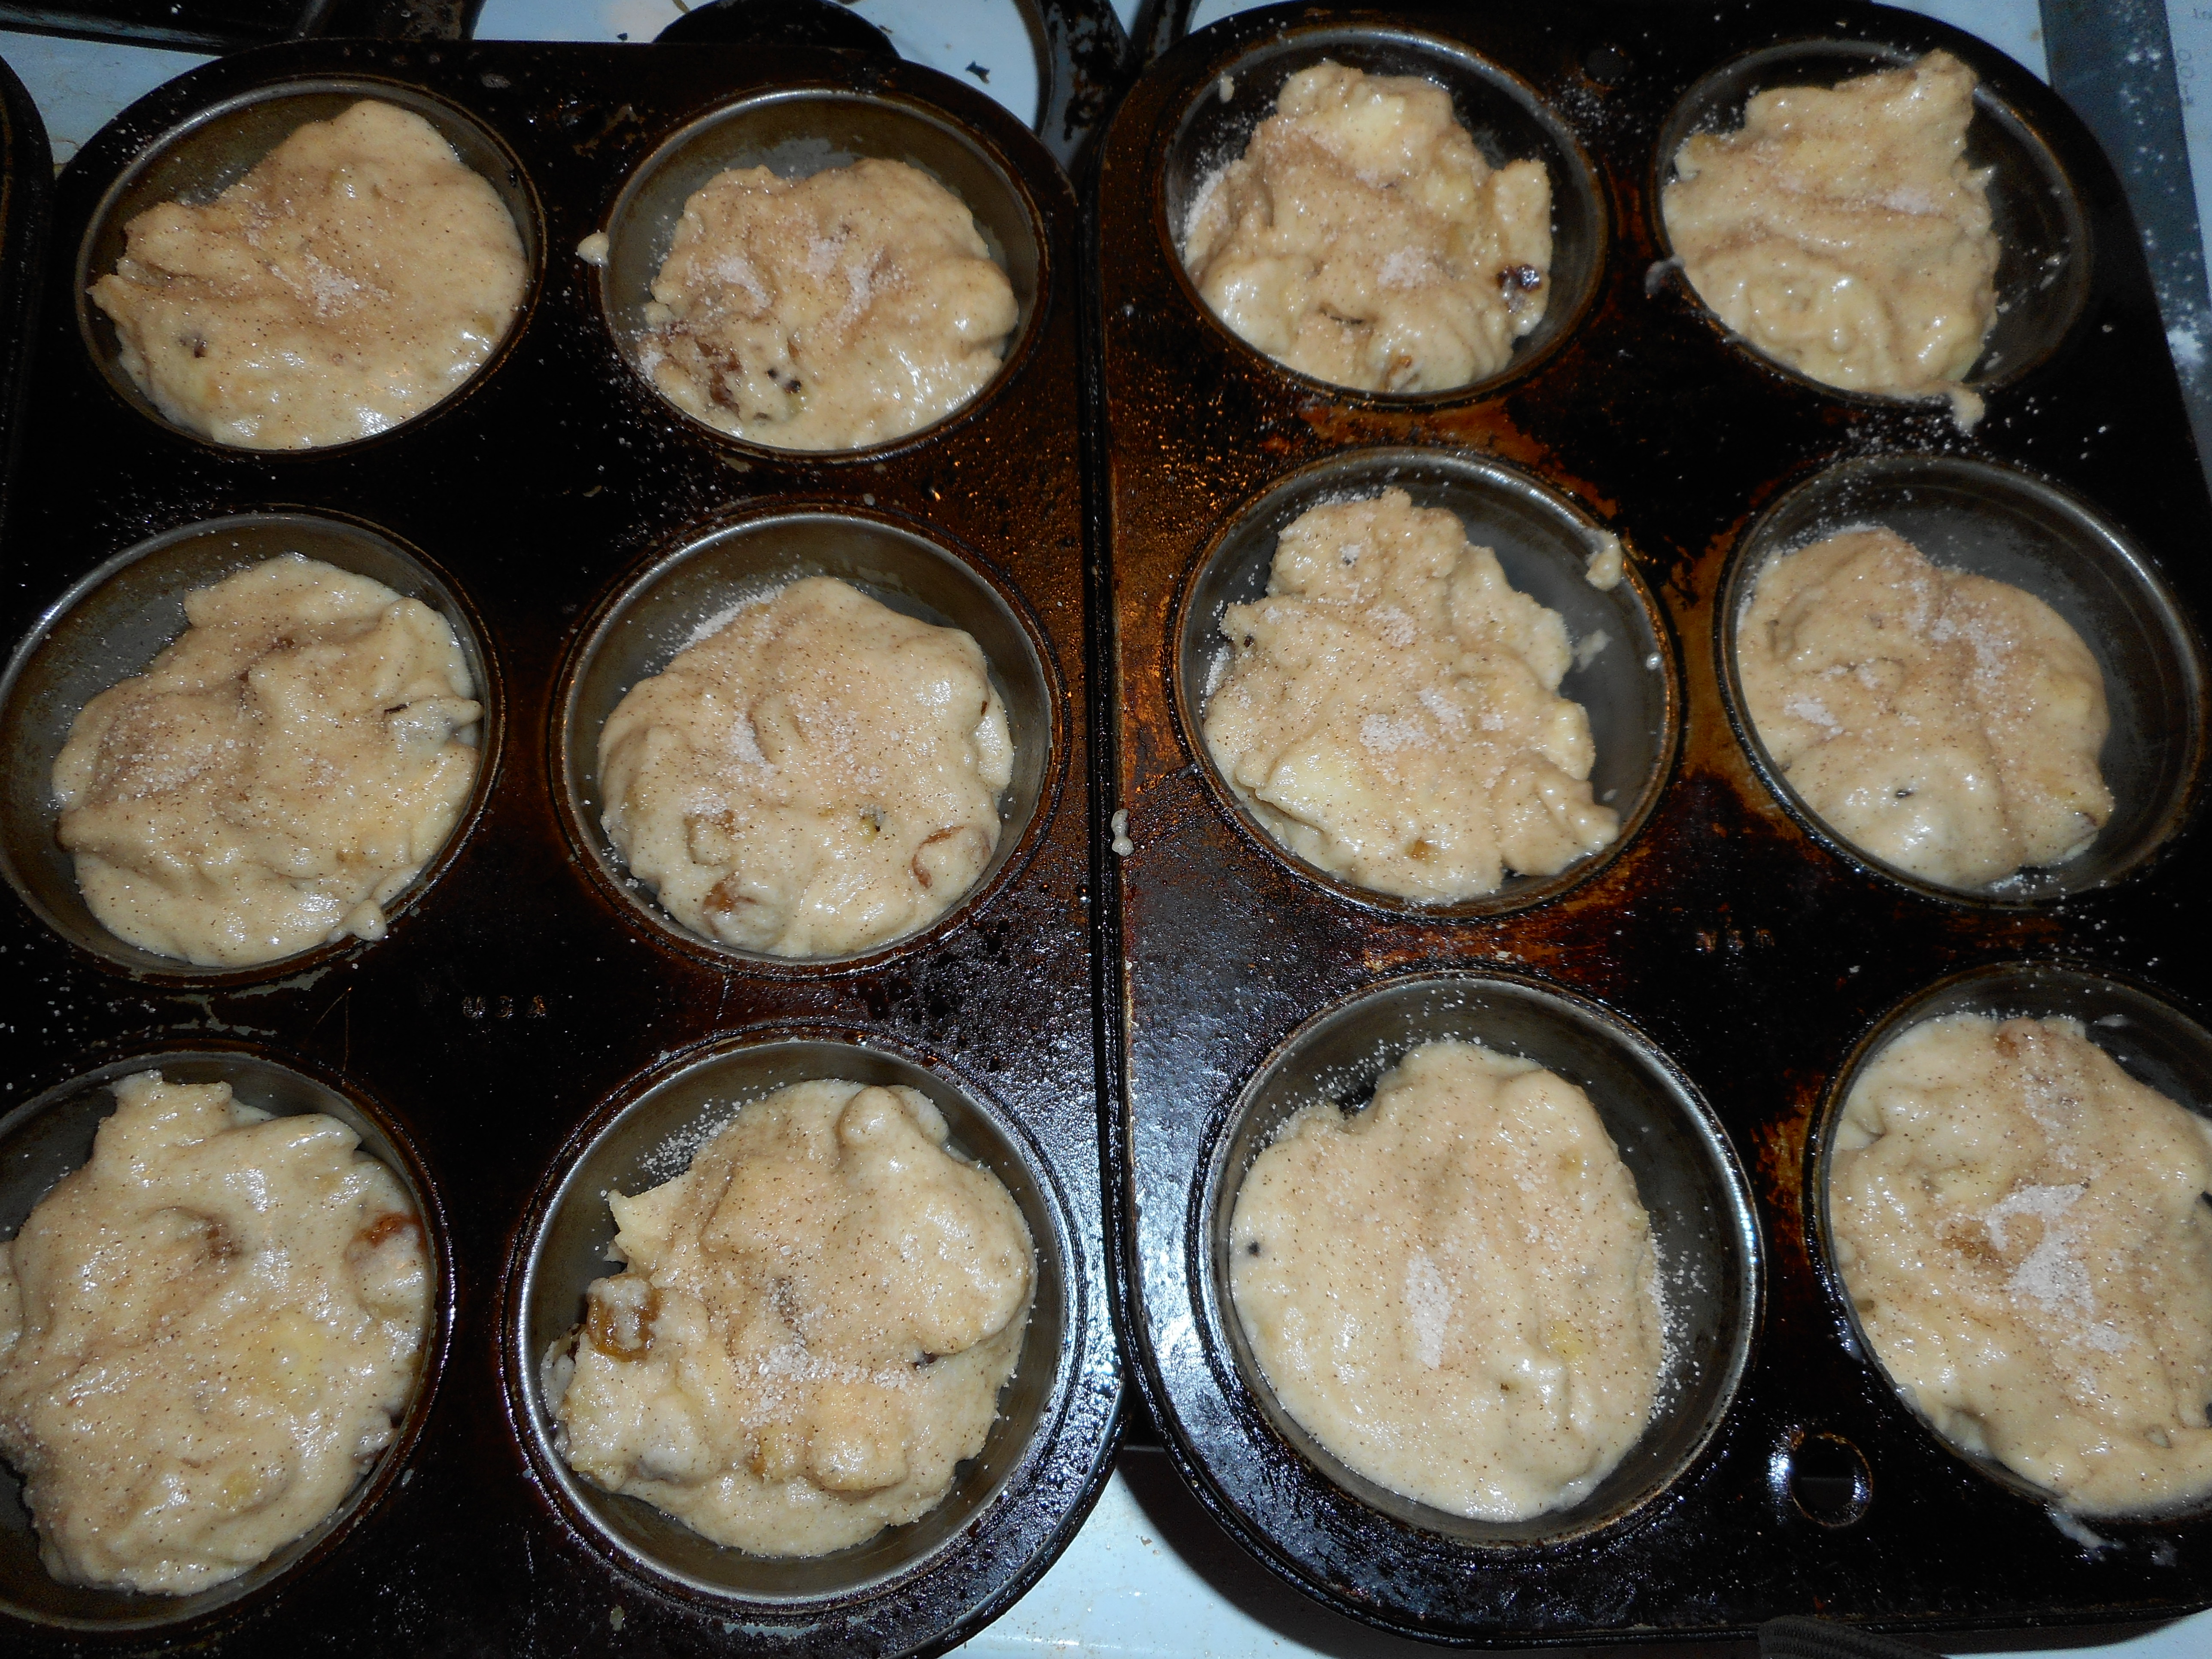
Heat oven to 375, placing the rack in middle of oven. Spray muffin pans with cooking spray. One batch makes 12-16 muffins.
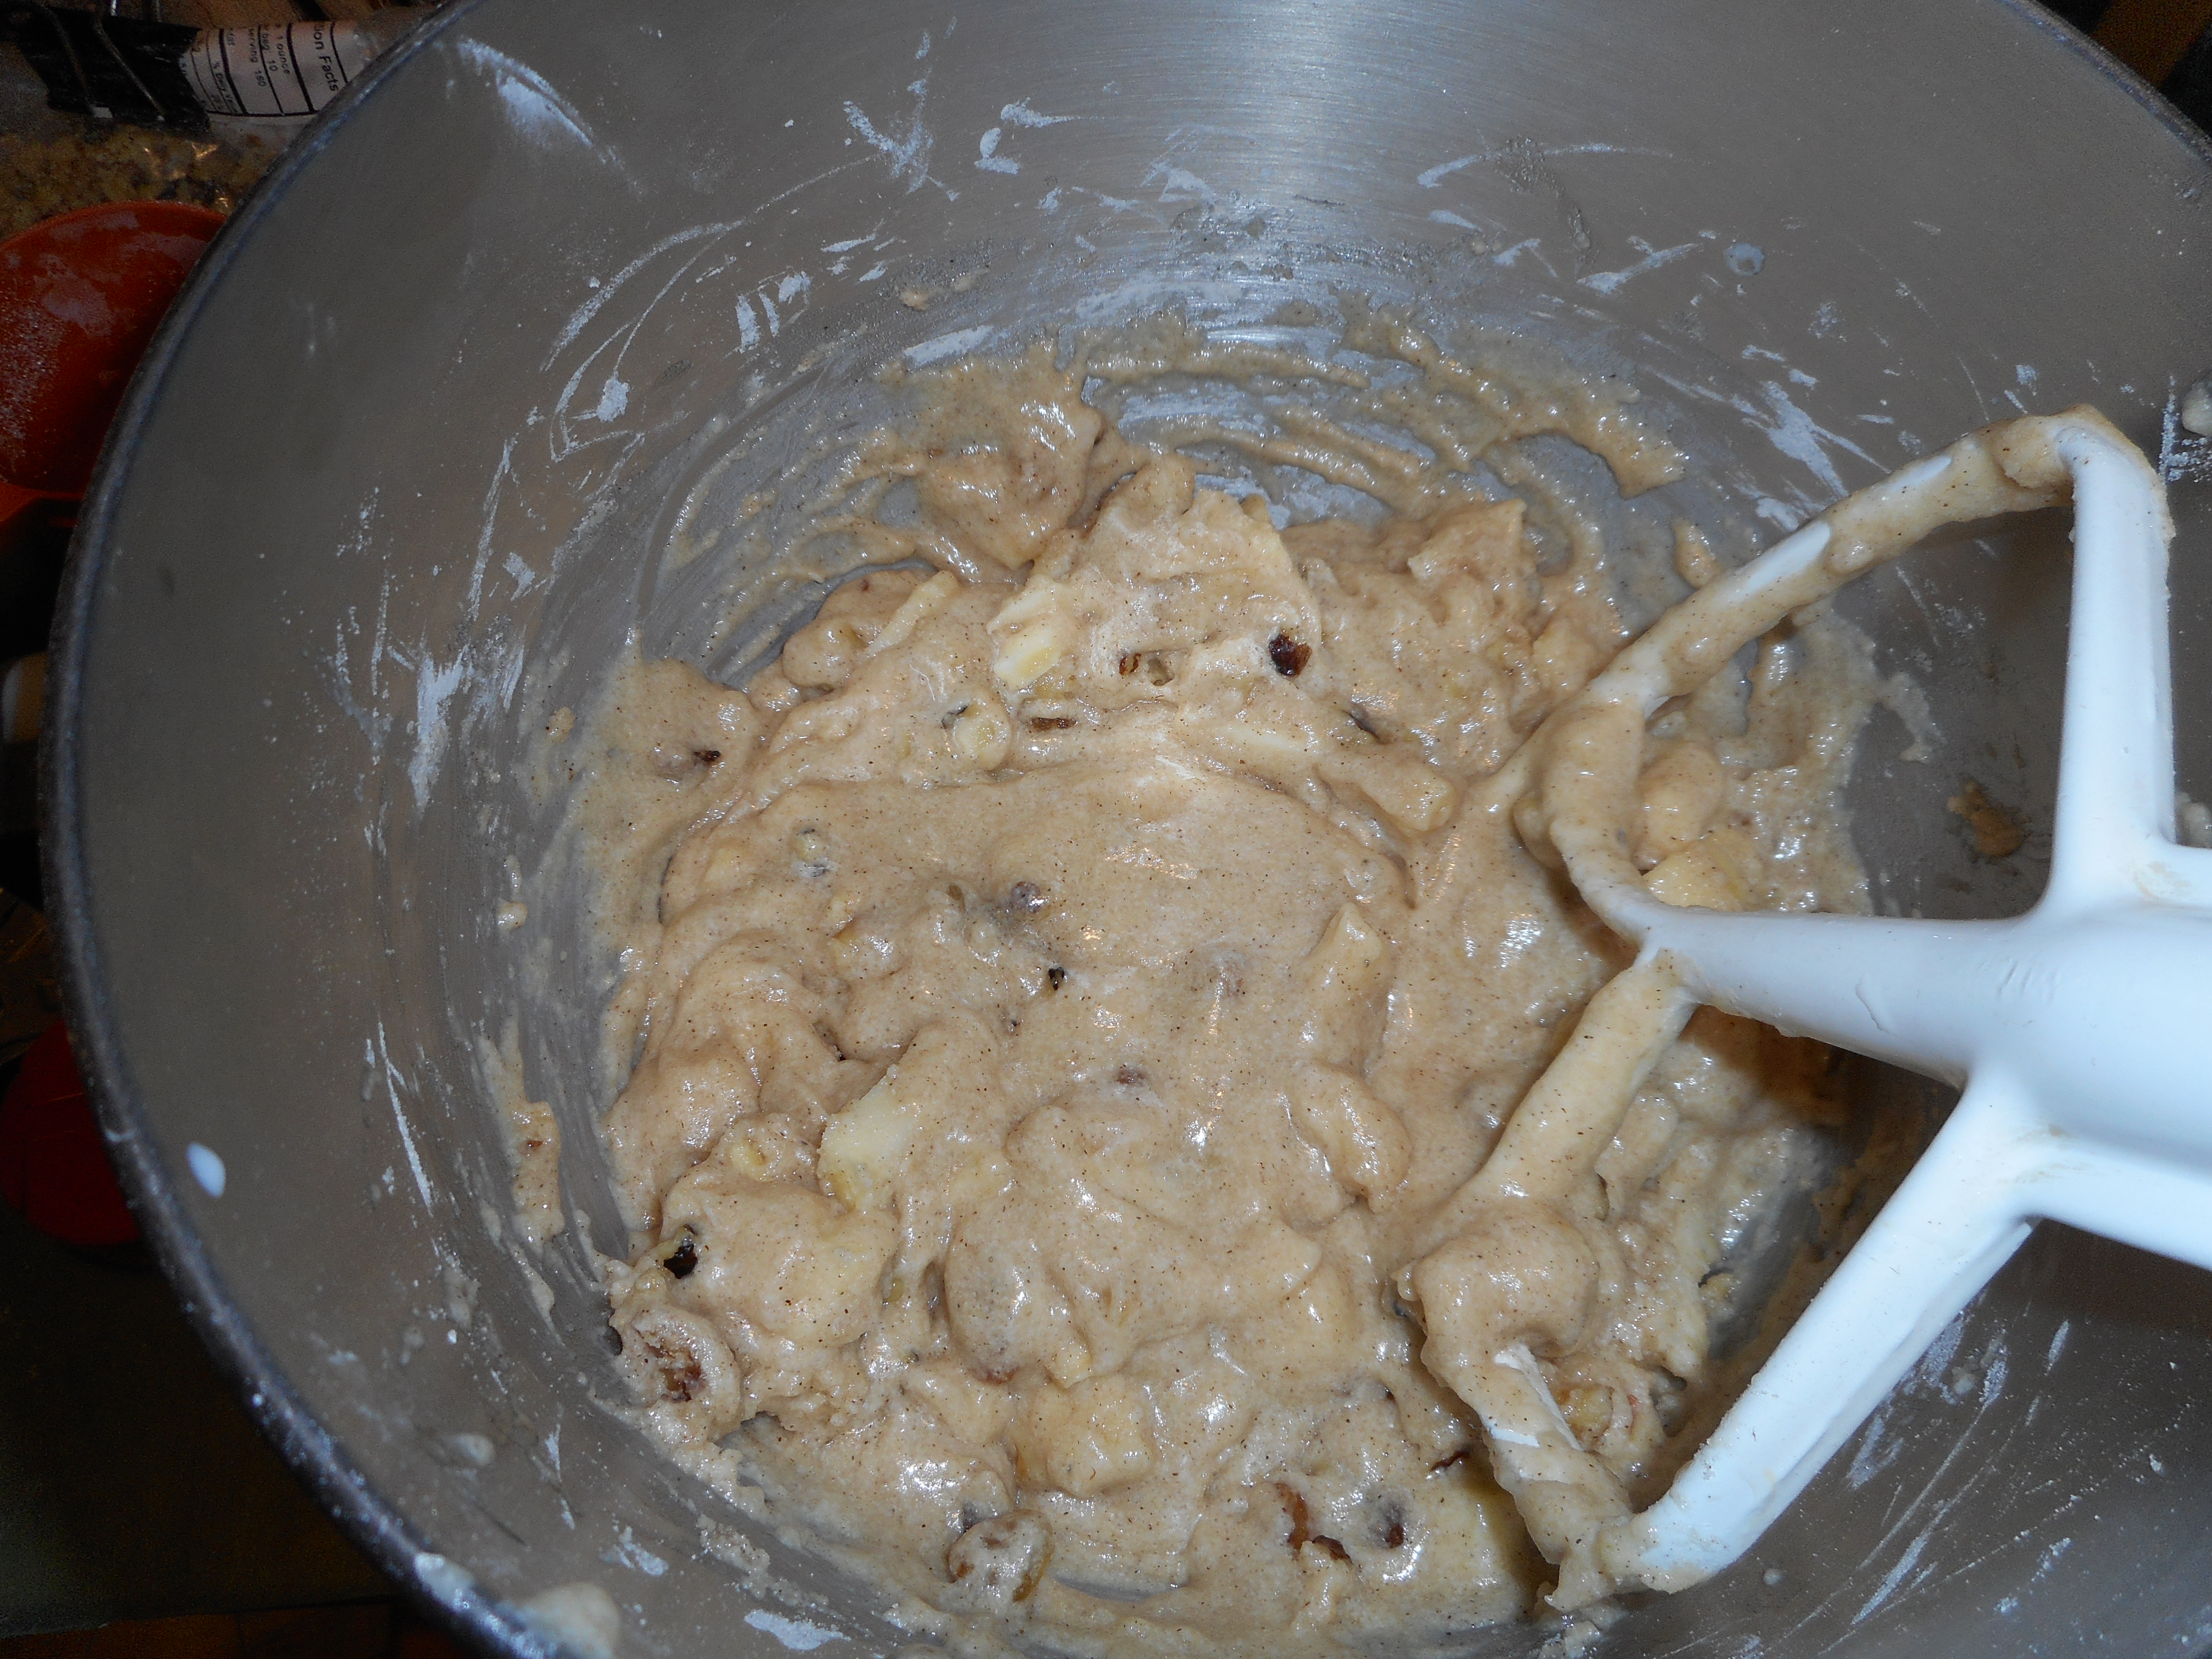
Mix all dry ingredients in bowl of stand mixer or big bowl
Add apple, raisins and walnuts; stir to coat them with dry mix
Combine milk and oil, remove 1 tbsp of combined liquid and ditch it. Beat in eggs. Add liquids to big bowl; stir until blended.
Fill muffin pans 2/3 full. I use a big serving spoon and fill it about half way to dump in each muffin space. Sprinkle the top with cinnamon sugar.
 Bake 20-24 min until golden brown. Do not over bake or they will taste dry. Remove immediately from the pans and cool on a rack.
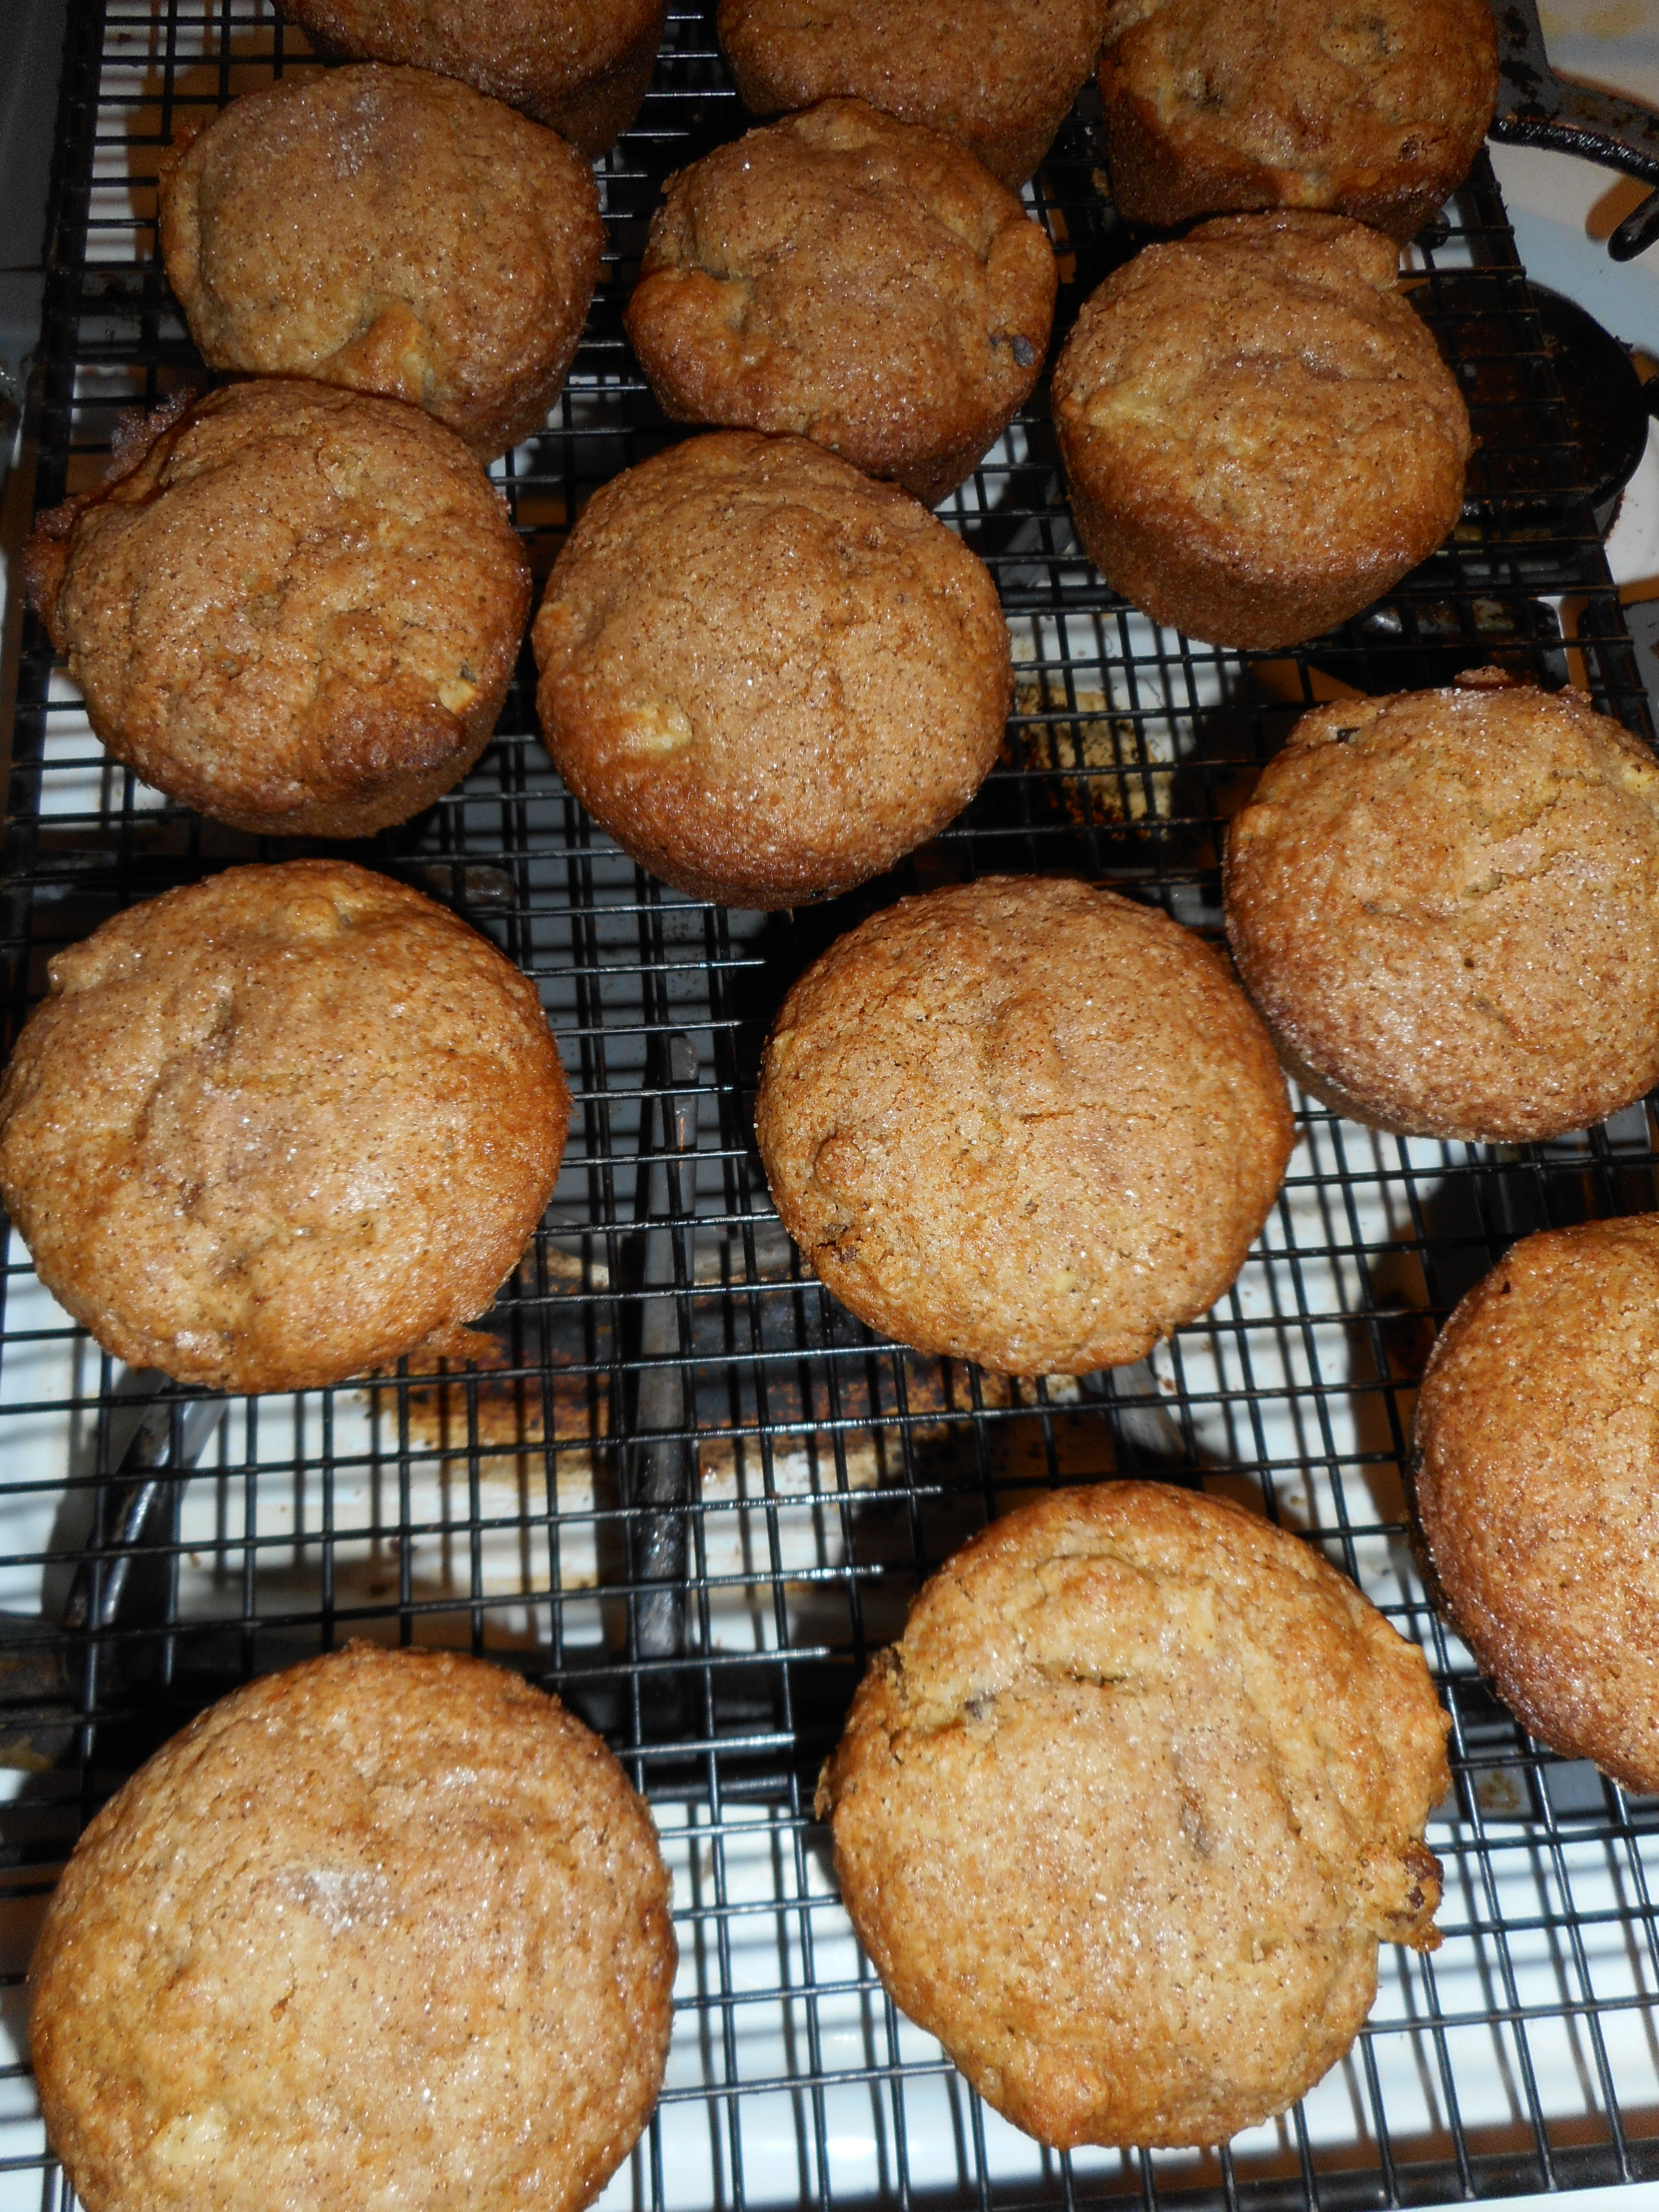
Freezes well for up to 3 weeks. Keeps in fridge (well wrapped) a few days.
Brown Rice Flour Mix base mix
2 c brown rice flour
2/3 c potato starch
1/3 c tapioca flour