Fresh tasting, locally sourced fruits are a major reason for success in fruit pie baking. I usually get mine from the local orchard where they were grown; about 2 miles from my house. This past Saturday I got some Bosc pears, they are a bit firmer and not as juicy as Bartletts but are renown for baking.
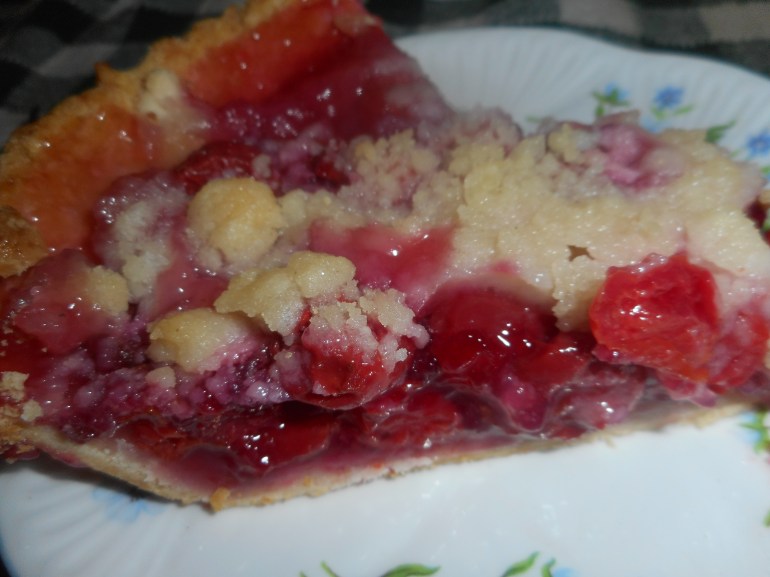
This recipe is a blending of my own pie filling and the pie crust and crumb recipes from Annalise Robert’s cookbook, Gluten-Free Baking Classics. I used slightly less sugar, more fruit, and made a few other changes to create my own special pie using pears instead of apples. Her cookbook is a fabulous resource, and I can’t recommend it enough to anyone trying to bake gluten free for a family member. This pie is like apple pie’s little sister; delicate, tender and so pretty. I promise even pear haters will enjoy a slice of this and we who love pears are just in heaven when we bite into a generous slice of this juicy sweet pie. My guy always claimed to hate pears; so fickle; unripe and then suddenly mushy overripe – I can relate to that happening occasionally, but I persisted and now he enjoyed this pie quite a lot; took home a huge slice of it last night. Go on; make it; you might change someone’s mind too!
Angie’s GF Pear Crumb Pie
Crust:
1 c plus 2 Tbsp. brown rice flour mix (at bottom of recipe)
2 Tbsp. sweet rice flour
1 Tbsp.. granulated sugar
½ tsp xanthan gum
¼ tsp salt
6 Tbsp.. cold butter cut into 6 chunks
1 large egg
2 tsp fresh orange or lemon juice
Spray 9 1/2 metal pie pan with cooking spray, dust with white rice flour.
Mix dry ingredients in bowl of stand electric mixer. Add butter and mix until crumbly and resembling coarse meal. Add egg and juice. Mix until it comes together into big chunks. Shape into a ball with your hands. Put it on a crust sized piece of wax paper (14 x 14 inches more or less), flatten the crust ball some; put on top of it another piece of wax paper and chill it all in your fridge 15-20 minutes while you chop the peeled and cored fruit into ¼ to 1/3 inch slices. I use my plastic pie bag; sturdy and helps me roll the crust thin in the middle.
Filling:
6 cups barely ripe Bartlett or Bosc pears; peeled, cored, and sliced thin – place in medium bowl, pour over it 1 Tbsp. lemon juice
Mix the following dry ingredients in a small bowl and pour over the sliced pears:
1/2 cup granulated sugar
3 tbsp. quick cooking instant tapioca
1/4 rounded tsp. cinnamon
1/8 tsp. nutmeg
Stir gently with a big spoon to blend well. Let stand while you roll out the crust; this time will allow the tapioca to soak up the fruit juice and become that lovely goop my family yearns for!
Crumb topping
Put all four ingredients in the same mixing bowl you made the bottom crust in and mix well with mixer paddle until crumbs form.
¾ c brown rice flour mix
½ c granulated sugar
½ tsp xanthan gum
1/3 c cold butter cut into six chunks
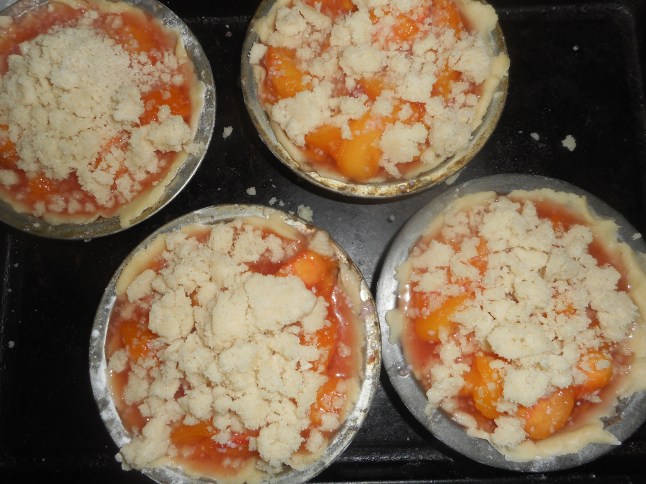
Directions: Roll out pie crust in a pie bag or between the two sheets of wax paper; try to get the thickness even, no thick middle! Peel off one side of paper and place in pie pan, centered. Remove other slice of wax paper. Crimp edges all around. Fill with sweetened fruit mix. Pour the crumb topping (1 to 1½ cup) evenly over this mixture. The more crumbs the thicker the crust they will form; for a really thick crust use all the crumbs from the recipe below.
If you love your pie really sweet add another ¼ cup granulated sugar to the dry mix part of the filling. I found the pie to be plenty sweet but everyone has their own sweetness level.
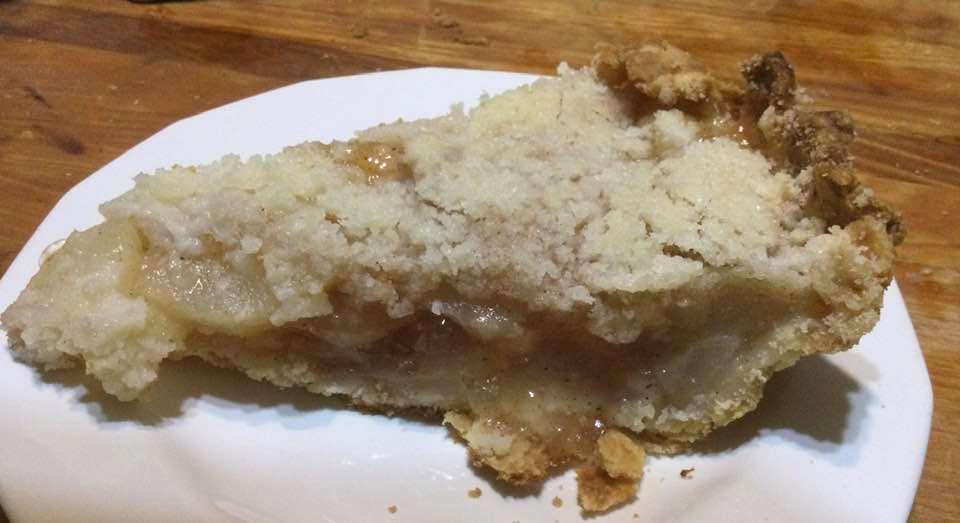
Bake in a preheated 400 degree oven for 30 minutes with a piece of aluminum foil on top of the pie, then lower the temperature to 375 and bake 20 more minutes uncovered until bubbly and the crust is light brown. I put a pie guard underneath my pie while it bakes to catch any drips. Cool at least 2 hours before serving at room temperature.
Note: I bake pies on the lowest shelf of my oven and that gives me a great browned crust. If your oven doesn’t give a strong bottom heat you might want to pre-bake the crust 10 minutes before filling and topping the fruit.


Brown Rice Flour Mix (same as King Arthur’s Basic gf Flour mix)
2 c brown rice flour
2/3 c potato starch
1/3 c tapioca flour