Very Berry Almond Cake

In the winter we are all craving fresh fruit and this cake has that, sort of because we are using frozen berries. But no one eating it will know they were frozen. It’s also easy to make. It doesn’t have a ton of sugar, good.

I used a bag of mixed frozen berries; cherries, raspberries, blueberries and blackberries: so much more available and they taste great, I cut up the bigger ones which is important for an even texture. I also added more berries than the original recipe.

This recipe is from King Arthur’s website. I made a few changes; feel free to look at the original recipe. This cake is made with mostly all almond flour. If you want to skip the gf flour, just use all almond flour. I just like how swapping in some flour improves the texture for me. I put it in a larger pan, and it definitely needed that space. Great for a small gathering or to take to someone’s house. They will never know it’s gluten free. Enjoy!

Winter Berry Cake

Ingredients

1 1/2 cups almond flour

1/2 cup gf flour; I used King Arthurs Basic GF Blend

1/4 tsp. xanthan gum

2 Tbsp. cornstarch

2 tsp. baking powder

1/4 tsp. salt

6 tbsp soft butter: I cut mine into 6 chunks, put it in a glass measuring cup and nuked it for 30 seconds. I then stirred it to make it all soft and well blended

1/2 cup plus 2 Tbsp sugar

zest of a small lemon

4 eggs separated

1 tsp vanilla

1/4 tsp. almond extract

1 1/4 cup frozen berries; chop in half the bigger ones

Directions:

Spray the inside of a 9-inch deep tart pan or a 9-inch cake pan with cooking spray; taller sided is much better. I used a deep tart pan with a removeable bottom. If no removable bottom I suggest a circle of parchment paper in there before spraying it. Mix all the dry ingredients together in a small bowl. Heat your oven to 350 degrees.

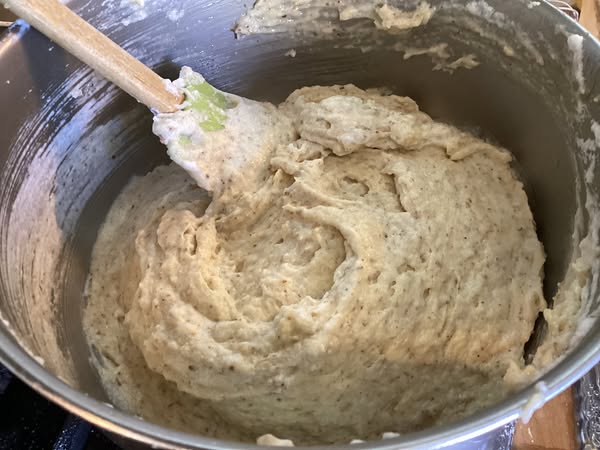
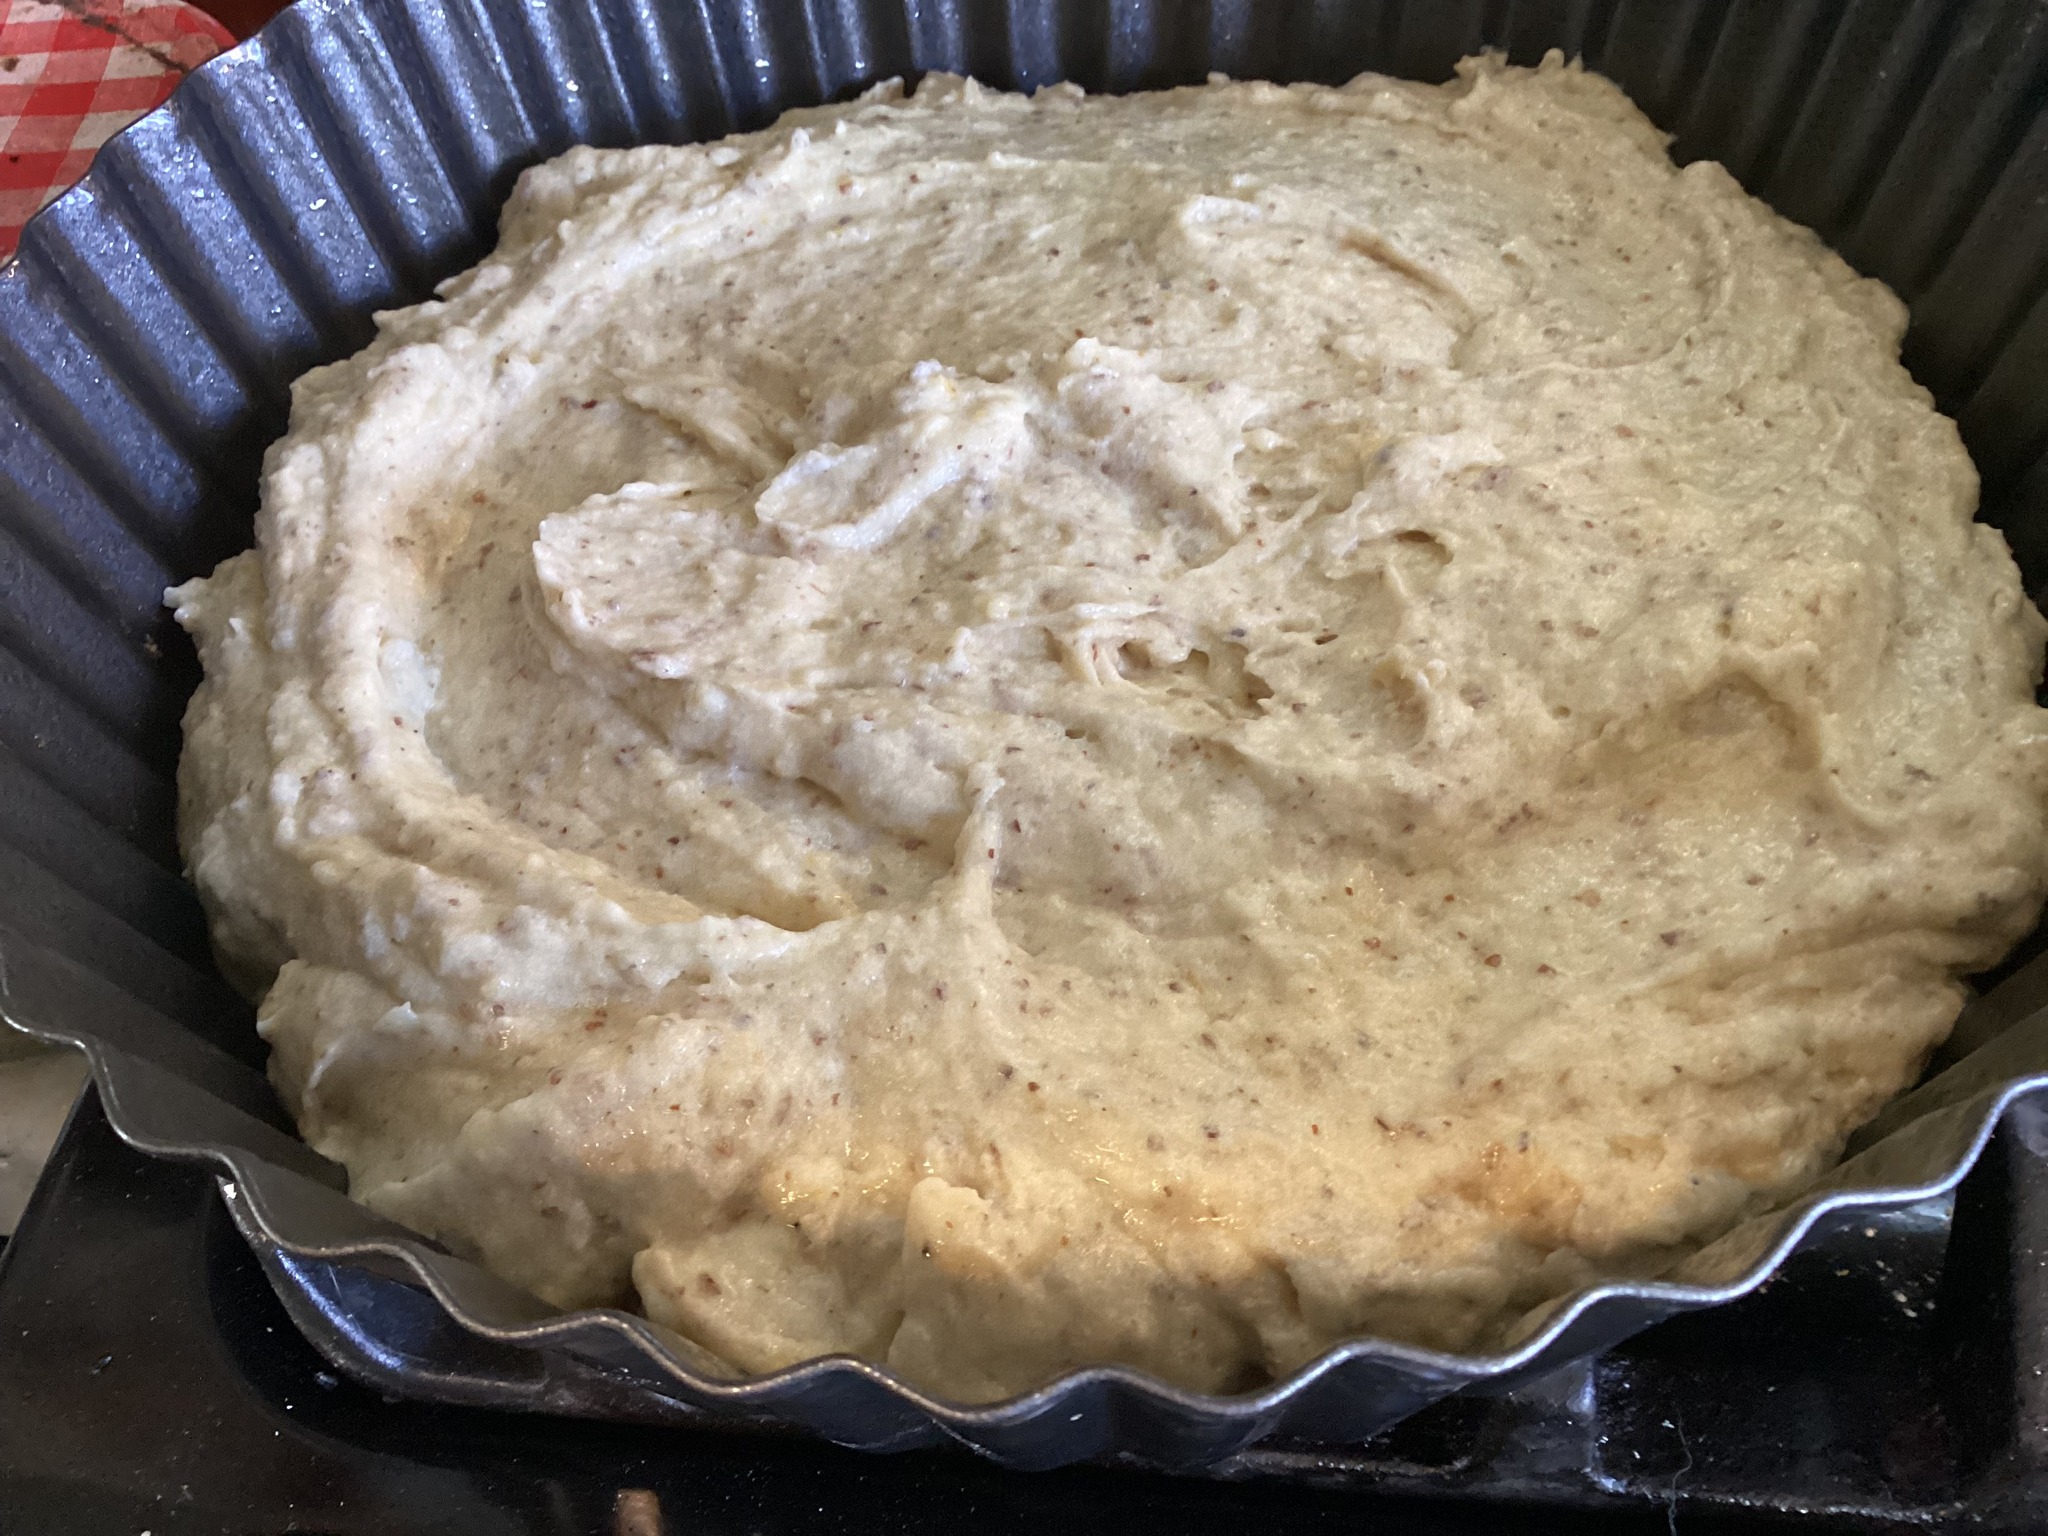
Put the 1/2 cup sugar and the soft butter in a mixer. Blend well. Blend in 4 egg yolks. Add zest, vanilla and almond extract. Blend well. Beat the egg whites in a stand mixer, add the 2 Tbsp. sugar as it gets near to soft peaks. Stop when it forms a peak that doesn’t fall over or go flat. Blend the flour mix into the sugar/butter mixture just until blended. Then carefully fold in the egg whites, starting with about a half cup, stir, another half cup, stir and then the rest of the batter. Pour into the prepared pan. Sprinkle the berries over top evenly. Bake at 350 for 40-45 minutes. test with a cake tester at 40 minutes. If the tester is clean; it’s done, if covered with batter; bake more. Remove from oven and let stand 10 minutes on a cooling rack and then remove from pan. I pushed mine up out of the walls and put it right back on the cooling rack for an hour. Sprinkle with powdered sugar if you like. Store any leftovers at room temperature, well wrapped.

Black Bottom Pie A Southern Treat!

This is a humdinger of a pie, from the South but definitely a pie we love here in Pennsylvania. A gingersnap crust topped with a thin layer of dark chocolate custard and then a high layer of rum flavored custard which I like to top with lightly sweetened freshly whipped cream. Heaven on a plate.

This pie is slightly tricky but honestly I have never had a fail and I have made it like 2 dozen times over the years. My mom used to make it and I often make it during the Christmas season. We had some on New year’s Eve to celebrate. My guy claims to not like gingersnaps but once he eats a freshly baked one made from scatch he suddenly becomes a fan! So, you could use a graham cracker crust but I urge you to try this with the gingersnap version. The rest of it is hard to sub in anything. I generally like dark rum but in a pinch I have used white rum more than once. I use bittersweet chocolate but you could try it with semi-sweet or even 50/50 bittersweet and unsweetened chocolate.

Black Bottom Pie

Make a gingersnap crust; 1 1/2 cup crushed gingersnaps; I do it in the blender

1/3 cup melted butter; mix in a bowl and pour into a 9 inch pie pan; spread evenly on bottom and sides. I like to use a sheet of wax paper to easily spread it. Bake at 350 degrees for 8 minutes. Let cool completely.

Filling

Ingredients

1/2 cup sugar mixed with 1 Tbsp and 2 tsp. cornstarch

2 cups whole milk heated to quite hot in the microwave; I do 2 minutes

4 eggs separated; put yolks in a small bowl and lightly beat with a whisk

1.5 ounces of bittersweet chocolate melted

1 tsp. vanilla extract

1 Tbsp plain gelatine mixed with 2 Tbsp. cold water in a small dish; let stand a minute before using

1/4 tsp. cream of tarter

2 Tbsp rum, preferably dark rum

a cup of cold heavy cream

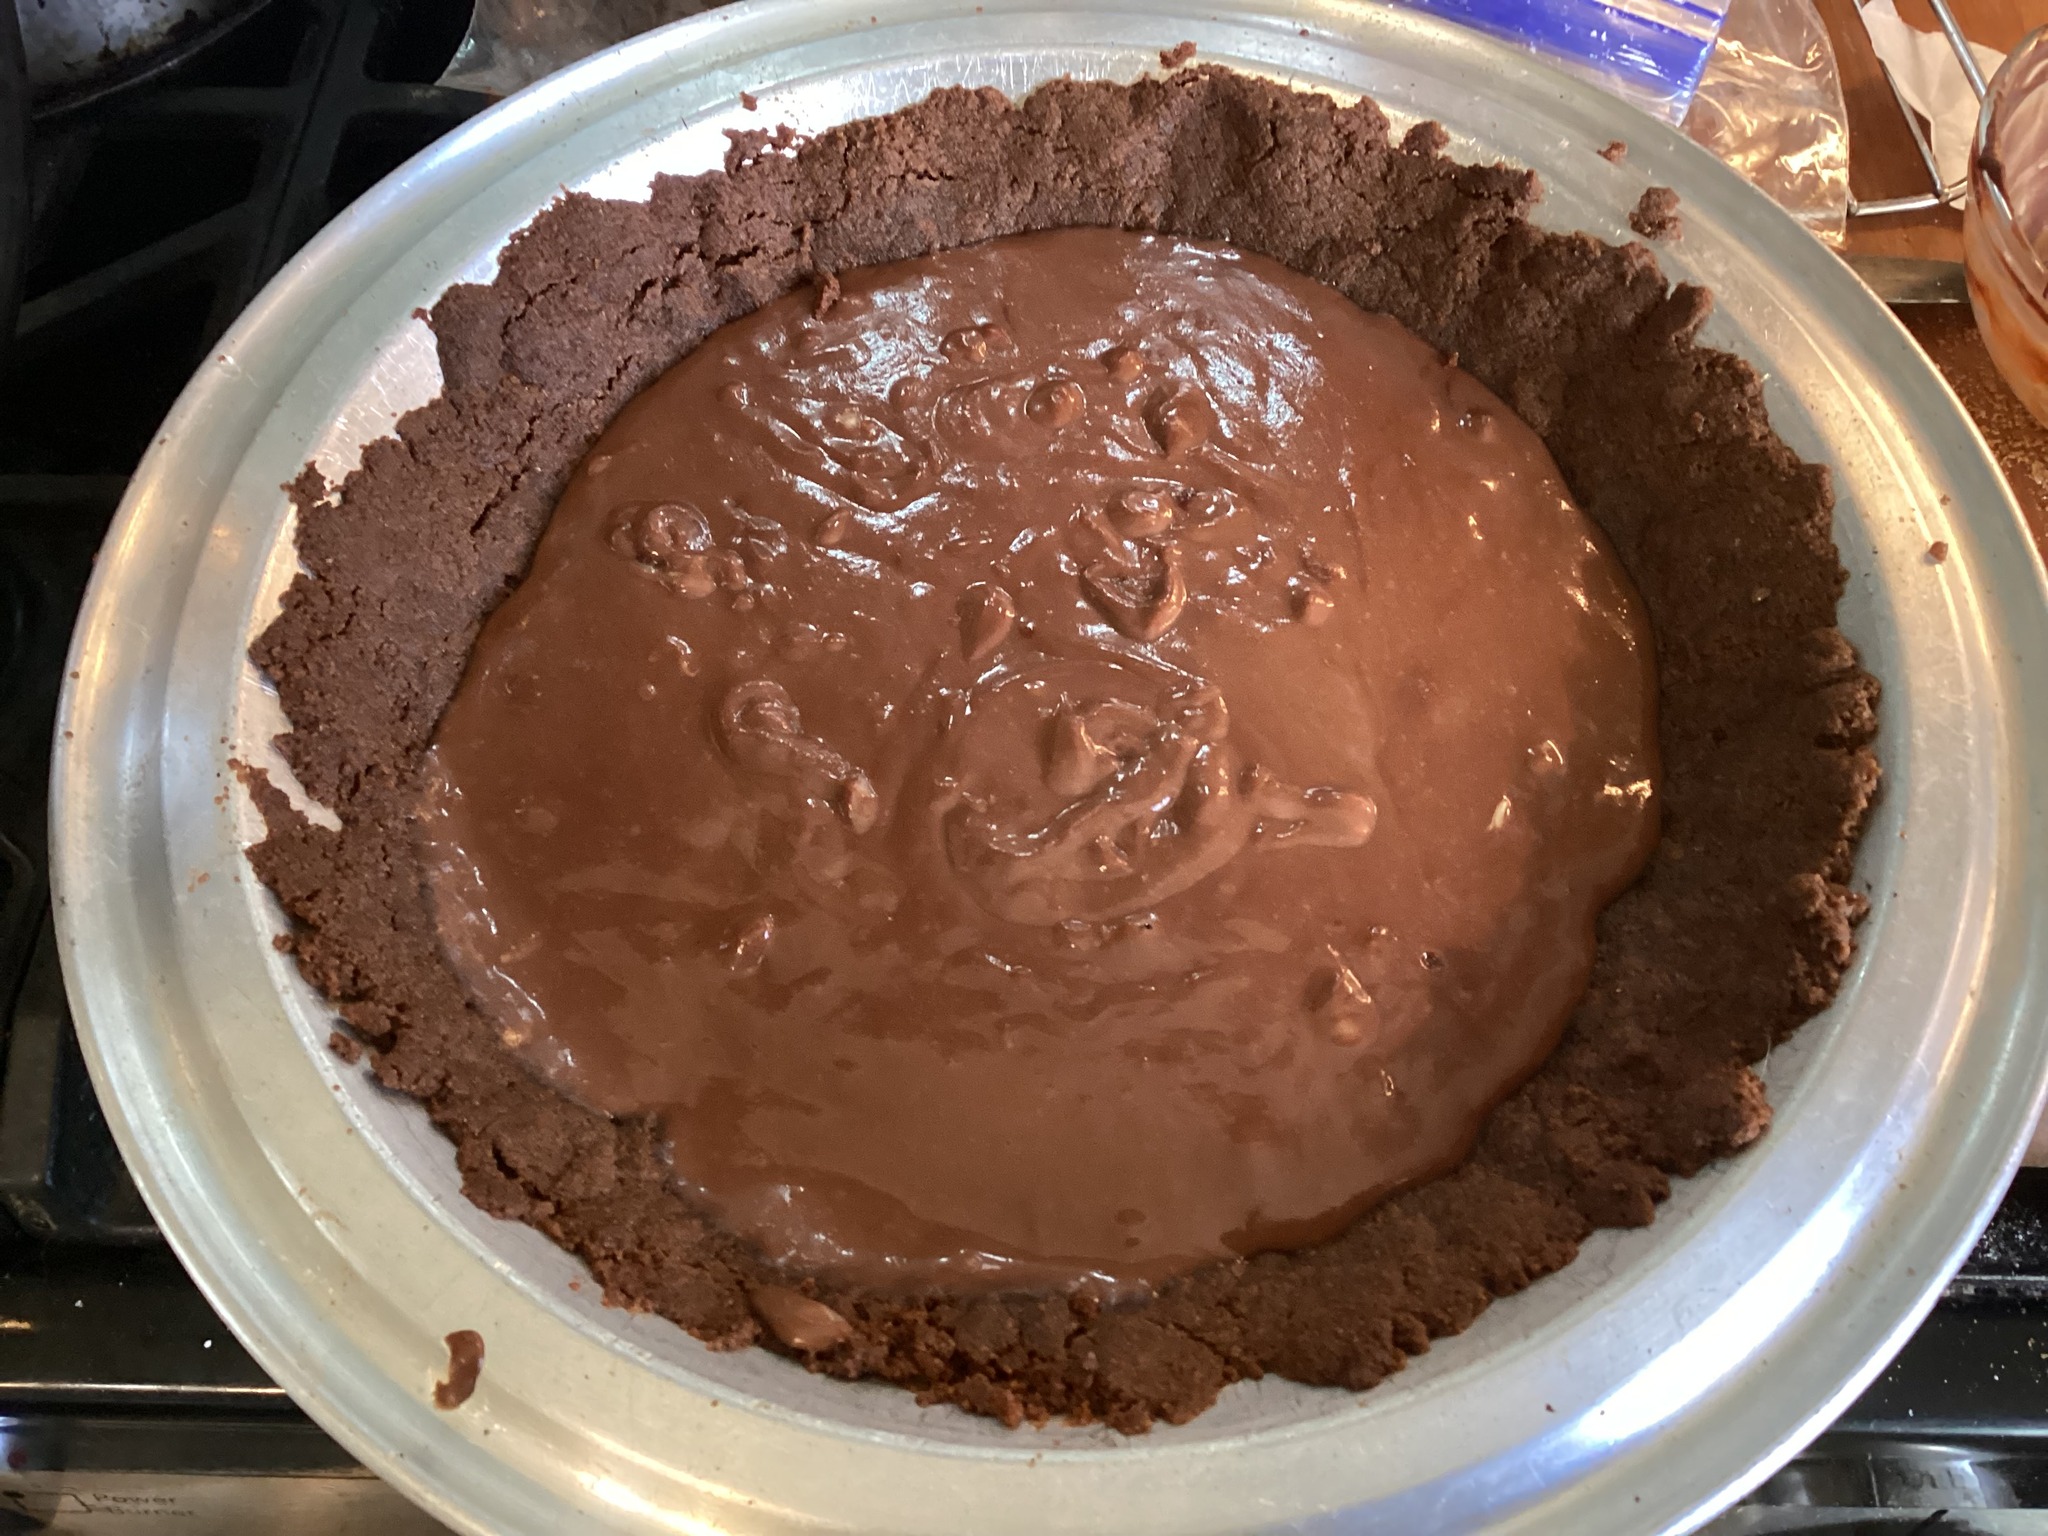
Directions: Mix the sugar and cornstarch and add to the milk in 1.5 quart saucepan, heavy if you have such. Stir as it heats on medium. I use a heat diffuser between the heat and the pan. Cook slowly, do not let boil. Stir a lot so it heats evenly. It needs to coat the spoon; won’t get that thick and this generally takes 8-10 minutes at least. Then use a measuring cup to dip out 1/3 or so cup of it and stir into the egg yolks. Then pour the egg yolk mixture into the hot milk and stir well. Then cook on medium heat for a minute. Meanwhile… Melt that chocolate; I do it in my microwave. Dip out or pour a cup to 1.25 cups custard into a small bowl; pour in melted chocolate, stir good and add the vanilla, stir and let cool a couple of minutes before pouring into the crust. evenly coating the bottom. Put in fridge to chill.

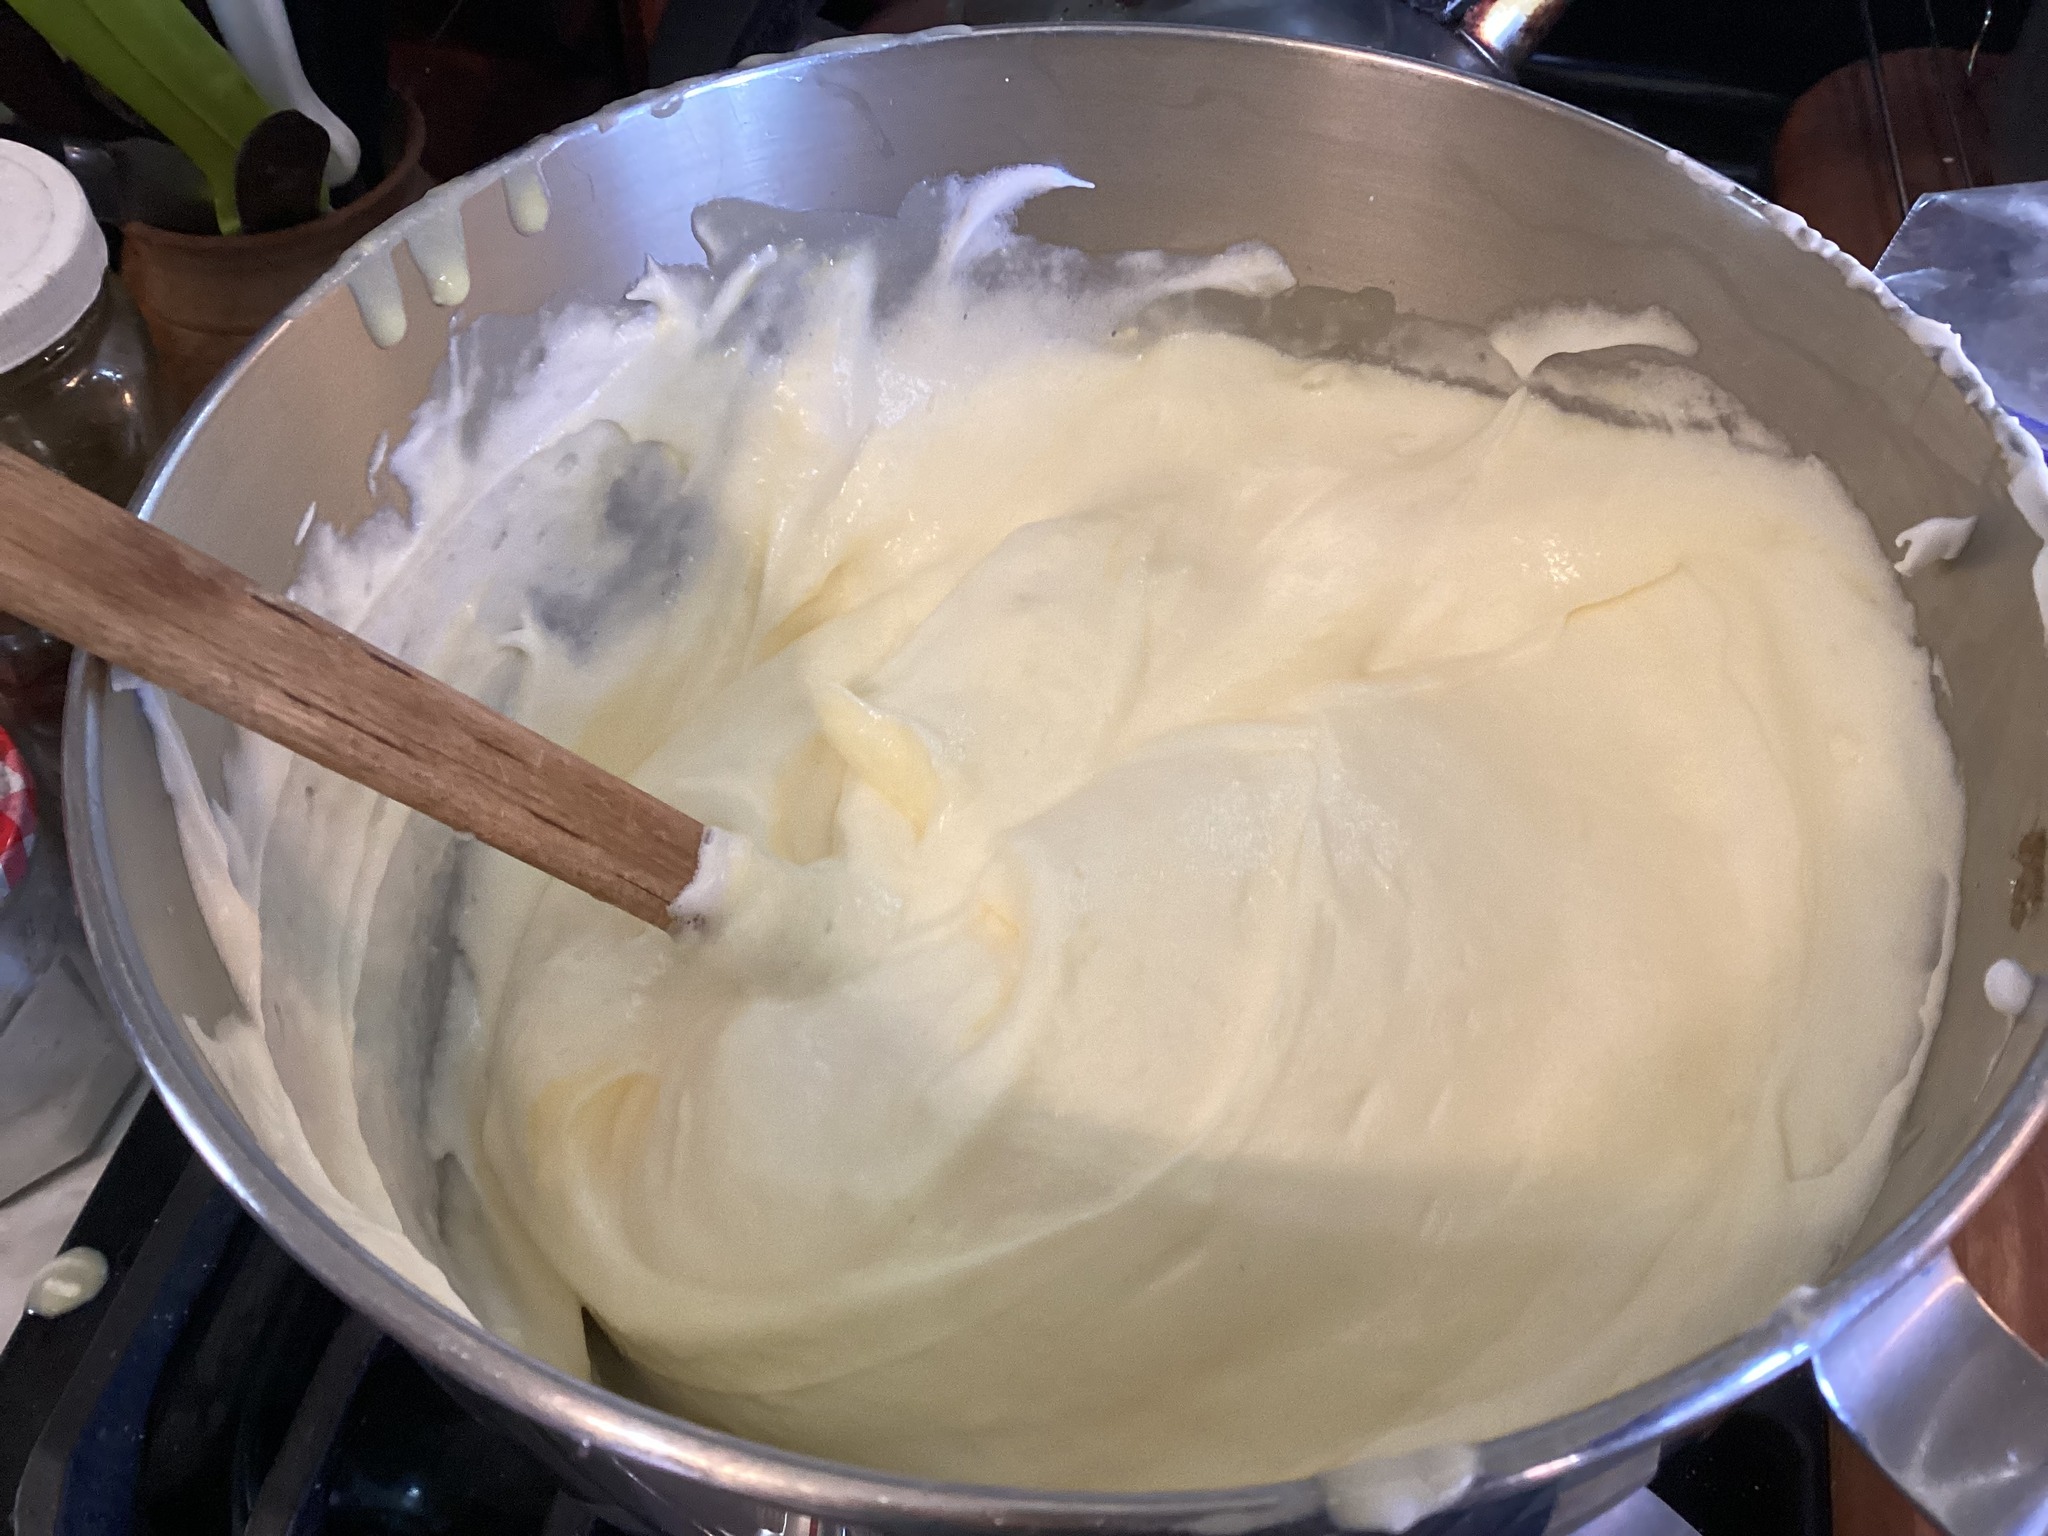
Whip the egg whites and cream of tartar until forming soft peaks. Add 1/3 cup sugar very slowly as it beats to firm peaks. Pour the melted gelatin into the remaining hot custard, stir in until it is melted. Add rum and fold together with the beaten egg whites until no white shows, pull the crust out of the fridge and gently pile the rum custard on top of the chocolate custard. Chill at least 3 hours. Serve topped with whipped cream sweetened with a little powdered sugar; 1 cup heavy cream plus 2 Tbsp. powdered sugar.

Mexican Wedding Cookies – A Classic

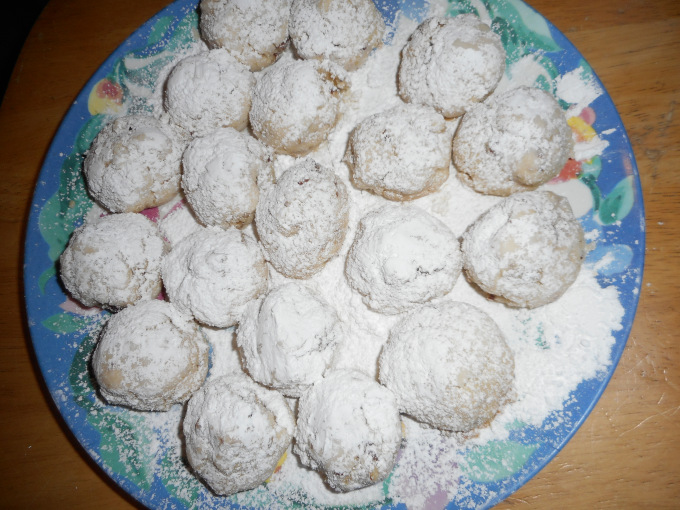
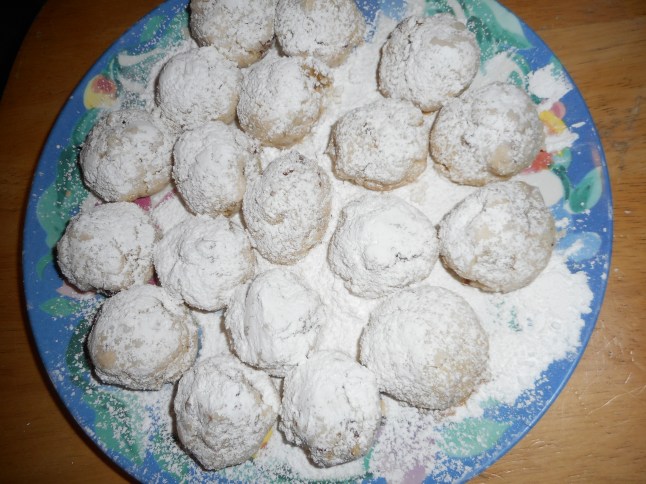
These miniature snowball cookies were the foundation of the Christmas cookie baking season when I was a kid.  They were always made every year, sometimes a second batch had to be baked as we had eaten them all well before the big day!   Some people call them Russian Teacakes… For me it is not Christmas without these cookies so I was extremely pleased to find a great gf recipe. My sisters think they are better tasting than the old regular recipe!

They are easy to make with not too many ingredients.  Don’t make them too big or they become very fragile… stick with the size as given. Be careful lifting them off the pan as they are delicate until fully cooled. The texture and subtle flavor of this GF version is actually superior to the wheat flour recipe of my childhood. When you bite into one it shatters into a delicious mouthful of sweet cookie. They are delightful with a cup of tea or coffee.  My family clamors for a few to take home!

You can use pecans, but I rarely do; walnuts are somewhat cheaper, and I sort of prefer their flavor for this cookie. If you like them really sweet sprinkle on extra powdered sugar, less of it makes them perfect for those who are not used to too much sweetness. This recipe is from Annalise Roberts’ fabulous Gluten-Free Baking Classics with some minor changes by me. I have not tried them with any but this flour blend. I bet they might work with a measure for measure flour mix; just leave out the xanthan gum in that case.

Storage: they keep well; I put mine in an empty butter cookie tin with wax paper between the 2 layers; no more than 2 layers or they tend to break up easily. Or a cookie jar but do be careful about too many stacked on top of each other.  No one will ever know they are GF, and you will get complements on their flavor and texture.  Enjoy: they are rather addictive cookies!

xmas cookies 006

Mexican Wedding Cookies

1 cup unsalted butter, room temperature

6 tbsp. powdered (confectioners) sugar

2 tsp. vanilla extract

2 cups King Arther Basic GF blend flour – aka brown rice mix (recipe below)

1 tsp xanthan gum

1 cup walnuts or pecans chopped fine

Confectioner’s sugar for sprinkling

Directions: beat butter and powdered sugar in large bowl of stand mixer until light and creamy.  Add vanilla, beat in.  Add flour and gum, mix in until well blended, stir in walnuts until distributed.  Chill dough for an hour, more than 2 hours; dough gets too stiff.

Heat oven to 350 degrees.  Form dough into 1-inch balls. Roll in powdered sugar if you like.  Place on cookie sheet lightly sprayed with Pam (not the baker’s version that has flour).  Place about 1 ½ inches apart.  Bake 13 to 15 minutes until lightly browned on top and bottom.  Cool on pan for 5 min and then sprinkle with lots of powdered sugar before placing on wire rack to cool. I like to sift it onto the cookies so the coating is even.  You could put a sheet of wax paper under the wire rack to catch the excess sugar.  Store well wrapped: in airtight container, in fridge for a week or freezer for up to 30 days.  You could store unbaked dough in fridge for a few days.

Brown Rice Flour Mix base mix  (same as King Arthur’s Basic gf blend)
2 c brown rice flour

2/3 c potato starch *not potato flour

1/3 c tapioca flour

Note: First posted December 2014 on my blog.  Minor revisions have been made since then.

Delicious Nectarine Blueberry Pie

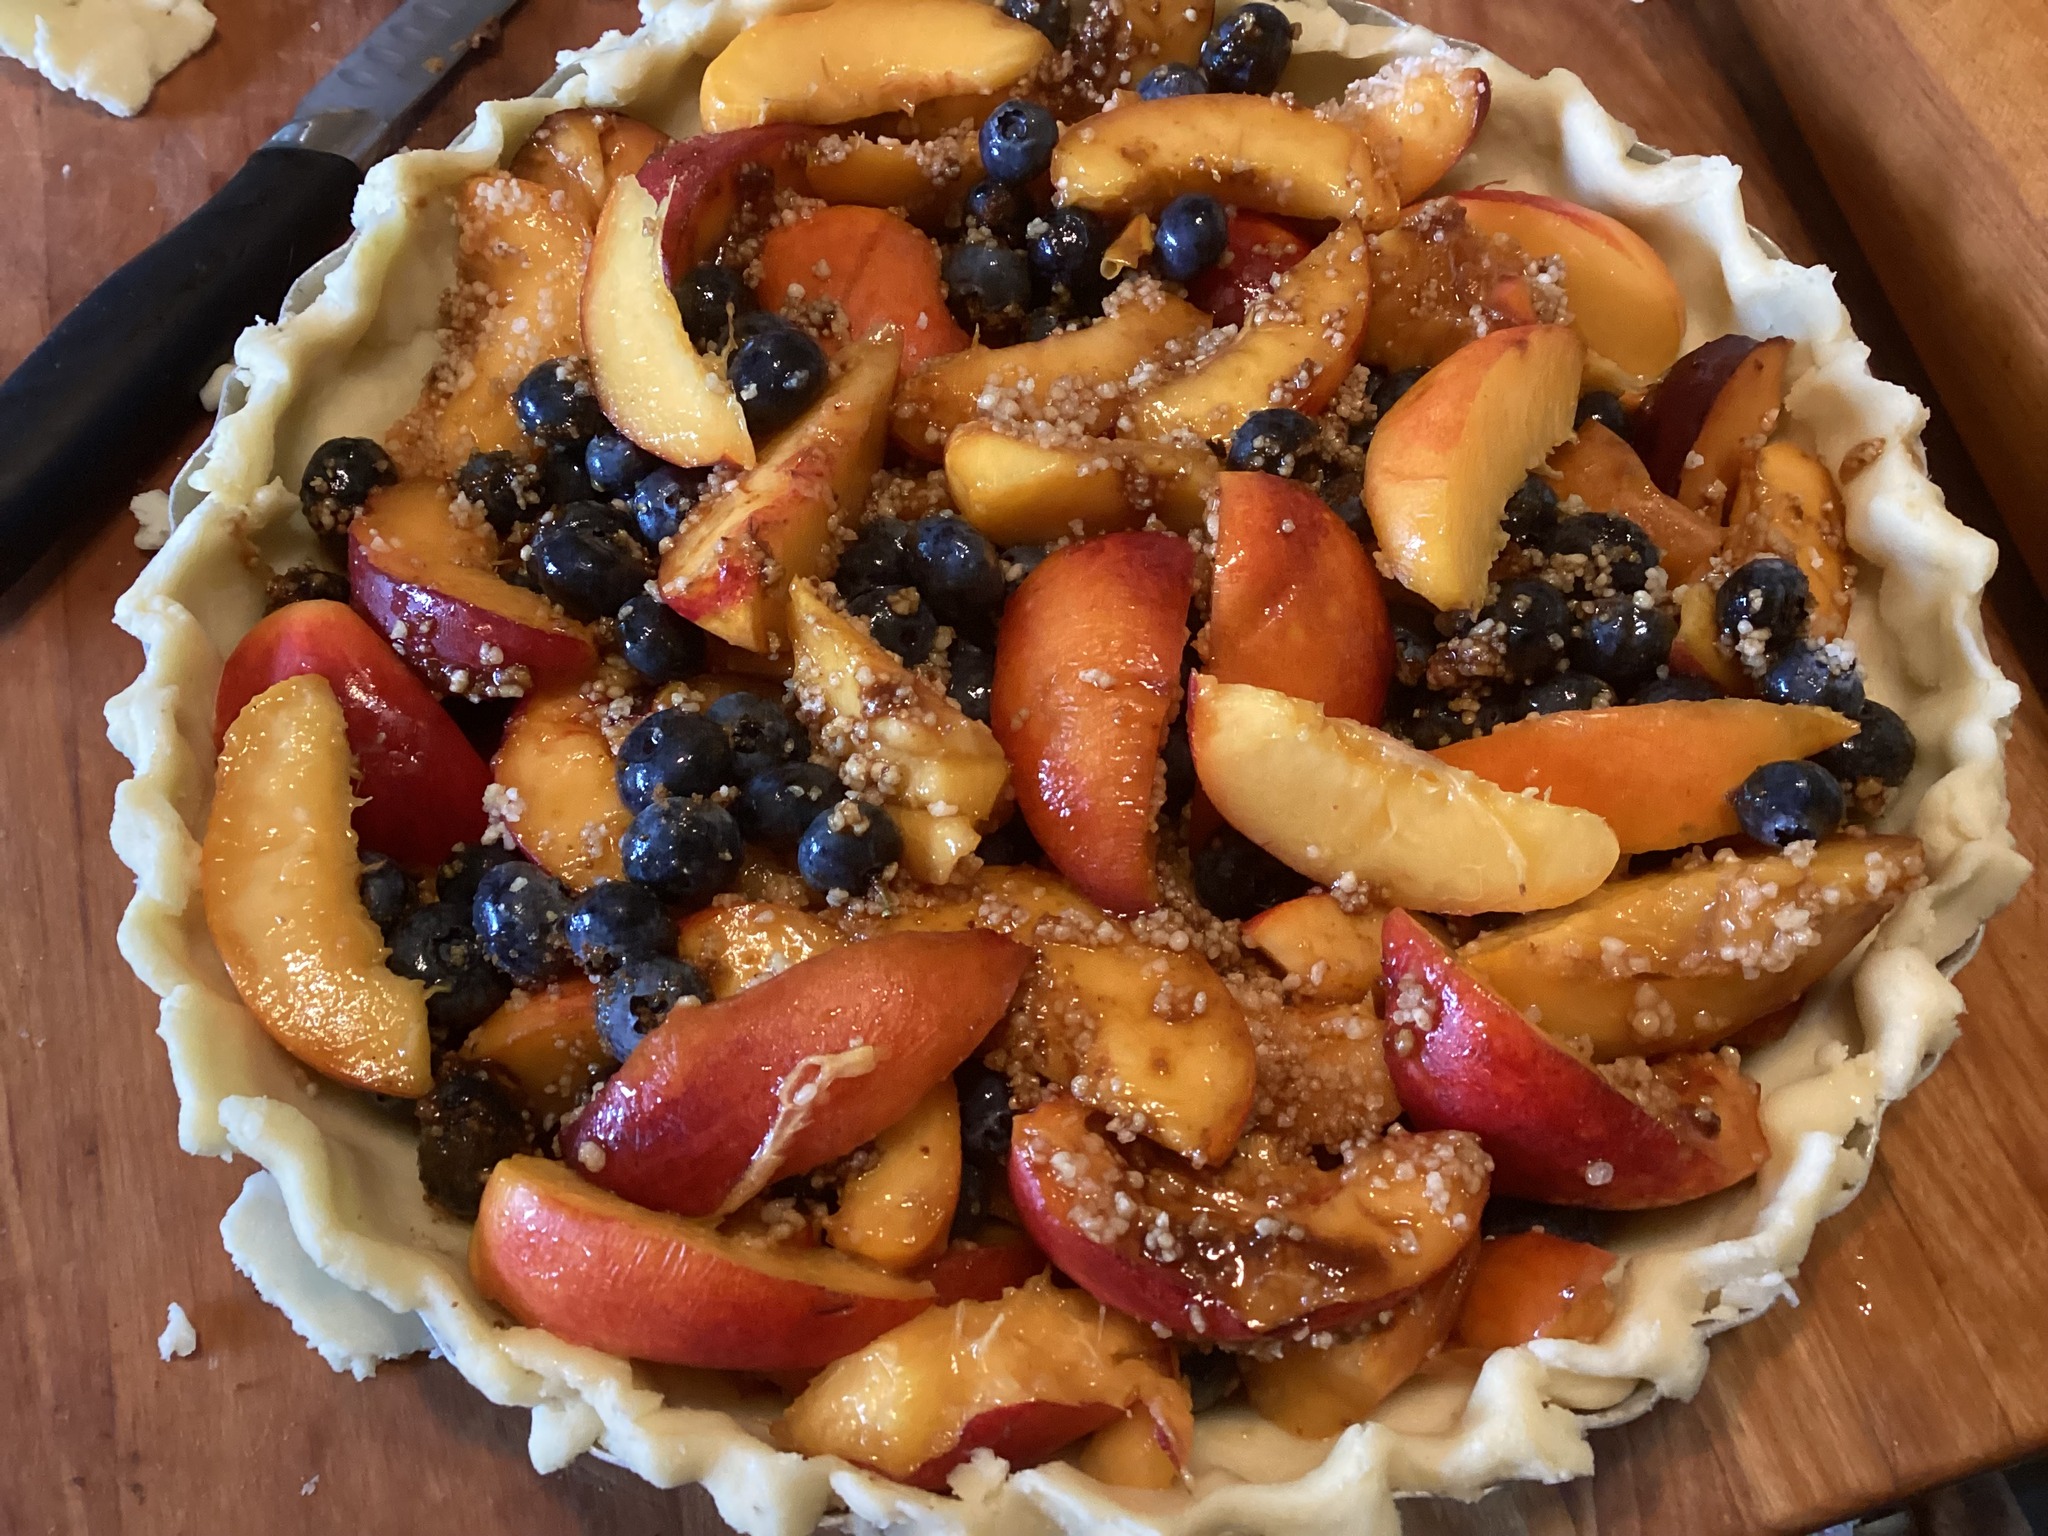
 This July post never got uploaded, when I discovered that, I decided to add it to my blog so it’s available next summer. The resulting pie was delicious down to the last slice.

This is so easy to make: slice and dump together the filling, crumb topping gets made in the mixer bowl you just used for bottom crust. You can store any leftover crumb mixture in a sealed container in the fridge; it keeps a few weeks.  This GF crumb topping is perfect for most any fruit pie.

I used a lot more nectarines than blueberries; the proportions are up to you. The nectarines don’t need to be peeled like peaches. I used coconut palm sugar in my crumbs; it does darken them but lowers the hypoglycemic level of the pie; good for those of us who are prediabetic or just avoiding white sugar. You can also replace some or all of the sugar in the filling with coconut palm sugar. I like to do 50/50 sugar and c coconut palm sugar.

You could make this pie with frozen fruit; just add at least 10-20 minutes of time to the bake time. Don’t defrost them fully; can defrost somewhat but not completely before putting it together to bake.

Bake and enjoy summer in a pie in just a few minutes of work.  Don’t eat it piping hot; it should be cooled to close to room temperature.  You could certainly serve this with vanilla ice cream. 

GF Nectarine and Blueberry Crumb Pie

Crust:

1 c plus 2 tbsp brown rice flour mix (King Arthur Basic GF blend or use the recipe at the bottom of recipe)

2 tbsp sweet rice flour

1 Tbps. granulated sugar

½ tsp xanthan gum

¼ tsp salt

6 Tbsp. cold butter cut into 6 chunks

1 lg egg

2 tsp fresh orange or lemon juice

Directions:

Spray 9 or 10 inch metal pie pan with cooking spray, dust with white rice flour. I confess I forget to do this more often than I remember…still works.

Mix dry ingredients in bowl of stand electric mixer.  Add butter and mix until crumbly and resembling coarse meal.  Add egg and juice.  Mix until it comes together into big chunks.  Shape into a ball with your hands. Put it on a crust sized piece of wax paper (14 x 14 inches more or less), flatten the crust ball some; put on top of it another piece of wax paper and chill it all in your fridge 15-20 minutes while you prepare the filling.

crust

Filling:

5 cups sliced fresh nectarines, unpeeled and cut in thick slices

1 cup fresh blueberries – rinse and place in medium bowl

Mix with:

½ cup sugar (or use coconut palm sugar for half of the sugar)

½ tsp. cinnamon

3 Tbsp. quick tapioca

Add and stir in

2 tbsp. fresh lemon juice

Let the filling stand while you prepare the crust, important for the tapioca so it does its job optimally.

Roll out pie crust in a pie bag or between the two sheets of wax paper, try to get the thickness even, no thick middle! Peel off one side of paper and place in pie pan, centered.  Remove other slice of wax paper.  Crimp edges all around.  Fill with fruit mixture.

Crumb topping

Put all four ingredients in the same mixing bowl you made the bottom crust in and mix well with mixer paddle until crumbs form.

¾ c brown rice flour mix

½ c sugar or a blend of coconut palm sugar and granulated sugar

½ tsp xanthan gum

1/3 c cold butter cut into six chunks

Directions:

Sprinkle the top of the pie with crumb mix; use as much as you like.  I like about a heaping cup and a half of the mixture.  Up to your personal taste… It sinks partially into the fruit mixture and adds lots of sweetness and eye appeal.

Bake in a preheated 400-degree oven for 45-50 minutes until bubbly and the crumb crust is light brown.  I put a piece of aluminum foil on top for the last ten minutes.  Cool at least 1 to 4 hours before serving at room temperature.  I think it is best served the same day you make it, or no more than 10 hours after baking for optimal flavor.  The crumbs will get soggy if too much time passes.

Note: if you find your bottom crust is not browning enough there are a couple of choices; you could bake it empty at 375 degrees for ten minutes before filling it with the fruit. Choice 2: I bake pies on a rack placed at the very bottom of my oven which gives me perfect pie crust; I don’t ever have pale pie crust.

The topping is extra brown due to coconut palm sugar instead of all granulated sugar.

Brown Rice Flour Mix
2 c brown rice flour (finely ground)

2/3 c potato starch – Not potato flour!

1/3 c tapioca flour

Apple Crumb Pie

Apples are a favorite American fruit, and they are the main ingredient in America’s favorite pie.   This crumb topped pie is easier to construct than a two-crust pie. I gave you the amounts for a 9-inch pie; I myself generally make it 10 inches; use 9-10 cups sliced apples and higher end of amounts of sugar, tapioca and spices.  Bake this bigger pie for 55-60 minutes.

I like to use 2-3 kinds of apples in my pie; my favorites include golden delicious, Cortland, Pink Lady, Empire, Rome or Ida apples but if you want to use one variety my favorite is golden delicious, and they generally are apple perfection, great flavor and hold their shape without any crunchiness. They also play well in pies made with other baking apples like Empire, Ida Red, Rome to name a few. Just skip Red Delicious; only for eating raw and their texture doesn’t hold up in a pie.

I generally make my own crust but you can use a Bob’s Redmill GF crust mix; pretty decent if a bit trickier to roll out than my usual homemade crust. Definitely a good choice when you don’t have the time for a scratch pie crust. I always use my homemade crumbs. They are easy to make and taste the best!

I put this pie together in a few steps; make the crust dough; put it in fridge to chill while I peel, slice and cut up the apples. I also throw together the crumbs before rolling out the pie; you don’t need to rinse the mixer bowl from the crust then.  If you plan to prebake your crust those ten minutes of baking the empty pie crust are also a good time for making the crumbs and preparing the apples too! I generally move an oven shelf to the very bottom of my oven and that helps the bottom pie crust bake fully.

Note that I love using coconut palm sugar in place of brown sugar as it is lower on the hypoglycemic index which is better for your pancreas if you are avoiding sugar. I am pre-diabetic, so I have switched to coconut palm sugar whenever possible for that reason and it is working great for me! It has a lovely caramel flavor too!

Each step is fairly easy, but the results are spectacular.  Of course, you could buy a readymade unbaked crust but this roll out crust I prefer to use is really tasty: my mom never believed it was gluten free!  This disbelief of hers was proof of the great flavor and texture of this particular basic gf pie crust.unbaked-apple-crumb-pie

It goes without saying that this pie is great with a slice of vanilla ice cream.  Fall is the best season for apple pie as they are fresh and full of juicy flavor.   Be seasonal whenever possible when it comes to fruits, and you will get the best taste in your fruit-based desserts.

Apple Crumb Pie

Crust:

1 c plus 2 Tbsp. King Arthur Basic GF blend or the brown rice flour mix at bottom of my recipe

2 Tbsp. sweet rice flour

1 Tbsp. granulated sugar

½ tsp xanthan gum

¼ tsp salt

6 Tbsp. cold butter cut into 6 chunks

1 lg egg

2 tsp fresh orange or lemon juice

Directions: Spray a nine-inch pie pan with cooking spray, dust with white rice flour. Set aside.

Mix dry ingredients in bowl of stand electric mixer.  Add butter and mix until crumbly and resembling coarse meal.  Add egg and juice.  Mix until it comes together into big chunks.  Shape into a ball with your hands. Put it on a crust sized piece of wax paper (14 x 14 inches more or less), flatten the crust ball some; put on top of it another piece of wax paper and chill it all in your fridge 15-20 minutes.

Roll out the flattened ball into a pie crust in a pie bag or between the two sheets of wax paper, try to get the thickness even, no thick middle! Peel off one side of paper and place in the pie pan, be sure to center it.  Remove other slice of wax paper.  Crimp edges all around.

Filling:

8 cups thin apple slices from 8-9 medium-large sized apples, I like a mixture of yellow delicious and at least one other cooking variety; red Rome, Jonathan, empire, Courtland, or any tart apple you like to bake with. Note: I have made it just with Cortland or with Golden Delicious apples; excellent pies! Peel apples, quarter, cut out core, slice into 1/3-inch-thick slices. Place apple slices in a large bowl and sprinkle top with 1 Tbsp lemon juice. Mix the following dry ingredients in a small bowl and then pour over the apples and mix up with a big spoon.

¼ cup brown sugar or coconut palm sugar (my new fav sub for brown sugar)

3-8 Tbsp. granulated sugar (3= pretty tart, 8 if you like it sweet)

2 Tbsp. minute tapioca or tapioca flour

1 tsp. cinnamon

A good sprinkle of ground nutmeg

A small sprinkle of ground ginger (optional)

Directions: After you mix up the apples and topping then heap the apples in your uncooked pie crust.

Crumb topping

Directions: Put all four ingredients in the same mixing bowl you made the bottom crust in and mix well with mixer paddle until crumbs form.

¾ c brown rice flour mix

½ c sugar

½ tsp xanthan gum

1/3 c cold butter cut into six chunks

Finishing directions: Sprinkle the top of the pie with crumb mix; use as much as you like.  I like about 2/3-3/4 of the mixture.  Up to your personal taste…  Bake in a preheated 375-degree oven for 50-60 minutes until bubbly and the crust is light brown.  You can cover the pie loosely with aluminum foil for the first 30 minutes.  I bake my pies at the lowest possible level shelf, so my crust gets crisp but if you have issues with soggy bottom crusts; prebake your crust for 10 minutes; then fill and bake immediately.

Cool the pie at least 3 to 4 hours before serving at room temperature.

Brown Rice Flour Mix
2 c brown rice flour

2/3 c potato starch

1/3 c tapioca flour

The crust and crumbs are from Annalise Roberts’ great cookbook: Gluten-Free Baking Classics. My filling is slightly different.

Originally posted February 2015. Revised slightly and updated for this 11/1/24 post.