Sandwich Bread Worth Baking

Gluten Free bread is not generally known for rising high in the pan.  Nor does it often taste good enough to enjoy once the first day has passed.  Worse yet, it is mostly terrible in sandwiches, all crumbly and messy. I have tried a few recipes and, especially in the sandwich bread area, nothing was worth mentioning much less putting in this blog.  Until I baked the sandwich bread from the How Can It Be Gluten Free Cookbook, created by the America’s Test Kitchen team.  This cookbook promises “revolutionary techniques and groundbreaking recipes” right on the cover.  What I love about it is the discussion on how they came up with the final recipe; all the changes and reasons why things were added/subtracted or changed to create the best possible final result.  I guess it is the science teacher in me but those discussions are my favorite part of this book.

chickpea soup, salad, bread 014

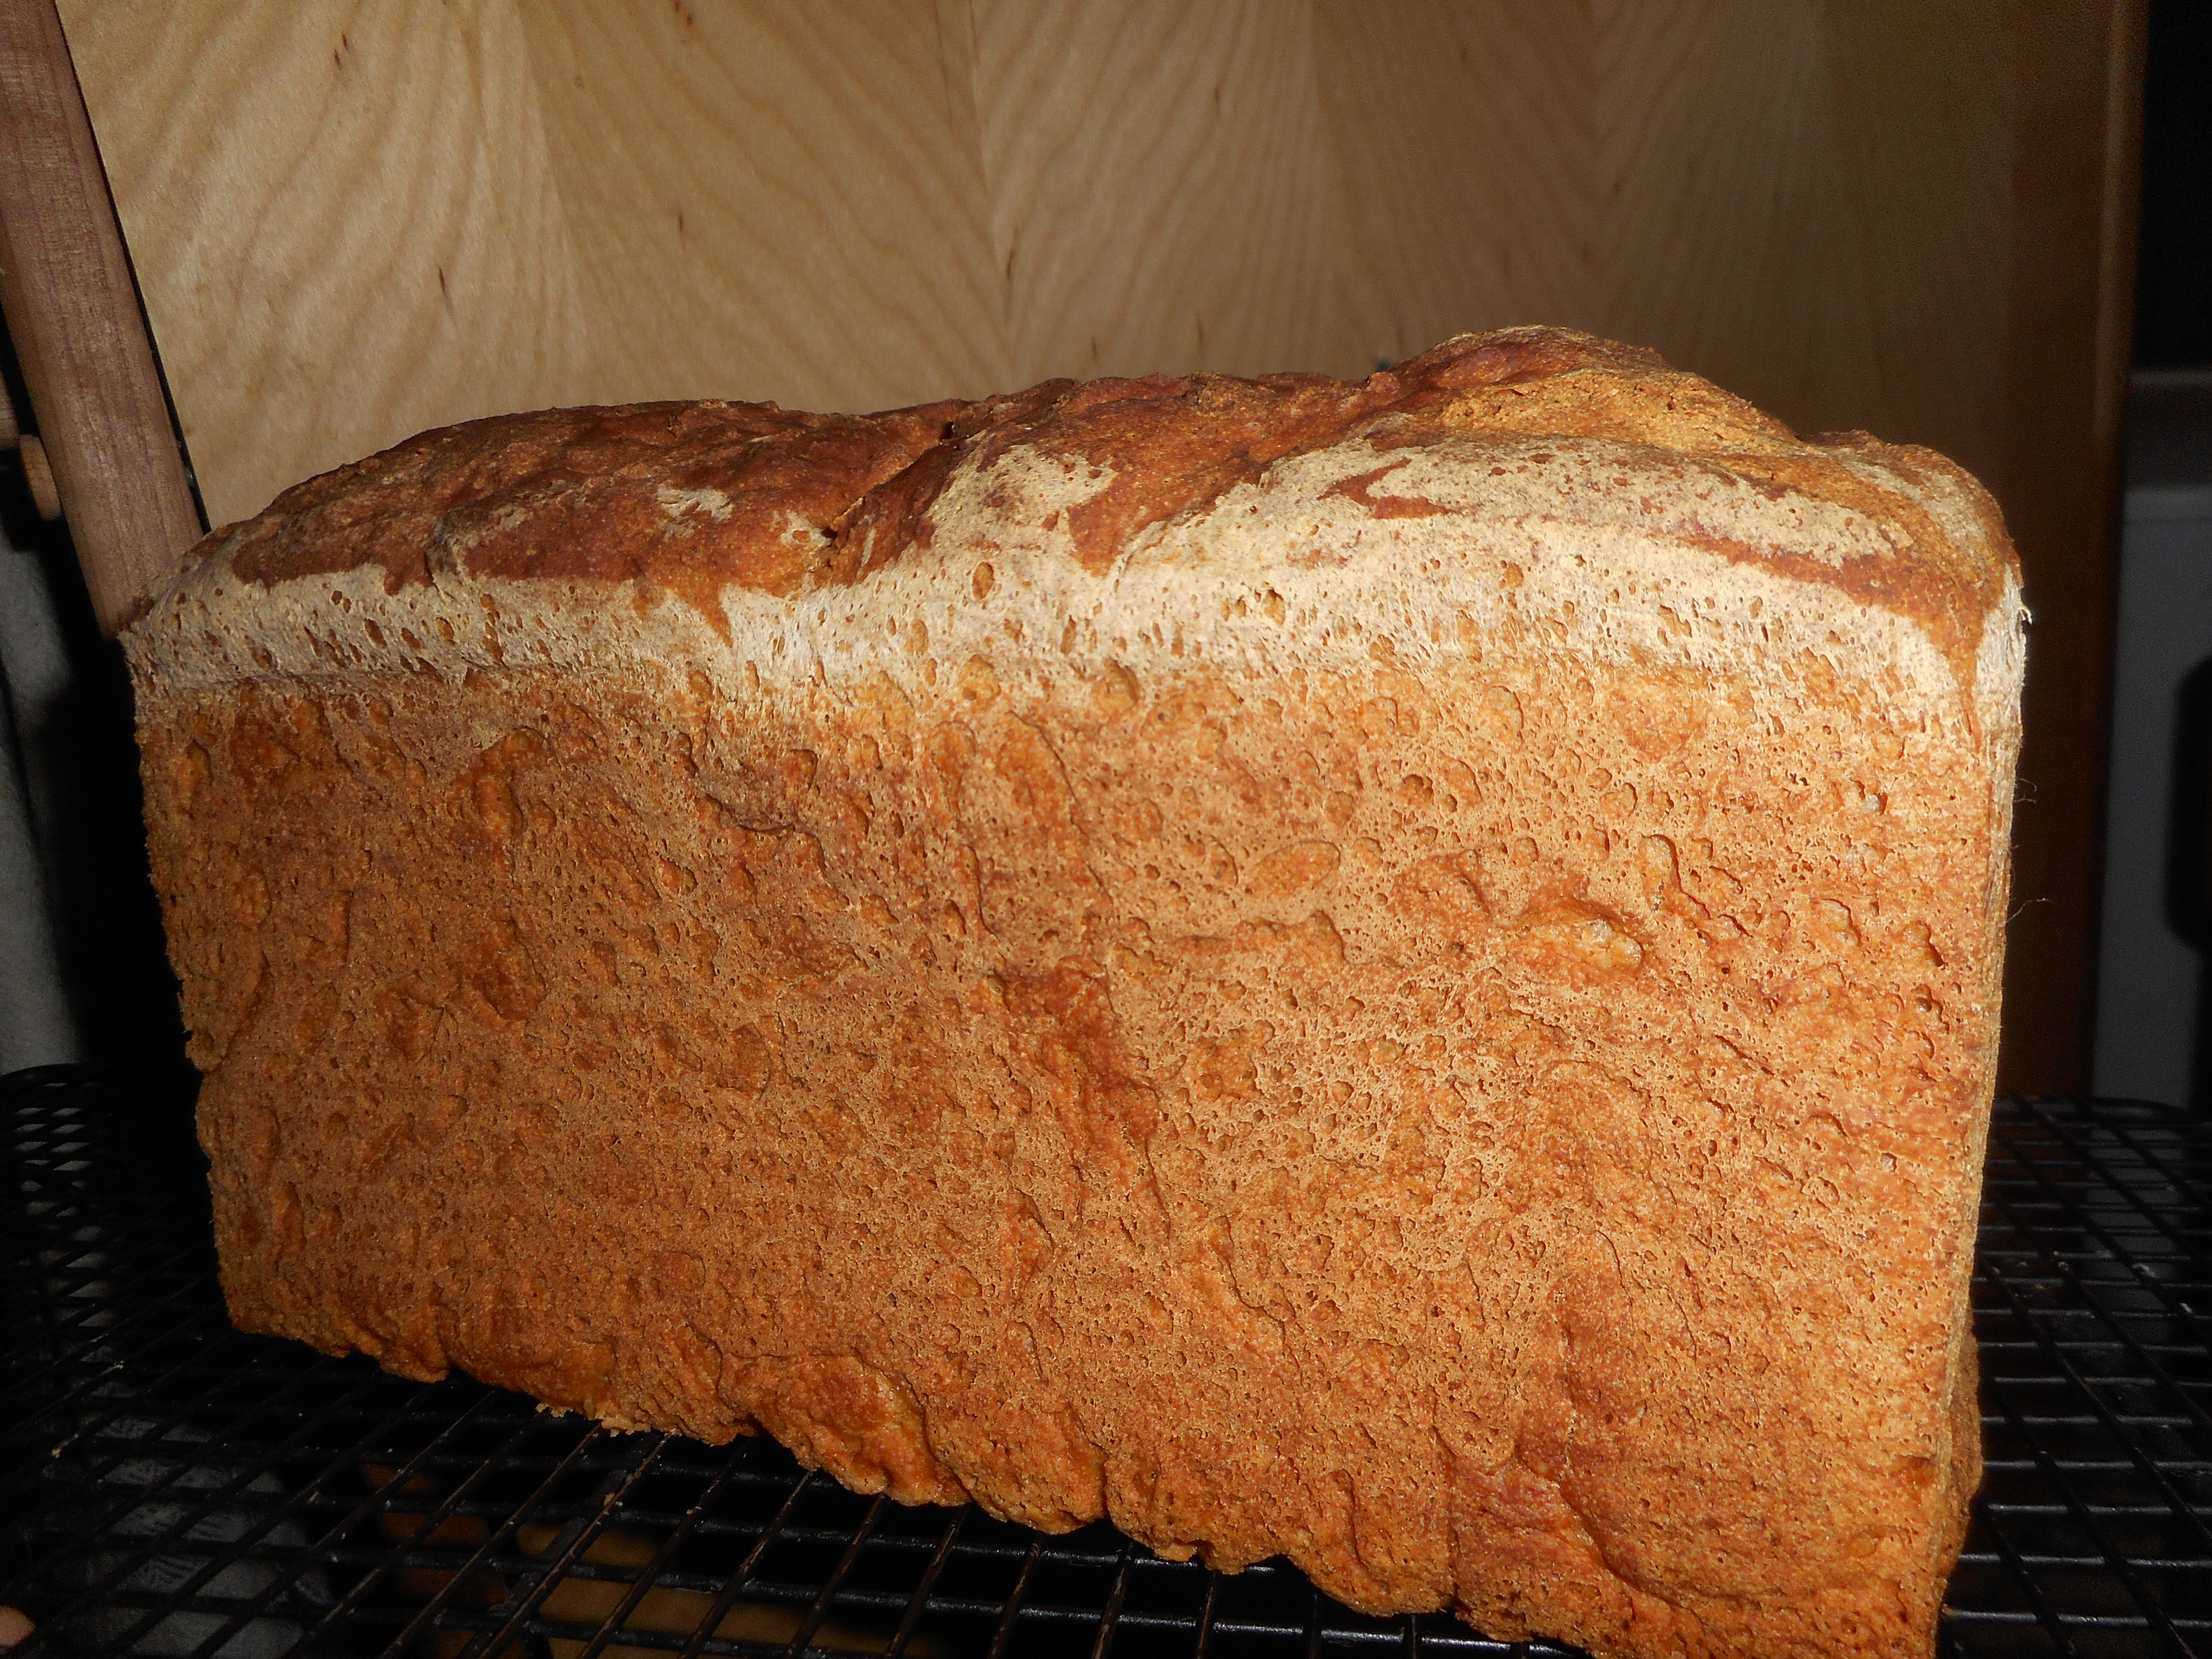
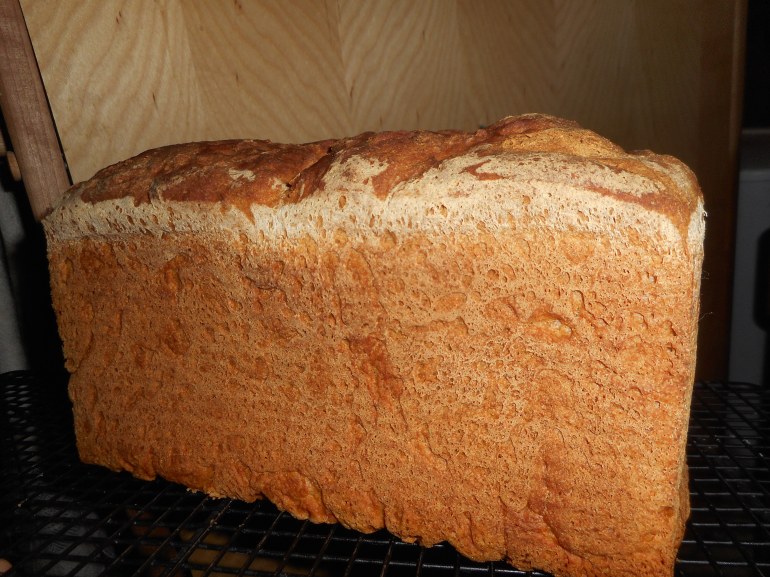
A tall handsome loaf!

The bread recipes use one extra ingredient which put me off, I’m sort of getting tired of excessive ingredients and so many flour mixes after only two years of living gluten free.  Anyway, the ingredient is powdered psyllium husk.  The cookbook says psyllium husk powder is critical to building a stronger protein network that traps gas and steam, key to producing a taller loaf (pg171).  It took me a while but finally, I got a bag of it at Frey’s Better Foods right here in town, $6.75 in a twist tied baggie; bulk packaging lowers the price quite a bit from the commercially packaged versions.  It is a brown/gray powder.  Doesn’t look magical.  But apparently, it is!  My loaf rose and rose, to the top of my special tall sided 8 ½ x 4 inch pan.  And it stayed tall through the baking process, no shrinking or sagging either as it cooled.  It is found on page 171, classic sandwich bread.  I thought it tasted sort of like multigrain bread, not as white as I expected, which is fine by me.  The creating is typical of gf breads: mix the dry ingredients and in a separate bowl the wet ones, mix and beat well.  You do have to make up their flour mix: a blend of white and brown rice flours, potato starch, tapioca starch and non fat dry milk powder.  Not too fancy but yes, another big jar of flour mix to store somewhere…

sandwich bread, winter salad 001

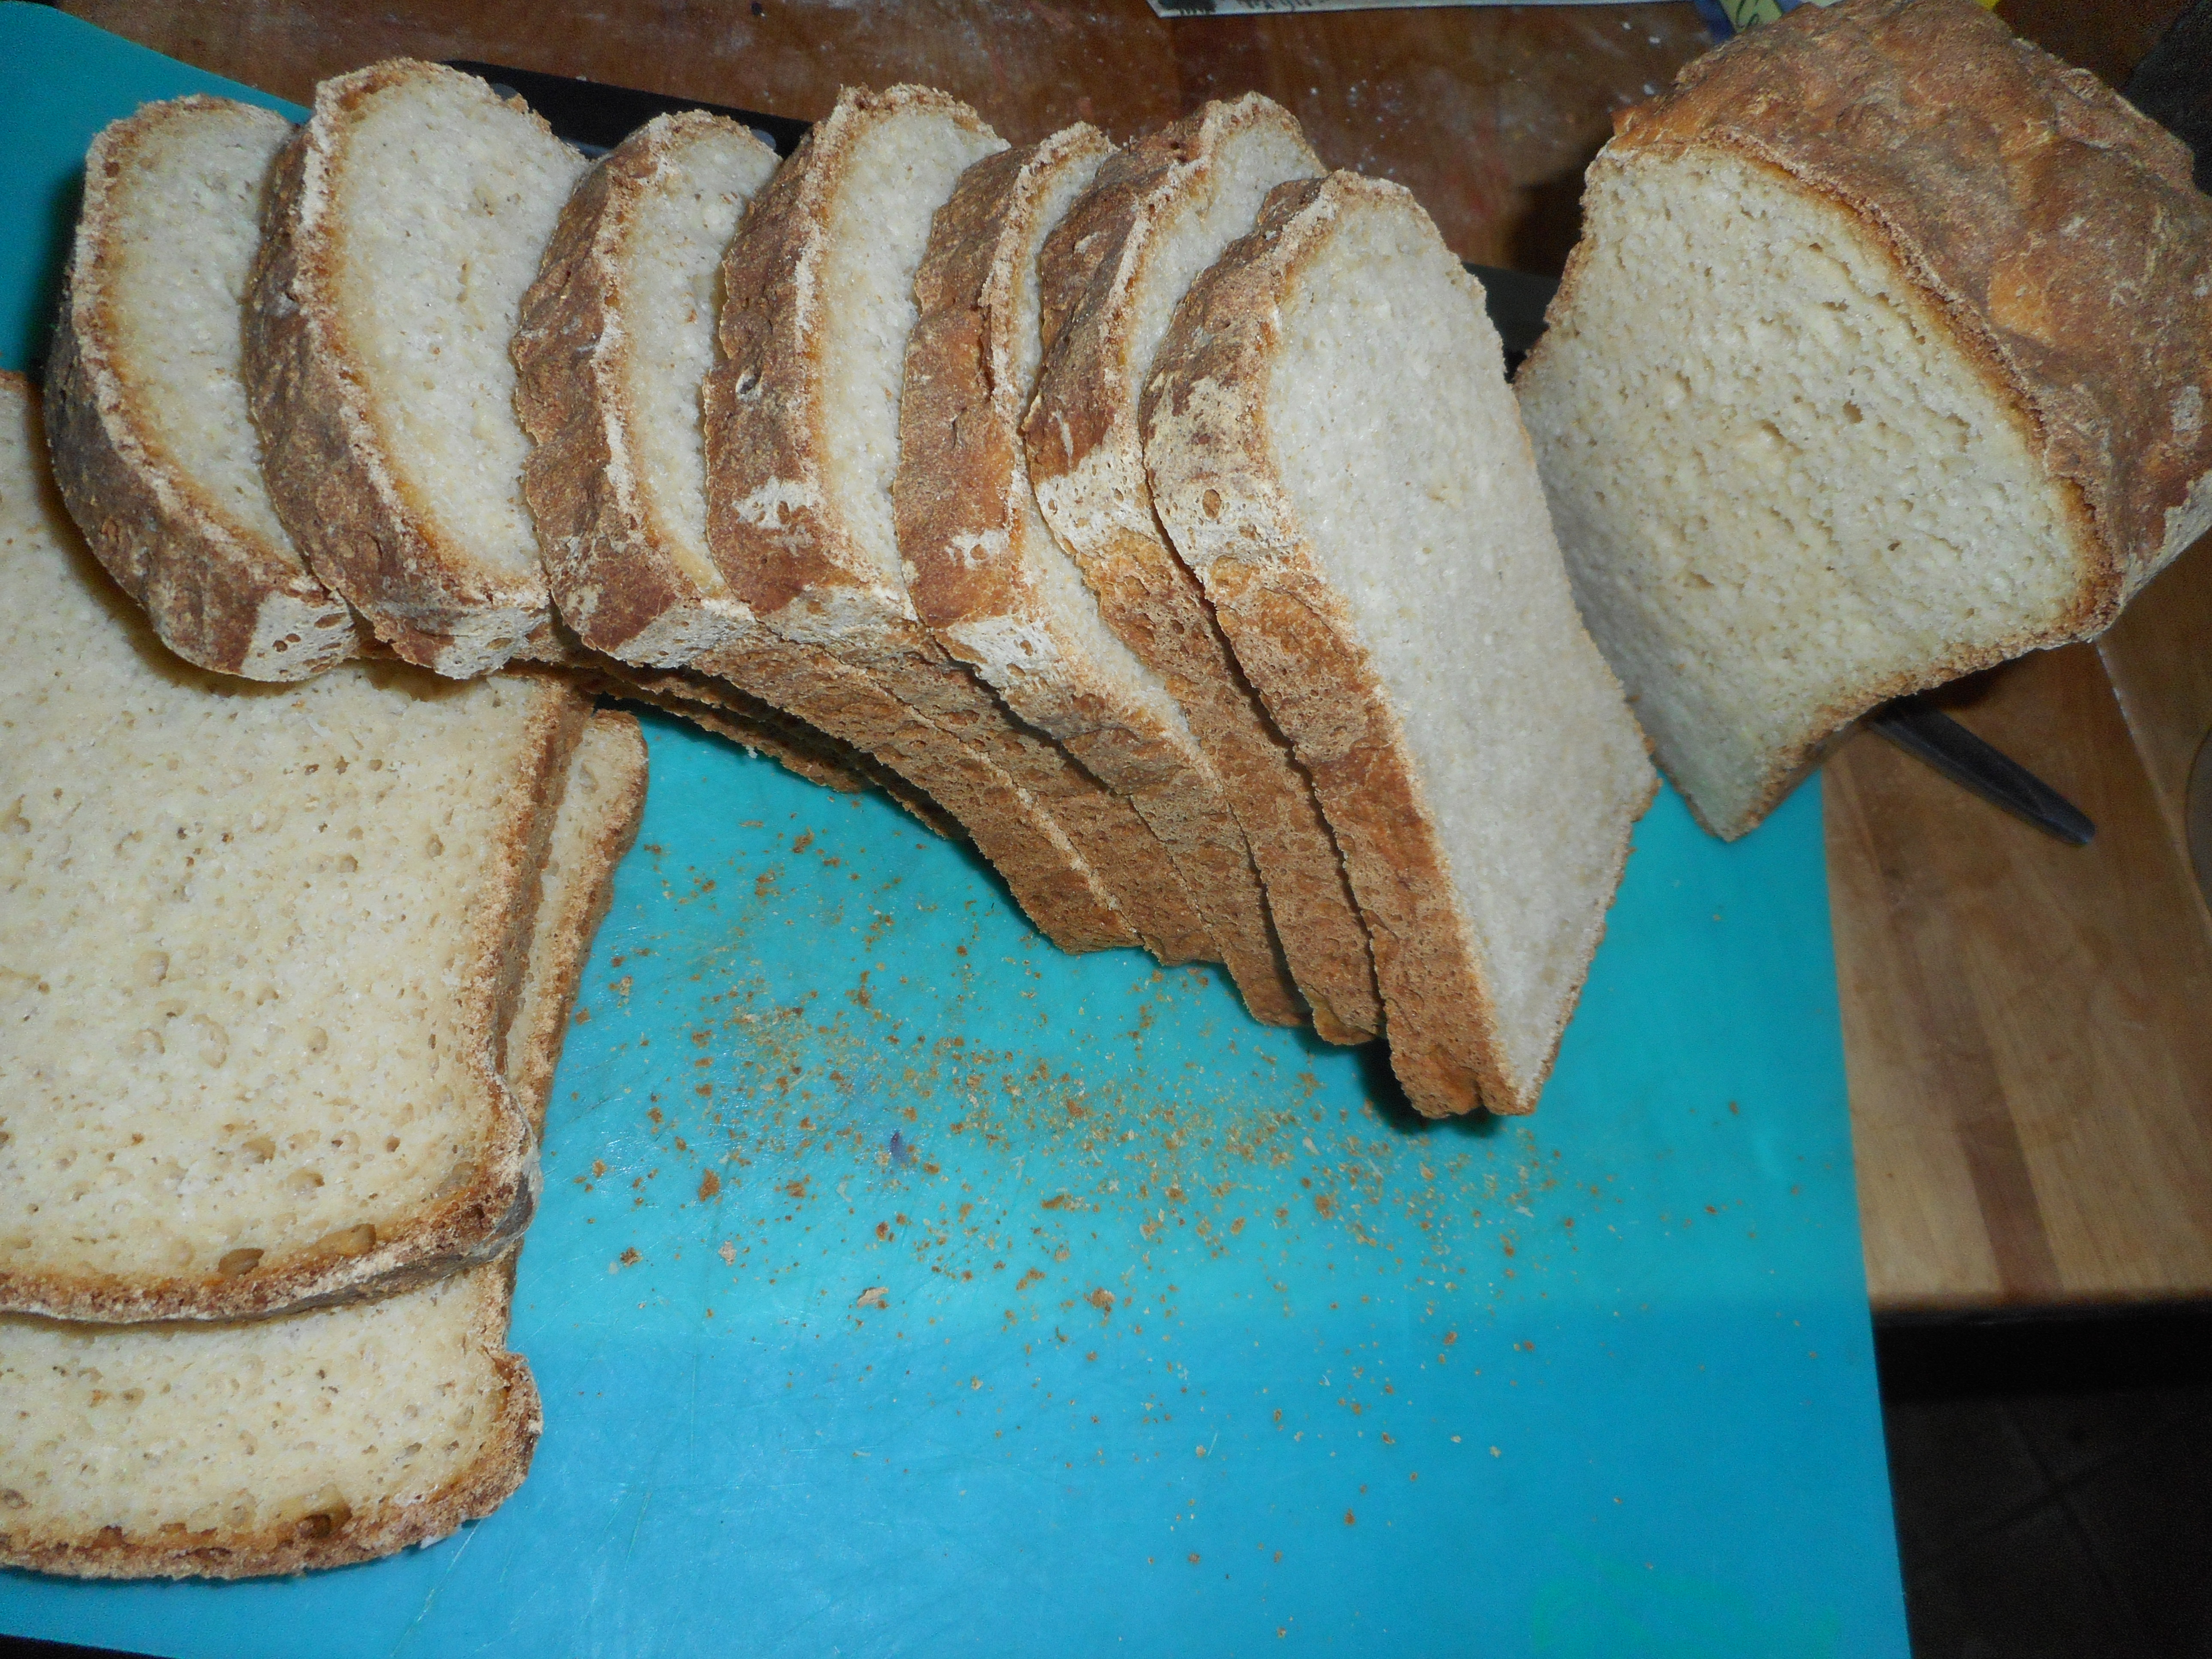
Cuts nice, lots of slices for sandwiches or toast.

Anyway, it was tall and handsome and sliced easily into individual slices to enjoy now and to freeze for later.  There are lots of other recipes in this book that I plan to try. If you are serious about gluten free baking this recipe and this book are well work a good look.  I am having a sandwich today for lunch and I am excited, bread that looks normal and holds together, no more crazy crumbling sandwiches!

chickpea soup, salad, bread 015

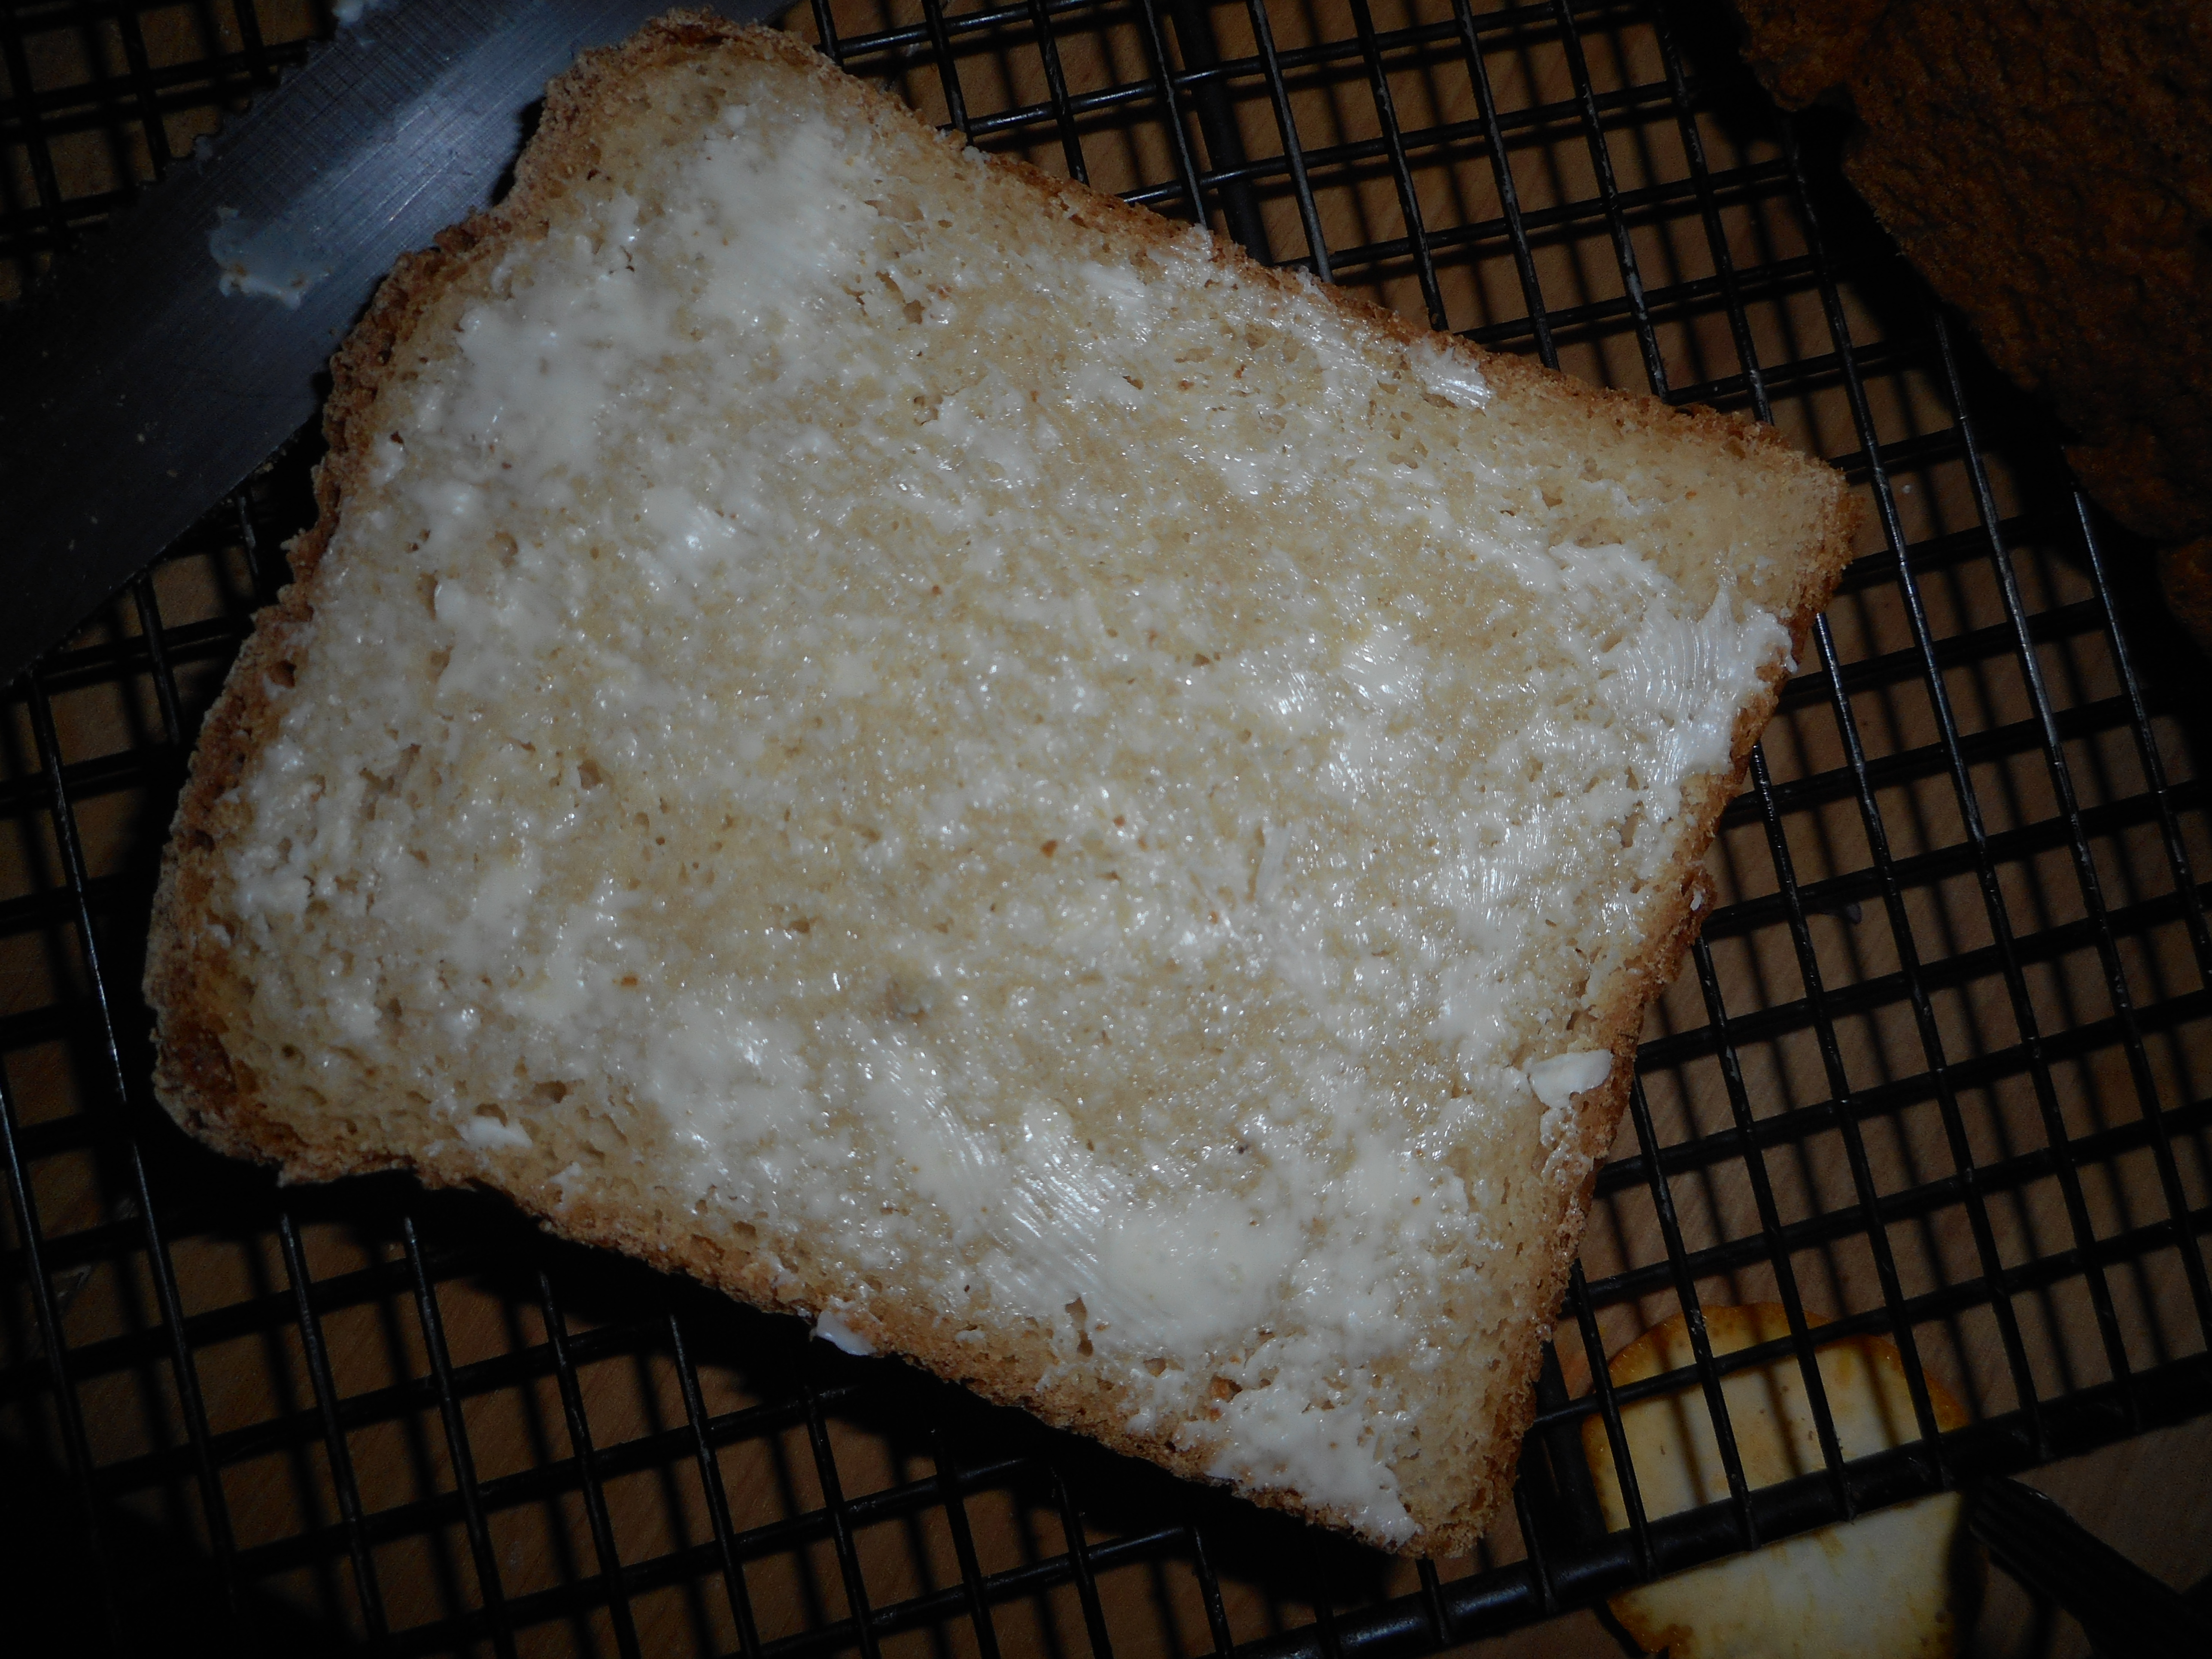
Still slightly warm, buttered and ready for my first taste!

Classic sandwich bread

2 cups warm water, about 110 degrees

2 large eggs, room temp

2 tbsp butter melted

3 cups plus 2 tbsp ATK flour mix (recipe below)

1 1/3 cup oat flour

½ cup non fat dry milk powder

3 tbsp powdered psyllium husk

2 tbsp. sugar

2 ¼ tsp. dry yeast

2 tsp baking powder

1 ½ tsp salt.

Directions:

Spray an 8 ½ by 4 inch loaf pan with cooking spray.

Wisk the wet ingredients in a small bowl.  Mix all the dry ingredients in the large bowl of your stand mixer. Slowly pour in the wet ingredients, mixing slowly; scrape bowl sides down as you go; takes about a minute.  Increase the beater speed to medium and beat for 6 minutes, it should look very thick; sort of like a cookie dough. Glop it into the prepared pan, trying to fill the corners well. Then, smooth the top with your dampened fingers and spray with a bit of water.  Make a foil collar for your pan; if you have the tall pan like I do such a collar is not necessary.  The recipe says you can use a stapler to secure it around the pan. Cover the dough with a piece of plastic wrap and let rise at room temp until doubled. I heated my oven to 100 degrees and turned it off – popped the bread in and this gave it a nice warm temperature as my kitchen’s room temp is much too chilly for bread dough.  It took about 55 minutes for mine to rise; recipe says an hour.

Spray the loaf lightly with water before popping into the oven to bake at 350 until golden and firm and it sounds hollow if you tap on it. Although how you can tap on a hot loaf of bread is sort of beyond me!  Try to remember to rotate it half way through the time, I forgot…. Mine was done at an hour and 15 minutes; recipe says 1 ½ hours.  Let cool in pan ten minutes, cool on wire rack for two hours before cutting.  So don’t be diving into this bread warm; not happening.  If you cut gf bread too soon it can collapse and or get gummy in texture.  I hate the gummies so I resist the temptation to cut early and so should you!  This makes good toast too and great gf crumbs.

Chocolate Shortbread Cookie Madness

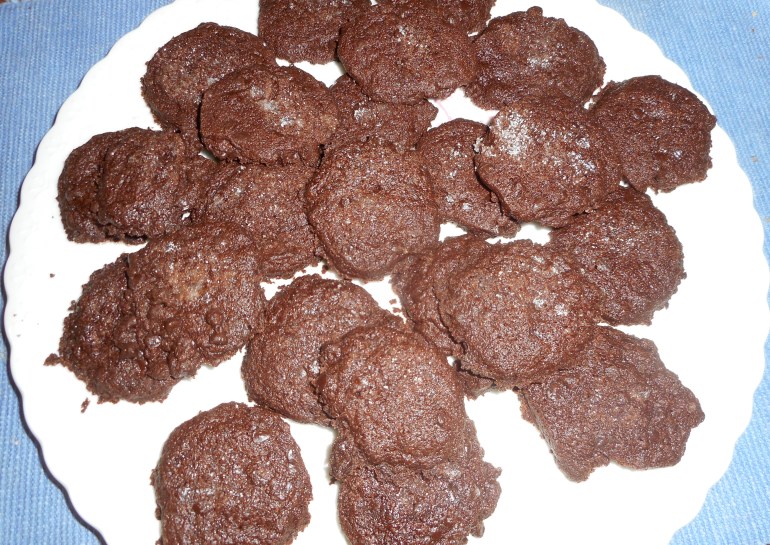
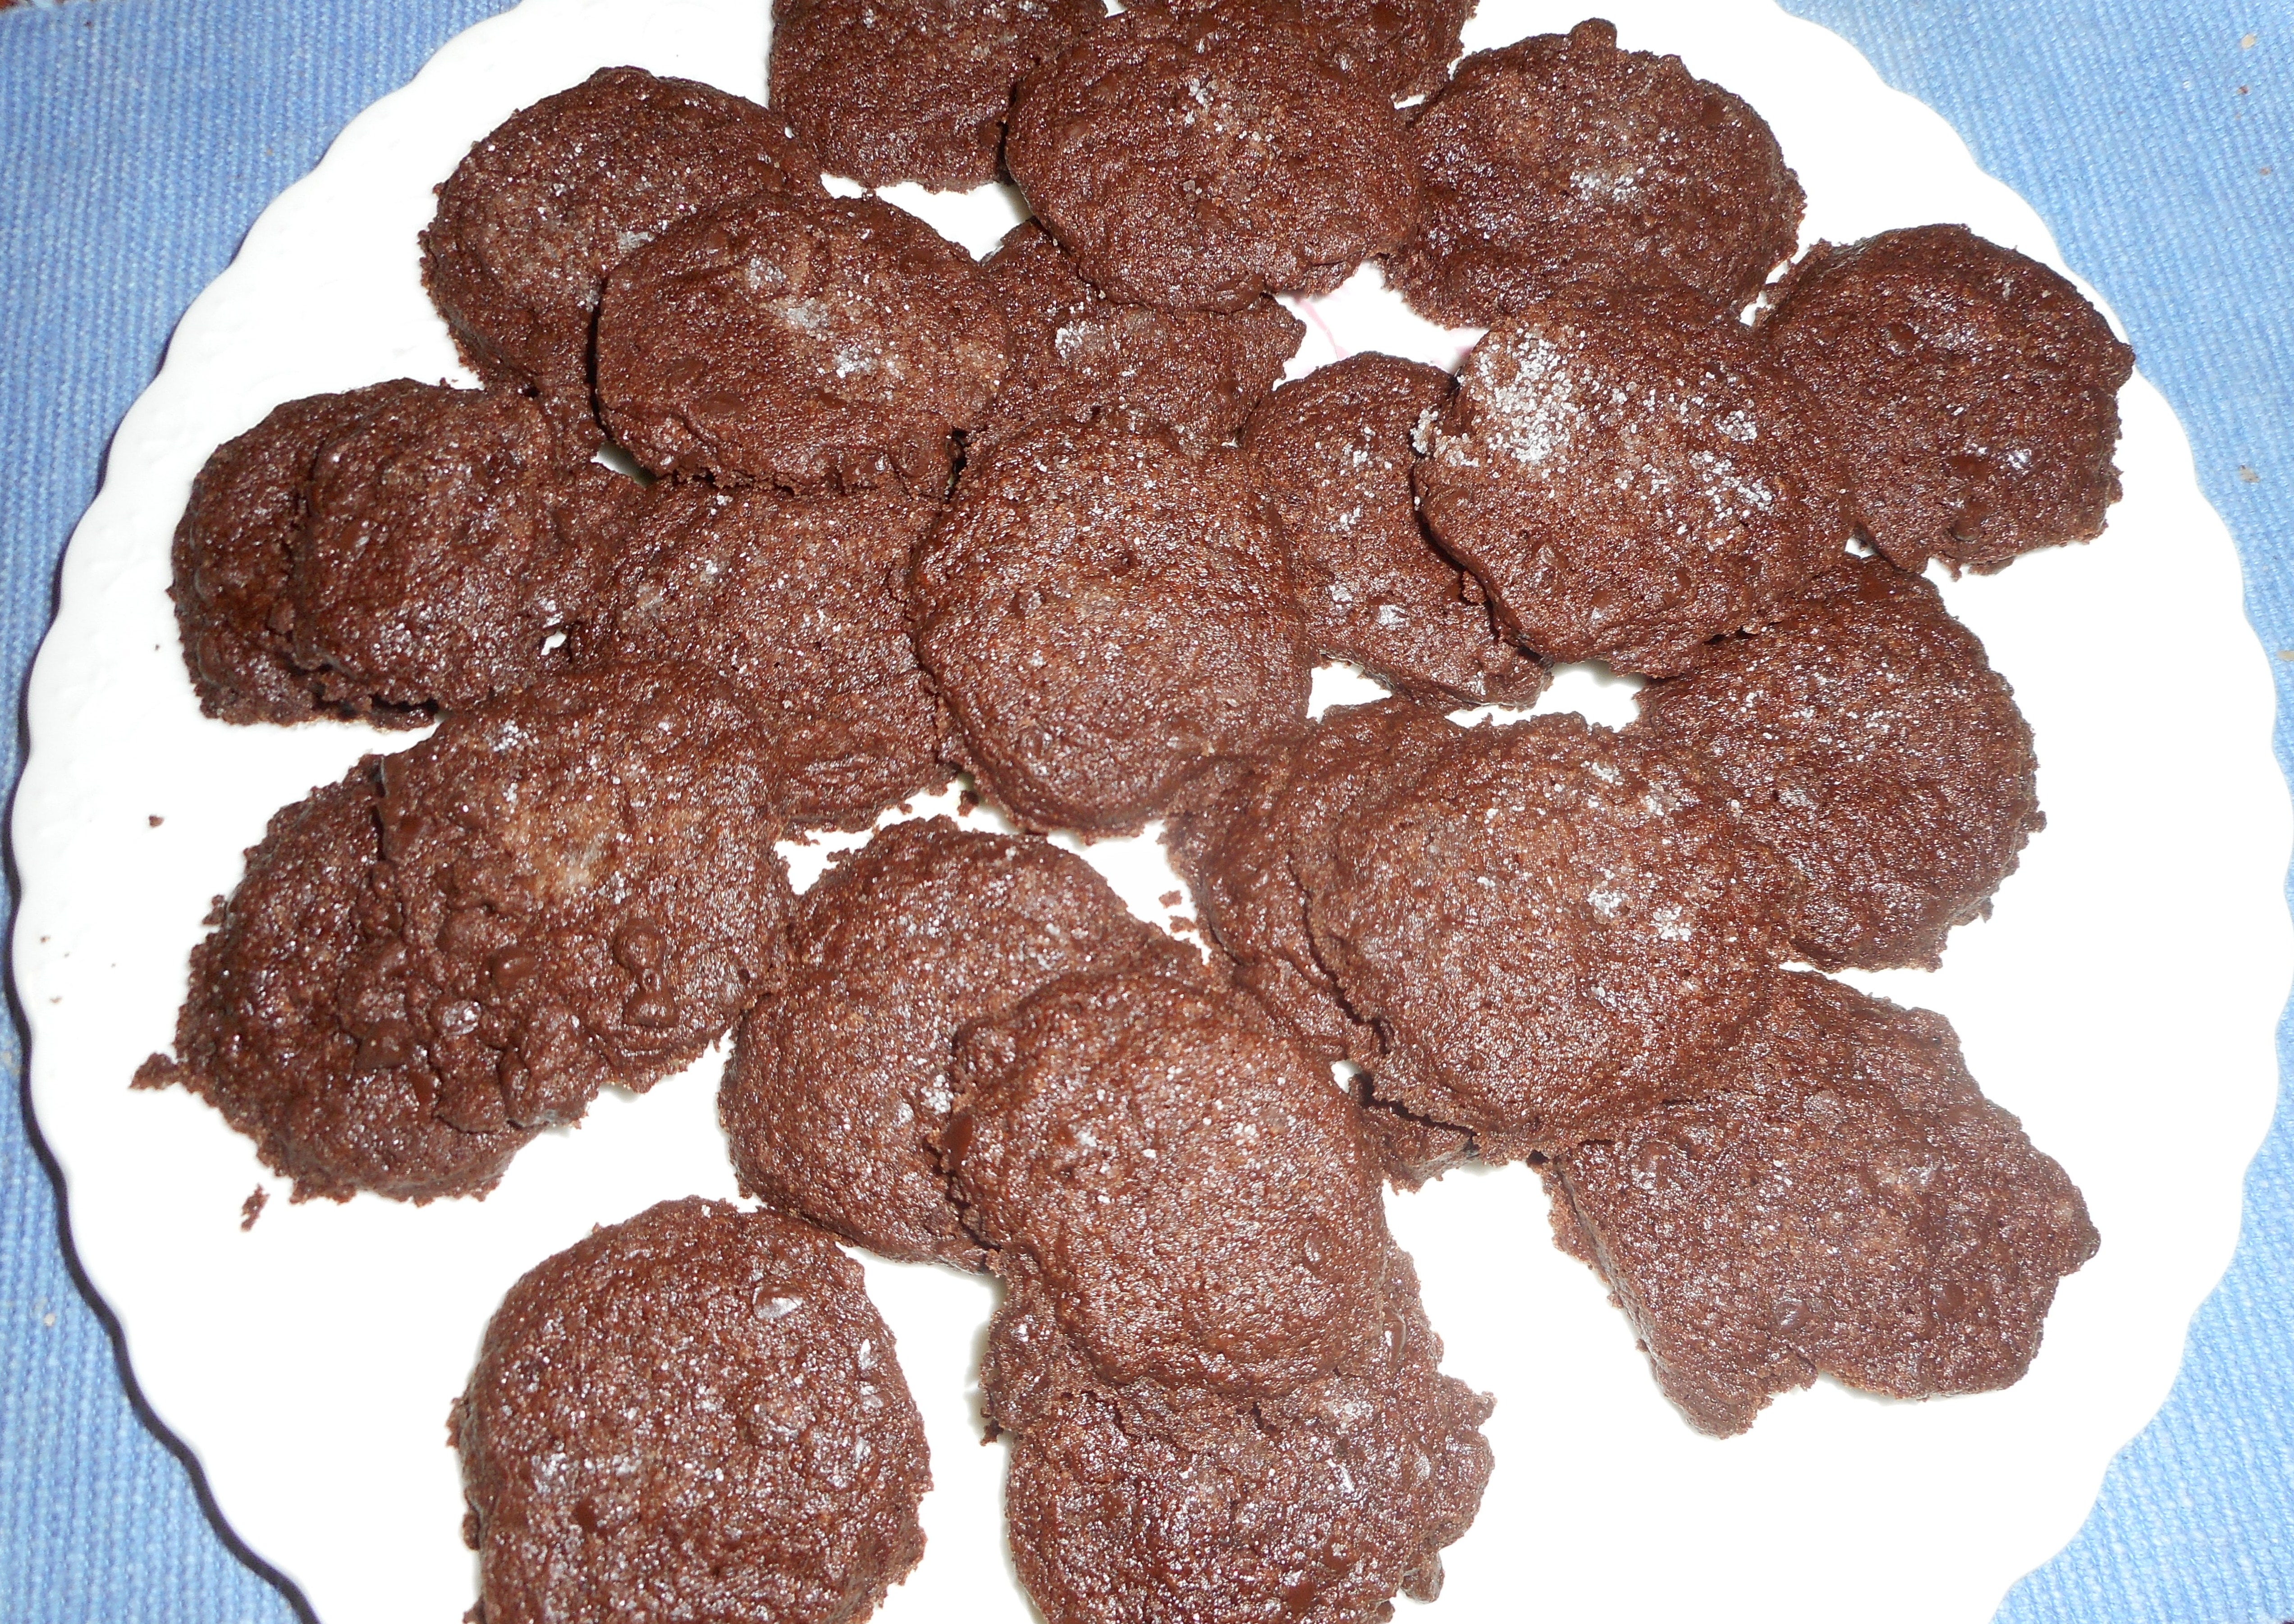
These simple but delicious chocolate shortbread cookies are amazing: crisp, light and very flavorful because of the double shot of chocolate: cocoa and mini chocolate chips.  They are a great way to go when you want to impress company with something understated but totally chocolaty.  Great with a cup of hot tea, coffee or better yet cold milk.  I saw the recipe in my favorite Annalise Roberts cookbook over a year ago but hadn’t tried making them until this week.  I now wish I had baked them long ago as they are addictive!

oat muffins 007

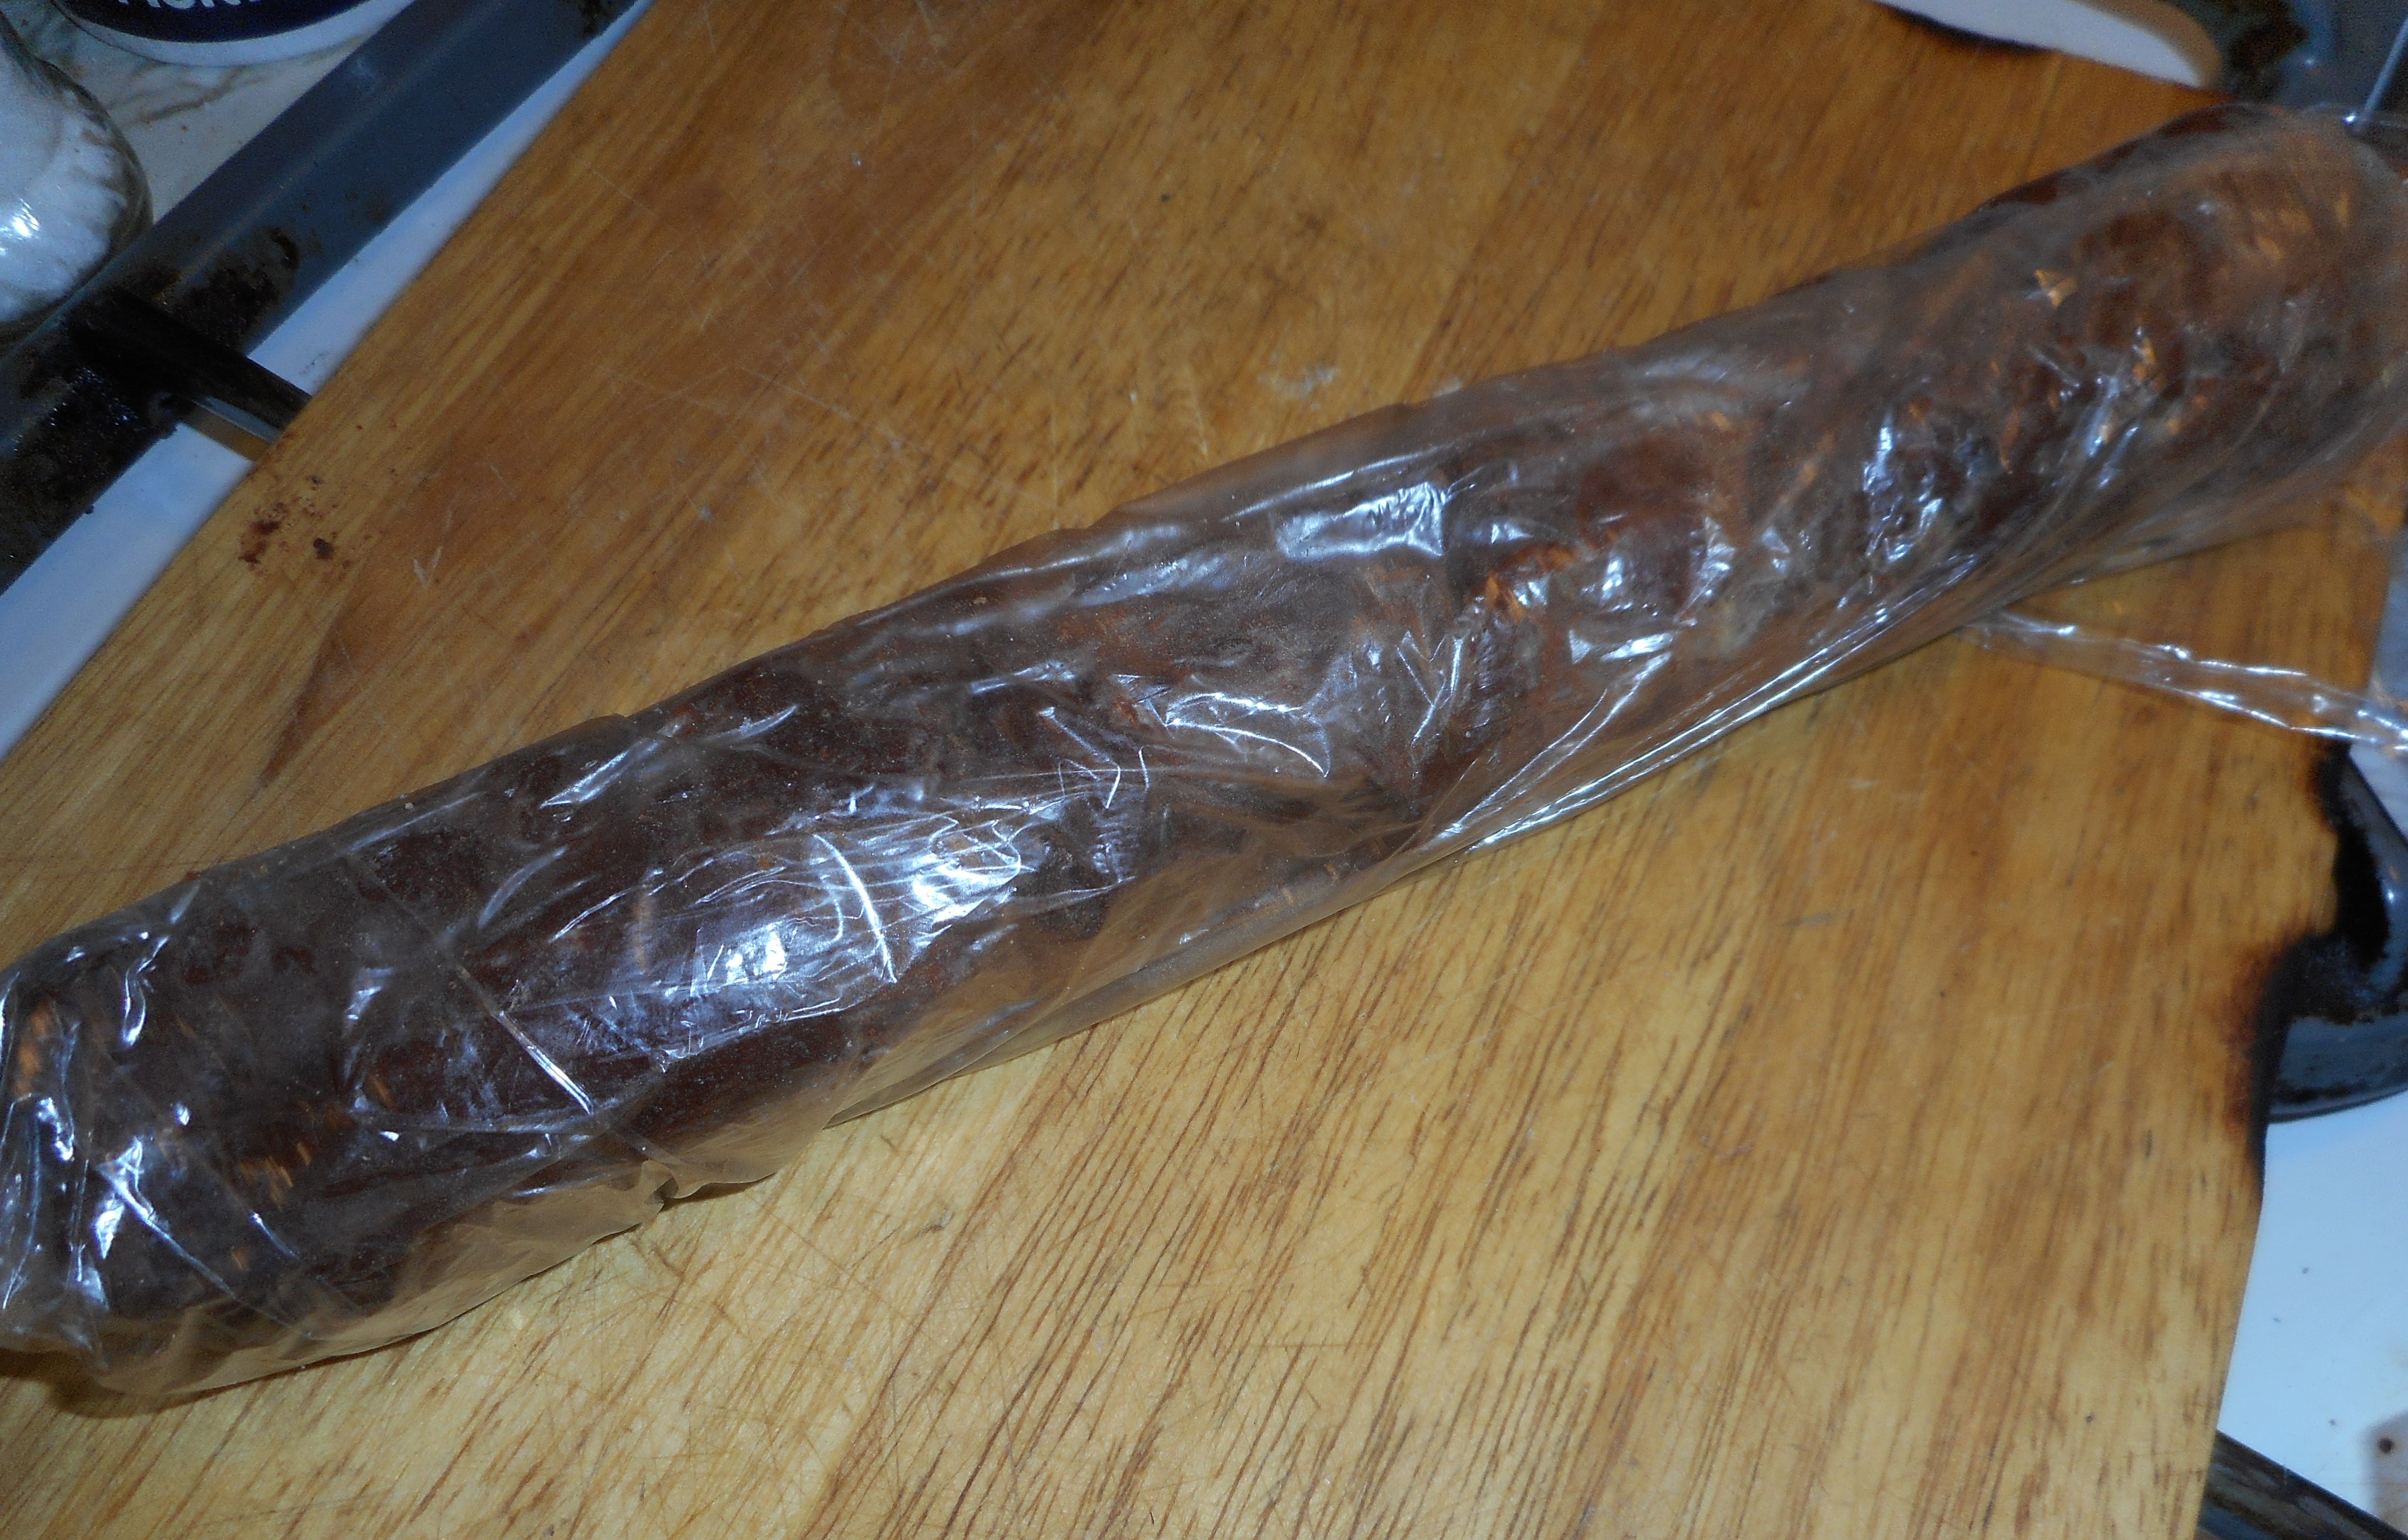
No forming needed for these easy refrigerator cookies.  You plop the soft dough onto a piece of wax paper, chill 30 minutes and then scoop the cold dough onto a long piece of plastic wrap, press it into a roll, close the plastic and roll on the table to shape.  Chill well and cut the dough into slices, onto the baking sheet, sprinkle with sugar and into the oven.  Simple to make and they are perfect for many festive occasions.

Chocolate Shortbread Cookies

½ cup unsalted butter, room temperature

¼ cup granulated sugar

1 tsp. vanilla

¼ cup unsweetened cocoa powder

¾ cup brown rice flour mix; recipe below

2 tsp. sweet rice flour

¼ tsp.  xanthan gum

1/8 tsp. salt

½ cup mini semi-sweet chocolate chips

1-2 tbsp. granulated sugar

Beat together the butter and sugar with an electric mixer until light and fluffy, add the vanilla and mix.

Mix flours, xanthan gum, cocoa, and salt in small bowl; add to butter/sugar mix.  Mix until a soft dough is formed and add the chips; mix in briefly.  Place the dough in a flat rectangle on some wax paper; chill 30 minutes. oat muffins 003oat muffins 004

Place lumps of dough in a line along a big sheet of plastic wrap; from it into a 1 ¼ inch log of dough.  Twist ends shut, smooth into a round long by rolling it on the table top.  Chill it at least an hour; until firm.

Heat oven to 350 degrees, move the racks to center of oven.  Lightly spray 2 baking sheets with cooking spray.

Carefully slice into 1/3 inch rounds. Place 1 ½ inch apart on sheet, sprinkle with a touch of plain sugar.  Chill in fridge on cookie sheet for 10 minutes.

oat muffins 005Bake 10-14 minutes until set. Mine all took 13-14 minutes; I think I cut them a tad thick.  Let cool on the cookie sheets 3-5 minutes so they solidify; really delicate until they cool some.  When they will hold together, transfer to a cookie cooling rack.  Store in airtight cookie jar once cooled.oat muffins 007

My recipe says the dough can be kept in the fridge for a week or in freezer for up to two months.  It made about 25-30 cookies.

They are delicately crunchy; if left out in the air unsealed they will get soggy and lose their crisp texture.

Brown Rice Flour Mix base mix
2 c brown rice flour

2/3 c potato starch

1/3 c tapioca flour

This recipe is out of Annalise G. Robert’s great cookbook: Gluten Free Baking Classics, second edition.

Fruity Winter Tart

Well, this is my winter dessert Chopped blog post (Food Network show)…. I have some fresh cranberries, two almost ripe pears, one ripe apple, leftover crumb pie topping and slivered almonds.  What to make? I didn’t have a recipe that suited those specific ingredients so I threw together this pretty tart with the three fruits for a filling and a very easy topping.  Cranberries are good for you and they add a sparkling flavor to the apple/pear mix.

winter fruit tart 010

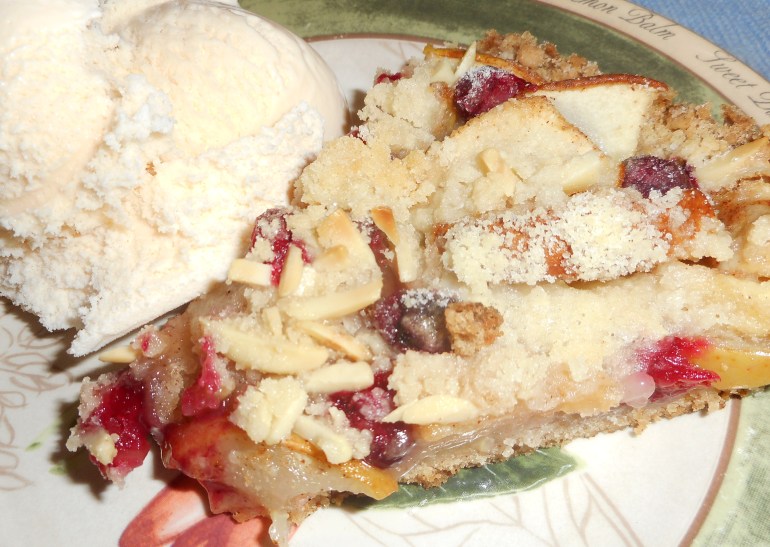
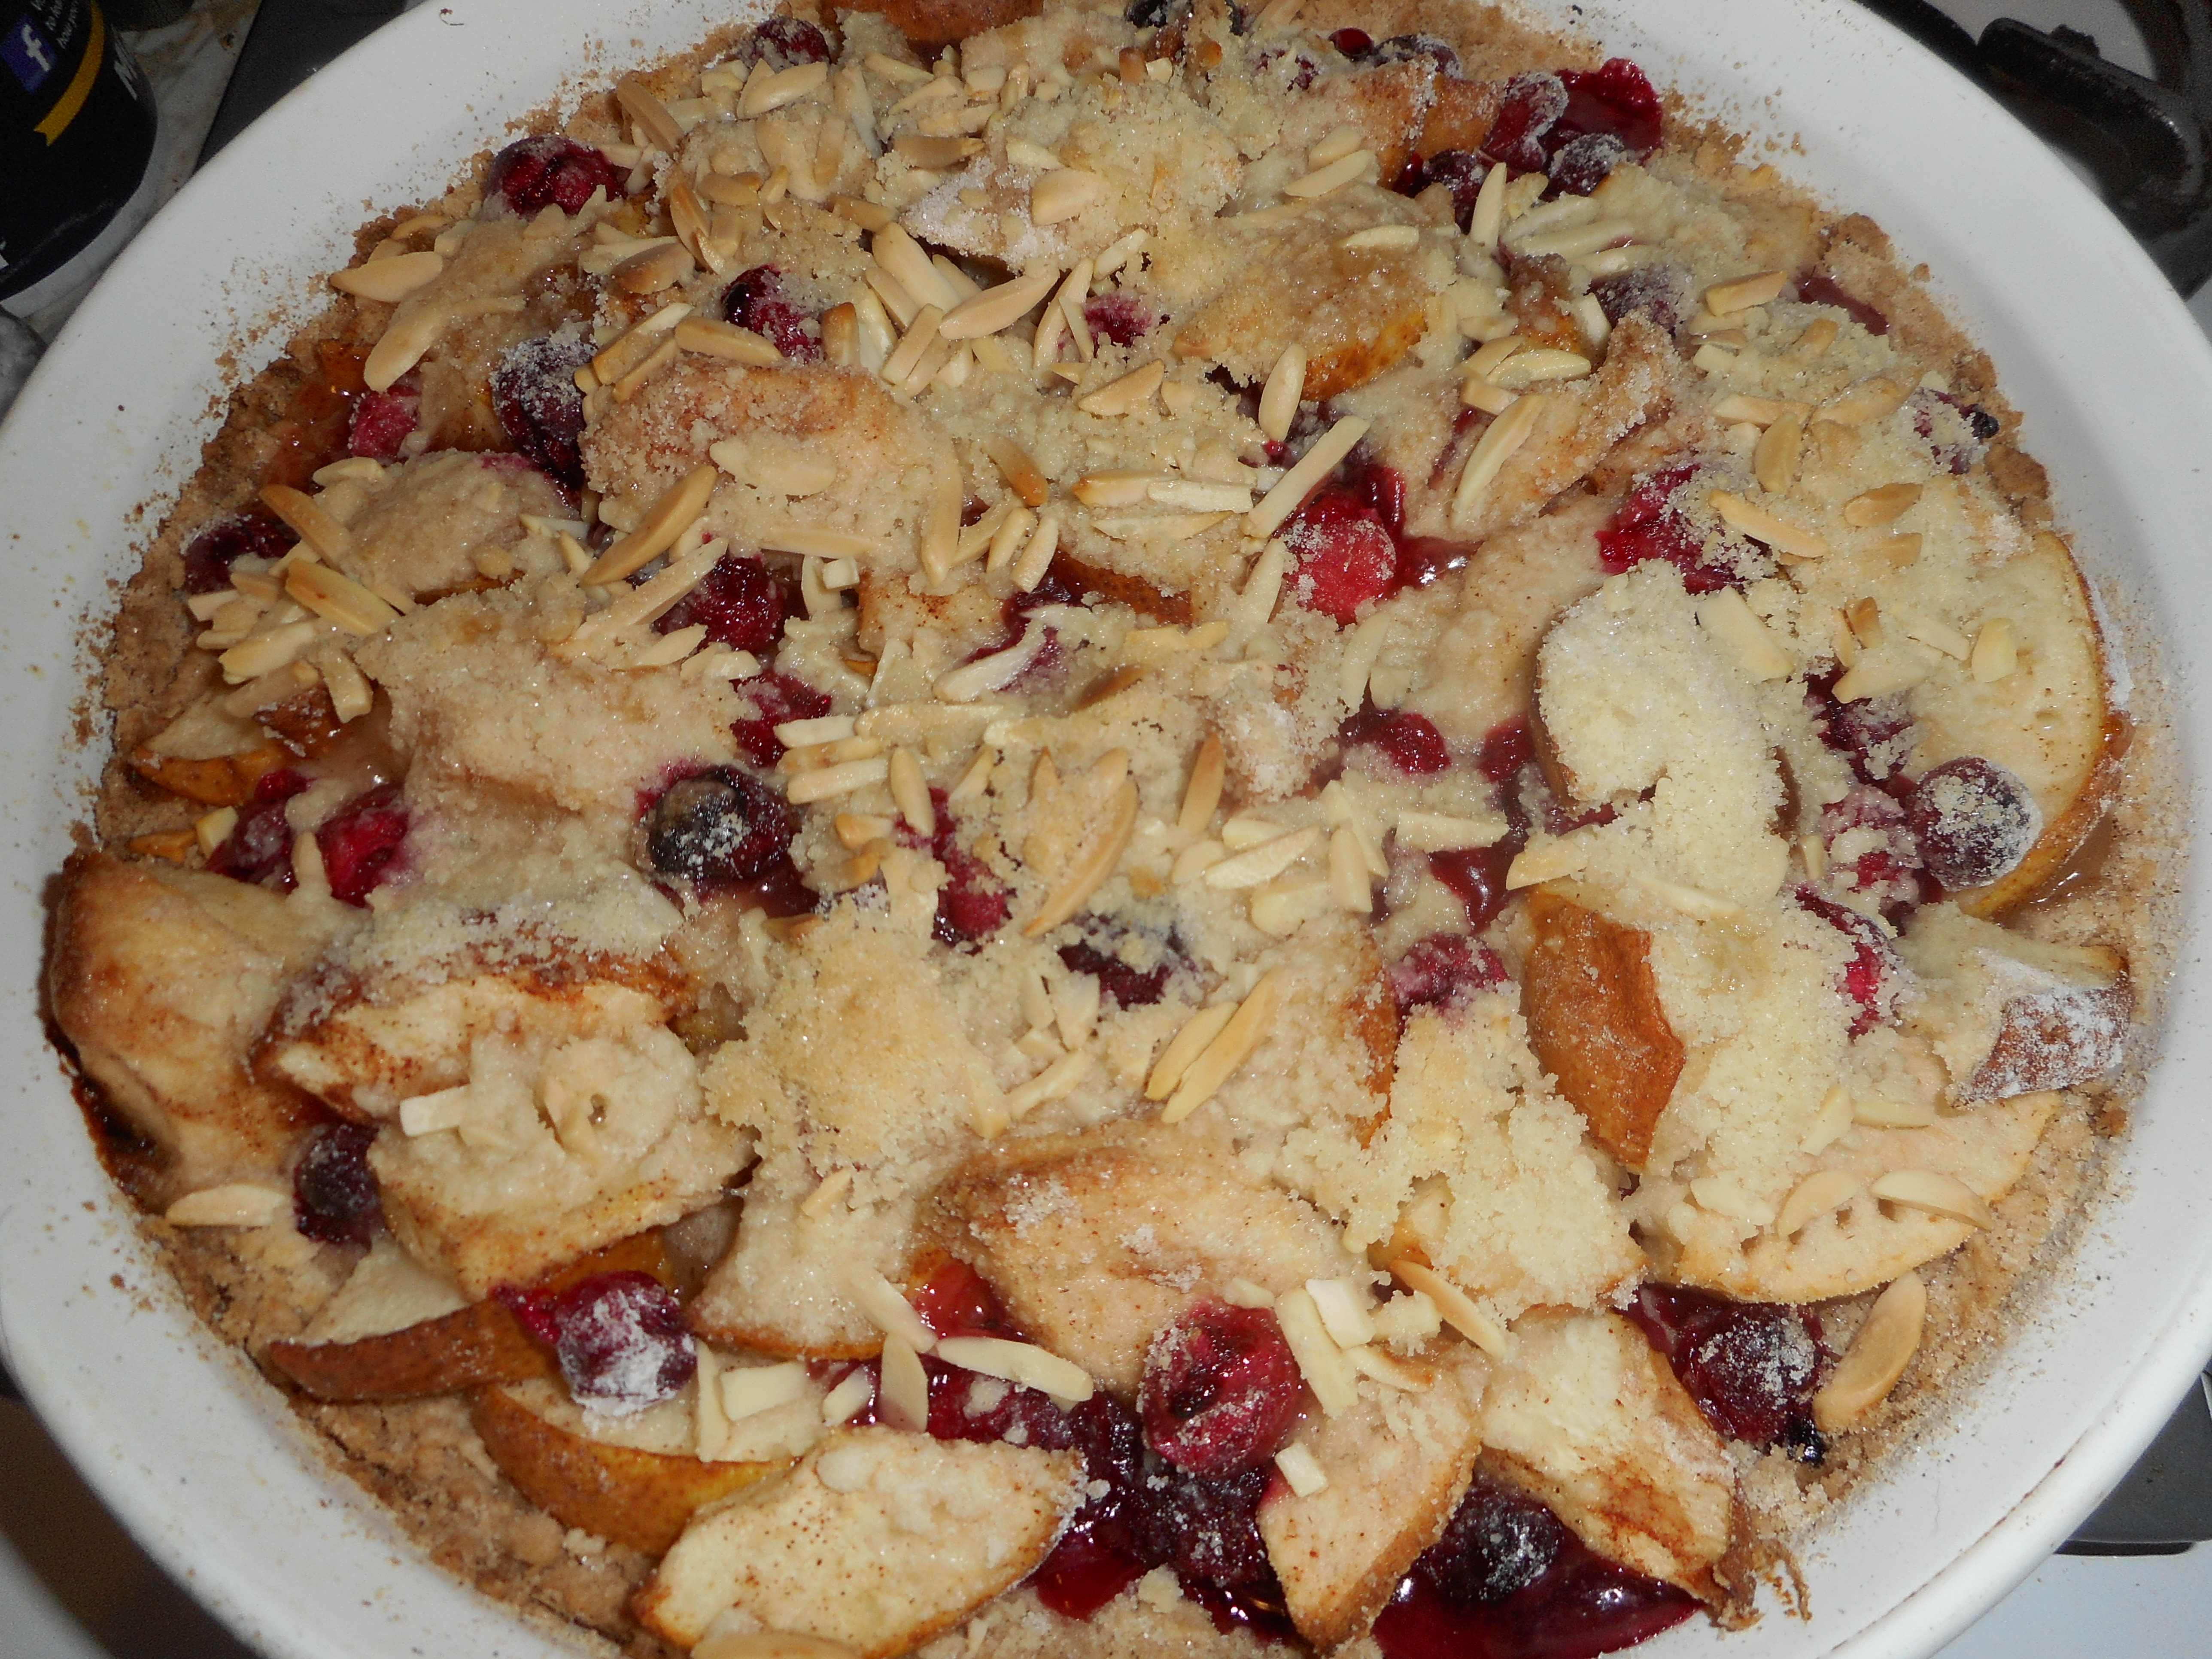
This turned out quite good, there is a crisp cookie crust covered with a mixture of sweetened fruits and a crumb and almond topping.  We had slices of it still warm with a scoop of vanilla ice cream tonight; perfect. Someone had seconds! I restrained myself.  Besides, I had a bigger slice of tart. And yes, the person having seconds, he does not need to avoid wheat but this tart made him want more!

This is a simple recipe; toss the fruit with sugar and flour.  And it looks like it came from the bakery.  If you make this tart I promise you no one will even believe it is GF.  They will just beg for seconds or thirds! I can’t wait to bake it again.

Note: we ate the rest of it today, still got but I think it is at best optimal flavor while still slightly warm.  I plan to try variations on it using other fruits; maybe blueberries instead of cranberries.  But it turned out great for a first time ever recipe.

winter fruit tart 003 winter fruit tart 004

Winter Fruit Tart

Start by making a gf cookie crust and the crumb topping.

Cookie crust

Place the following in a stand mixer bowl and combine

1 cup GF flour (recipe below)

¼ cup granulated sugar

1 tsp xanthan gum

½ tsp cinnamon

Mix well, add 5 tbsp cold butter, cut into 6-7 chunks.  Mix on low until the butter is just crumbs blended in.

Add 1 tsp. vanilla extract and 1 tbsp water.  Blend well.

Pour into a ten inch tart pan that was sprayed with cooking spray.  Spread it up the sides ½ an inch.  Press gently in so it is a cohesive crust but do not press really hard or it will be like concrete when you finish baking it!

Crumb topping

Put all four ingredients in the same mixing bowl you made the bottom crust in and mix well with mixer paddle until crumbs form.

¾ c brown rice flour mix

½ c sugar

½ tsp xanthan gum

1/3 c cold butter cut into six chunks

You will use a heaping ½ cup of the crumbs. Put the rest in a tightly sealing glass container and store in the fridge for your next pie/tart. It should keep for several weeks.

Almond Topping: mix well

½ cup crumb topping

¼ cup slivered almonds

Heat the oven to 375 degrees while you make the filling.

Filling

1 baking apple

2 nearly ripe Bartlett pears

1 cup raw cranberries

½ cup sugar

1 ½ tbsp. gf flour mix

¼ tsp. cinnamon

Peel, core and slice thinly the cooking apple and core/slice the two pears, put in a mixing bowl with the washed cranberries.  Be sure to pick over the cranberries and remove any soft or iffy ones.  Add the sugar, flour and cinnamon, mix with a spoon to coat the fruit.

winter fruit tart 005winter fruit tart 006

Pour into the crust.  Sprinkle the tart with the almond crumb topping.  Place in the oven and bake 40-45 minutes or until bubbly, lightly browned and a fork goes through the apple slices easily.  Cool at least 20 minutes.  Serve warm or cold.  Enjoy!

winter fruit tart 009winter fruit tart 010

Brown Rice Flour Mix
2 c brown rice flour (finely ground)

2/3 c potato starch – Not potato flour!

1/3 c tapioca flour
Lemon Squares, Very Tasty

I strongly believe in seasonal eating and winter is the season of citrus so more power to the lemon! As mentioned previously, my brother sent me a big box of juicy Meyer lemons from his tree down in Texas. I also believe in making my own treats; truly they are a lot healthier than store made sweets.  I have made lemon meringue pie, lemon shortcake cookies, lemon buttermilk tart and this weekend I made some lemon marmalade. Last night we enjoyed lemon squares, gluten free and very dainty with the special flavor of Meyer lemons.  Of course, you can use the regular lemons available in the store; will be a tad sharper/brighter in flavor but they will work great.  lemon squares 008u

These cookies are very easy to throw together; I made a shortbread cookie style gf press and bake crust and the filling ingredients are whisked together in my mixer and poured into the partially baked crust.  So easy to make and I wanted something light and delicate after all the fancy holiday desserts.  You would never guess they are made without all purpose wheat flour.  Anyone will love them if they are a fan of lemon. Take these to your next gathering, they will be scarped up pretty fast, and you will be seen as a real baker. Best of all you are eating a safe treat that is relatively guilt free; no gluten, no preservatives, not that much sugar compared to a cake and homemade flavor. Score!

Meyer Lemon Squares

 Cookie Tart Crust

1 cup brown rice flour mixture (recipe below)

¼ cup sugar

1 tsp. xanthan gum

5 tbsp. cold butter cut up into 6 or 7 chunks

Directions for crust:

Mix the dry ingredients with a stand mixer, add the butter, blend with the paddle blade until the butter is small pebbles.  Press into an 8 inch square pan, be sure to first spray the pan with cooking spray and sprinkle with rice flour.  Bake 15 minutes in a 350 degree oven.  While it bakes make the filling.

lemon squares 002

Baked cookie crust

Filling

3 large eggs, warm them close to room temperature

¾ cup granulated sugar

1/3 cup Meyer lemon juice

2 tbsp gf flour mix

2 tbsp finely grated Meyer lemon peel

Directions:

Heat oven to 350 degrees.

Beat eggs until fluffy, add the sugar slowly but steadily, mix, add rest of ingredients, Mix until smooth.

lemon squares 003

Adding the lemon zest.

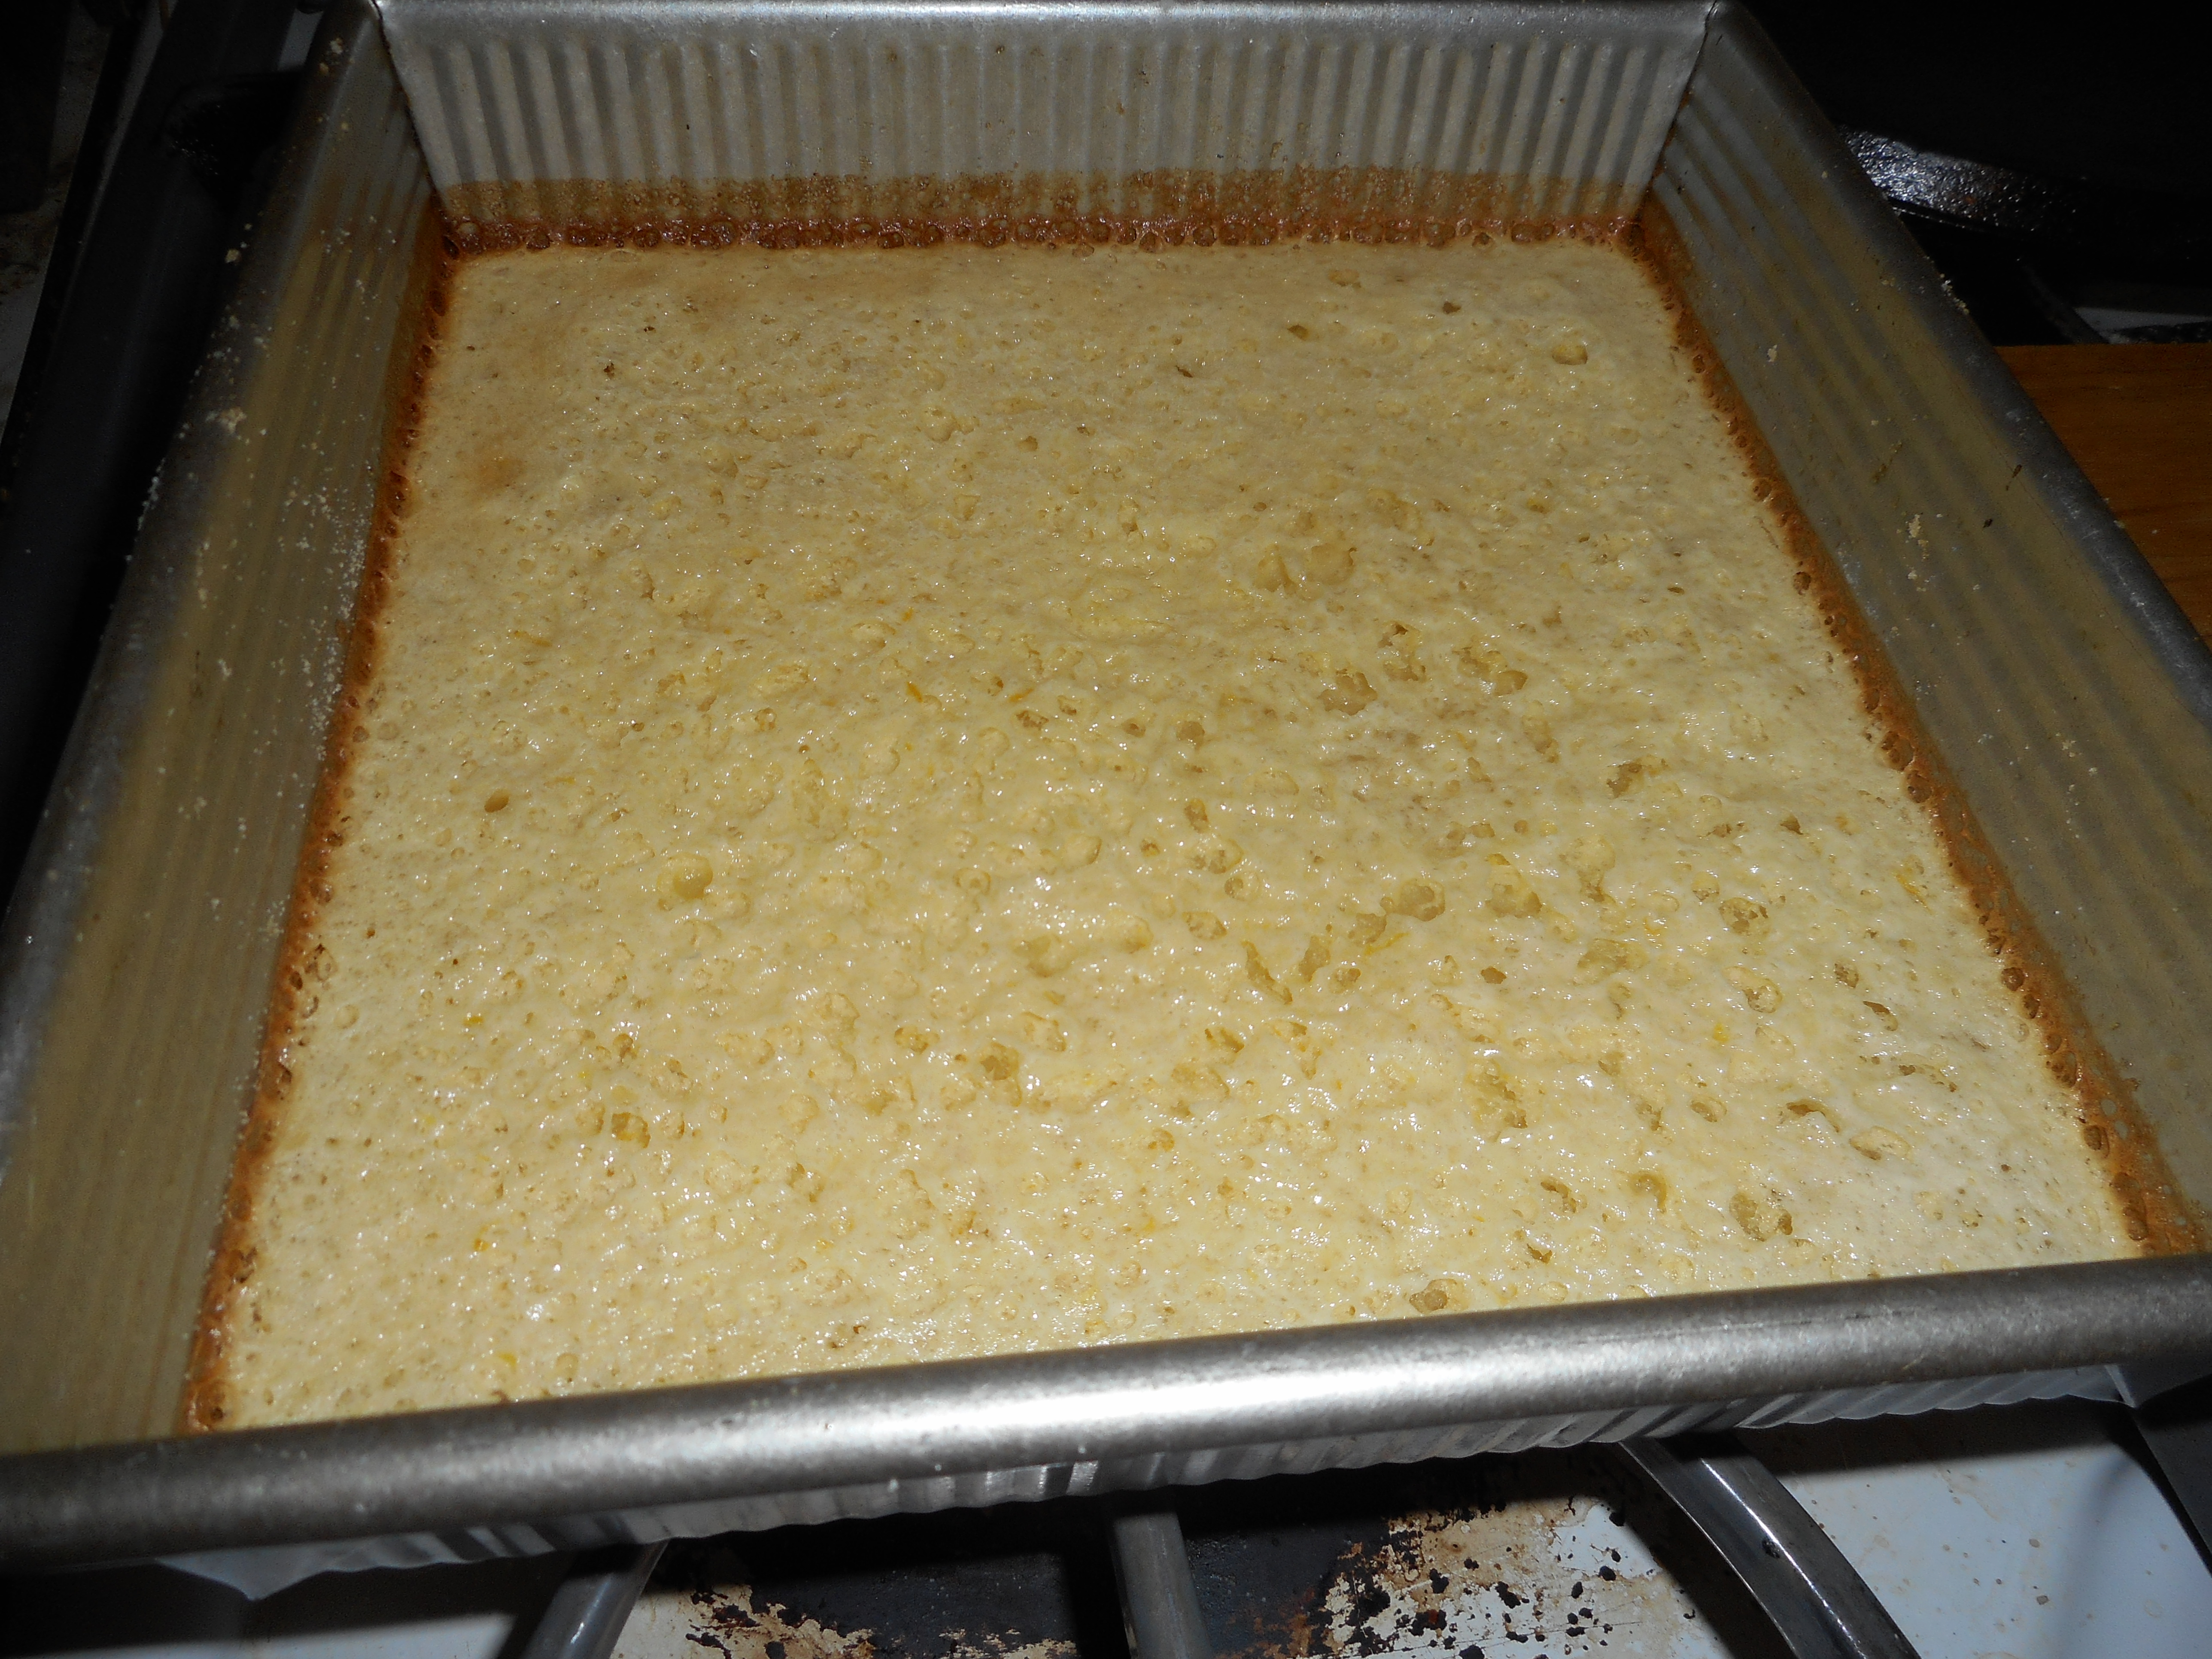
Pour into crust and bake at 350 degrees for 20-22 min; until set.

lemon squares 006

Just out of the oven.

Cool completely and refrigerate if you want to serve them cold. They do not freeze well and only keep about 3 days, if any square are left that long!   I like to sift some powdered sugar on right before serving them. Use a sieve and about 2 tbsp. powdered sugar.  Luscious lemony goodness can be yours with minimal effort.

lemon squares 008

Brown Rice Flour Mix
2 c brown rice flour

2/3 c potato starch

1/3 c tapioca flour

This recipe is from Annalise Roberts; Gluten – Free Baking Classics, a fantastic source for baking gluten free treats, full of recipes just like  your old wheaty friends but so so much safer!

Soft Rolls A Popping… Perfection Yet GF

These yeast rolls would be great for Easter dinner!  They are very easy to make and taste just as good as any I have made with wheat flour in my past life as a gluten fiend. I have made them several times and they never fail to please my company. They are light with a crunchy exterior and a lovely popover like consistence.  Best of all they are so so simple, would be an excellent choice for a first gf yeast baking experience.

rolls

You make a yeast slurry and let it rise while you mix all the dry ingredients in the stand mixer bowl, and dump the wet ingredients all together in with the dry ingredients.  Beat well, glop it into the sprayed muffin pans and let rise a bit. Bake and there they are, golden, puffy and almost like a mini popover! Just one rising, in the baking pan, no tricky shaping.  Simple yet as delicious a gf roll as I have ever tasted.

The flavor is fantastic, so is the texture and  love that they keep well for a few days; could make them the day before your big meal and just warm gently. Makes 2 dozen so freezing a few is a great option.  I often cut this recipe in half; pretty easy.  I put the half ingredient list at the end of this post so you can easily halve the recipe.  For that I used 2 eggs and discarded the excess egg after I glazed the rolls.  I have used regular whole milk and 1 percent milk in my batch but you could use rice or almond milk and part of a vegan baking stick if you want it dairy free.  This is a keeper recipe for anyone, GF or not!

Soft Dinner Rolls – makes 24 rolls

Ingredients

2 tablespoons dry active yeast
2 teaspoons sugar
2 cups rice milk (or milk) – warm but not hot
*1½ cups superfine or asian white rice flour
*½ cup sweet rice flour
*¾ cup potato starch
*½ cup tapioca starch
3 teaspoons xanthan gum
1 ½ teaspoons fine sea salt
1 tablespoon baking powder
3 large eggs – use divided
¼ cup butter plus more for brushing the pans
¼ cup honey
1 teaspoon apple cider vinegar

*in place of the various flours and starches you can use 3¼ cups GF flour blend.  I haven’t tried that yet.

Directions

Combine the yeast, sugar and warmed milk in a small bowl and whisk to dissolve the sugar. Let sit for 6 or 7 minutes or until the mixture is foamy and had increased in volume.

Combine the flours, starches (or all-purpose gluten free flour blend), xanthan gum, salt and baking powder in the bowl of an electric mixer fitted with the whisk attachment. Mix for 30 seconds on medium-low to combine and break up any lumps in the potato starch.

Add the yeast mixture, 2 eggs, melted butter, honey and vinegar. Mix on medium low until combined. Scrap down the sides of the bowl, turn the mixer on high and mix for 3 minutes. You should have a very thick, smooth batter.

Brush 2 twelve cup muffin pans with melted butter or spray with gluten free, non-stick cooking spray. Preheat the oven to 375 degrees.

Spoon the batter into the sprayed muffin pans, filling about ¾ full. You can also use a small (#60) ice cream scoop and place 3 scoops in each muffin tin (clover leaf). That is my favorite method although I just use a big kitchen spoon to dollop it into the muffin pans! Cover with a clean ultra thin kitchen towel and place in a warm, draft free place to rise. Let rise for 30-35 minutes or until the dough has almost doubled in size.  I often put them in a 105 degree oven, uncovered for their rising time.

Beat the remaining egg with 1 teaspoon of water very well with a fork. Gently brush the tops of each roll with the beaten egg.  I used my finger to do the brushing as my brushes were too stiff. Sometimes I sprinkle the wet egg wash with poppy seeds.  You can leave off the egg wash but they won’t be as golden or as shiny.

Bake for 17 – 18 minutes or until golden brown. Let cool in the pans for 15 minutes.

Ingredient List for a Half recipe

1 tablespoon dry active yeast
1 teaspoons sugar
1 cup milk)– warm but not hot
¾ cups superfine or Asian White Rice Flour
1/4 cup Sweet Rice Flour
a touch more then 1/3 cup potato starch
1/4 cup tapioca starch
1.5  teaspoons xanthan gum
3/4 teaspoons kosher or fine sea salt
1 ½ tsp. baking powder
2 large eggs – use divided *(pick small eggs)
2 tbsp.  butter plus more for brushing the pans

2 tbsp. honey

1/2 teaspoon apple cider vinegar

Note: These rolls can be made ahead – bake them, let them cool in the pans, wrap with plastic wrap and refrigerate for up to 2 days. Warm them for a few minutes in a 350 degree oven.  I froze them for 2 days and then nuked the rolls for 30 seconds to warm up.  Leftover rolls are great with jam for a snack. Enjoy!

I honestly cannot remember where I found this recipe or I would give credit to the original author.