Sunday Supper: Chicken Fricassee with Herb Dumplings

Chicken fricassee is a long time family favorite. No one ever passes up seconds of it and my mom is particularly fond of the dumplings that are steamed on top of the chicken. I had no clue how to make it gluten free and hence didn’t serve this at any family Sunday night suppers for the past 21 months.  I couldn’t find any savory dumpling recipes that were safe for me as a celiac. Finally, my longing for those homey flavors overcame my fear of extreme experimentation and this recipe was born the other weekend and much enjoyed by all.  The dumplings are not quite as tender as the original ones but are a more than reasonable facsimile!

2024-11-05 apple muffins 002

Yes, we ate this yummy meal on paper plates…less clean up.

It is a combination of two recipes with a number of additions modifications by me; the dumplings are somewhat based on a recipe from Bette Hagman’s book, More from the Gluten-Free Gourmet and the chicken fricassee recipe is mostly Betty Crocker.

Yes, there are a lot of ingredients in this recipe, don’t let that keep you from trying it; there is a lot of dumping together and slow simmering, no fancy cooking tricks or mad kitchen skills are required.

If you don’t want so much flavor in your dumplings cut back on the spices/herbs.  They do need some herbs so don’t go less than half the listed amounts.  If you don’t like all three of those veggies leave out as you wish but each adds seriously great flavor and helps to make this a satisfying one dish meal.

Be sure to check the chicken after 30 minutes and add some water if it is low; mine came perilously close to burning the last time I made it.  The chicken coating helps to form savory gravy with that water. No gravy is not good either so add water so you end up with at least a cup of gravy.

Chicken

4-5 pounds cut up mixed chicken parts, bone in.

I cut the breasts in half for manageable serving sizes. You could buy a couple packages of chicken parts – what your family likes.  I had trouble finding the cut up whole chicken that used to be common at meat counters.  I bought a whole chicken and spent a grisly 15 minutes hacking up the beast into serving pieces.  Not fun, next time I will get a whole breast and cut it up and use a package of chicken thighs/legs.  If you only use breasts cut the cooking time to 30 minutes.

Coating mix:

2 tsp. paprika

½ cup white rice flour

¼ cup tapioca flour

2 tbsp. millet flour

1 tsp sea salt

¼ tsp. pepper

——-

2 tbsp. canola oil or mild olive oil

4-5 carrots

——

2-3 celery stalks

1 large onion

1 large sprig fresh thyme or ½ tsp. dried thyme

1 large sprig fresh rosemary or ½ tsp. dried rosemary.

1 cup water, maybe more

Dumplings

Dry part:

2 ¼ cups white rice flour

½ cup potato starch

½ cup tapioca flour

1 tsp. baking soda

4 tsp. baking powder

1 tsp salt

1 tsp. xanthan gum

1 tbsp. sugar

1 tsp. poppy seeds

½ tsp. celery seeds

1-2 tsp. dried or fresh chopped chives

2 tsp. dried parsley

Wet stuff:

3 eggs, lightly beaten

3 tbsp melted butter or canola oil

1/3 cup milk/buttermilk

Directions:

Mix the dry ingredients in a shallow bowl. I take off the chicken skin; up to your preference.  Roll the chicken pieces in the seasoned flour.  Heat the oil in a thick bottomed large dutch oven.  Brown the chicken pieces on all sides; this could take from 8 to 12 minutes.  Cut the carrots into 1 inch lengths, same for the celery.  Chop the onion.  Remove the browned chicken to a large plate, add the veggies and stir for a minute or two.  Add back the chicken on top. Top with herbs.  Pour in cup of water. Cover, cook on low for 45 minutes.  Check after 30 minutes and add another ½ cup water if needed; you want there to be liquid on the bottom or the veggies could burn.

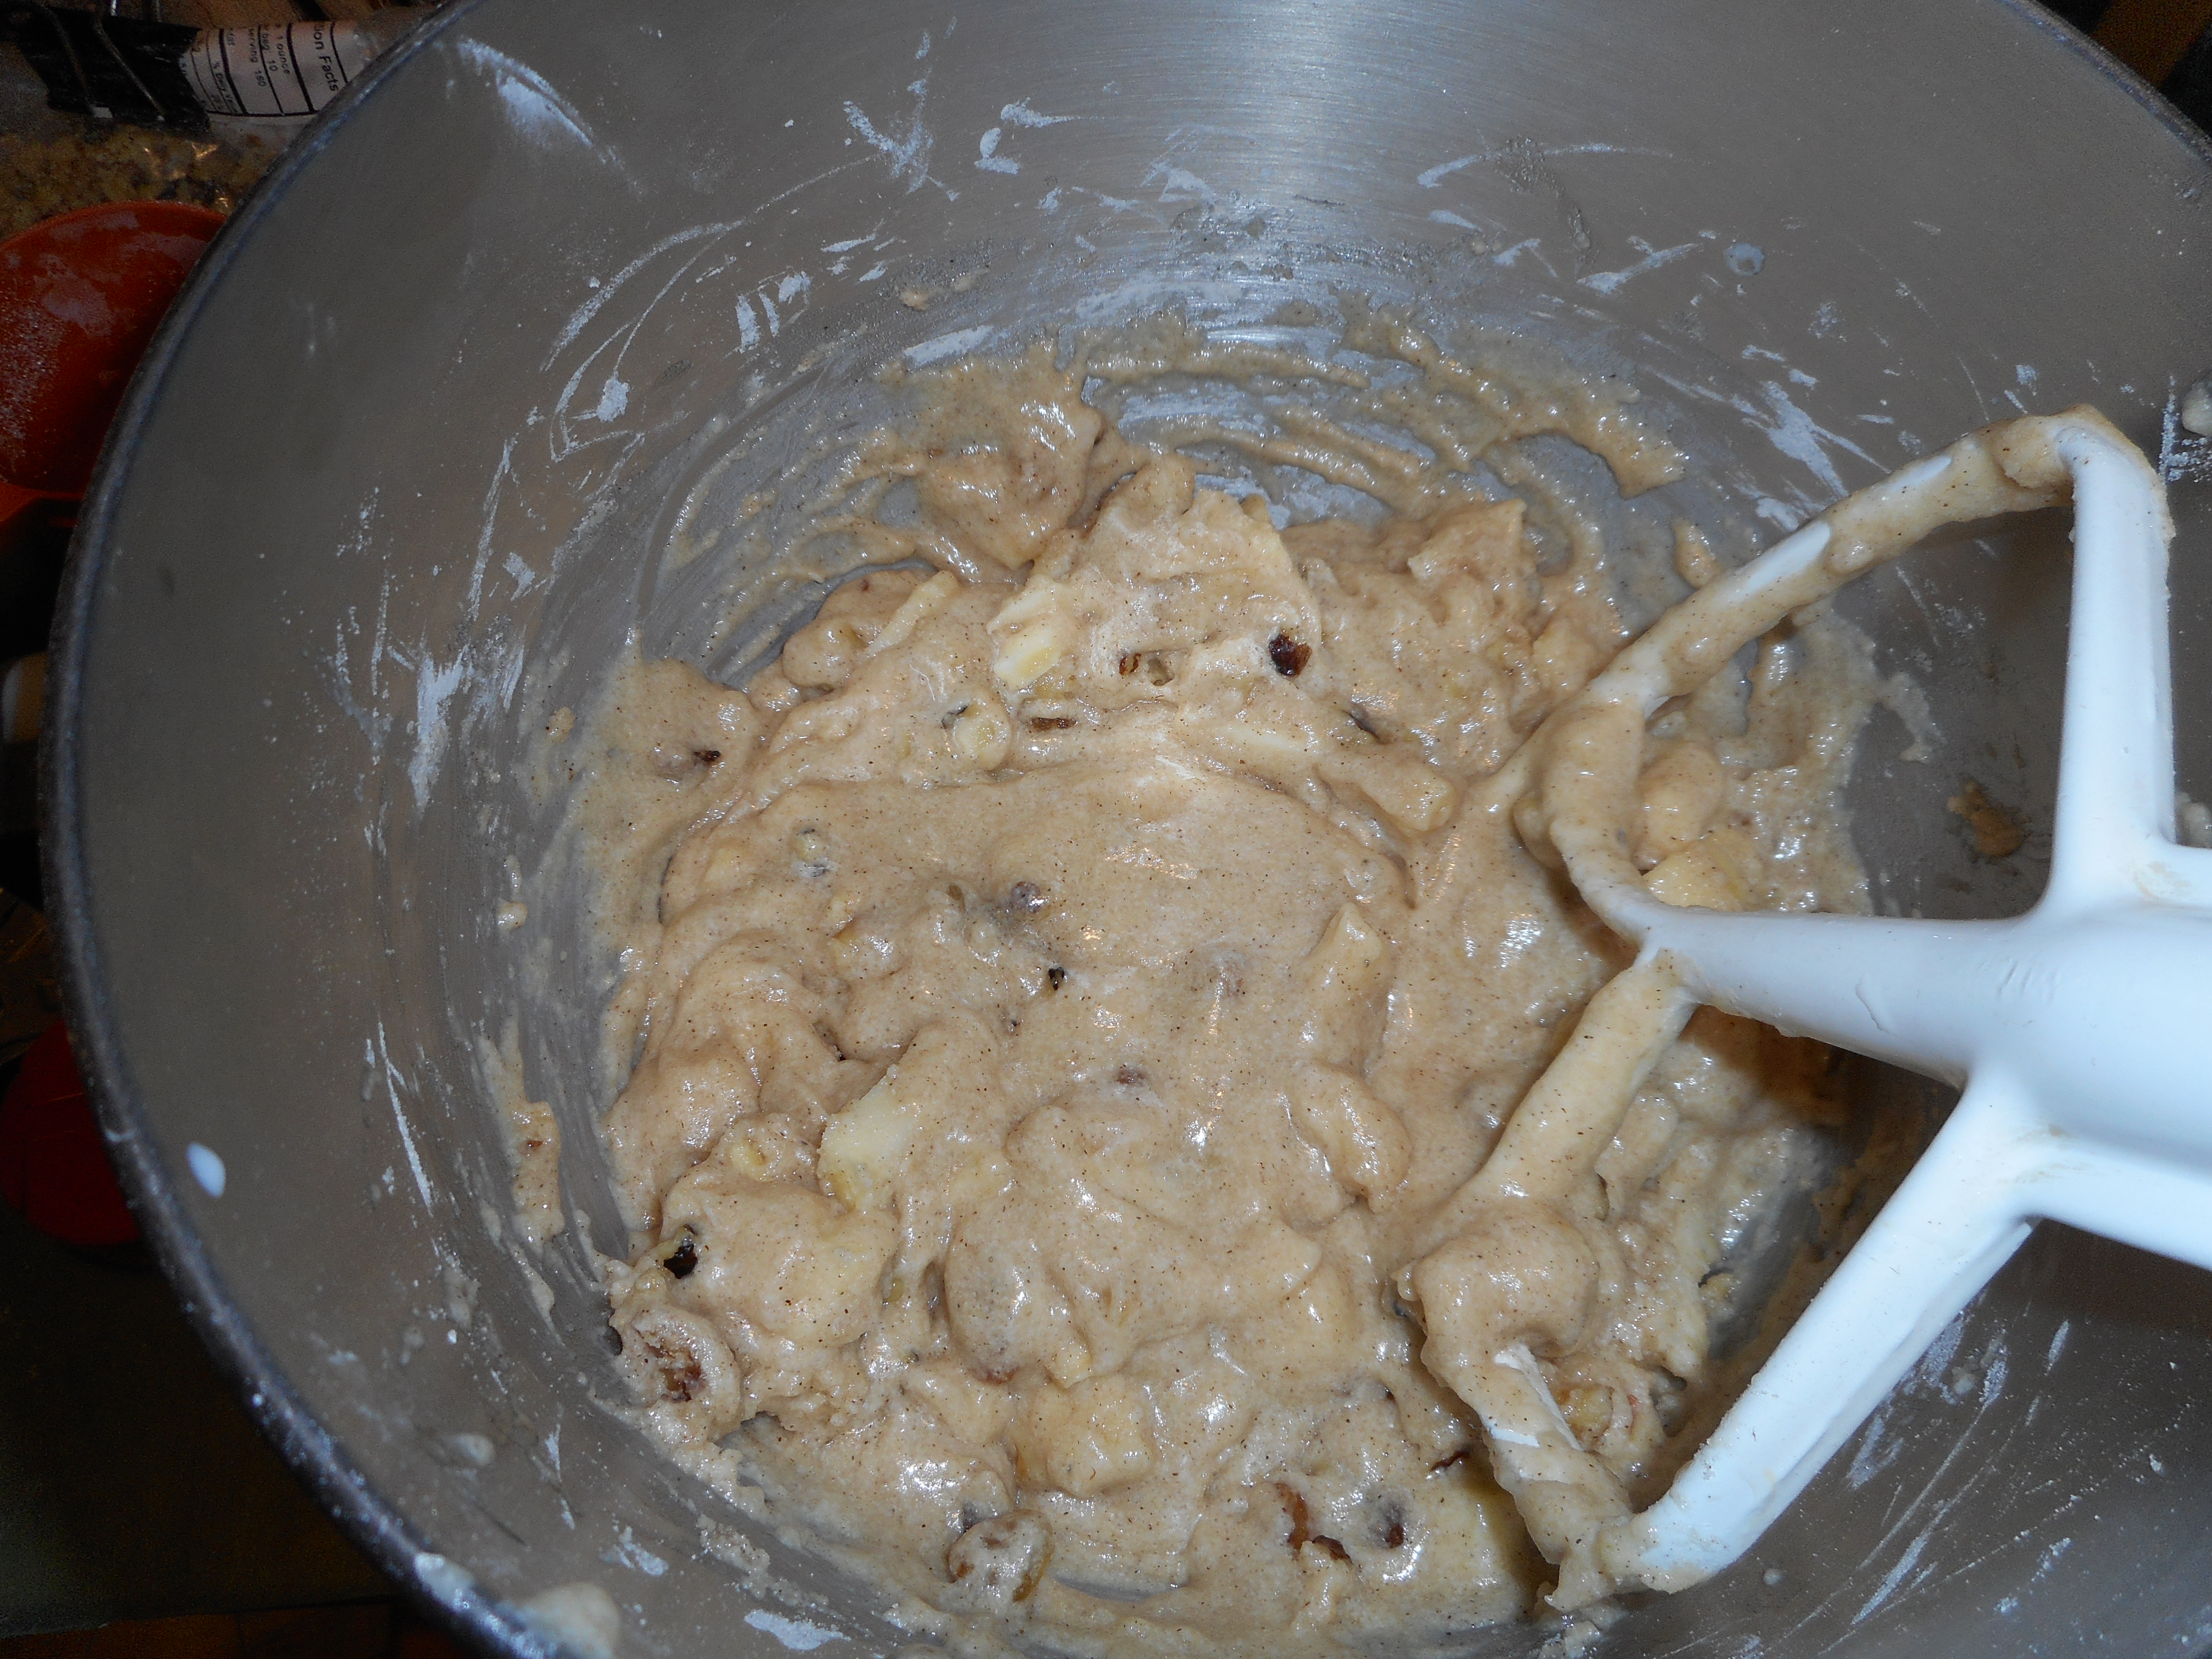
Make the dumplings.  Mix the wet ingredients and then add to the dry mix in a big bowl.   Stir briefly. It will be very wet looking.  2024-11-05 apple muffins 001

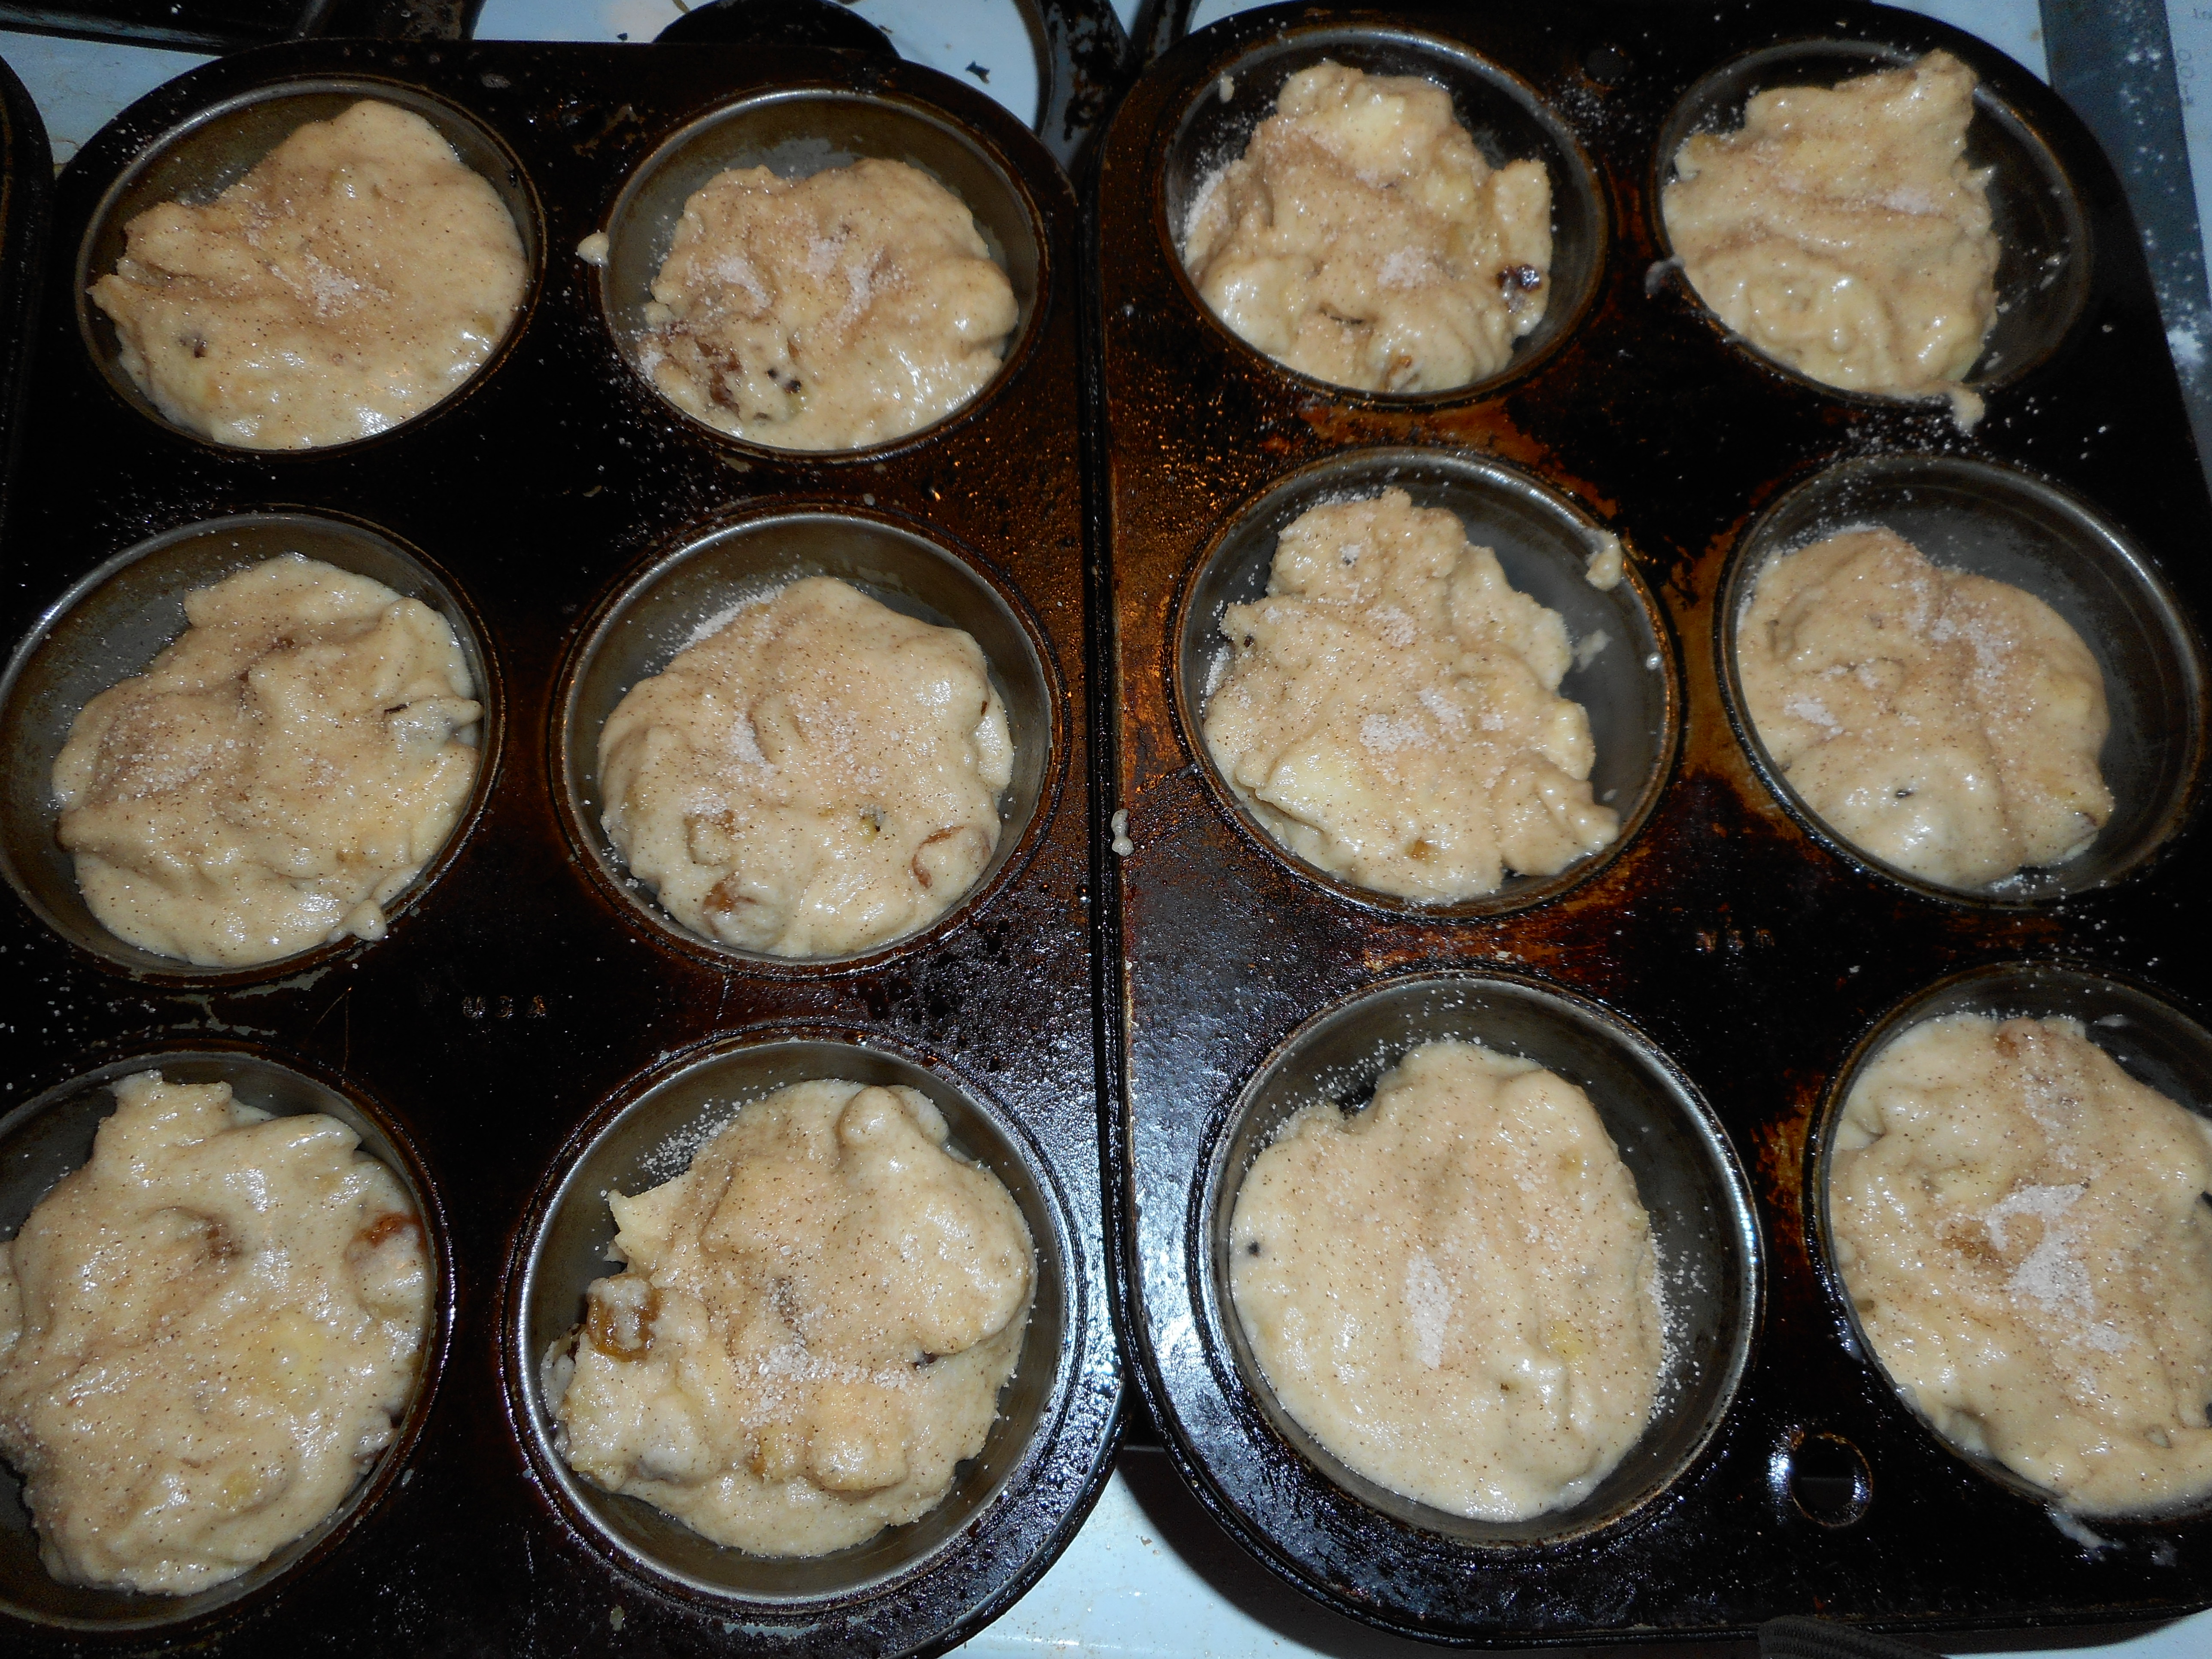
Use a large serving spoon to put large glops of dumpling around the chicken pieces.  Cover and cook 25 minutes or until dumplings appear firm (no longer gloppy).  The chicken and the veggies should be done by that time. Enjoy!

2024-11-05 apple muffins 003

This is the leftovers in the pot. Lunch tomorrow!

You could add a salad as a side dish for more veggies. We had a cucumber salad to round out our meal.

Apple Cinnamon Muffins…Oh so Cinnamony!

I had no portable baked snacks and a bowl of apples so I figured it was time for apple muffins. This is another great recipe out of Annalise Robert’s cookbook; Gluten-Free Baking Classics.  It is very similar to her banana nut muffins. If I had to have just one GF cookbook hers would be the one for me.

gluten free    I use so many of her recipes and her quick breads are outstanding! The apple cinnamon muffins did not disappoint: light, crunchy outside with a great cinnamon apple flavor.  I put some golden raisins in my muffins but if you are not a fan; leave them out.  They are my addition to this easy to make recipe.  I also used half mexican cinnamon; a touch spicier than  regular cinnamon but very good in these muffins.  I ran out of cinnamon and was happy to have a close alternative to flavor these treats.

Do use a baking apple; not red delicious which are solely an eating apple and don’t use a extra firm one like the tasty Granny Smith; they won’t get soft enough during the rapid baking of these tasty little treats.  I got a half peck of mixed baking apples from Bechdolt’s Orchard a week ago and have used them in several recipes– not an apple yet that wasn’t fantastic in flavor and texture.

apples

I enjoyed eating a muffin still warm out of the oven. It is smart to freeze any you won’t eat in 2 days; ziplock freezer bag works great.  They make super snacks.  These apple muffins are kinda delicate; if you want to take them on a hike or car ride put them in a plastic food box – the rigid sides will keep your muffins safe from crushing.

Apple Cinnamon Muffins              2024-11-05 apple muffins 009

2 cups brown rice flour mix (see below)

2/3 c granulated sugar

1 tbsp. baking powder

1 tsp. baking soda

¾ tsp xanthan gum

¼ tsp salt

2 tsp cinnamon

1 c chopped apple; peel and core the apple!

½ c chopped walnuts

¼ cup golden raisins (optional)

2 large eggs beaten

½ c milk, 1 or 2 percent

½ c canola oil

Heat oven to 375, placing the rack in middle of oven.  Spray muffin pans with cooking spray.  One batch makes 12-16 muffins.

Mix all dry ingredients in bowl of stand mixer or big bowl

Add apple, raisins and walnuts; stir to coat them with dry mix

Combine milk and oil, remove 1 tbsp of combined liquid and ditch it.  Beat in eggs.  Add liquids to big bowl; stir until blended.

2024-11-05 apple muffins 004

Fill muffin pans 2/3 full.  I use a big serving spoon and fill it about half way to dump in each muffin space. Sprinkle the top with cinnamon sugar.

2024-11-05 apple muffins 006      Bake 20-24 min until golden brown. Do not over bake or they will taste dry.  Remove immediately from the pans and cool on a rack.   2024-11-05 apple muffins 008

Freezes well for up to 3 weeks.  Keeps in fridge (well wrapped) a few days.

Brown Rice Flour Mix base mix
2 c brown rice flour

2/3 c potato starch

1/3 c tapioca flour

Eggplant and Pasta Turrets Eggplant Fest Continues!

Spaghetti is an American classic.  I don’t make it often enough, especially since going gluten free.  That may change since I started to read Mario Batali’s newest cookbook “America Farm to Table”.  I cooked up a storm this past weekend making his eggplant and angel hair turrets.  What’s a turret?  A tower of yumminess!

farm to table cookbook

Having a surfeit of eggplants I was diving into all my eggplant recipes to determine the best way to utilize my crop of purple beauties. This one is a winner!

eggplants

We devoured it by candlelight on my back porch Saturday night, bees wax candles to be exact.  I thought for a moment that my man was going to lick his dinner plate! It was rewarding to see him so enraptured by my cooking.  I served it with a side of Italian sausage but it does stand alone as a complete entree.  We had a greens and tomato salad to complete this wonderful meal.

2014-10-26 pasta tower 003

I took this picture by candlelight!

I made a few changes so this is an adaptation of the recipe.  I advise reading it through twice so you don’t screw it up! I used less red pepper flakes than the original recipe; up it to a tsp. if you dare!  Yes, it uses instant potato flakes and they work fantastically to coat the eggplant slices.  Don’t be squeamish about the anchovies; they totally disappear into this spicy but lush sauce that coats the pasta and provides a base for the tower.   I used tomato sauce I had made the night before from the last fresh tomatoes as the base to build this extra spicy sauce which can hold its own with the eggplant headliner.  This recipe serves 4.

Eggplant and Pasta Turrets

4 tbsp. EVOL (Extra virgin olive oil)

2 large eggs

1 cup instant mashed potato flakes

1 large eggplant or 2 medium ones

½ cup onion, diced

2 cloves garlic, sliced

2 oil packed anchovy fillets plus 1 tbsp. of the packing oil

1 28 oz can of tomatoes, crushed by hand plus all the can juice or your own homemade tomato sauce, unseasoned

½ tsp. red pepper flakes

Kosher salt

1  12 oz package gf spaghetti

½ cup shredded whole milk mozzarella cheese

Fresh basil leaves

Eggplant: Place the eggs in a wide shallow bowl, beat well.  Put the potato flakes into a second shallow bowl or a wax paper covered plate.  Slice the eggplant into 1/3 inch slices.  Dip into the eggs, let excess drip off and dredge in the potato flakes.

Heat a large Teflon pan, add 2 tbsp EVOL.  Let heat to medium hot, add the eggplant slices, cook 2-3 minutes a side.  Place cooked eggplants on a paper towel lined plate.  Do a second batch of slices.  I put my cooked slices on a small baking sheet and put them into a 350 oven which I then turned off.  They stayed hot and I felt a tad more sure that they were fully cooked.

Make the sauce: heat the remaining EVOL in a large pot, add the onion, sauté until slightly softened; 2 minutes, add the sliced garlic, red pepper flakes, mashed up anchovy fillets, oil of fillets and the tomatoes.  Cook, stirring often; 12-15 minutes.

Pasta: Cook the pasta in a big pot of boiling salted water, I used Barilla by the way.  Drain it one minute before the package directions say it will be done. Save a cup of the pot water to thin the pasta.

Use the eggplant fry pan (wipe out the brown bits of crust) and ladle in 2-3 big scoops of the sauce and the pasta.  Cook one minute, turn off the stove and add the cheese, stir well.

2014-10-26 pasta tower 004

Construction of the turrets:

Place a big spoonful of sauce on each plate.  Top with an eggplant slice (I used my biggest slices for the bottom layer) and then top with a big twirl of the pasta mixture.  Top with another eggplant slice and then another pasta twirl.  Do this again.  Top with a dab of the red sauce.  You can also top it with some red pepper jelly but I didn’t go there!  I did sprinkle our towers with a few torn basil leaves. My towers were a tad sloppy Saturday but I made another one for Sunday lunch and that time I got the right amount of pasta between the eggplants and it looked amazing!

Dive in to this wild but yummy dish!  And check out this new cookbook; chock a block full of great relatively healthy recipes. This was one of the more complex ones; most seem fairly straight forward and sound darn delicious.

Rustic Apple Pear Tartlets for Dessert Tonight

10-25-14 014 Apples and pears go together delightfully.  Fall is the perfect time to indulge in baking them into tartlets for company.  I like to make individual tarts sometimes because they make people feel so special when you each get your own tartlet.

Use what ever kind of baking apples you have.  I got mine from an actual apple orchard, Bechdolts to be exact!  I like to buy their small baskets of seconds which are inexpensive and just as fresh as can be especially compared to grocery store apples.  Plus the taste is the same as the fancy unblemished ones in their display baskets.

I used Annalise Robert’s crust recipe and flour mixture. I think this crust tastes terrific and has a wonderful texture.

These are simple tarts: no need to make them perfect looking.  I used a fork to press around the crust in each tartlet before I lay the fruit in it.  I cut out leaves from the leftover crust to make a sort of a top crust.  The mixing of the two fruits gives every bite a different taste and the spices add a delicate flavor. I wanted the fresh fruit flavor to be the highlight so I didn’t use much spicing. The coarse sugar adds a certain eye apple and crunch.  Enjoy!

Rustic Apple Pear Tartlets

Crust:

1 c plus 2 tbsp brown rice flour mix (at bottom of recipe)

2 tbsp sweet rice flour

1 Tbps. granulated sugar

½ tsp xanthan gum

¼ tsp salt

6 Tbps. cold butter cut into 6 chunks

1 lg egg

2 tsp fresh orange or lemon juice

Spray 4 inch metal tart pans or 4 inch mini deep dish pie pans with cooking spray, dust with white rice flour. Set aside.

Mix dry ingredients in bowl of stand electric mixer.  Add butter and mix until crumbly and resembling coarse meal.  Add egg and juice.  Mix until it comes together into big chunks.  Shape into a ball with your hands. Put it on a crust sized piece of wax paper (14 x 14 inches more or less), flatten the crust ball some; put on top of it another piece of wax paper and chill it all in your fridge 15-20 minutes.  I used my pie bag for rolling out the crusts; works so great at making an even thin crust.

Cut it into 4 balls and roll out each ball into a small pie crust in a pie bag or between the two sheets of wax paper, try to get the thickness even, no thick middle! Peel off one side of paper and place in mini tart pan, centered.  Remove other slice of wax paper.  Crimp edges all around.  Do again until you have 4 shells and use all the crumb leftovers to make a fifth tartlet crust.  I actually do two of them side by side and turn them out onto the tartlet pans together. Repeat for other four shells.  I ended up with five tartlets; the last being in an individual tartlet pan, about 5 inches in diameter.

Filling:

2 medium sized yellow delicious apples

1 large bosc pear

Peel apples, quarter, cut out core, slice into 1/3 inch thick slices. Same for pear except you can leave the peel on if you like.  Or peel!  Mix in a large bowl with:

3 tbsp. granulated sugar (if you like things pretty sweet add another tablespoon of sugar)

1 tbsp. minute tapioca

1/4 tsp. cinnamon

A sprinkle of ground nutmeg.

10-25-14 009

Let stand five minutes and then heap the fruit into tartlets.  I mounded mine a bit so they would be still full after baking.  Top with a leaf cut out of the spare crust.  Sprinkle with coarse sugar.

10-25-14 010

Bake 375 for 40-45 minutes until lightly browned.  Cool before serving with a scoop of vanilla ice cream.

10-25-14 012

Brown Rice Flour Mix– for crust
2 c brown rice flour

2/3 c potato starch

1/3 c tapioca flour

Autumnal Hearty Meal: Perfect Stuffed Peppers

There are times when I get home with plenty of time to cook or nights I feel I can whip dinner up in a few minutes.  And then there are times when I have to work late and don’t get home until after 8 pm.  I am too hungry to start cooking a big meal that could take an hour or more to make.  That is what leftovers are for and where slow cookers can be oh so helpful.  I confess that I have never been a fan of the slow cooker a/k/a crock pot until now.  I always worried the food would be overcooked and/or mushy as well as only having washed out flavor from the long slow cook.  Still, working late makes the concept of the slow. long process seem very attractive and helpful.

Along that thought process I bought a gluten free slow cooker cookbook. I wanted to try out the concept in my real life.  Mondays are a work late night for me and the whole week of food seems to stretch out unfilled and bothersome.  I got out my new cookbook and my ancient trusty crock pot and now, between jobs on Mondays, I fling together the basic ingredients, switch it on and off I go to work.  When I get home four hours later I turn the key and open my front door to heavenly scents of a meal all ready to dish out and enjoy.

I have made five or six recipes from the new book and have been pretty darn satisfied with the results.  The chicken paprika is amazing.  The only reason I haven’t blogged about it is that I don’t have a picture of it to put with the post. And I could go on and on about the delish Peruvian Chicken with Red Peppers. Anyway, this Monday I created my latest crock pot miracle; homey stuffed peppers.  I didn’t want to make the meatloaf pepper version in my new cookbook so I used my own recipe tailored to the crock pot heating process and my schedule.

stuffed pepper

These peppers were well done and rather relaxed. It was hard to get a decent photograph. Trust me; they taste better than they look!

I got up early that morning and made some brown rice and I fried up my onion and ground beef.  It all went in the fridge.  When I stopped by after school to let the dog out I threw the rest of it together and turned the pot onto high.  Four hours later, I was getting a plate and silverware out and was able to eat a real home-cooked meal as soon as I fed my critters their supper.  Fantastic! You could make the filling the night before or that afternoon before baking it in the pot.  That is nice flexibility to use as a busy busy person.

Angie’s Stuffed Peppers

1 medium onion, chopped

1 lb ground beef; I like 90 percent lean

1 tbsp olive or canola oil

1 small garlic clove

½ a beef bullion cube

¼ to ½ tsp thyme

2 cups cooked brown rice

Sea salt to taste

4 medium green peppers

1 8 ounce can of plain tomato sauce

Heat a large frying pan, put in the oil, add the chopped onion; cook until somewhat soft; 5-7 minutes.  Add the minced garlic clove and stir.  Push the onion pieces to the edges and add the ground beef, brown it.  Add the bullion cube and thyme as it gets closer to browned.  Add the cooked rice. Use anything from no salt up to a tsp of sea salt in the filling.  I often use less as I don’t like salty food.  It is purely a matter of taste in this recipe.

green peppers

Cut the peppers off ½ inch below the top. Clean out the guts and steam them (lids too) for 6 or 7 minutes.  Drain any liquid from inside the peppers, let them cool a few minutes so you can handle the warm peppers and stuff them with the rice and meat mixture.

Put ¼ of the tomato sauce on the bottom of the crock pot.  Put a bit of the rice mixture on top.  Then the four stuffed peppers.  Distribute any remaining stuffing around the peppers.  Add 2-3 tbsp water to the pan around the edges (not in the peppers!), pour the remaining tomato sauce around the top of the filling and peppers and put the lid on.

Cook on high for 3-4 hours.  I was at work for 4 hours so that is how long I did mine.  They were quite done.  I did start with cold filling I had made that morning so I am thinking 3 to 3.5 hours would be enough time to cook this dish especially if you start with warm rice/meat filling.

My personal recipe notes:

You can use white rice if you are not into brown rice.  Another substitution would be ground turkey for the ground beef.  Use a bit more seasoning if you go the turkey route.  Red peppers are fantastic if you like them, even orange are very sweet and flavorful for stuffing. I have stuffed peppers with corned beef hash.  Maybe I will post that recipe someday soon…..

I personally like a touch of catsup on the side to add extra flavor.  Hearty and fairly healthy as you are getting brown rice, the green pepper, and tomato sauce and so yummy.  Add a small salad and your meal is complete: I enjoyed a salad of fresh garden tomatoes with a light vinaigrette dressing. Your hubby will cheer when you place this naturally gf meal in front of him!