Fruit & Veggie Bars: Refreshing


Hot, yeap it is July and it is HOT in Pennsylvania and most of the USA.  Sometimes a chilly treat is in order.  I found these fruit and veggie pops in my grocery store; made by Outside, part of Nestle.  Not a lot to them, mostly fruit and veggie puree or juice reconstituted from concentrate, some sugar, not much else.  Flavors are Strawberry rhubarb, Tangerine medley and Blueberry medley. They have from 34 to 40 calories and from 5-15 mg of sodium.  The ingredients vary so the amount of vitamins varies too from 4-20 percent of daily need for vitamin A, 15% of vitamin C and the tangerine has 10 % of your daily vitamin K.  There is a small amount of fiber; 2-3% of daily requirement. 9 g of sugar.  Not much else in there: no fat or cholesterol. The juice/puree includes: apple, pear, strawberry, rhubarb, blueberry, pear, tangerine, sweet potato, pumpkin, passion fruit, carrot, beet, lemon and raspberry.

fruit and veggie bars

I find them refreshing, light, and vastly better than a sugary fruit pop that often contains minimal fruit juice.  They are not too sweet but not sour either. Not really tasting like any vegetables.  The puree doesn’t taste thick or heavy; blends in perfectly.  Adds a slightly different flavor to the fruit. Guilt free in my book.  Twelve to a box for about $4 which is a great deal to my thinking.  They also have a version that is just fruit; no veggies.  Bet they are tasty too! fruit bars

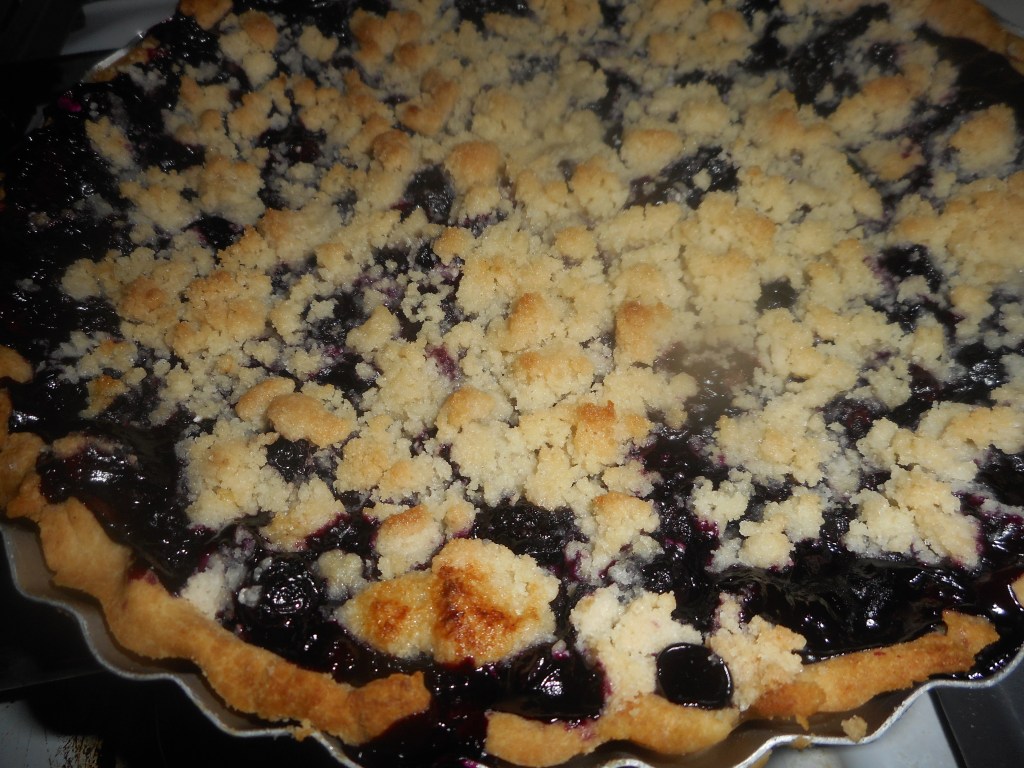
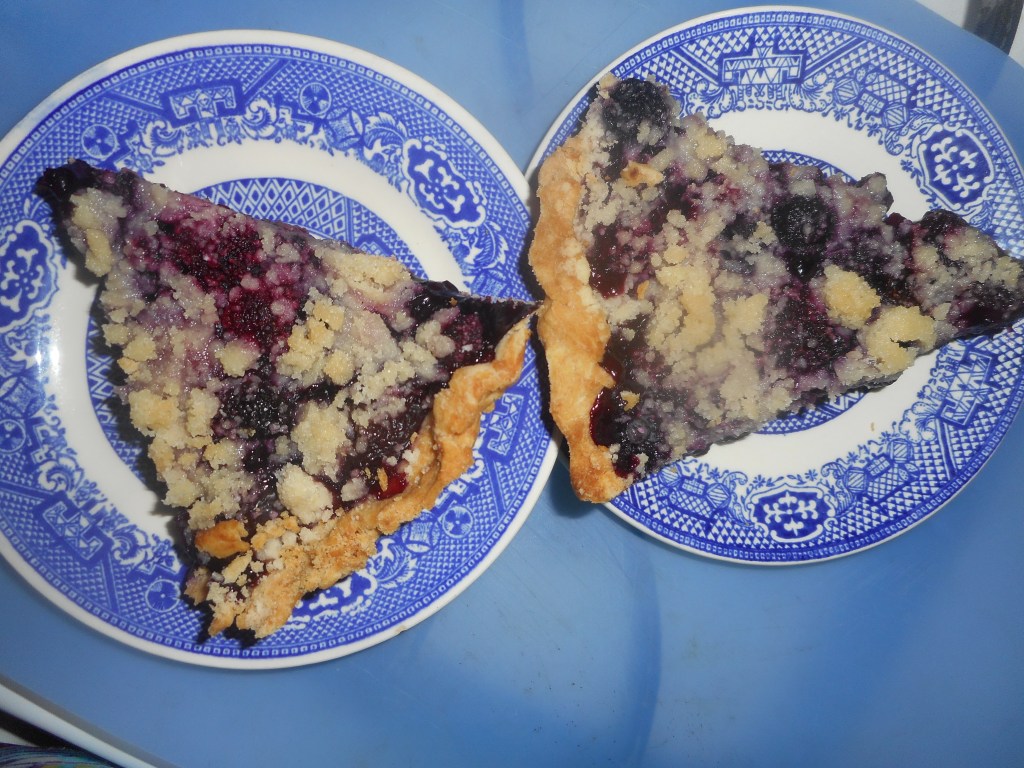
Cherry Crumb Pie Delights

Pie is a classic American dessert, what guy doesn’t like a fat slice of juicy pie? Cherry pie is perfect for the weeks before and after the Fourth of July or anytime you can get frozen sour cherries.  My sister sometimes uses jarred cherries but I prefer fresh or frozen sours.  You can make it gf easily with this recipe – my crust is really tasty; my family practically cheers when I serve homemade pie and the rest of my family does not eat gluten free.

Fresh tasting, locally sourced fruits are exactly in the spirit of summer.  I have picked mine at an orchard down in Bucks County near the Turnpike along Limekiln Pike, about 20 minutes from Hellertown.  This year they were not selling hand pick and I missed the very short season. No matter; I can use frozen ones for sure!

The sugar, cinnamon and almond extract create an intense cherry flavor.  If you prefer a lattice it can be made by doubling this pie crust and some careful construction work.  I tend to go the easy route of the crumb as everyone loves it. You could make a smaller 8 inch pie; use a cup less fruit and cut the sugar some, ditto for the tapioca. This pie is fantastic with a scoop of vanilla ice cream on the side.

This recipe is a blending of my own pie filling and the pie crust and crumb recipes from Annalise Robert’s cookbook, Gluten-Free Baking Classics.  I used a touch less sugar, more fruit, and made a few other changes to create my own special pie.  Her cookbook is a fabulous resource and I can’t recommend it enough to anyone trying to bake gluten free for a family member.  There is nothing like the classic desserts that we used to enjoy seasonally to comfort a celiac who can’t eat what they used to.

Angie’s GF Cherry Crumb Pie

Crust:

1 c plus 2 tbsp brown rice flour mix (at bottom of recipe)

2 tbsp sweet rice flour

1 Tbps. granulated sugar

½ tsp xanthan gum

¼ tsp salt

6 Tbps. cold butter cut into 6 chunks

1 lg egg

2 tsp fresh orange or lemon juice

Spray 9 inch metal pie pan with cooking spray, dust with white rice flour.

Mix dry ingredients in bowl of stand electric mixer.  Add butter and mix until crumbly and resembling coarse meal.  Add egg and juice.  Mix until it comes together into big chunks.  Shape into a ball with your hands. Put it on a crust sized piece of wax paper (14 x 14 inches more or less), flatten the crust ball some; put on top of it another piece of wax paper and chill it all in your fridge 15-20 minutes while you pit the fruit.

Filling:

6 cups pitted fresh sour cherries: place in medium bowl (If frozen do not defrost and bake the pie maybe ten extra minutes until good and bubbly)

Mix the following in a small bowl and pour over the cherries:

¾ cup granulated sugar

3-4 tbsp. tapioca flour

1/4 to ½ tsp. cinnamon

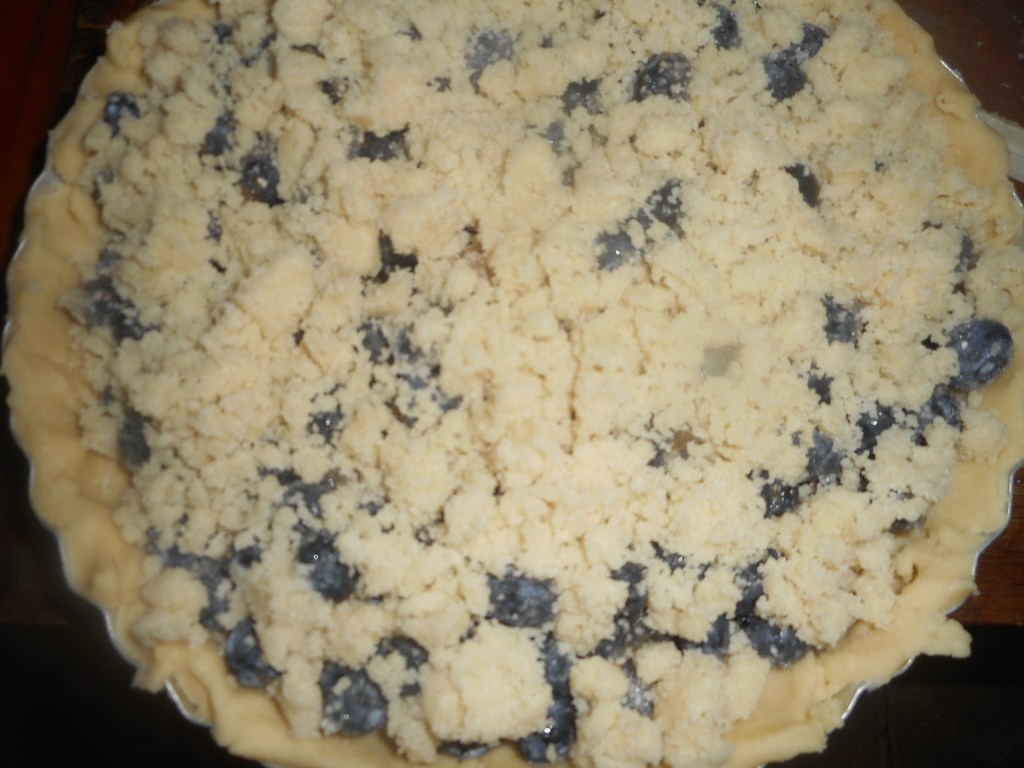
Roll out pie crust between two sheets of wax paper or in a pie bag; try to get the thickness even, no thick middle! Peel off one side of paper and place in pie pan, centered.  Remove other slice of wax paper.  Crimp edges all around.  Fill with sweetened fruit mix.  Sprinkle the crumb topping (1 to 1½ cup) evenly over this mixture.  The more crumbs the thicker the crust they will form; for a really thick crust use all the crumbs from the recipe below.

If you love your pie really sweet add another ¼ cup granulated sugar to the dry mix part of the filling.  I found the pie to be plenty sweet but everyone has their own sweetness level.

Bake in a preheated 375 degree oven for 30 minutes with a piece of aluminum foil on top of the pie, then 15-20 more minutes uncovered until bubbly and the crust is light brown.  If you use frozen berries, don’t defrost them more than half way and you might have to cook the pie up to 15 extra minutes; make sure it is bubbling and light brown before taking it out of the oven. Cool at least 2 hours before serving at room temperature.

Note: I bake pies in my bottom heat pizza oven and it gives me a great browned crust.  If your oven isn’t bottom heat you might want to pre-bake the crust 10 minutes before filling and topping the fruit.

Crumb topping

Put all four ingredients in the same mixing bowl you made the bottom crust in and mix well with mixer paddle until crumbs form. Don’t over mix or you will get a soft dough; not a good thing…done it and not happy with myself…

¾ c brown rice flour mix

½ c granulated sugar

½ tsp xanthan gum

1/3 c cold butter cut into six chunks

Brown Rice Flour Mix  (Same as King Arthur GF blend)
2 c brown rice flour

2/3 c potato starch

1/3 c tapioca flour


Summer Roast Chicken Minus Oven

Hot days of late, too hot to roast a fricken chicken.  Not that many gluten free rotisserie chickens around here that I know of, although I here Wegmans has them.  What to do if we crave roast chicken and don’t want to heat the house too?  It’s Super Slow Cooker to the rescue!  So easy too, make a dry rub of spices, sprinkle all over the bird and stick some under the skin.  Plop it in the pot and let er rip for 4 plus hours!  How did it turn out? Great! Mildly spicy, flavorful, moist and tasty.  Best of all: no hot kitchen.  I ate it that night with some leftover potato salad and some veggies.  The next night I created a big salad of many veggie things with my homemade rotisserie chicken breast as the star ingredient.  A few nights later another salad with different veggies and more of the fabulous chicken topping it.  Then a day later I made a simple stir fry with pad Thai noodles, broccoli florets, fresh ginger in thin strips, zuke half moons, fresh pea pods from the garden, onion and a diagonally sliced carrot.  Oh and I used the rest of the chicken breast for the protein in it. The rest of the stir fry: cold Thai salad for lunch the next day: I just added a bit of sesame oil and it was ready! Awesome!  No oven needed. Or wanted!

It is from my slow cooker cookbook by Carla Forbes. I know you will be pleased with how cool your kitchen stays and that it is safe for us gluten intolerant types.  For some reason most stores that sell rotisserie chicken add some gluten in the process.  I am guessing it is in the spice blend as is often the case with such flavor blends.  In any case, your homemade rotisserie chicken will be safe and succulent! And for anyone who doesn’t worry on gluten; well, this is a tasty dish you will love to have in your arsenal of hot weather entrée choices.

Hot Summer Rotisserie Chicken

1 four pound whole chicken, rinsed and patted dry

2 tbsp. olive oil

Spice blend: mix in a small dish

1 ½ tsp sat

2 tsp. paprika

½ tsp. onion powder

½ tsp. dried thyme

½ tsp. dried basil

½ tsp. white pepper

½ tsp. cayenne pepper or hot chili powder

½ tsp. black pepper

½ tsp. garlic powder

Directions: Remove any giblets and dispose of them how ever you like.  Just not gonna use them in this recipe! Or any I provide.  Ick!  Rinse the bird or not as you prefer: just be sure to pat dry with a couple paper towels.  Rub the spice mix all over the bird, pull back some breast skin and sprinkle the mix in there.  Sprinkle any extra inside the bird.  Place bird breast up in your six quart oval (not so good in round one!) slow cooker.  Drizzle the olive oil on top of your bird; all over it.  Cover and cook 4-5 hours on low or 3.5 on high.  I did 4 on low and turned it up to high for 45 minutes at the end. My bird was close to 5 pounds so I felt it needed a bit more cooking.

My recipe said you could make gravy: what I did was remove the bird and add 1/3 cup brown rice mixture flour and stir well to blend it into the pan juices and naturally created chicken broth.  Add salt and pepper to taste; cook on high for 10-15 minutes.

I ate some hot with potato salad that night and put the rest of it into a big batter bowl that has a lid.  Once it was cooled somewhat the bird went into the refrigerator to keep fresh and flavorful.  The broth soaks in and adds even more flavor as it rests in the cold fridge.

I have no picture of the done bird whole.  I was so hungry the first night I dug in and totally forgot to take one; next time I made it I will snap a few and upload to this post.  It looks like your regular rotisserie chicken if not as dry or dark skinned.

Originally posted July 2015. Minor changes to text made.

Pork Stir Fry: Delightfully Healthy

When time is short, the weather is hot and you are hungry for a real meal I find a stir fry can be a great choice.  It allows me to use whatever is in the fridge and pantry to create a fresh wholesome meal. For a starch my go to choice is often rice noodles, they come in skinny to very wide size and are so easy to prepare.  They take on the flavor of the rest of the dish which can be handy; no flavor conflicts here!

This version I am sharing today is a pork stir fry with those delightful medium to wide rice noodles you can get these days in most grocery stores.  I soak them in very hot water for ten minutes and drain well before stirring them into the completed dish.  Foolproof.

Notes: the veggie amounts are very fluid; use more if you like a lot of something or skip if you hate.  And sub in other things if you dislike any of the veggies I used; other choices are broccoli, onion, or snap peas. Best made in a wok; I have a small one I use all the time.  I guess you can use a fry pan; keep it hot and stir constantly.

Pork Stir Fry with Rice Noodles

Ingredients:

rice noodles, any thickness; a handful; around a cup

3/4 lb of boneless pork cut into bite sized bits

½ tsp. dry ginger

1-2 tbsp. cooking oil (I like mild olive oil)

2 carrots; sliced on the diagonal

2 celery stalks sliced on diagonal

1 cup sliced zucchini; about ¼ inch thick

1 cup bok choy; I used bokchoy greens from my garden

1 cup thinly sliced cabbage

1 big garlic clove minced

About a tbsp of slivered fresh ginger

1 tsp. corn starch dissolved in 1/3 cup water

1/2 tsp. soy sauce (be sure it is gf)

Directions: Put the noodles in a bowl half full of very hot water; I heat it in the microwave until almost boiling. I break them in half before putting in water; up to you if you like long strands. Let stand ten minutes.  Meanwhile, cut the pork up into thin slices or chunks; nothing that can’t fit easily into someone’s mouth, sprinkle it with the dried ginger.  You can also sprinkle it with meat tenderizer if you like; I would put that on before the ginger.

Heat mini wok, add oil.  Add pork and stir it after a minute; start flipping over; brown all over lightly; 3-4 minutes.  Remove to a plate.  Add celery and carrot, stir a minute or two then add cabbage, stir a minute, add the zucchini and garlic; stir 2 minutes then add the bok choy, stir 1-2 minutes.  Add the pork back and the fresh ginger slivers.  Cook 2-3 minutes, stirring constantly.  You want the veggies to be a touch crisp but mostly cooked.  Pour in the cornstarch water slurry and 1/2 tsp. soy sauce.  Stir well and add the drained noodles; keep stirring as it cooks for one  to two minutes; add more water if not enough sauce to your liking. This last minute is critical to make the sauce clear; you need to cook the cornstarch. Taste and add more soy sauce if you want, also, season with salt and fresh black pepper to your liking.

I often use fruit juice for some or all of the water.  Pineapple is my favorite but orange juice works well for some of the fluid; adds a lot of flavor. Should serve 3 people.

This is a naturally gluten free dish.  If you dislike the rice noodles service it over rice. Enjoy!

Sweet Corn Hack

Sweet corn season is here.  In many places really good sweet corn can be had, like farms markets, road side stands and even Wegmans!  I don’t know about you but when I only am making one or two ears it seems silly to fire up a tall pot of water.  I do steam the corn which only takes an inch or so of hot water but still…too much to do.

Two summers ago, on a hot day, I realized there was a quick and easy way to make an ear…or two without that big hot pan of water and steam. I just take a large frying pan, put a quarter inch of water in it, sprinkle of salt and let it heat until bubbling.  I then lay in my ear or two which I have husked and removed all the silk.  Then the pan is topped with a lid or an empty pizza pan if your frying pan is too big for your lids.  Cook it the usual time; depends on how fresh the corn is.  The fresher your corn ears, the less cooking time you need.  The steam in the pan will cook it really fast.  Maybe 6 to 8 minutes.


And the bonus is that if it runs out of water your ear will get a bit of carmelization going which only adds to the flavor.  In fact I hope it gets browned a bit; sometimes I rotate the ear to brown it on another side.  Remove with tongs when your corn reaches the done stage you like.  Sometimes I take a quick bite to test for eating readiness!

Serve your ear(s) with salt and butter and enjoy fresh corn without heating the kitchen up much.  Oh and I have some lovely prong thingies my sister gave me for pushing into the corn so my fingers stay cool as I munch corn.  Great idea. Get them! Mine are plain like these; they do make corny looking versions but I prefer these simple looking ones.corn prongs