Cranberry Crackle Tart: Light and Flavorful

I discovered this recipe on line, back before last Thanksgiving, at splendidtable.com. I loved the look and sound of it but didn’t find time to make it until last Christmas. Love at first bite. Like a fruit tart and a pavlova had a baby: this is the felicitous result. Light and delicate making it perfect after a hearty Thanksgiving feast. It is really guilt free if you eat it minus any toppings. I devoured it with vanilla ice cream on top at last year’s Christmas luncheon, nice flavor combination. I want to make one for Thanksgiving, maybe this time I will be serving it like you do a Pavlova, with lightly sweetened real whipped cream on top. Yumm!

It is really easy to throw together. If you are gluten free you can use the recipe provided below, which I adapted the splendid table recipe to make it gluten free. At holidays like Thanksgiving and Christmas Wegmans often has gf redi-made crusts. So does Frey’s Better Foods in Hellertown. If you are a wheat eater use whatever cookie tart crust you like. I added the cinnamon to my crust and found it added a lot to the complexity of the flavors. The crust absolutely needs to be prebaked before you put the tart together.

I should say I seldom use fresh cranberries; I generally make a fresh relish – old family recipe – for Thanksgiving but never got it made last November. So I had the bag of cranberries in the fridge in the fruit bin. Yeah, it sat there a month: I did have to pick through it (you always should) after I rinsed them and remove and squishy ones. There are usually a few of those mixed in and they aren’t great for anyone to eat. Let the picked over berries dry. Anyway, my point is; this tart is fantastic tasting even if you aren’t a huge cranberry fan.

I used some smooth raspberry jam (what I had) but you could probably use most any jam. Just chose one full of real fruit in a flavor you like as you can definitely taste the jammy flavor mixed in with the crust and the meringue topping. I loved it with raspberry jam, a favorite flavor for me.

crackle tart 006crackle tart 007

Sweet Cookie crust

Place the following in a stand mixer bowl and combine

1 cup GF flour (recipe below)
¼ cup granulated sugar
1 tsp xanthan gum
½ tsp. cinnamon
Add 5 tbsp cold butter, cut into 6-7 chunks. Mix on low until the butter is just crumbs blended in.
Add 1 tsp. vanilla extract and 1 tbsp water. Blend well.

Pour the crumbs into a ten inch tart pan that was sprayed with cooking spray. Or a glass pie pan. Spread it up the sides. Press gently in so it is a cohesive crust but do not press really hard or it will be like concrete when you finish baking it!

Bake at 350 degrees for 18 minutes. Set the crust on a rack to cool to room temperature. Do not let it get more than light brown.

Brown Rice Flour Mix (Same as King Arthur’s GF Blend)
2 c brown rice flour
2/3 c potato starch
1/3 c tapioca flour
Filling

2 tablespoons chunky cherry, raspberry or strawberry jam
2 large egg whites, at room temperature
Pinch of fine sea salt
1/2 cup sugar
1 1/2 cups cranberries (if they’re frozen, don’t thaw)
Confectioners’ sugar, for dusting

Directions: When you’re ready to fill and bake the tart: Preheat the oven to 300 degrees F.

Gently spoon the jam on top of the crust and spread it evenly over the bottom, I used the back of my big spoon for this operation. In a large bowl with a hand mixer, beat the egg whites with the salt at medium speed just until they are fluffy and fairly opaque. With the mixer going, add the sugar in a slow, steady stream, then keep beating on high until the whites are shiny and form definite peaks; they will look like marshmallow. This is a meringue.

Pour the cranberries into the bowl of meringue and, using a flexible spatula or spoonula fold them into the meringue. Try to distribute the fruit evenly, but don’t mix too much– you want to keep the meringue fluffy. Spoon the meringue over the jam and spread it to the edges, making it swirly if you’d like. The jam might push up around the sides of the meringue, and that’s fine. Don’t fret if it looks like not enough filling, it will puff up in the oven to fill the pie pan.

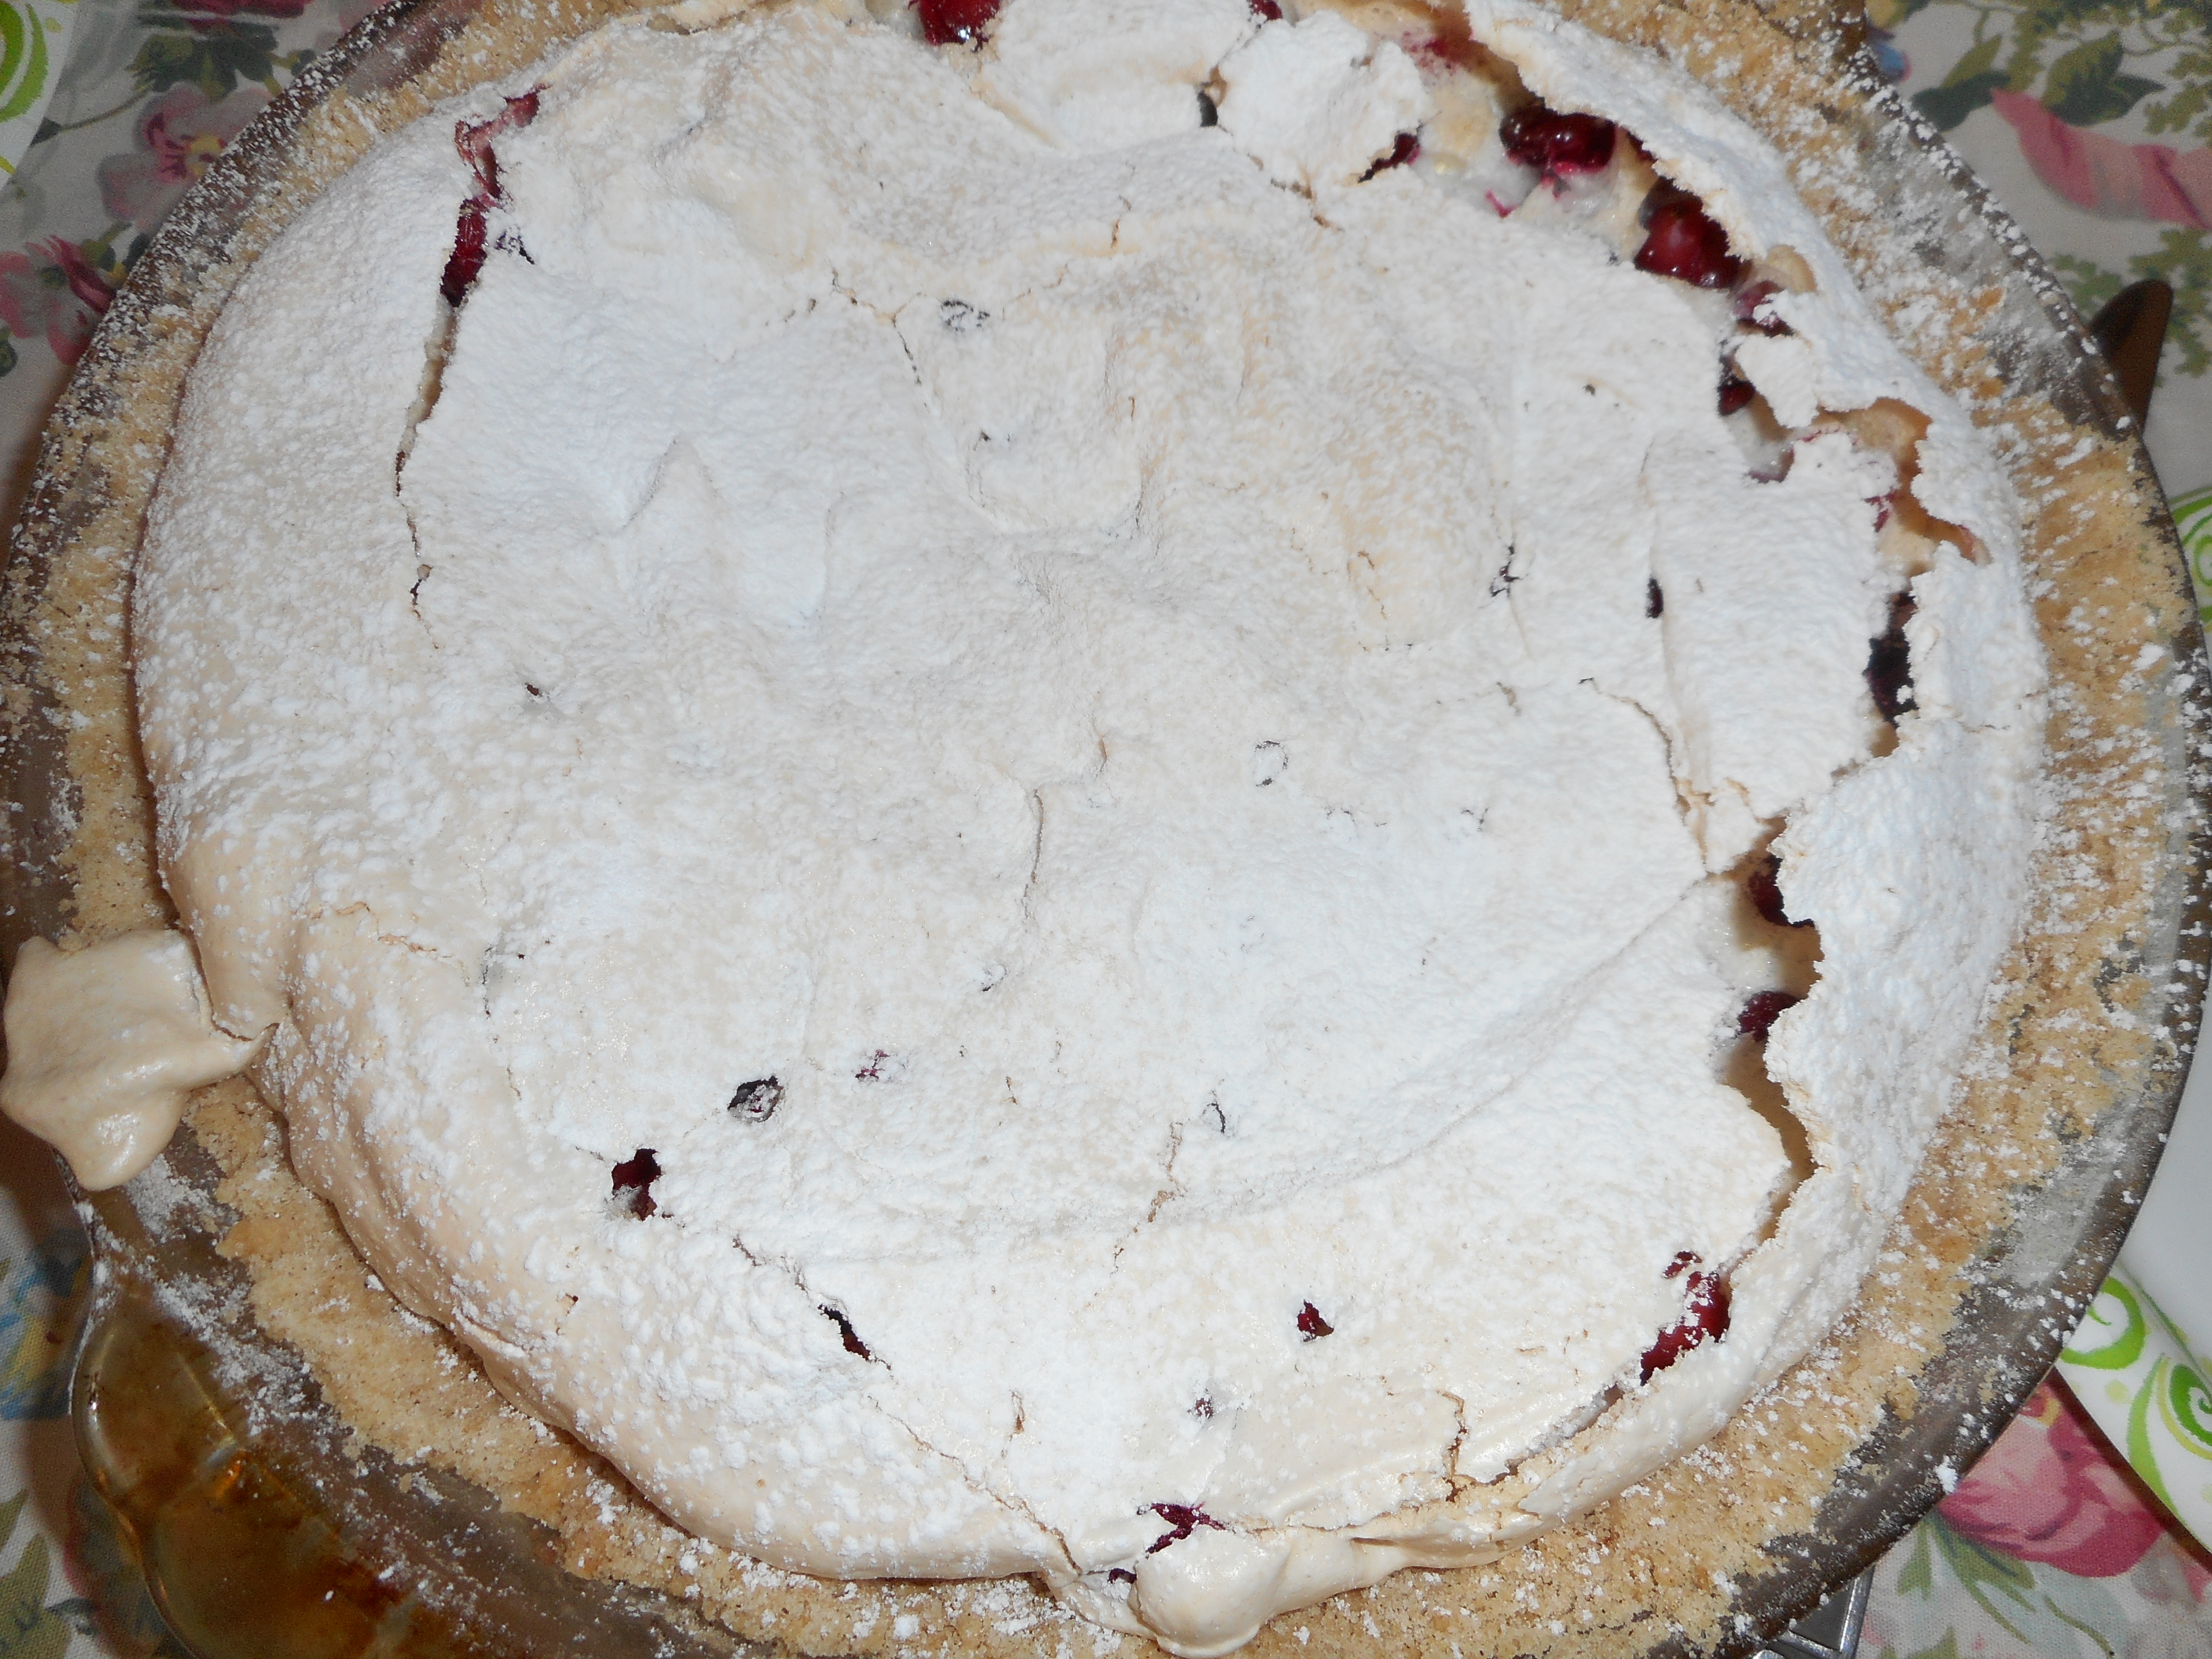
Bake the tart for 1 hour, at which point the top will be light beige and cracked here and there. (If you’d like more color, you can bake it a bit longer or even put it under the broiler.) I did not go there! Transfer the tart to a cooling rack and cool to room temperature. I did cut it while slightly warm and we all thought that was just perfection. If you’d like, and I do, dust the tart with confectioners’ sugar before serving. Whipped cream on top is also great.

Storing: The tart is best the day it’s made, although it’s still pretty nice the next day. Leave the tart at room temperature, covering only the cut part with a piece of wax paper or plastic wrap. I doubt you will have any the second day anyway. It is that tasty.

Alsatian Apple Tart: New Classic at My House

I bought a few new gf cookbooks this past 6-7 months. I have been too busy to do much with my new one by Annalise G. Roberts; she wrote my favorite gf cookbook “Gluten-Free Baking Classics”. In “ The Heirloom Collection” she re-creates many classic recipes we all love but in a gluten free version. Eighteen cakes, thirteen muffins, scones and quick breads, sixteen cookies, twenty breads as well as eleven tarts. And some other misc. baked goods. SO many yummy looking things to bake. All gluten free. And knowing Annalise Roberts, all yummy!

She starts with a section on how to take a wheat flour based recipe and make it gluten free; very interesting: I have a few cherished recipes I would love to convert.  She is such a reliable and careful baker; all her recipes turn out exactly as promised. With so many great looking recipes and if you have any of her other cookbooks you will definitely want this one.

Anyway back to my tart: I was looking for an apple recipe that only needed 4 apples, cause that’s all I had and this tart caught my eye. I had everything but the heavy cream. So I procured a small container and I was good to go.

It was a very easy recipe; make the tart shell and while it pre-bakes, peel and slice the apples and mix up the custard. Arranging the apples took me 3-4 minutes and another 30 seconds to pour over the custard and carefully place it in my oven for a transformational baking. alsatian apple tart 002

This tart has a lovely texture; the apple slices are soft but held their shape and the custard is silky and subtle. The long baking makes the crust very crisp. No ice cream needed; this is perfect just by itself.

alsatian apple tart 007

After making this tart I noticed that this is the baked good featured on the back cover of the book; a place of honor for a fantastic apple treat. So freaking good; you must try it even if you use a wheat crust. Alsace-Lorraine is an area in Germany close to France; over the years it has been passed back and forth a few times. One of my ancestors is from this area so I was thrilled to find a recipe my great great grandmother might have baked!alsatian apple tart 004

Alsatian Apple Tart
6 large slices or 8 skinny ones

Crust:
1 c plus 2 tbsp brown rice flour mix (at bottom of recipe)
2 tbsp sweet rice flour
1 Tbps. granulated sugar
½ tsp xanthan gum
¼ tsp salt
6 Tbps. cold butter cut into 6 chunks
1 lg egg
2 tsp fresh orange, lemon juice, even lime juice works

Spray a nine – ten inch tart pan that has a 1 ½ inch side with cooking spray, set aside. I use a ceramic ten inch pan but if you have one of those tricky deep tart pans with a removable bottom that would work perfectly.

Mix dry ingredients in bowl of a stand electric mixer. Add butter and mix until crumbly and resembling coarse meal. Add egg and juice. Mix until it comes together into big chunks. Shape into a ball with your hands. Put it on a crust sized piece of wax paper (14 x 14 inches more or less), flatten the crust ball some; put on top of it another piece of wax paper and chill it all in your fridge 15-20 minutes.

Roll out the flattened ball into a pie crust in a pie bag or between the two sheets of wax paper, try to get the thickness even, no thick middle! I like to sprinkle a bit of my flour mix on the crust as it gets thinner so it doesn’t stick to the pie bag/wax paper. Peel off one side of paper and place in the tart pan, be sure to center it. Remove other slice of wax paper. Crimp edges all around.
Bake at 375 for 15 minutes.

Filling:

4 medium-large sized apples, yellow delicious or fuji work well as they don’t squish down too much. I used Fuji; best use for them yet as I find they don’t squish like I want in pies.

Peel apples, quarter, cut out core, slice into 1/2 inch thick slices (8 for a medium apple)

Mix in a medium mixing bowl with:

6 tbsp. sugar
2 eggs; stir well
Add 1 cup heavy cream, 1 tbsp. milk, 1 tsp. vanilla extract, ¼ tsp. cinnamon.

Arrange the apple slices in the warm/hot tart shell, squash them close together. Pour the custard filling over the apples.

Bake in a preheated 375 degree oven for 50-55 minutes until the custard is set and the crust is light brown

Cool the pie at least 1 hour before serving. You can sprinkle the slices with confectioner’s sugar if you like to guild the lily; not really necessary though.

Brown Rice Flour Mix (same as King Arthur GF Flour mix)
2 c brown rice flour, finely ground
2/3 c potato starch (Not potato flour)
1/3 c tapioca flour

This recipe is from Annalise Roberts’ great cookbook: Gluten-Free Baking Classics – The Heirloom Collection.

Surprising facts on GF Safety for You Non-Celiacs

Did you know that once a person with celiac disease stops eating wheat it becomes even worse when they do accidentally consume a food containing gluten?  After I quit wheat I thought that I could cheat once in a while and not really suffer any consequences.  Not so. It is like your body becomes incredibly sensitive to all gluten substances and even a tiny bit is too much.

A few examples: if I splash beer on my hands while serving a mug at Musikfest and then unthinkingly touch a finger to my mouth; instant contamination and feeling sick is sure to follow.  Same goes if I am volunteering in a church kitchen and touch bread or flour and then touch my mouth with that contaminated hand. Zapped again!

Then there are multiple ways to be contaminated by food that should be safe: If I eat at a pancake house and order eggs and home fries, if my food is cooked on the same griddle spot as your pancakes five minutes earlier; instantly it is contaminated and unsafe for anyone with celiac disease.  And sometimes the home fries have flour in them and waitresses seldom know about every bit of what goes into a dish and may tell you it is safe when it contains wheat of some sort.

If the chef sprinkles seasoned salt or spice mixes on my rice or potatoes, it is likely uneatable for me.  The reason is that manufacturers often put all purpose flour in seasoning mixes to facilitate flow and to create a smooth mixture of spices.  This is why many things that appear safe are not; “seasoning mixes” are the culprit that makes rice pilafs often uneatable by celiacs.  rice pilaf

Thanksgiving is coming up.  Beware, some turkeys have brine that contains some gluten; I got sick that way last November.  Butterball turkeys fresh or frozen are gluten free.  Plus, a turkey stuffed with regular bread stuffing is unsafe for someone with celiac to eat even if they don’t touch the stuffing.  Really. You need to buy or make a gluten free stuffing; either based in rice, gf cornbread or just buy a bag of gluten free bread to make your stuffing. Aldi’s has gluten free stuffing for both chickens and turkeys.

butterballbutterball

Even GF pasta can be contaminated if it is drained in a colander that is used for wheat pasta.  The gluten in pasta is extra sticky and it is nearly impossible to get all of it off a colander.  So, many times pasta that should be safe gets contaminated when the cook drains it in a colander that has tiny particles of wheat gluten sticking around the strainer holes. Restaurants that advertise GF menus need to have dedicated equipment like strainers, colanders, pots and utensils. Really: I often ask about the colander when I attempt to safely eat pasta at a restaurant.colander

The times I fail to carefully read a list of ingredients are the times I have to throw things away later as I find out they are unsafe for me.  Same goes for times I eat at places which don’t have GF menus.  They often tell me they serve GF foods but they really don’t understand fully how much they have to do to keep my food safe.  See three paragraphs above….

A few people seem to feel celiacs are exaggerating or being over cautious.  When in reality all that caution is necessary to eat safely and avoid gluten.  It only takes a tiny amount of gluten to contaminate food or drink.

So if you are cooking for someone with gluten intolerance, be sure to read my previous posts that cover how to plan, prepare, and serve a GF meal that is safe (November 2014) and your meal will be a success for everyone enjoying it!

And if you are in a restaurant don’t roll your eyes when the person at the next table starts to ask pointed questions on ingredients and method of preparation with respect to gluten.  They are just trying to eat a safe meal out.  Sometimes this experience is kinda a roll of the dice for us celiacs so be patient and polite if you come into contact with this situation when you are dining out.  And yes, that goes double for you wait staff persons!  We are not trying to hassle you, just attempting to stay safe and enjoy a good safe meal.

Also, I know people who get exasperated by labels that say gluten free on stuff you assume is safe.  I hear those comments sometimes in the store! Well, I as a celiac applaud when companies put that GF label on foods. I feel much more safe consuming food that is labeled gluten free because of all the sneaky or hidden ways we can accidentally eat food with some amount of gluten.  Still, there are stories going around about food labeled gluten free which upon closer examination clearly had a gluten ingredient.  I am guessing companies love to slap those two words on labels to sell food, whether the food is really gluten free or not.  I have to read the label regardless just to be sure.

Finally, foods labeled gluten free make my life easier as I’m someone who must avoid the stuff at all costs.  Just know that I am thrilled when I find something safe to snack on, especially when it is in the main stream of foods; food not specifically manufactured for me as a celiac.  Why? I love it because those things tend to be cheaper and tastier than stuff marketed solely to the gluten free consumer.  If it is for everyone the price is better; they can’t afford to sock your average buyer with a doubled price just because it is also gluten free.  And if it doesn’t taste good; few in the main stream will purchase it so we are ensured better tasting products.

In summary; now you can see how important it is to have products that are labeled gluten free and why your friend with celiac has a zillion questions when you have lunch together! Be understanding!

Revised but originally published November 2014.

Apple Pear Tartlets: Terrific

Apples and pears go together delightfully and fall is the perfect time to indulge in baking them into tartlets for company. I love to make individual tarts because they make people feel so special when you each get your own tartlet. Use what ever kind of baking apples you have. Good choices are red Rome, Empire, Golden Delicious, but no to Fuji, Red Delicious or Gala apples. I got mine from an actual apple orchard (Bechdolts which is south of Hellertown, PA.) I like to buy their small basket of seconds which are cheaper and just as fresh as can be especially compared to grocery store apples. Plus the taste is the same as the fancy unblemished ones in the display baskets. Bosc pears are perfect for baking; great flavor and texture.

I used Annalise Robert’s crust recipe and flour mixture. I think this crust tastes terrific and has a wonderful texture.

2014-10-26 pasta tower 005These are simple tarts: no need to make them perfect looking. I used a fork to press around the crust before I lay the fruit in it. I cut out leaves from the leftover crust to make a sort of a top crust. The coarse sugar adds a certain eye apple and crunch. Enjoy!

10-25-14 00910-25-14 01010-25-14 01210-25-14 014

Rustic Pear Apple Tartlets

Crust:
1 c plus 2 tbsp brown rice flour mix (at bottom of recipe)
2 tbsp sweet rice flour
1 Tbps. granulated sugar
½ tsp xanthan gum
¼ tsp salt
6 Tbps. cold butter cut into 6 chunks
1 lg egg
2 tsp fresh orange or lemon juice

Spray 4 inch metal tart pans or 4 inch mini deep dish pie pans with cooking spray, dust with white rice flour. Set aside.

Mix dry ingredients in bowl of stand electric mixer. Add butter and mix until crumbly and resembling coarse meal. Add egg and juice. Mix until it comes together into big chunks. Shape into a ball with your hands. Put it on a crust sized piece of wax paper (14 x 14 inches more or less), flatten the crust ball some; put on top of it another piece of wax paper and chill it all in your fridge 15-20 minutes.

Cut it into 4 balls and roll out each ball into a small pie crust in a pie bag or between the two sheets of wax paper, try to get the thickness even, no thick middle! Peel off one side of paper and place in mini
pie pan, centered. Remove other slice of wax paper. Crimp edges all around. Do again until you have 4 shells and use all the crumb leftovers to make a fifth tartlet crust. I actually do two of them side by side and turn them out onto the tartlet pans together. Repeat for other four shells.

Filling:

2 medium sized yellow delicious or other baking apples
1 large bosc pear

Peel apples, quarter, cut out core, slice into 1/3 inch thick slices. Same for pear except you can leave the peel on if you like. Or peel! Mix in a large bowl with:

3 tbsp. granulated sugar (4 if you like it sweet)
1 tbsp. minute tapioca
1/4 tsp. cinnamon
A sprinkle of ground nutmeg.

Heap into tartlet shells. Top with a leaf cut out of the spare crust. Sprinkle with coarse sugar.

Bake 375 for 40-45 minutes until lightly browned. Cool before serving with a scoop of vanilla ice cream.
Brown Rice Flour Mix- (same as King Arthur gf flour blend)
2 c brown rice flour
2/3 c potato starch
1/3 c tapioca flour

Originally published October 2014.

Eggs Benedict – DIY Hollandaise Sauce

Eggs Benedict is kinda old school elegant – but if you enjoy egg sandwiches you will definitely want to read this post. We love eggs benedict for brunch or Sunday supper. Since I went gluten free due to celiac disease I had to find gf English muffins that were more than just edible as the muffin is the base for the layers that create this tasty dish. I have made three different recipes. First two were just “okay.” This most recent one is from America’s Test Kitchen’s “The How Can It Be Gluten Free Cookbook” published in 2014. It uses their make-it-yourself flour blend. There is no need for muffin rings unlike the other recipes I have made. The dough is very sticky; a stand mixer is pretty much required. You form it into balls using wet hands, let the dough rise an hour on baking sheets sprinkled with corn bread. They are briefly cooked on the stove top in a frying pan and then baked in the oven for 30 minutes. The flavor and texture are outstanding for gf bread. They remind me of homemade wheat flour muffins I used to enjoy years ago. I highly recommend this recipe. Fairly easy and I was thrilled with the flavor and texture. I am not sure what I will do with those darn muffin rings I bought a year ago…  cranberry tartlets 006 cranberry tartlets 007

I am not going to provide the muffin recipe today; you could consult the ATK cookbook for that, or use another gf muffin recipe or buy some gf English Muffins. But I will give my recipe for the easiest and best hollandaise sauce ever. It is a cherished family recipe my mom always used and although I have tasted other sauce versions I always come back to this one for its outstanding flavor. My family loves it over broccoli for our favorite side dish.

eggs benedict 002eggs benedict 003eggs benedict 004eggs benedict 006

Mom’s Hollandaise Sauce

Makes about ¾ cup.

1 stick salted butter
2 egg yolks (from large eggs)
Juice of ½ a lemon

Please, no substitutions of any kind will work for this recipe and you MUST make it in a Pyrex measuring cup placed in a pan of hot water; just below the boil and going no more than ½ the way up the sides of the glass measuring cup. pyrex measuring cupThe glass insulates the contents and allows for a slow measured melting of the butter and an equally slow and almost alchemical blending of these three ingredients into a smooth sauce. Unsalted butter gives a pale unbalanced sauce and not enough lemon makes the flavor insipid. Any leftover sauce can be gently reheated in a microwave or over water; stir a lot and you can add ¼ tsp. hot water if it separates. Beat it with a spoon until it comes back together.

Anyway, back to the recipe! Cut the stick of butter into 8 chunks and place in a Pyrex glass measuring cup; one cup size please. Add the yolks and the lemon juice, no pits either! Place in a sauce pan half full of hot water. Do not let the water boil or go more than half way up the measuring cup. Stir often with a spoon; I leave the spoon right in the cup. It will be hard to stir at first as the butter is still solid but the stirring will get easier. Stir almost constantly until the sauce thickens to coat the spoon and then continue stirring it to an almost custard like thickness. Take the cup of sauce out of the water bath and cover it with aluminum foil while you poach the eggs.

Egg Directions:

4 eggs
2 English muffins
4 slices Canadian bacon (round thin slices)

Eggs: get the best and freshest quality eggs possible. Old eggs spread out as they poach and you will have the perfect shaped poached eggs with really fresh ones. I got mine from a friend who raises chickens; far superior in flavor and freshness to anything from a store.

Spray a frying pan with cooking spray. Fill it with warm water. Bring the water to an active bubble, add a tbsp. vinegar. Break each egg into a short cup and gently tip into the hot water. Do not boil the water. Poach them 3 minutes for a soft squishy egg and 4-5 for firmer eggs. Some like lots of egg yolk liquid and others like a firmer textured egg. Do not overcook them or they are just hard boiled eggs. They should not be firm when you remove them. Lift out with a slotted spoon and drain briefly on a paper towel.

While those eggs were poaching gently heat the bacon in a small frying pan with a tsp of butter. Cook about 2 minutes and flip, cook 2 more minutes.

Muffins; split each open with a dinner fork and toast in toaster; pale tan; not really browned.

eggs benedict 006

My sauce was leftover from the day before; slightly separated. Still tasted fantastic.

Assembly: place two hot muffin halves on each plate. Top with a slice of Canadian bacon and then a poached egg. Pour a big dollop of sauce on top. We like them served with briefly steamed asparagus spears in the spring and steamed broccoli spears the rest of the year.  Dig in!

Perfectly poached eggs make the best eggs benedict! Messy but yummy!

Perfectly poached eggs make the best eggs benedict! Messy but yummy!