Crunchy Tasty Cranberry Crackle Tart

Like a fruit tart and a pavlova had a baby: this is the felicitous result.  Light and delicate, making it perfect after a hearty feast.  It is really guilt free if you eat it minus any toppings like the whipped cream or ice cream.

I found this recipe on line, back before Thanksgiving, at splendidtable.com.  I loved the look and sound of it but didn’t find time to make it until Christmas Eve.  Once I tasted it; love at first bite.   I devoured it with vanilla ice cream on top at the Christmas lunch, nice flavor combination.  New Years Eve is coming up and I want to bake another, this time serving it like you do a Pavlova, with lightly sweetened real whipped cream on top. Yumm!

crackle tart 007

It is really easy to throw together.  If you are gf you can use the recipe I provide, I adapted her recipe to make it gluten tree. At holidays like Christmas Wegmans often has gf redi-made crusts. If you are a wheat eater use whatever cookie tart crust you like.  I included cinnamon in the crust and found it added a lot to the complexity of the flavors.  The crust absolutely needs to be pre-baked before you put the tart together.

I should say I seldom use fresh cranberries; I generally make a fresh relish – old family recipe – for Thanksgiving but never got it made this past November.  So I had the bag of cranberries in the fridge in the fruit bin.  Yeah, it sat there a month: I did have to pick through it (you always should) after I rinsed them and remove and squishy ones.  There are usually a few of those mixed in and they aren’t great for anyone to eat.  Let them dry. Anyway, my point is; this tart is fantastic tasting even if you aren’t a huge cranberry fan.

I used some smooth raspberry jam (what I had) but you could probably use most any jam.  Just chose one full of real fruit in a flavor you enjoy as you can definitely taste the jammy flavor mixed in with the crust and the meringue topping. I loved it with raspberry jam, a favorite flavor for me.

crackle tart 005

Fresh out of the oven

I didn’t take a lot of pictures as I wasn’t really planning to blog this recipe but it was so tasty I had to get it out there for people to try.

——————-

Sweet cookie crust, gf

Place the following in a stand mixer bowl and combine:

1 cup GF flour (recipe below)

¼ cup granulated sugar

1 tsp xanthan gum

½ tsp. cinnamon

Add 5 tbsp cold butter, cut into 6-7 chunks.  Mix on medium low until the butter is just crumbs blended in.

Add 1 tsp. vanilla extract and 1 tbsp water.  Blend well.

Pour the crumbs into a ten inch tart pan that was sprayed with cooking spray.  Or a glass pie pan.  Spread it up the sides.  Press gently in so it is a cohesive crust but do not press really hard or it will be like concrete when you finish baking it!

Bake at 350 degrees for 18 minutes. Set the crust on a rack to cool to room temperature.  Do not let it get more than light brown.
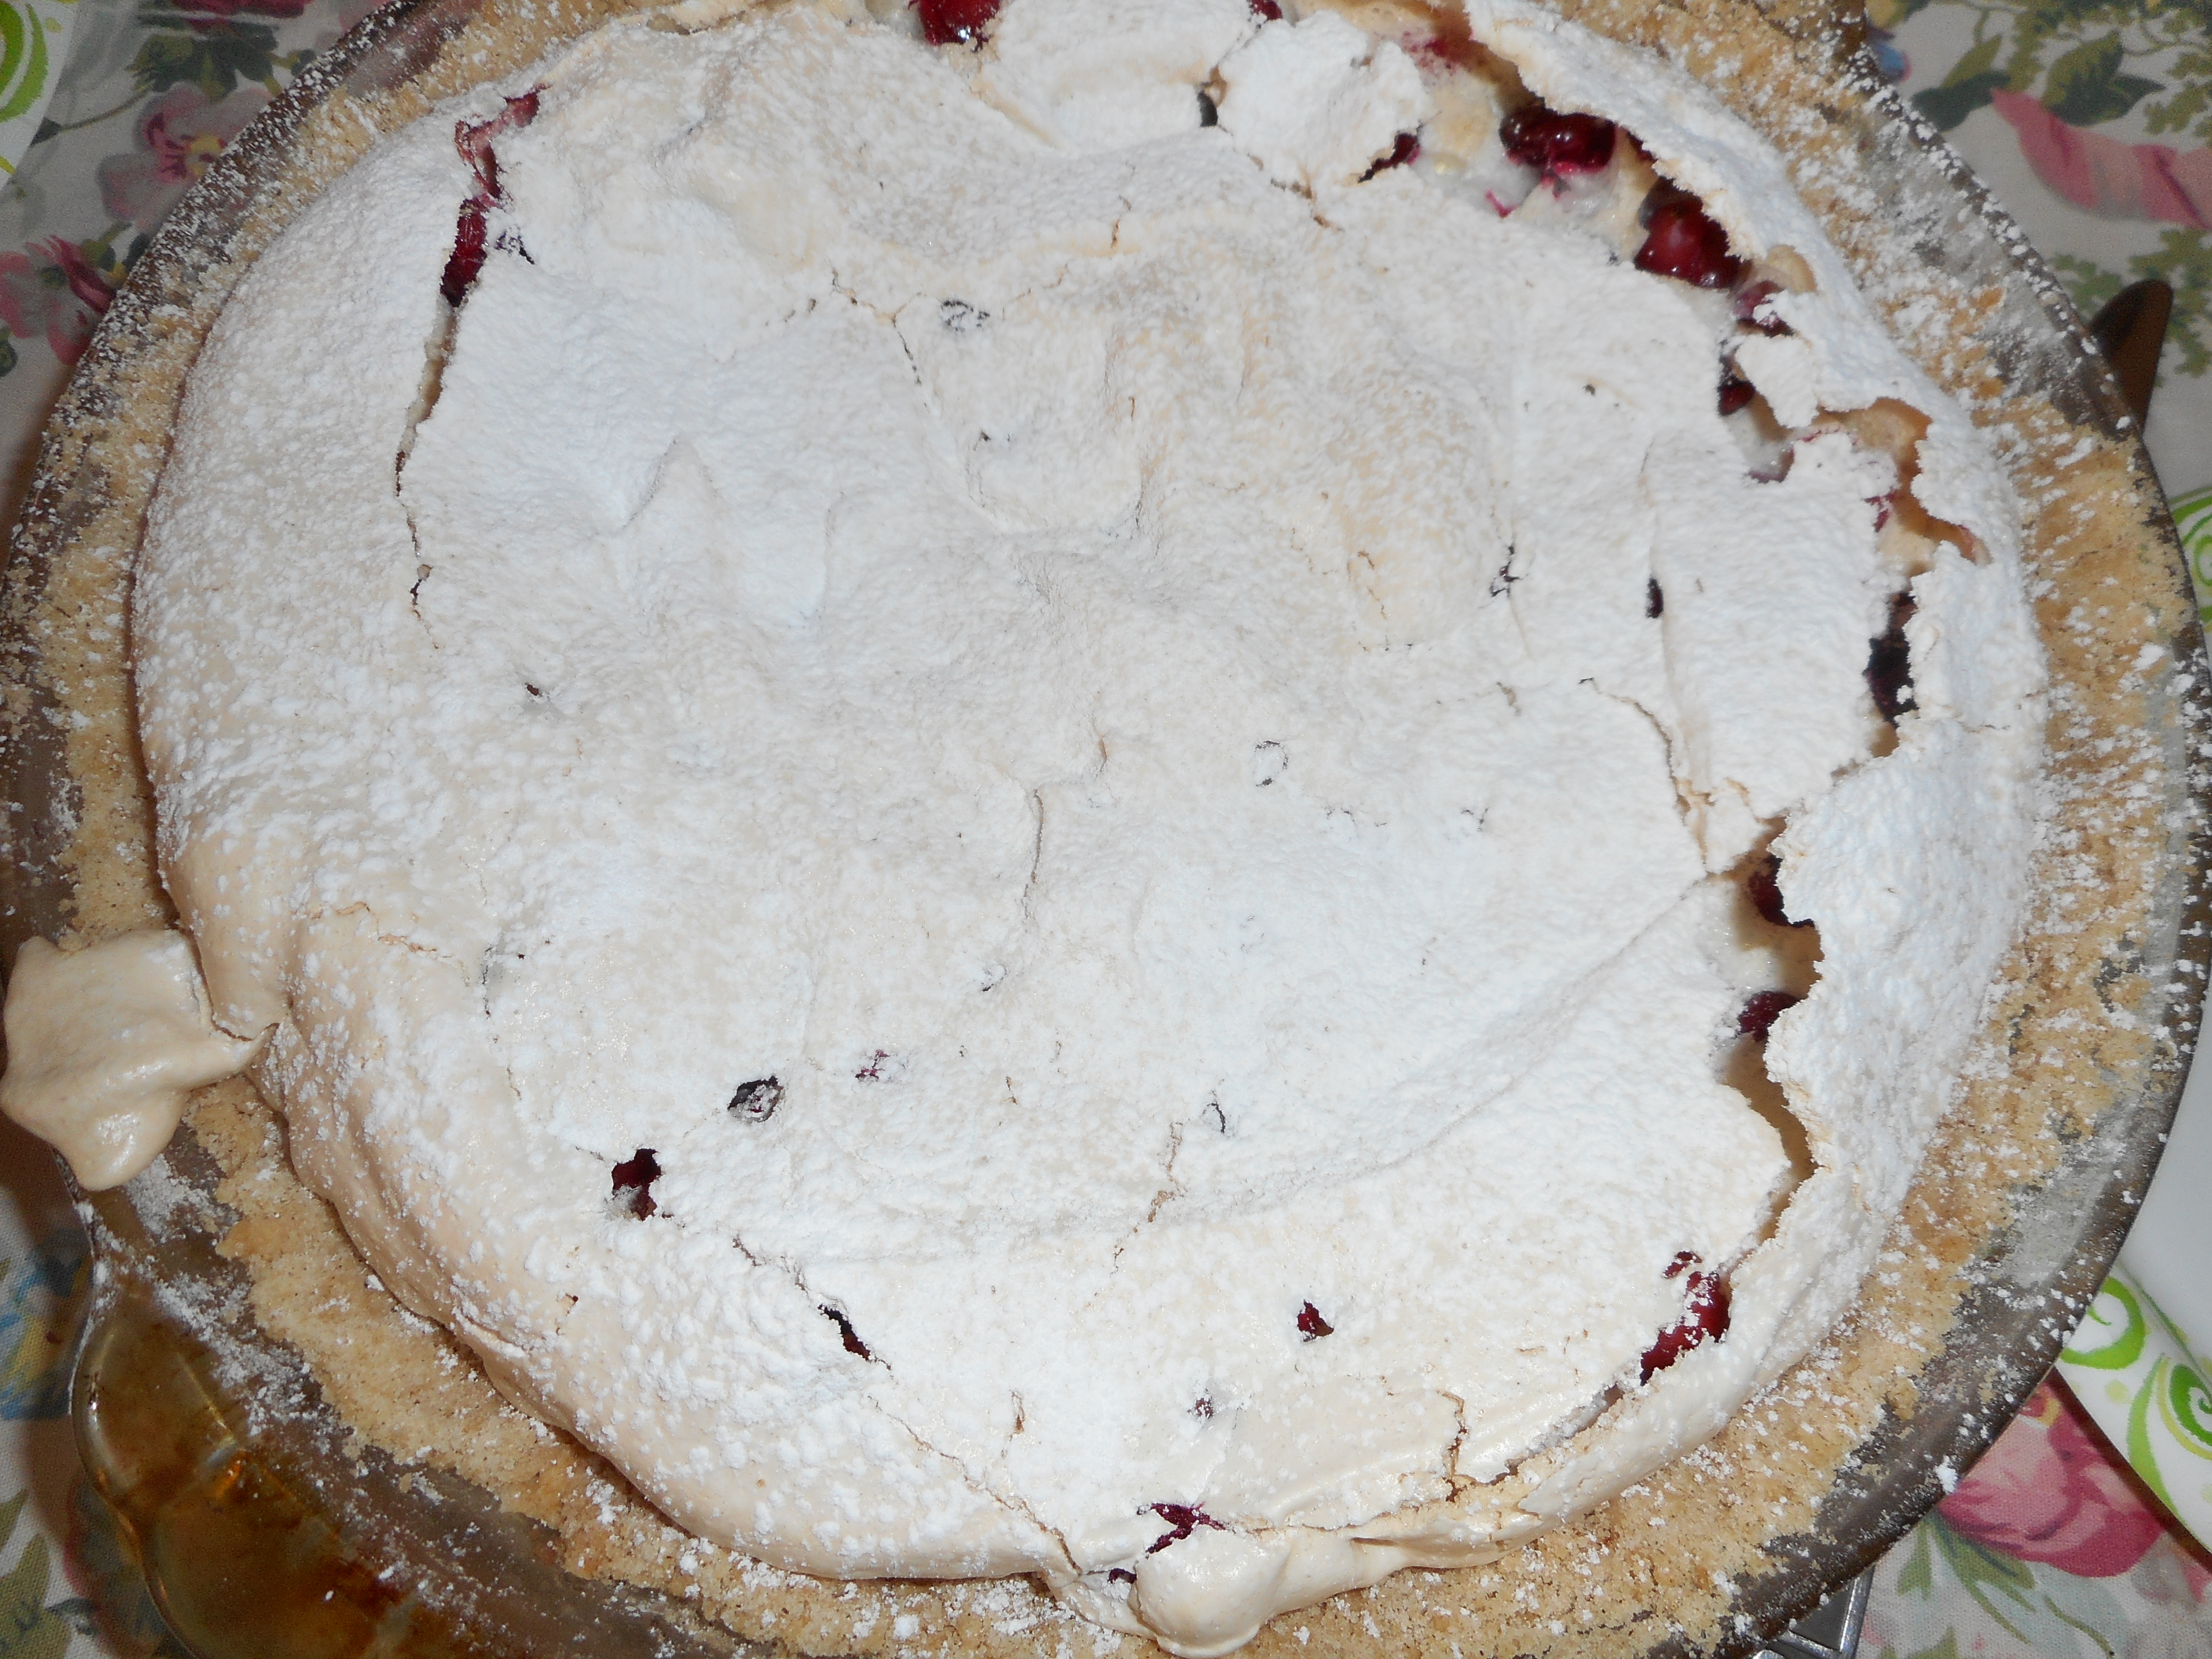
crackle tart 006

Just before cutting it

Brown Rice Flour Mix
2 c brown rice flour

2/3 c potato starch

1/3 c tapioca flour

Filling

2 tablespoons chunky cherry, raspberry or strawberry jam

2 large egg whites, at room temperature

Pinch of fine sea salt

1/2 cup sugar

1 1/2 cups cranberries (if they’re frozen, don’t thaw)

Confectioners’ sugar, for dusting.

When you’re ready to fill and bake the tart: Preheat the oven to 300 degrees F.

Gently spoon the jam on top of the crust and spread it evenly over the bottom, I used the back of my big spoon for this operation. In a large bowl with a hand mixer, beat the egg whites with the salt at medium speed just until they are fluffy and fairly opaque. With the mixer going, add the sugar in a slow, steady stream, then keep beating on high until the whites are shiny and form definite peaks; they will look like marshmallow.  This is a meringue.

Pour the cranberries into the bowl of meringue and, using a flexible spatula or spoonula fold them into the meringue. Try to distribute the fruit evenly, but don’t mix too much– you want to keep the meringue fluffy. Spoon the meringue over the jam and spread it to the edges, making it swirly if you’d like. The jam might push up around the sides of the meringue, and that’s fine.  Don’t fret if it looks like not enough filling, it will puff up in the oven to fill the pie pan.

Bake the tart for 1 hour, at which point the top will be light beige and cracked here and there. (If you’d like more color, you can bake it a bit longer or even put it under the broiler.)  I did not go there!  Transfer the tart to a cooling rack and cool to room temperature.  I did cut it while slightly warm and we all thought that was just perfection.  If you’d like, and I do, dust the tart with confectioners’ sugar before serving. Whipped cream on top is also great.Storing: The tart is best the day it’s made, although it’s still pretty nice the next day. Leave the tart at room temperature, covering only the cut part with a piece of wax paper or plastic wrap.  I doubt you will have any the second day anyway. It is that tasty.
Almond Paste Holiday Joy

Sometimes I find that it is just easier to make an ingredient yourself when you can’t easily locate it.  Case in point the venerable item of almond paste, found in many old school baking projects.  When I was a kid my mom used it to create marzipan fruit which she painted with delicate colors to resemble the real deal.  These dainty tasty treats were displayed on a crystal plate and served to company. I was lucky to get one itsy bitsy peach which was gone in one small bite of deliciousness. Don’t ask me how a woman with seven children found time and energy to make marzipan fruit.  Maybe because she didn’t have a computer or cell phone?

marzipan fruit

Not my mom’s marzipan fruit but still lovely.

Anyway, I wanted to make almond crescent cookies; had baked some last Christmas to much acclaim.  Forgot to get the paste and I was kinda busy cooking up a storm, so I texted my sisters to get some.  They brought almond filling, not the same, not even close. Bummer as we didn’t have time to shop again that day. I returned to the grocery store for the umpteenth time later this past week to get the right stuff and found no plain almond paste, only coconut or chocolate almond paste; weird.  I bought some marzipan, thinking it would do.  Nope.  Not the same; too sweet for a replacement in my recipe. So I googled almond paste and came up with a recipe to make my own.  Back to the store for plain almonds. I bought whole ones, they were out of blanched ones.

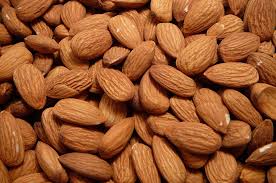
almonds

To blanch you heat a big saucepan half full of water to a boil; dump in the almonds and let them cook a couple minutes until they float.  Skim off and lay on a rimmed baking sheet, let cool a bit and then peel the skins off, your nails come in handy for that part. That can take a few minutes, maybe do it while you watch a Christmas movie or special.  Then bake those damp almonds on that rimmed cookie sheet at 170 degrees for 20 or 30 minutes to dry them out.  Do not brown.  Let cool completely before proceeding with the recipe.  FYI: rimmed baking sheets are the best; they bake things more evenly with less burning than plain un-rimmed sheets.  I found two old ones that are sturdy and with 1/3 inch rims, perfect.

blanched almonds

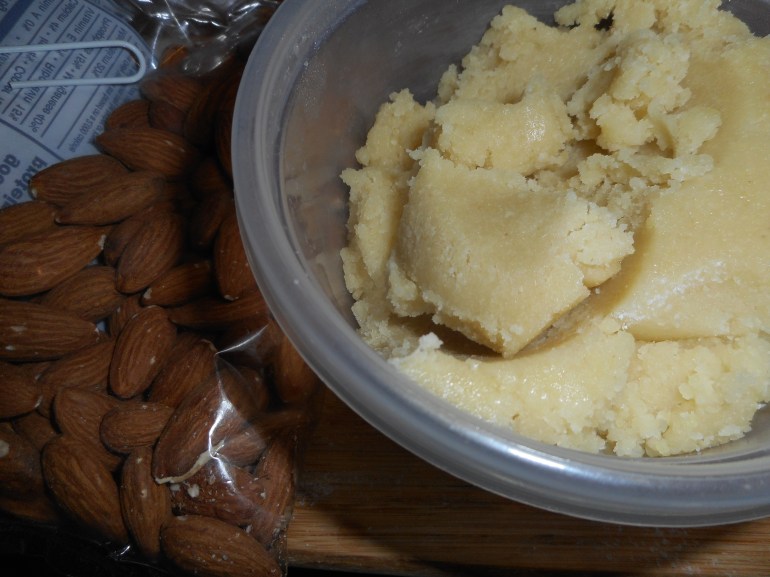
This recipe went together in just 5 minutes once I had the blanched almonds ready.  It makes really great tasting almond paste; better than the redi-made stuff. Good to know, just in case you can’t find any at the store.  FYI: I will post the almond crescent recipe but not today, one post at a time!

shortbread cookie 009

This was a cool experience because I learned something. Before, I just took almond paste for granted; now I know that it isn’t too difficult to make my own and it is really yummy homemade!  A bonus is that I got to use my ancient Hamilton Beach 2 speed processor, a faded refugee from the 1980’s.  It seldom comes out to play except when I make a big batch of carrot soup as I have a mini one that is perfect for most blending jobs.  This time it was the right size, got the job done and that is what counts!

Almond paste

INGREDIENTS

1.5 cups whole blanched almonds

1.5 cups powdered sugar, sifted

1 large egg white, lightly beaten, room temp

1/2 tsp almond extract

Yield: 1 lb (2.5 cups) almond paste

Directions:

  1. Place the whole blanched almonds and 1/2 cup of the powdered sugar in a large food processor (at least 7 cups in volume) fitted with a steel blade. Process the nuts and sugar until the nuts are very finely ground, stopping periodically to scrape the sides of the processor bowl. The sugar will help prevent the nuts from turning into almond butter, but done over process.
  1. Once the almonds are very finely ground, add the rest of the powdered sugar and blend until it is completely mixed into the ground almonds.
  1. Stop the processor and add the egg white and the almond extract. Turn the processor back on and process the almond paste until it comes together in a clump in the food processor.
  1. If it seems very sticky, add a little more powdered sugar, a spoonful at a time, until it is smooth. I didn’t need to do this.
  1. You can use the almond paste at once or wrap it to use at a later date. Wrap it tightly in plastic wrap and then store it in a zip-top bag. Wrapped this way, the almond paste can be kept for up to 3 months in the refrigerator or 6 months in the freezer. Make sure to bring the almond paste to room temperature before using it in recipes.

PS: I forget exactly where I found this recipe, It is by Alton Brown, (my hero) just google almond paste and it should come up!

We Are Longing for Gourmet GF Entrees

My latest pet peeve is boring gluten free restaurant food.  If there is anything gluten free on the menu it is often simplistic and there are very few choices compared with the rest of the menu.  This is a major bummer.

Last weekend I was eating supper at one of the few restaurants where I feel truly safe in eating gf, BigBites BBQ located along Route 309 in Quakertown. Not boring food, just plain delicious!  They make the majority of their food GF, have dedicated areas for GF food assembly and cooking and they specially order their Udie’s GF buns for their sandwiches directly from the factory. The owners have 3 family members with celiac disease so they know what they are doing to make food safe and gf.

pulled pork signbigbites

Plus their BBQ is the best in the entire area.  Love their pulled chicken, their ribs with ruby red sauce and their sides: smoky baked beans, cornbread and coleslaw.  The owners were telling me about their plans to add gf tacos to their menu. They are going to make their own tortillas from scratch. Just hearing the owner describe those tacos made my mouth water. Can’t wait!

What I am getting around to spelling out is that we were also commiserating on why no restaurants make really complex gf foods.  I had been thinking that but it was interesting to hear the owner of a mostly gf restaurant making the same point. The few places that serve gf raviolis or pasta seldom dress the gf food up with fresh herbs or other additions, like the rest of their entrees have.  It is like they think we celiacs don’t like gourmet tasty food; that we just want it bland and plain.  No, no, no! We love fresh basil on our pasta, spices, cheese and all the yummy things that can fancy up a dish to make it delightful and memorable.

The only other place I have gotten some really tasty and well made gf food is Bella’s Restaurant here in Hellertown.  I wrote an entire blog post on their fantastic shrimp with pink vodka sauce, a few months back.  I just wish they would translate more of their incredible entrees into gluten free versions. Same for Nick’s on Main Street in Bethlehem.  Their gf baked ravioli is very nice but I think it could be fantastic with a few added flavor touches. bella sign

Maybe 2015 will be the year more restaurants get that concept and expand their gf menu making dining out gluten free a better experience. I am personally hoping to find somewhere that has gf perogies as their nightly special. Heavenly!

Lovely Meyer Lemon Buttermilk Tart

My brother Robert sends me a big box of fat and juicy Meyer lemons from his trees every November.   Like 15 of them, nestled into packing material with stems and leaves attached, fresh from his tree! The box releases a cloud of lemon scent when I carefully slice the packing tape open. November and December are the season of perfect Meyer ripeness. Meyer lemons are a cook’s dream.  Their flavor is sweeter than store lemons; not all that tart, with a gorgeous floral scent, perfect in cookies like the lemon squares everyone loves, which I make gf now a days. I also make lemon meringue pie, lemon marmalade, lemonade and this delicate yet gorgeous buttermilk tart.  Which I am sharing with you today.

lemon tart 001 lemon tart 004

It is very easy to construct; I use a shortbread cookie style, gf, press and bake crust and the filling is just whisked together and poured into the partially baked crust.  Be sure to use a fine grater to carefully remove all of the lemon peel onto a slice of wax paper before you halve it to make the juice for the filling.  I used one big fat lemon plus a little bit more; 2 medium sized ones will work great.

So easy to bake up and it is perfect with a big spoonful of fresh real whipped cream.  Sometimes I lay slices of Meyer lemon down the length of it when I use my special rectangular tart pan.  Sensational looking and just as yummy as it looks.  A round tart pan works great too. I have used a regular gf pie crust which is a tasty alternative to the cookie crust.

lemon tart 005

You could make it with regular lemons but I suspect it would need more sugar to make it sweet enough as Meyer lemons are far sweeter than the grocery store lemons.  I think a few places may carry Meyer lemons; check at Wegmans. If you want to use all purpose flour in your crust and in the filling – go right ahead.  I have been making this tart since long before I went gluten free: simple, tasty, and impressive looking – tart perfection!

Meyer Lemon Buttermilk Tart

Cookie Tart Crust

1 cup brown rice flour mixture (recipe below)

¼ cup sugar

1 tsp. xanthan gum

5 tbsp. cold butter cut up into 6 or 7 chunks

1 tsp. vanilla extract

2-3 tsp. water

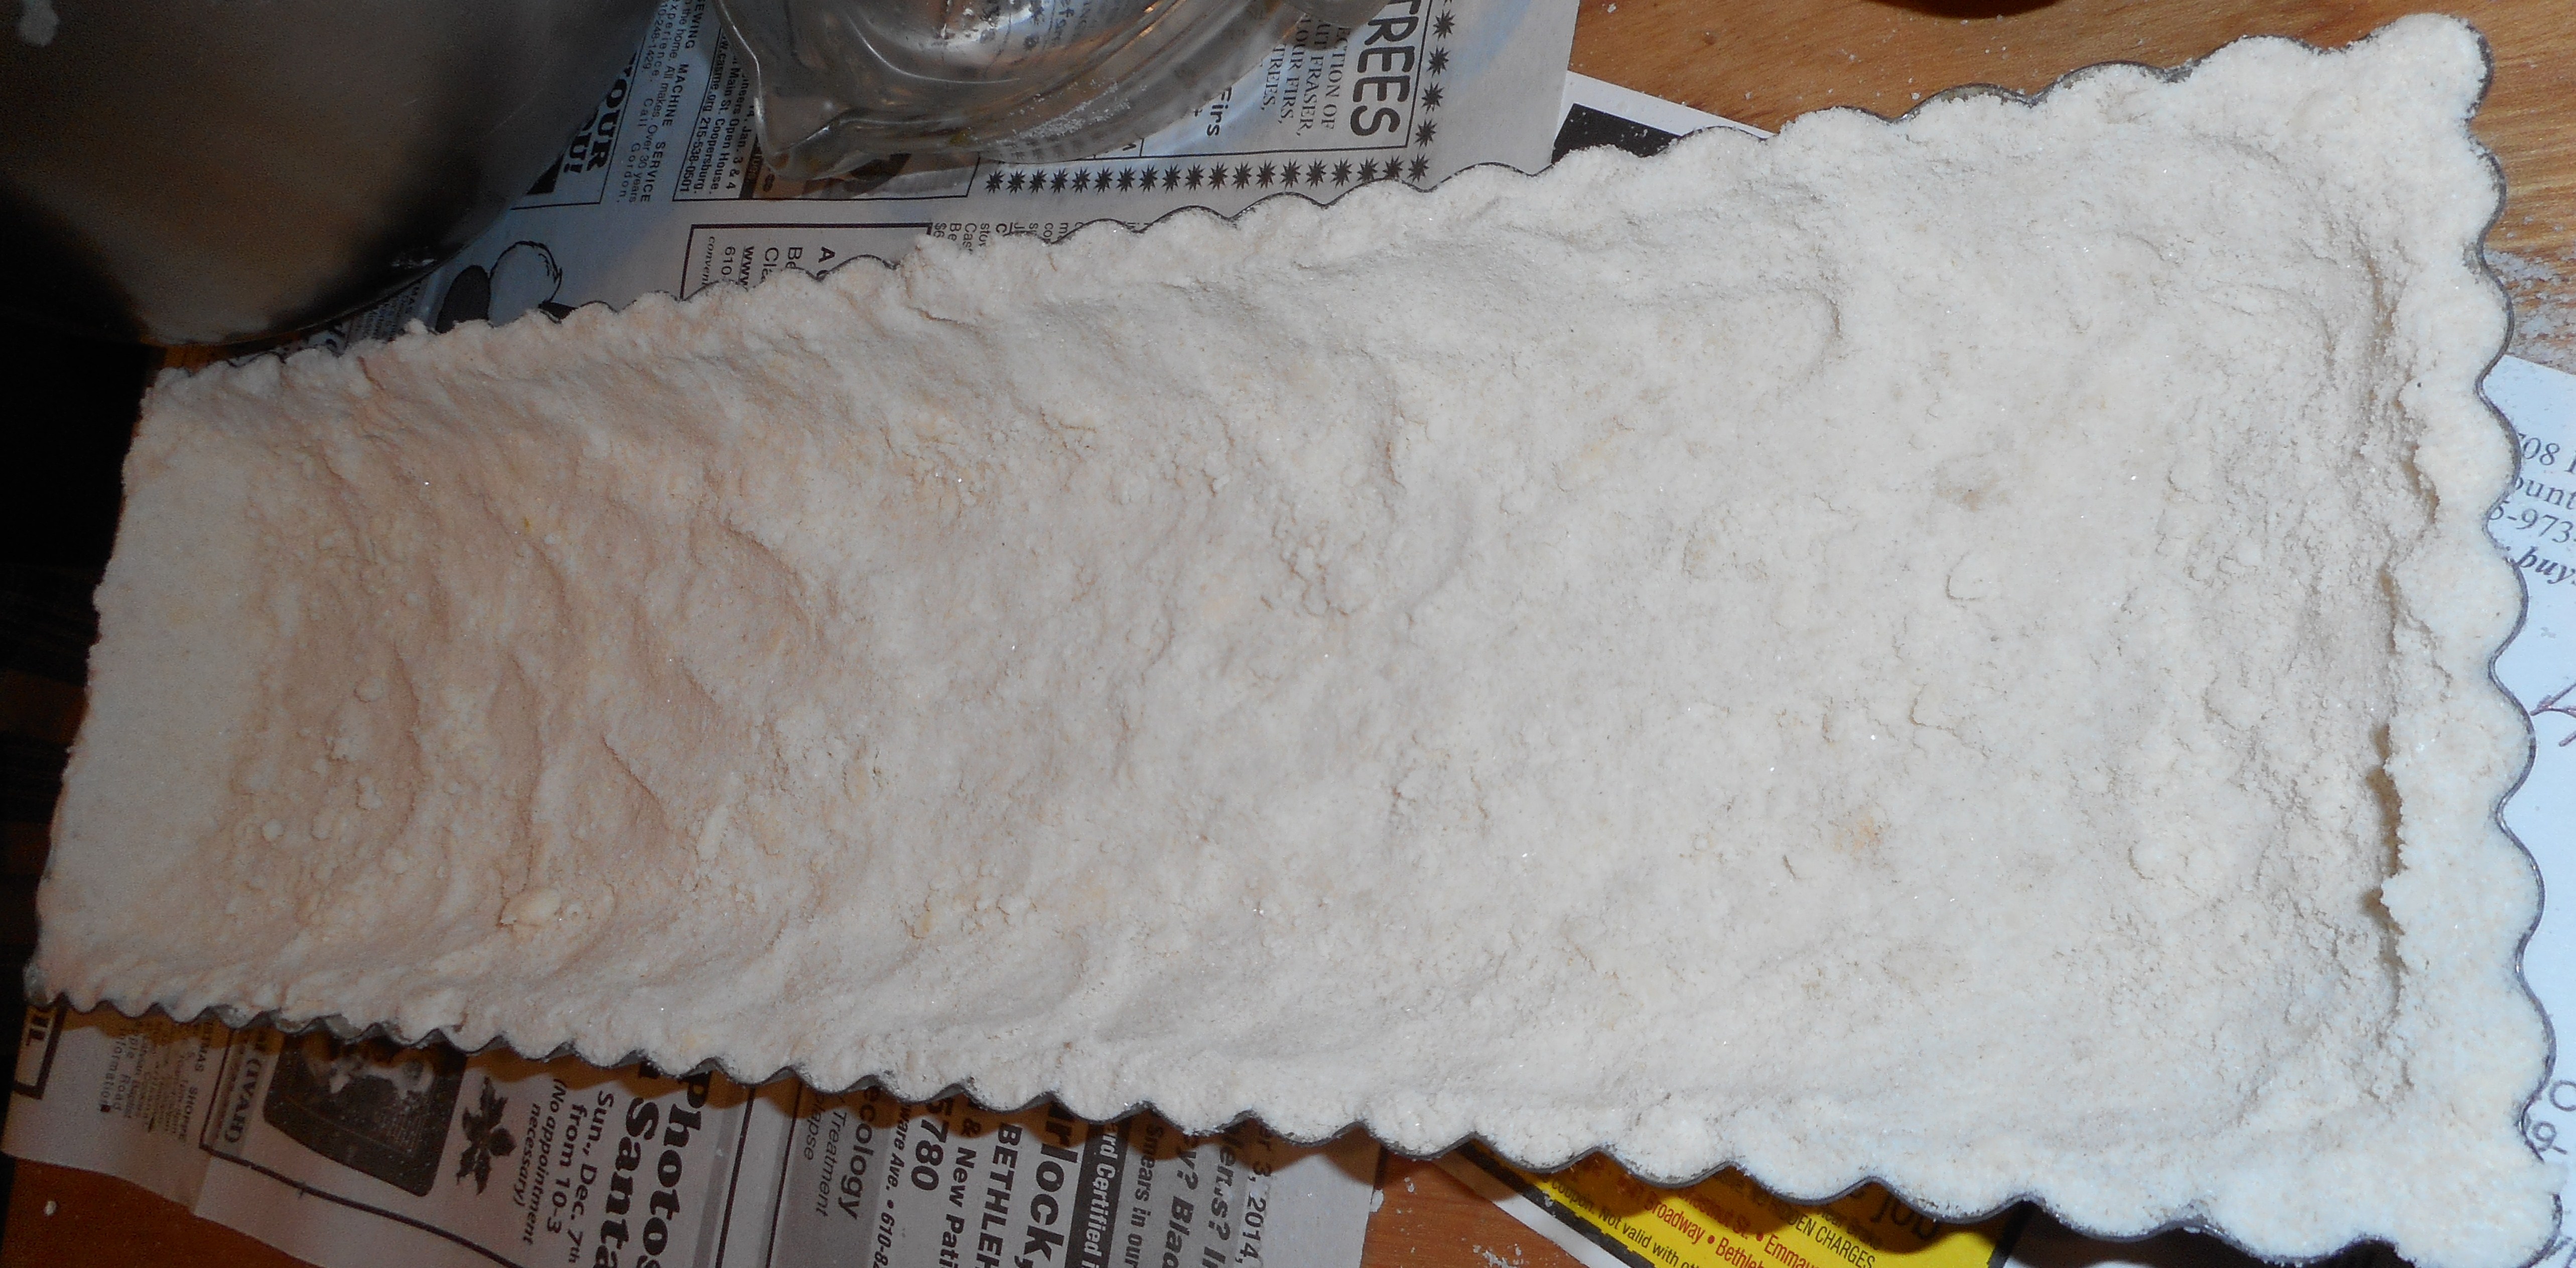
Mix the dry ingredients in your stand mixer, add the butter, blend with the paddle blade until the butter is small pebbles.  Add the vanilla and water.  Press into a tart pan with a removable bottom, be sure to first spray the pan with cooking spray. Don’t press too hard or you will over compact the crust and it will lose the delicate texture that makes it delightful.

lemon tart 002  Bake 10 minutes in a 375 degree oven.  Cool 10-20 minutes before filling and baking.

Filling

¾ cup buttermilk: let it warm up for 10 or 15 minutes before mixing

½ cup granulated sugar

2 lg eggs, warm them close to room temperature

6 tbsp. Meyer lemon juice

2 tbsp flour (I use sweet rice but you wheat can use white rice flour)

2 tbsp finely grated Meyer lemon peel

——————–

Heat oven to 375 degrees.

Bake ten inch tart crust for 10 min

Cool at least ten minutes before filling

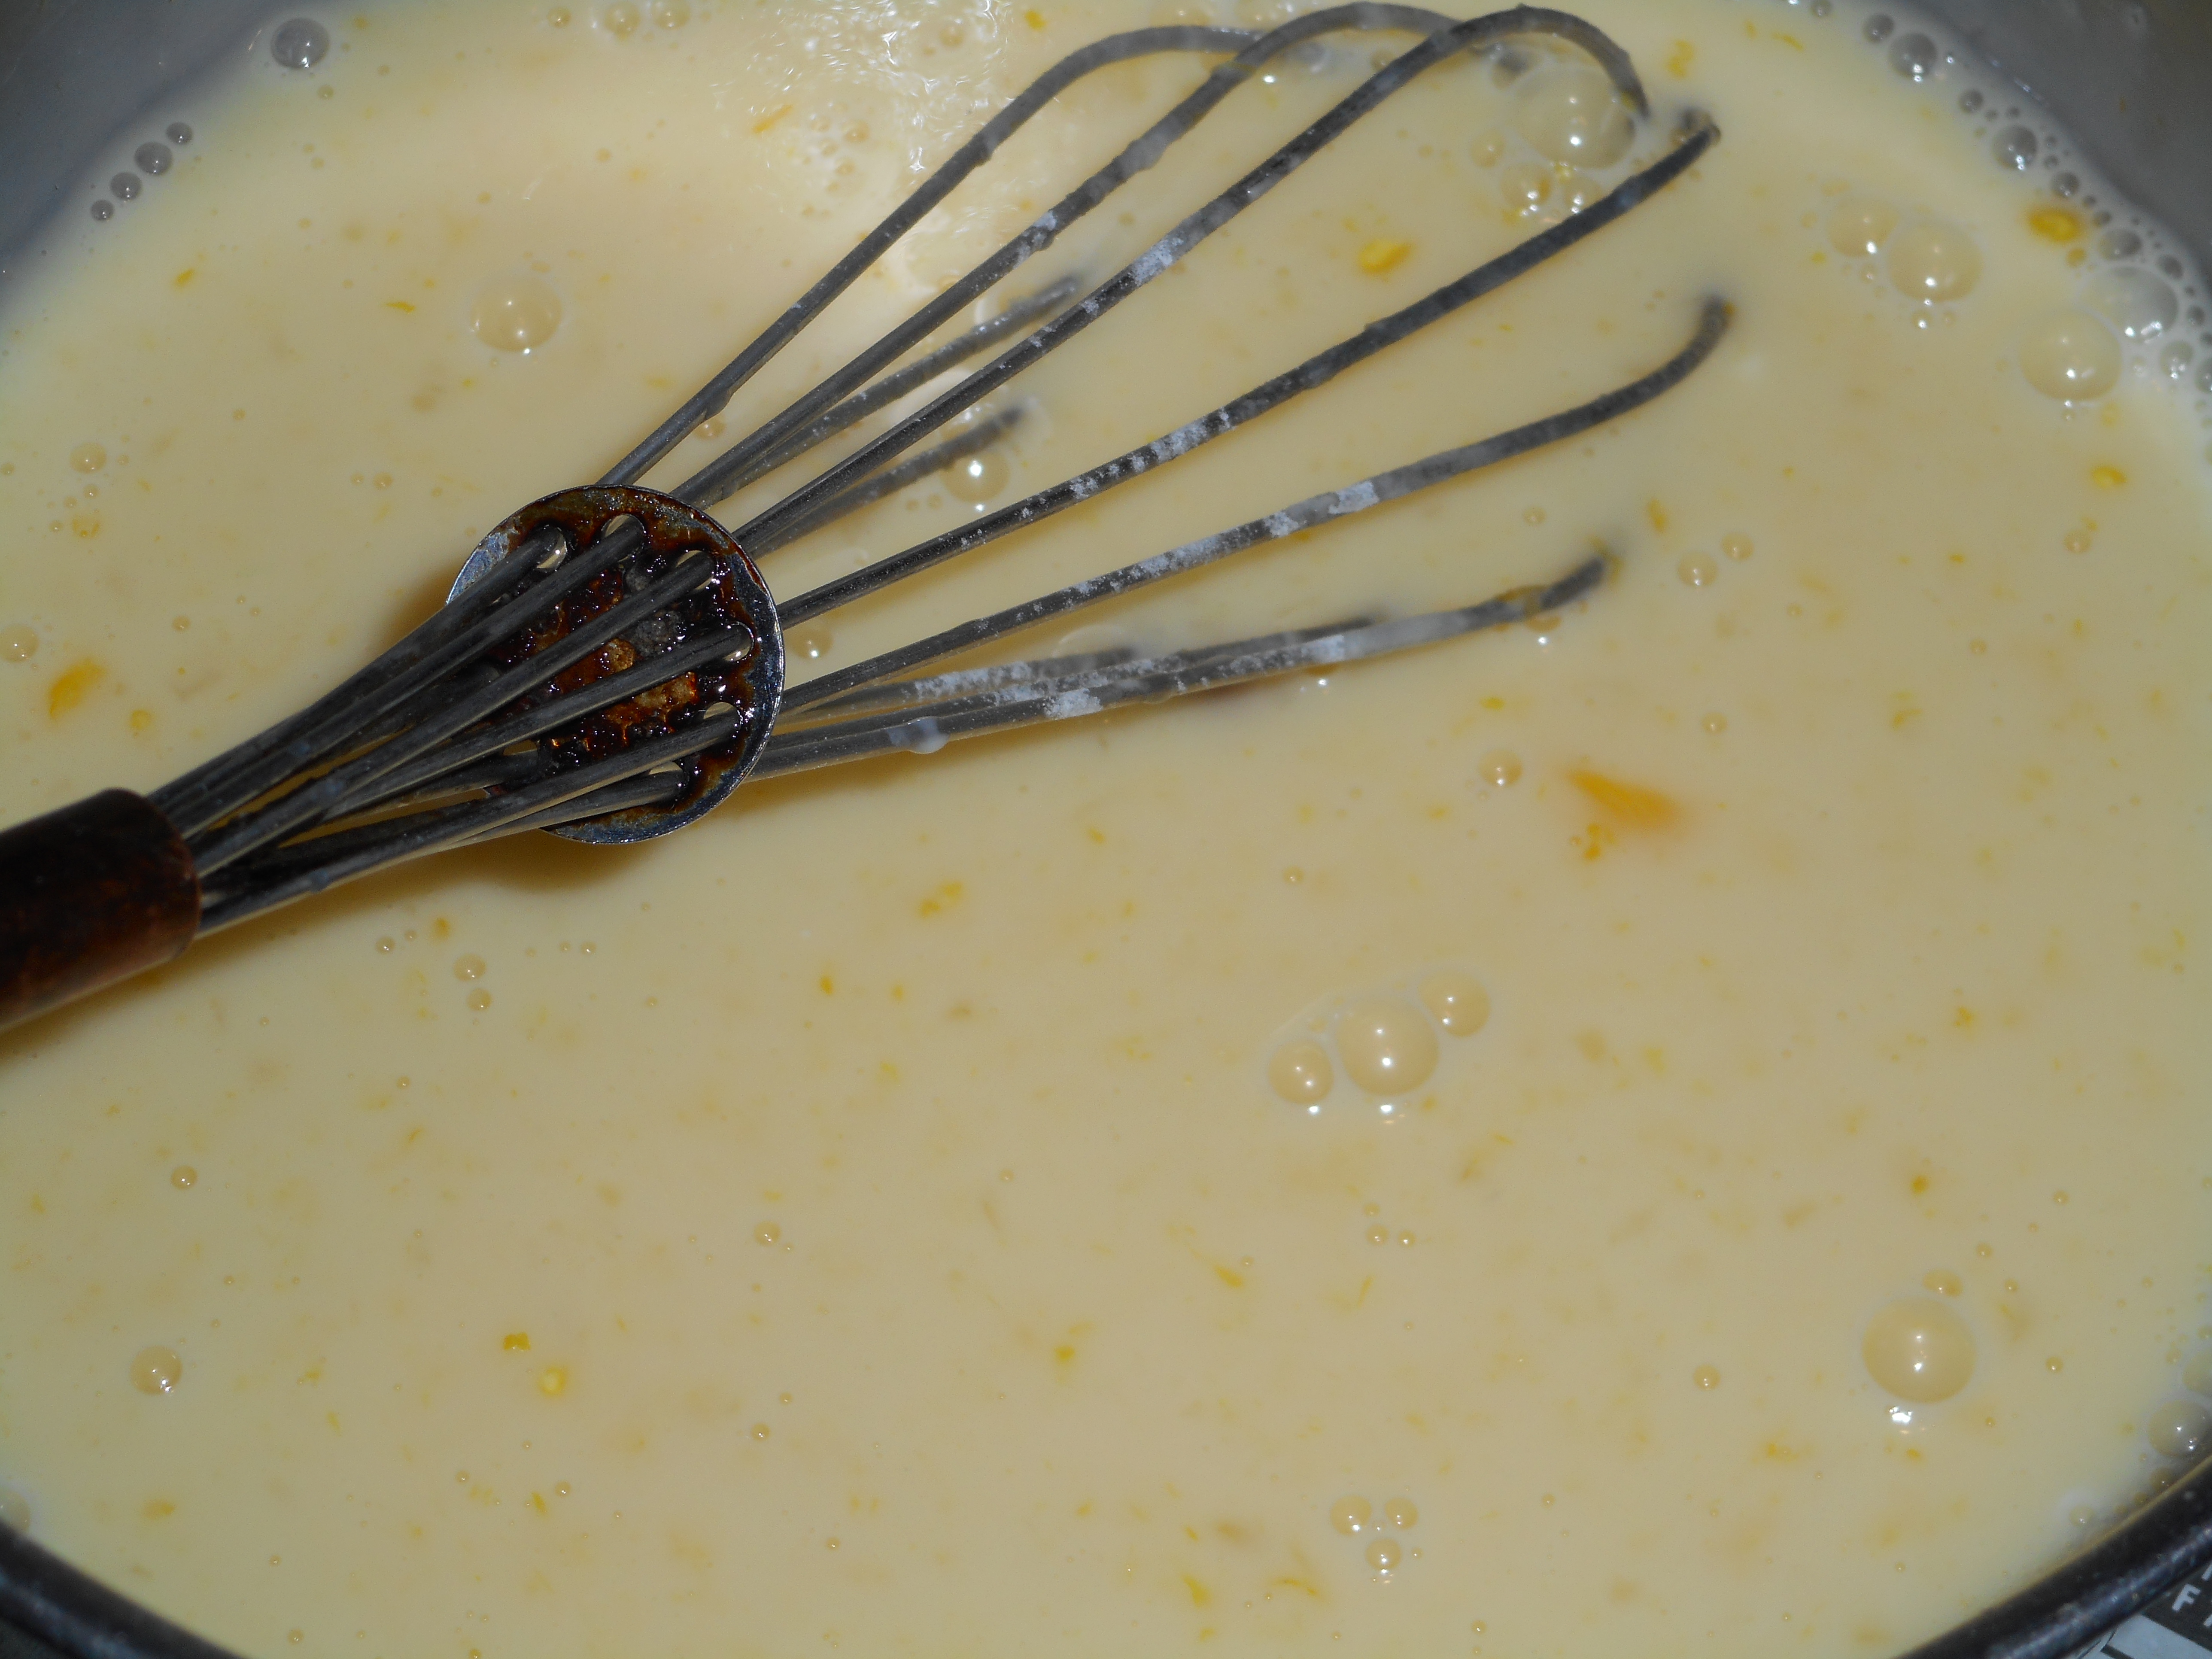
Mix all filling ingredients in a mixing bowl until smooth.  Pour into crust and bake at 325 degrees for 25-30 min; until just barely set.  Cool completely and refrigerate until chilled.  Can decorate tart with thin slices of Meyer lemon tart. Serve slices topped with a dollop of this lightly sweetened cream.

Christmas  tart 2010 002

Topping:

1 cup heavy cream

2 tbsp powdered sugar

Beat cream, add powdered sugar.  Serve a dollop with each slice of tart.

Brown Rice Flour Mix
2 c brown rice flour

2/3 c potato starch

1/3 c tapioca flour

Filling recipe modified slightly from one on food network.com, flour mix and crust from Annalise Roberts, Gluten – Free Baking Classics.

Mahi Mahi With Tangy Veggies Over Rice

2914-10-31 011

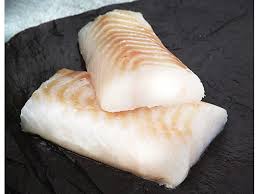
I like to combine healthy proteins like fish with lots of great veggies and create awesome flavors to make quick meals yet, food with complex flavor combinations and naturally gluten free.  Case in point;  a frozen fillet of mahi mahi.  I keep a couple individually wrapped fillets in my freezer to form the basis of a quick meal; it has a firm meaty texture and will work well with a number of ingredients. Finding it somewhat bland I like to spark the flavor with a couple great additions to create a delicious meal, olives and capers to name those chosen today.

This is somewhat of a vague recipe, you can use more or less of the ingredients depending on your pantry and your palate.  I used salad olives that have pimento in them, even more flavor!

green olives capersraw cod fish

Mahi Mahi with Veggies   for one; can easily double

Ingredients:

1 4-6 ounce fillet of mahi mahi

1-2 tbsp. mild olive oil

½ a small onion, chopped

1 small celery stalk sliced fairly thinly in rounds

½ cup sliced fresh zucchini, half moons

1 cup chopped swiss chard

8-14 green olives roughly chopped

1 tbsp. capers

2-3 tsp. fresh lemon juice

1-2 tbps. Vermouth or dry white wine

1 tbsp. butter

Directions:

Heat a tbsp. of the olive oil in a medium sauté pan.  Add the fish and cook 3 minutes lip it and cook 3-4 more minutes. You want a nice lightly browned fillet but not overcooked.  Remove from the pan and set aside, covered so it doesn’t get cold.

Add the rest of the oil, heat, add the onions, stir, add the celery and cook, stirring frequently until they begin to soften, 3-4 minutes.  Add the zucchini and the swiss chard.  Stir and cook 5-6 more minutes.  Add up to 2 tbsp. water if the pan seems dry.  The water creates steam and helps to cook the veggies.  Don’t over do it or you will have a soggy mess.

2914-10-31 010

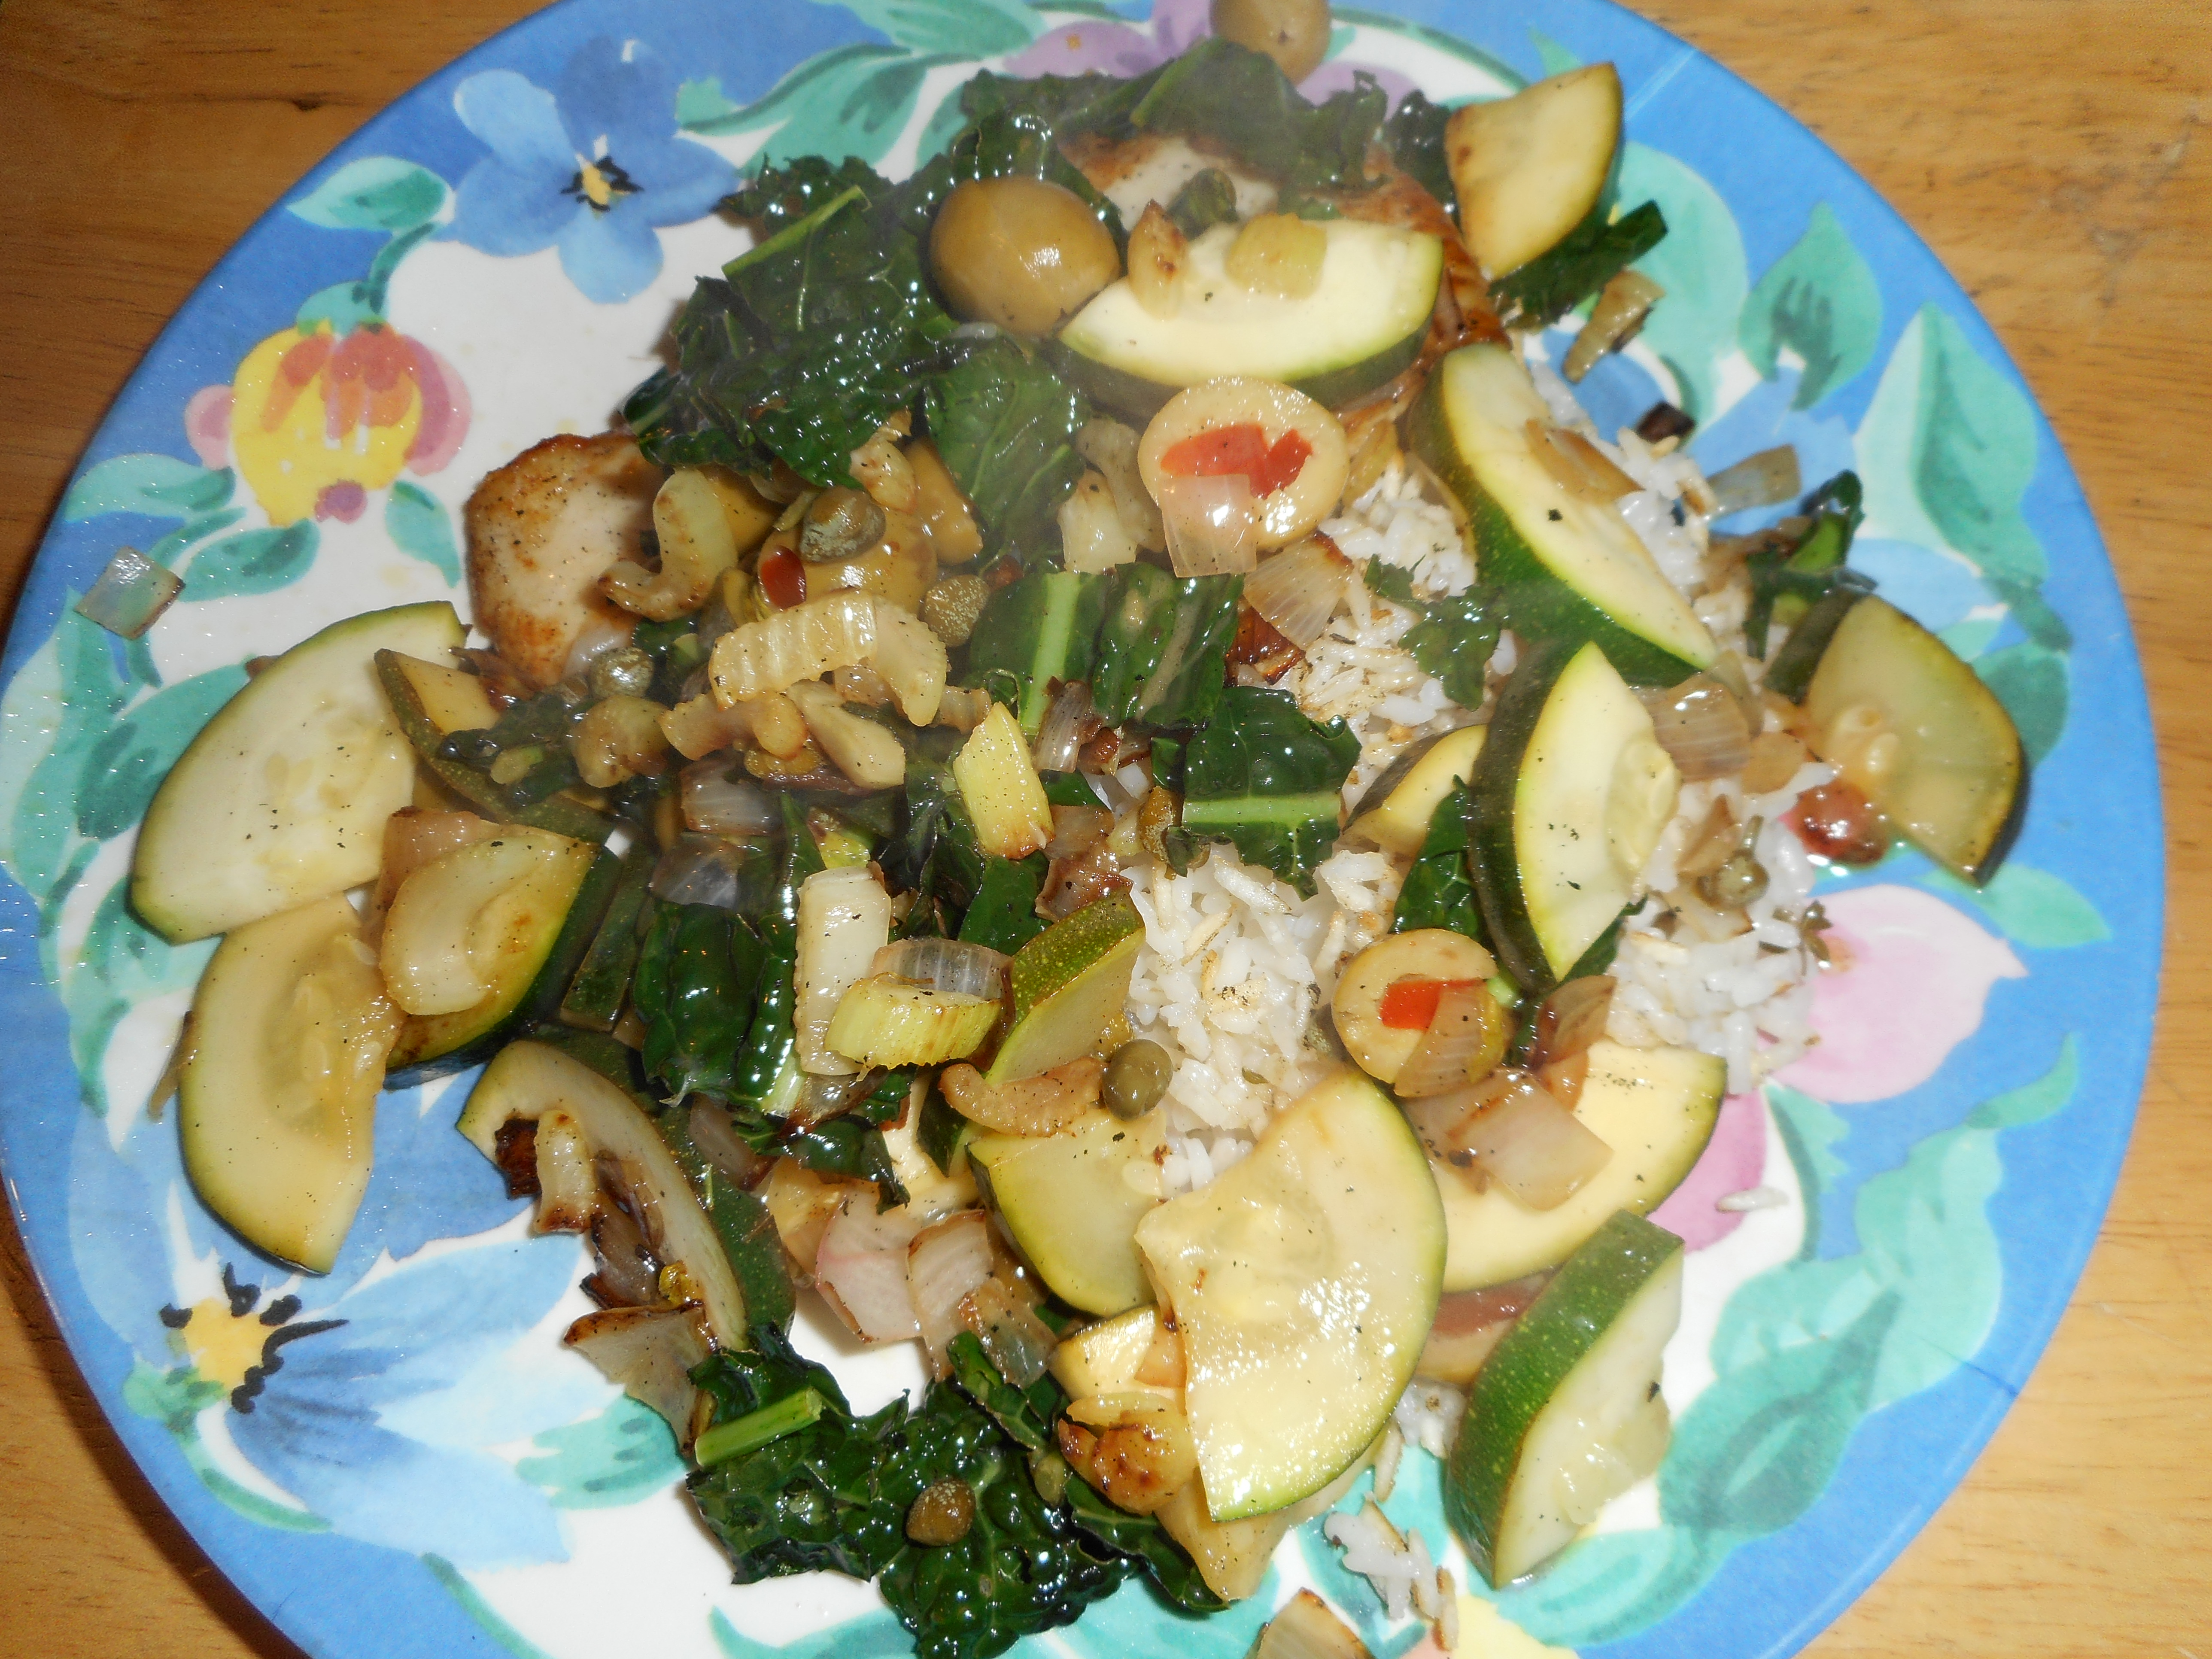
After 4 of the 5-6 minutes add the chopped olives and the capers.  When the veggies looks about done, return the fish to the pan and pour the fresh lemon juice and Vermouth over the fish and the veggies. Stir another few seconds.  Add a tbsp. of butter and, while it melts, season with a few grinds of fresh pepper.  The butter, lemon juice and wine form a delicate sauce that clings to all the veggies.

2914-10-31 011

Taste before adding any salt as the capers and olives provide a fair amount of salinity and it is impossible to remove salt once you sprinkle it on.  Serve over hot steamed rice.  I love it over long grain brown rice or long grain white rice.  It is a complete meal without any additions.  Creating it should only take 15 minutes if you already have some cooked rice available.  White rice can be made in less than 20 minutes. Enjoy this healthy yet very flavorful meal some evening soon!