Satisfying Winter Salad Choices

Winter is not known as the season for great salad but it could be! It has been so cold here in PA I am longing for summer fruits so these winter salads can fill that bill when you are meal planning.

I am giving you two salads for this post plus variations for each. Try your own blends but it is best not to throw everything in the fridge in it.  Try to be selective and highlight one or two ingredients.  Simple salads I like have only three – five ingredients and I use my homemade vinaigrette dressing.   They are pretty healthy and probably fairly low in calories yet high in nutritional value.  These are basic recipes which you can tweak depending on the ingredients in your fridge and pantry.

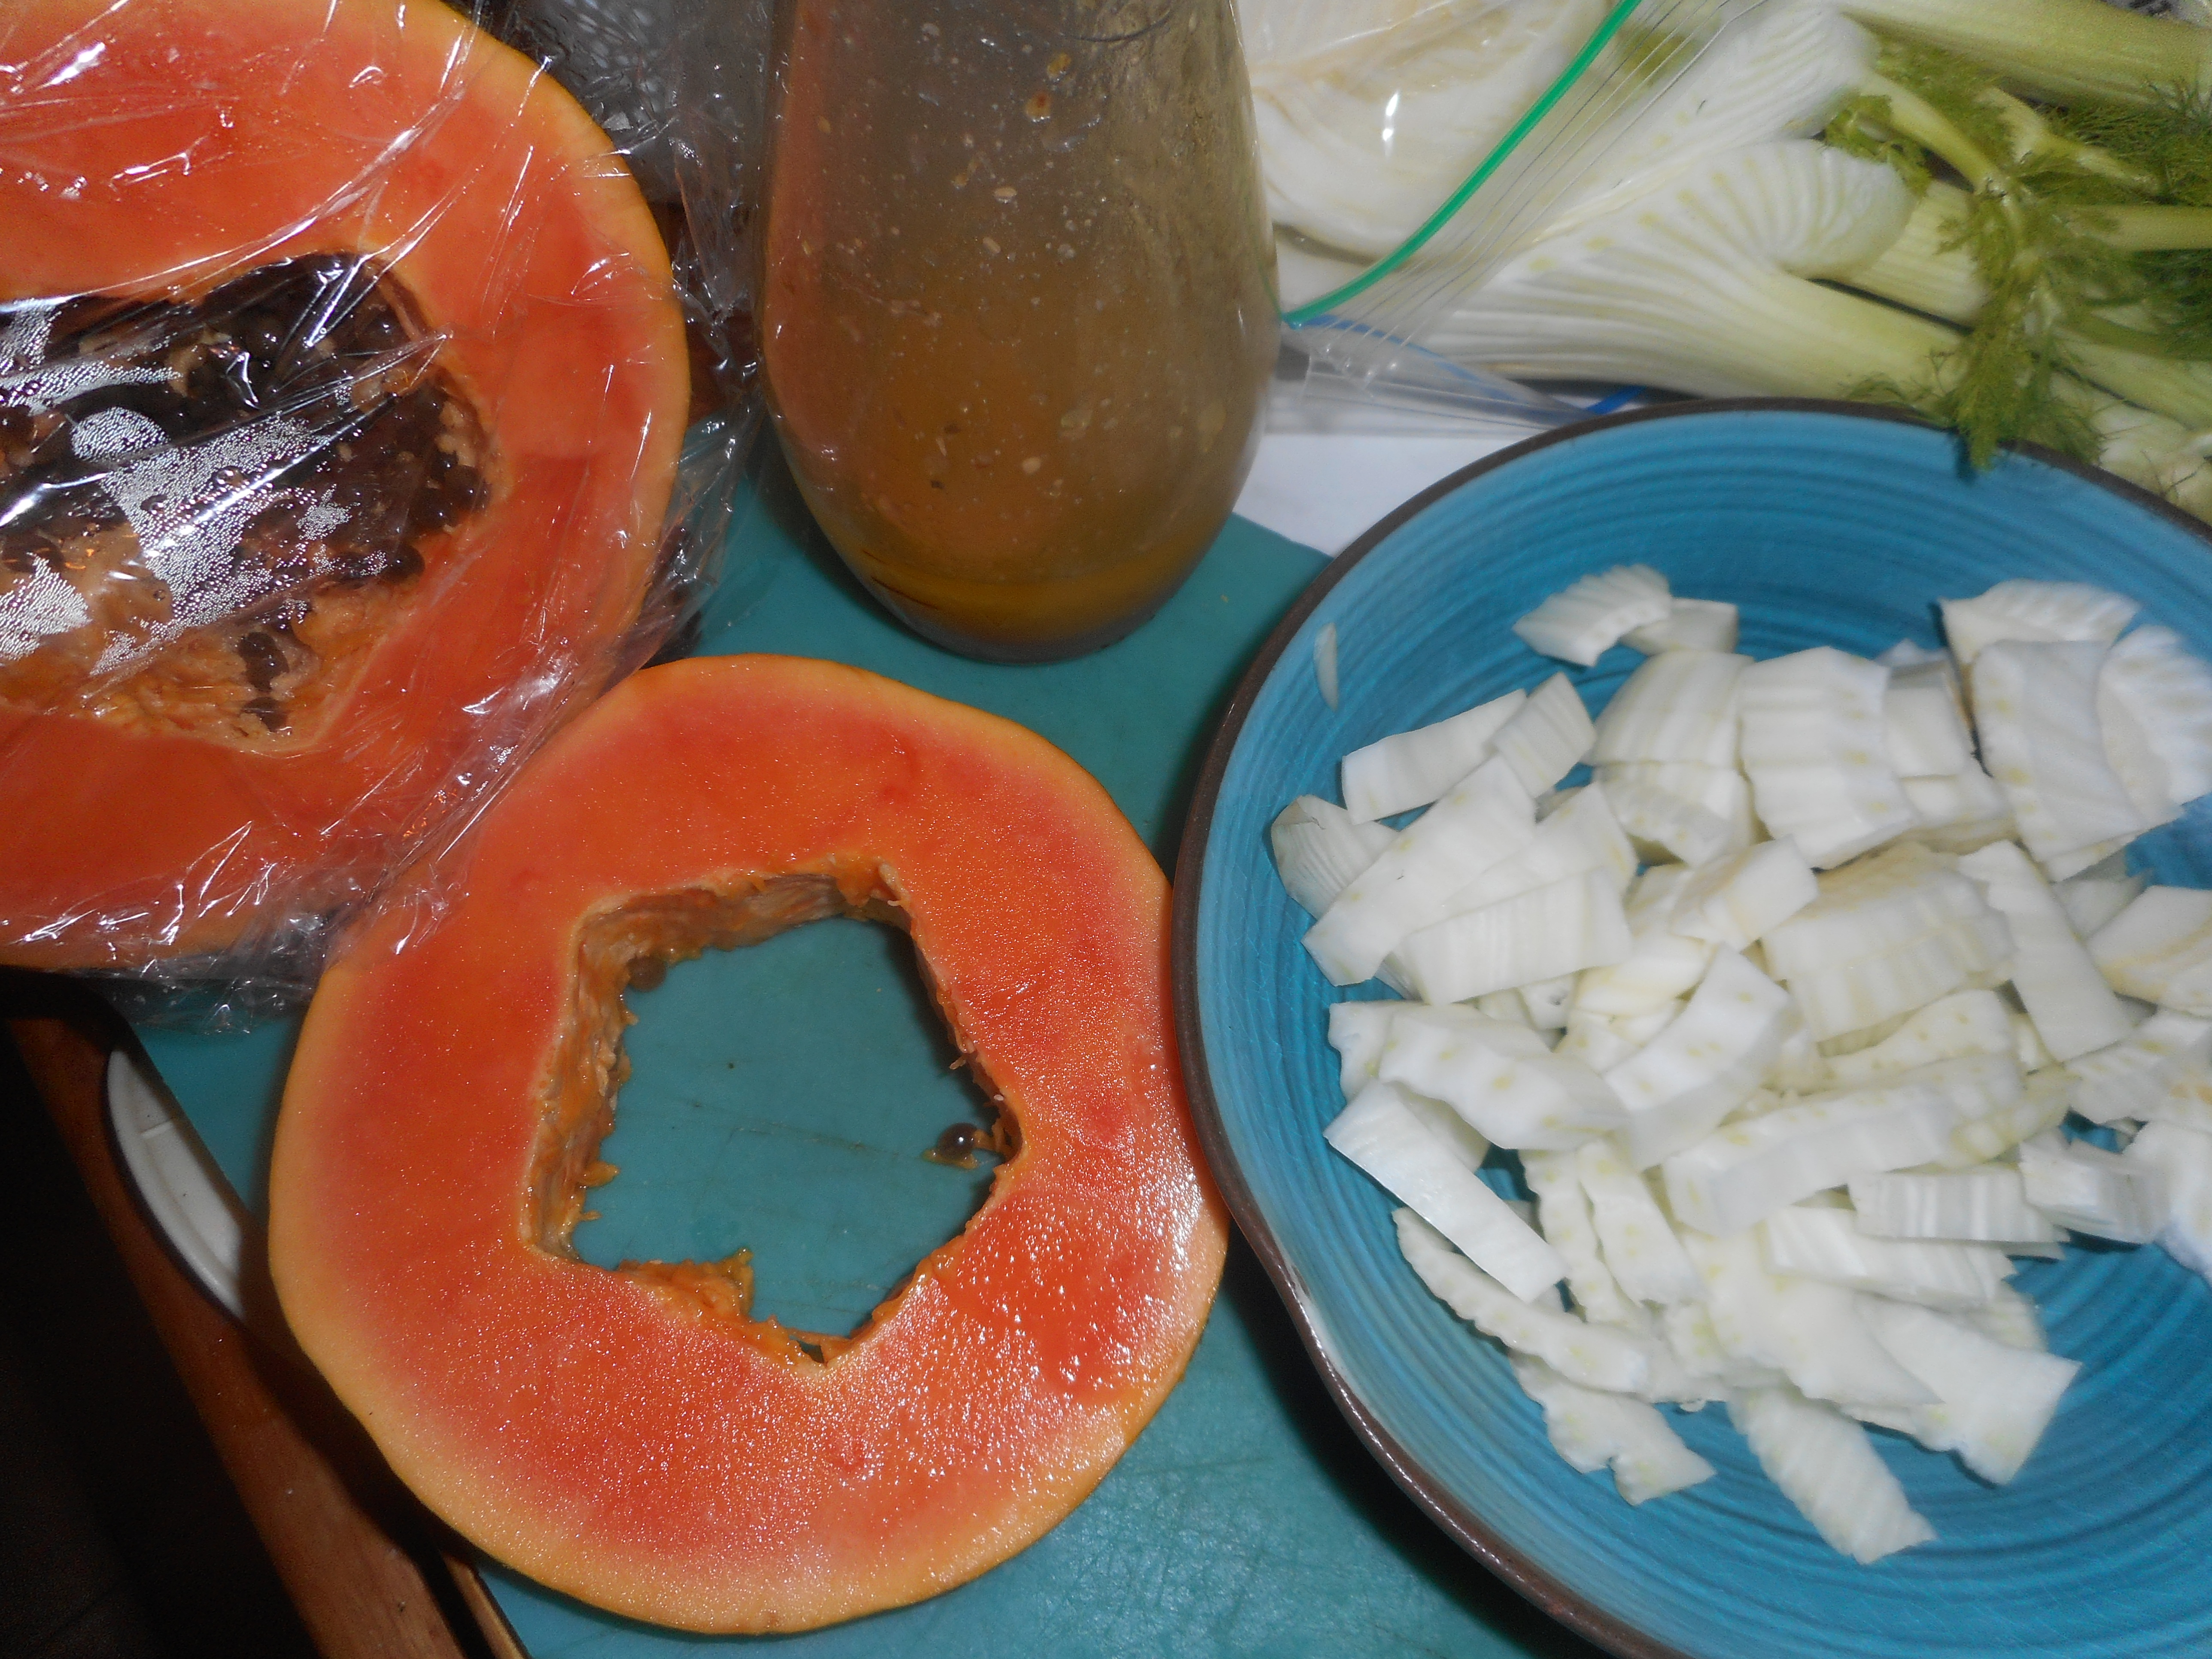
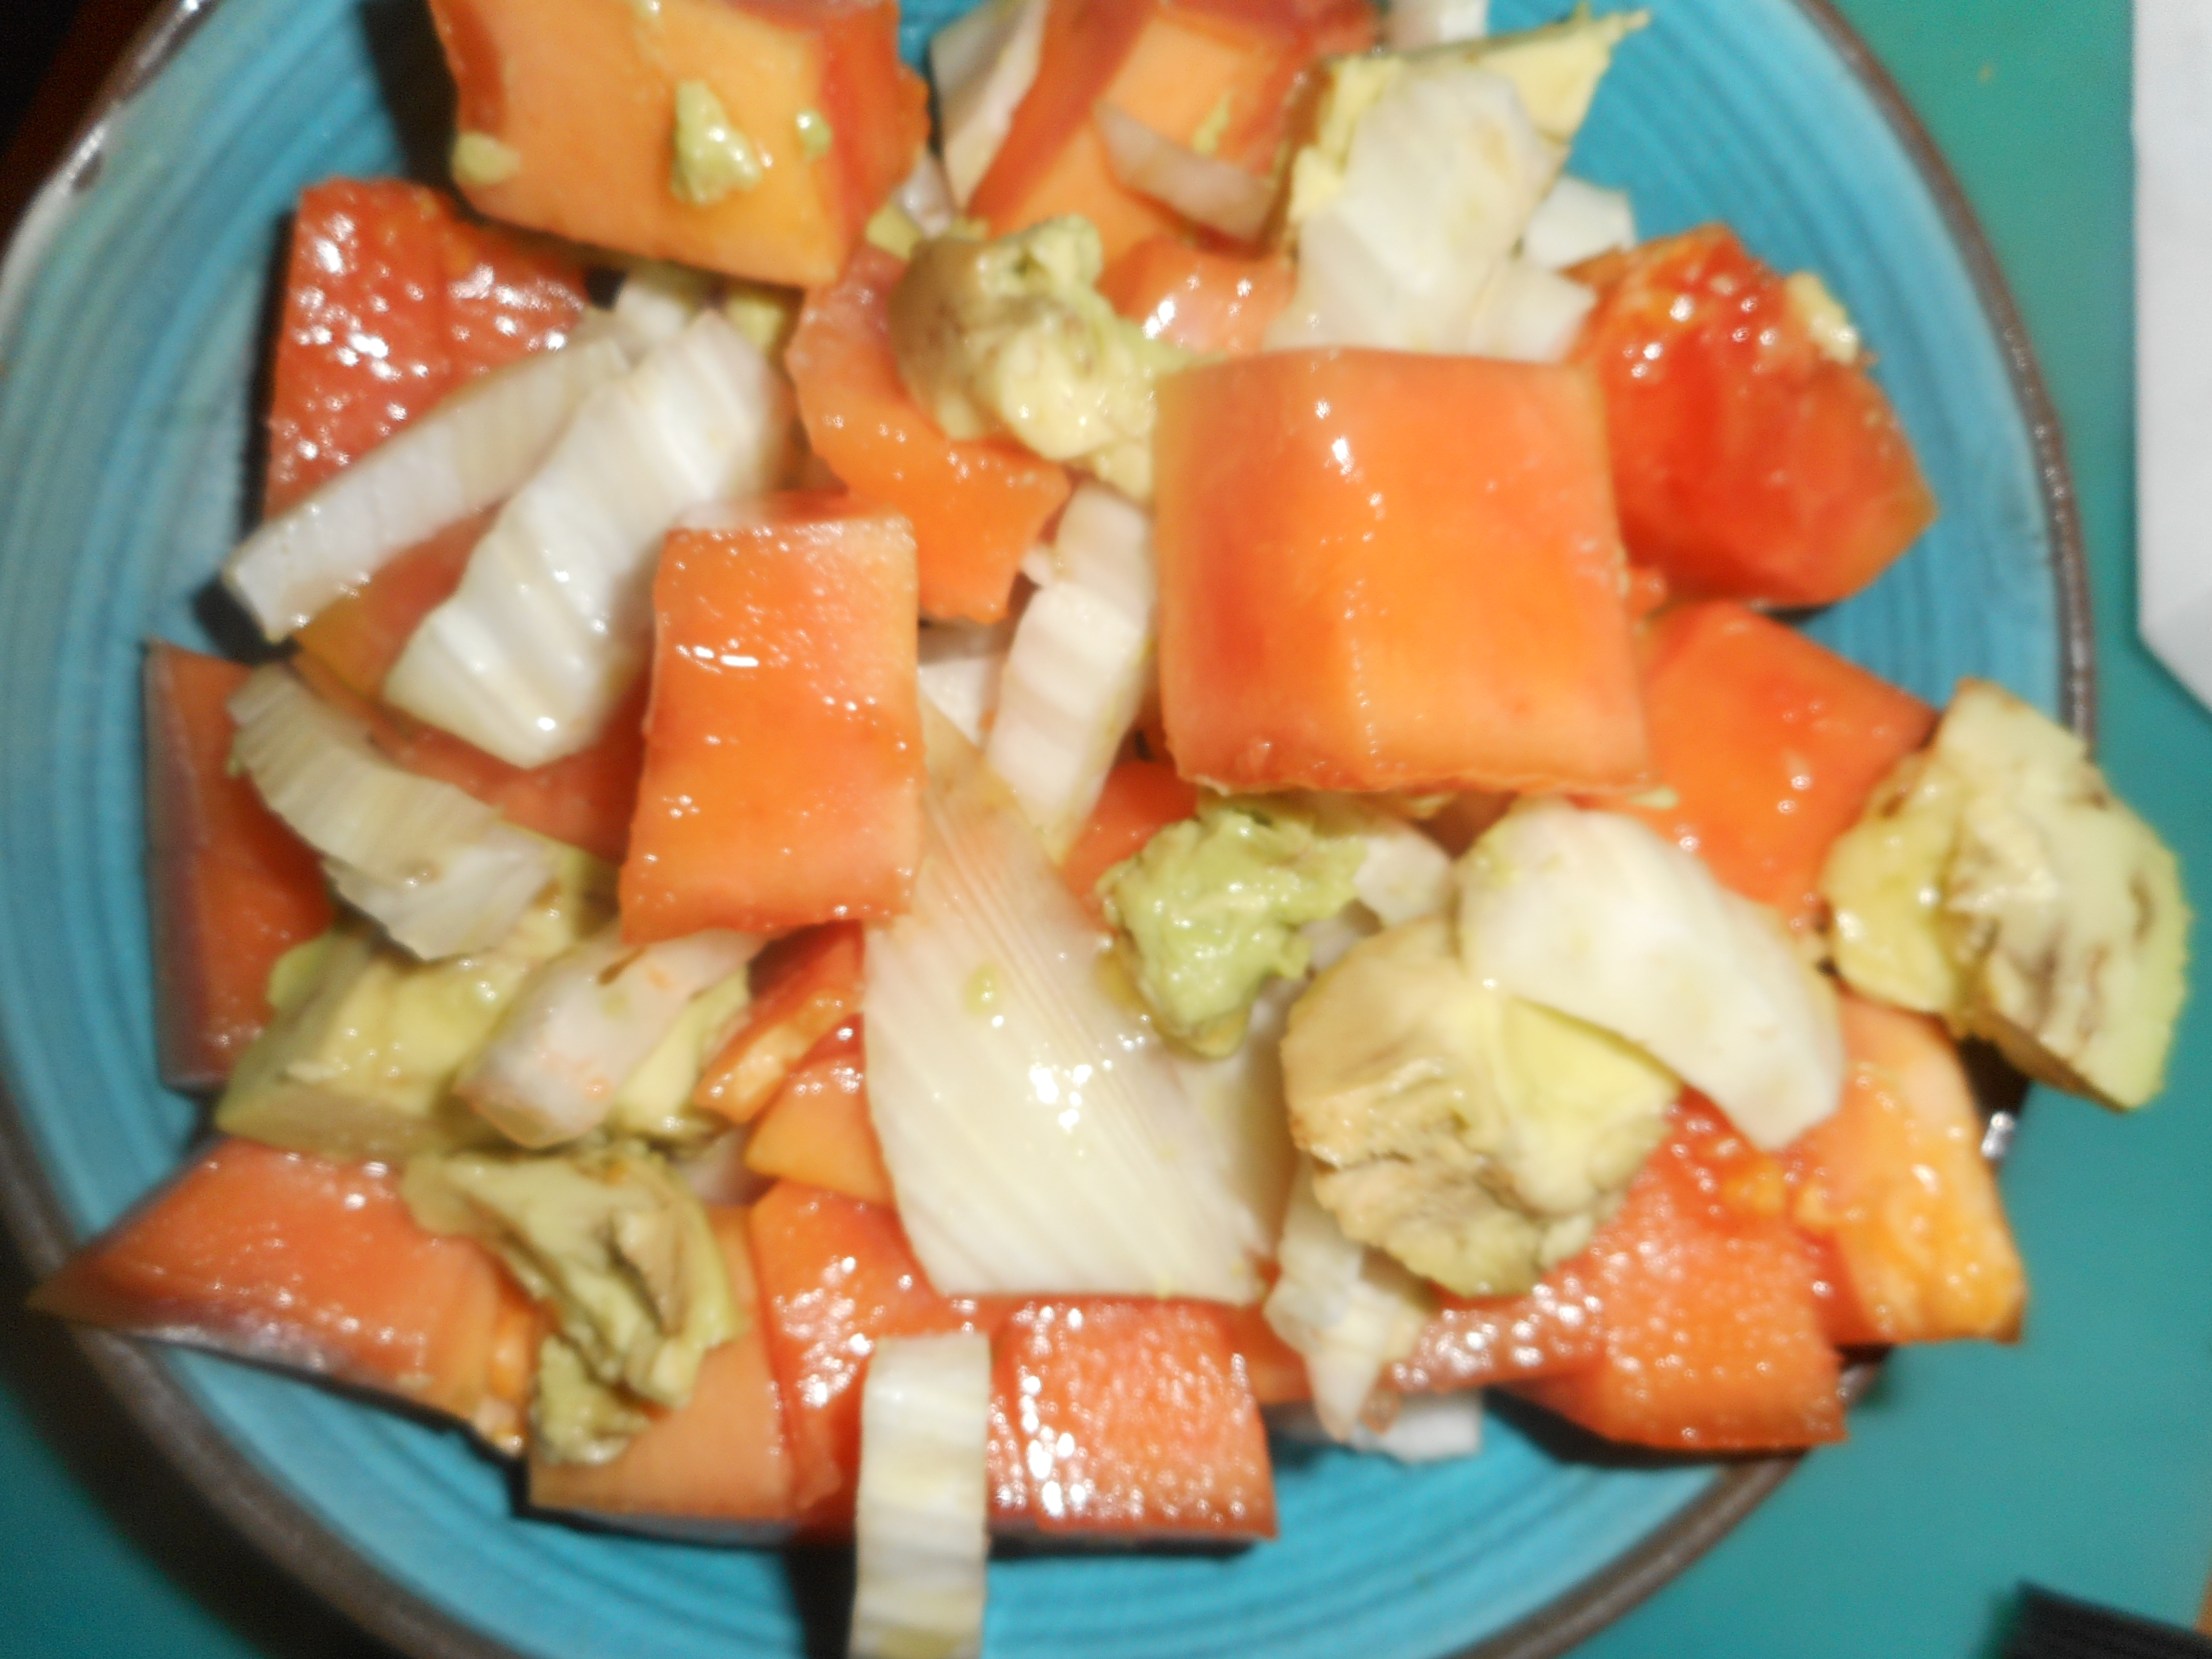
Here are two versions of my winter salad.  This is a repost from my blog three years ago. I eat these salads all winter long and think you should too. Recently I bought a few blood oranges and used them in lieu of a navel orange; totally different look but pretty much the same flavor; fun!  Another change is I use cubed papaya in lieu of the orange.  Love that one too.

Super Winter Salad (serves 1)

½ an avocado

1 celery stalk

3-4 leaves of green loose leaf lettuce

2-3 tbsp. fresh pomegranate seeds

Or try this yummy winter salad which shows off citrus flavor and color:

s
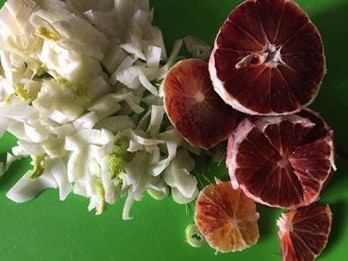
Citrus Fennel Salad (serves 1)

1 inner stalk of celery cut in 1/3 inch rounds

1 navel orange

¼ cup fennel bulb, cut in ¼-1/3 inch slices

Peel the orange, either by hand or using a paring knife.  Cut across into rounds about ¼-1/3 inch across.  Cut again across into halves.

Fennel has a sweet crunch to it, faintly tasting of licorice, kinda sort of and it marries really well with citrus.  I also like to use blood orange or cara cara navel oranges in this recipe.  Even grapefruit slices are great.  Cara cara oranges have an interesting orange-pinkish cast to the fruit and a lovely sweet flavor.  The local Giant grocery store has them on display right now.  You can also mix two citrus in your salad; a navel and a blood orange.  Fantastic!

Finishing directions for both salads:

Place the salad ingredients in your salad dish; I have some very low sided ceramic bowls I got a long time ago that I love for salad. Then sprinkle the salad with vinaigrette which you just shook up one last time! Please don’t add too much salad dressing or you will have soggy salad, really not a good thing.

Margie’s Vinaigrette

I named this after my older sister who passed away several years ago.  She made fantastic vinaigrette.  Mine is not quite like hers but close enough to masquerade as it.  She would approve….

So, I like to use one of those Good Seasoning’s jars but add my own ingredients, use a pint jar if you like; the main thing is a tight fitting lid.  Fill it to the vinegar line with red wine vinegar, please don’t use the cheap store brand (skimpy 1/4 cup).  Then some filtered water to the water line (about 1/3 inch more or two tbsp.). Next I add ½ tsp Dijon mustard, ½ tsp sea salt, ¼ tsp dried oregano, a sprinkle of dried thyme, 1 tsp mayonnaise, ¼ tsp freshly ground black pepper, ½ tsp sugar and [optional] one garlic clove (peeled and mashed down a bit to release flavor),. Then add extra virgin olive oil, stop a bit before the oil line and finish it with lighter olive oil (1/2 cup plus one Tbsp. of combined olive oils).  Shake it up really well. Then shake it some more, you need to get the mayo to blend in as completely as possible. It tastes best at room temperature and plan ahead – let it rest for at least an hour before you use it the first time.  Keep it in the refrigerator if there is any left over, lasts like a month in there. The mustard adds snap and the bit of mayo helps the dressing stay emulsified (fully blended) longer than it would without the mayo.  If your salad is delicate and you don’t want as much olive oil flavor use only mild olive oil and skip the EVOL.  If you chill the dressing you will need to let it warm up before using it; ten seconds in the microwave can help with that process.

Note: You could up the nutritional value with a few almonds or walnuts if you like nuts in your salad.

More thoughts: I make any number of salad combos.  Two of my favorite ingredient combinations are: shredded carrot, sliced radishes, chickpeas, romaine and half rounds of European cucumber or a mixture of torn kale leaves, shredded raw Brussels sprouts, scallion rounds and julienned raw summer squash.  Both mixtures are great with this vinaigrette.  Just don’t put more than say five things in any one salad or it will have a mixed up taste.

Last thoughts: I generally avoid tomatoes in winter although some grape tomatoes are pretty tasty; use them if you feel the need for tomatoes.

So, go get your healthy green on and enjoy a fruity salad, even in the winter.

Reposted from February 2015 with minor changes.
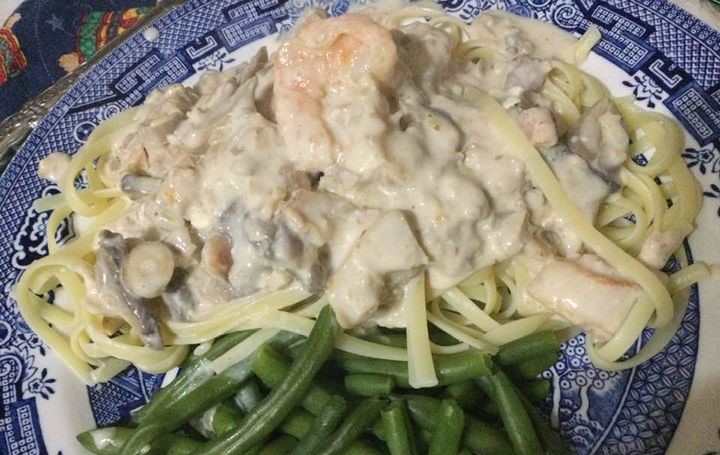
Seafood Alfredo 2.0

Long ago, I loved this seafood alfredo pasta dish: it was my favorite entrée at this French-Thai  restaurant on Linden Street in Allentown. I have replicated it once or twice before but, since then, sadly my paper version has disappeared. So I reviewed many recipes and used parts of several to come up with this version.  It is a budget and somewhat healthyish version (no heavy cream and minimal butter) and made quicker; no homemade pasta or crab meat. But, I think it does my memory justice and we sure enjoyed it for New Year’s Eve’s festive supper.

You could change up the seafood if you like. I sautéed my shrimp unpeeled and peeled them before putting them back in the sauce; more flavor that way. I cut the cooked big scallops in half to be the right size. I used gf pasta which doesn’t really have a true fettucine; it is about the width of linguini. Use whatever pasta you like. Use regular all purpose flour for creating the sauce if you aren’t gluten free. The secret to thickening this sauce is cream cheese. It melts into the cream sauce and vola! Thickened lush sauce but no heavy cream. My Italian friend Dan is probably shuddering at the seafood added and the lack of cream but I believe he would totally enjoy the flavors and textures of this seafood treat.

This fast snapshot does not do justice to this creamy delightful sauce and all the seafood in it.

Angie’s Seafood Alfredo for two

Ingredients

4 large sea scallops

8 large shrimps

1 Tbsp. mild olive oil

1 Tbsp butter

1 large shallot, diced fine

1 large garlic clove minced

1 small bay leaf

1 Tbsp rice flour

¾ cup whole milk or mixture of ½ cup whole milk and ¼ cup half and half [I did that]

2 ounces cream cheese cut into 4 cubes, room temp

1/8 tsp. red pepper flakes

¼ tsp. sea salt

1 small can minced clams, drained, save juice in case your sauce is too thick

½ of a 4 ounce can mushroom stems/pieces (drained)

3 Tbsp fresh shredded parmesan cheese

Directions:

Heat a pot of water for pasta, salt it. Make the pasta (for two people) so it is timed to be ready say 12 minutes later. Melt 1 tsp of the butter with the Tbsp. of olive oil in medium sauté pan, let get hot but not smoking. Add scallops that you dried with a paper towel, add shrimps spaced out carefully so they each have room. After a minute flip the shrimp, 1- 2 minutes later carefully flip the scallops and cook them 1-3 minutes until just done. You should have taken out the shrimps as soon as their tails curl up after their flip. Put them all in a bowl. If your scallops are large cut them in half; I did. They matched the size of the shrimp better once I did that. Add rest of butter to pan and as it melts add the shallots and after a minute the garlic and bay leaf. Heat the milk in the microwave until hot but not boiling. Cook the shallots and garlic on medium heat while stirring; for a couple minutes, then add the flour; stir to incorporate it with the butter. Slowly add the hot milk to sauté pan stirring constantly. Next add the cream cheese cubes, hot pepper flakes, salt. Cook 2 minutes, add the mushrooms, clams and any clam juice you feel is needed to maintain the creamy texture. I used a tablespoon or so of it. Stir; add back seafood and then sprinkle with the parmesan cheese and let it melt in as you stir it over low heat. When cheese is melted; serve over al dente pasta. I made skinny green beans and stirred a few into my sauce on my plate. Delish! Enjoy!

Marshmallow Project

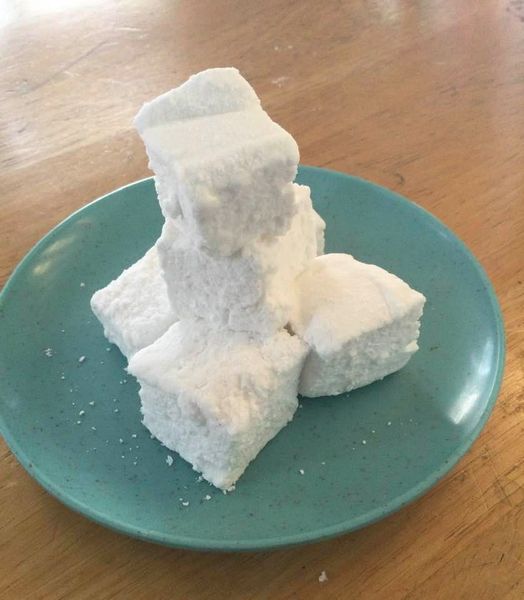
I have always wanted to make my own marshmallows. Just too busy every Christmas. I think my mom made them once when we were kids. Faint memory of soft pillows of yumminess. With covid restrictions and my grands living 1,350 miles away I finally have time. I got this recipe from my sister Karen who makes them every year. It is fairly close to many I have researched. It is not a difficult process but there are a few truths I have gleaned. Do not let the fluff get cool much less cold before you try to pour it into the prepared pan. The pan must be glass or ceramic, 9-x13. Know that as it cools it gets sticky. So, pour it quickly while warm, smooth with damp hands, then sprinkle with powdered sugar and let it stand a good long time to reduce the stickiness. You will find clean up easy with lots of hot water.

You can buy a box of unflavored jello; inside the box are 5 packets of dry unflavored gelatin. I think each packet is one tablespoon.

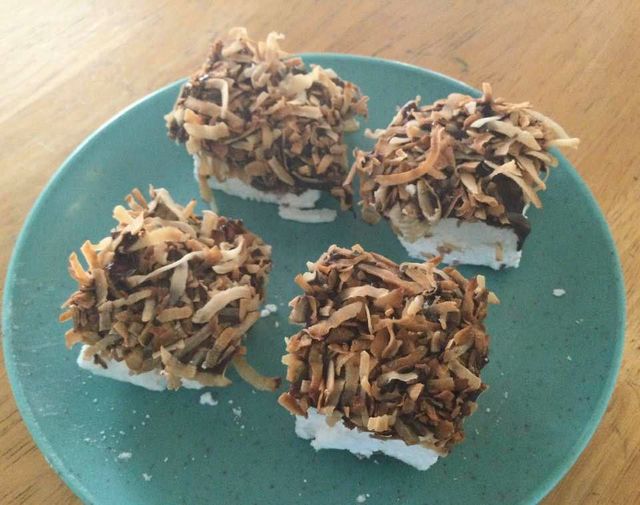
People like to flavor them with extracts like peppermint, almond or other fruity flavors. You can dip them sticky into melted chocolate and then dip/roll in crushed peppermint or coconut. Try sprinkles or other fun toppings. I did dark chocolate and toasted coconut; I loved it best with both toppings! It is a keeper and yet I am not that big of a fan of typical marshmallows; just so much better!

Karen’s Homemade Marshmallows

2 ½ Tbsp. unflavored gelatin

1 ½ cups white sugar

1 cup white corn syrup

¼ tsp. salt

2 Tsp vanilla

Confectioners sugar (maybe ½ a cup total)

Directions

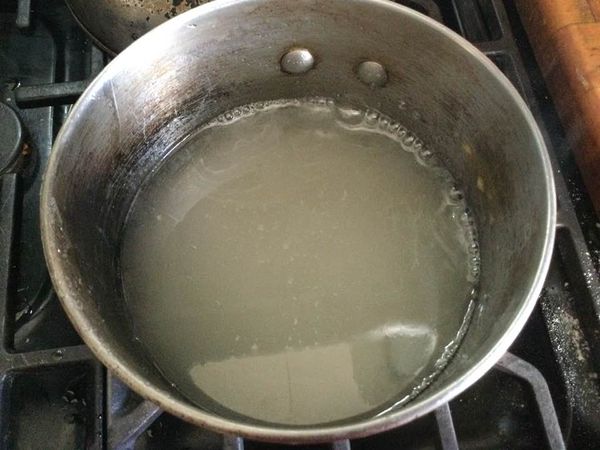
Combine gelatin with ½ cup cold water in mixer bowl; let stand 30 min. At the 20 minute point start the wet sugar pan: combine sugar, corn syrup salt and ½ cup cold water in a small heavy saucepan. Heat to dissolve sugar. Wash down sides of pan with wet pastry brush. Put on candy thermometer. Heat on high, stirring, until it reaches 240 degrees. Immediately turn off.

Turn on your stand mixer, on low and add hot sugar mix slowly and carefully to gelatin mix until blended. Then turn up to high and beat 10-15 minutes until white and tripled in volume.   If you are using a KitchenAid you will probably have it done by 10 or 11 minutes. Stop before it cools. 

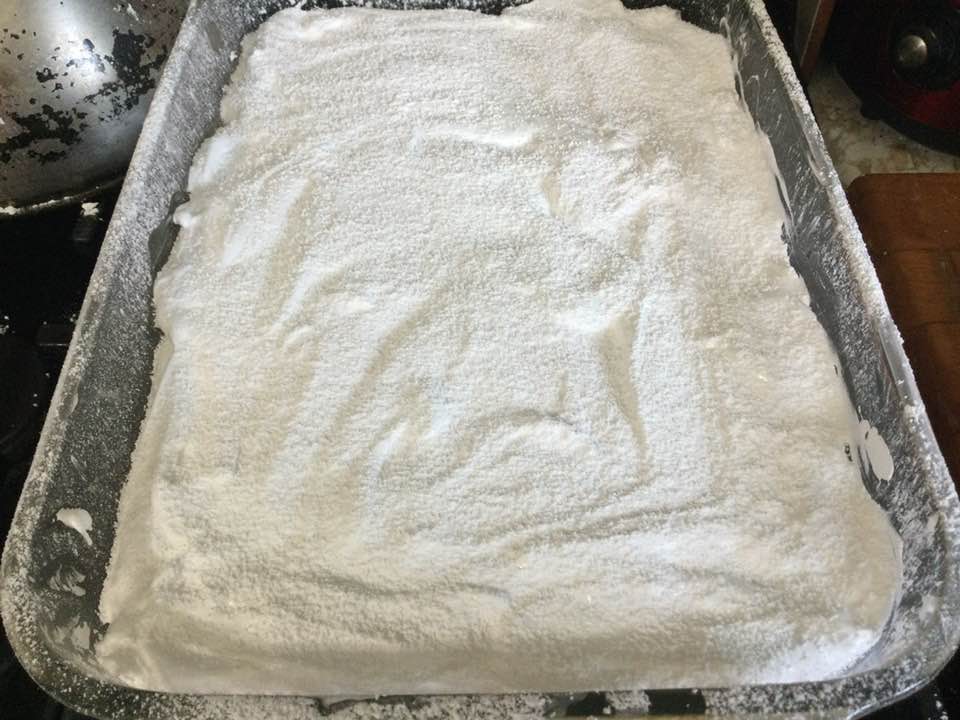
While it beats, put a decent amount of powdered sugar in 9×13 glass pan; very thick, thick sprinkle to well coat the entire inside of the pan is best. Maybe a ¼ inch thick. Pour hot sticky mixture into it. Smooth top with wet hands. Sprinkle with more powdered sugar. Let stand 8-12 hours. Longer is better.

Dump out onto powdered cutting board (this is where lots of powdered sugar put in before helps it free from pan) and cut with dry pizza wheel into rows and cubes. If tool gets sticky wash in hot water and dry before cutting more. Dip some into melted chocolate. Then dip in plain or toasted coconut. Roll them in toasted coconut. Or powdered sugar. For kids try colored sprinkles.   

You can use different flavorings instead of the vanilla. Next batch!  I stored each variety in a different container so the flavors stay distinct and it is easy to pick what I want.

These make excellent gifts wrapped in cellophane or put in baggies. Enjoy!

You could give these as a hot chocolate DIY gift; especially nice if you give homemade cocoa mix.  My ratio mixture per serving is 1 heaping Tbsp each of sugar and plain unsweetened cocoa. So put equal amounts in a jar and dip out 2 heaping tablespoons per serving. So… I heat ½ cup water with the dry stuff (Double for the two servings) and then add 1 ½ cup milk to it; heat stirring often until hot but not boiling. You can add a sprinkle of cinnamon if you like and of course some small homemade marshmallows.  This simple recipe makes 2 mugs of hot chocolate.

Buckeye Candy Bars

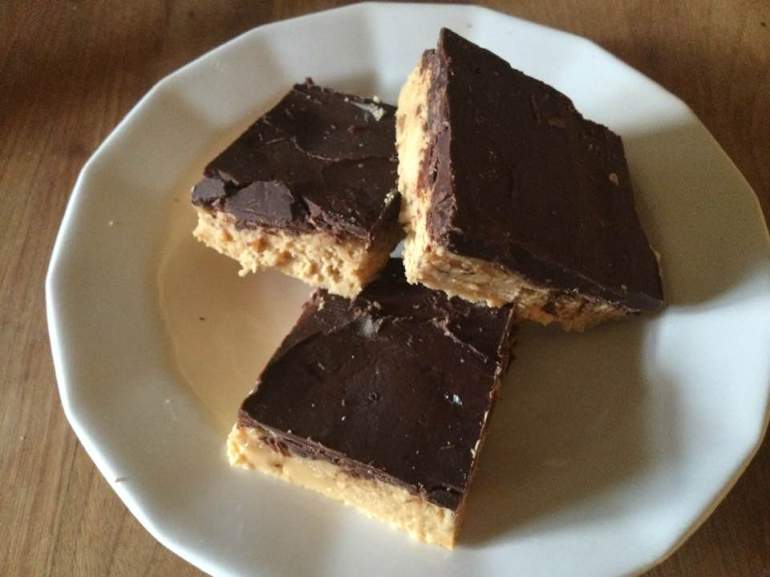
OMG: these buckeye candy bars are big trouble. Easy to make; 4 ingredients, not that much sugar, no baking.  TROUBLE! I can’t believe I have never made them before; where was this amazing treat hiding? They are seriously tasty and rather addictive.  And they are naturally gluten free; just no flour in these babies so no one will miss as it doesn’t belong in buckeyes.

I rarely buy peanut butter cups as I gobble them up immediately. These bars taste very close to a peanut butter cup. And they need no baking so kids could definitely make a batch all on their own.  A must make treat for anyone addicted to chocolate and peanut butter together.

The recipe is either plain or chunky peanut butter; commercial not natural peanut butter; the natural won’t work. You could make them with dark chocolate chips; I am thinking about that! They store at room temp asl long as your room isn’t too hot; I wouldn’t make these in the  hot days of summer unless you plan to keep them refrigerated.  You can cut them in small square or big ones or long bars to mimic a candy bar; what ever floats your boat.

I made a 9×9 square of them; you can easily double the recipe and make it in a 9×13 pan. It goes without saying that a box of these is a lovely gift for a dear friend!

Buckeye Candy Bars

Ingredients

1/2 stick of softened butter plus 1.5 Tsp. more for the chocolate layer

¾ cup creamy or chunky peanut butter

1.5 cups powdered sugar; sift if lumpy

6 oz of semi-sweet chocolate chips (half a bag)

Directions:

Line a 9×9 baking dish with parchment paper or wax paper. Put the half cup of butter and peanut butter in a mixing bowl; beat with electric mixer until smooth. Add in the powdered sugar gradually running the mixer on slow speed. It needs to be well combined; press into the prepared pan. Melt the chocolate chips and 1.5 Tsp. butter in microwave on low. Stir to combine. Drop blobs of chocolate over the pan and spread over the peanut butter mixture until a thin even layer is achieved. Chill at least 30 minutes before cutting into bars or squares.

Store in cool location. Lasts about a week if no one finds your stash and gobbles them up! You could wrap in heavy duty foil and freeze for a few weeks. Thaw before eating, 30-60 minutes on countertop.

Easy to double recipe and make in a 9×13 pan.  Enjoy!

Cheddar Cheese Biscuits: Guilty Pleasure

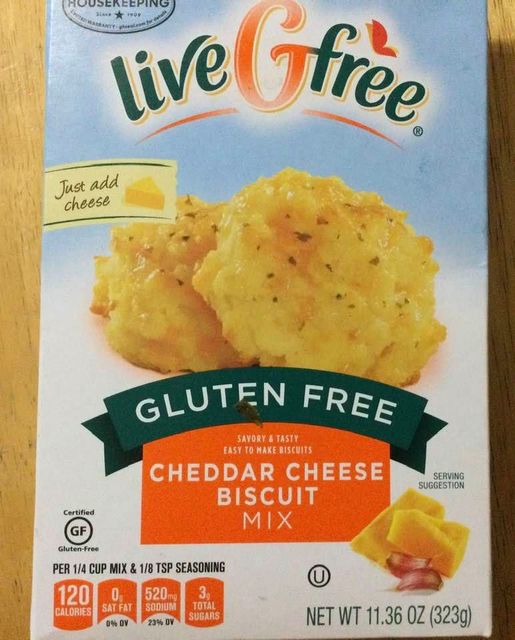
I don’t buy redi-made mixes that often, in fact I have never bought a gf biscuit mix except these. These were from Aldi’s; a fav hangout! Cheddar cheese biscuits in the orange and blue box. This was my third time making them.

You add water, quarter cup oil and a third of a cup of grated cheese, stir and it becomes this slightly weird fluffy white stuff that looks more like cotton batting than anything else. Next, plop big clumps of this fluffy mixture onto a parchment paper lined (or baking oil sprayed) baking sheet and pop them into the hot oven to bake.  After about 16-17 minutes out comes the pan.  Each biscuit gets brushed with a buttery mixture you create with an herb/garlic powder that is blended with fresh melted butter. Super easy to make and definitely popular at my house.

cheddar cheese bisquits

They are browned on the bottom and tender. The flavor is buttery and definitely has a garlic vibe going on. We had them with a big bowl of beef stew I made for supper.  My guy took home a container of stew and two biscuits. He wanted more cheesy rolls than two but I said; “Hey, those are my gf biscuits! Two is enough!” He left happily clutching his treats including those biscuits.   That should tell you they are tasty; Joe does not need to eat gf and he is fairly picky about his bread.  If it passes the Joe test; it is pretty tasty!! cheddar cheese bisquit

They were a couple bucks and the add ins are minimal. I made 10 decent sized biscuits. I froze two which were destined for consumption in January. Totally yummy even if not particularly healthy, white gf flour, sugar,  cheese and butter as major components.  Not gonna tell you how many calories are in them but frankly regular rolls have lots of calories. If it tastes buttery it gonna have calories…. Still, not often I find something this easy to make and this tasty.  I put this in my win win column. Enjoy!