

Scones are a guilty pleasure; full of butter and what ever yummies you folded in. My friend Josh was stopping by and I wanted to make a treat for us. Scones aren’t generally something I make just for me. So these were a special delight in the late afternoon. The recipe was new to me and came off the King Arthur Flour website. It is super easy and definitely a keeper. https://www.kingarthurflour.com/recipes/gluten-free-scones-recipe
Use whatever drop ins you want; I used a mixture of dried berries and cherries, plus some dried cranberries and a good sprinkle of currants. Plus some orange zest and a touch of lemon extract. Go with flavors you like and dried fruit/nuts in your cupboard. I made 10 smaller ones but the original recipe was 8 big fat ones. You will surely impress anyone eating these scones.

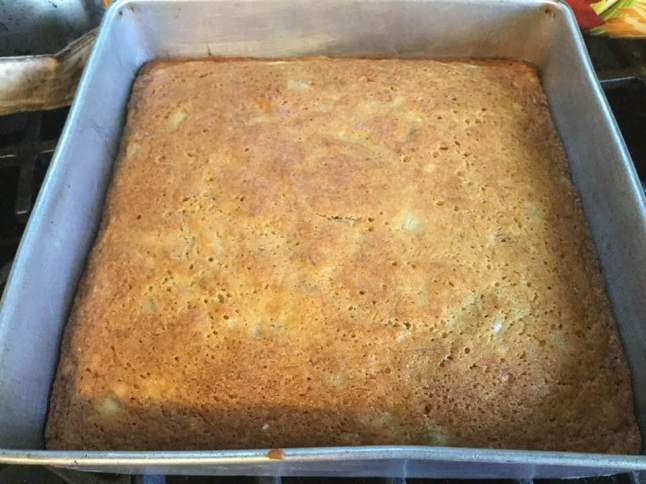
The rear one is more of a wedge shape. The others were made in an old tin muffin pan; great browning in that pan….
Fruity Scones –
makes 8 big ones or 10 smaller scones
Ingredients
1 ¾ cup King Arthur Basic All Around gf blend (the mix I use all the time)
¼ cup sugar
2 tsp. baking powder
½ tsp. xanthan gum
½ tsp. sea salt
¼ tsp. nutmeg (skimpy)
Sprinkle cinnamon
1 stick cold butter
Grated zest of one small orange
¾ cup of dried fruit; cut into ½ inch dice. I used mixed berries/cherries, currants and dried cranberries; go with any mixture you have
1/3 cup whole milk
2 large eggs
½ tsp. lemon extract or 1 tsp. Vanilla
Directions: Mix all dry ingredients in a large mixing bowl, I used my stand mixer. By hand is do-able. Heat oven to 400 degrees. Grease 10 muffin cups or a sectioned scone pan or a baking sheet.
Cut stick of butter into about 10 thin slices, blend into flour mixture. (You can use a pastry cutter to blend in the butter or even a butter knife but the stand mixer is super quick and easy.) Grate the orange rind into the blend. Blend in the dried fruit briefly. In a small bowl mix milk, eggs and extract. Pour into the dry mixture and blend briefly; get all dry stuff mixed in. Do not over mix. Using a big serving spoon just blop big chunks of the dough into the sectioned scone pan or muffin cups or onto baking sheet; if you do the sheet you could shape them into the traditional wedge shape. [The original recipe says to let them rest 15 minutes at this point… before baking; forgot to do this; next time!] Sprinkle with coarse finishing sugar if you like and I do. About a tablespoon is plenty to spread around. Bake 15-20 minutes until light brown. Let cool 5 minutes before serving. Butter can be applied (a certain friend seemed to enjoy that embellishment!) but I found them rich enough all alone. Enjoy!


 I tried something different and had my last brownie with flakes of pink Himalayan sea salt on top. The fat ones are the best for this. I do have a big jar of fine grind pink salt from Aldi’s which is great for most uses but not for this; go big and flaky. I happen to like chocolate with sea salt so I reasoned this could work too and it did. Very nice contrast; try it sometime!

