Lemon Squares, Very Tasty

I strongly believe in seasonal eating and winter is the season of citrus so more power to the lemon! As mentioned previously, my brother sent me a big box of juicy Meyer lemons from his tree down in Texas. I also believe in making my own treats; truly they are a lot healthier than store made sweets.  I have made lemon meringue pie, lemon shortcake cookies, lemon buttermilk tart and this weekend I made some lemon marmalade. Last night we enjoyed lemon squares, gluten free and very dainty with the special flavor of Meyer lemons.  Of course, you can use the regular lemons available in the store; will be a tad sharper/brighter in flavor but they will work great.  lemon squares 008u

These cookies are very easy to throw together; I made a shortbread cookie style gf press and bake crust and the filling ingredients are whisked together in my mixer and poured into the partially baked crust.  So easy to make and I wanted something light and delicate after all the fancy holiday desserts.  You would never guess they are made without all purpose wheat flour.  Anyone will love them if they are a fan of lemon. Take these to your next gathering, they will be scarped up pretty fast, and you will be seen as a real baker. Best of all you are eating a safe treat that is relatively guilt free; no gluten, no preservatives, not that much sugar compared to a cake and homemade flavor. Score!

Meyer Lemon Squares

 Cookie Tart Crust

1 cup brown rice flour mixture (recipe below)

¼ cup sugar

1 tsp. xanthan gum

5 tbsp. cold butter cut up into 6 or 7 chunks

Directions for crust:

Mix the dry ingredients with a stand mixer, add the butter, blend with the paddle blade until the butter is small pebbles.  Press into an 8 inch square pan, be sure to first spray the pan with cooking spray and sprinkle with rice flour.  Bake 15 minutes in a 350 degree oven.  While it bakes make the filling.

lemon squares 002

Baked cookie crust

Filling

3 large eggs, warm them close to room temperature

¾ cup granulated sugar

1/3 cup Meyer lemon juice

2 tbsp gf flour mix

2 tbsp finely grated Meyer lemon peel

Directions:

Heat oven to 350 degrees.

Beat eggs until fluffy, add the sugar slowly but steadily, mix, add rest of ingredients, Mix until smooth.

lemon squares 003

Adding the lemon zest.

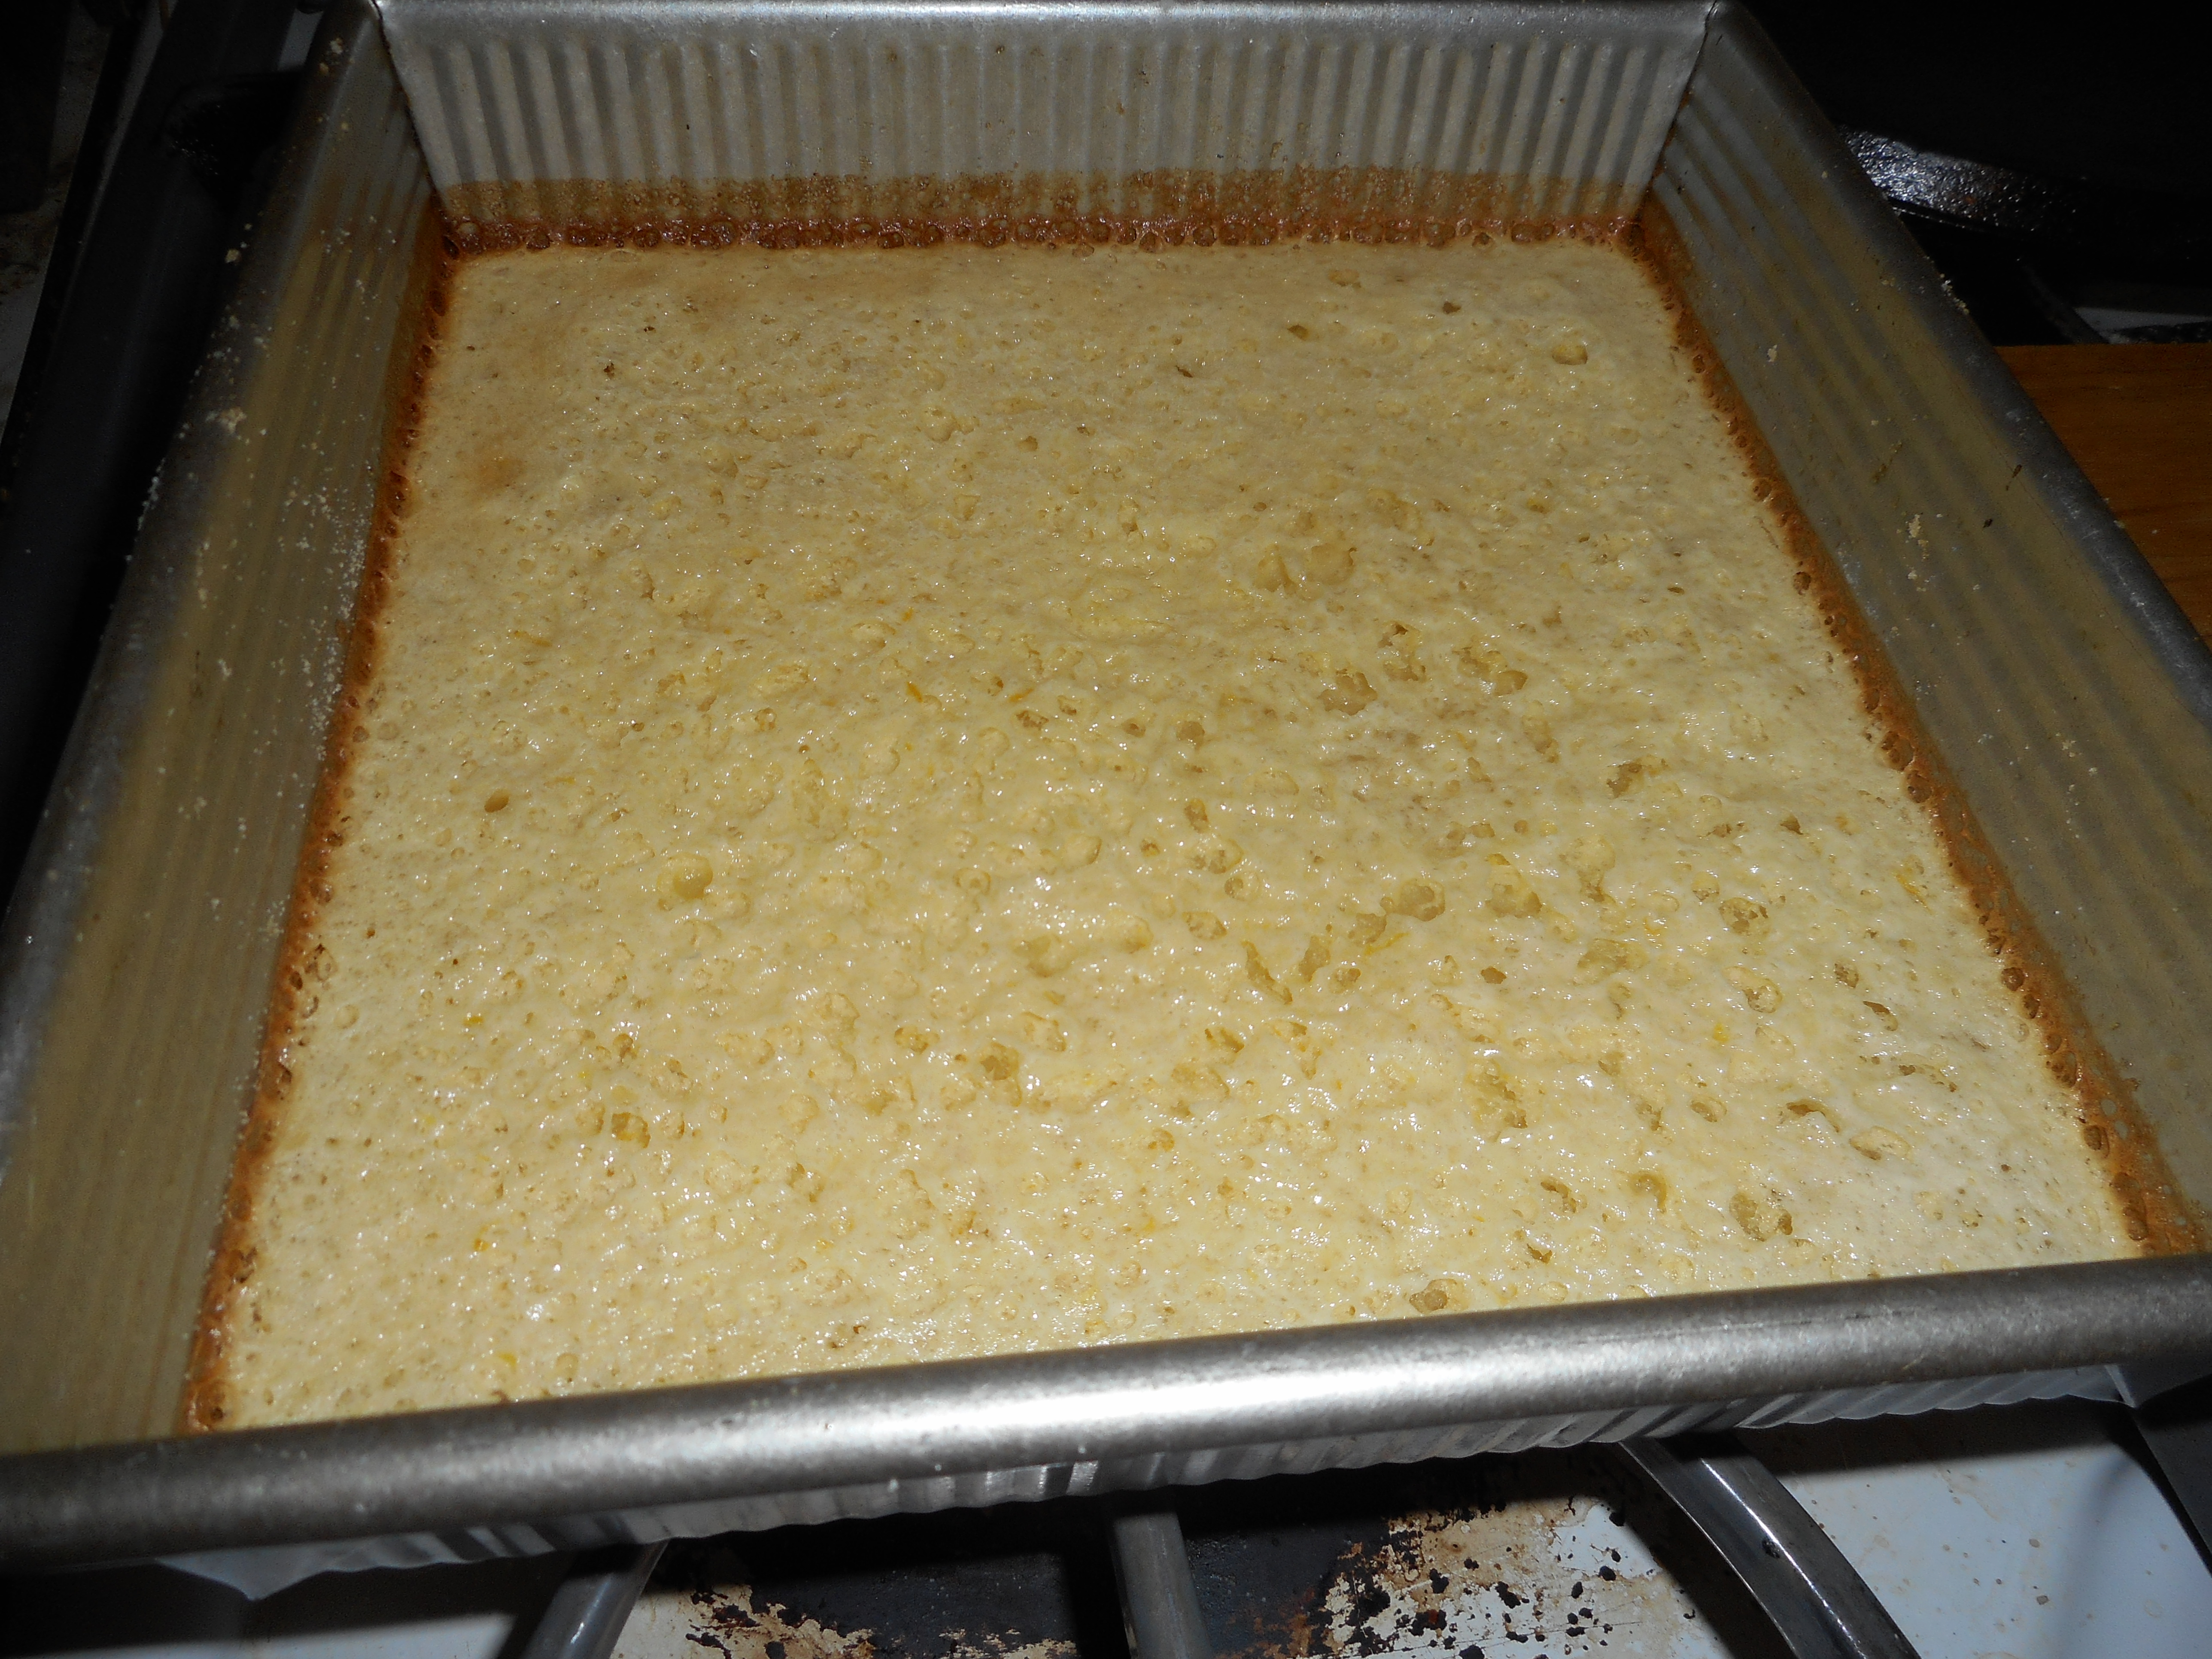
Pour into crust and bake at 350 degrees for 20-22 min; until set.
lemon squares 006

Just out of the oven.

Cool completely and refrigerate if you want to serve them cold. They do not freeze well and only keep about 3 days, if any square are left that long!   I like to sift some powdered sugar on right before serving them. Use a sieve and about 2 tbsp. powdered sugar.  Luscious lemony goodness can be yours with minimal effort.

lemon squares 008

Brown Rice Flour Mix
2 c brown rice flour

2/3 c potato starch

1/3 c tapioca flour

This recipe is from Annalise Roberts; Gluten – Free Baking Classics, a fantastic source for baking gluten free treats, full of recipes just like  your old wheaty friends but so so much safer!

Rustic Apple Pear Tartlets for Dessert Tonight

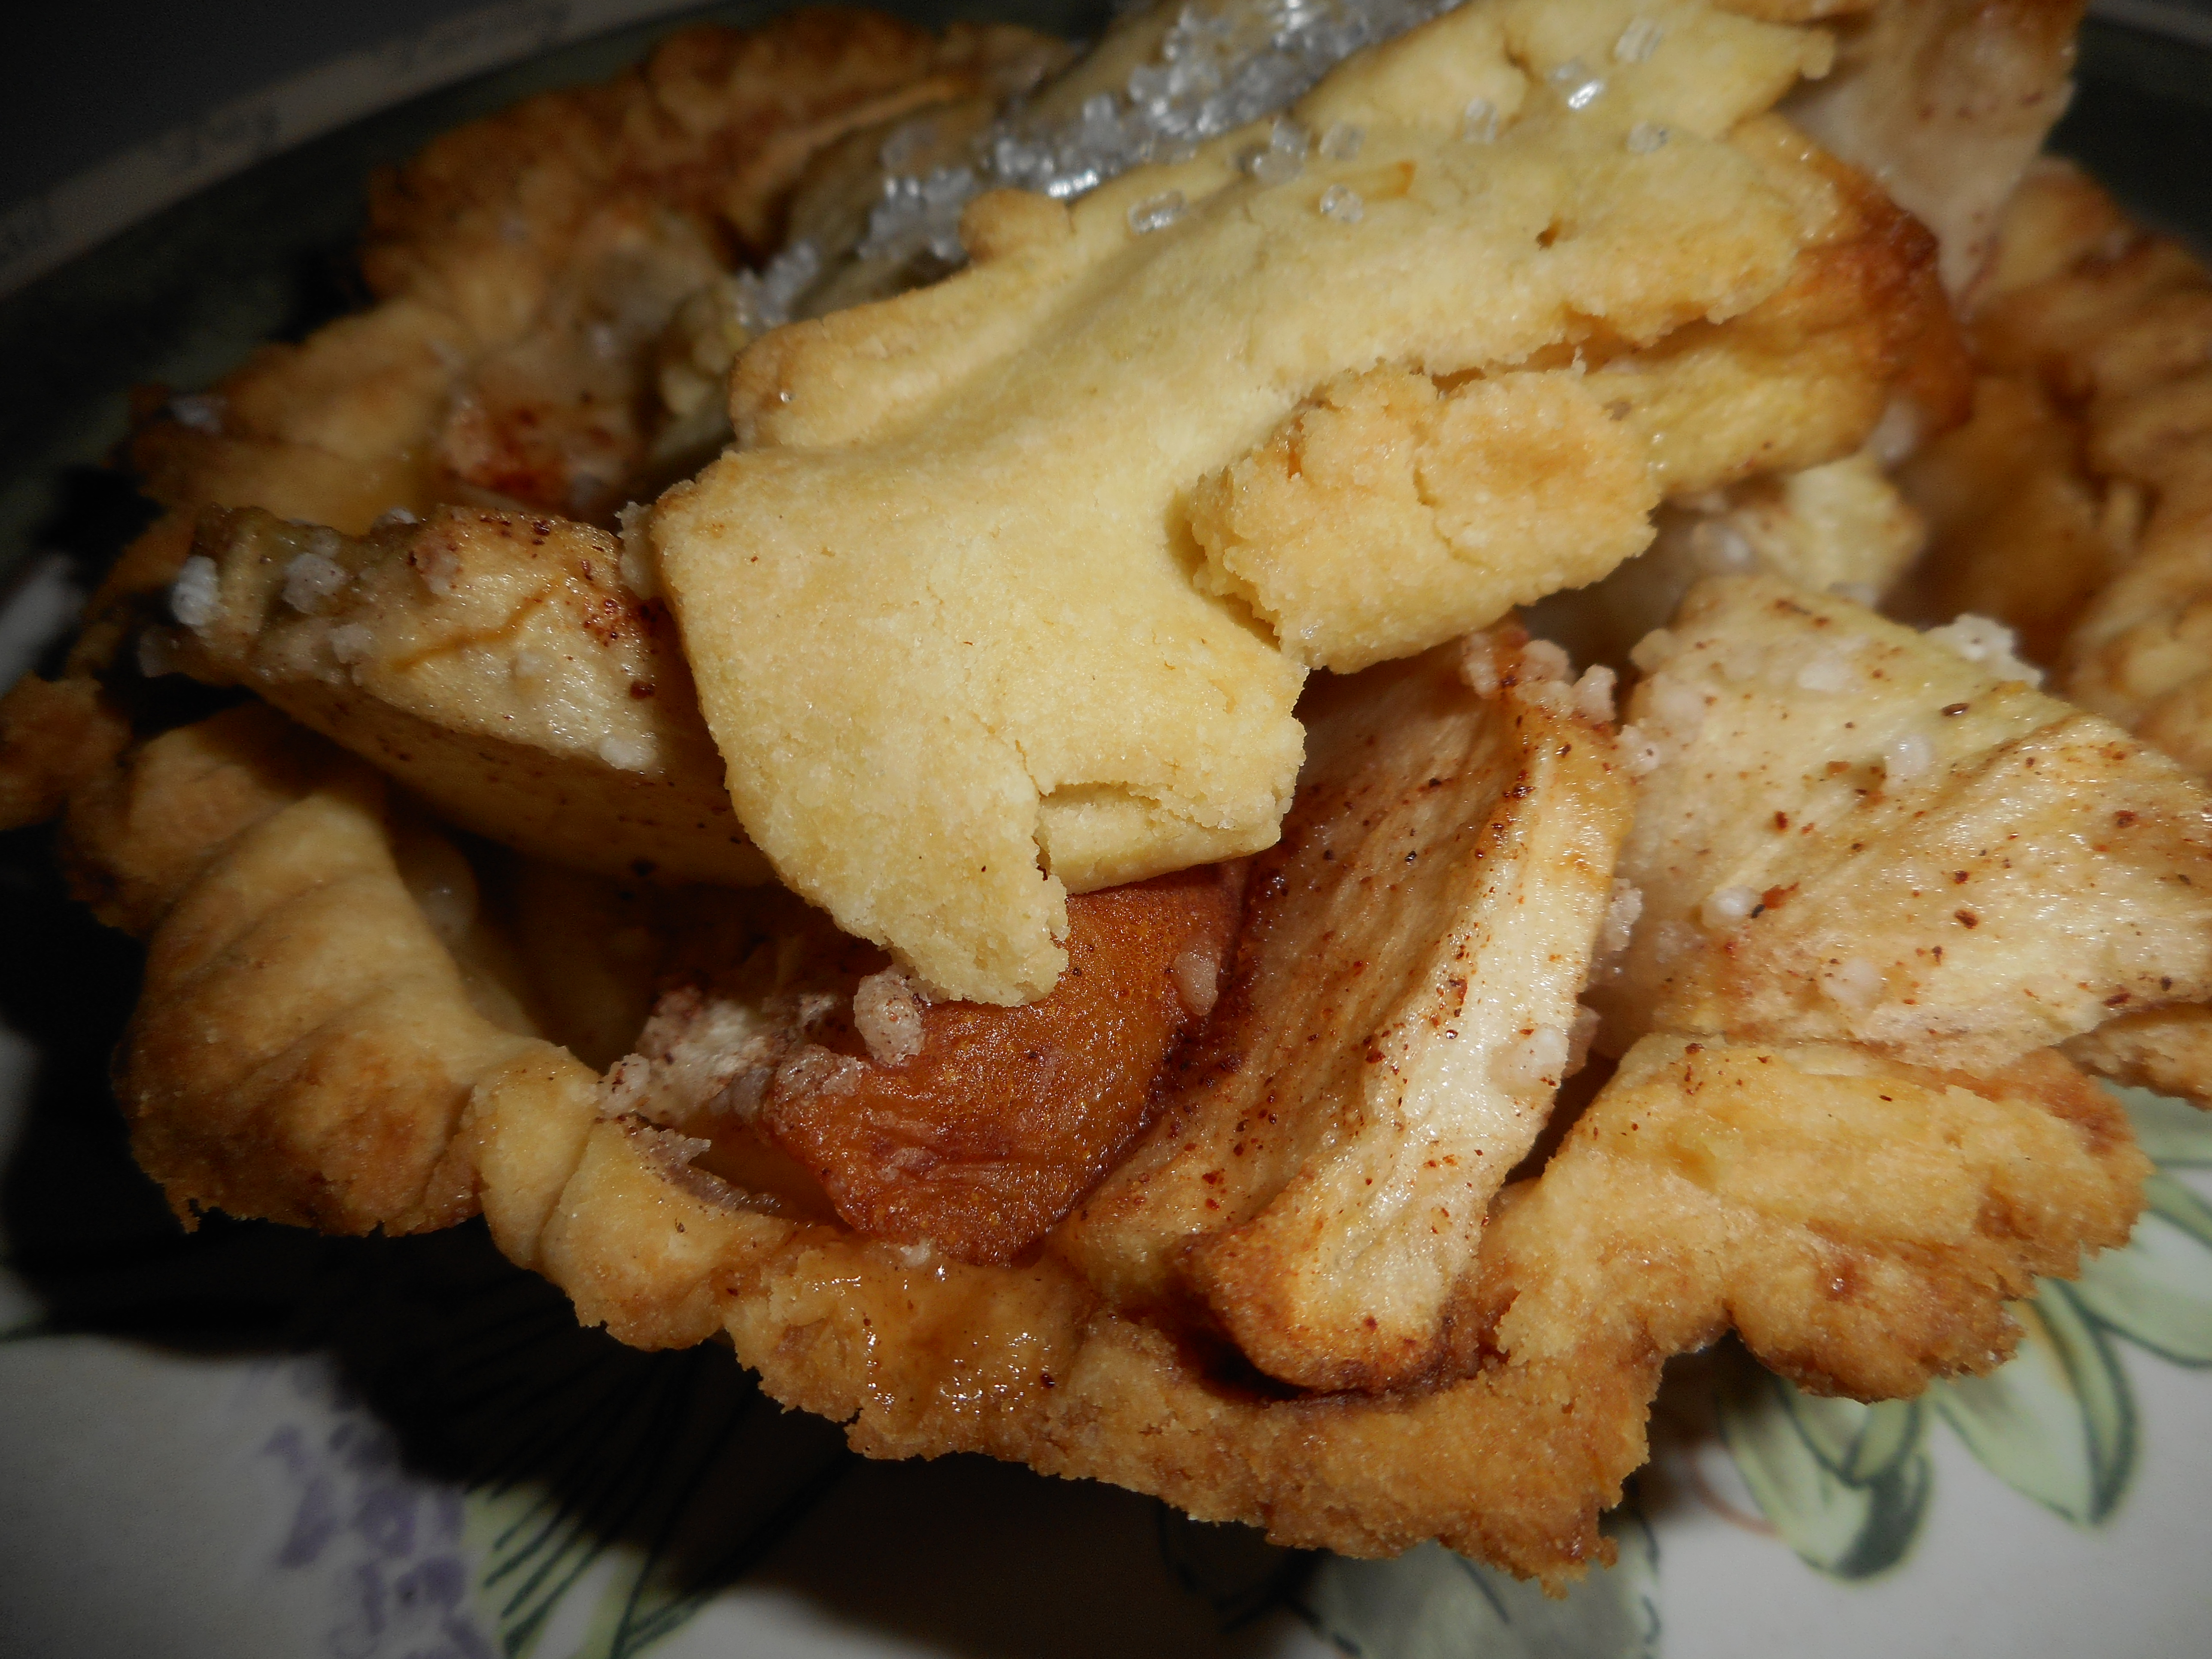
10-25-14 014 Apples and pears go together delightfully.  Fall is the perfect time to indulge in baking them into tartlets for company.  I like to make individual tarts sometimes because they make people feel so special when you each get your own tartlet.

Use what ever kind of baking apples you have.  I got mine from an actual apple orchard, Bechdolts to be exact!  I like to buy their small baskets of seconds which are inexpensive and just as fresh as can be especially compared to grocery store apples.  Plus the taste is the same as the fancy unblemished ones in their display baskets.

I used Annalise Robert’s crust recipe and flour mixture. I think this crust tastes terrific and has a wonderful texture.

These are simple tarts: no need to make them perfect looking.  I used a fork to press around the crust in each tartlet before I lay the fruit in it.  I cut out leaves from the leftover crust to make a sort of a top crust.  The mixing of the two fruits gives every bite a different taste and the spices add a delicate flavor. I wanted the fresh fruit flavor to be the highlight so I didn’t use much spicing. The coarse sugar adds a certain eye apple and crunch.  Enjoy!

Rustic Apple Pear Tartlets

Crust:

1 c plus 2 tbsp brown rice flour mix (at bottom of recipe)

2 tbsp sweet rice flour

1 Tbps. granulated sugar

½ tsp xanthan gum

¼ tsp salt

6 Tbps. cold butter cut into 6 chunks

1 lg egg

2 tsp fresh orange or lemon juice

Spray 4 inch metal tart pans or 4 inch mini deep dish pie pans with cooking spray, dust with white rice flour. Set aside.

Mix dry ingredients in bowl of stand electric mixer.  Add butter and mix until crumbly and resembling coarse meal.  Add egg and juice.  Mix until it comes together into big chunks.  Shape into a ball with your hands. Put it on a crust sized piece of wax paper (14 x 14 inches more or less), flatten the crust ball some; put on top of it another piece of wax paper and chill it all in your fridge 15-20 minutes.  I used my pie bag for rolling out the crusts; works so great at making an even thin crust.

Cut it into 4 balls and roll out each ball into a small pie crust in a pie bag or between the two sheets of wax paper, try to get the thickness even, no thick middle! Peel off one side of paper and place in mini tart pan, centered.  Remove other slice of wax paper.  Crimp edges all around.  Do again until you have 4 shells and use all the crumb leftovers to make a fifth tartlet crust.  I actually do two of them side by side and turn them out onto the tartlet pans together. Repeat for other four shells.  I ended up with five tartlets; the last being in an individual tartlet pan, about 5 inches in diameter.

Filling:

2 medium sized yellow delicious apples

1 large bosc pear

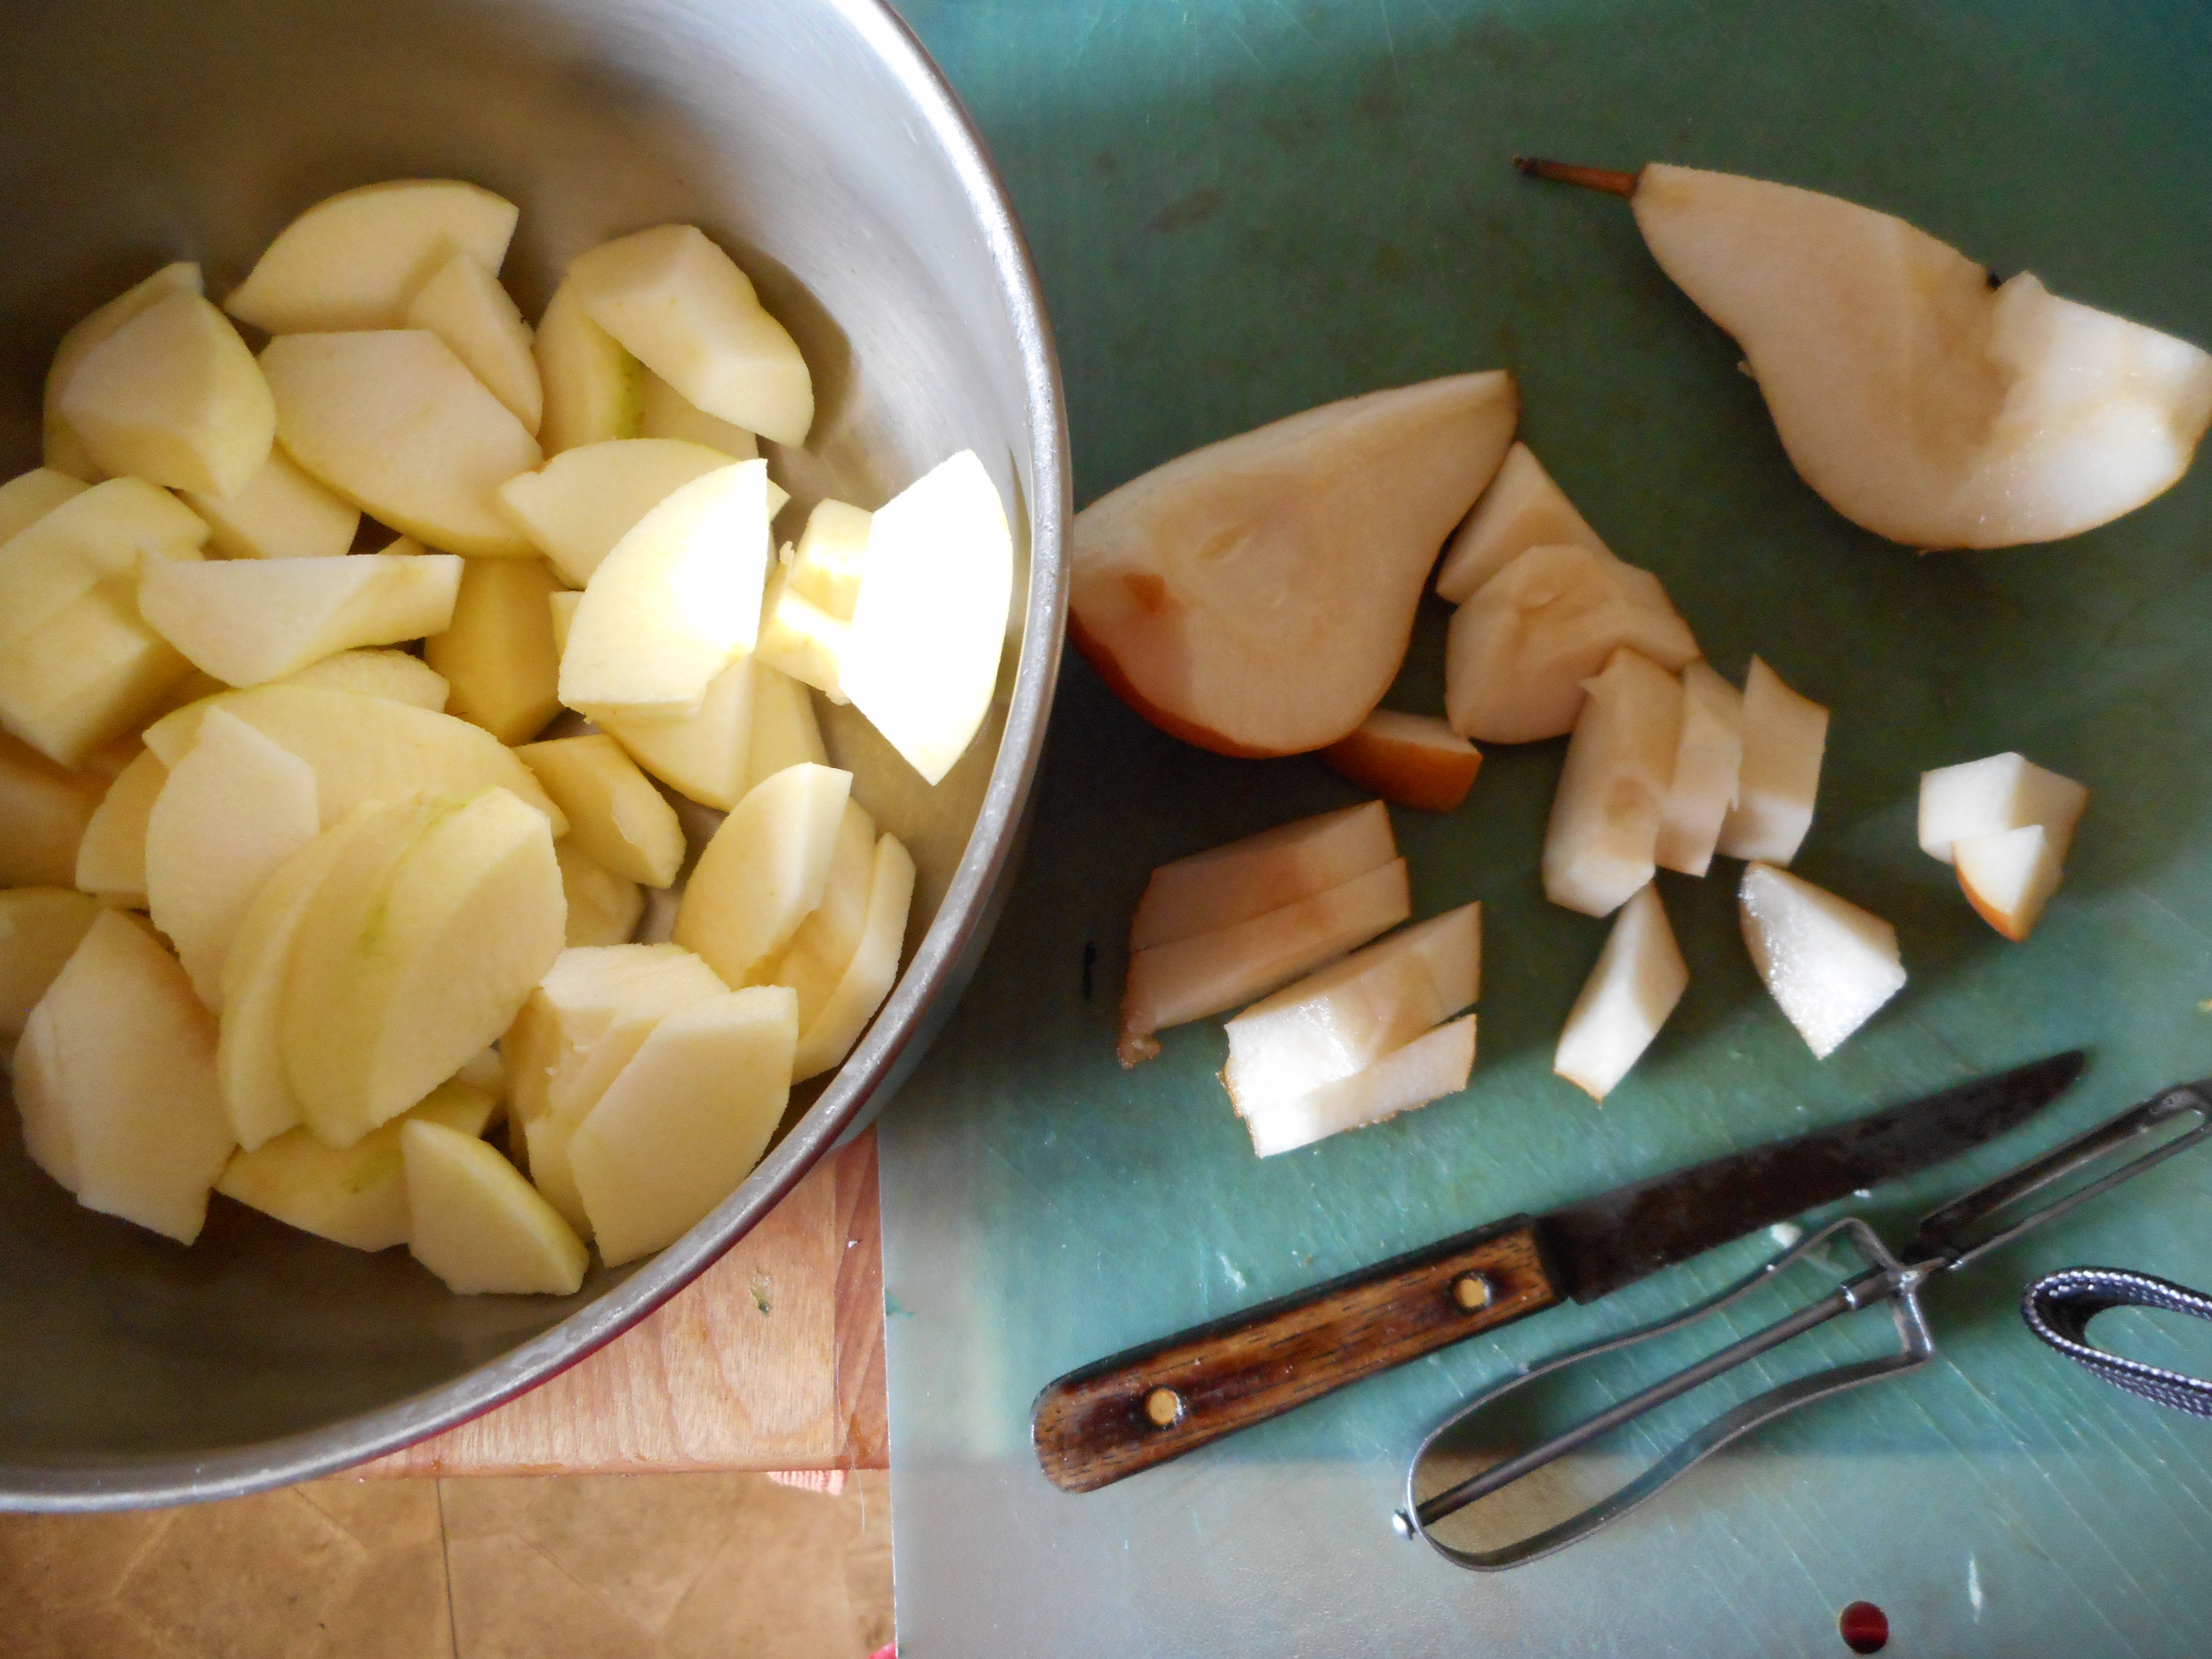
Peel apples, quarter, cut out core, slice into 1/3 inch thick slices. Same for pear except you can leave the peel on if you like.  Or peel!  Mix in a large bowl with:

3 tbsp. granulated sugar (if you like things pretty sweet add another tablespoon of sugar)

1 tbsp. minute tapioca

1/4 tsp. cinnamon

A sprinkle of ground nutmeg.

10-25-14 009

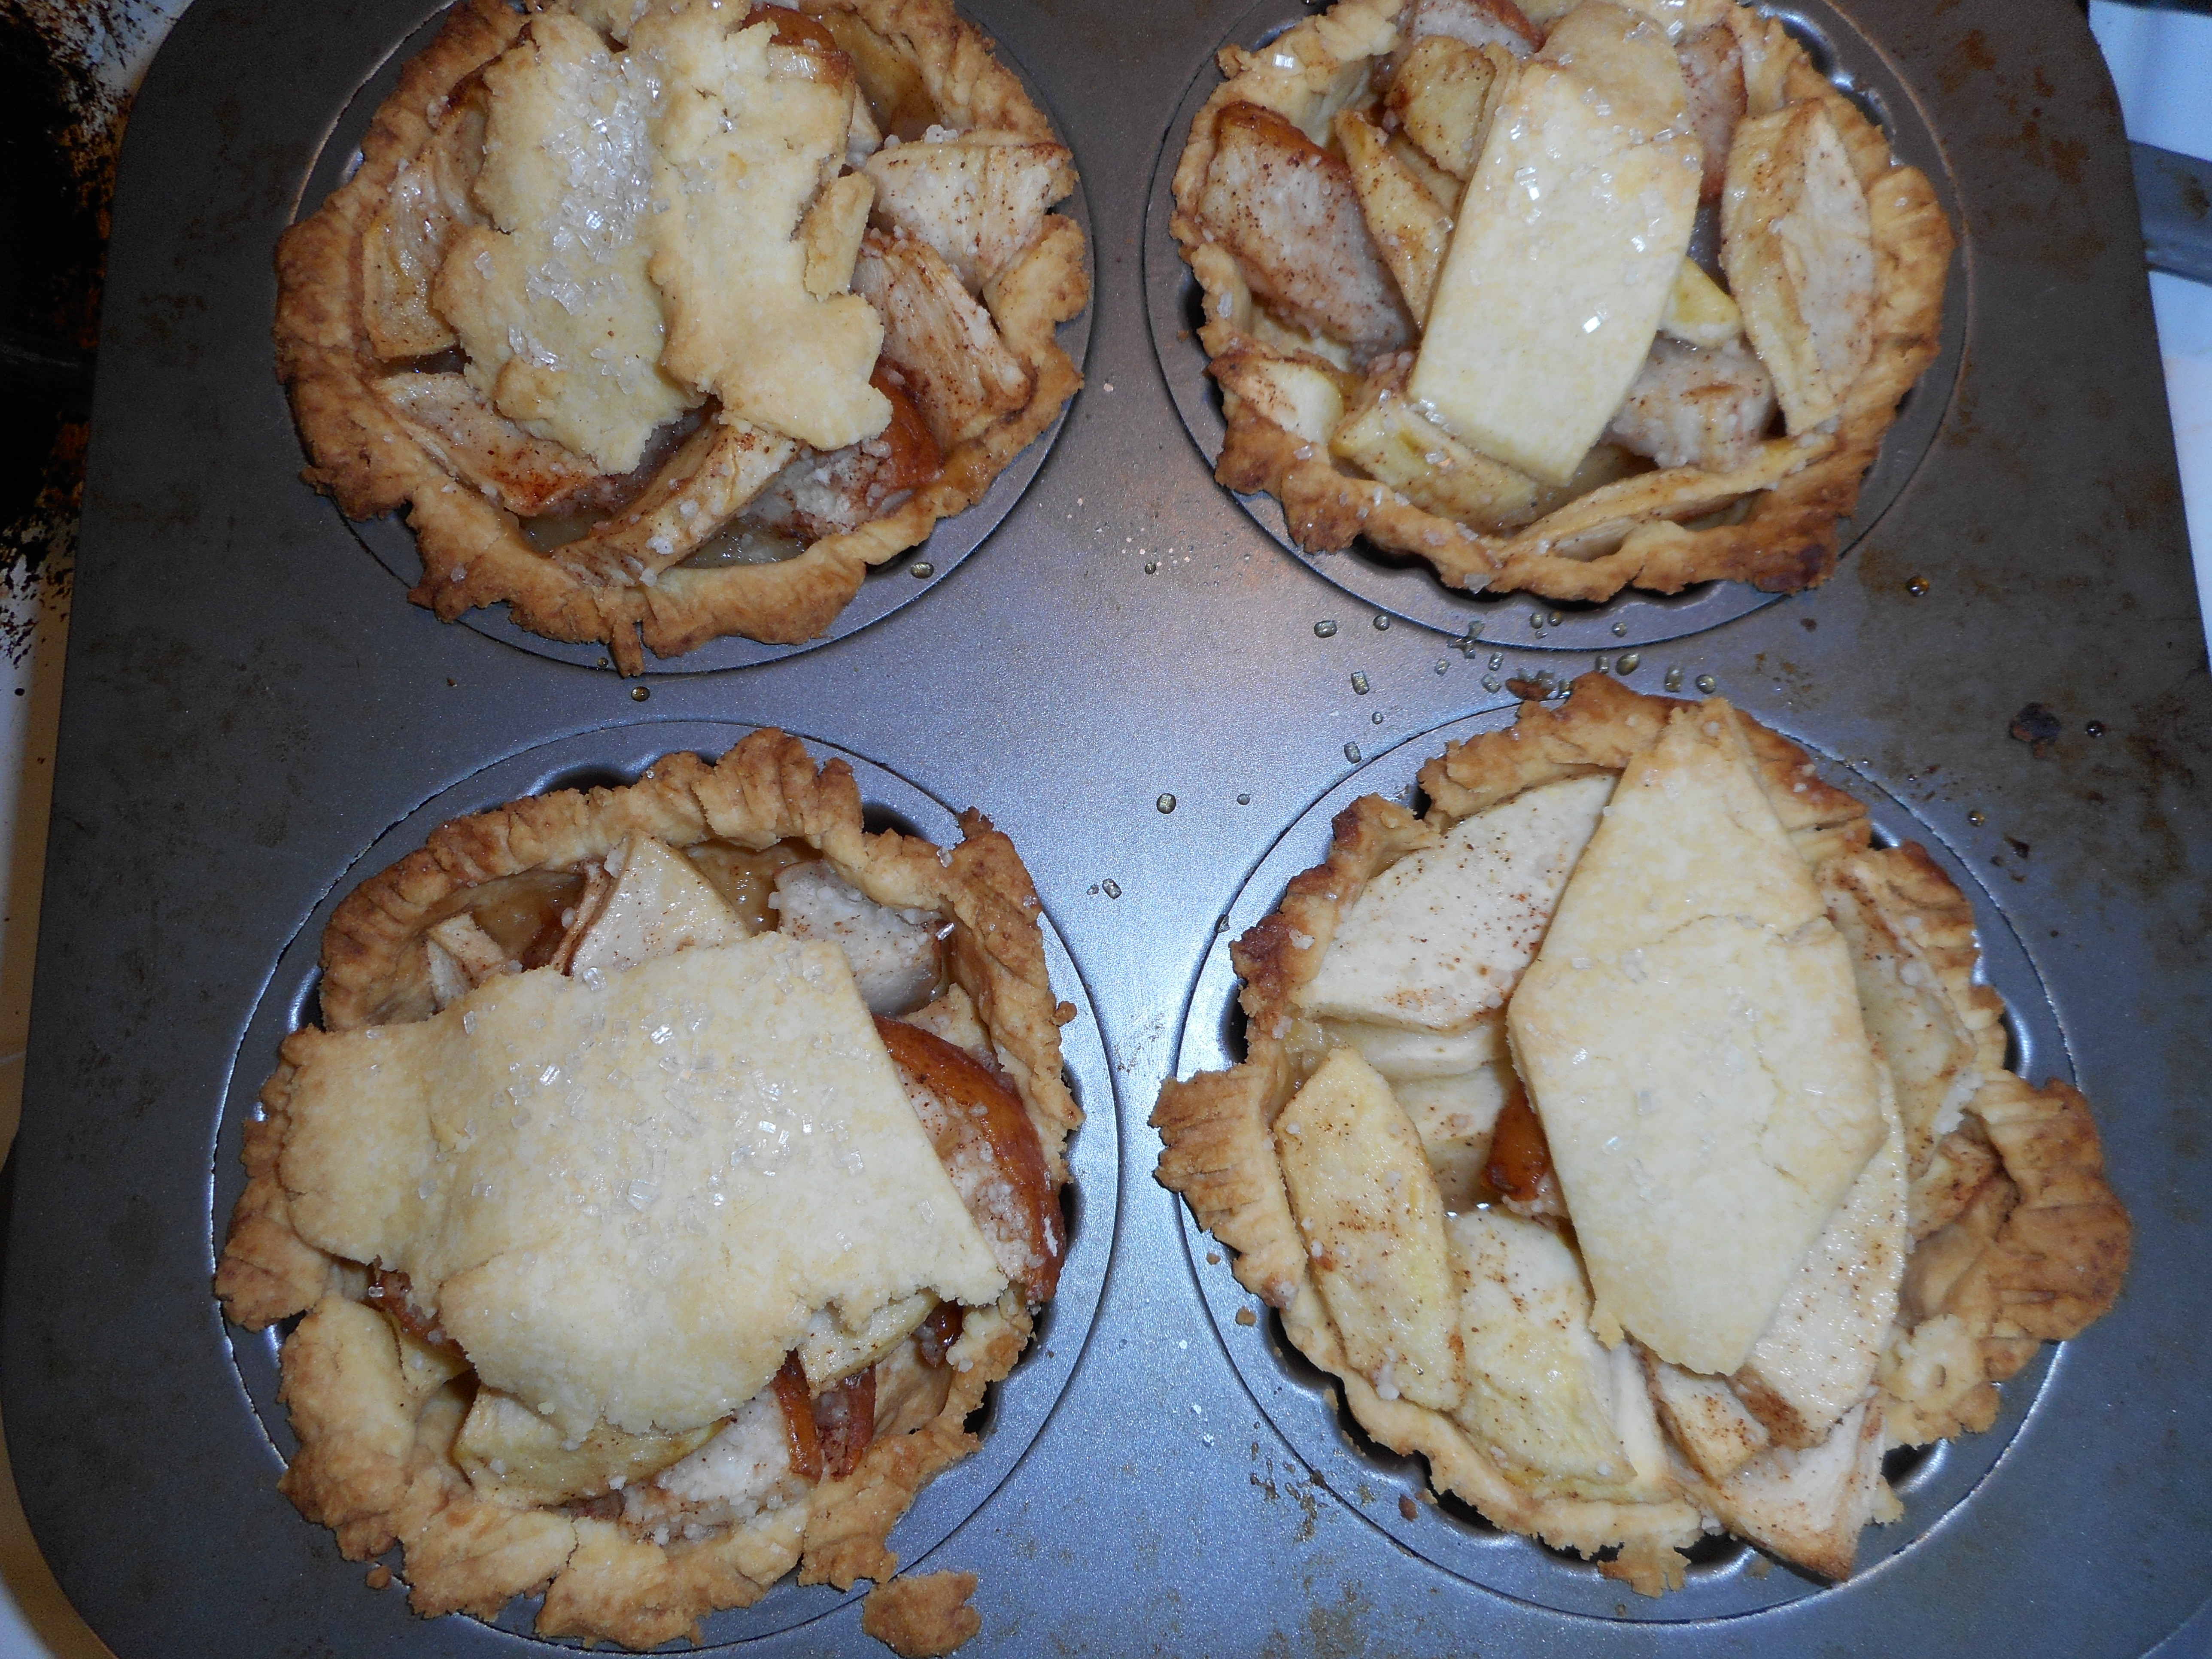
Let stand five minutes and then heap the fruit into tartlets.  I mounded mine a bit so they would be still full after baking.  Top with a leaf cut out of the spare crust.  Sprinkle with coarse sugar.

10-25-14 010

Bake 375 for 40-45 minutes until lightly browned.  Cool before serving with a scoop of vanilla ice cream.

10-25-14 012

Brown Rice Flour Mix– for crust
2 c brown rice flour

2/3 c potato starch

1/3 c tapioca flour

French Apple Tart….Ooh La La!

Tasty, crisp, ripe apples are pouring into the farmer’s markets and orchard stores right now.  This French apple tart is an old favorite of mine, been making it for years.  I once worked at an office where they would request it whenever we had an office function or party!  I have no idea where I got the original recipe from so I can’t give credit for it, I lost my copy and had to replicate the measurements a number of years ago. Plus, I had to change it a bit in the last time or two to make it gluten free but it tastes just as good as before.  The cinnamon and lemon topping are what makes it so delish.

french apple tart

It should be made with an apple variety that keeps its shape; Granny Smith is the best choice in that regard.  Don’t use one that goes all squishy like Empire or Macintosh.  You only need 3 large apples.

I use my GF tart shell crust which is from Annalise Roberts’ great cookbook; Gluten-Free Baking Classics.  It is very easy; hand pressed into your tart pan.  I would say that this is a cookie crust; sweet and short; very yummy.

It should give you about 6-8 slices of tart. Lesser amount of slices if your family is piggy, the full eight slices if they are not big dessert eaters. I rarely have any of this tart left over for more than 24 hours.  It is very popular with everyone.  I like it for how easy it is to make, how handsome it looks and that I can throw it together quickly with only 3 apples and a lemon.

Crust

1 cup brown rice flour mix; recipe below

¼ cup granulated sugar

1 tsp. xanthan gum

5 tbsp. cold unsalted butter, in 5 chunks

1 tsp. vanilla extract

Mix the dry ingredients in a stand mixer, cut in the butter by mixing it at a med low speed until crumbly.  Add vanilla and mix well.  If it is really dry looking add a tbsp. of water.  Press into the bottom and up the sides of your tart shell as evenly as you can make it.

For this recipe I use a large 10 inch tart pan.  Mine is ceramic so it doesn’t have a removable bottom.   Bake it at 350 degrees for 10 minutes.

Filling

3 large Granny Smith apples; peeled and sliced – not thick or too thin

2 tbsp. sugar

1 tbsp. GF flour

Lay the apple slices in concentric circles in the tart pan over the crust.  Put them really close to each other so there isn’t a lot of space without apples on it.  Mix the sugar and flour and sprinkle over the apples.  Cover loosely with foil and bake 25-30 minutes until the apples are soft if pricked with a fork.  Do not bake until they collapse; the slices should still hold their shape.

While the tart is finishing up its baking time make the topping.

Topping

In a small heavy sauce pan place:

2 tbsp. sugar and 1 tbsp. cornstarch and mix them.

Add all the other ingredients:

¼ cup fresh lemon juice

1 tsp. lemon zest (grate the zest and then juice the lemon)

½ cup water

½ tsp. cinnamon

Cook over medium heat, stirring it constantly with a small whisk or a spoon, until it boils and seems thickened and is no longer opaque.  This should take less then five minutes.  Remove from heat and pour the hot gloppy topping carefully over the hot apple tart taking your time so you cover the entire surface of the apples.  If you like lots of cinnamon you could increase that up to a tsp. of cinnamon in the filling.

Let cool to at least lukewarm before serving.

This tart is perfect with a scoop of vanilla ice cream on the side.  Don’t put it on top or it will not look so nice because of the French cinnamon topping won’t like to share its space with the chilly ice cream!

Brown Rice Flour Mix (for the crust)

2 c brown rice flour; be sure it is finely ground

2/3 c potato starch – Not potato flour!

1/3 c tapioca flour

Gluten Free, Low Carb Barbecue Feast

It can be a challenge making a party meal for family when I can’t eat gluten.  It got a bit more challenging this weekend when I made a meal for family including my brother. He recently had to go on a low carb diet for medical reasons, he is already slim and exercises a lot.  But, now he has to cut way back on carbs.  So no burgers with buns, no rolls, no big fat birthday cake for my mom. What to make? What kind of cake could we all eat?

I decided to go with this menu: deviled eggs to start, then grilled marinated chicken thighs, my version of doctored baked beans, old school potato salad and a veggie/fruit jello salad followed by a fruity pavlova for dessert.

pavlova

The deviled eggs are always popular; I gave my recipe early this spring for them and no one ever gets tired of them.  I made half with gherkins in them and half plain.  All gone in a matter of minute.

The potato salad is a family tradition; I used my sister Karen’s version because it tastes better than anyone else makes. I knew my mom would be pleased and my brother who probably doesn’t eat such treats except when he visits me.  I used Light Hellman’s Mayonnaise and light sour cream in my creamy dressing on the golden potato slices.  The seasonings are celery seeds, cider vinegar and some dill pickle juice!  I went light on the dressing for the sake of my brother and his wife who doesn’t eat much of any fat.  I added some chopped celery and a touch of chopped onion.  Yumm!

Our family loves the baked beans;  made quick and easy with a can of good quality old fashioned baked beans, Bush’s works perfectly but don’t use Campbells; they are just not as good a bean.  I often use the Giant name brand and they work great.

baked beans

For fun I put my Perfection Jello Salad in a copper lobster mold.  This was for the delight of my 2.8 year old grandson. He knows what a lobster is and loved it when the orange and golden mold was carried out on a large oval platter. My salad is created from lemon jello spiked with a touch of cider vinegar and full of well drained crushed pineapple and shredded carrots.  It was pretty and pretty tasty. I thought someone took a picture of it but no such luck.

pavlova

Dessert was a big pavlova meringue which I have posted the recipe to here recently.  This picture is from Sunday’s meal. I topped mine with slices of ripe kiwi, ripe local peaches and fresh raspberries as I was low on peaches and didn’t have time to run to Bechdolts Orchard for more….  Everyone devoured their slice and it was accorded five stars by my sister-in-law who doesn’t even eat cake normally.  It is fairly low in carbs and you get bites of ripe fresh fruit and tasty real whipped cream on the tender meringue. I put some candles on top and we sang happy birthday in the back yard as the sun set.  Perfect birthday barbecue….

Here is an approximation of my baked bean recipe: I never measure but I will do my best to replicate the proportions.

Mom’s Baked Beans (about 6 servings)

Ingredients:

4 slices of raw bacon cut into ½ inch chunks

One big can Bush’s original baked beans; 32 ounces I think

1 medium onion, chopped

About 1/3 to ½ cup of catsup

1-2 tbsp. yellow mustard

3-4 tbsp. cider vinegar

2-3 tbsp. light brown sugar

Fry the bacon in a large frying pan. I like cast iron best for this recipe but most any pan will do.  Once it is about ¾ done to your liking (4 to 6 minutes) add the chopped onion.  Cook 4-6 minutes until it is softening.  Open the beans and drain off any excess liquid especially any separated thinner liquid. Pour in the pan on top of the onions and bacon.  Dump in the rest of the ingredients and stir well.  Heat to a low bubble, turn down and allow it to cook slowly for 10 to 20 minutes, stirring frequently so the beans don’t stick and burn.  Taste it and adjust by adding more of any of the four condiments. I like it sweet and tart at the same time. I suggest you start with the lower amounts of condiments especially the sugar and vinegar and see how it is after cooking 5 minutes; add more to taste.  It is great warm but equally yummy left over cold for lunch the next day.

I sometimes make it in the dead of winter for a cold weather inside picnic.  Sure you can make the really slow cooked beans in a crock but this is addictively tangy and every member of my family adores it. My mom always made these beans and I finally got brave enough to just dump and create my own version which I must say is remarkably like Mom’s.

All in all it was a pretty good family meal, not too complicated as I could make the jello salad in advance and the meringue the day before. The potato salad and the beans could also be made in advance. You would never guess by the menu that this was a gluten free meal or a low carb one; just good old school yummy-ness on our plates!

Chocolate Pudding Delux

Chocolate pudding is such a comfort food.  You can buy it ready made in the yogurt case but I prefer to make my own as it tastes fresher.  But this is not really a scratch recipe. I take a store box of Jello cook and serve and make a few changes.  My version is a tad less sweet and gives you an extra serving. The cinnamon is optional but I think it heightens the chocolate flavor.  Do not use instant pudding; only the cook and serve stuff.

 chocolate pudding

This pudding takes just five minutes to cook it up and pudding is always a cozy treat, even in summer.  It is naturally gluten free.  My mom loves it because it has a nice texture and isn’t quite so sweet as store pudding normally is. Here is my simple recipe. 

Angie’s Chocolate Pudding

1 box Jello “cook and serve” pudding; 3.4 ounce box

2 ½ cups whole or 2 percent milk

1 tbsp. cornstarch

1 tbsp. cocoa powder (not drink mix!)

Good sprinkle of cinnamon.

 Place the milk in a thick bottomed medium saucepan.  Mix the other ingredients in a small bowl and pour into the milk in the saucepan. Heat the mixture over medium as you stir constantly with a whisk.  I keep stirring until the entire pan is at a full boil meaning many big bubbles all over the surface.  Turn off and ladle into 5 6 oz serving dishes.  Chill 2-4 hours and serve plain or with some lightly sweetened freshly whipped cream.  A few ripe raspberries would be lovely on top of this chocolaty treat.  I have even buried a ginger snap cookie in the middle of the pudding for a surprise to bite into!

chocolate pudding 8-14


This doesn’t work as well with one percent milk, and not at all with skim milk.  Best results are with whole milk.  If you don’t stir enough it will burn on the bottom.