Peachy Keen Peach Cobbler

Peaches; peachy keen, peaches and cream, peach ice cream and peach cobbler.  Well, this post will be on peach cobbler and it is is peachy keen!  Still, I often make it with blueberries.  I am guessing most any fruit might work; blackberries, raspberries, cherries, plums, nectarines and apricots come to mind.

peach raspberry cobbler

This recipe is modified from one in Bette Hagman’s book, “More from the Gluten-Free Gourmet” and is based on a flour mix that will give you 4 cups of the dry ingredients for the topping.  One cup of dry mix plus the other ingredients will make an 8×8 pan of cobbler topping.  I bet two cups will make a big 9×13 pan of peach cobbler.

I have made it over a camp fire a few times, delish and not that difficult either.  But that will be a separate post as there are some tricks to campfire baking.

I have tried a number of cobbler recipes but nothing has tasted better than this one so I will stick to what works great for me.  If you use nectarines there is no peeling involved which makes it extra easy to throw together. I need to make a cherry cobbler but cherry season has passed.  Oh well, there are frozen cherries at the grocery store……

Mix this up and store in an airtight container in the freezer.

I always get the fruit cooking before putting the topping together so the fruit is hot and ready for the topping and can go right into the oven.  I used fat ripe peaches I bought at the Saucon Valley Fruit Stand for the first peach cobbler of the season and then some very flavorful ones from Bechdolt’s Farm Stand which made outstanding peachy cobbler.

Dry Cobbler Mix (store in freezer, makes enough for 4 cobblers)

2 ¼ cups white rice flour

½ cup potato starch

½ cup tapioca flour

1 tsp. baking soda

4 tsp. baking powder

1 tsp salt

1 tsp. xanthan gum

1/3 cup sugar

Cobbler Topping

1 cup dry baking mix

2 eggs

2 tbsp melted butter or canola oil

1/3 cup milk/buttermilk (scant)

1/4 tsp. vanilla

Mix the wet ingredients and then add to the dry mix in a big bowl. Mix very briefly, just until combined.  I suggest adding the last tablespoon of wet stuff only if it seems to need it; better to have it thick than thin in consistency.

Fruit Filling

4 cups sliced ripe peeled peaches, nectarines, blueberries

½ tsp. almond extract

1/3-2/3 cup sugar depending on how sweet you want it

1 tbsp. minute tapioca

2 tbsp. GF flour

1./4 tsp cinnamon

peach cobbler in saucepan

Directions:

Mix the fruit and almond extract in a sauce pan. Stir together the tapioca, sugar, cinnamon and flour and mix into the fruit.  Cook on the stove top, medium heat, for 3-5 minutes until it is thickened and hot.  Pour into a buttered 8 inch square pan, top with big blops of the cobbler topping.  Bake at 350 degrees for 25 minutes.  The top should be light brown and spring back when you poke it with your finger.  If it looks damp or squishy bake it 5 more minutes.
peach cobbler in pan

Let cool 7 or 8 minutes before serving as it will burn your mouth right out of the oven!  Some people love it with a scoop of vanilla ice cream.  Cobbler is perfect just on its own.

Between you and me, I recently made this cobbler with 4 fat peaches and a handful of fancy frozen raspberries as I felt there wasn’t quite enough peach slices. It tasted amazing!  The zing of the raspberries and the ripe peachy flavor mingle with the tender cobbler crust in an incredible blend that must be tasted and enjoyed ASAP! It is great with just ripe August peaches, just made one of those today.

Blueberry Peach Crumb Pie…Delectable!

It is the peak of both peach and blueberry season so this was a perfect pairing for adaptation to a gluten free pie recipe.   The resulting pie was juicy and flavorful down to the last slice.

blueberry peach pie slice

This is an easy pie to create.  Slice and dump together the filling, crumb topping made in mixer bowl you used for bottom crust. You can store any leftover crumb mixture in a sealed container in the fridge; it keeps a few weeks.  This GF crumb topping is perfect for most any fruit pie.  If you prefer a solid crust just double the crust part and top your pie with it.  Be sure to cut some slits for steam escape! I think a lattice crust would be fantastic if a bit more time consuming to construct.

Please make every effort to use local fruit; you can get peaches at most farm stands like Bechdolt’s located below Hellertown on Rt 412, Saucon Valley Fruit Stand on Seidersville Road or at Lehigh Valley Produce on Main Street in Hellertown.  This pie really showcases the blueberries more than the peaches. But store peaches can be poor in quality due to chilled storage of fruit so I strongly suggest you get locally grown, sweet, ripe peaches to make your pie.

To peel; heat 3 inches of plain water, drop the peaches gently in and cook them 1-2 minutes.  Allow to cool somewhat before peeling.  I like to do that over a bowl to catch the juices as I slice each peach.

Bake and enjoy early summer in a pie in just a few minutes of work.  Don’t eat it piping hot; it should be cooled to room temperature or even chilled.  You could certainly serve this with vanilla ice cream.  And this pie works perfectly with fresh nectarines or apricots.  Bonus: no peeling required!

Angie’s GF Blueberry Peach Crumb Pie

Crust:

1 c plus 2 tbsp brown rice flour mix (at bottom of recipe)

2 tbsp sweet rice flour

1 Tbps. granulated sugar

½ tsp xanthan gum

¼ tsp salt

6 Tbps. cold butter cut into 6 chunks

1 lg egg

2 tsp fresh orange or lemon juice

Directions:

Spray 9 inch metal pie pan with cooking spray, dust with white rice flour.

Mix dry ingredients in bowl of stand electric mixer.  Add butter and mix until crumbly and resembling coarse meal.  Add egg and juice.  Mix until it comes together into big chunks.  Shape into a ball with your hands. Put it on a crust sized piece of wax paper (14 x 14 inches more or less), flatten the crust ball some; put on top of it another piece of wax paper and chill it all in your fridge 15-20 minutes while you prepare the filling.

crust

Filling:

2 cups sliced fresh peaches, peeled and cut in thick slices

3 cups fresh blueberries – place in medium bowl

Mix with:

½ cup sugar

½ tsp. cinnamon

¼ cup quick tapioca

Add and stir in

2 tbsp. fresh lemon juice

blueberry peach pie filling

Let the filling stand while you prepare the crust, important for the tapioca so it does its job optimally.

Roll out pie crust in a pie bag or between the two sheets of wax paper, try to get the thickness even, no thick middle! Peel off one side of paper and place in pie pan, centered.  Remove other slice of wax paper.  Crimp edges all around.  Fill with fruit mixture.

blueberry peach pie unbaked

Crumb topping

Put all four ingredients in the same mixing bowl you made the bottom crust in and mix well with mixer paddle until crumbs form.

¾ c brown rice flour mix

½ c sugar

½ tsp xanthan gum

1/3 c cold butter cut into six chunks

Directions:

Sprinkle the top of the pie with crumb mix; use as much as you like.  I like about a heaping cup of the mixture.  Up to your personal taste… It sinks partially into the fruit mixture and adds lots of sweetness and eye appeal.

blueberry peach pie, done

Bake in a preheated 400 degree oven for 45-50 minutes until bubbly and the crumb crust is light brown.  I put a piece of aluminum foil on top for the last ten minutes.  Cool at least 2 to 4 hours before serving at room temperature.  I think it is best served the same day you make it, or no more then 10 hours after baking for optimal flavor.  The crumbs will get soggy if too much time passes.

Note: if you find your bottom crust is not browning enough bake it empty at 375 degrees for ten minutes before filling it with the fruit.  I have a bottom heat pizza oven which gives me perfect pie crust so I don’t ever have pale pie crust.

Brown Rice Flour Mix
2 c brown rice flour (finely ground)

2/3 c potato starch – Not potato flour!

1/3 c tapioca flour


Blueberry Sheet Cake for a Picnic

This summery cake is very easy and totally delish.  It is blueberry season, this cake give you the best of all worlds, sweet berries and tender bites of cakey goodness.

blueberry sheet cake

This was the second time I made it. I have used two different flour blends, both worked. One is Better Batter and the other one is the brown rice mix I often use; see at the end of this recipe. Either works but I have to say I prefer the Better Batter for this recipe a little more than the brown rice.

As to the fruit, I bet you could use frozen blueberries or replace the blueberries with raspberries or blackberries.  Enjoy this summer treat with some friends or your family, it makes about 8 generous square servings or ten small ones.  I served it at a family picnic this past week, I was the only GF person there and everyone clamored for seconds!

Gluten-free Blueberry Sheet Cake

Ingredients; For the Cake:

  • 2 cups plus 2 teaspoons all-purpose, gluten-free flour blend
  • 1 tablespoon baking powder
  • 1 teaspoon sea salt
  • 1/2 teaspoon xanthan gum (only if your flour blend doesn’t already have this!)
  • 2 sticks of butter, softened
  • 3/4 cup packed light brown sugar
  • ½ tsp almond extract
  • 1/2 cup granulated sugar
  • 3 large eggs
  • 1 cup whole milk
  • 2/3 to 3/4 cup of blueberries

For the Topping:
1 teaspoon cinnamon

1/4 cup granulated sugar

2/3 cup blueberries

Directions

Preheat oven to 350 degrees. Grease a 9×13 inch baking dish with butter or gluten-free cooking spray.

  1. Mix 2 cups of flour, baking powder, sea salt and xanthan gum in a medium bowl with a whisk and set aside.
  2. Beat the butter with the brown sugar and granulated sugar until light and fluffy. Add the eggs and beat until smooth.
  3. Beat in half of the flour mixture until smooth, add the milk and almond extract and the rest of the flour and beat until evenly incorporated.
  4. Toss 2/3 cup of the blueberries with the remaining teaspoon of flour and gently fold into the batter. Spread into the prepared baking dish.
  5. Mix the topping ingredients together and distribute evenly over the top of the batter. I like to press the berries in a bit so they are not just resting on top of the dough.
  6. Bake for 45 minutes or until a toothpick inserted into the middle of the cake comes out clean.  Let cool at least 10 or 15 minutes before serving.

8 servings

Brown Rice Flour Mix  – mix them all in a big jar or bag
1 c. brown rice flour

1/3 c potato starch

3 tbsp.  tapioca flour

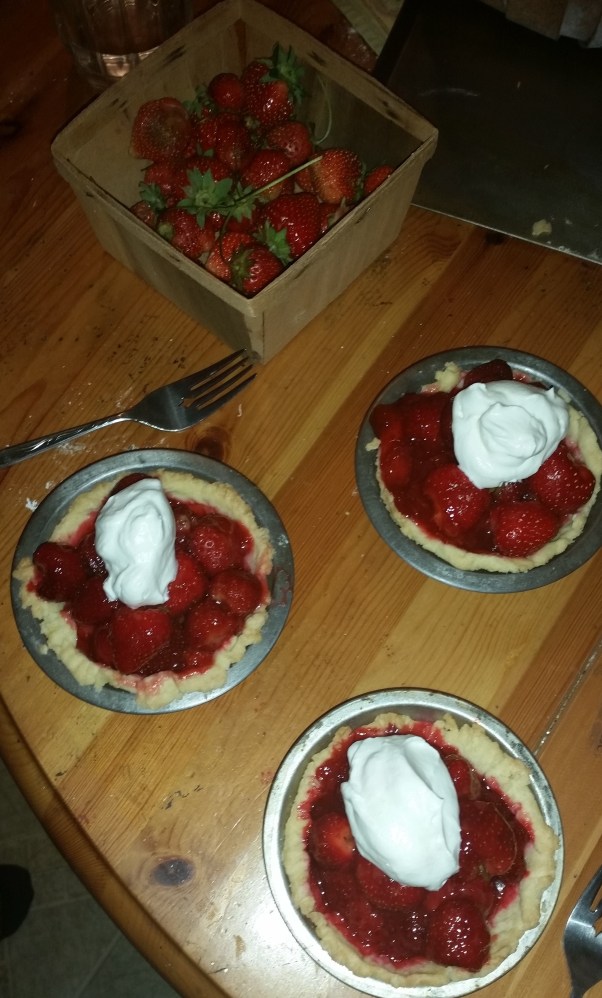
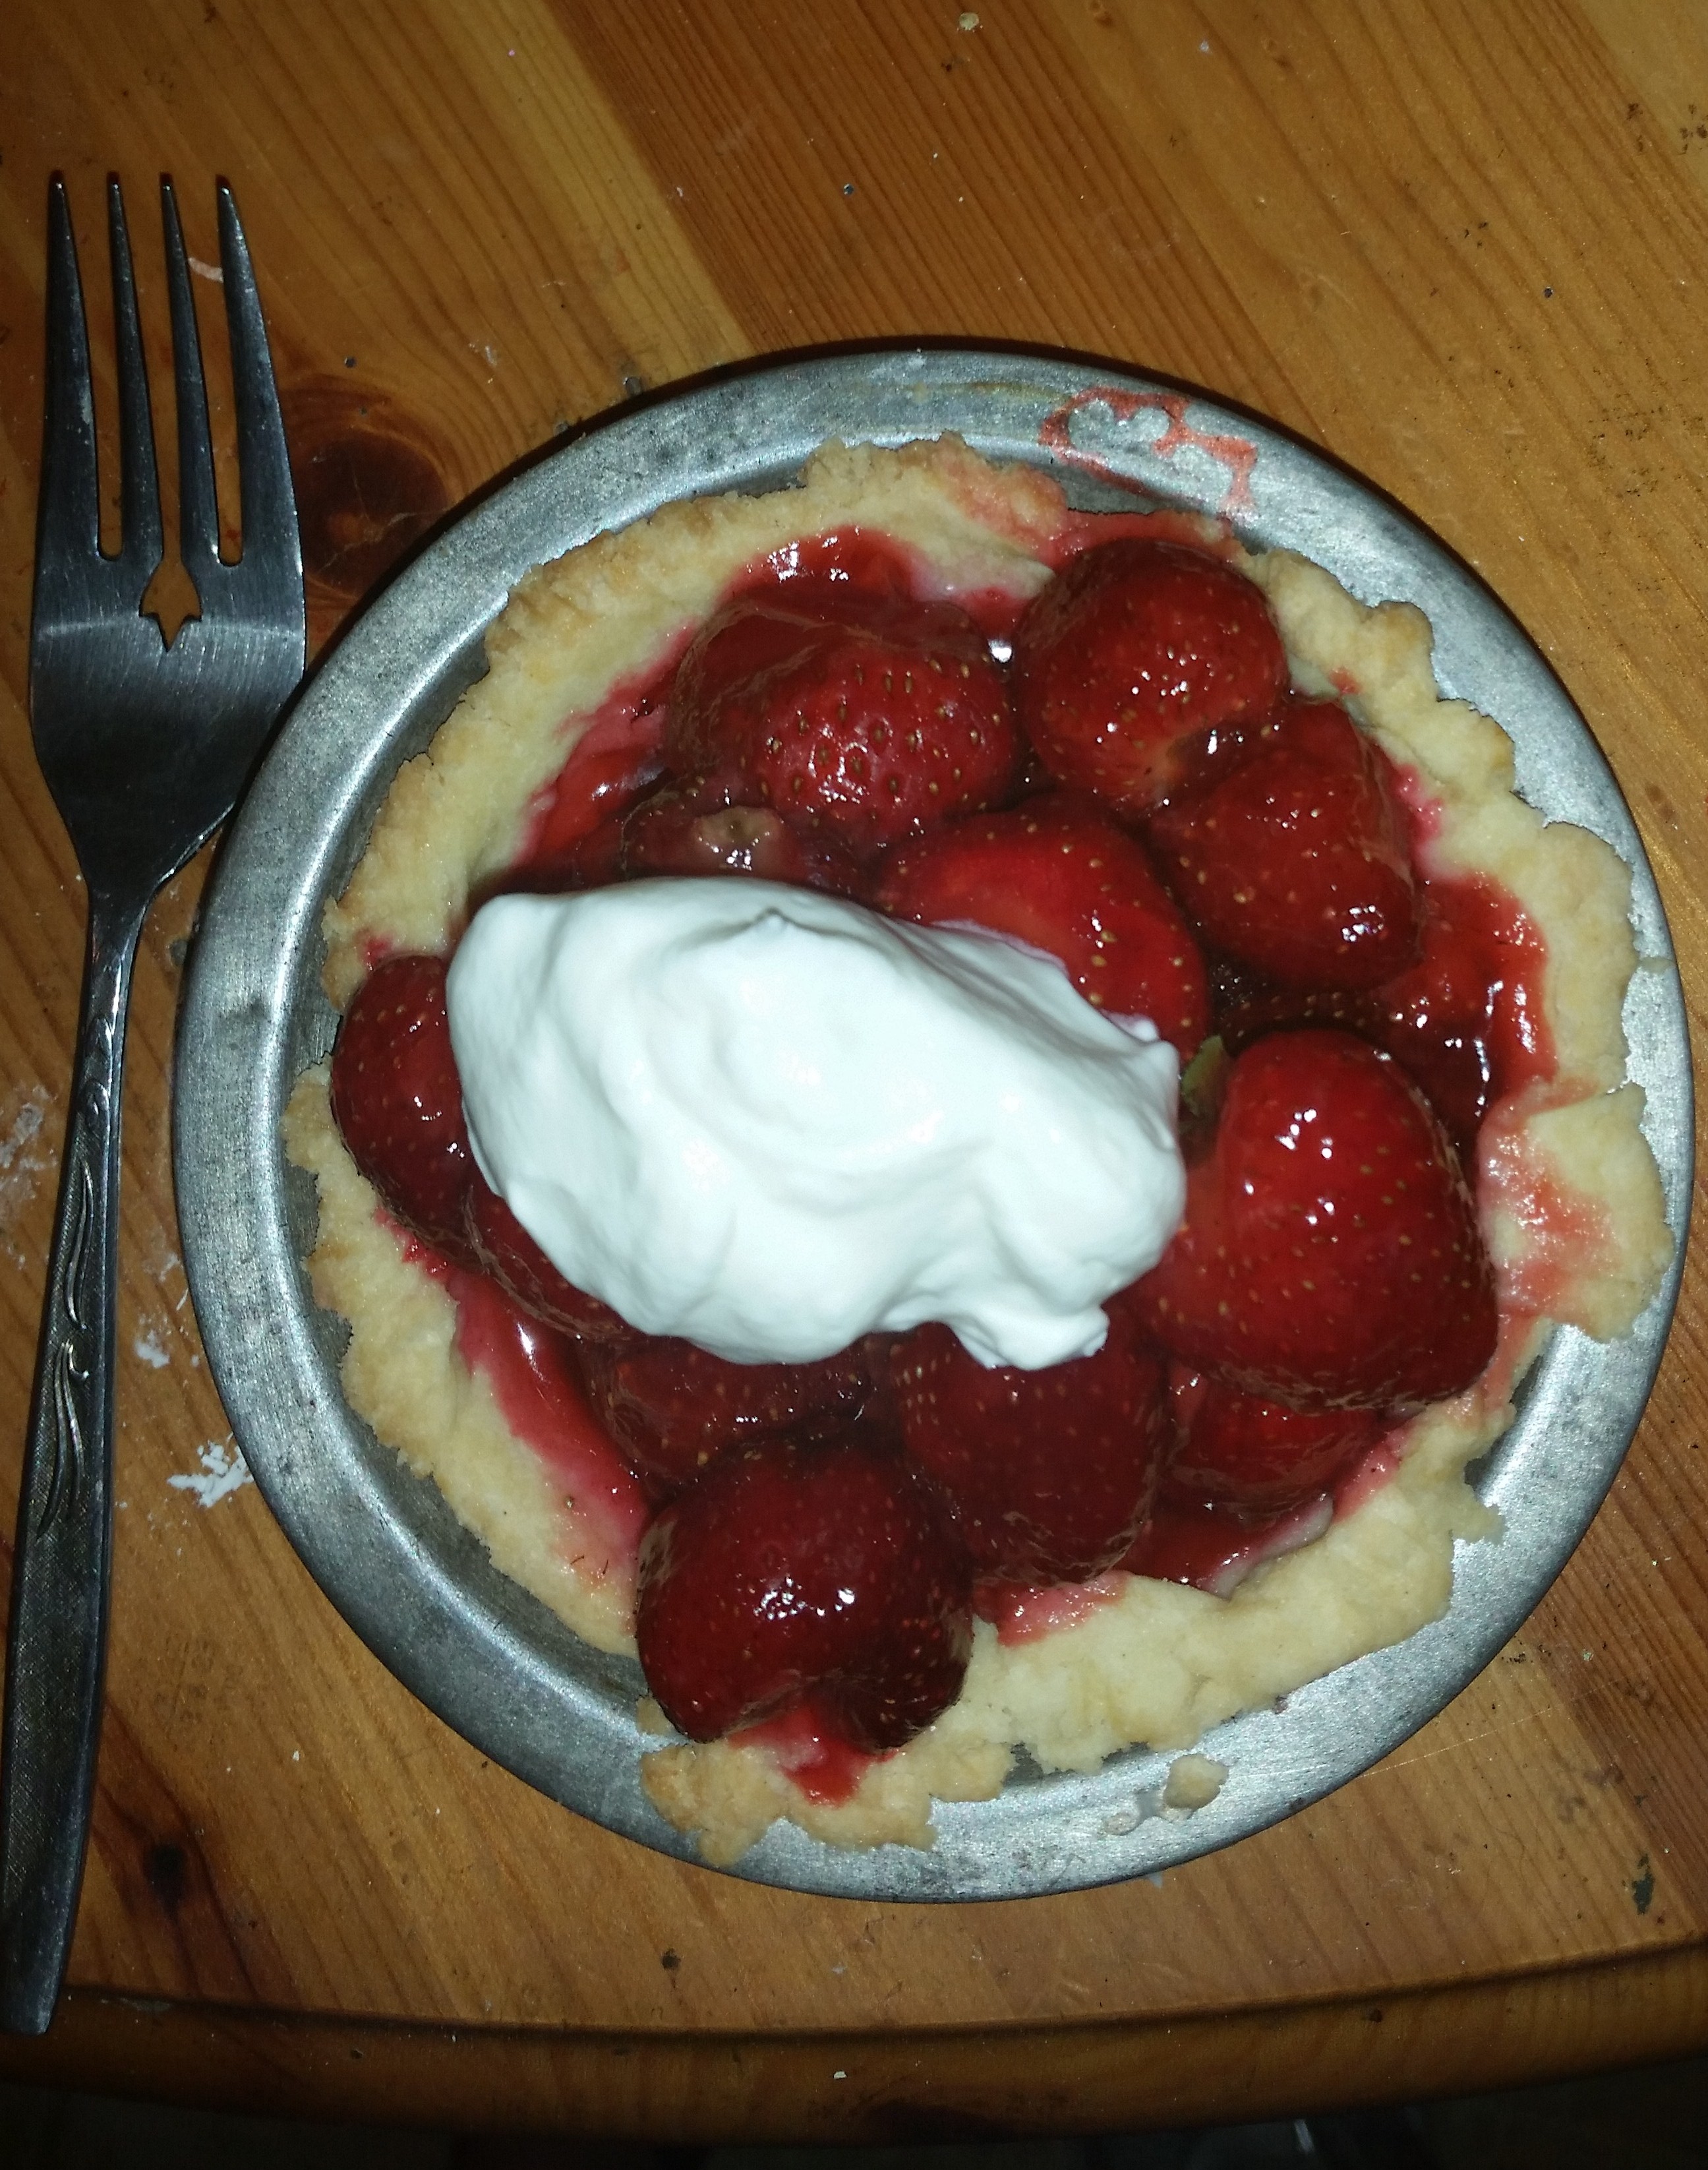
Strawberry Tartlets to Tempt Romance!

Yes, it is the end of July but juicy ripe strawberries can be found in the supermarket and some produce stands like Lehigh Valley Produce on Main Street in Hellertown even now! I saw baskets of fresh berries earlier today at LV Produce.

This is a sweet and romantic dessert; two could share one deep dish tartlet! If you weren’t piggish that is….  Maybe everyone needs their own tartlet.  Totally your call. But do try to make these as they are not difficult and strawberries are very healthy and delicious even in August!

Angie’s GF Strawberry Glace Tartlets

Makes 4-6 tartlets; lesser number if deep dish ones and more if the flat bottom style that hold less berries.

Crust:

1 c plus 2 tbsp brown rice flour mix (at bottom of recipe)

2 tbsp sweet rice flour

1 Tbps. granulated sugar

½ tsp xanthan gum

¼ tsp salt

6 Tbps. cold butter cut into 6 chunks

1 lg egg

2 tsp fresh orange or lemon juice

Spray 4 inch metal tart pans or 4 inch mini deep dish pie pans with cooking spray, dust with white rice flour. Set aside.

Mix dry ingredients in bowl of stand electric mixer.  Add butter and mix until crumbly and resembling coarse meal.  Add egg and juice.  Mix until it comes together into big chunks.  Shape into a ball with your hands. Put it on a crust sized piece of wax paper (14 x 14 inches more or less), flatten the crust ball some; put on top of it another piece of wax paper and chill it all in your fridge 15-20 minutes.    tart shells ready to bake

Cut it into 4 balls and roll out each ball into a small pie crust in a pie bag or between the two sheets of wax paper, try to get the thickness even, no thick middle! Peel off one side of paper and place in mini pie pan, centered.  Remove other slice of wax paper.  Crimp edges all around.  Do again until you have 4 shells and use all the crumb leftovers to make a fifth tartlet crust.  Bake in a preheated 375 degree oven for 10-13 minutes until the crusts are light brown.  Cool at least 30 minutes before filling.

Glaze:

1 cup mashed very ripe strawberries (I sort through the berries and use the riper ones for this part.)

2/3-3/4 cup sugar

3 tbsp cornstarch

½ cup water

 Directions:

Mix sugar and cornstarch in 1 qt heavy bottomed sauce pan, stir in water and mashed strawberries.  Cook on medium heat until it boils, stirring constantly.  Boil and stir one minute.  Let cool at least 20-30 minutes or until close to room temperature.

Filling:

4 ounces of light cream cheese, room temperature

4-5 cups fresh strawberries, hulled

Line the bottom of the cooled tart shells with the cream cheese, spread it as evenly as possible. I use half of an 8 ounce package.  Place berries in a big bowl.  Pour the glaze over top and gently mix.  Pour the goopy berries into the mini pie shells.  I like to pick one really nice one for the top of each tartlet.  strawberry tartlets

Chill 1-2 hours before serving.  Make some real whipped cream, the fake stuff will not be right; 1 cup heavy cream whipped with an electric mixer or a whisk until soft peaks, I like to chill the bowl and beaters a few minutes as it helps the cream whip faster.  Then add 2-3 tbsp powdered sugar and ½ to 1 tsp. vanilla.  Beat just a bit longer, until nearly stiff peaks.  Top each tartlet with the whipped cream.

Dive in, one deep dish tartlet is a substantial dessert.  If you make them in a flat bottomed round tartlet it will make more tartlets; less berries are needed to fill it.  I have a pair of those sort of pans; each pan makes 4 tartlets.  They would be a good alternative to the deep dish tartlet pan.

Either way this is a yummy dessert to share with someone you love.

Brown Rice Flour Mix– for crust
2 c brown rice flour

2/3 c potato starch

1/3 c tapioca flour

Eating Gluten Free at Family and Friends…Yes it is Do-able!

I am just back from a week in New England visiting friends and my two sisters. Ate lots of gf food, most of it very yummy and only felt mildly ill once.  I ate at both my sister’s houses and at four friends.  One friend just gave me a GF snack bar and herbal ice tea, easily safe.  I was only there for a short visit as I returned to Pennsylvania so she was off the meal hook!

The other three were a contrast in attitudes and meals.  My friend up in New Hampshire made bbq’s pork ribs and potato salad.  He did not listen to my repeated advice to avoid spice mixtures.  He used a famous chef’s blend on the ribs which were slow cooked right on the grill grate.  As they smelled fantastic when I got there, tired from driving all the way up from PA, I bit the bullet and just ate some. I had brought the ingredients for a green salad including a zuke from my garden.  So I know that was safe! He was very relaxed about it and acted unconcerned about whether the food was safe for me although he claimed to understand the gluten free concept.  Luckily I did not suffer any ill effects from that supper.  Another spice blend might have made me sick and the labels are very iffy.  Best method is to make your own spice blend.

Another friend, Debra, in northern Massachusetts made a bbq meal too; this was late in my trip. She was very concerned and confessed to being stressed out before my arrival as to the safety of her food. She used a lot of fresh fruits and vegetables and virtually no spices.  She put aluminum foil on her grill grates to make sure they were not going to contaminate my meal with gluten from old bbqs.  Debra made a table groaning with yummy food with some help from me.  She had several kids and a husband to feed and still there were leftovers, it was quite a feast.  She tried very hard to make a memorable meal and I really appreciate all her efforts.

My dear friend Beth’s house is in Wellesley where I enjoyed some cold lemonade and homemade gf chocolate chip cookies.  A perfect snack.  But I know she was very concerned about contamination and that she went to great lengths to ensure the safety of the cookies as she made them.  She used a gf sugar cookie box mix to which she added chocolate chips.  Some of the best cookies I have eaten in the past year and a half.

My sister Elaine washed all the pots and pans in her dishwasher on the heavy cycle as did Beth. Not sure if anyone else did that.  Beth baked her cookies on parchment paper to ensure they didn’t get any wheat residue on them.

I helped make a big meal for family at Elaine’s. I made some French bread that was very well received; looked like a recipe picture from a cookbook when the loaves came out of the oven.  I also whipped up some deviled eggs and chilly cucumber soup. We had fabulous farmed Canadian salmon with a divine roasted grape tomato sauce.  I got to eat a big slice of her renowned pavlova topped with fresh strawberries.  There was no pavlova left on the plate when we were done!

My other remaining sister, Karen, made a wonderful Spanish stew with chorizo sausage and chicken breast as well as saffron and fresh spinach.  We debated the safety of that sausage after reading the label but I ate it and it was yummy.  Sometimes packaging says “spices” and that can be iffy…. I didn’t feel any ill effects.

I really appreciated all the culinary efforts of my friends and family.  They tried very hard to make my meals safe and they succeeded.  It was interesting how their attitudes differed.  From the very worried to the carefree and several stages in between!  I just wish the labels on foods were less ambiguous; food starch, spices, seasonings, natural flavor are all code words which often mean wheat flour.  Not acceptable or safe for me.  I am sure it is tough to have to read all the labels.  I do it myself every shopping trip. 

You can eat safely at someone’s home while you are on vacation if you pre-educate your friends/family on your dietary needs. My final point is that making a gluten free meal for a friend with celiac is quite doable and there are lots of food options for a tasty meal.  Thank goodness my friends were willing to try and each was successful using a different meal approach.