Blueberry Sourdough Scones

Scones, tender, flakey, full of yumminess… something I used to make years ago. Kinda gave up on them, had made some but sort of heavy. So, I assumed all scones were generally pretty sad when made gluten free. Well, today I attempted them and made a batch with leftover sourdough starter which is generally called discard. I had created the starter last week using brown rice flour and had made a tasty loaf of seeded white sourdough bread in my 8.5 x 4.5 tall, sided loaf pan. So, I was looking for a way to use up the excess sourdough starter. I couldn’t find a recipe for blueberry sourdough gf scones, so I took a gluten-based recipe and reconfigured it to make with a one for one blend: specifically, Bob’s Redmill 1-1 Blend. I used a half cup of thick starter. I left out the recipe’s lemon ingredients as I just wanted blueberry and scone as the flavors. I also returned the dairy back to real dairy like actual butter and milk.  I ate the first one when it was just to room temperature. It was like heaven in a scone shape. Crisp outside, tender inside. Bursts of blueberries rendered me speechless. It was somewhat of a religious experience for a baker like me. I have never eaten such a tender delicate gluten free baked item. The crumb was moist and as perfect as I could ask for. You have to try this! I don’t know what you can sub for the sourdough starter. Maybe Greek yogurt? Maybe you should just make starter so you can bake these scones. 

I don’t know what flavor I will make next but I do know there will be a next time. Frozen blueberries worked so well; keeping the dough chilly as I mixed it with a wooden spoon and then kneading it with my bare hands.  Trust me, it is easy to make and utterly decadent despite no icing or chocolate or nuts. I may make it with some nuts and chocolate next weekend. Can. Not. Wait.

As I am about to mix it together.
Ready to bake scones.
Just baked scones still on sheet from oven

Angie’s Blueberry Sourdough Scones (GF of course)

Ingredients:

200 grams 1-1 Gluten free flour blend; I used Bob’s Redmill

50 grams almond flour

100 grams granulated sugar

2 ½ tsp. baking powder

¼ tsp. salt

7.5 Tbsp of cold butter

1 heaping cup of fresh or frozen blueberries

½ cup sourdough starter (Use the discard if you are creating discard)

1 large egg

1/3 c cold whole milk

Directions:

Mix all dry ingredients in a large mixing bowl. Cut in cold butter with a butter cutter or 2 knives. Until it is tiny pebbles of dough and butter.

Add the egg, starter and ¼ c of the milk. Mix to break up egg and start the blending process. Add in the frozen berries (or fresh) and continue stirring. As it gets to be a thick dough dump it out on your breadboard with all the dry bits and hand knead it to coalesce it into a thick dough. Form it into a large disc; about 8-9 inches across. Cut into 8 wedges; cut in half, then quarters then again into eighths. Spread them out on a cookie sheet that you have sprayed with cooking spray. Put the sheet in a cold place to chill while you heat the oven. Heat to 355 degrees.

Put the sheet in to bake. If you have a convection cycle they will be done in about 25 minutes; the outside needs to be light brown, bottom browned and they look done. I tried 18-20 min but that wasn’t enough. I think my total was 26 minutes. If you don’t have convection they will likely take a few more minutes.  Let cool on pan for 5 minutes and move to a rack. I got distracted and just left the pan of scones on the rack! They cooled rapidly and I couldn’t resist eating one. Plain. Now I am not hungry for lunch. I just want more scones.

Enjoy! I think they will freeze nicely; vacuum sealing would be a good way to go about it.
Cheddar Cheese Biscuits: Guilty Pleasure

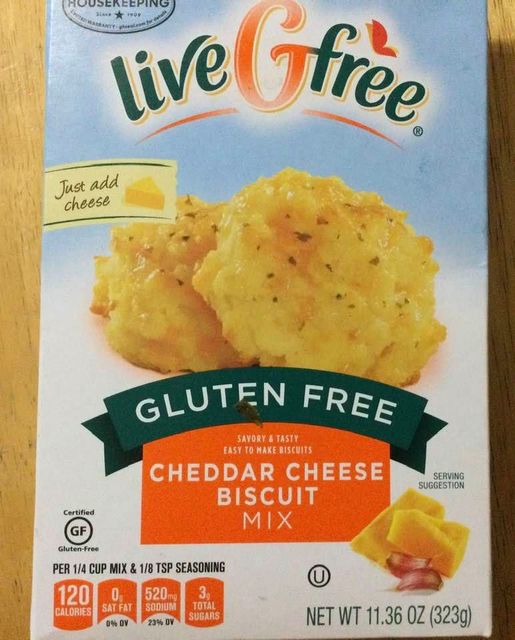
I don’t buy redi-made mixes that often, in fact I have never bought a gf biscuit mix except these. From Aldi’s; a fav hangout! Cheddar cheese biscuits in the orange and blue box. This was my fourth or fifth time making them.

You add water, quarter cup oil and a third of a cup of grated cheese, stir and it becomes this slightly weird fluffy white stuff that looks more like cotton batting than anything else. Next, plop big clumps of this fluffy mixture onto a parchment paper lined (or baking oil sprayed) baking sheet and pop them into the hot oven to bake.  After about 16-17 minutes out comes the pan.  Each biscuit gets brushed with a buttery mixture you create with an herb/garlic powder that is blended with fresh melted butter. Super easy to make and definitely popular at my house.

cheddar cheese bisquits

They are nicely browned on the bottom and very tender. The buttery flavor definitely has a garlic vibe going on. We had them with sausage lasagna I made for supper.  My guy took home a container of lasagna and two biscuits. He left happily clutching his treats including those biscuits.   That should tell you they are tasty; Joe does not need to eat gf and he is fairly picky about his bread.  If it passes the Joe test; it is pretty tasty! This time I used colby cheese; mild cheddar and a great choice for them.cheddar cheese bisquit

They were a couple bucks and the add ins are minimal. I made 10 decent sized biscuits. I froze two which were destined for consumption in future weeks of February and March. Totally yummy even if not particularly healthy, white gf flour, sugar, cheese and butter as major components.  Not gonna tell you how many calories are in them, but frankly regular rolls have lots of calories. If it tastes buttery it gonna have calories…. Still, not often I find something this easy to make and this tasty.  I put this in my win win column. Enjoy!

Reposted from 2020 with minor changes.

Almond Flour Chocolate Cake

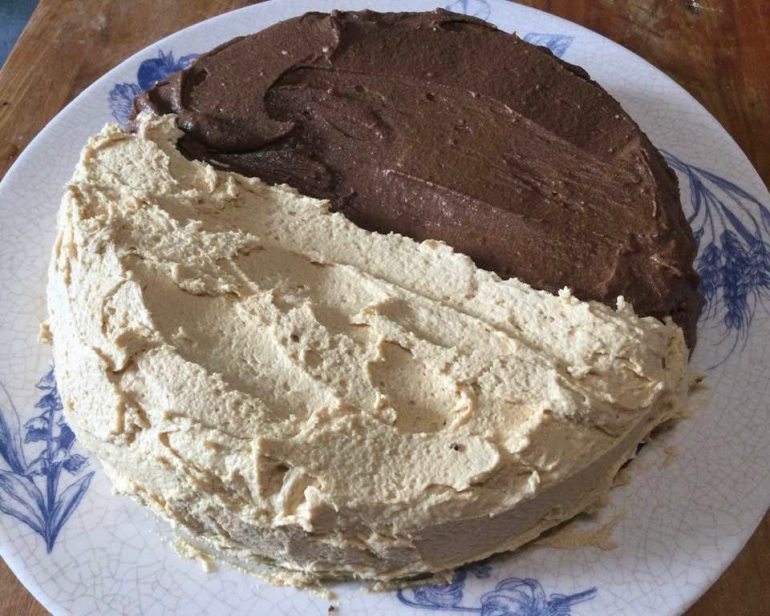
My guy wanted chocolate cake for Valetine’s Day. With chocolate icing. I don’t care for chocolate icing and was kinda tired of cake after the holidays. This cake has a more distinct crumb due to the almond flour…. the only other flour in it is tapioca starch so it is gluten free which I need. It is easy to make; no tricky process here plus it is dairy free which can be helpful to some folks. I made it but used half peanut butter icing and half chocolate: just made a half batch of each. It was a big it with my man; he took home the chocolate iced portion and I feasted on the peanut butter iced half.

Mine sunk a little in the middle; I think my 4 eggs were all kinda large; there is variation in a dozen eggs; try not to get the 4 largest from the box, live and learn. I did bake it the full time. The center was like fudge; quite yummy if squishy. The peanut butter icing was the bomb!!

Chocolate cake ingredients:

1 1/2 cup almond flour (not almond meal)

1/2 cup tapioca starch

1 1/4 cup sugar

3/4 cup cocoa

1/2 tsp. kosher salt

1/2 tsp baking soda

1/2 cup canola oil

4 large eggs at room temp

2 tsp. vanilla extract

Directions: mix the dry ingredients in a medium bowl; I used a whisk. Spray a 9 inch cake pan and line the bottom with a round of parchment paper. Heat the oven to 350 degrees, shelf for baking set in the middle. In a large mixing bowl beat the eggs until well blended, blend in the oil and vanilla until smoothly blended. Add in the dry ingredients 1/3 of it at a time; blend in and do the next third and then the final third. Pour into the cake pan. Let stand 5 minutes. Bake 30-34 minutes until tester comes out clean. Let cool in the pan for 15-20 minutes before turning out onto a drying rack. Ice when completely dry.

Chocolate icing (this is a half recipe)

1/4 cup room temp butter

2 tbsp. cocoa

1/2 tsp vanilla extract

a pinch of kosher salt (about 1/8 tsp)

1 cup powdered sugar

2 Tbsp. milk (may need another tsp)

Beat the butter with your mixer until fluffy, add the other ingredients and beat until fluffy; add extra milk if too stiff.

Peanut butter icing (half recipe)

1/2 cup creamy peanut btter

2 Tbsp. room temp butter

1/2 tsp vanilla

1 1/4 cup sifted powdered sugar

2 Tbsp. milk (may need another tsp or two)

Beat the peanut butter and butter until fluffy; add the rest of the ingredients and beat until fluffy; add extra milk if too stiff.

Ice half the cake with the chocolate icing and the other half with peanut butter. Enjoy!

Date Pyramid Cookies: Delicious Pastry

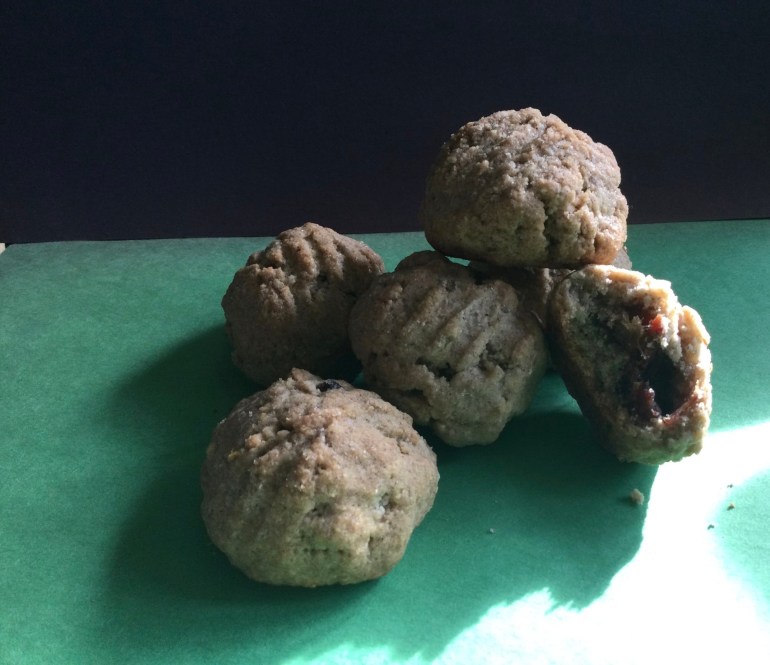
These filled cookies called Klaicha have a center of chopped dates and a hint of butter and are fairly low in sugar and surprisingly tasty. After just 24 hours since they came out of the oven and cooled off, I think I am addicted. They are shaped a bit like tiny pyramids, you use a dinner fork to press on them on opposite sides to flatten them while creating ridges reminiscent of peanut butter cookies. The dough is made from buckwheat flour, brown rice flour, almond flour and tapioca flour with brown sugar and butter. Spiced a bit with cinnamon, cardamon and anise seeds which give it a subtle middle eastern flavor profile when combined with the date filling. They are Iranian in origin, and I have no idea how to pronounce the traditional name, so I am just calling them date pyramid cookies, no offence Iran! I like that there isn’t a ton of date in each cookie; my sister Margie used to make these tasty date bars but honestly, I always thought they had just way too much date; was an overwhelming flavor in my humble opinion. Date pyramid cookies; just the right amount and a pleasing hint of spice. Date cookie perfection.

I enjoy their slightly crunchy exterior and soft date center. I like that they are fairly low in sugar (the date filling sweetens them up a lot) and that Klaicha are made with whole grain flours for most part. Forming them is a bit of a task. Half way through I returned them to the fridge to harden the dough and stop it from being a sticky mess on my hands. That said, it didn’t take long to do all 25 of them. Definitely a keeper recipe for the flavor, the texture and the relatively low sugar.

KLAICHA DATE PYRAMID COOKIES

Ingredients

1 cup brown rice flour

1 cup almond flour (not meal)

½ cup buckwheat flour

½ cup tapioca flour

¼ rounded tsp cinnamon

¼ tsp ground cardamon

½-1 tsp. anise seeds

1 ½ tsp. xanthan gum

Pinch sea salt

9 Tbsp. room temp (firm) butter cut into 12-15 small pieces

½ cup brown sugar

5-7 Tbsp filtered water

Filling: 1 cup plus 1 Tbsp. chopped dates, 1 ½ Tbsp butter

Directions: Put flours, spices, salt and gum in stand mixer bowl. Cut in butter with either the stand mixer paddle or a handheld butter cutter until butter is in tiny pebbles. Add sugar, blend. Add water as mixer turns slowly; a steady stream.  Use all of it or less; you want it to come together into a slightly crumbly dough. Chill 30-60 minutes. Mix dates and water in sauce pan; cook covered on low for 5-7 minutes until softened and butter blends in; stir frequently. Let cool.

Form cookies: a chunk the size of a large walnut formed into a ball, squash it down with your thumb or index finger; place 1 tsp date mix in that depression and push dough up to form it back into a ball. If you use too much date filling it will be very difficult to get the dough to wrap completely around the filling. Once done with that step, use a dinner fork to press on opposite sides of the ball to leave ridges on those two sides. Place on lightly sprayed baking sheet. I kinda gently scrunch them down so they have a flat bottom. Bake at 325 degrees for 30-32 minutes until light brown. The bottom of the cookies should be browned but not dark. Let them cool on the sheet. They get a bit crunchy by the time the cookies are fully cooled. I store mine in the cookie jar and a few in the freezer for when these run out…gf cookies rarely keep well so I always freeze some. Great with a cup of tea or coffee. I dare you to eat just one.

Christmas Stollen, 2.0….Even Better!

Gluten-Free Holiday Stollen Yield: two 10″ loaves

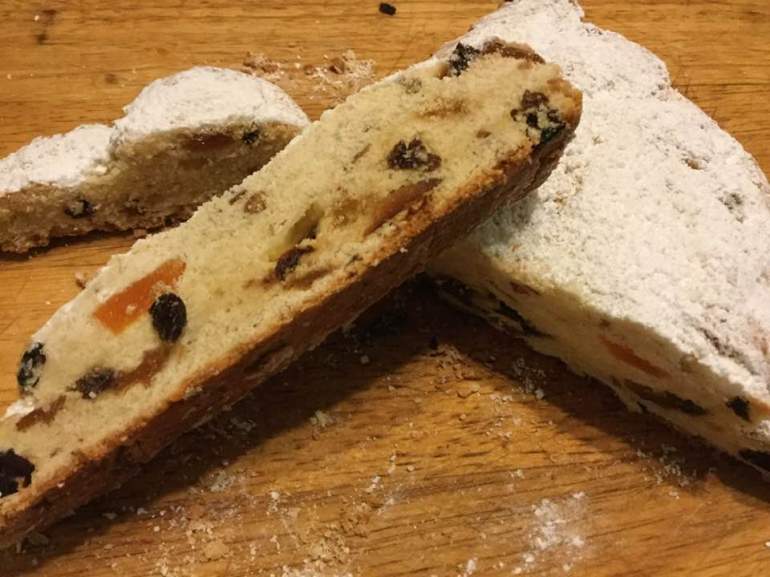
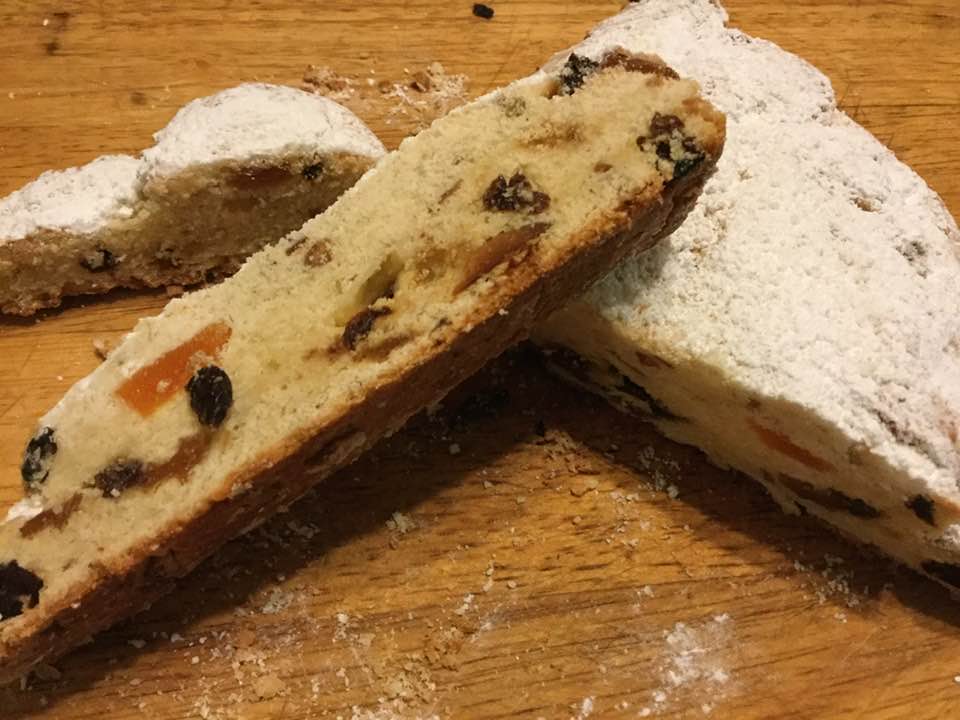
The classic Christmas stollen bread is made with yeast. Shush, don’t tell your gluten eating friends that this quicker, easier gluten-free version, made with baking powder as the rising agent, is even tastier in my humble opinion. Filled with dried fruit and toasted almonds and covered with a layer of melted butter and powdered sugar, this is more like pastry and is delicious with a cup of coffee or tea. Great choice for when company is coming as it isn’t that much work or time needed to create this masterpiece. Everyone will think you slaved all day to bake it. No need to tell them how easy it is! Its origins are Germanic but it isn’t heavy or dry; flaky and tender, pastry perfection. If you are searching for the perfect gluten free holiday treat; look no further. I cannot say enough good things about this treat. It is loved by all, and that second loaf makes a wonderful gift. I am looking forward to enjoying stollen this afternoon; in the oven baking right now!

I first made it 3 years ago, lost the recipe; had to get it again from the King Arthur Flour’s web site customer service center as they had removed it from their recipe rotation. They said it needed some tweaking. I disagree, it is just delectable although shaping it can be rather messy. It is far easier made without yeast which adds steps and can be finicky. I frankly don’t miss the yeast like I once thought I would. This dough is very tender and flavorful, I have been known to eat leftover tidbits raw it is that tasty. My family adores this pastry treat and will do nefarious things to get more stollen at Christmastime.

Notes: You could use orange rind instead of lemon rind and the dried fruit selection is entirely up to your tastes or your pantry. If you dislike the raisins substitute more dried fruit. One more good thing; it doesn’t require aging like a fruit cake. As soon as it cools you can cut a fat piece and enjoy a slice of heaven on earth!

Adding the butter
Butter is now integrated into dough using pastry cutter

Dough

2 1/4 cups King Arthur basic blend Gluten-Free Flour

1/2 cup granulated sugar

1 1/2 teaspoons baking powder

1/2 teaspoon salt*

3/4 teaspoon xanthan gum

1/2 cup (8 tablespoons) cold butter

3/4 cup ricotta cheese, part-skim milk type, let warm a bit to get it close to room temp. Can use whole milk ricotta if that is what you have.

2 large eggs, room temp

1 teaspoon vanilla extract

Grated rind of 1 small lemon; or 1/4 teaspoon lemon oil, or 1/4 teaspoon lemon extract

1/2 cup golden raisins

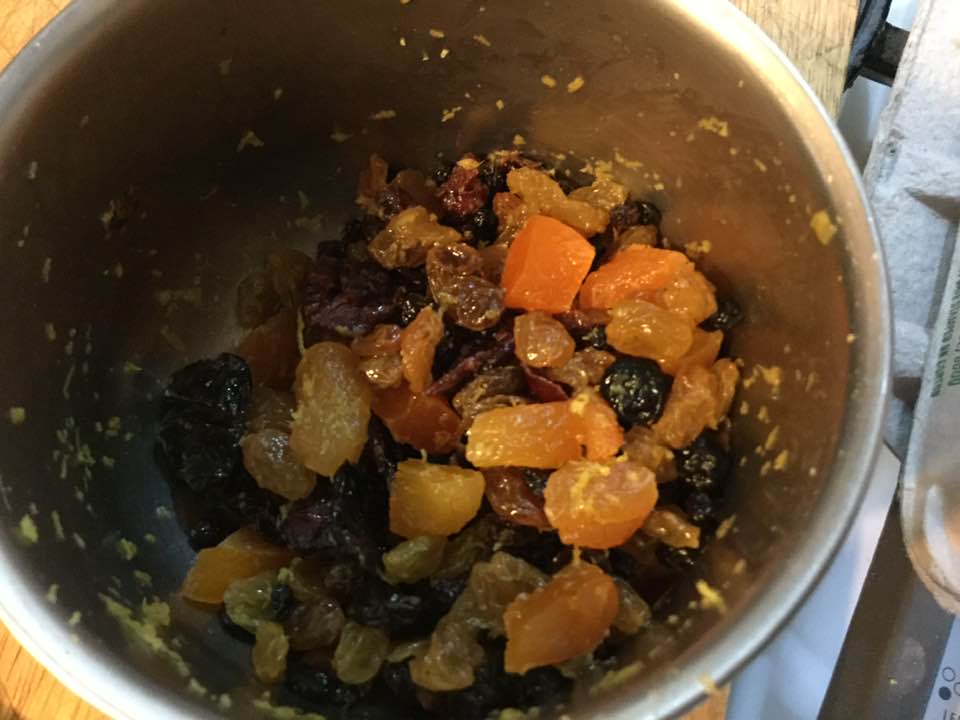
1/2 cup of your favorite dried fruits, chopped to 1/2″ pieces Yes, dried, not fresh. (I do apricots, cherries, currents, raisins or peaches/pears)

1/3 cup slivered almonds, toasted and cooled

—————

*Reduce the salt to 1/4 teaspoon if you use salted butter.

dried fruit and citrus zest

Topping

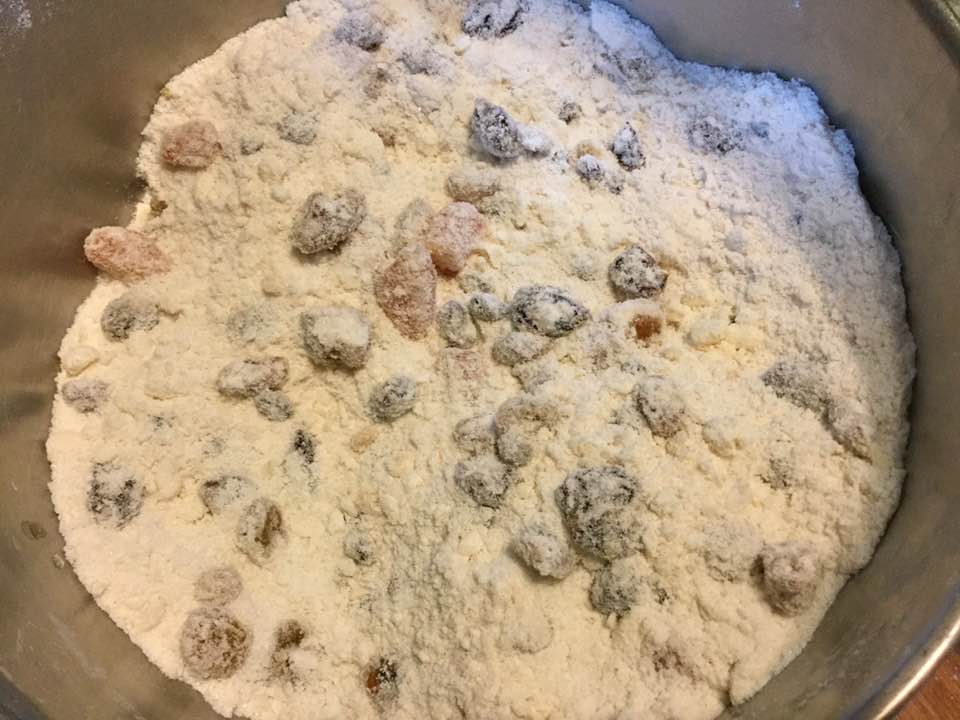
the dried fruit is mixed in!

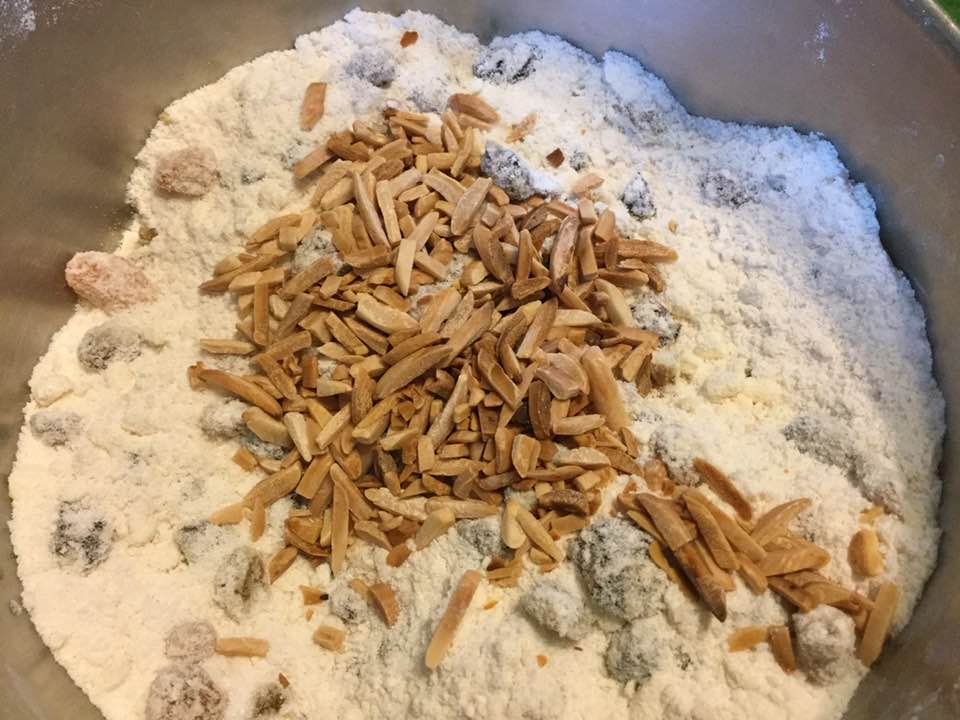
Adding the toasted almonds
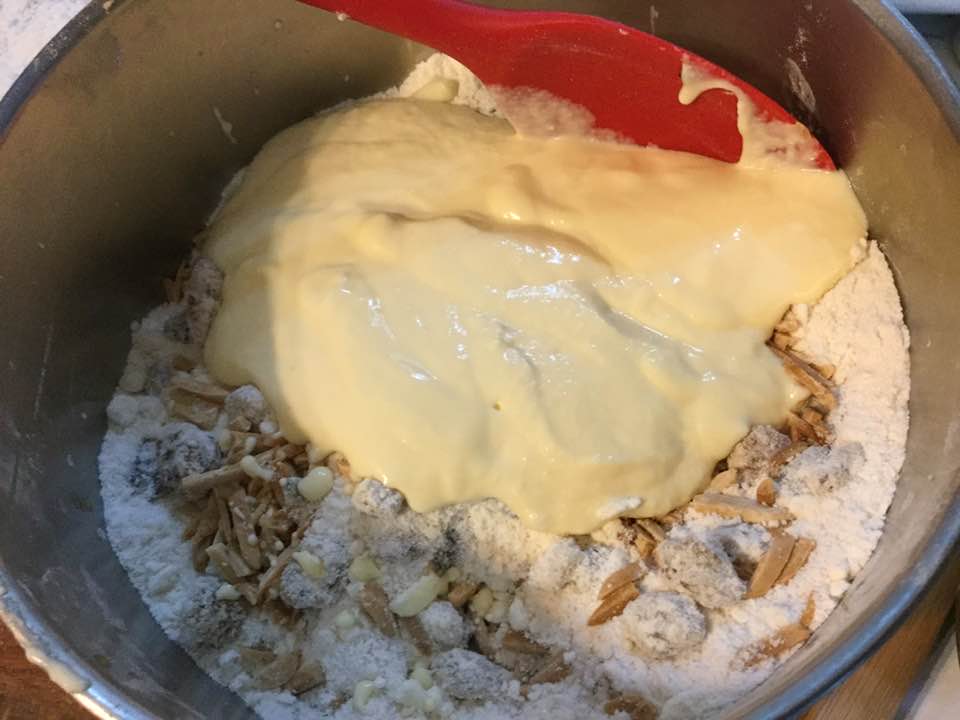
Adding the wet mixture into the dry dough
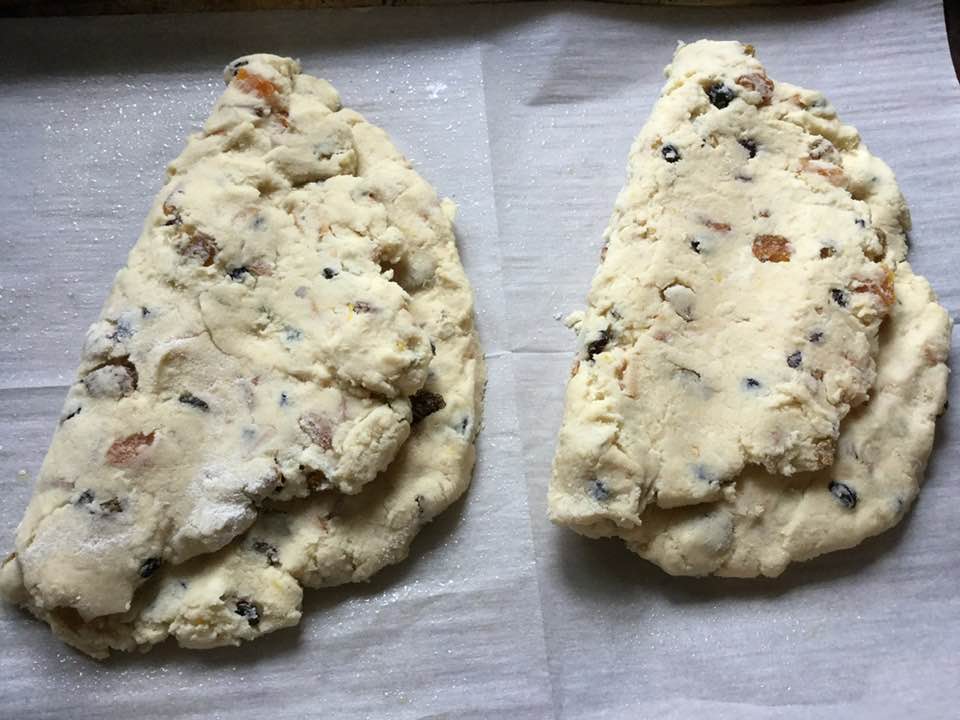
formed stollen ready to bake
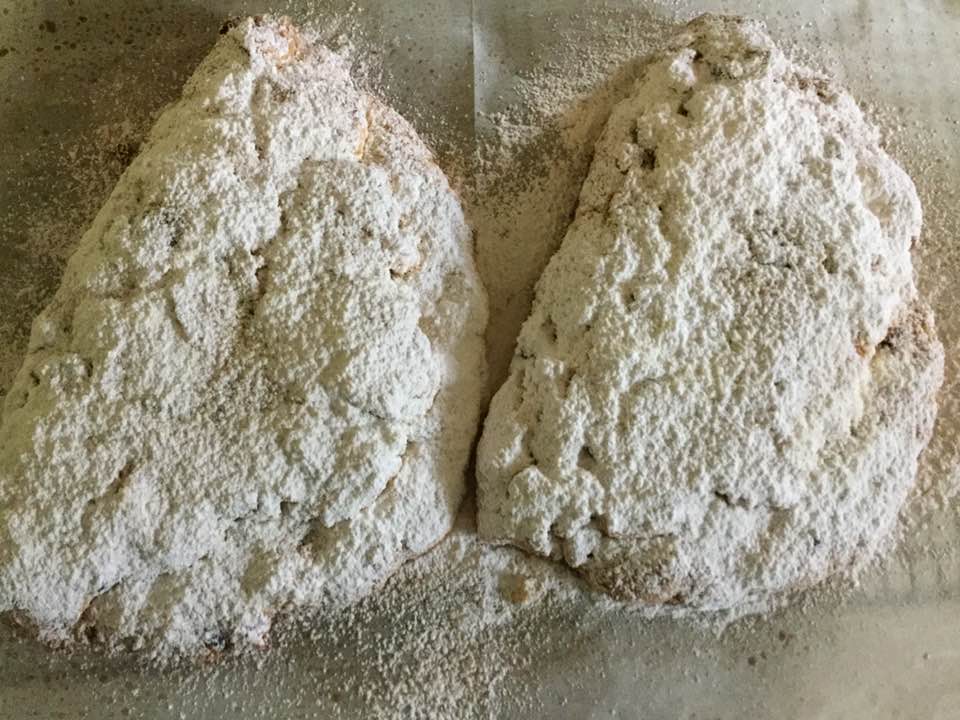
baked and powdered
More powdered sugar sprinkled on using a sieve

4 tablespoons butter, melted

2/3 cup confectioners’ sugar

Directions

1. Preheat your oven to 325°F. Lightly grease a baking sheet, or line it with

parchment.

2. Whisk together the flour, sugar, baking powder, salt, and xanthan gum in a mixing bowl.

3. Cut the cold butter into small chunks, then blend it into the flour mixture to form uneven crumbs.

4. In a separate bowl, mix together the cheese, eggs, vanilla, and flavors.

5. Toss the fruit and almonds with the flour mixture until evenly distributed. Then combine the wet and dry ingredients, mixing until most of the flour is

moistened.

6. Turn the dough out onto a lightly floured work surface, and knead it two or three times, until it holds together. Divide it in half.

7. Pat each piece of dough into an 8″ x 7″ oval about 1/2″ thick.

8. Fold each piece of dough roughly in half, leaving the edge of the top half about 1/2″ short of the edge of the bottom half. Should you fold the long way, or the short way? The long way will give you a longer, narrower stollen, with shorter slices; folding the short way will give you a wider, fatter stollen, with longer slices.  I do the long way, your choice.

9. Use the edge of your hand to press the dough to seal about 1″ in back of the open edge; this will make the traditional stollen shape. It’s also the familiar Parker House roll shape, if you’ve ever made them. The dough will probably crack; that’s OK, just smooth it out as best you can.

10. Carefully place the shaped stollen on the prepared baking sheet.

11. Bake the stollen until they’re very lightly browned around the edges and on top, about 40 minutes. A cake tester inserted into the center should come out clean.

12. Remove the stollen from the oven, and transfer them to a rack. Brush them each with 2 tablespoons melted butter. Sprinkle heavily with confectioners’ sugar.

13. Allow the stollen to cool, then brush with butter again, and sprinkle with sugar again. Wrap in plastic wrap until ready to serve; serve within a week. If desired, sprinkle with additional sugar just before serving.

14. Yield: two 1-pound stollen loaves. I like to freeze one for another occasion if I am not gifting it right away. Enjoy!