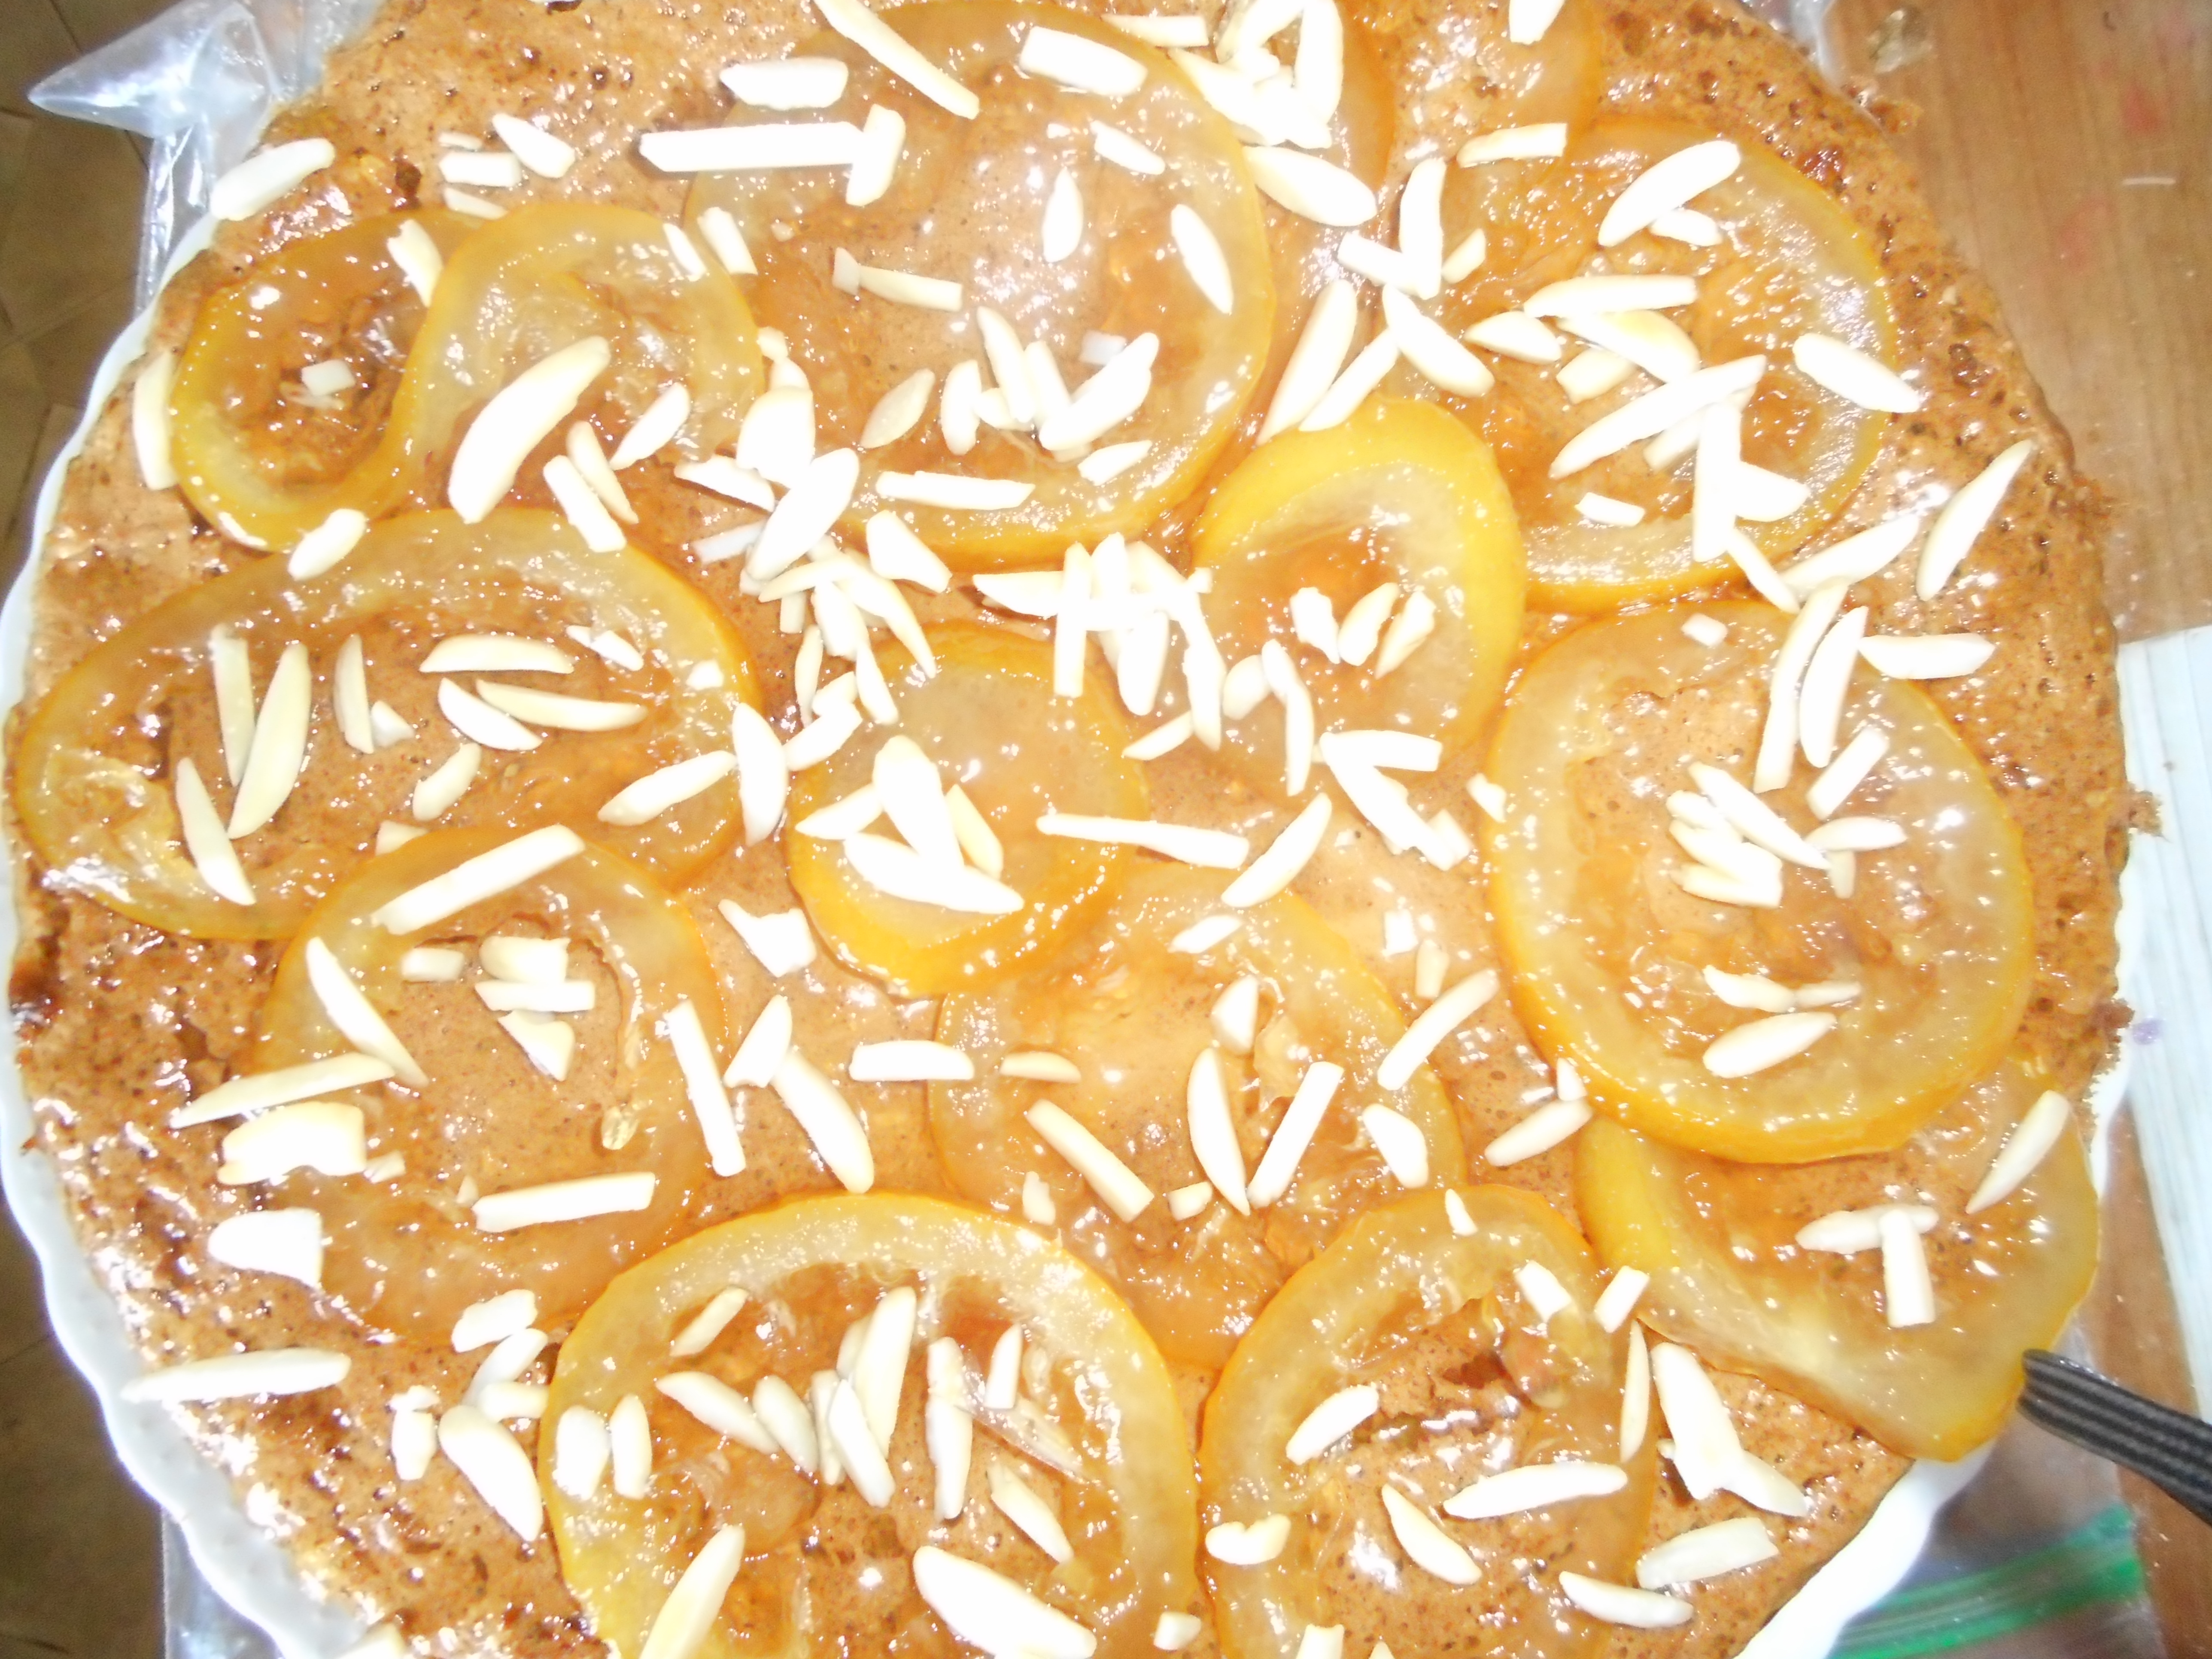
Flour-less Lemon Cake with Candied Lemon Slices

Cake….always a party pleaser.  I enjoy it on special occasions but confess it is not one of the things I am good at baking, never was even when I could use regular flours.  And don’t get me started on the birthday cake curse I am crouching underneath.  But sometimes you just need that fancy dessert that serves a crowd and makes everyone happy.  This cake is fairly easy to make, is gluten free and has great lemon flavor. The honey is more of an undertone. Each bite has a satisfying texture due to the almond flour, not heavy but not light with a lovely moisture built in from the honey and olive oil. The tiny bit of potato starch helps make that great texture. No butter either; extra virgin olive oil does the trick. Make sure your eggs and whites are all at room temperature for maximum loft when whipped.

The candied lemon slices take a bit of effort but look great on top. I know I was happy with the results when I bit into my slice of yummy cake!

This recipe comes from Food Network’s test kitchens and I made only minor changes, used slightly less water making the syrup as it seemed too thin even after simmering 20 minutes and no pomegranate seeds for on top; it is spring and pomegranates are a fall fruit. I looked; none to be found. I used a half pint of fresh raspberries and they were perfect – added great color and flavor.

If you can get Meyer lemons they are recommended because of their awesome flavor but I used the usual ones from the grocery store and they worked out fine. I thought the candied slices were tasty although a couple of guests who didn’t much like lemon skipped their candied lemon while still enjoying the cake itself.  It is a very impressive looking cake with a tender moist texture. Extra syrup on top is a tempting option!

I put all my pictures together in a chunk; they can be annoying sprinkled through out the recipe when you are trying to make it.  I often use my tablet to make my own recipes straight off my blog posts so I know what I am talking about here!
Easter 001Easter 002Easter 003Easter 005Easter 004Easter 006Easter 011Easter 013

Flourless Lemon Honey Cake with Candied Lemon

Ingredients

¼ cup EVOL plus more to grease pan

1 ¾ cup almond flour plus more to dust the pan

1/3 cup potato starch

½ tsp. salt

1 ½ cups sugar

2/3 cup honey

3 lemons; two zested and juiced and the third sliced very thinly

4 eggs separated

2 egg whites

½ tsp. vanilla extract

¼ tsp. almond extract

Chopped or slivered almonds; ¼-1/3 cup

½ pint fresh raspberries

Directions:

Brush the sides and bottom of a 9 inch spring form pan which you lined the bottom with a round of parchment paper; brush with EVOL and dust with almond flour.  Put rack in middle level in oven.  Heat oven to 325 degrees.

Mix flour, starch and salt in medium bowl.  Combine ½ cup sugar, 1/3 cup honey, lemon zest, 4 egg yolks, vanilla and almond extract in mixer bowl.  Mix on medium high until creamy; about 3 minutes.  Reduce the speed to low, beat in the flour mixture just until blended.

In a separate clean bowl beat the 6 egg whites until foamy, about a minute.  Gradually beat in ½ cup sugar until stiff glossy peaks form, 3 minutes maybe 4.  Gently fold about 1/3 of the beaten egg whites into the cake batter, and then fold in the rest of the whites until just barely incorporated.  Pour batter into prepared pan.  Bake until golden brown and springs back when pressed lightly; 50-55 minutes.  Place pan on a cake rack to cool completely.

While it is baking you should make the candied lemon slices.  Put the slices in a small saucepan, cover with water, bring to a simmer over high heat; maybe 3 minutes.  Drain, return to pan and cover with fresh water, repeat the heating.  Do this three times total. It gets the bitterness out of the unpeeled slices. Put the slices back in the pan; add the remaining ½ cup sugar, 1/3 cup honey, the lemon juice of the two lemons and 3/4 cup water.  Bring to a simmer over high heat, reduce heat to medium, cook, stir occasionally.  Cook until lemon slices are tender and the honey liquid is thickened; becomes like a syrup; about 20-25 minutes.  Set aside to cool.

Unmold the cake: run a knife around the edge of the pan, remove pan.  Flip cake to take off parchment paper.  Place on a serving plate.  Use a fork to remove the lemon slices from the syrup and brush the cake all over with some of the lemon syrup.  Then decorate the cake with them. Sprinkle with the raspberries and pass the leftover lemon honey syrup along with the cake.

Serves 8-10.

Originally posted in the spring of 2015.

Cranberry Crackle Spring Pie

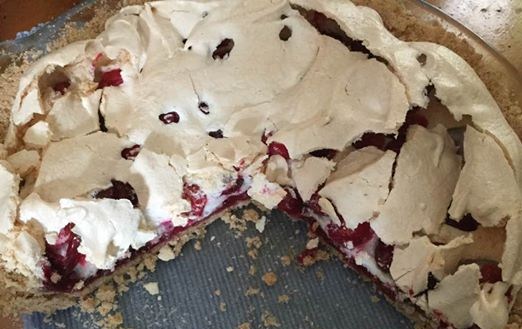
I had a bag of frozen cranberries in the freezer. There aren’t that many choices for a fresh fruit pie right now in this chilly weather.  But, I got the perfect recipe for an early spring pie. Easy to make, not too rich or too filling and very tasty. I found this recipe on line, several years ago, at splendidtable.com.  I loved the look and once I tasted it; definitely love at first bite.  Like a fruit tart and a pavlova had a baby: this is the delightful result.  Light and delicate in nature; making it perfect after a hearty Easter feast.  It is really guilt free if you eat it plain.  I devoured it in the past with vanilla ice cream, Greek yogurt or plain organic yogurt dolloped on top. Love it all those ways. Maybe next time I will be serving it like you do a Pavlova, with lightly sweetened real whipped cream on top. Yumm!

It is super easy to throw together.  If you are gf you can use the cookie crust recipe I provide, I adapted the splendid table recipe to make it gluten tree using Annalise Roberts’great cookie crust. At holidays,like Thanksgiving and Christmas, Wegmans often has gf ready-made crusts. So does Frey’s Better Foods in Hellertown. If you are a wheat eater use whatever cookie tart crust you like.  I added the cinnamon to my crust and found it added to the complexity of the flavors.  The crust absolutely needs to be prebaked and cooled before you put the tart together.

I made it in a glass pie tin but often use a ten inch ceramic tart pan.  Both work great; so it is a tart or a pie depending on the vessel you bake it in!. This tart is fantastic tasting even if you aren’t a huge cranberry fan.

The recipe calls for a few  tablespoons of raspberry jam but you could probably use most any jam, strawberry comes to mind as a great second choice.  Just chose one full of real fruit in a flavor you like as you can definitely taste the jammy flavor mixed in with the crust and the meringue topping. I love it with homemade raspberry jam, bursting with incredible raspberry flavor.

Cranberry Crackle Pie

Sweet Cookie Crust

Place the following in a stand mixer bowl and combine

1 cup GF flour (recipe below)

¼ cup granulated sugar

1 tsp xanthan gum

½ tsp. cinnamon

Add 5 tbsp cold butter, cut into 6-7 chunks.  Mix on low until the butter is just crumbs blended in.

Add 1 tsp. vanilla extract and 1 tbsp water.  Blend well.

Pour the crumbs into a ten inch tart pan that was sprayed with cooking spray.  Or a glass pie pan which is how I made it this past weekend.  Spread it up the sides.  Press gently in so it is a cohesive crust but do not press really hard or it will be like concrete when you finish baking it!

Bake at 350 degrees for 18-19 minutes. Set the crust on a rack to cool to room temperature.  Do not let it get more than light brown. You could do this step the night before.

Filling

2-3 tablespoons chunky cherry, raspberry or strawberry jam

2 large egg whites, at room temperature

Pinch of fine sea salt

1/2 cup sugar

1 1/2 cups cranberries (if they’re frozen, don’t thaw)

Confectioners’ sugar, for dusting

When you’re ready to fill and bake the tart: Preheat the oven to 300 degrees F.

Cranberry prep: I rinse them and remove any squishy ones.  There are usually a few of those mixed in and they aren’t great for anyone to eat.  Let them dry. Frozen; ready to go just as they are!

Gently spoon the jam on top of the crust and spread it evenly over the bottom, I used the back of my big spoon for this operation. In a large bowl with a hand mixer, beat the egg whites with the salt at medium speed just until they are fluffy and fairly opaque. With the mixer going, add the sugar in a slow, steady stream, then keep beating on high until the whites are shiny and form definite peaks; they will look like marshmallow.  This is a meringue. Be sure to wait until the whites are opaque and starting to get full or the sugar will not blend in properly.

Pour the cranberries into the bowl of meringue and, using a flexible spatula or spoonula fold them into the meringue. Try to distribute the fruit evenly, but don’t mix too much– you want to keep the meringue fluffy. Spoon the meringue over the jam and spread it to the edges, making it swirly if you’d like. The jam might push up around the sides of the meringue, and that’s fine.  Don’t fret if it looks like not enough filling, it will puff up in the oven to fill the pie pan.

Bake the tart for 1 hour, at which point the top will be light beige and cracked here and there. (If you’d like more color, you can bake it a bit longer or even put it under the broiler.)  I never go there!  Transfer the tart to a cooling rack and cool to room temperature.  I did cut it while slightly warm and my slice was just perfection.  If you’d like, and I do, dust the tart with confectioners’ sugar before serving. Ice cream, whipped cream or even organic plain yogurt on the side are a great complement to the berry flavors.
cranberry-crackle-tart-cut

Storing: The tart is best the first two days after it’s made, although it’s still pretty nice the third day. Leave the tart at room temperature, covering with plastic wrap.  I doubt you will have any after the second day anyway. It is that tasty. Enjoy!

Brown Rice Flour Mix  (Same as King Arthur’s basic GF Blend)
2 c brown rice flour

2/3 c potato starch

1/3 c tapioca flour

Originally posted in 2014 on this blog. Minor text changes.


Super Simple Cloud Bread


Finding or baking decent gf bread can be problematic.  Poor texture (think crumbly), slightly odd flavors, big holes in the middle of the loaf, leaden or brick like baked products, high prices and lots of ingredients which must be compiled exactly according to the recipe.  It adds up to a fair amount of stress as to just having a sandwich.

A year ago I made some really interesting bread/rolls.  The name is “cloud bread” (also called oopsie bread) and it has no flour, no oats nor any grains.  I was intrigued when I saw this cloud bread popping up in my support group messages and just had to try it. My recipe has five ingredients but three should be in your pantry already.  It was very easy, quick and yes; tasty.  So it made a super bread for a ham and cheese sandwich and a ham/turkey and cheese sandwich.  I ate one warm out of the oven, also enjoyable. Great with a little jam or jelly on top.  Posted it back last March and sharing again so you who missed it can give it a try.

I added a couple toppings which add a lot to the flavor and look of it.  I recommend them but it sure can be made plain.   You have to use full fat cream cheese to make it work, only a few tablespoons so don’t get all freaked out over that issue!

Cloud Bread/Rolls

3 eggs, separated

3 ounces cream cheese at room temperature

1 tsp. baking powder

1 tsp. honey

Pinch salt

Toppings; sesame seeds and a tbsp. of chopped fresh rosemary.


Directions

Beat the egg yolks with the cream cheese until it is very smooth, lemon yellow. Add the baking powder and honey, beat in.

Beat the egg whites until foamy, add a sprinkle of salt. Beat until stiff peaks form.  Fold together with the yolk mixture until mostly blended together.

While the egg whites were beating I lined a big baking sheet with parchment paper and sprayed it lightly with Pam.  Heat oven to 300 degrees. Some people heat the pan in the oven before spreading the dough; I didn’t bother but feel free to preheat your pan.

Using a big spoon spread the bread mixture on in six big circles spaced 1-2 inches apart.  Sprinkle with sesame seeds and or finely chopped fresh rosemary. Bake until golden brown between 20 and 30 minutes.  Using a spatula separate them from the parchment paper. Let cool.  Store in a ziplock bag overnight; they will get soft and be ready for sandwiches.  Keep them in the fridge. I put slices of wax paper between them to avoid sticking.  They keep about 3 days there and a week in the freezer.  Wonderful for sandwiches: I used one for the top and a second one as the bottom of the sandwich.  Did I mention they are virtually no carbs in this bread? Yeap; great for my low carbing friends!

Originally published in 2016. Minor changes to text.

Buttery Cheddar Cheese Biscuits

I don’t buy redi-made mixes that often, in fact I never bought a gf biscuit mix until last week. This was from Aldi’s; my fav hangout! Cheddar cheese biscuits in the orange and blue box.

biscuit box

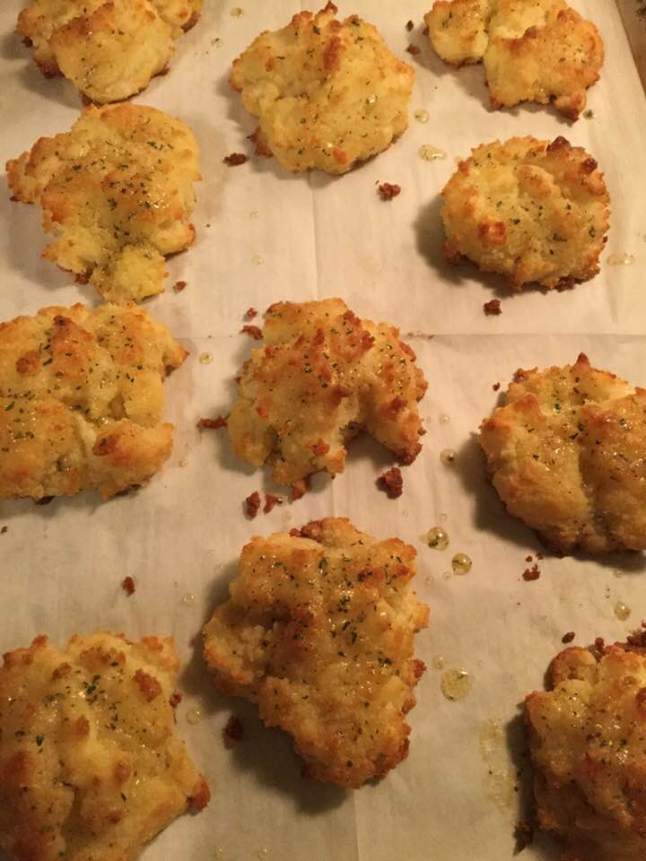
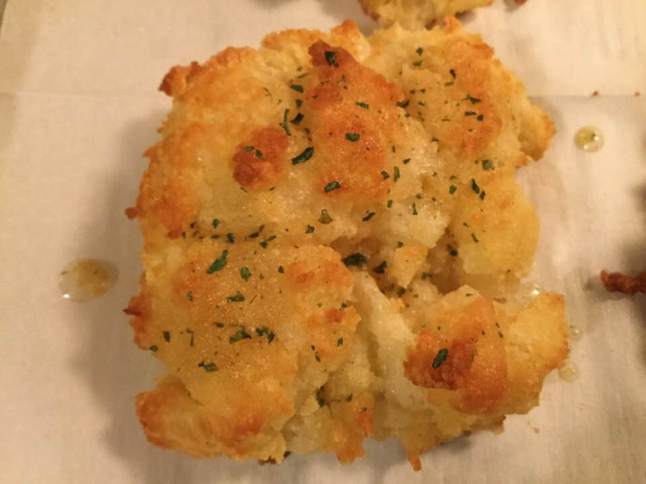
You add water, quarter cup oil and a third of a cup of grated cheese, stir and it becomes this slightly weird fluffy white stuff that looks more like cotton batting than anything else. Next, plop big clumps of this mixture onto a parchment paper lined baking pan and pop them into the hot oven to bake.  After about 16-17 minutes out comes the pan.  Each biscuit gets brushed with a mixture you create with an herb/garlic powder that is blended with fresh butter you melted.

cheddar cheese bisquits

They are browned on the bottom and tender. The flavor is buttery and definitely has a garlic vibe going on. We had them with a big bowl of chili with beans I had made for supper.  My guy took home a quart of chili and two biscuits. He wanted more cheesy rolls than two but I said; “Hey, those are my gf biscuits! You can eat any rolls you like but these are mine!” He left happily clutching a bag with all his treats including those two biscuits.   That should tell you they are tasty; Joe does not need to eat gf and he is fairly picky about his bread.  If it passes the Joe test; it is pretty tasty!! cheddar cheese bisquit

They were a couple bucks and the add ins are minimal. I made 11 decent sized biscuits. I froze all but two which were destined for chili consumption the next evening. Totally yummy even if not particularly healthy, white gf flour, sugar,  cheese and butter as major components.  Still, not often I find something this easy to make and this tasty.  I put this in my win win column. Enjoy!

Lemon Squares: Easy, Delish and GF

I strongly believe in seasonal eating and winter is the season of citrus so more power to the lemon! As mentioned previously, my brother sent me a box of juicy Meyer lemons from his tree down in Texas. I also believe in making my own treats; truly they are a lot healthier than store made sweets.  Last night we enjoyed lemon squares, gluten free and very dainty with the special flavor of Meyer lemons.  Of course, you can use the regular lemons available in the store; will be a tad sharper/brighter in flavor but they will work nicely.

These cookies are very easy to throw together; I made a shortbread cookie style gf press and bake crust and the filling ingredients are whisked together in my mixer and poured into the partially baked crust.  So easy to make and I wanted something light and delicate after all the fancy holiday desserts.  You would never guess they are made without all purpose wheat flour.  Anyone will love them if they are a fan of lemon. Take these to your next gathering, they will be scarped up pretty fast, and you will be seen as a real baker. Best of all you are eating a safe treat that is relatively guilt free; no gluten, no preservatives, not that much sugar compared to a cake and homemade flavor. Score!

lemon squares 008


 Cookie Tart Crust

1 cup brown rice flour mixture (recipe below)

¼ cup sugar

1 tsp. xanthan gum

5 tbsp. cold butter cut up into 6 or 7 chunks

Directions for crust:

Mix the dry ingredients with a stand mixer, add the butter, blend with the paddle blade until the butter is small pebbles.  Press into an 8 inch square pan, be sure to first spray the pan with cooking spray and sprinkle with rice flour.  Bake 15 minutes in a 350 degree oven.  While it bakes make the filling.

lemon squares 002

Baked cookie crust

Filling

3 large eggs, warm them close to room temperature

¾ cup granulated sugar

1/3 cup Meyer lemon juice

2 tbsp gf flour mix

2 tbsp finely grated Meyer lemon peel

Directions:

Heat oven to 350 degrees.

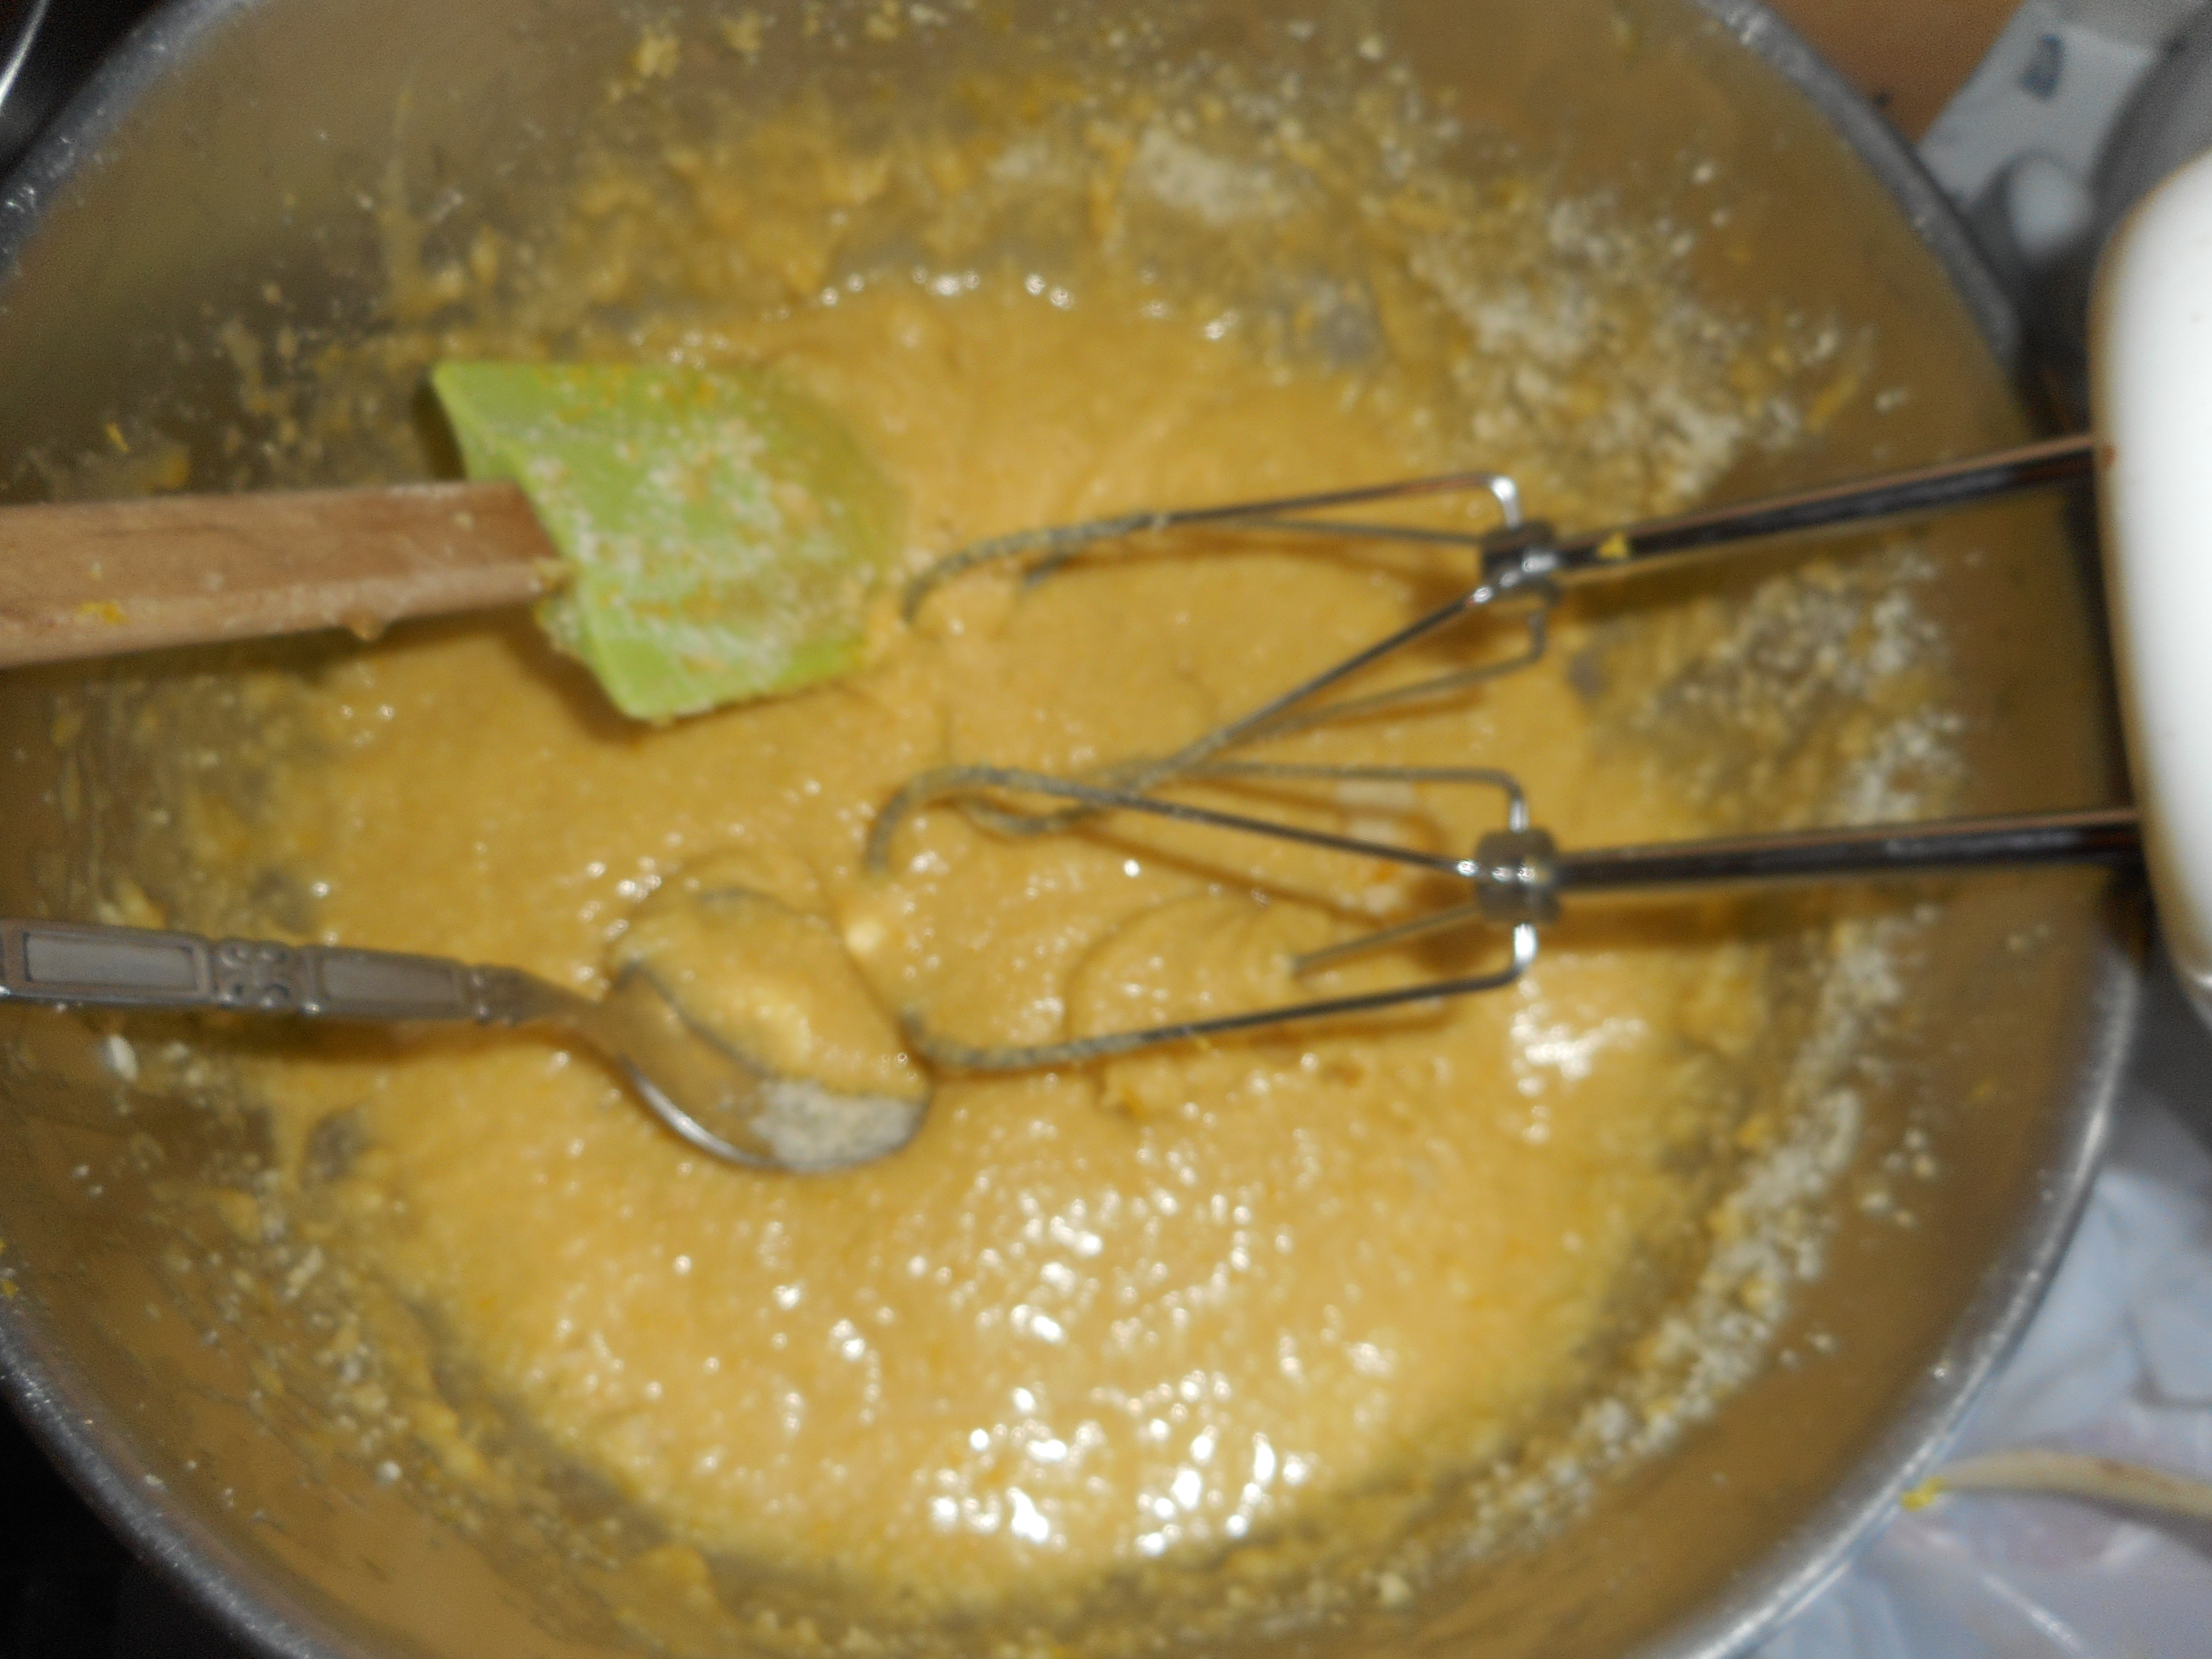
Beat eggs until fluffy, add the sugar slowly but steadily, mix, add rest of ingredients, Mix until smooth.

lemon squares 003

Adding the lemon zest.

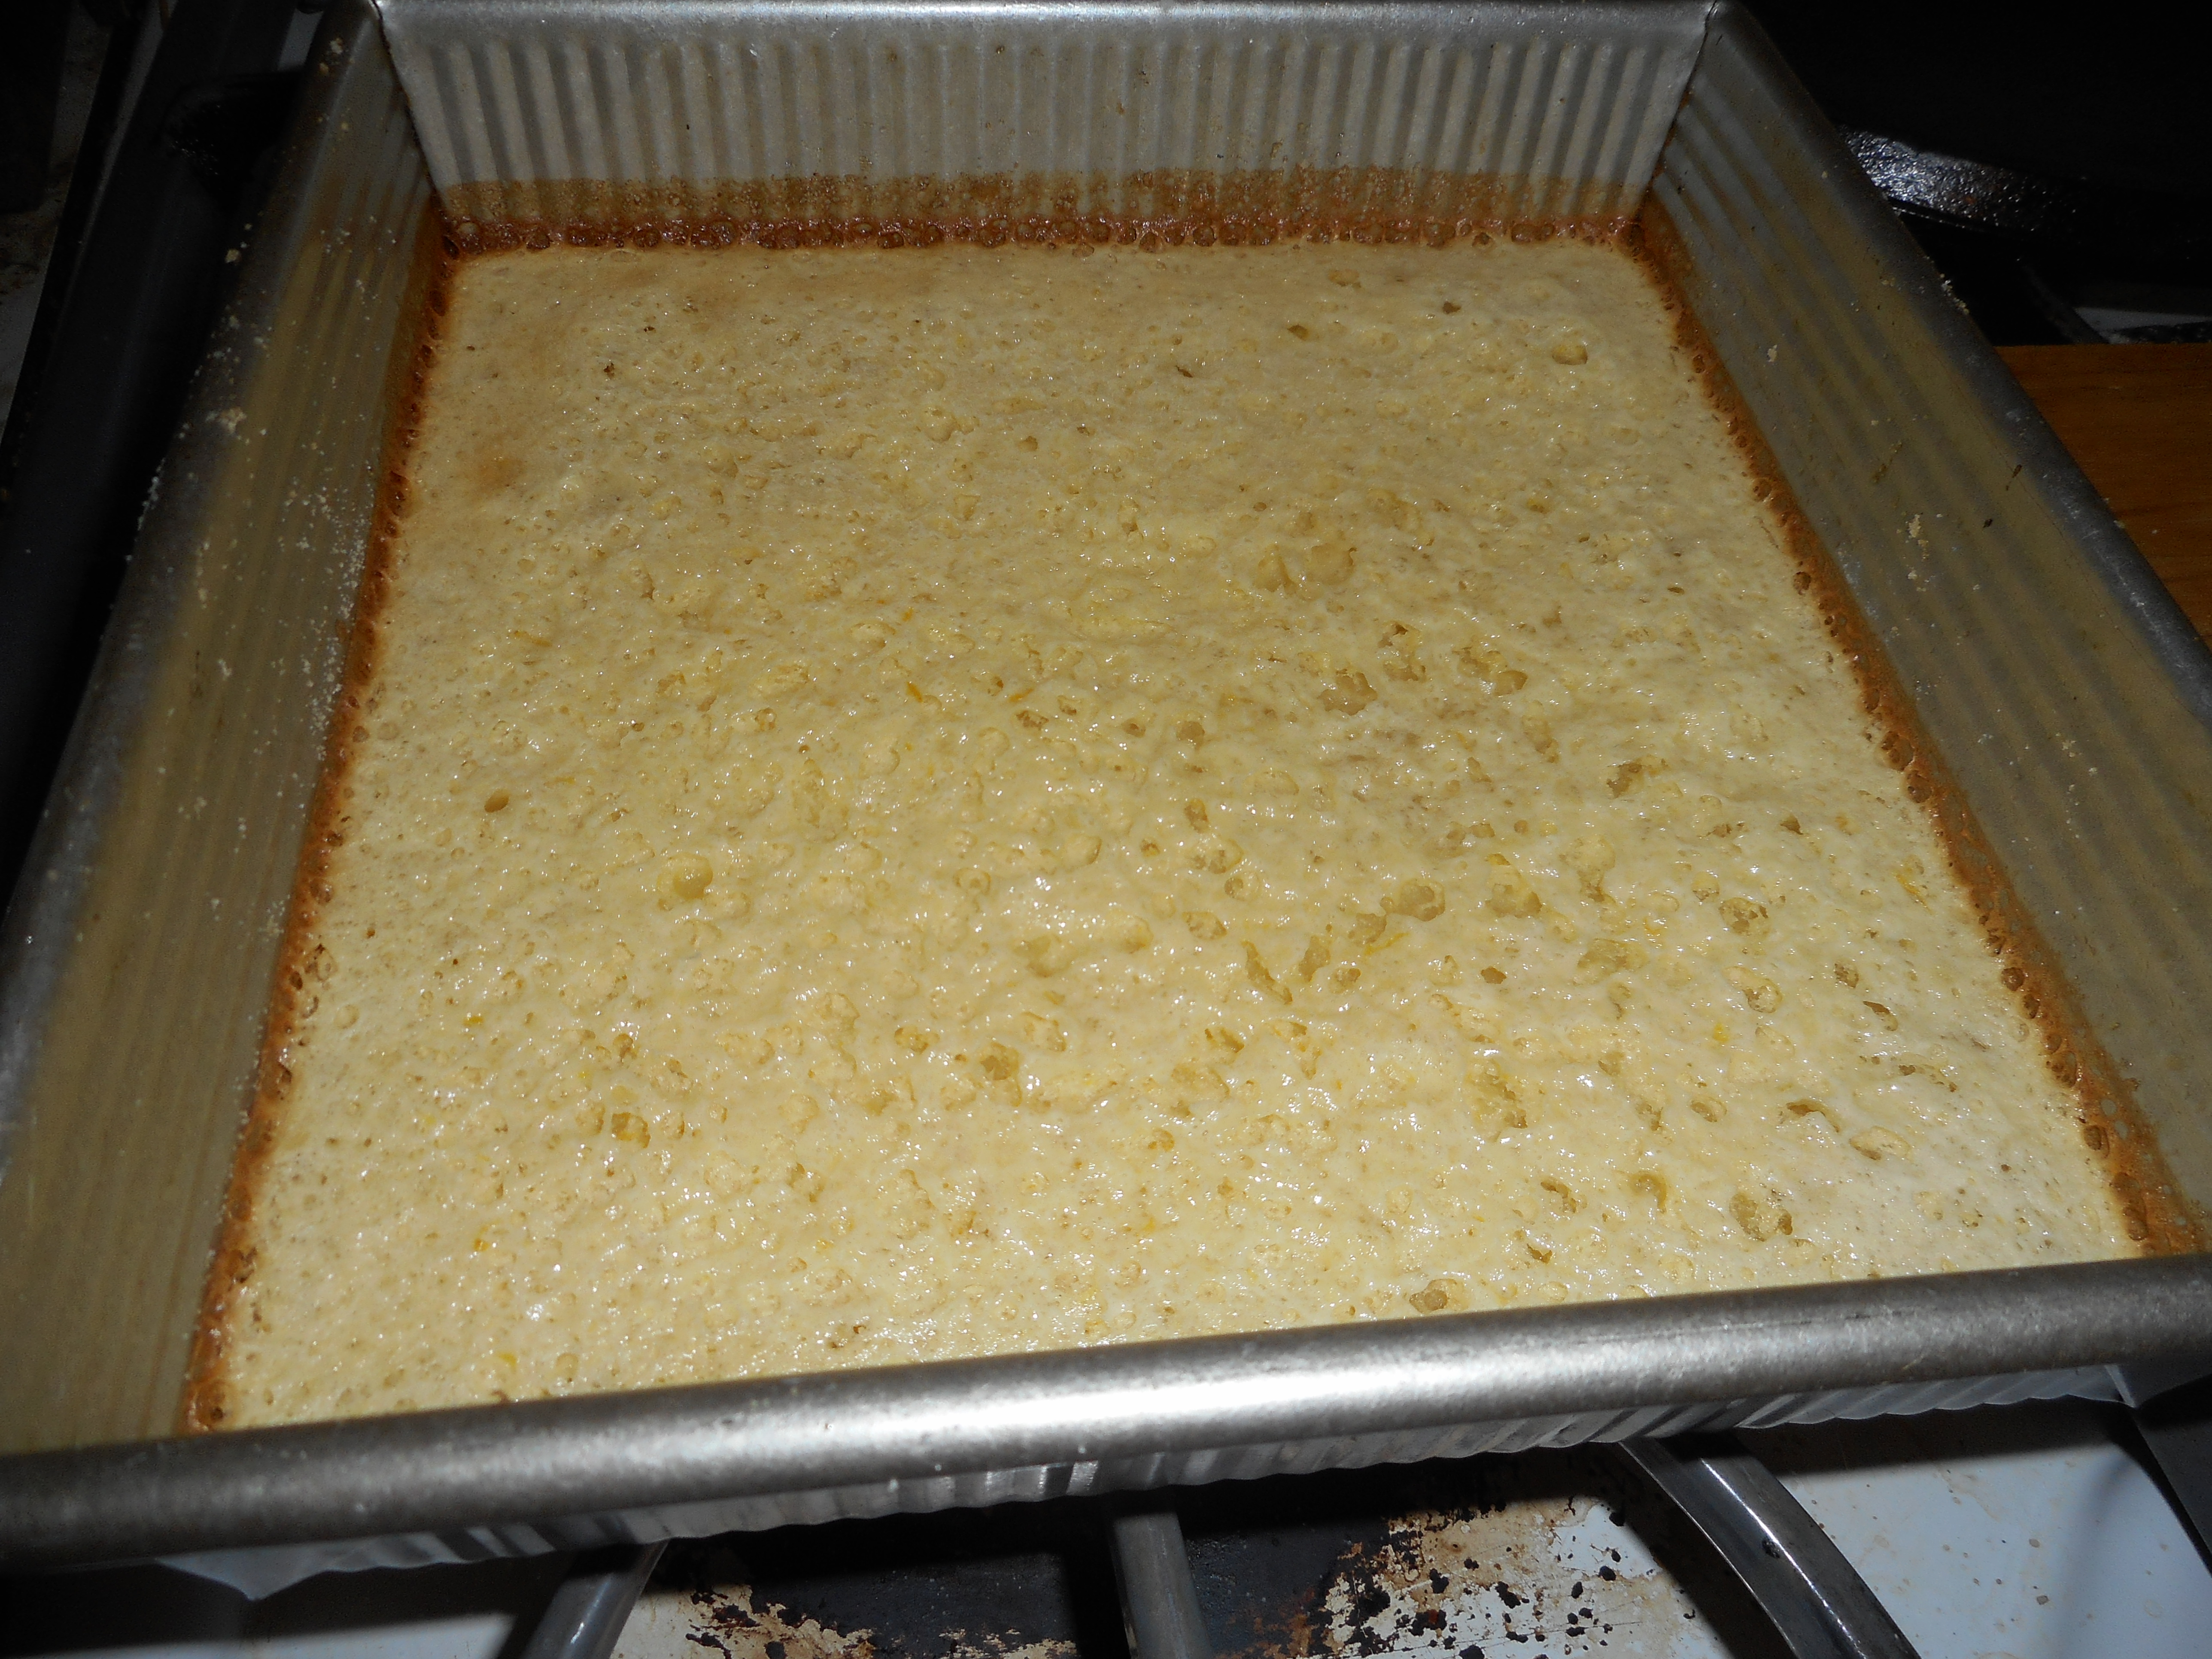
Pour into crust and bake at 350 degrees for 20-22 min; until set.

lemon squares 006

Just out of the oven.

Cool completely and refrigerate if you want to serve them cold. They do not freeze well and only keep about 3 days, if any square are left that long!   I like to sift some powdered sugar on right before serving them. Use a sieve and about 2 tbsp. powdered sugar.  Luscious lemony goodness can be yours with minimal effort.

lemon squares 008

Brown Rice Flour Mix (same as King Arthur’s basic gf blend)
2 c brown rice flour

2/3 c potato starch

1/3 c tapioca flour

This recipe is from Annalise Roberts; Gluten – Free Baking Classics, a fantastic source for baking gluten free treats, full of recipes just like  your old wheaty friends but so so much safer!

Originally posted in winter of 2015. Minor changes to text, not to recipe.