Strawberry Shortcake – Show Stopper

strawberry shortcake

I just have to share this strawberry shortcake recipe with you.  We had it on Father’s Day, gluten free shortcake of course.  I am not sure where I got the shortcake recipe; maybe my old Bette Hagman Gourmet Cookbook. It was a big hit with everyone just like in past years.  I used to make it a lot when I could still use all purpose flour but my new gf biscuit version is pretty tasty I have to say. But there is one thing, you gotta make it with the best freaking strawberries you can find.  None of those firm ones with whitish cores that are shipped in from far away.  You need juicy ripe scented local red berries that can be chopped coarsely and mixed with sugar and served over shortbread.  Gluten free short bread.  Yes, it can be done and it will taste fantastic!

My mom always made a gorgeous version of strawberry shortcake. When I was a kid she would serve it as an entire meal.  I have done that and it is kinda cool.  I generally made a huge oval biscuit with a smaller topping biscuit that I split off and buttered the split area before topping with berries and the smaller biscuit.  And more ripe berries.  Then a topping of softly whipped heavy cream.  Oh berry perfection.! Now I do it in two separate pans but the construction of the final dessert product is the same otherwise.

I cannot stress enough the importance of the best ripest berries.  I got some ripe ones from Lehigh Valley Produce on Main Street in Hellertown.  They told me the berries came from Lancaster; Amish country and were not sprayed; smaller and darker than grocery store berries but I must say that the flavor was very good; authentic and so juicy.  Perfect for this dessert.  Their price per quart was pretty good especially considering the superior quality of their berries.  This is not a recipe to make in the fall or winter, it depends on the seasonal ripe local berries for the best flavor.  There is nothing much to this but berries and the shortbread biscuit so you darn well better use great fruit or you will not get a good result.

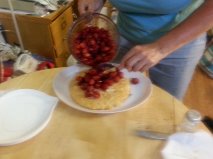
I forgot to take pictures making the shortcake and forgot my camera; my daughter took pictures while I put it together at my mom’s assisted living room so forgive the slightly less than professional look of some of them.

shortcake, one serving

shortcake bisquitshortcake 5shortcake 3shortcake 2shortcake readystrawberry shortcake

Mom’s Strawberry Shortcake, G-F 2.0

Biscuit dough

1 cup white rice flour

2/3 cup potato starch flour

4 tsp. baking powder

1 tsp. baking soda

2 tbsp. sugar

½ tsp. salt
½ tsp. xanthan gum

6 tbsp cold butter

1 medium egg

2/3 cup buttermilk

1 tsp. sugar (optional)

2 tsp. soft butter

Other ingredients:

2 quarts ripe strawberries

½ cup sugar

2-3 tbsp. Karo light syrup

1 cup heavy whipping cream

½ tsp. real vanilla

2-4 tbs. powdered sugar (if you like your cream sweet)

Directions
Heat oven t0 400 degrees. Mix the dry ingredients in a medium mixing bowl. Cut in the cold butter until it is small pebbles.  Add the egg and most of the buttermilk.  Mix with a spoon; add rest of buttermilk if you need it.  It should be a bit sticky, don’t over mix; just until dry is blended in.  Spray the inside of a nine inch cake pan and a 6 inch cake pan with cooking spray.  If you don’t have a small pan just use two 9 inch ones.  Pat ¾ of the dough into the 9 inch; make it about ¾ to 1 inch thick and try to smooth the top and side edges a bit.  Put the rest of the dough in the smaller pan and do the same smoothing.  Make that one ½ to ¾ inch thick.  Optional: take a tablespoon of granulated sugar and sprinkle it over top of them. Bake them about 20 to 25 min; the smaller one should be done in 20 minutes; a golden light brown. Set on a cooling rack for a few minutes.

While it bakes, get the berries ready.  Hull 2 quarts of fresh ripe berries.  Place them in a glass mixing bowl, chop through them a few strokes with a sharp knife.  Add ½ cup sugar and about 2-3 tbsp. Karo light corn syrup to the berries.  Stir well and refrigerate until the shortcake is baked.  You could do this berry preparation up to two hours in advance.  No more or they will start to disintegrate.

Place the fairly hot bigger layer on a large platter, one big enough to hold the shortbread and still have room for a generous overflow of strawberries. Butter lightly.  Top with several big spoonfuls of berries.  Don’t worry if there is juice in the berry bowl; should be; melted down sugar and Karo syrup with berry juice will give you a berry liquid.  Top with the second smaller biscuit and then more berries.   Cut into chunks.  Top with freshly whipped cream; beat a cup of heavy whipping cream until it is softly whipped.  Add ½ tsp. vanilla and ¼ cup sugar if you wish it sweet.  Be sure to pour the berry juice over your shortcake; it soaks in and adds to the strawberry experience.  My dad liked to pour unbeaten cream over his shortcake. My mom usually set out the whipped cream, a jug of cream and some whole milk so you could chose how to finish off your personal shortcake.  I might add that I grew up on a farm so this was raw milk from grass pastured cows; fantastic cream equaling a freaking perfect shortcake topper.  We also grew our own berries; no chemical sprayed on them ever.

shortcake, one serving

If there is any left over it makes a great breakfast the next morning!
Kahlua Cream Cheese Icing on my Chocolate Cake Please!

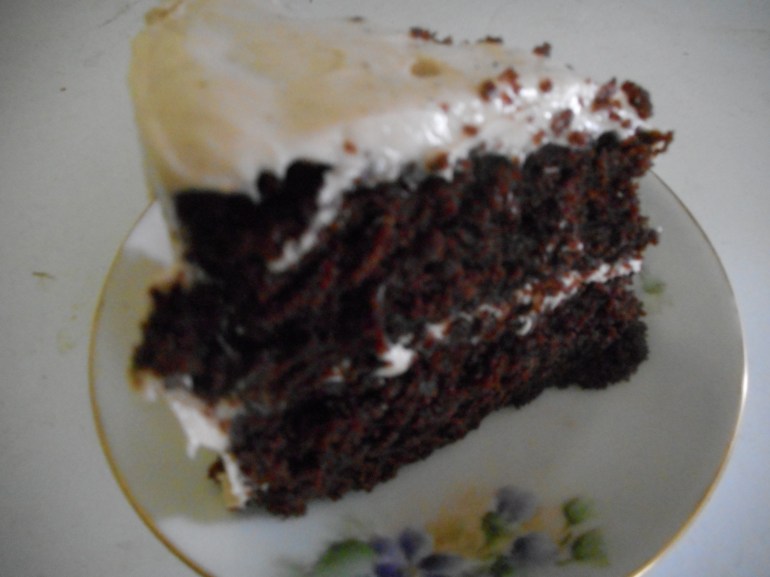
A year ago I posted on chocolate birthday cake.  So classic, so addictively sweet, you know your mouth is watering right now for a big bite of two layer lusciousness!  This year for my daughter’s birthday I went right to that classic cake recipe, it is the only two layer chocolate gf cake I ever make.  It came out perfect, well mostly; a small chunk came off one layer and a touch on the second.  Gotta love that wax paper circle under the batter for saving my butt…again!  Maybe parchment paper next birthday cake….

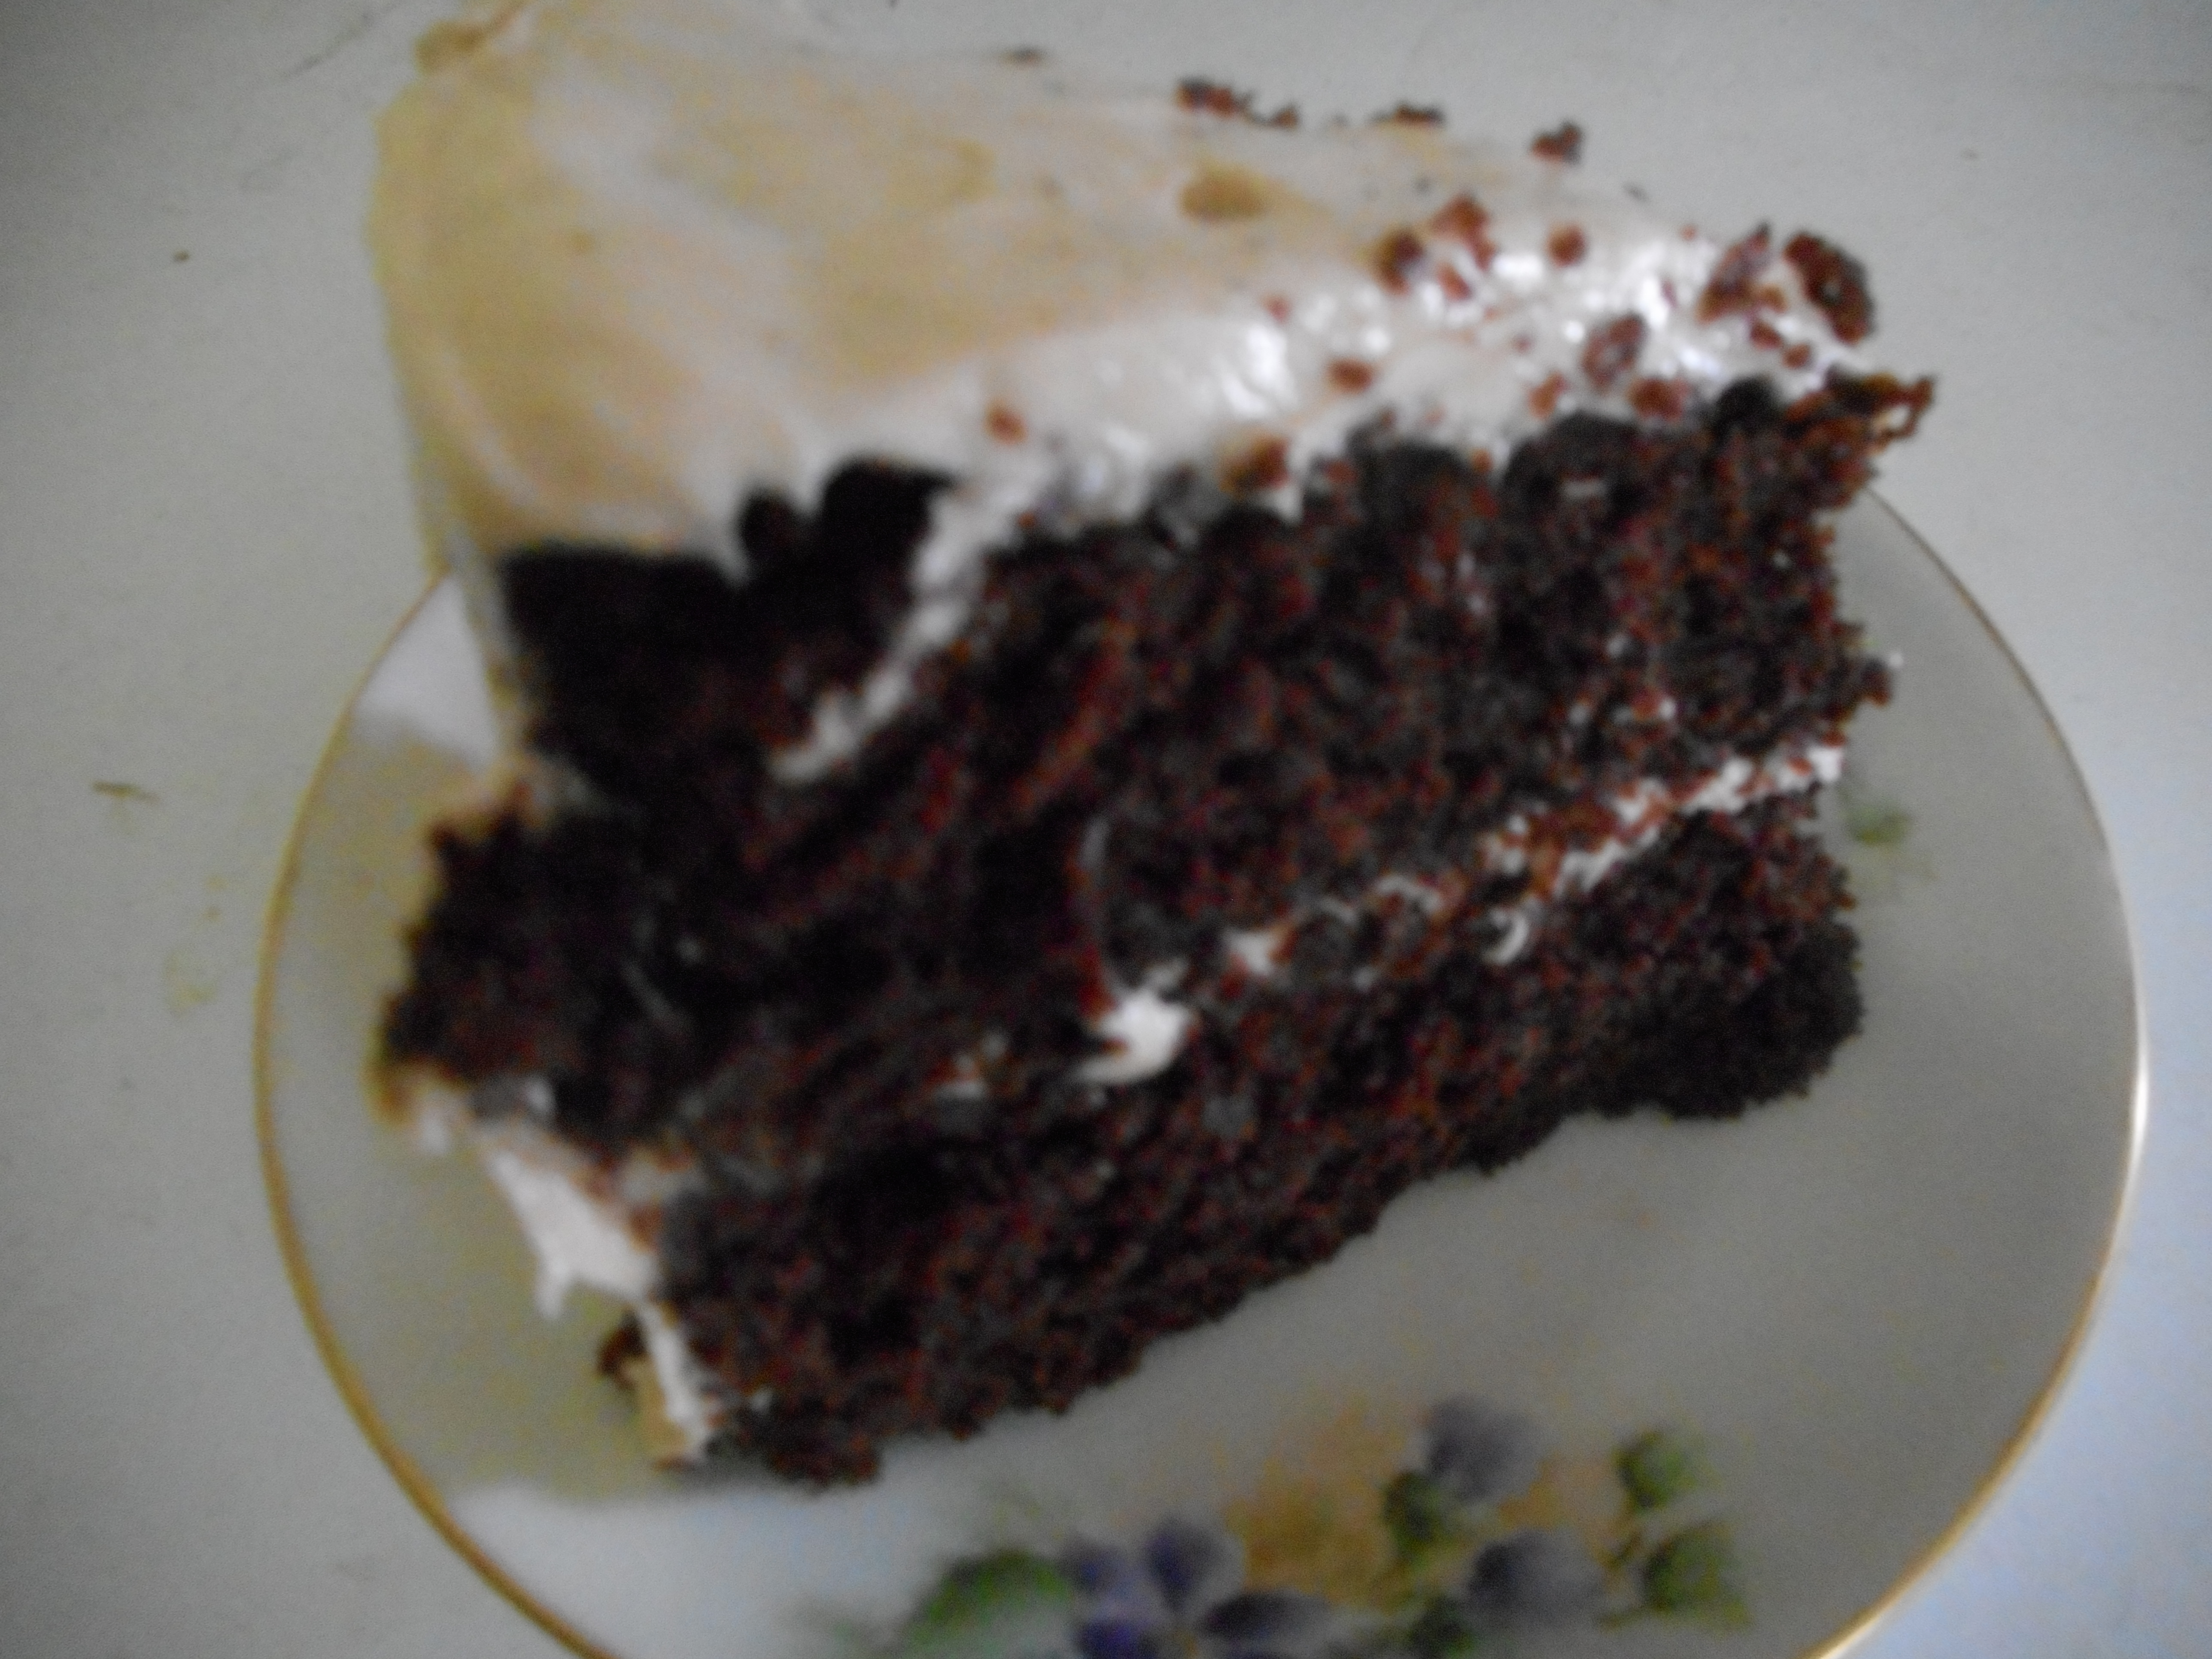
This time I updated my timeless and tasty cream cheese icing for adult tastes.  This coffee flavored icing is as easy as ever to whip up but now it is even yummier.  Kahlua icing was the star of the party, champagne colored and coffee flavored, it seduced that chocolate cake right into our mouths with that combination of coffee and dark fudgy cake.   The cake recipe is here at https://myworldwithoutwheat.wordpress.com/2014/11/17/chocolate-fudge-birthday-cake-perfection/ and all you need to do to change it for this spectacular icing is get out that bottle of Mexican Kahlua from the liquor cabinet. Leave out the vanilla in the icing and add a tbsp. of Kahlua and a tsp. of coffee powder.  Coffee powder is simple to make.  I use my electric herb grinder and put in a couple tablespoons of decent quality instant coffee.  Grind it a few pushes of the button until it is a powder.  There you have it; smooth and dark and perfect for adding coffee flavor to any recipe.

kahlua

kahluakahlua

It was hot as heck in my busy kitchen when I went to ice it; baking sweet potato oven fries, baked beans simmering in a cast iron fry pan and 6 people milling around yakking and hugging so I put a thin icing layer over the entire cake and set it in the freezer for 20 minutes to firm up the icing.  Then I finished frosting to even things up a bit.  This trick is wonderful in the summer and your cake is none the worse for a little freezer time.  Heck, I wanted to climb in there for 20 minutes myself!

chocolate khalua cake 001

The little hole in the icing is from a birthday candle! I guess I should have smoothed it over before the photographing!

Next birthday party try this cake; if I can make you can too!  I am terrible at birthday cakes; you will find that out when you read that cake post from November 2014. Birthday cakes are an effort of love, made for those who are so special you are willing to fire up the oven on a 90 degree afternoon just so they can dig their fork into a real cake, a safe for us celiacs cake and a cake so good no one misses the cakes I made years ago. Now, that is the must have cake for my birthday parties. Made with cocoa, melted chocolate, sugar, butter, gf flour mix and a whole lot of love!

PS: It keeps great in a sealed container in the fridge; minimum of a month; ate some I had longer than that and it was still terrific.  If it lasts that long in your house!

Chocolate Chip Muffins – Easy and Delicious

In these stressful times chocolate can be a real help. Turning to my trusty basic muffin recipe I went for a sweet treat; chocolate chip muffins. They are a riff on my blueberry muffin recipe. If you are wondering why I am posting another muffin recipe: homemade muffins are lots cheaper than commercially made GF muffins plus they taste so fresh and oh so delicious. I walk right by all those pricey gf snack bars and cookies; knowing that in my freezer is a zip-lock bag full of luscious muffins that defrost to taste as though I made them that morning.

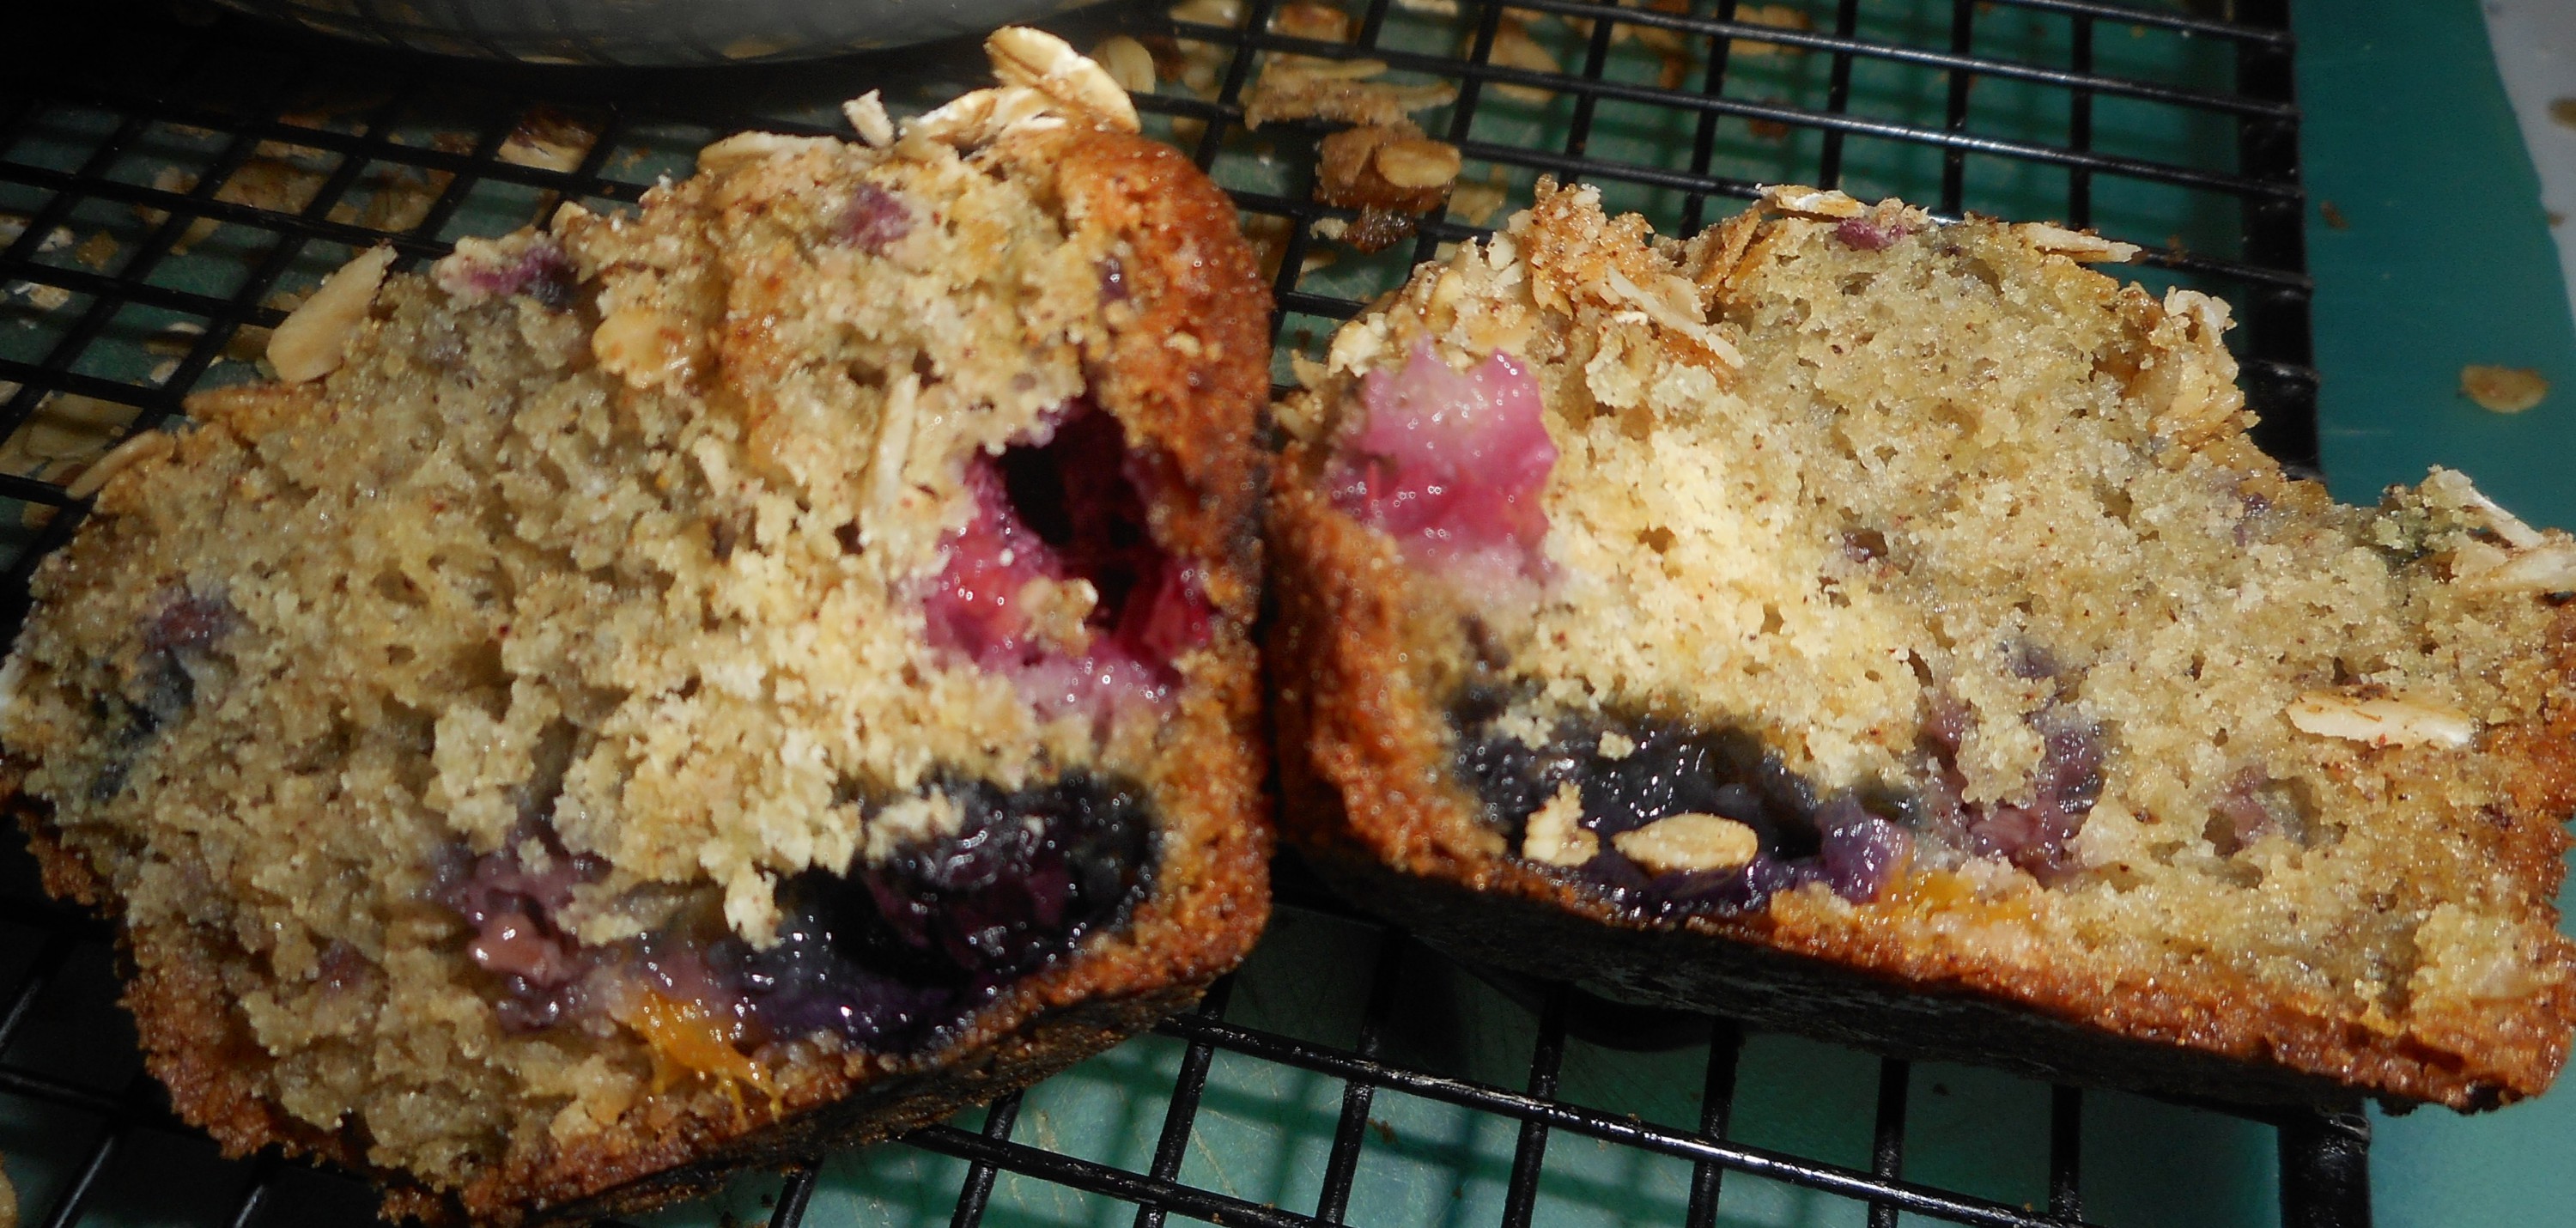
This batch of muffins was delightful: delicate texture yet with a great crunch and the lightly chocolate flavor from the mini chips.  I cut back on the chips a bit so they are not too heavy or too chocolaty. The walnuts also contribute to the crunch and add a subtle nutty taste.  I added a bit of cinnamon which pulls it all together.

The streusel topping gives a great look and adds texture and flavor.  I messed up my topping this batch; had to sprinkle melted butter over them after topping. Still yummy but they are slightly bald on top as a lot of the oats didn’t stick properly due to my error.  Next time they will be perfect.

I love how healthy these muffins are compared to commercial gf muffins, no preservatives, chemicals or weird ingredients I would never bake with.  Try them and see how eating gluten free can be so easy when you bake your own snacks. As always I freeze those I won’t eat in two days time; a zip lock freezer bag works great.

corn 005corn 007corn 006corn 008

Chocolate Chip Muffins

2 cups brown rice flour mix (see below)

2/3 cup granulated sugar  or granulated coconut palm sugar

1 tbsp. baking powder

1 tsp. baking soda

¾ tsp. xanthan gum

¼ tsp. salt

1/2 tsp cinnamon

3/4 cup mini chocolate chips

1/3 cup chopped walnuts

2 large eggs

½ cup milk, 1 or 2 percent plus 2 tbsp more if you use the palm sugar

½ cup canola oil

—————-

Topping: Mix the following in a bowl, add the butter last after you stir it up a bit: use a spoon to blend. Set aside while you make the muffin batter.

1/2 cup rolled oats

1/3  cup brown sugar

2 tbsp. almond meal

¼ tsp. cinnamon

3 tbsp. butter, melted

——-

Muffin directions: Heat your oven to 350 degrees, placing the rack in middle of oven.  Spray muffin pans with cooking spray.  One batch makes 14-16 muffins.  I got 16 when I made them.

Mix all dry ingredients in bowl of stand mixer or big bowl Add chips and walnuts; stir to coat them with dry mix.  Combine milk and oil.  Beat in eggs, add vanilla.  Add liquids to big bowl; stir just until blended.  It is a very thick batter.

Fill muffin pans 2/3 full.  I use a big serving spoon and fill it about half way to dump in each muffin space. Sprinkle the top with the topping. Press it in a bit so it won’t all flake off after baking. Bake 21-23 min until golden brown. Do not over bake or they will taste dry.  Remove within 2 minutes from the pans and cool on a rack.  They freeze well for a few weeks: if they last that long.  Keeps in an airtight cookie jar for 2-3 days.

corn 009

Brown Rice Flour Mix

(This mix is the same as King Arthur’s gf blend)
2 c brown rice flour

2/3 c potato starch

1/3 c tapioca flour

Living the Gluten Free Way…Worth the Effort!

Let me update you on my gluten free life style. I have been gluten free almost two and a half years. I initially bought every freaking flour under the sun.  Some I still use, some I have abandoned for specific reasons: generally they make things taste odd; like someone from another universe baked it!  I no longer use many bean flours, just occasionally; too weird tasting.  Ditto for quinoa flour.  I like quinoa as a starch/side and use it occasionally but that flour…rarely. Same goes for teff flour…odd tasting. I make a few flour blends and two mixes; for cobblers and for buttermilk biscuits.  The mixes are really handy for quick baking.

My diet centers around eating healthy; lots of veggies, fruits, proteins and a few oils like olive oil, coconut oil, sesame oil and canola oil.  I try to eat seasonally when it comes to produce – get the best tasting stuff when it is local and fresh.

cropped-spagetti-and-raspberry-muffins-0051.jpgpavlova rhubarb 006

I make a fair amount of muffins for snacks and a lot of my desserts are fruit based.  I found a pie crust or two that work great, same goes for muffins and brownies.  I love my cobbler recipe; it gets a lot of usage. Pasta does have a place but not as much or as often as when it was wheat based pasta.  I am a fan of Barilla gf pastas and long for them to bring out a linguine.

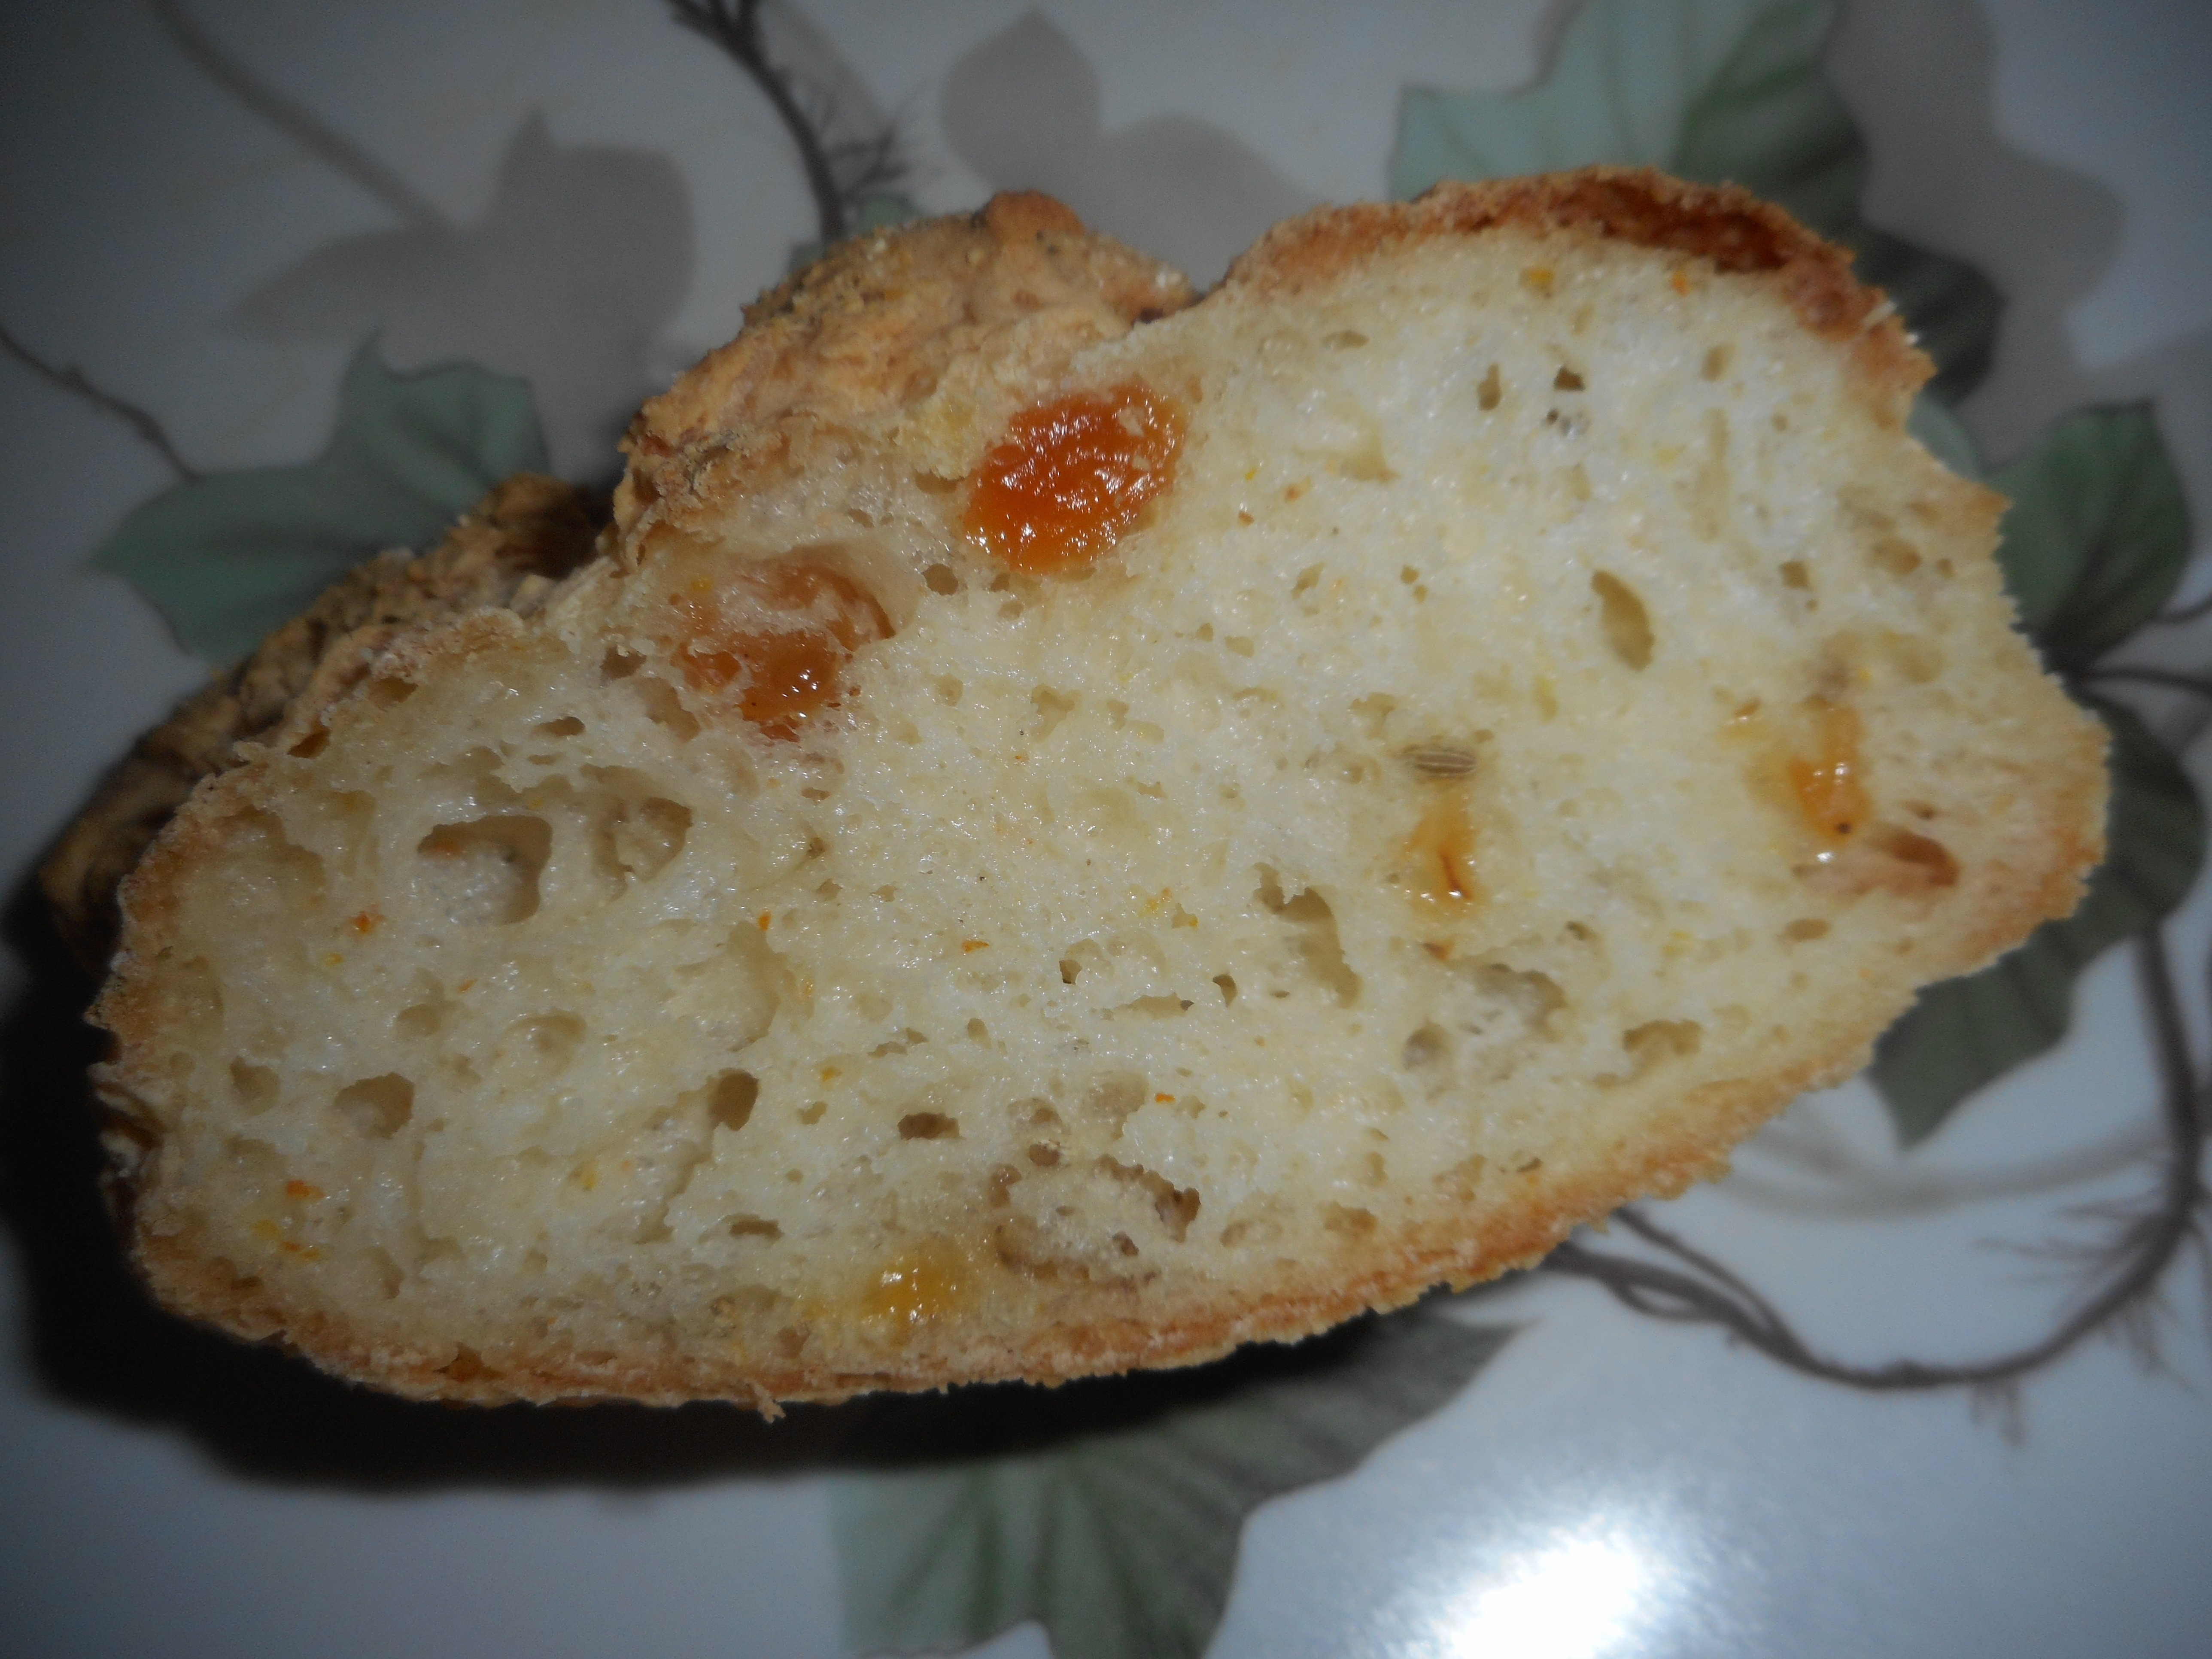
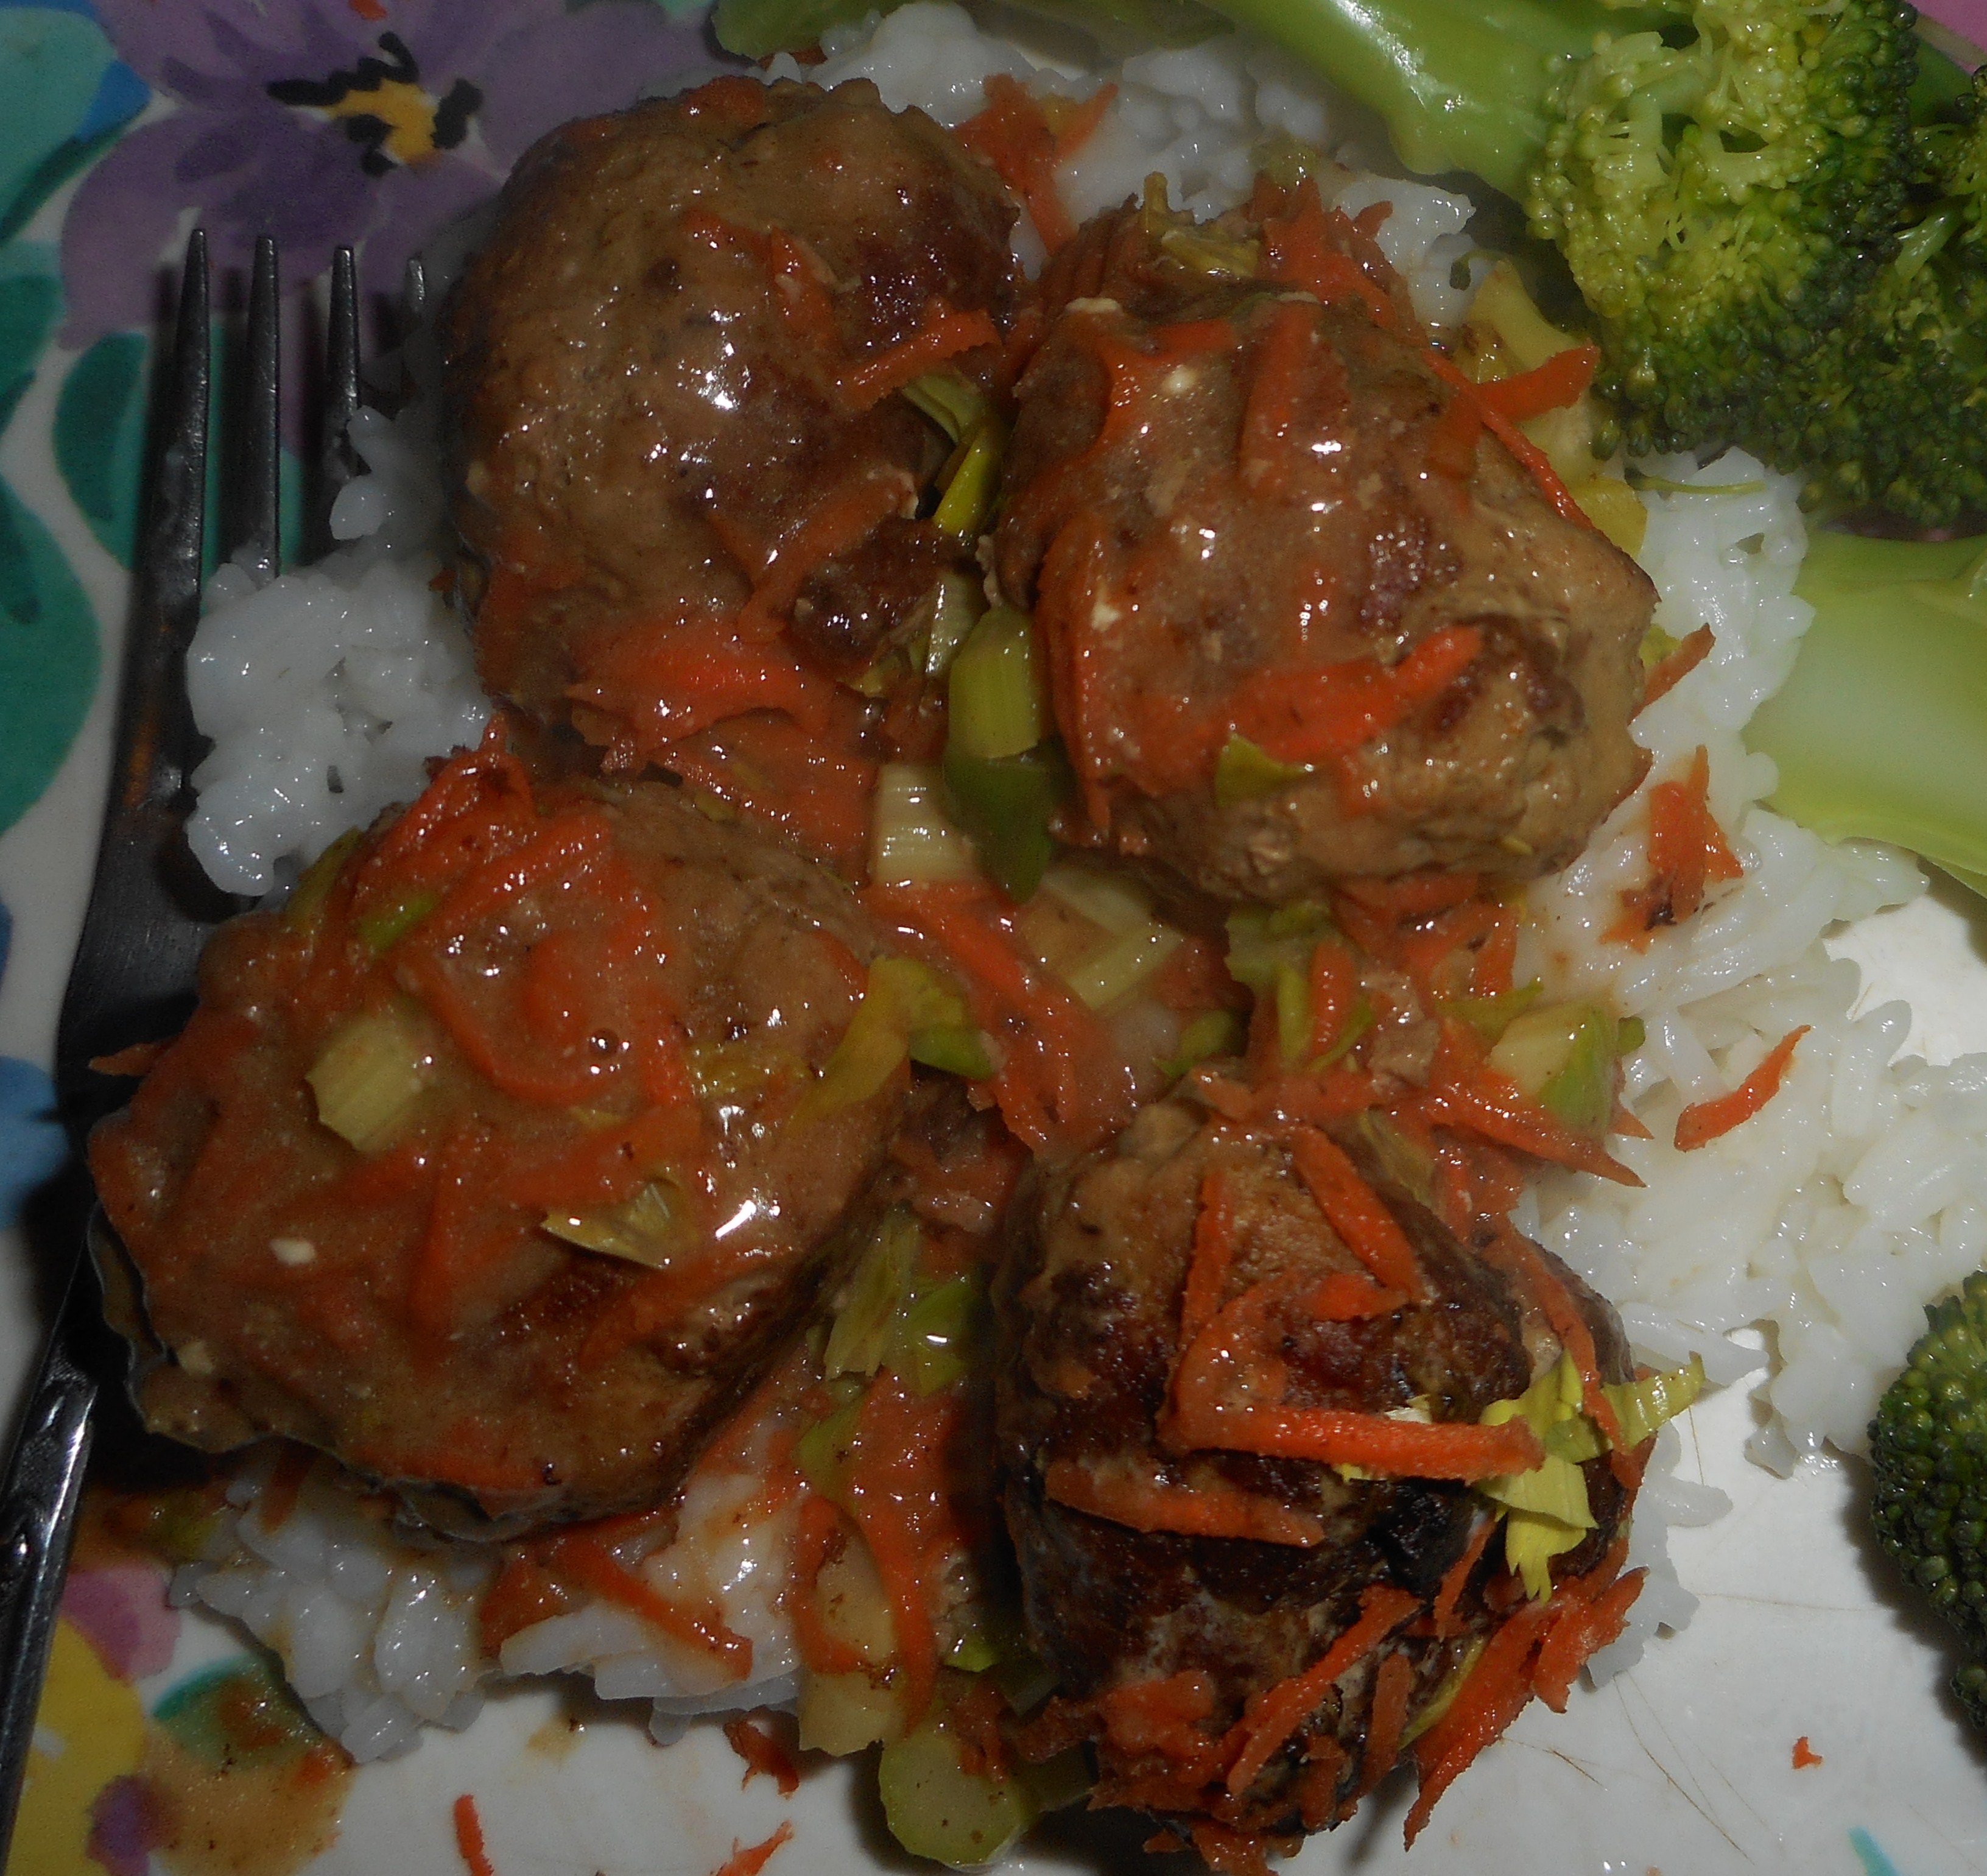
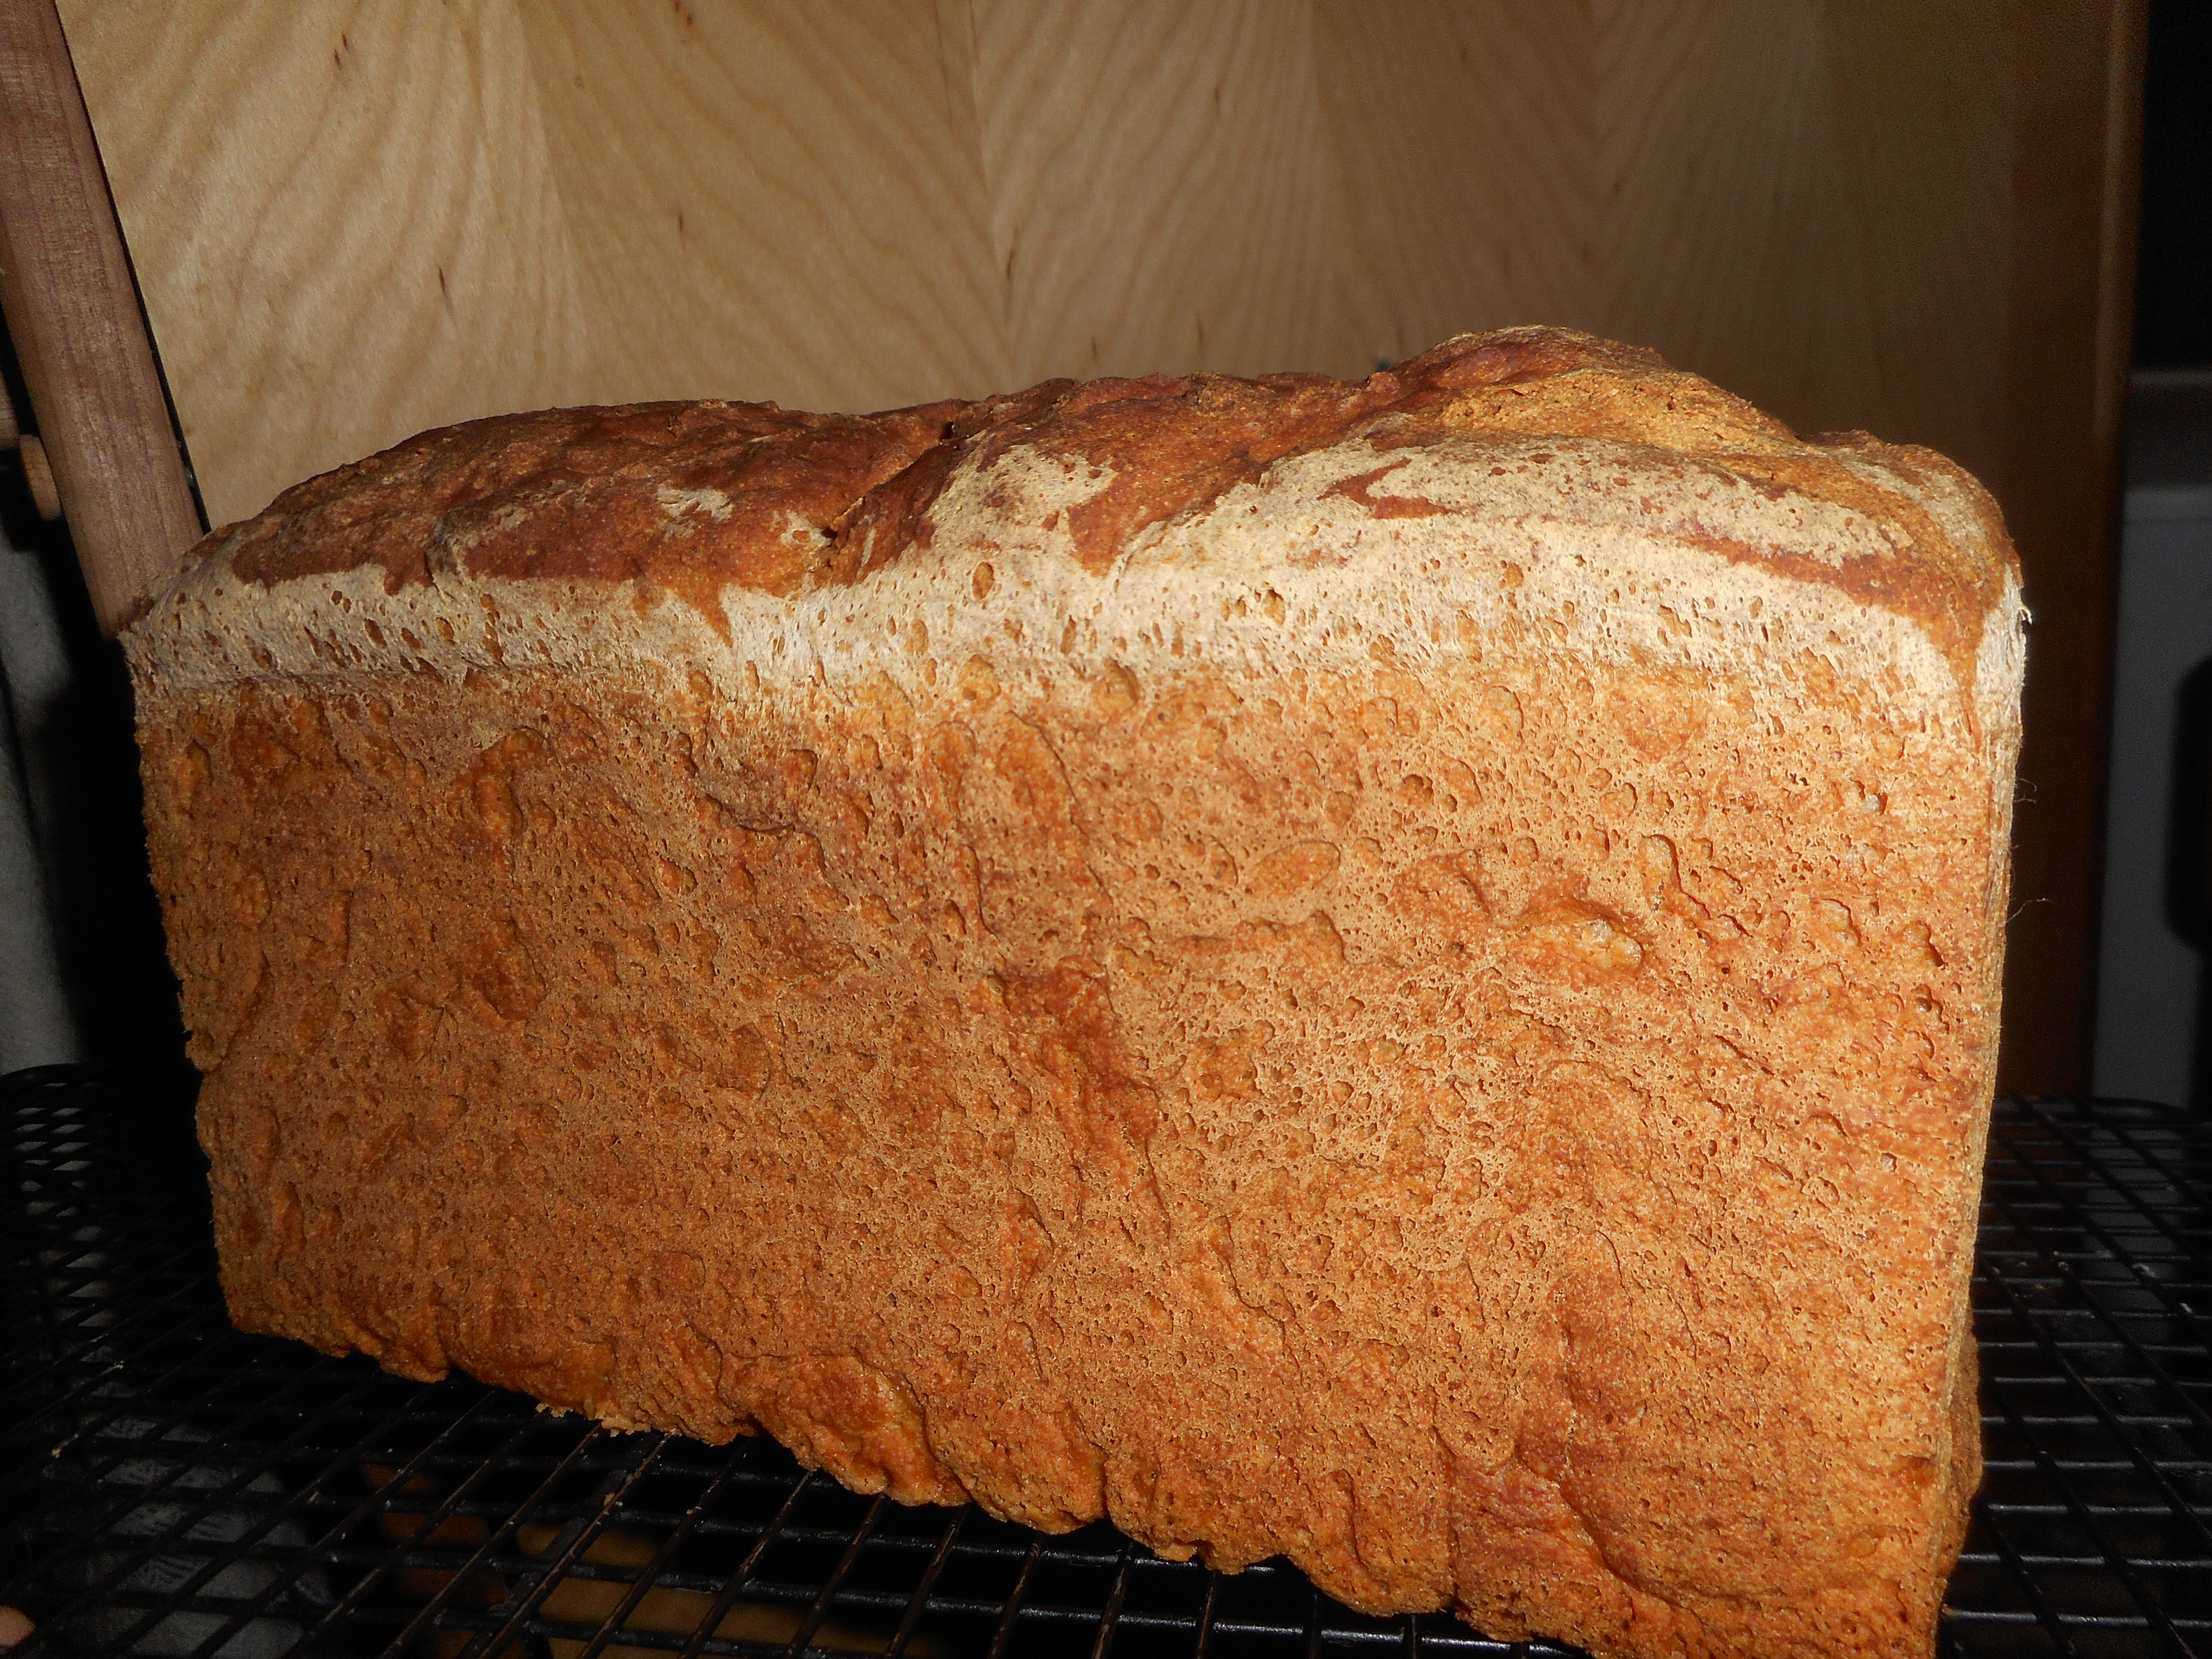
fennel italian bread 012lentil stew, turkey meatballs 006I have figured out gravy, chicken and dumplings, meat pie, quiche and white sauce.   I have a few great bread recipes I made upon occasion.

The cookbook I (still after 2 years) cannot live without is Annalise Roberts, Gluten Free Baking Classics; Second Edition: where the basic recipes for my muffins, brownies, pie crust, angel food cake and cupcakes come from.  Her flour blend is the same as King Arthur all purpose gf flour.  There are lots of great baked goods recipes to be tried out.  She has a new cookbook with the focus on heritage baked goods. I can’t wait to make some of those recipes!  I have a bunch of cookbooks but that Baking Classics is full of stuff I crave and enjoy. I find that I can modify her muffins to fit what I have available and create more variety in my baking.

My focus in this blog is on encouraging healthy cooking that is gluten free, easy to do and tasty.  I avoid as much processed food as possible and that includes snacks, cakes and other already baked goods.  I do eat some crackers and confess to a shameful love of gf cheese curls! I like to increase the amounts of veggies in dishes I make and I add beans whenever it works.    I don’t eat fast food except rarely.  And eating out is now a treat; too chancy and my geographic area doesn’t have that many safe gf restaurant choices.  So I reserve dinner out for once in a while meals. Cheaper too!

I still get glutened occasionally, recently by a bite of bbq at a friend’s house. She didn’t realize her bbq sauce was not actually safe for me.  I also ate a big chunk of chocolate bar with almonds that was cross contaminated.  Not a fun day; yes; both on the same day.

Once in a while, I long for wheat baked goods.  It is hard to be around them knowing that even one bite will make me terribly ill.  I have had dreams about bread…kinda nightmares actually.  For me, a lot of days at school are like being constantly exposed to poison that I am craving desperately. You have to have a good amount of will power to be eating lunch next to a big tray of wheat bagels and a plate of cookies And a pie! No other empty seats in the lunchroom.  Suck it up and try not to think about the treats right there under my nose.  Such is the life of a celiac.  You gotta be strong every single day.  And I am.  I have the will power and so do you!

apple pie 001

apple crumb pie

chickpea soup, salad, bread 014

homemade sandwich bread

I find that I can make great tasting treats far cheaper than the stuff at the store in the gf aisle.  Yummier than that stuff too.  Healthier since it has less chemicals and preservatives in it.  You can do that too.  There are lots of easy to make gf stuff on my blog; muffins, cookies, brownies and pies/tarts.  Main dishes too that are easy and nutritious. Sure there is some sugar in those muffins but far less than most of the store gf snack bars!  Bake up a batch and you will be thrilled with having more than a dozen snacks – freeze some so they keep for a few weeks.  I find that my wheat eating family enjoys my gf desserts, very much so. citrus chicken, blueberry muffins 009

Being healthy and feeling good are worth the effort to eat safely.  Life is much better gluten free and I know I am making the right choice to be very careful about what I eat and what I use on my skin, hair, and the rest of me!  It is doable and being gf gets better as you practice it and as you live the gf lifestyle week after week, month after month and year after year.  I promise you will be very glad as your tummy heals and all the rest of you feels better.  That’s part of why I write this blog; to help others be successful at living a gluten free lifestyle. The other reason is I just love to write.  Happy gluten free cooking and eating!

Strawberry Rhubarb Crumb Pie – a Delightful Dessert

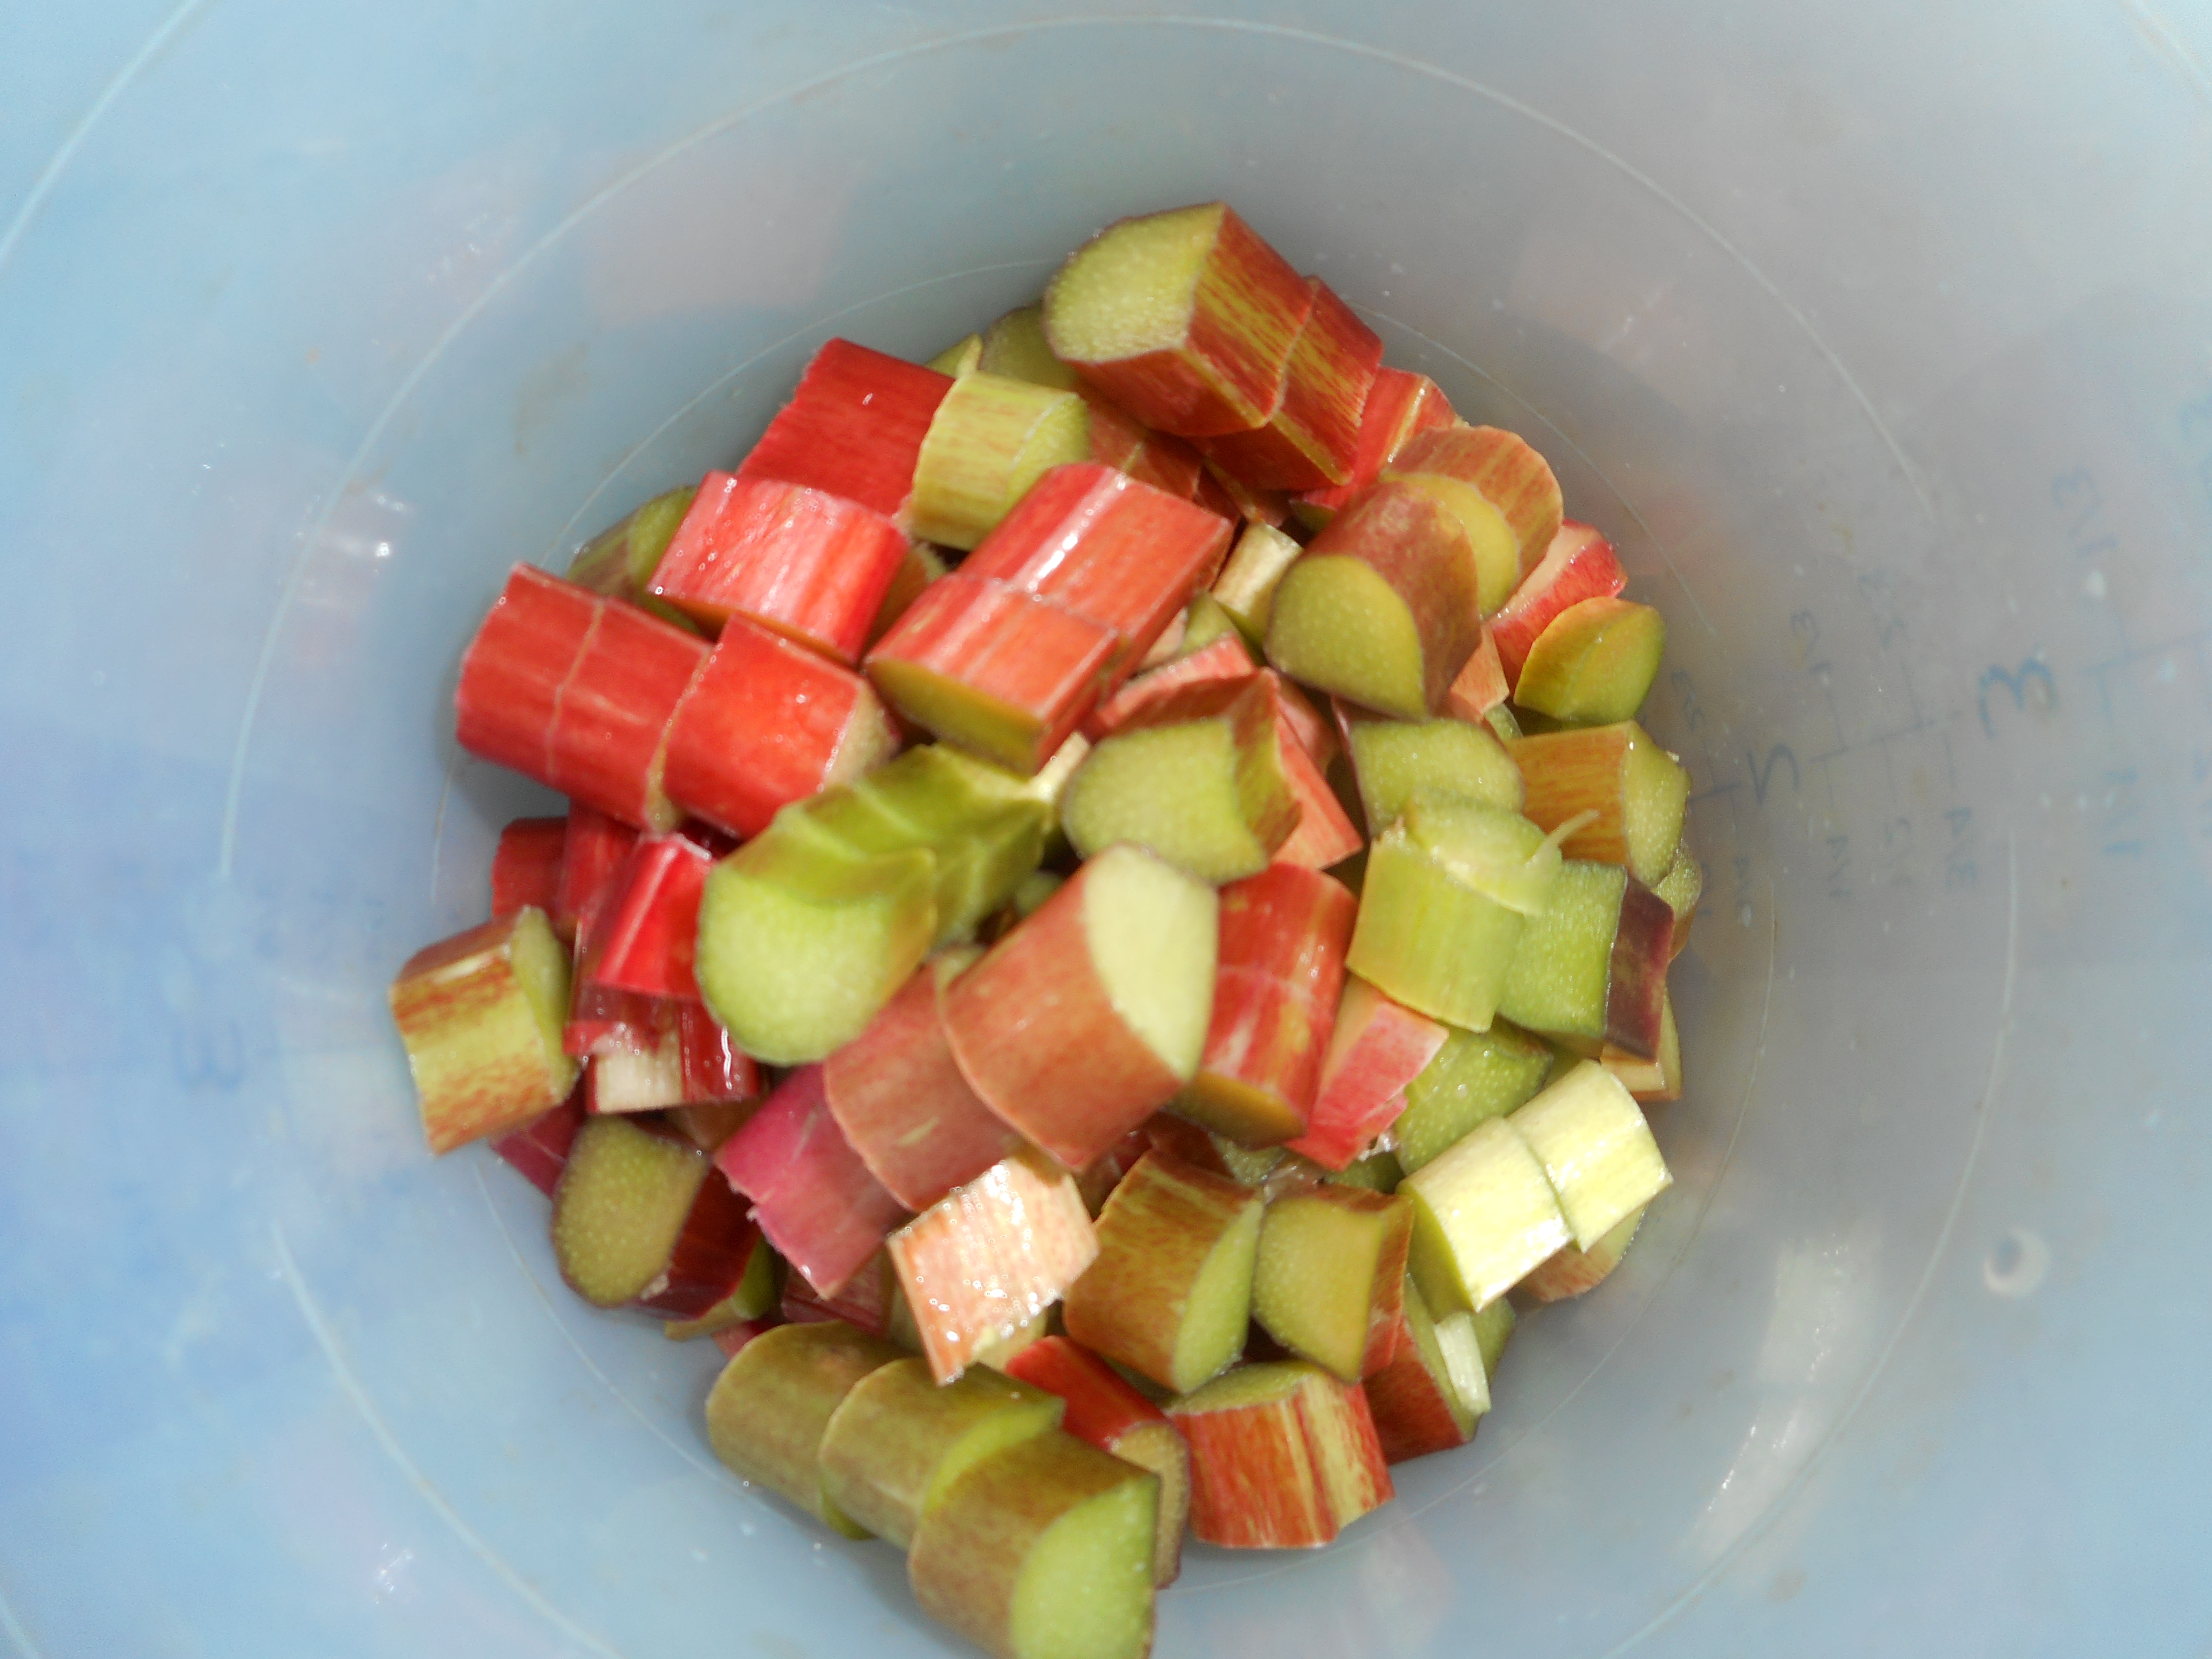
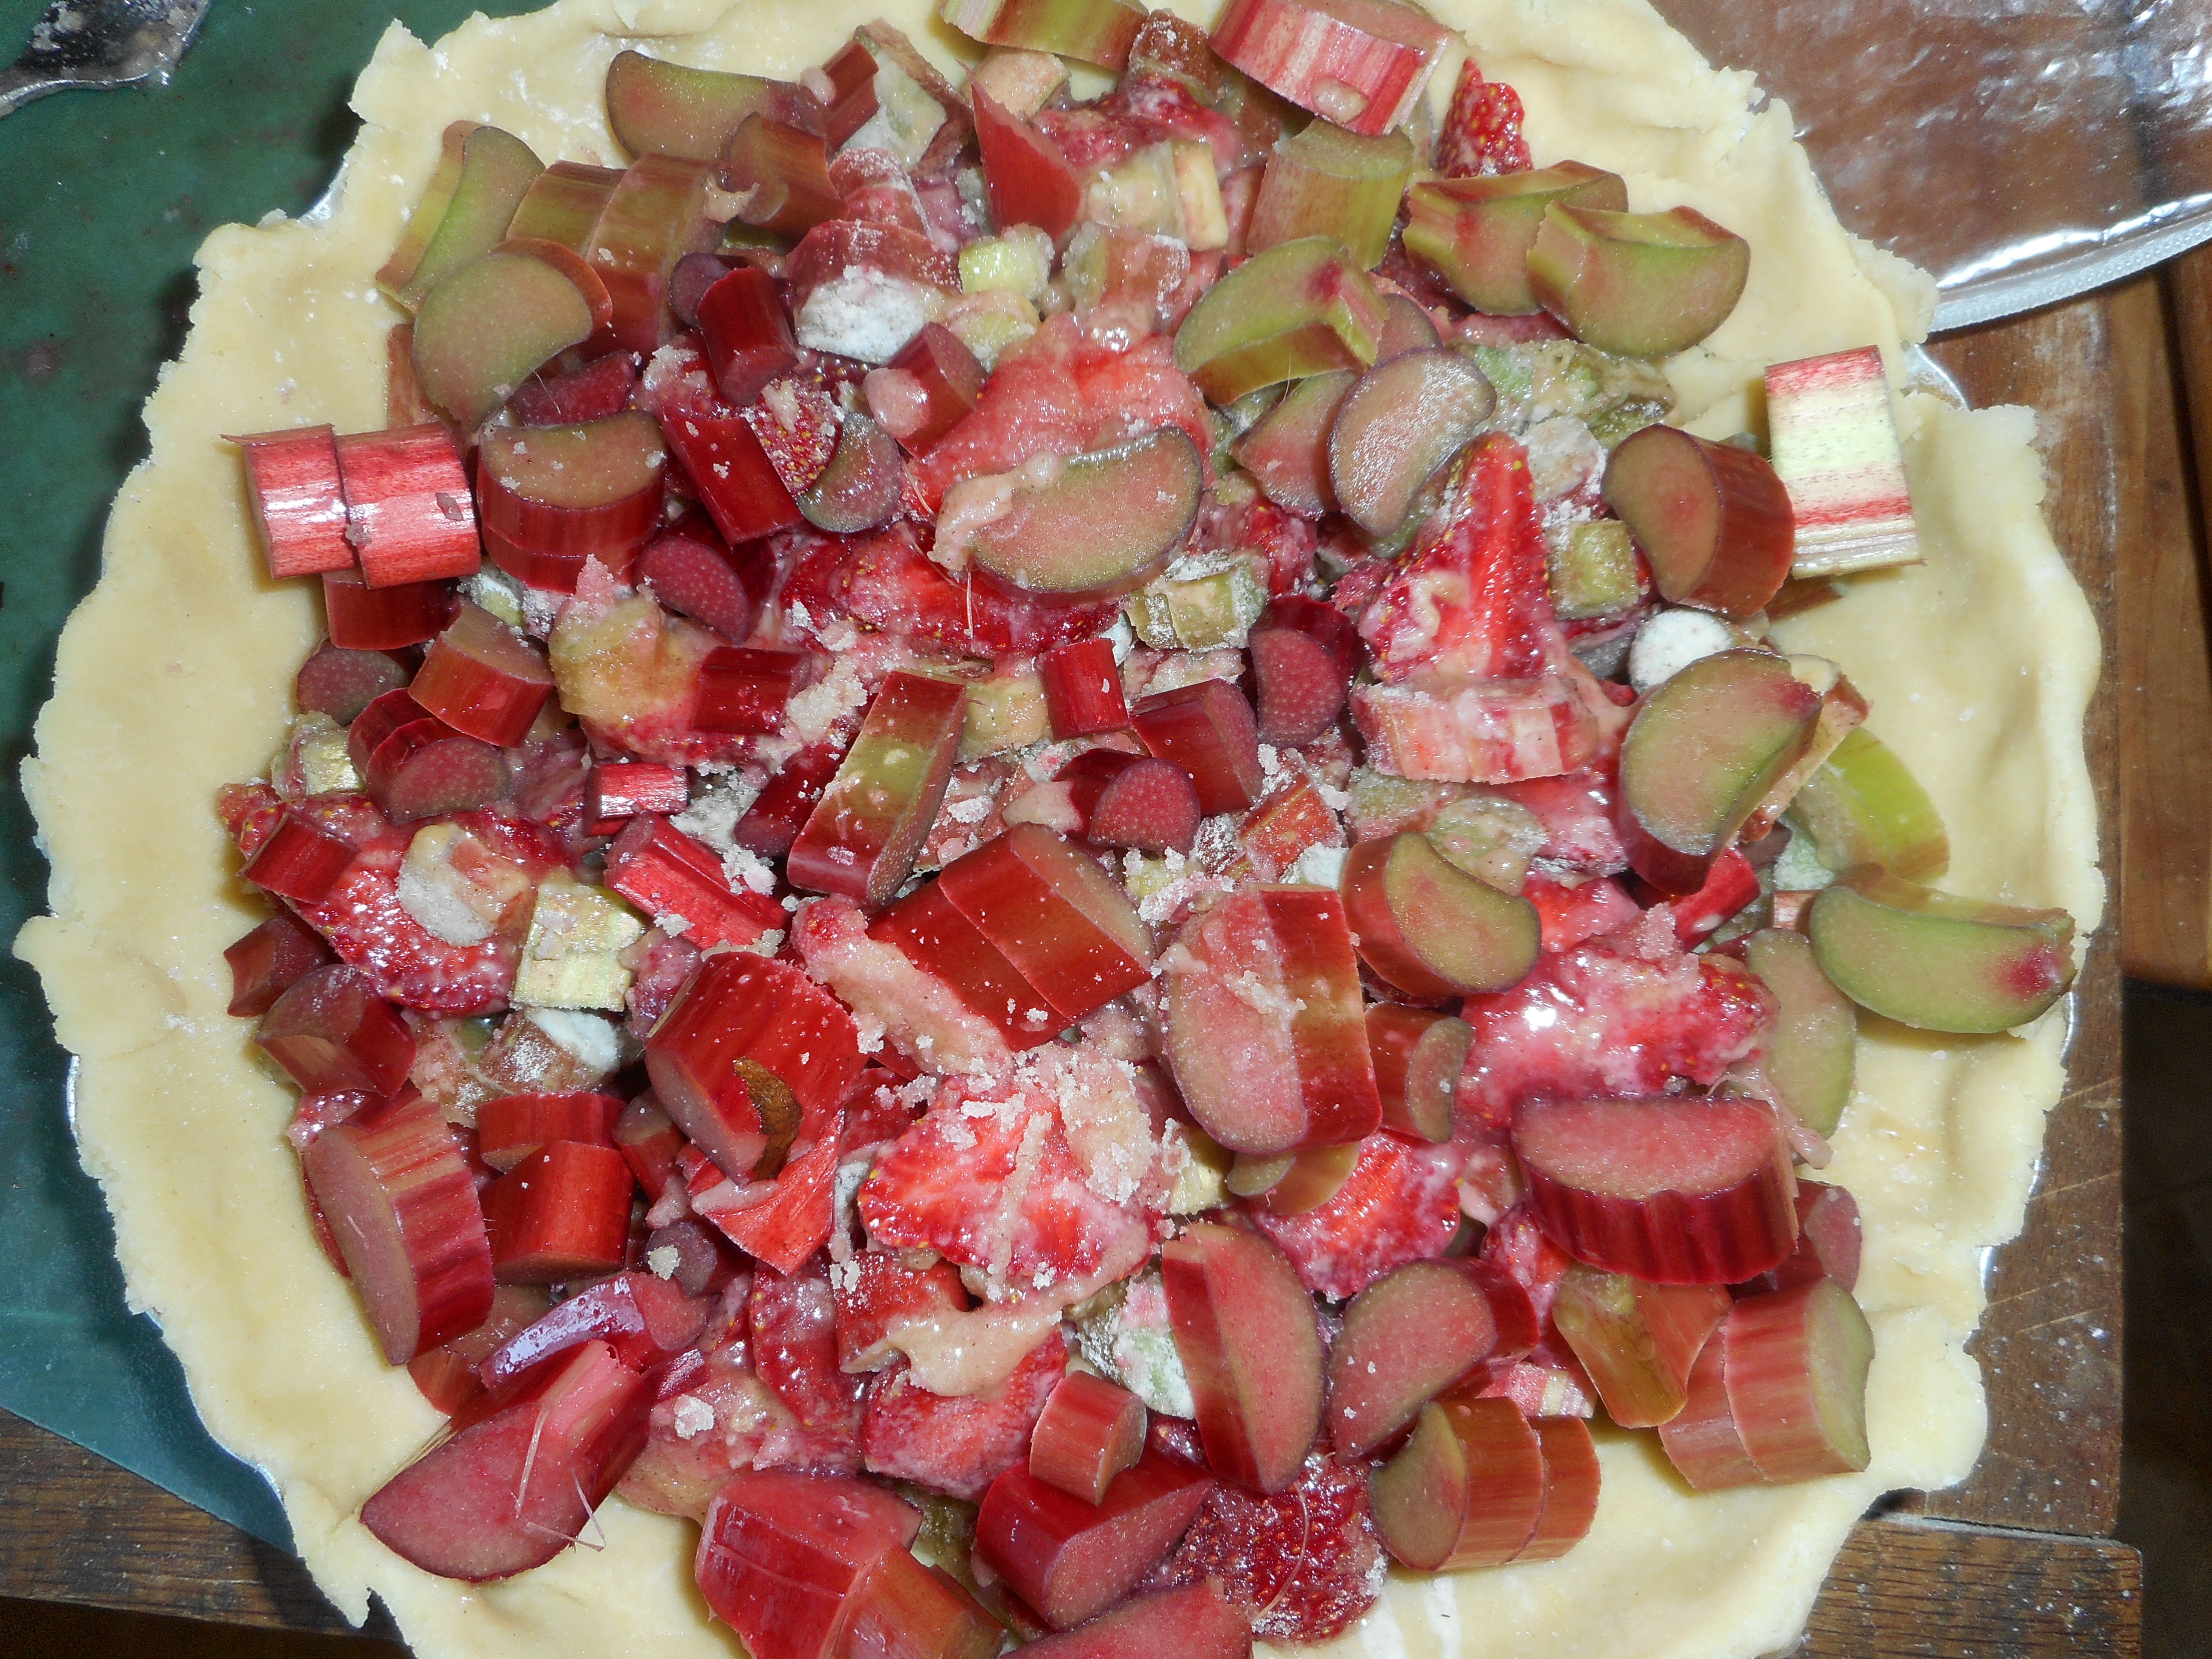
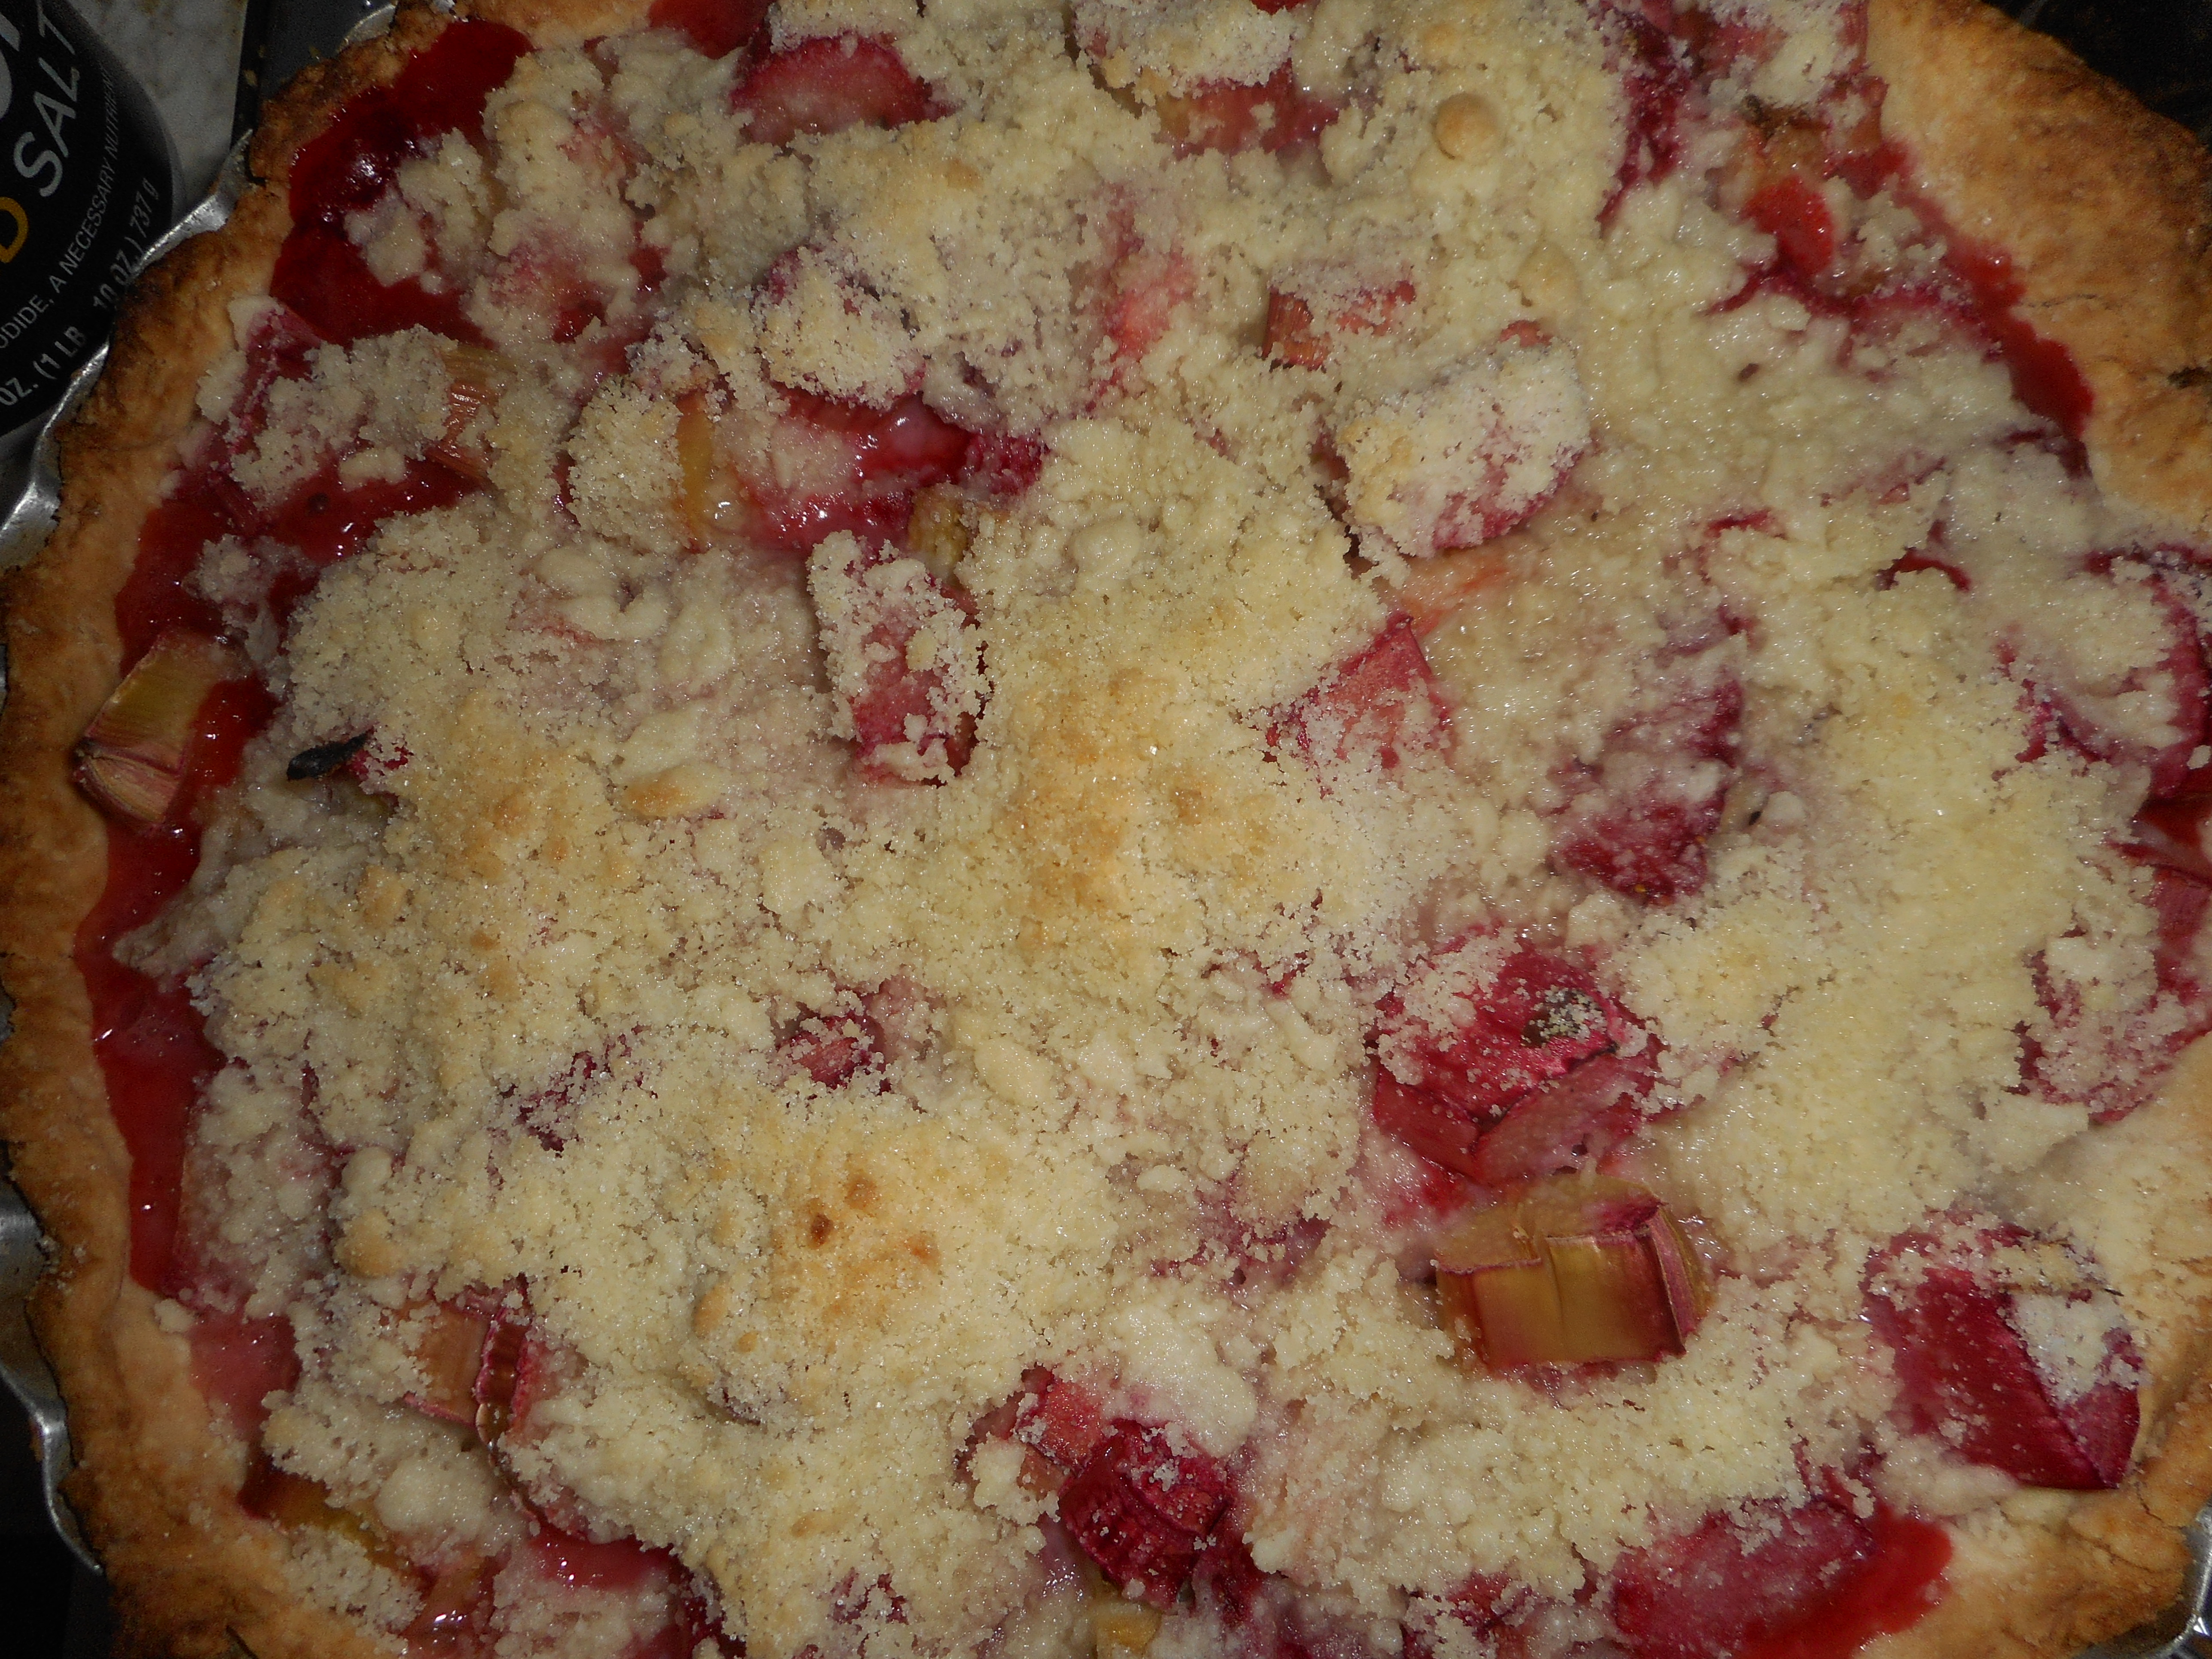
It is the start of local strawberry season and rhubarb is plentiful right now so this was a perfect pairing for adaptation to a gluten free pie recipe.  This is an easy pie to construct and you can store any leftover crumb mixture in a sealed container in the fridge; it keeps a few weeks.  The GF crust will work for any pie and the GF crumb topping is perfect for any crumb pie.  If you prefer a solid crust just double the crust part and top your pie with it.  Be sure to cut some slits for steam escape!

I have a second oven; I call it the pizza oven which I use mostly to bake pies in; it has only bottom heat. This gives my crust the chance to get properly browned without overcooking the rest of the pie. If you use a regular oven you might want to prebake your empty gf crust for 10 minutes to give it a head start so it doesn’t get underbaked.  If you are making this pie with regular flour; just sub in for the gf blend and bake it as I describe below.  I made this pie before I went gf and if you are a gluten gluten you can still enjoy the berry goodness of this late spring themed pie.

Please make every effort to use local strawberries; you can get them at most farm stands, farmer’s markets and at Lehigh Valley Produce on Main Street in Hellertown.  I got mine at Lehigh Valley Produce; very flavorful and in prime condition. This pie really showcases the strawberries more than the rhubarb which is a silent partner so that is why I suggest you get the best; locally grown sweet ripe strawberries to make your pie’s flavor just perfect.

Bake and enjoy early summer in a pie from just a few minutes of work.  Don’t eat it hot; it should be cooled to room temperature or even chilled. I am guessing you could top this with vanilla ice cream.  Maybe next time!

strawberry rhubarb pie 004strawberry rhubarb pie 005strawberry rhubarb pie 006strawberry rhubarb pie 007strawberry rhubarb pie 008strawberry rhubarb pie 011

Angie’s GF Strawberry Rhubarb Crumb Pie

Crust:

1 c plus 2 tbsp brown rice flour mix (at bottom of recipe)

2 tbsp sweet rice flour

1 Tbps. granulated sugar

½ tsp xanthan gum

¼ tsp salt

6 Tbps. cold butter cut into 6 chunks

1 lg egg

2 tsp fresh orange or lemon juice

Directions:

Spray 9 inch metal pie pan with cooking spray, dust with white rice flour.

Mix dry ingredients in bowl of stand electric mixer.  Add butter and mix until crumbly and resembling coarse meal.  Add egg and juice.  Mix until it comes together into big chunks.  Shape into a ball with your hands. Put it on a crust sized piece of wax paper (14 x 14 inches more or less), flatten the crust ball some; put on top of it another piece of wax paper and chill it all in your fridge 15-20 minutes while you chop the rhubarb into ½ inch chunks and hull/slice the strawberries.

Filling:

2 cups fresh strawberries, hulled and cut in thick slices

2 cups cut up fresh rhubarb – place in medium bowl

Mix with

½ to 2/3  cup sugar ( I used ½ cup but I guess some like things really sweet so I gave a range of sugar amounts.)

1/3 c gluten free flour mix (see below recipe or use any you like: I actually used a mock Better Batter flour for this pie filling.)

1 egg (can be left out if you wish)

Roll out pie crust in a pie bag or between the two sheets of wax paper, try to get the thickness even, no thick middle! Peel off one side of paper and place in pie pan, centered.  Remove other slice of wax paper.  Crimp edges all around.  Fill with dry strawberry – rhubarb mixture.  Beat egg in a small bowl and pour over. Top with crumbs.

Crumb topping

¾ c brown rice flour mix

½ c sugar

½ tsp xanthan gum

1/3 c cold butter cut into six chunks

Put all four ingredients in the same mixing bowl you made the bottom crust in and mix well with mixer paddle until crumbs form.

Sprinkle the top of the pie with crumb mix; use as much as you like.  I like about ½ to 2/3 of the mixture.  Up to your personal taste… It sinks partially into the fruit mixture and adds lots of sweetness and eye appeal.

Bake in a preheated 425 degree oven for 40-45 minutes until bubbly and the crust is light brown.  Cool at least 2 to 4 hours before serving at room temperature.

Brown Rice Flour Mix

2 c brown rice flour

2/3 c potato starch

1/3 c tapioca flour