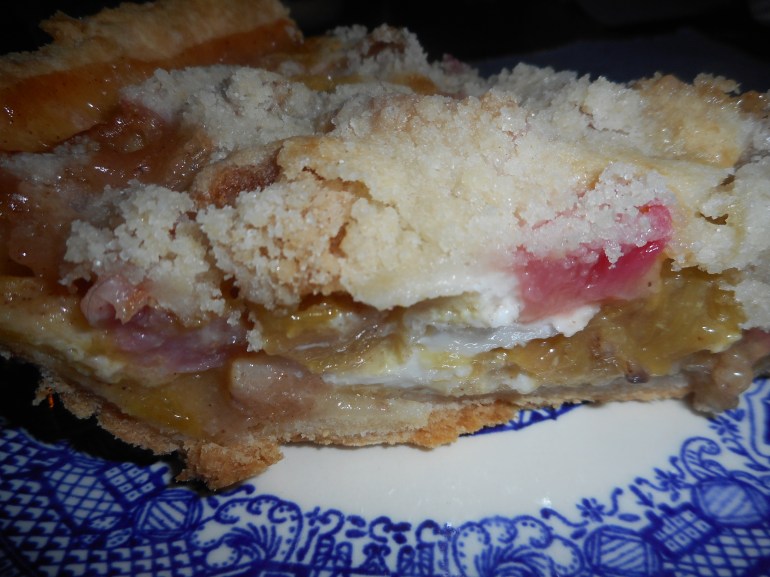
Rhubarb Crumb Pie…A Spring Treat

Rhubarb is getting plentiful so it can be a good choice for your first gluten free pie recipe.  You can buy it fresh at your local farmer’s market.  The Hellertown Farmers Market opened today; up at their new location; the field right next to the Hellertown Area Library.  I bet there was some rhubarb to be had! They are there every Sunday until November from 9 am to 1 pm. There is free off street parking available.  Get there early before all the good stuff is sold!

rhubarb pie, ginger stir fry, salmon with peas 040 rhubarb pie, ginger stir fry, salmon with peas 041 rhubarb pie, ginger stir fry, salmon with peas 042 rhubarb pie, ginger stir fry, salmon with peas 044 rhubarb pie, ginger stir fry, salmon with peas 049

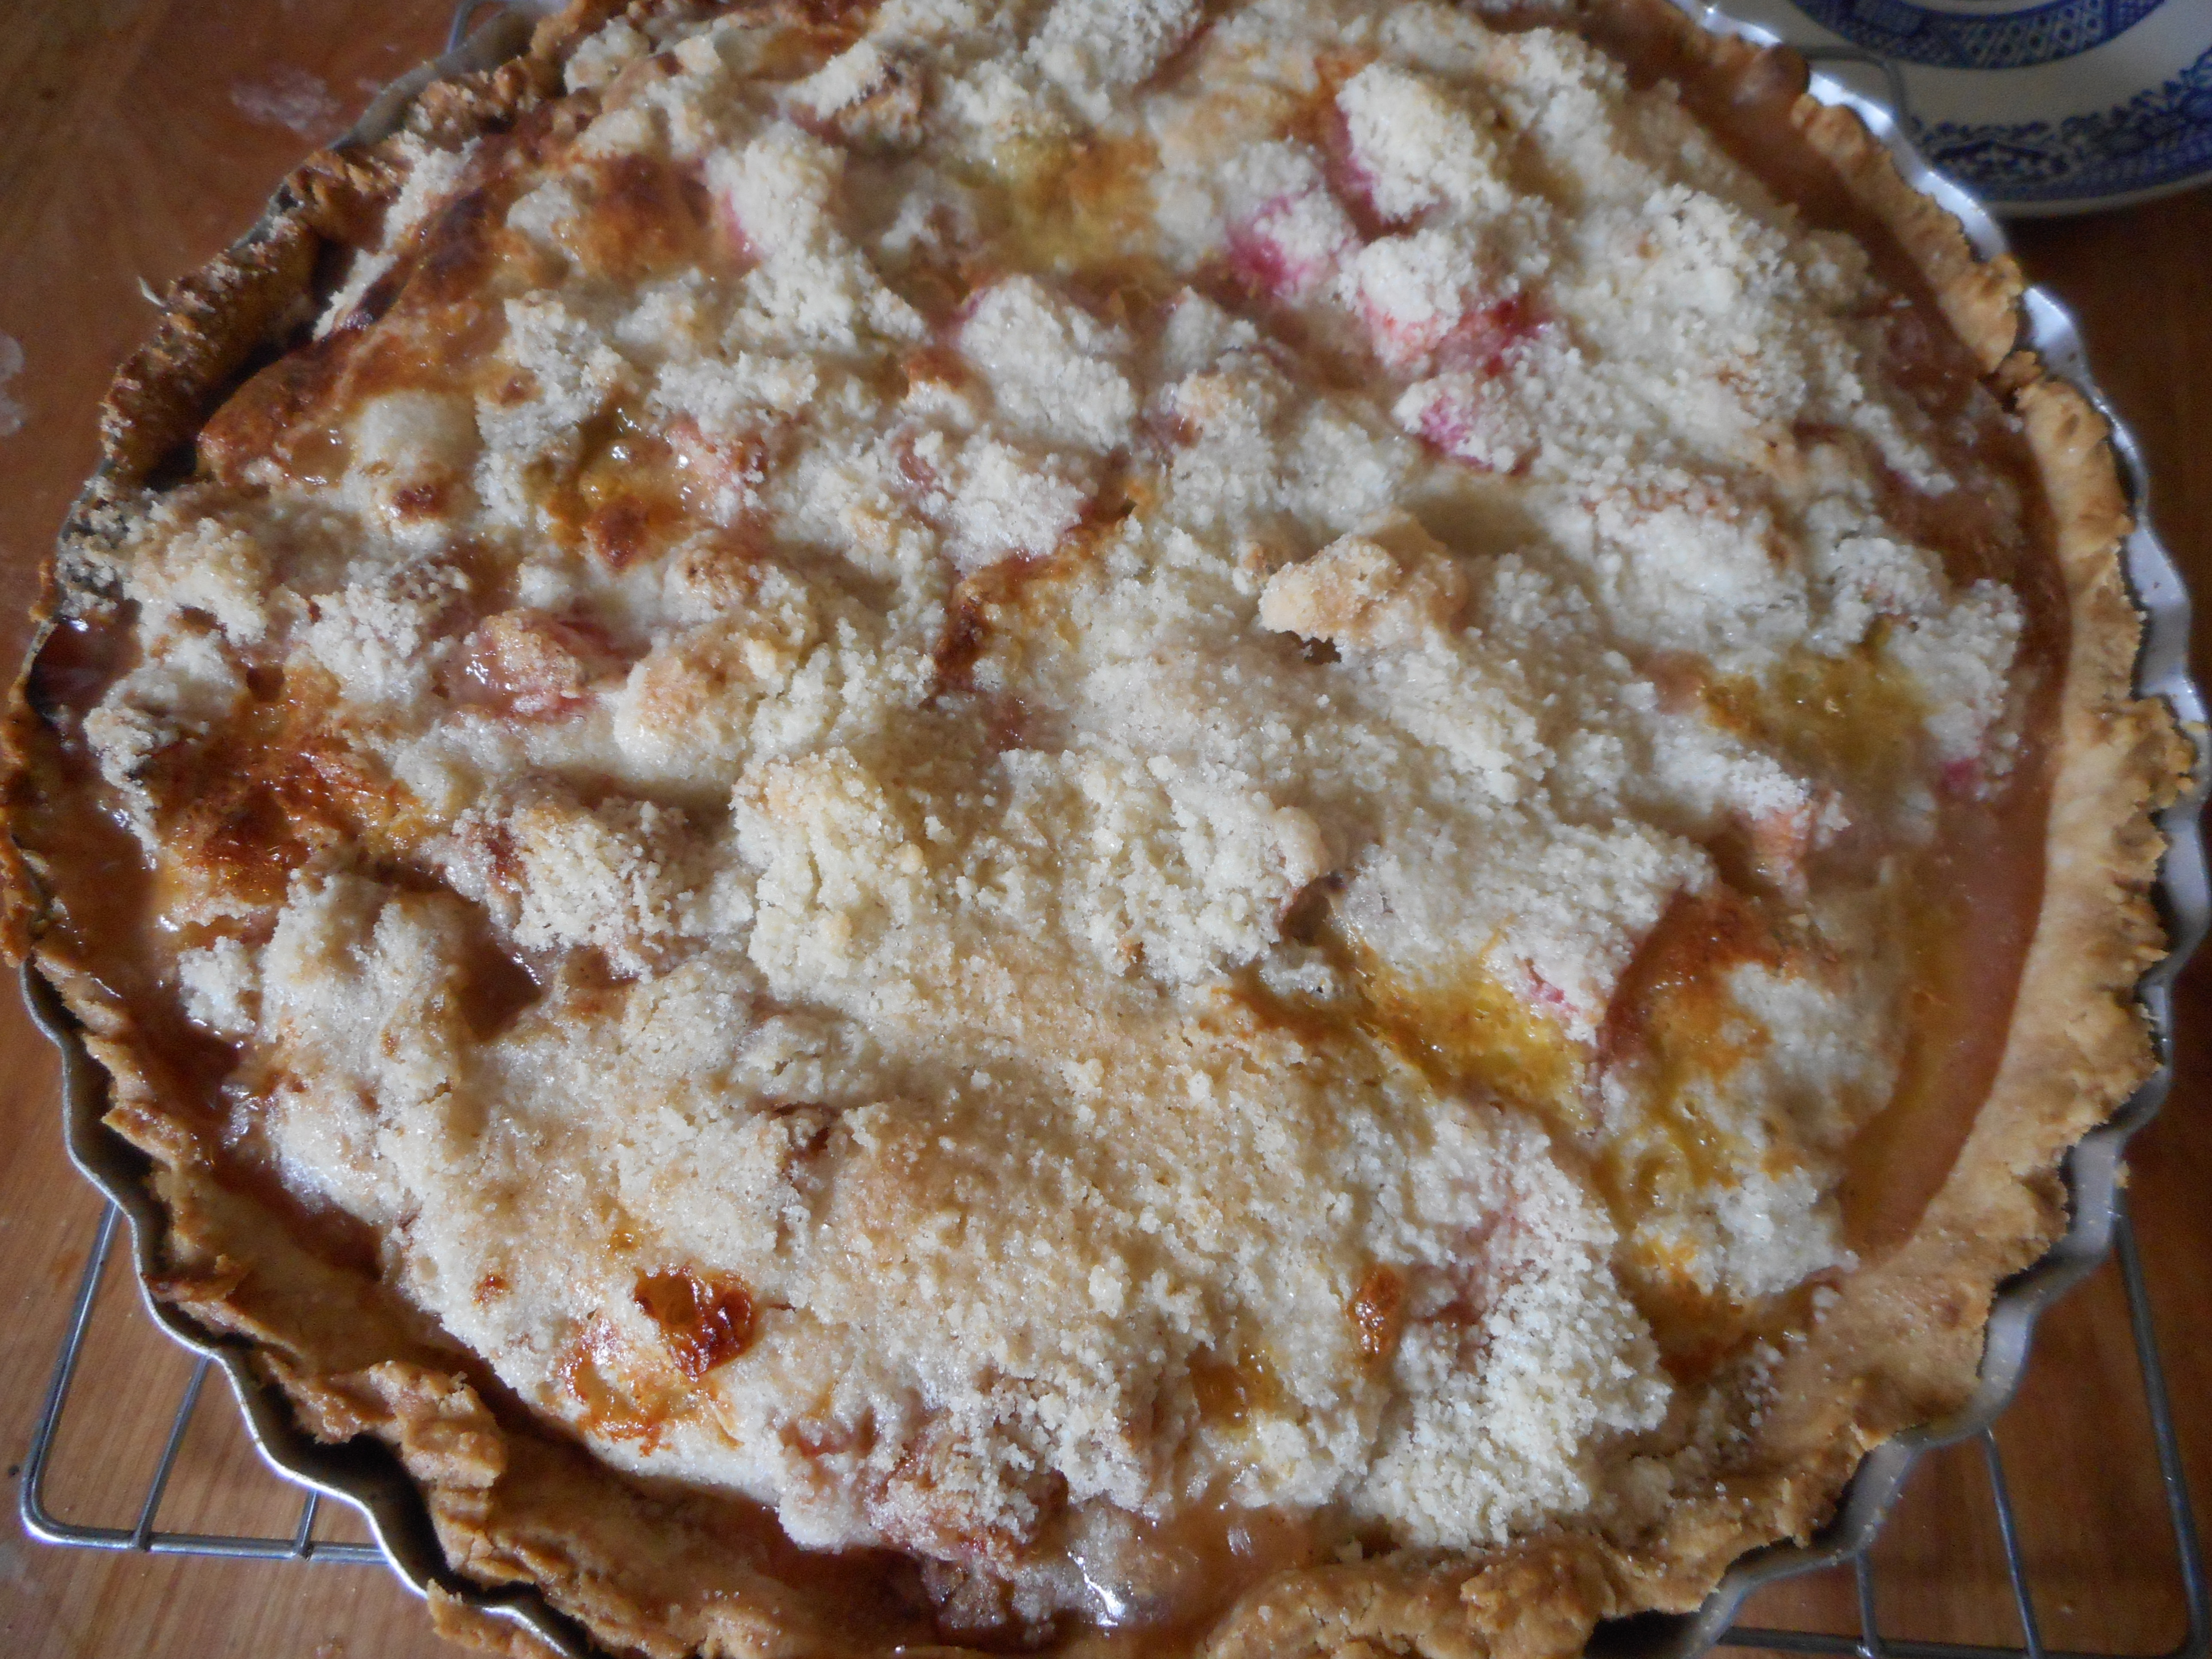
This is an easy pie even though it has several steps.  It is different from the usual rhubarb pie because the texture is a bit closer to a crumb cake, no wet, faintly slimy texture and no ultra sour flavor.  I think this new version tastes as good as it did when I made it with wheat based flour.

This GF crust will work for any pie you wish and the GF crumb topping is great for any crumb pie topper.  I store any leftover crumb mixture in a sealed container in the fridge; keeps a few weeks.  What I am giving you is my mixture of three recipes with some small modifications over time – it was my first GF pie recipe, from nearly two years ago.  I know it has several steps but each one is easy and you can use these crust and crumb recipes for other pies.

Yes, this is a re-run post but it is so good that I knew some of you who are new to my blog might want to see it. Bake and enjoy!

Angie’s GF Rhubarb Crumb Pie

Crust:

1 c plus 2 tbsp brown rice flour mix (at bottom of recipe)

2 tbsp sweet rice flour

1 Tbsp. granulated sugar

½ tsp xanthan gum

¼ tsp salt

6 Tbsp. cold butter cut into 6 chunks

1 large egg

2 tsp fresh orange or lemon juice

Spray 9 inch metal pie pan with cooking spray, dust with white rice flour.

Mix dry ingredients in bowl of stand electric mixer.  Add butter and mix until crumbly and resembling coarse meal.  Add egg and juice.  Mix until it comes together into big chunks.  Shape into a ball with your hands. Put it on a crust sized piece of wax paper (14 x 14 inches more or less), flatten the crust ball some; put on top of it another piece of wax paper and chill it all in your fridge 15-20 minutes while you chop the rhubarb into ½ inch chunks.

Filling:

44 to 4.5 cups cut up fresh rhubarb – place in medium bowl

Mix with

2/3 – 1 c sugar (as much as you like; I use the lesser amount)

¼ c brown rice flour mix (see below recipe)

½ tsp nutmeg

Sprinkle – up to 1/4 tsp. cinnamon

Roll out pie crust between the two sheets of wax paper, try to get the thickness even, no thick middle! Peel off one side of paper and place in pie pan, centered.  Remove other slice of wax paper.  Crimp edges all around.  Fill with dry rhubarb mix.  Pour evenly over this mixture:  3 eggs beaten lightly with 1/3 c milk (not skim), and ¼ tsp almond extract.

Crumb topping

Put all four ingredients in the same mixing bowl you made the bottom crust in and mix well with mixer paddle until crumbs form.

¾ c brown rice flour mix

½ c sugar

½ tsp xanthan gum

1/3 c cold butter cut into six chunks

Sprinkle the top of the pie with crumb mix; use as much as you like.  I like about 2/3 of the mixture.  Up to your personal taste… It sinks into the rhubarb and wet mixture to create an almost cake like texture and the crumb crust adds lots of sweetness and eye appeal.

Bake in a preheated 375 degree oven for 55-60 minutes until bubbly and the crust is light brown.  Cool at least 2 to 4 hours before serving at room temperature.

Brown Rice Flour Mix
2 c brown rice flour

2/3 c potato starch

1/3 c tapioca flour

Lemon Meringue Pie Heaven

This pie is old school delicious.  This is my mom’s bastardized version of a Betty Crocker recipe and made gluten free with my favorite crust.  It has no gelatin for you gel haters! I make it with the lesser amount of sugar in the filling but you can more than double it if you are a sweet freak.  I have never met a man who didn’t love it, well…maybe one. My friend Russel doesn’t care for anything with lemons. But his wife Claire adores lemon so this pie is for her and Mom…and my brother Christopher who often requests this pie when he is in town.

lemon pie 008

If I have them, I always use Meyer lemons for this recipe.  Your pie will have a delicate flavor – so light I sometimes call it lemon cloud pie!  Don’t worry; regular lemons work just fine. It can be difficult to find Meyer lemons and pricy too.

I have never gotten my mom to admit it but I am positive she added extra egg whites to her meringue.  Her pie was towering with the white fluffy stuff unlike my nearly level pie made with just three whites.  It is up to you how impressive you want your dessert to look. But if you have company you might want to go for the big bang of a four- five egg white meringue topping for maximum wow power!

My mom added the corn syrup to replace some of the reduced sugar and because it makes the texture of this pie creamier and more delicate.  Don’t make this pie on a very humid day or the meringue will weep and bead on the top.  It will taste fine but the look will suffer from the humidity.

Store any leftover pie in the fridge. It doesn’t keep more than two days but frankly none of it ever lasts more than two days.

lemon pie 002

lemon pie 004

Thickened cornstarch, sugar and water mix all stirred up.

lemon pie 001

Baked pie crust.

lemon pie 003lemon pie 005lemon pie 006lemon pie 007lemon pie 008

Mom’s Lemon Meringue Pie

Crust:

1 c plus 2 tbsp brown rice flour mix (at bottom of recipe)

2 tbsp sweet rice flour

1 Tbps. granulated sugar

½ tsp xanthan gum

¼ tsp salt

6 Tbps. cold butter cut into 6 chunks

1 lg egg

2 tsp fresh orange or lemon juice

—————

Spray 9 inch metal pie pan with cooking spray, dust with white rice flour.

Mix dry ingredients in bowl of stand electric mixer.  Add butter and mix until crumbly and resembling coarse meal.  Add egg and juice.  Mix until it comes together into big chunks.  Shape into a ball with your hands. Put it on a crust sized piece of wax paper (14 x 14 inches more or less), flatten the crust ball some; put on top of it another piece of wax paper and chill it all in your fridge 15-20 minutes. Then roll it out and line a 9 inch pie pan with it.  Make sure you get the middle nice and thin; this crust can be tough to get the center as thin as the edges. Prick it all over with a fork to keep it from bubbling out and bake the empty crust at 375 for 10-12 minutes until light brown.  Let cool to room temperature.

Lemon Filling:

Ingredients:

1/3 to ¾ cup sugar

1/3 plus 1 tbsp. corn starch

1 ½ cup water

3 eggs, separated; yolks for filling, save whites for meringue

3 tbsp. butter cut in small chunks

2 tsp. lemon zest

½ cup fresh lemon juice

2-3 tbsp. clear corn syrup

Directions:

Start oven heating to 400 degrees for browning the topped pie.

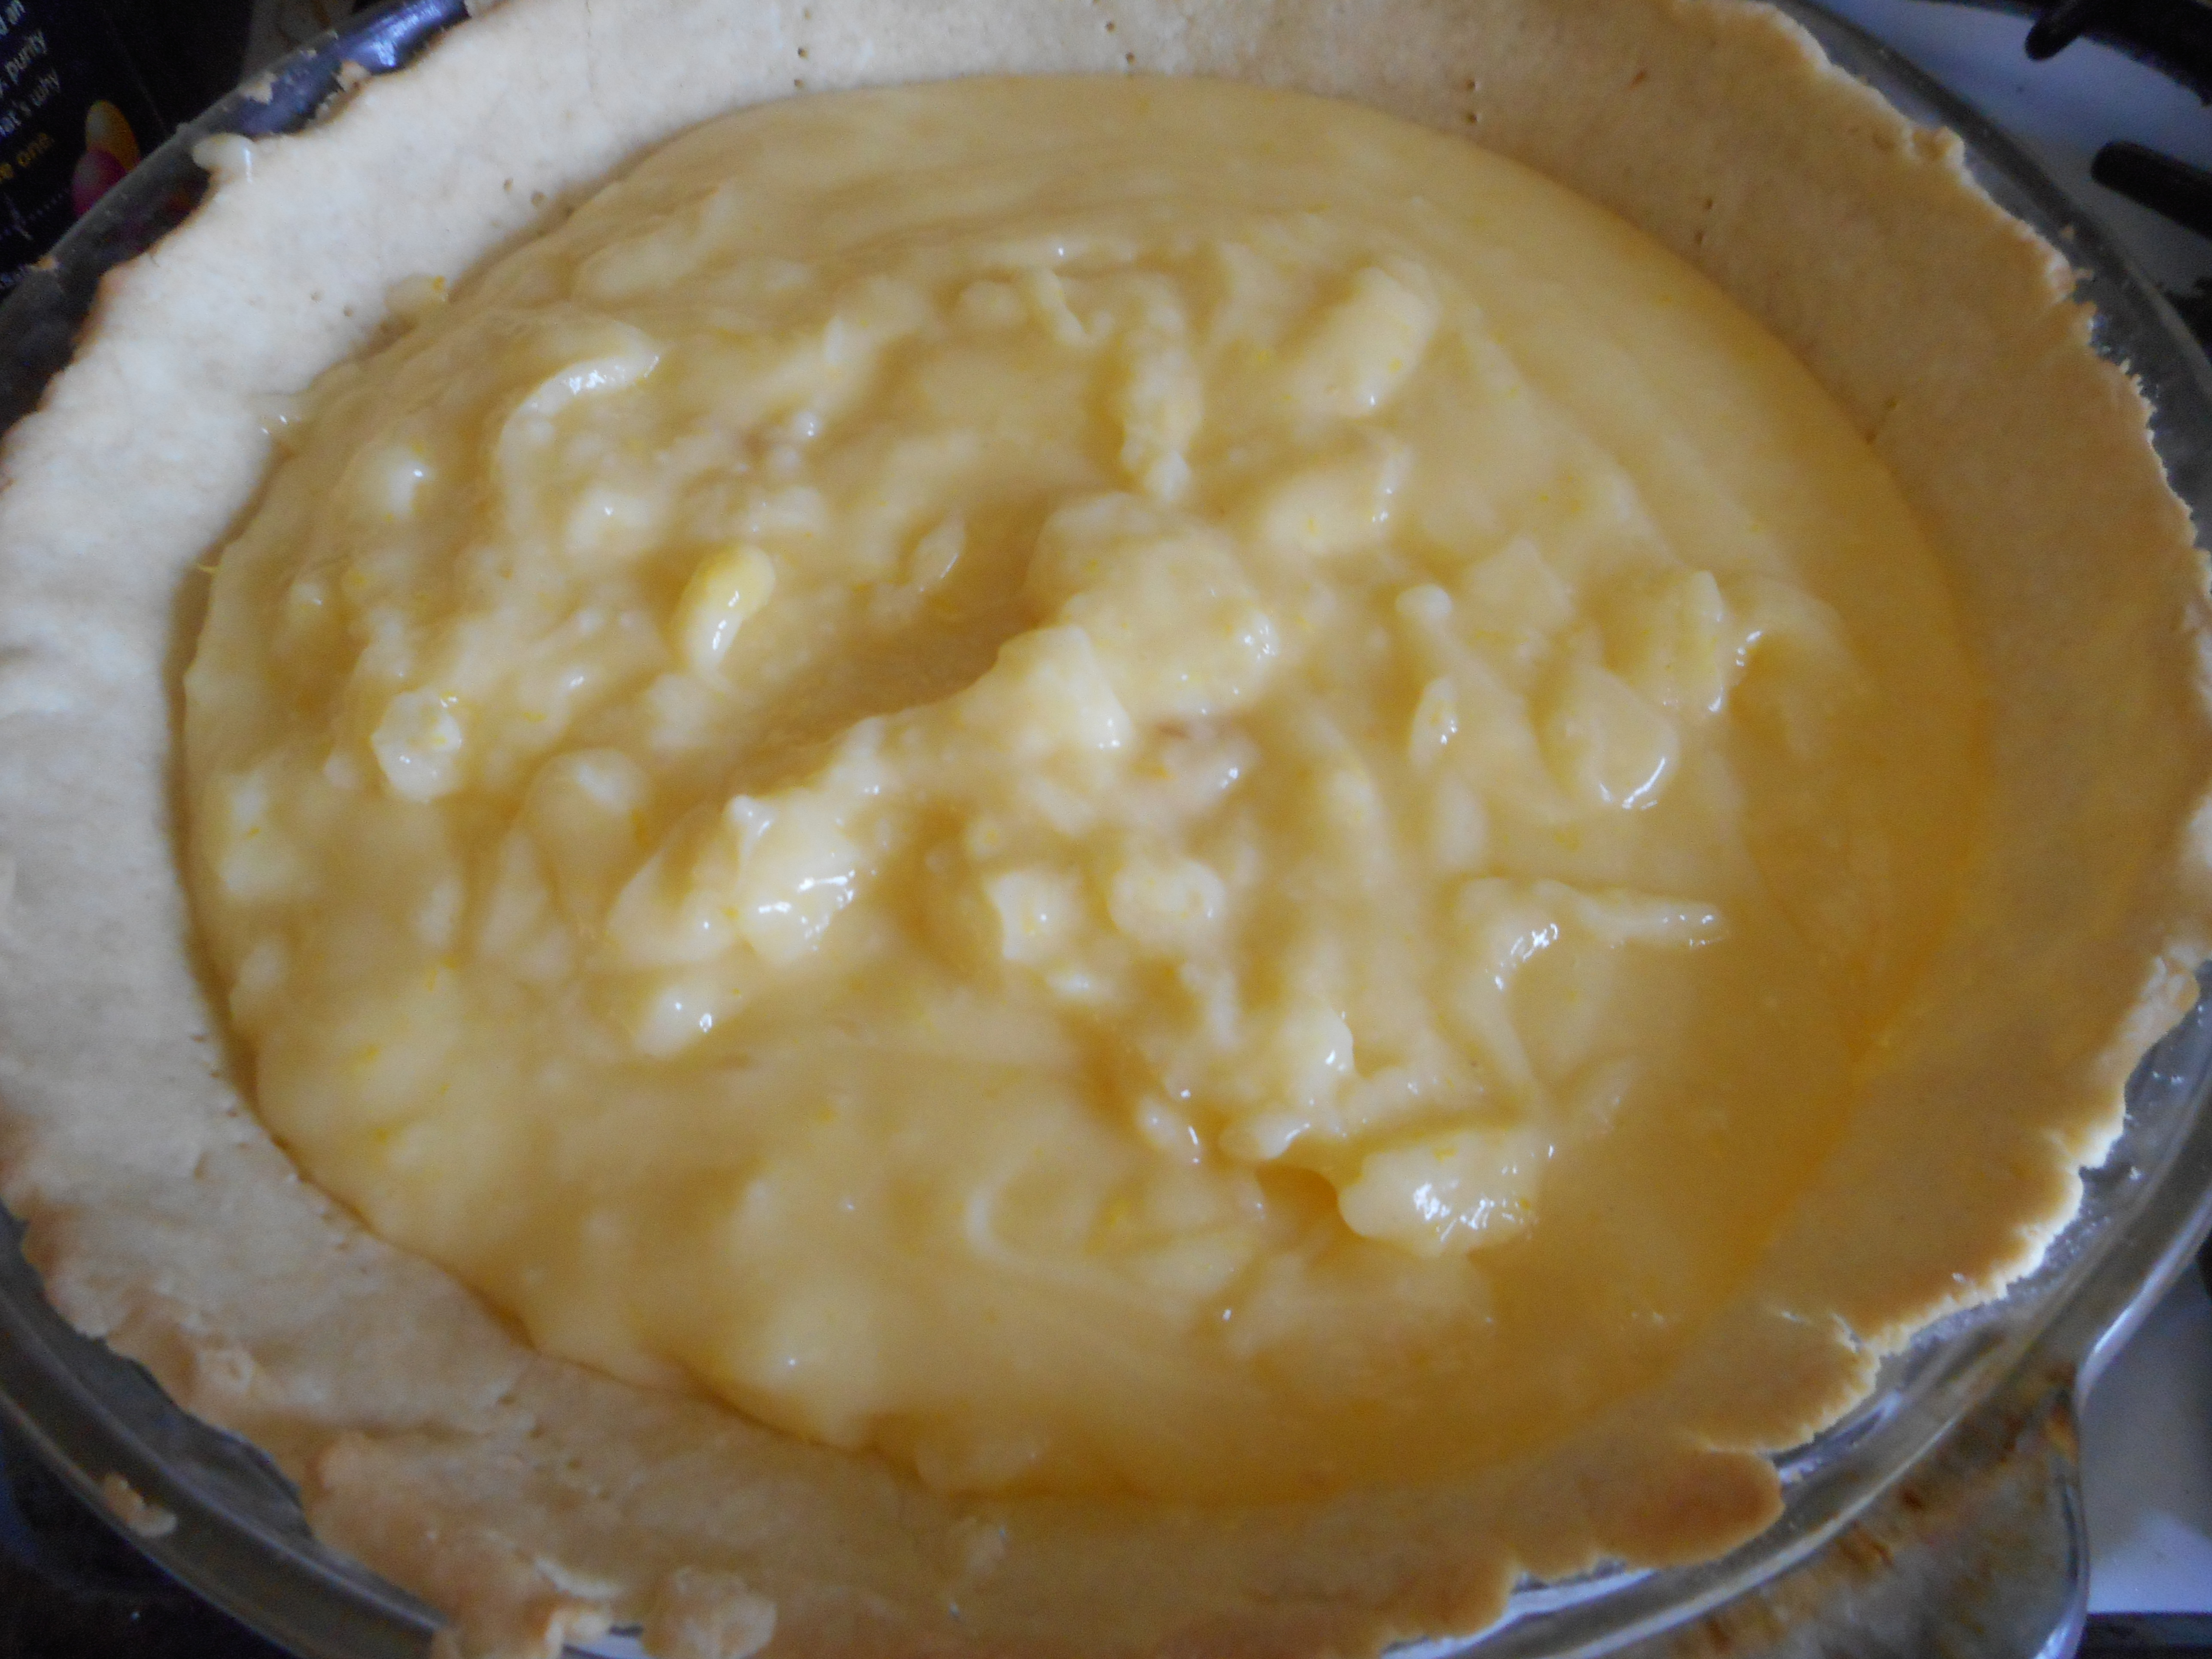
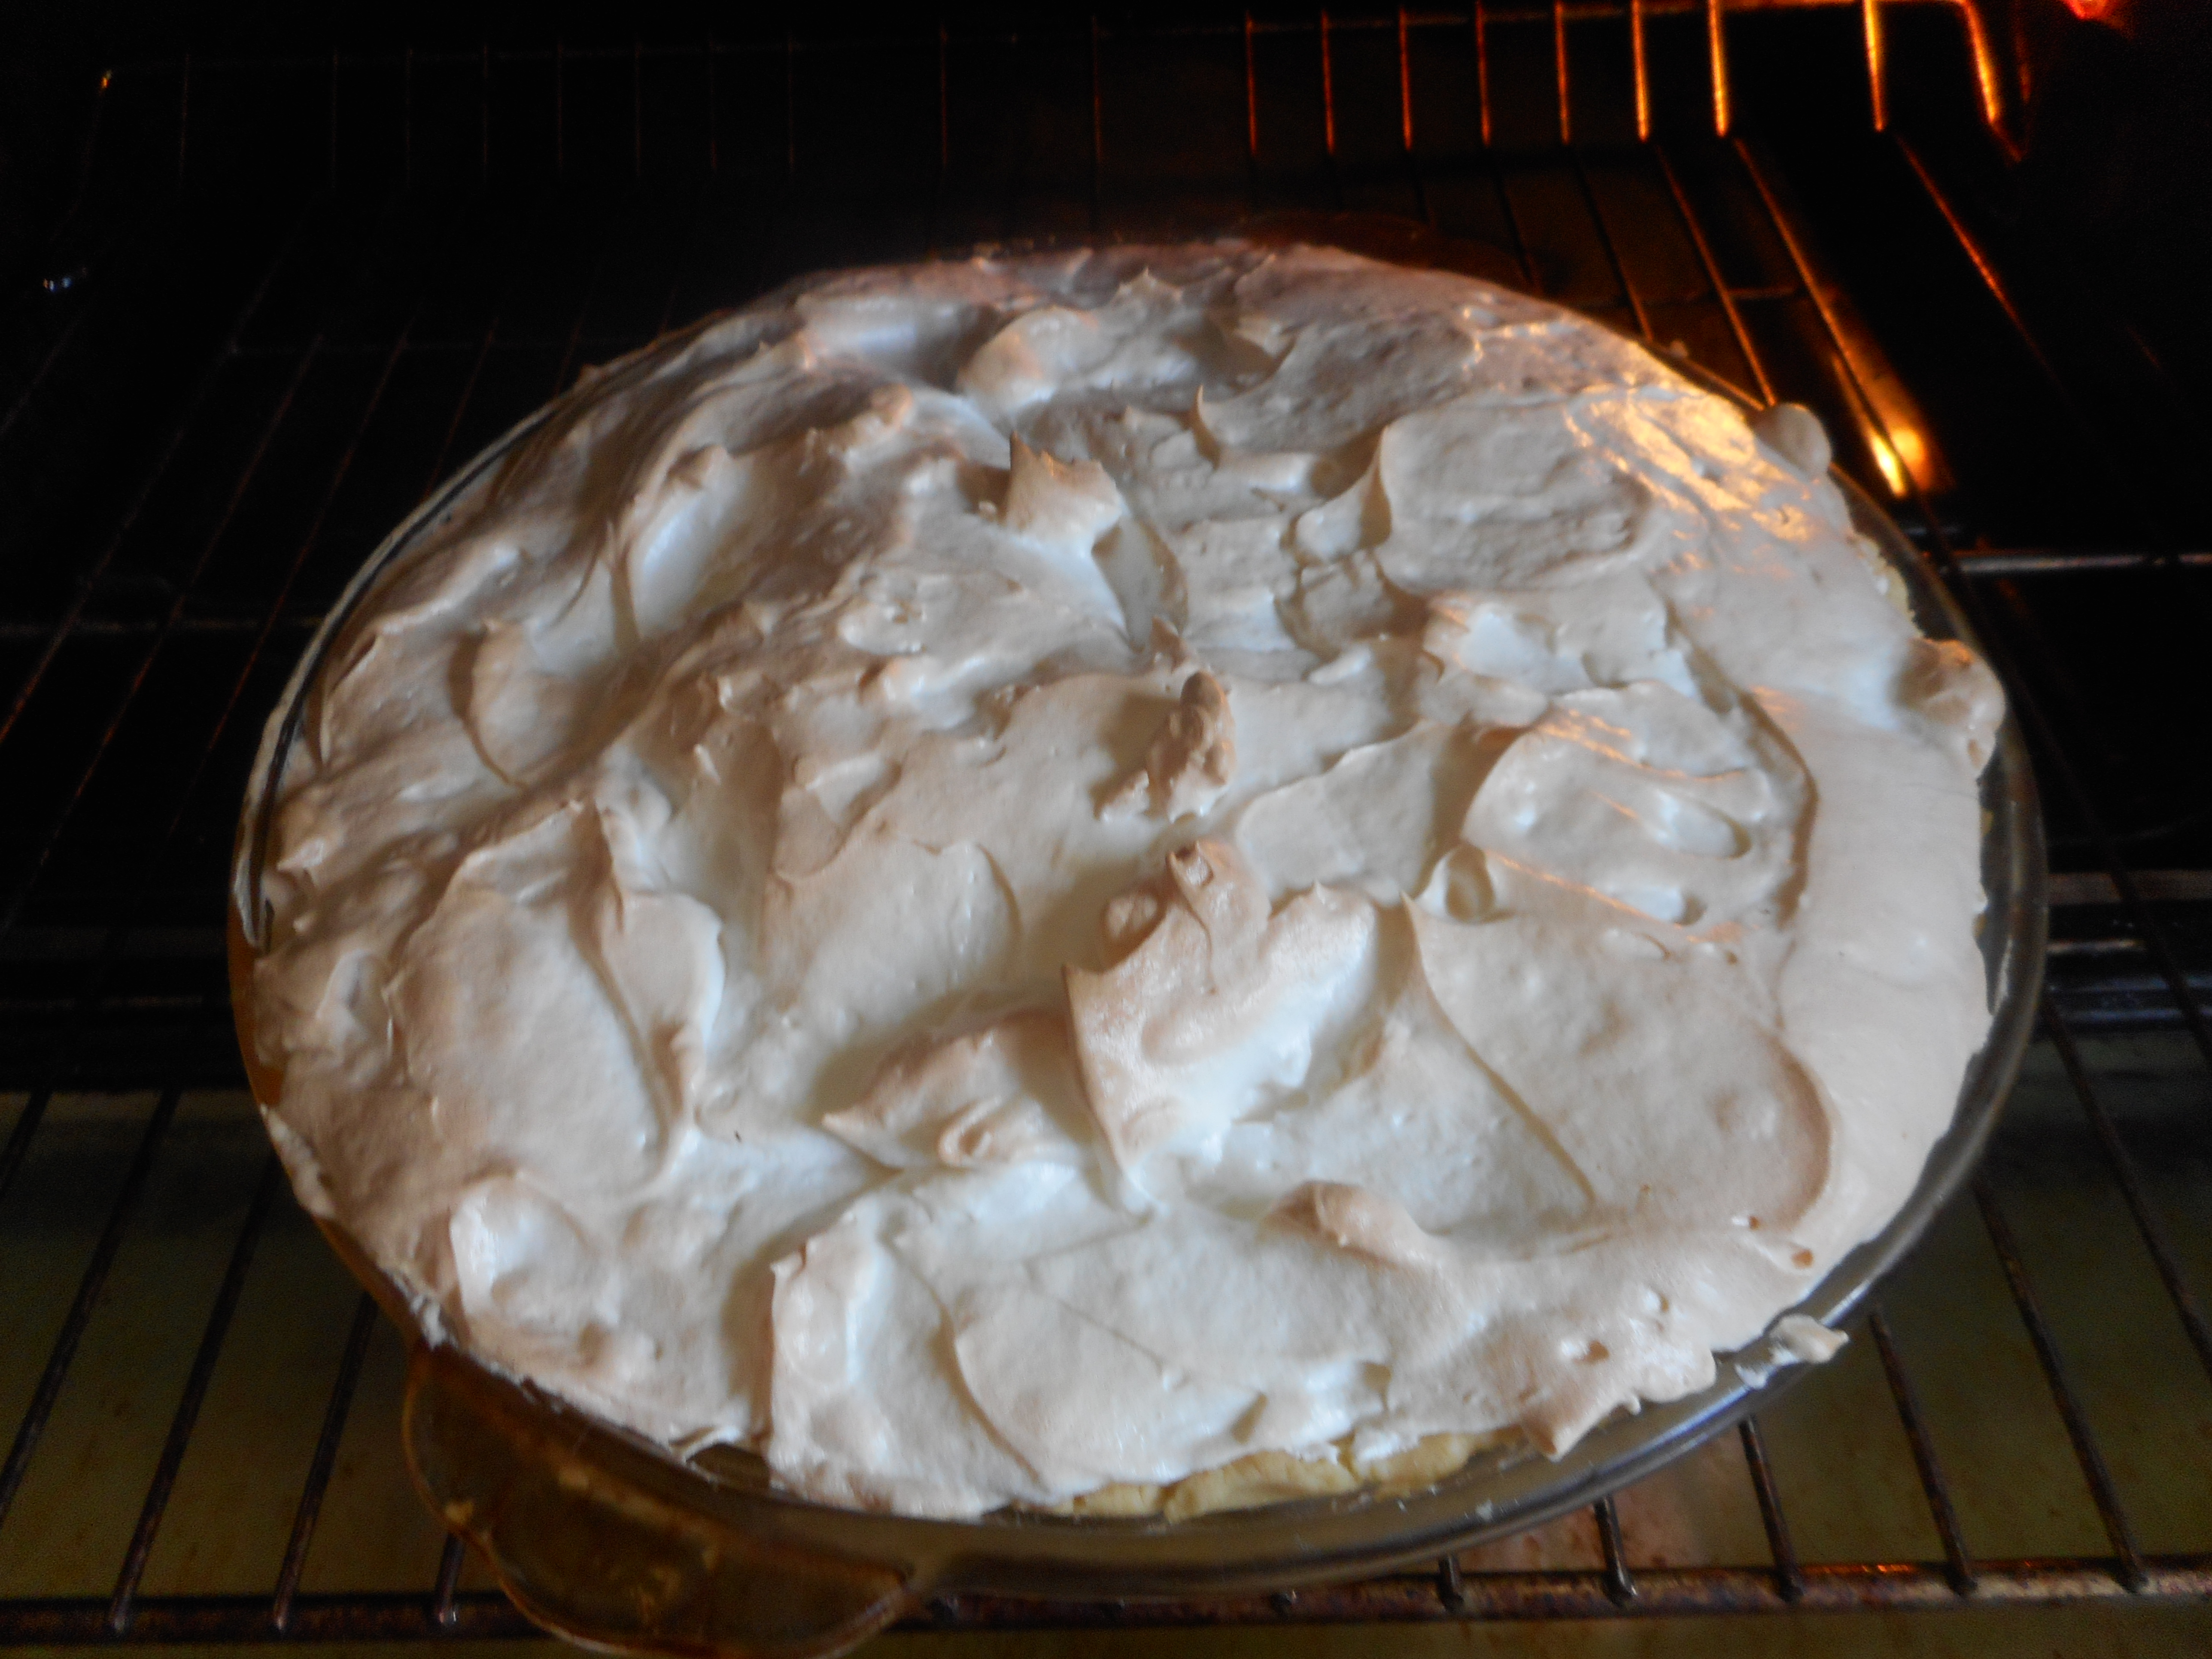
Mix the sugar and corn starch in a heavy bottomed medium sized saucepan.  Add the water, stirring.  Heat until it boils, stirring constantly, boil one minute, take off heat.  Beat yolks briefly in a small mixing bowl, then add the hot stuff slowly to it; half the hot mixture, stirring constantly.  Then dump it all back into the saucepan, bring to a boil, stir like a crazy person so it doesn’t scorch. Boil 1 minute at medium heat.  Remove from heat and stir in the butter. Let it melt as you stir. And then stir in the lemon juice and zest. Glug in some corn syrup. Pour the hot lemon filling into the pie crust.  Top while still hot with the meringue you just beat up. Make sure you get the meringue all the way across the top and along every single edge. No cracks, no gaps. Bake it 10-11 minutes until light brown. Cool to room temperature (avoid drafts while it cools) and then chill your masterpiece for 2-6 hours.  Slice and serve. Makes six-seven lovely slices.

lemon pie 012

This slice is from the second day; we were in a feeding frenzy and forgot to take a picture when the pie was cut and served. It is a tad weepy from the passage of time.

Meringue topping

three egg whites (or 4-5)

¼ tsp. cream of tarter (or 1/2 tsp)

6 tbsp. granulated sugar (or 8-10 tbsp.)

Directions:

Beat the three whites and the cream of tarter until it is past the foamy stage, add the sugar half a tbsp. at a time beating on high until the whites are stiff and glossy.  This will take several minutes.

If you add one or two extra egg whites add another ¼ tsp. cream of tarter and add 2 tbsp. sugar for each extra white.

—————–

Brown Rice Flour Mix  (same as King Arthur blend)
2 c brown rice flour

2/3 c potato starch

1/3 c tapioca flour
Awesome Apple Pear Crumb Pie

Pie has always been a classic holiday dessert. But sometimes we want something a bit different for our company.  Maybe, right now you are frantically looking for an alternative to pumpkin pie or apple pie; they seem kinda now what you want this Thanksgiving.  Look no further, apple pear caramel crumb pie to the rescue!

courtland apples

cortland apples

bosc pears

bosc pears

Fresh tasting, locally sourced fruits are exactly in the spirit of Thanksgiving.  The apple is the predominant flavor but the pear adds sweetness and its special flavor.  The sugars, spices and lemon peel create a yummy caramely sauce.  It is not that really cloyingly sweet caramel of most sauces; just enough sweetness to tease your palate.

This pie is fantastic with a scoop of vanilla ice cream on the side.  I even tried a slice with some sharp cheddar in the British pie tradition; it was nice but I really like it best all alone, so the delicate fruit and spices show their winning flavors.

apple pear pie, squash, chicken and dumplings 019

Not the prettiest slice: I am terrible at cutting a piece without destroying the shape!

This recipe is a blending of my own pie filling and the pie crust and crumb recipes from Annalise Robert’s cookbook, Gluten-Free Baking Classics.  I used less sugar, more fruit, and made a few other changes to create my own special pie using apples and pears.  Her cookbook is a fabulous resource and I can’t recommend it enough to anyone trying to bake gluten free for a family member.  There is nothing like the classic desserts that we traditionally enjoy at celebrations and feasts to comfort a celiac who can’t eat what they used to.

Angie’s GF Apple Pear Crumb Pie

Crust:

1 c plus 2 tbsp brown rice flour mix (at bottom of recipe)

2 tbsp sweet rice flour

1 Tbps. granulated sugar

½ tsp xanthan gum

¼ tsp salt

6 Tbps. cold butter cut into 6 chunks

1 lg egg

2 tsp fresh orange or lemon juice

Spray 9 inch metal pie pan with cooking spray, dust with white rice flour.

Mix dry ingredients in bowl of stand electric mixer.  Add butter and mix until crumbly and resembling coarse meal.  Add egg and juice.  Mix until it comes together into big chunks.  Shape into a ball with your hands. Put it on a crust sized piece of wax paper (14 x 14 inches more or less), flatten the crust ball some; put on top of it another piece of wax paper and chill it all in your fridge 15-20 minutes while you chop the peeled and cored fruit into ¼ to 1/3 inch slices.  I use my plastic pie bag; sturdy and helps me roll the crust thin in the middle. crust

Filling:

5 cups peeled, cored, and thin sliced cooking apples (4 big apples)

2 cups (2 large pears) bosc pears; peeled, cored, and sliced thin   – place in medium bowl

apple pear pie, squash, chicken and dumplings 010

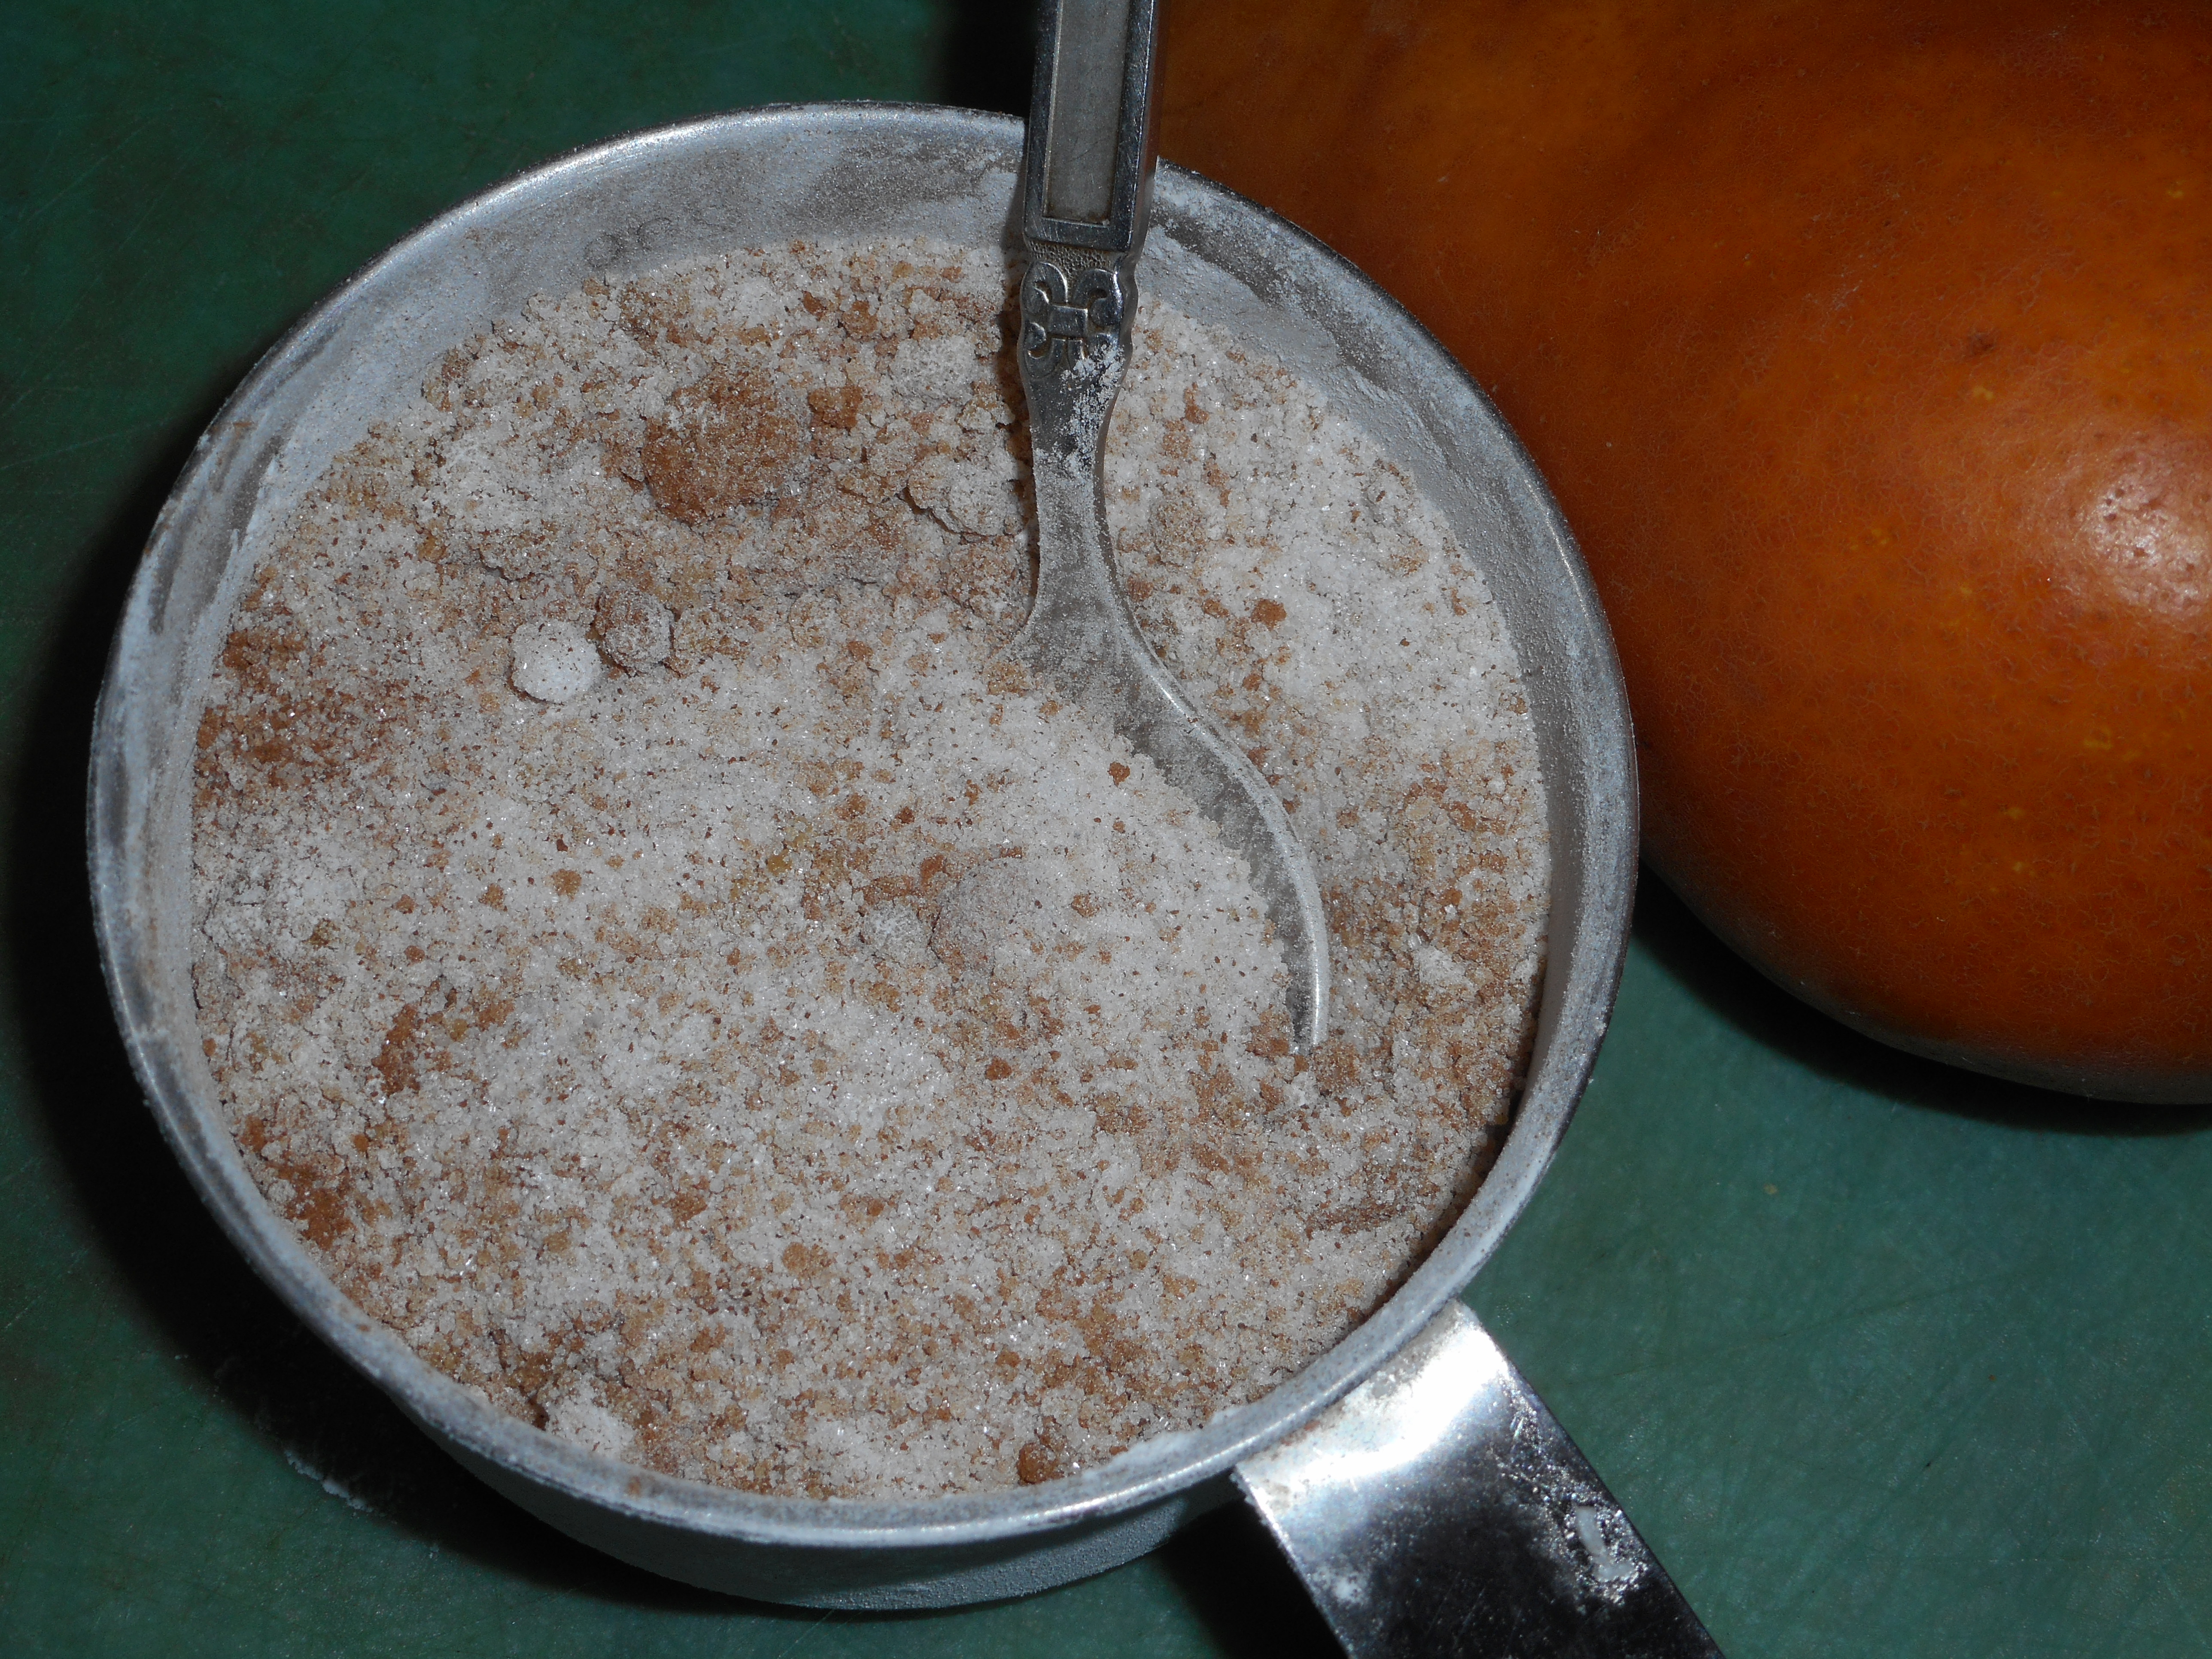
Mix the following in a small bowl and pour over the sliced apples and pears:

1/4 cup granulated sugar

1/4 cup light brown sugar

2 tbsp. tapioca flour

1/4 tsp. nutmeg

1 tsp. cinnamon

1 tsp. grated or zested lemon peel (I zested)

apple pear pie, squash, chicken and dumplings 011

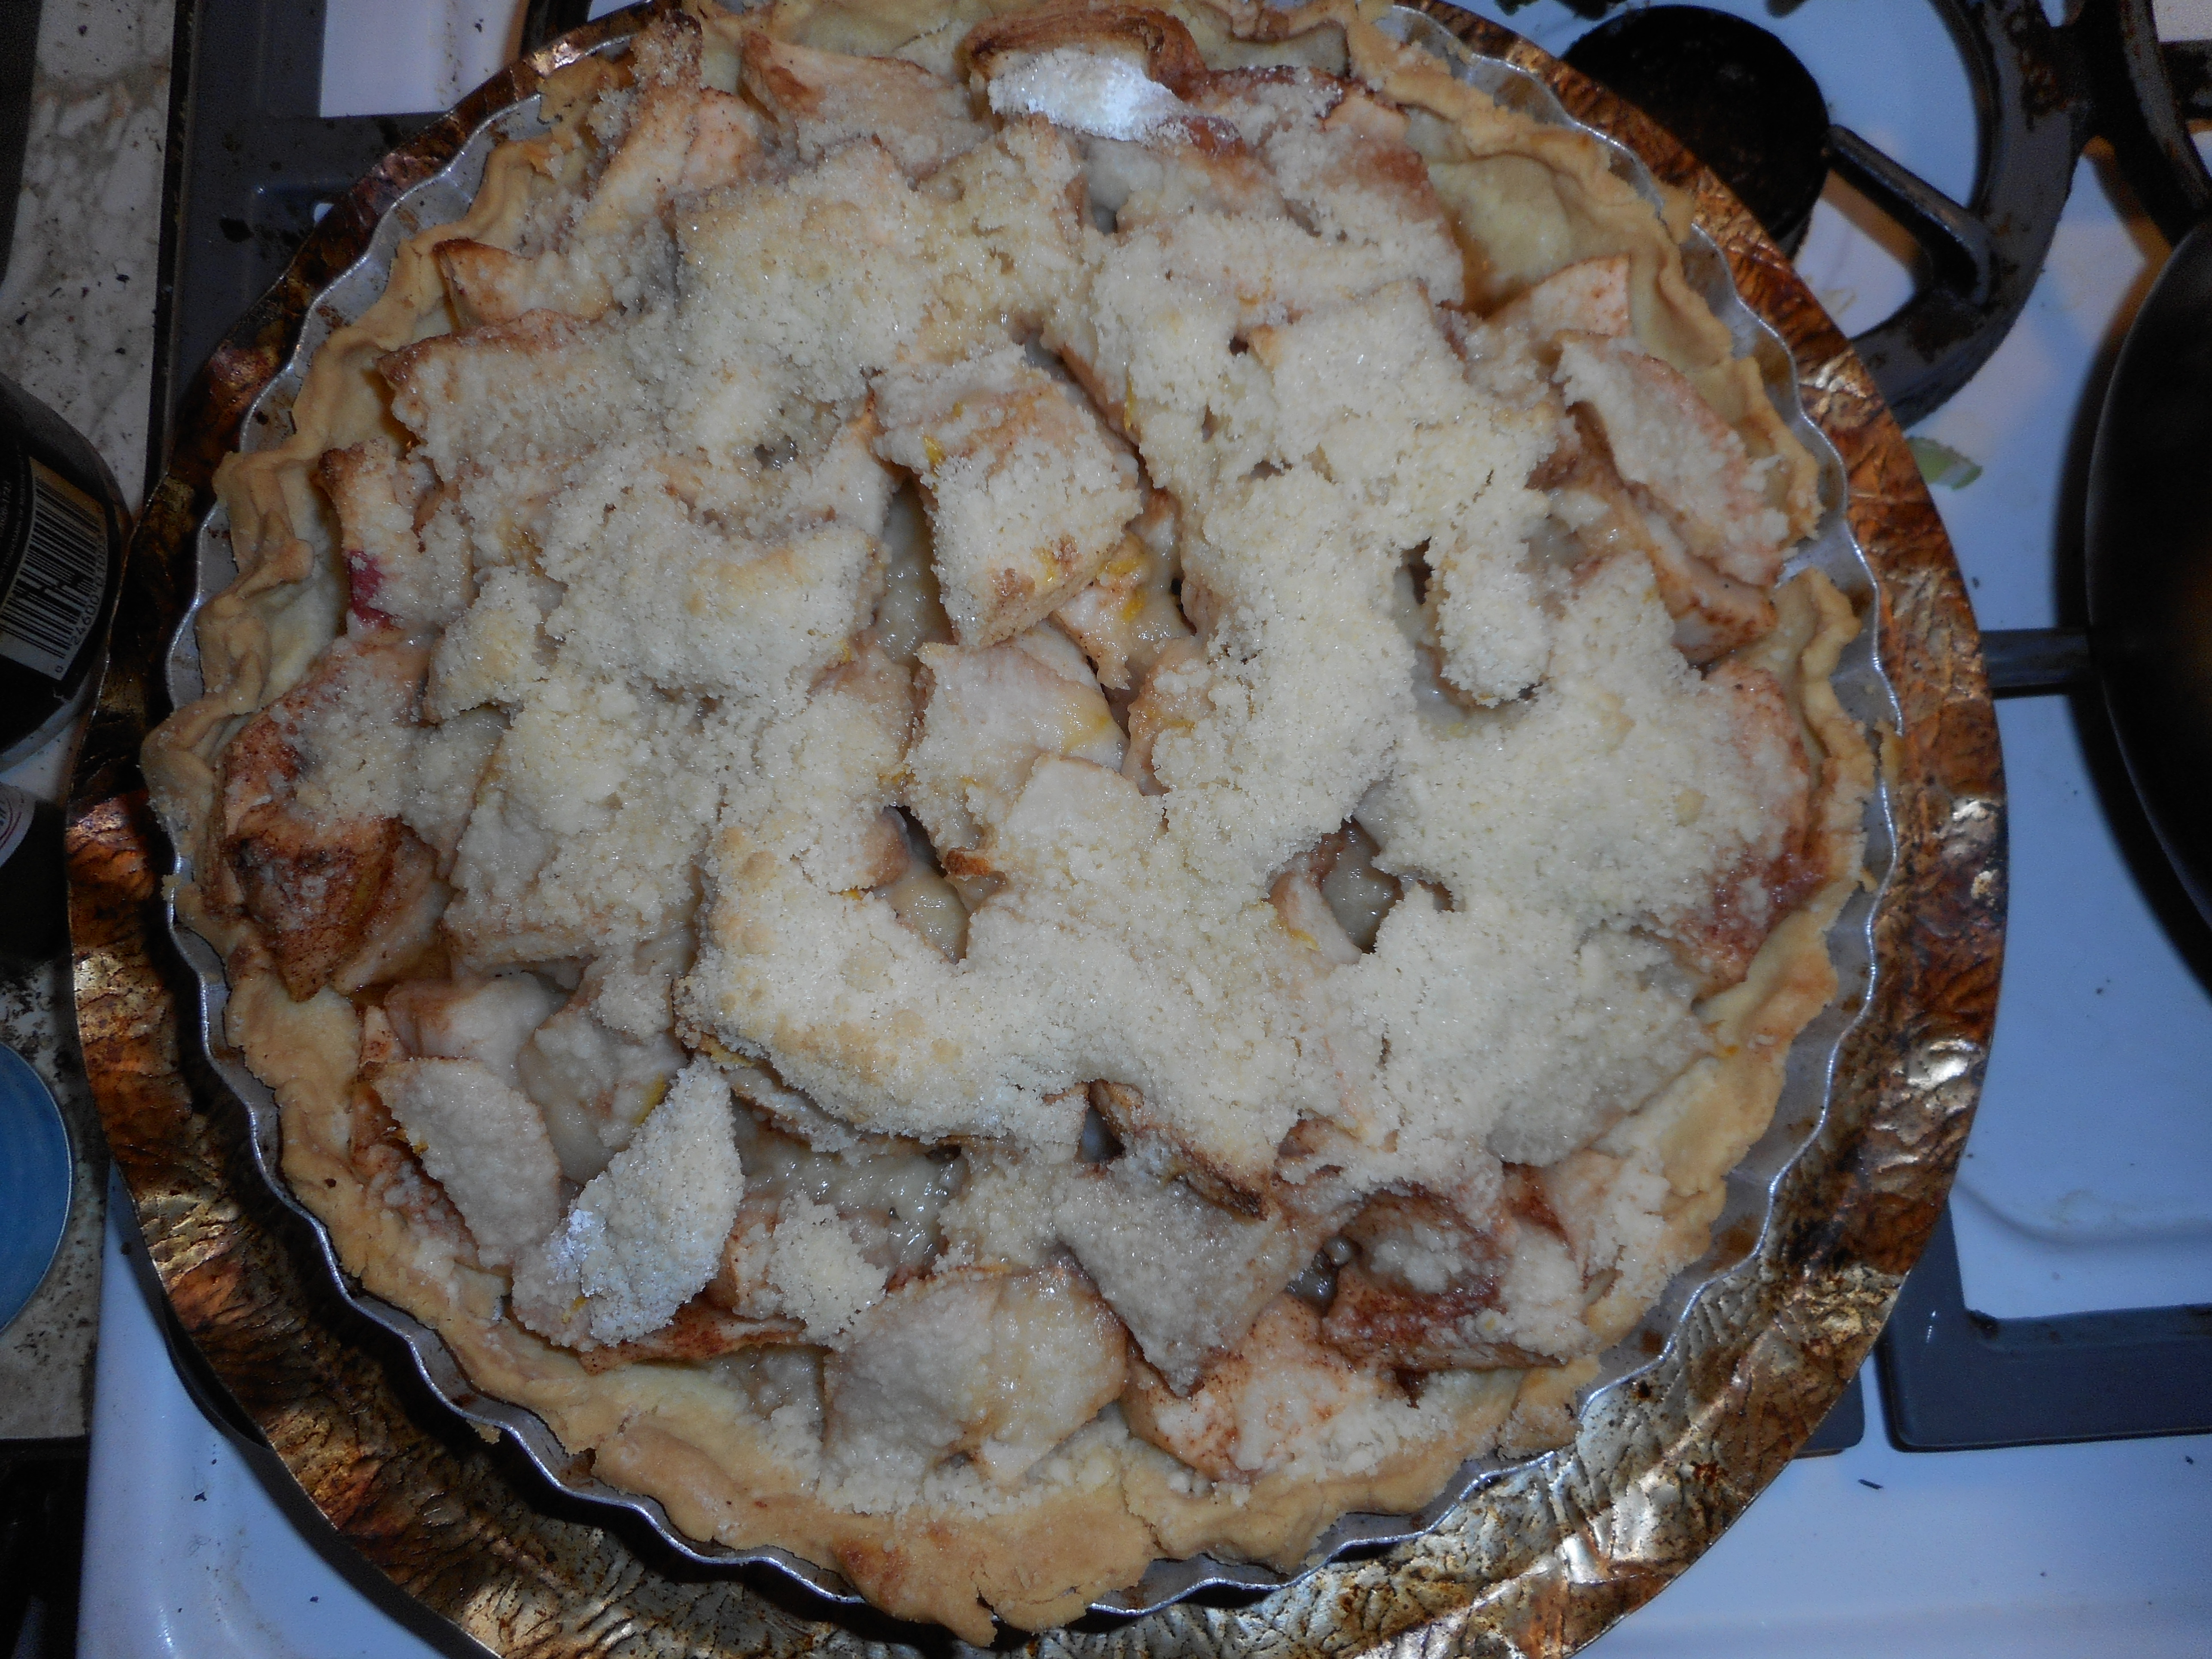
Roll out pie crust between the two sheets of wax paper; try to get the thickness even, no thick middle! Peel off one side of paper and place in pie pan, centered.  Remove other slice of wax paper.  Crimp edges all around.  Fill with sweetened fruit mix.  Sprinkle the lemon peel evenly over top and pour the crumb topping (1 to 1½ cup) evenly over this mixture.  The more crumbs the thicker the crust they will form; for a really thick crust use all the crumbs from the recipe below.

apple pear pie, squash, chicken and dumplings 012

If you love your pie really sweet add another ¼ cup granulated sugar to the dry mix part of the filling.  I found the pie to be plenty sweet but everyone has their own sweetness level.

Bake in a preheated 375 degree oven for 30 minutes with a piece of aluminum foil on top of the pie, then 30 more minutes uncovered until bubbly and the crust is light brown.  I put a pie guard underneath my pie while it bakes to catch any drips.  Cool at least 2 hours before serving at room temperature.

pie guard apple pear pie, squash, chicken and dumplings 013

Note: I bake pies in my bottom heat pizza oven and it gives me a great browned crust.  If your oven isn’t bottom heat you might want to pre-bake the crust 10 minutes before filling and topping the fruit.

Crumb topping

Put all four ingredients in the same mixing bowl you made the bottom crust in and mix well with mixer paddle until crumbs form.

¾ c brown rice flour mix

½ c granulated sugar

½ tsp xanthan gum

1/3 c cold butter cut into six chunks

Brown Rice Flour Mix (same as King Arthur’s gf flour mix)

2 c brown rice flour

2/3 c potato starch

1/3 c tapioca flour

Blueberry Peach Crumb Pie…Delectable!

It is the peak of both peach and blueberry season so this was a perfect pairing for adaptation to a gluten free pie recipe.   The resulting pie was juicy and flavorful down to the last slice.

blueberry peach pie slice

This is an easy pie to create.  Slice and dump together the filling, crumb topping made in mixer bowl you used for bottom crust. You can store any leftover crumb mixture in a sealed container in the fridge; it keeps a few weeks.  This GF crumb topping is perfect for most any fruit pie.  If you prefer a solid crust just double the crust part and top your pie with it.  Be sure to cut some slits for steam escape! I think a lattice crust would be fantastic if a bit more time consuming to construct.

Please make every effort to use local fruit; you can get peaches at most farm stands like Bechdolt’s located below Hellertown on Rt 412, Saucon Valley Fruit Stand on Seidersville Road or at Lehigh Valley Produce on Main Street in Hellertown.  This pie really showcases the blueberries more than the peaches. But store peaches can be poor in quality due to chilled storage of fruit so I strongly suggest you get locally grown, sweet, ripe peaches to make your pie.

To peel; heat 3 inches of plain water, drop the peaches gently in and cook them 1-2 minutes.  Allow to cool somewhat before peeling.  I like to do that over a bowl to catch the juices as I slice each peach.

Bake and enjoy early summer in a pie in just a few minutes of work.  Don’t eat it piping hot; it should be cooled to room temperature or even chilled.  You could certainly serve this with vanilla ice cream.  And this pie works perfectly with fresh nectarines or apricots.  Bonus: no peeling required!

Angie’s GF Blueberry Peach Crumb Pie

Crust:

1 c plus 2 tbsp brown rice flour mix (at bottom of recipe)

2 tbsp sweet rice flour

1 Tbps. granulated sugar

½ tsp xanthan gum

¼ tsp salt

6 Tbps. cold butter cut into 6 chunks

1 lg egg

2 tsp fresh orange or lemon juice

Directions:

Spray 9 inch metal pie pan with cooking spray, dust with white rice flour.

Mix dry ingredients in bowl of stand electric mixer.  Add butter and mix until crumbly and resembling coarse meal.  Add egg and juice.  Mix until it comes together into big chunks.  Shape into a ball with your hands. Put it on a crust sized piece of wax paper (14 x 14 inches more or less), flatten the crust ball some; put on top of it another piece of wax paper and chill it all in your fridge 15-20 minutes while you prepare the filling.

crust

Filling:

2 cups sliced fresh peaches, peeled and cut in thick slices

3 cups fresh blueberries – place in medium bowl

Mix with:

½ cup sugar

½ tsp. cinnamon

¼ cup quick tapioca

Add and stir in

2 tbsp. fresh lemon juice

blueberry peach pie filling

Let the filling stand while you prepare the crust, important for the tapioca so it does its job optimally.

Roll out pie crust in a pie bag or between the two sheets of wax paper, try to get the thickness even, no thick middle! Peel off one side of paper and place in pie pan, centered.  Remove other slice of wax paper.  Crimp edges all around.  Fill with fruit mixture.

blueberry peach pie unbaked

Crumb topping

Put all four ingredients in the same mixing bowl you made the bottom crust in and mix well with mixer paddle until crumbs form.

¾ c brown rice flour mix

½ c sugar

½ tsp xanthan gum

1/3 c cold butter cut into six chunks

Directions:

Sprinkle the top of the pie with crumb mix; use as much as you like.  I like about a heaping cup of the mixture.  Up to your personal taste… It sinks partially into the fruit mixture and adds lots of sweetness and eye appeal.

blueberry peach pie, done

Bake in a preheated 400 degree oven for 45-50 minutes until bubbly and the crumb crust is light brown.  I put a piece of aluminum foil on top for the last ten minutes.  Cool at least 2 to 4 hours before serving at room temperature.  I think it is best served the same day you make it, or no more then 10 hours after baking for optimal flavor.  The crumbs will get soggy if too much time passes.

Note: if you find your bottom crust is not browning enough bake it empty at 375 degrees for ten minutes before filling it with the fruit.  I have a bottom heat pizza oven which gives me perfect pie crust so I don’t ever have pale pie crust.

Brown Rice Flour Mix
2 c brown rice flour (finely ground)

2/3 c potato starch – Not potato flour!

1/3 c tapioca flour


Image

Delicate Cheesy Quiche To Enjoy This Summer

Okay, if you are an ardent quiche hater you might be thinking that over again.  This quiche recipe may change your mind. It is not heavy or goopy and the light cheesey taste will win you over.

I like to use fresh veggies in it and my favorite versions always have bacon. If you dislike any of my chosen veggies or the bacon; change them.  Cubed ham will work very well too or make it just vegetarian.  Quiche is a nice summer supper; you can make it the day before and re-warm the slice slightly before serving.  It goes well with a salad or some fruity yogurt or a cup of soup.

This recipe has a rather unusual and easy crust. If you prefer something else just sub in your favorite non-sweet crust.  I have made it with my basic gf brown rice flour mixture pie crust but this is so easy and a different taste you may find growing on you.  Very healthy too!

Angie’s Quiche

Crust

1 tbsp butter

¾ cup toasted buckwheat grouts


Filling

4-6 slices bacon cut in to ½ inch chunks

1 onion sliced into medium width rings

1 cup zucchini slices; I cut the rounds in half

1 small 4 oz can mushroom pieces, drained

1 ¼ cup 1 percent plain cottage cheese

1/3 cup whole milk or half and half

3 large eggs

¼ tsp dried thyme

½ cup 1/3 inch cubes of swiss, Monterey jack or mild cheddar cheese

A sprinkle of paprika

Directions:

Cook the bacon until it is very close to done.  I like to use a cast iron pan.  Stir the bits often so they don’t stick or burn.  Turn off and decant on to a paper towel, leaving the bacon grease in the pan as much as possible.  I turn the heat back on, med high and sauté the onions for at least 5 minutes, until they soften.  I steam the zucchini slices until almost soft 3-5 minutes. Drain the zucchini slices well.  Put the onion slices/pieces on a paper towel to drain.

Rub the butter around the entire bottom and sides of a 9 inch metal pie pan.  Gently tip in the grouts and roll the loose ones so they stick all over the buttered pan.  Let the excess ones cover the bottom with a thicker layer.  I don’t always use all ¾ cup; sometimes I use a tad less.

Put the cottage cheese, milk, thyme and eggs in the blender.  Blend 30 seconds until smooth.

Gently, layer the bacon in the grouted pan, then the mushrooms, onions and zuke.  Sprinkle with the cheese cubes.  Carefully pour in the blended filling and sprinkle with paprika. Sometimes I don’t use zuke (the winter time when it isn’t as tasty) and sometimes I skip the cheese topping.  Occasionally I used smoked paprika for my sprinkling.

Bake 35 min at 325 degrees; maybe 5 extra minutes if it seems really squishy. It shouldn’t be too firm.  As it bakes the buckwheat swells up and forms a crust.  Let stand a minimum of 30 minutes before slicing.  I definitely use a knife around the edge and a pie server for loosening the bottom crust.

It keeps several days in the fridge if any is left over!  Cover it tightly with plastic wrap.  You can swap out the ingredients as you wish and as to your fridge can provide for fillings.  Just the blender ingredients should stay the same although I have used different milks; please do not use skim milk though because it is too thin and your quiche will not be as yummy as whole milk or half and half can make it.

FYI: buckwheat is not wheat, it is a seed and is somewhat related to rhubarb.  It has no gluten.  Some of you people may be familiar with buckwheat pancakes.  I make buckwheat gnocchi pasta which is yummy.  It is a good ingredient to add to your grain arsenal.

Do try this when the heat cools off a bit.  It only bakes 35 minutes so the oven isn’t running all that long.  Enjoy!