Eggs Benedict – DIY Hollandaise Sauce

Eggs Benedict is kinda old school elegant – but if you enjoy egg sandwiches you will definitely want to read this post. We love eggs benedict for brunch or Sunday supper. Since I went gluten free due to celiac disease I had to find gf English muffins that were more than just edible as the muffin is the base for the layers that create this tasty dish. I have made three different recipes. First two were just “okay.” This most recent one is from America’s Test Kitchen’s “The How Can It Be Gluten Free Cookbook” published in 2014. It uses their make-it-yourself flour blend. There is no need for muffin rings unlike the other recipes I have made. The dough is very sticky; a stand mixer is pretty much required. You form it into balls using wet hands, let the dough rise an hour on baking sheets sprinkled with corn bread. They are briefly cooked on the stove top in a frying pan and then baked in the oven for 30 minutes. The flavor and texture are outstanding for gf bread. They remind me of homemade wheat flour muffins I used to enjoy years ago. I highly recommend this recipe. Fairly easy and I was thrilled with the flavor and texture. I am not sure what I will do with those darn muffin rings I bought a year ago…  cranberry tartlets 006 cranberry tartlets 007

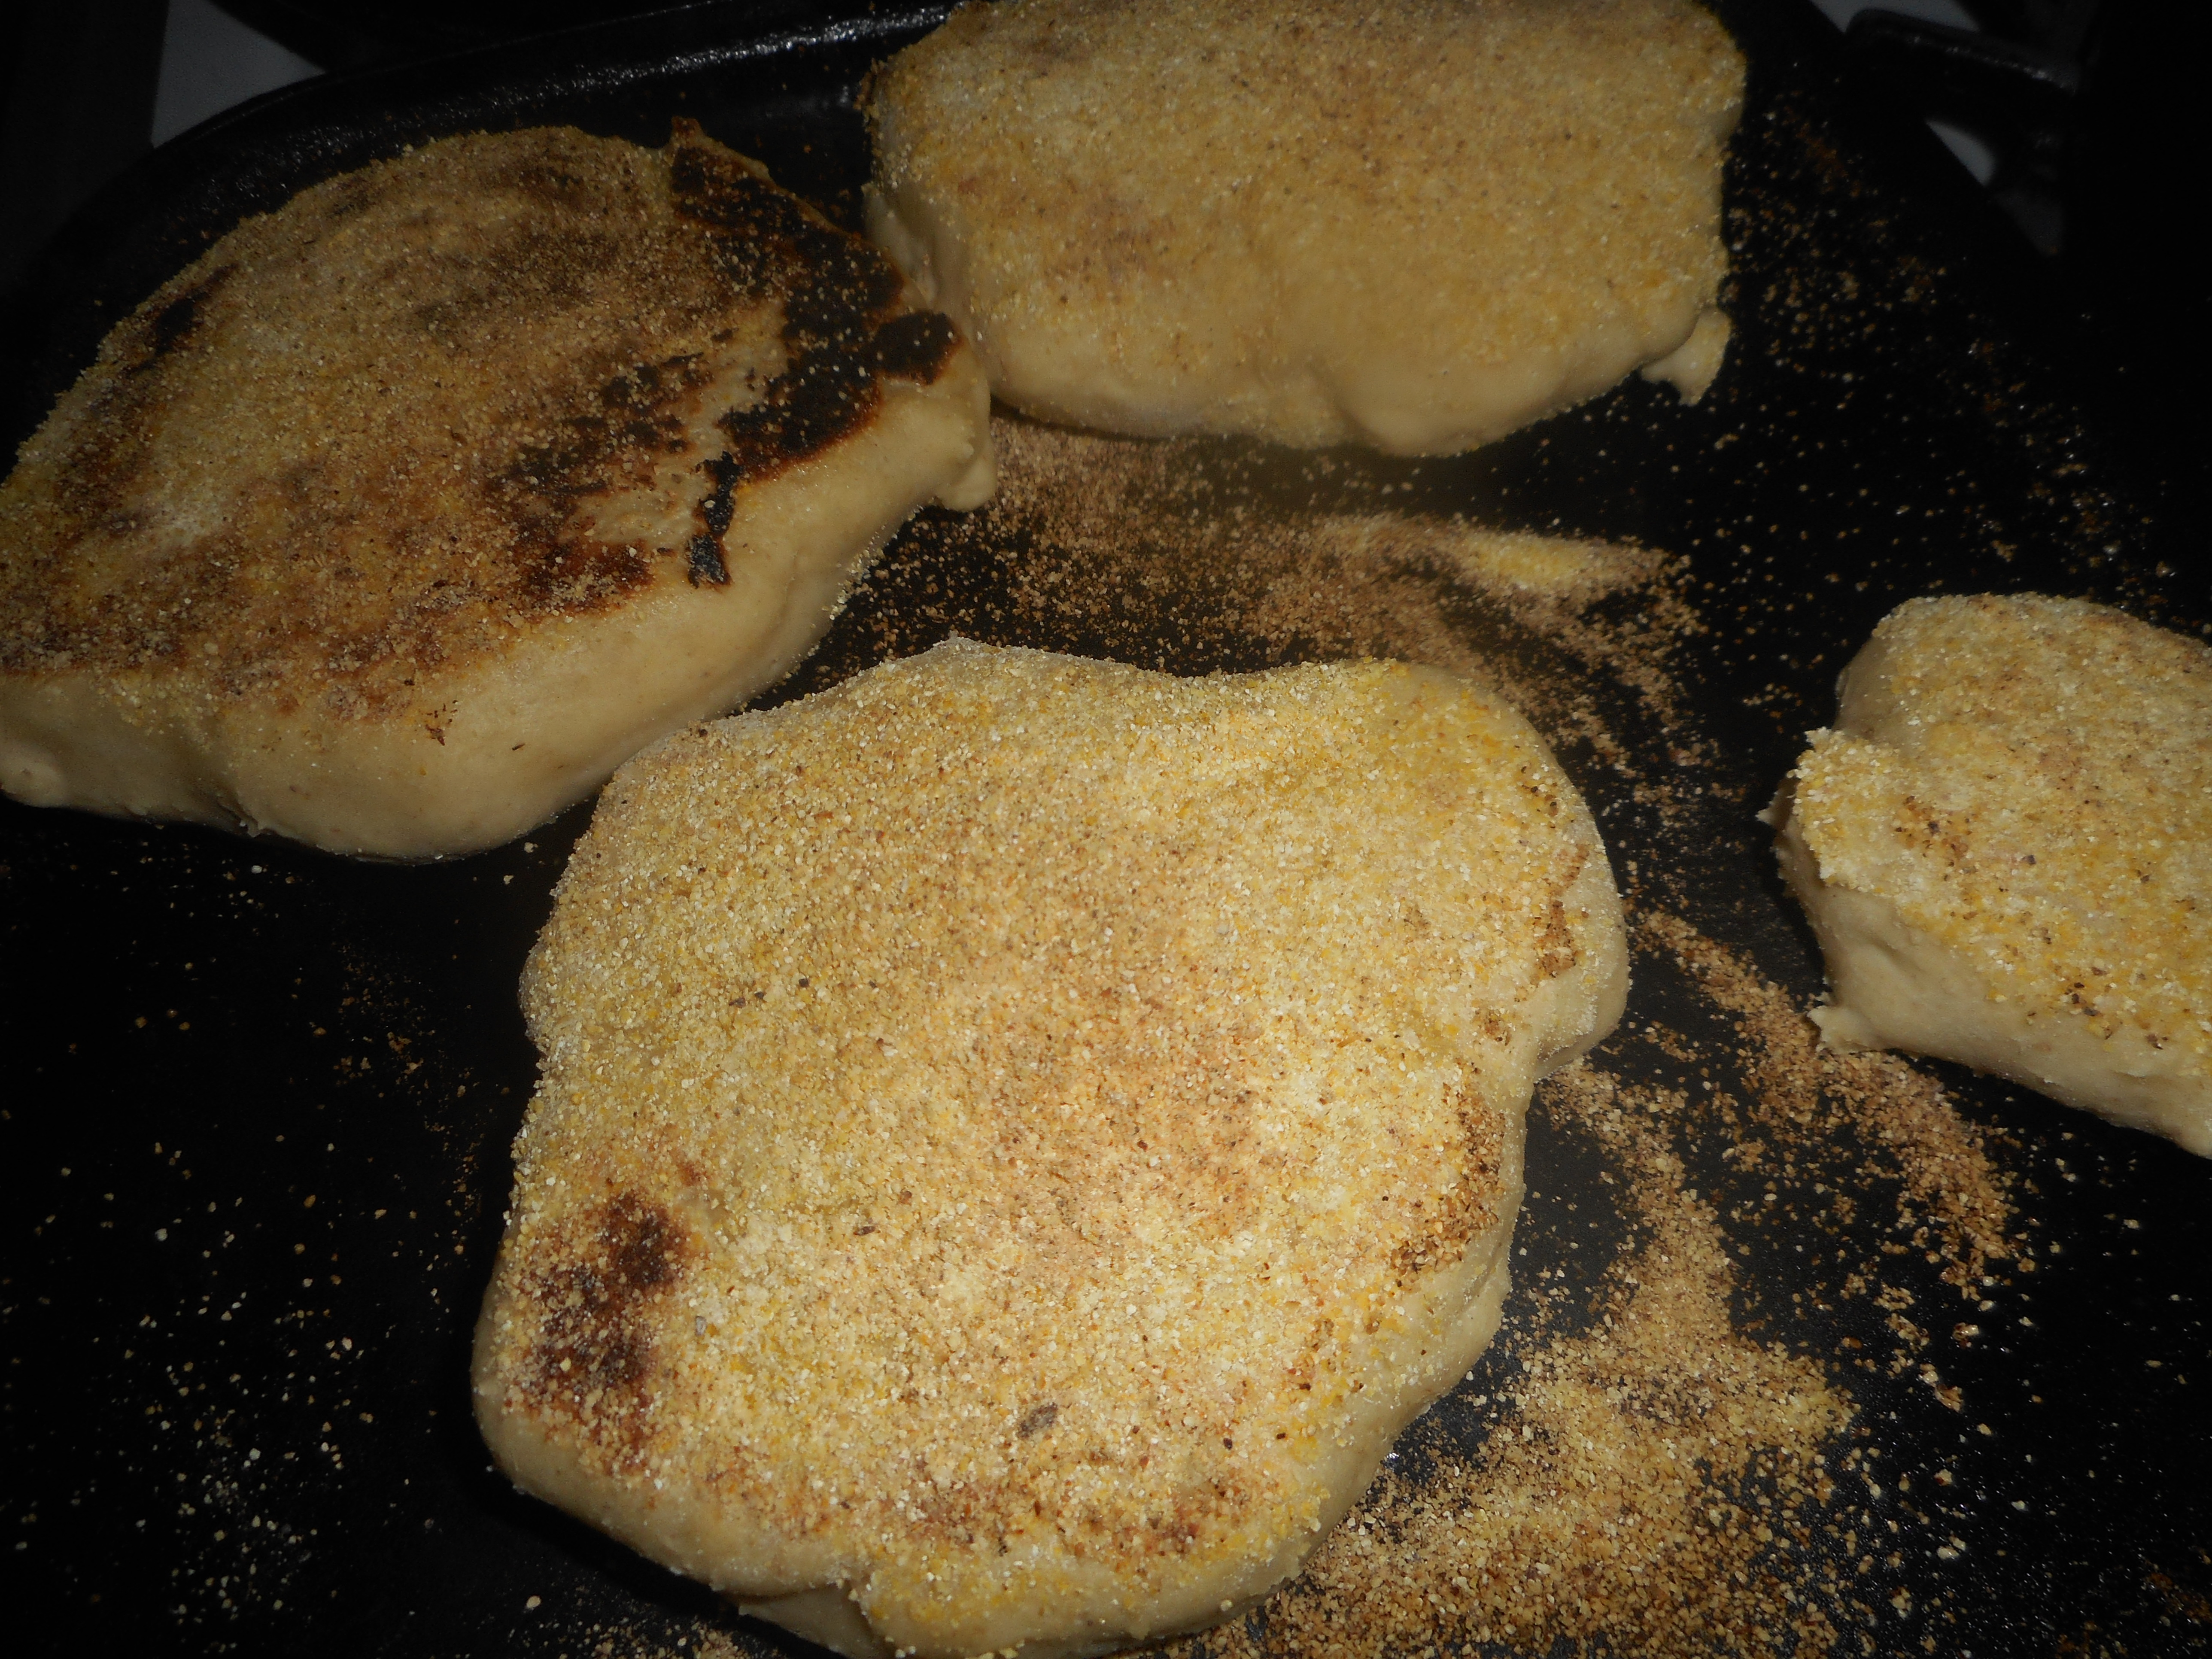
I am not going to provide the muffin recipe today; you could consult the ATK cookbook for that, or use another gf muffin recipe or buy some gf English Muffins. But I will give my recipe for the easiest and best hollandaise sauce ever. It is a cherished family recipe my mom always used and although I have tasted other sauce versions I always come back to this one for its outstanding flavor. My family loves it over broccoli for our favorite side dish.

eggs benedict 002eggs benedict 003eggs benedict 004eggs benedict 006

Mom’s Hollandaise Sauce

Makes about ¾ cup.

1 stick salted butter
2 egg yolks (from large eggs)
Juice of ½ a lemon

Please, no substitutions of any kind will work for this recipe and you MUST make it in a Pyrex measuring cup placed in a pan of hot water; just below the boil and going no more than ½ the way up the sides of the glass measuring cup. pyrex measuring cupThe glass insulates the contents and allows for a slow measured melting of the butter and an equally slow and almost alchemical blending of these three ingredients into a smooth sauce. Unsalted butter gives a pale unbalanced sauce and not enough lemon makes the flavor insipid. Any leftover sauce can be gently reheated in a microwave or over water; stir a lot and you can add ¼ tsp. hot water if it separates. Beat it with a spoon until it comes back together.

Anyway, back to the recipe! Cut the stick of butter into 8 chunks and place in a Pyrex glass measuring cup; one cup size please. Add the yolks and the lemon juice, no pits either! Place in a sauce pan half full of hot water. Do not let the water boil or go more than half way up the measuring cup. Stir often with a spoon; I leave the spoon right in the cup. It will be hard to stir at first as the butter is still solid but the stirring will get easier. Stir almost constantly until the sauce thickens to coat the spoon and then continue stirring it to an almost custard like thickness. Take the cup of sauce out of the water bath and cover it with aluminum foil while you poach the eggs.

Egg Directions:

4 eggs
2 English muffins
4 slices Canadian bacon (round thin slices)

Eggs: get the best and freshest quality eggs possible. Old eggs spread out as they poach and you will have the perfect shaped poached eggs with really fresh ones. I got mine from a friend who raises chickens; far superior in flavor and freshness to anything from a store.

Spray a frying pan with cooking spray. Fill it with warm water. Bring the water to an active bubble, add a tbsp. vinegar. Break each egg into a short cup and gently tip into the hot water. Do not boil the water. Poach them 3 minutes for a soft squishy egg and 4-5 for firmer eggs. Some like lots of egg yolk liquid and others like a firmer textured egg. Do not overcook them or they are just hard boiled eggs. They should not be firm when you remove them. Lift out with a slotted spoon and drain briefly on a paper towel.

While those eggs were poaching gently heat the bacon in a small frying pan with a tsp of butter. Cook about 2 minutes and flip, cook 2 more minutes.

Muffins; split each open with a dinner fork and toast in toaster; pale tan; not really browned.

eggs benedict 006

My sauce was leftover from the day before; slightly separated. Still tasted fantastic.

Assembly: place two hot muffin halves on each plate. Top with a slice of Canadian bacon and then a poached egg. Pour a big dollop of sauce on top. We like them served with briefly steamed asparagus spears in the spring and steamed broccoli spears the rest of the year.  Dig in!

Perfectly poached eggs make the best eggs benedict! Messy but yummy!

Perfectly poached eggs make the best eggs benedict! Messy but yummy!

Cranberry Apple Tartlets: Company Dessert!

Truth is I never was a fan of cranberries, sure I eat cranberry relish at Thanksgiving and maybe Christmas and sometimes I drink cranberry juice but that is about all I ever thought those little red fruits were good for. In this past year I have tried them in a few desserts and they have been spectacular – great flavor and color, yes they are rather tangy but with a little sugar they are perfect.

cranberries

If you only have a few apples and some cranberries you can make a really special dessert. I used my flat bottom tartlet pans to make these elegant little tarts; each one is a separate dessert which makes for a special look. My mom gave me two tart pans a few years ago and I use them all the time; each pan makes 4 tartlets.

cranberry tartlets 003

This is a simple recipe; toss the fruits with sugar and a touch of tapioca. If you don’t have tapioca use some cornstarch or rice flour mix. The individual tarts look like I bought them in a bakery. I tried them with bits of crust for a rustic topping and the crumb version which I liked a bit better in the flavor department so I went with that.

cranberry tartlets 003cranberry tartlets 001

I served them the other day and my guy pleaded for one to take home for breakfast. He does not need to eat gf but he loves a great dessert. Serve these tartlets and I promise you no one will even believe they are eating gluten free!

Angie’s Cranberry Apple Tartlets
Makes 5

Start by making some gf pie crust and the crumb topping. If you have leftover crumb topping in the fridge you are ahead of the game for making pies and tarts!

Crust:
1 c plus 2 tbsp brown rice flour mix (at bottom of recipe)
2 tbsp sweet rice flour
1 Tbps. granulated sugar
½ tsp xanthan gum
¼ tsp salt
6 Tbps. cold butter cut into 6 chunks
1 lg egg
2 tsp fresh orange or lemon juice
Mix dry ingredients in bowl of stand electric mixer. Add butter and mix until crumbly and resembling coarse meal. Add egg and juice. Mix until it comes together into big chunks. Shape into a ball with your hands. Put it on a crust sized piece of wax paper (14 x 14 inches more or less), flatten the crust ball some; put on top of it another piece of wax paper and chill it all in your fridge 15-20 minutes while you prepare the filling.
Crumb topping:Put all four ingredients in the same mixing bowl you made the bottom crust in and mix well with mixer paddle until crumbs form.

¾ c brown rice flour mix
½ c sugar
½ tsp xanthan gum
1/3 c cold butter cut into six chunks

You will use less than a cup of the crumbs. Put the rest in a tightly sealing glass container and store in the fridge for your next pie/tart. It should keep for several weeks.

Heat the oven to 375 while you make the filling.

Filling
1 baking apple
1 1/2 cup raw cranberries
1/4 cup sugar
1 tbsp. granulated tapioca
1/4 tsp. cinnamon

Directions:
Peel, core, quarter and chop coarsely the cooking apple, put in a mixing bowl with the cranberries. Be sure to first wash and pick over the cranberries and remove any soft or iffy ones. Add the sugar, tapioca and cinnamon, mix with a spoon.

Roll out the crust into one big crust, lay it over the tart pans and use a knife to cut it into 4 pieces. Press, snip and fold to fit it into each of the small tart pans. Don’t make a big crust edge; not necessary, cut off excess dough. Re-roll the leftovers for a fifth tartlet.

Pour filling into the crusted tartlet pans. Sprinkle the tartlets with the crumb topping, I didn’t make a solid layer over the entire top; thicker in the middle. Place in the oven and bake 40-45 minutes or until bubbly and lightly browned. Cool at least 10 minutes. Serve warm or cold. Great with vanilla ice cream. Enjoy!

Brown Rice Flour Mix (Same as King Arthur gf flour mix)
2 c brown rice flour (finely ground)
2/3 c potato starch – Not potato flour!
1/3 c tapioca flour

Symon Says Chicken Goes Perfect with Olives and Orange

This recipe came out of a five ingredient cookbook by Michael Symon that I got out of the local library many months ago. The combination of olives, tomatoes and orange is very Mediterranean and a tummy warming bundle of yummy flavors. Don’t leave any of those three ingredients out; they are crucial to a great result. olivesYou gotta love how short the list of stuff to buy is. Well, this dish actually uses eight items but olive oil, garlic and red pepper flakes are three staples I (and most cooks) keep in the house all the time. So it is five, sort of! I had everything on hand but the chicken so I was in business after a stop for some high quality chicken thighs.

Chicken is a regular protein choice for dinner at my house, inexpensive, easy to make and it takes on the flavor of whatever you put it with. The thighs are my favorite chicken part as they stay moist and have a bit more flavor than breasts. Canned chopped tomatoes have great tomato flavor and are so convenient as well as pretty inexpensive.

navel oranges

I used a bit less olive oil than the original recipe – seemed like half of the quarter cup was quite enough. I have made this about 3 times in the past year. I believe the original recipe was made with boneless chicken thighs but I prefer them bone in. If you like boneless; cook it five minutes less. I stuck a thigh with my instant read thermometer and knew the poultry was done. Totally takes the guess work out.

This recipe is a keeper: it meets my criteria of inexpensive, quick to put together, gluten free and great tasting. That’s the quartet of food greatness in my recipe world. And that is why I am sharing it with you today!

chicken with olives 003

Symon Says Chicken with Orange and Olives

Ingredients

2 tbsp. extra virgin olive oil
4 chicken thighs (if small; 5-6)
2 sliced garlic cloves
1-2 tbsp. chopped fresh rosemary
1 14 ounce can chopped tomatoes
Grated zest and juice of one fresh navel orange
A pinch of red pepper flakes
1 cup chopped Kalamata olives (I opened a can of regular black ones and cut them up roughly – in half is fine)

In a dutch oven heat the oil, add the chicken, skin side down, cook 8 minutes, turn using a pair of tongs, cook 8 more minutes. Add olives and rosemary; cook one minute. Add a half cup of water to de-glaze the pan and then add the rest of the ingredients. I like to hold half the olives and add them at the end, especially if you use the canned black olives which are softer than kalamata olives. Cook 20 minutes, test for doneness and add 5 more minutes if needed.

I served my chicken over a baked red potato, cut open and sliced somewhat. With a simple green salad you have a super supper. There is very little active time spent making this; but you can’t leave it alone for more than 8 minutes while each side browns. Still, dishes can be done, kitchen tidied or other chores completed while the chicken thighs brown. The dish goes together in just a few minutes of chopping garlic and olives. In a rush I have been known to tip the olives into a measuring cup and just cut with a paring knife stuck in the cup to roughly chop the olives.

It is also nice with pasta; gluten free ziti comes to mind. Even rice would be great with this flavorful and naturally gluten free main dish.

Awesome Apple Crisp

Apples are the lynchpin of the fall harvest season. Some may think pumpkins wear the crown but I firmly believe the apple is king of autumn in America. Crisp, sweet, flavorful and so good for you. That old adage of an apple a day has some basis in fact. When you get tired of apples in the raw; try an apple crisp.  It is very simple because there is no crust to roll out or position over the apples.  Dump, sprinkle and bake: a 7 year old can make this if you cut up the apples for them.

jonagold apples pork tenderloin, banana choco cupcakes 004

If you can, get the organic ones as the sprays they use on growing apples are not at all good for you. I made this today with some Jonagold apples from a farm stand and it was very tasty indeed. I especially suggest you get your apples at an actual apple orchard if you want the most appley taste. South of Hellertown is Bechdolt’s Orchard which grows many apple varieties. Go there if you want the freshest tastiest apples in this geographic area. Apples grow all over the globe so you shouldn’t have problems getting them just picked! The variety is up to you but I would not suggest any that are not meant for baking; don’t use red delicious as they are for eating only, same for honey crisp apples.

This recipe is out of Gluten-Free Baking Classics Cookbook by Annalise G. Roberts with a few minor changes. I am betting you can use any GF flour mix in this recipe, crisp is not like a cake or other baked goods that have very specific flour requirements.

I have made the topping several ways. You can cut un-melted butter into the dry ingredients; it makes for a firmer crumb than the melted version below. I have made it egg free but it really somehow needs that egg to pull it together to mimic a wheat flour based crisp. The oats can be left out if you don’t like them or can’t eat them. I personally love oats in my crisp. A quarter cup of chopped nuts can be added to the topping; really a nice touch too. I don’t like it too sweet so I use the lesser amount of sugar. This is entirely a personal choice. You can up the nutritional value by adding flaxmeal to the dry mix; 2-3 tbsp.

pork tenderloin, banana choco cupcakes 007

For those who love ice cream, this recipe is absolutely perfect with a big scoop of vanilla ice cream next to it. I like it warm from the oven but it also is tasty cold the next day, if you have any left over that is!

Angie’s Apple Crisp

3/4 cup GF flour (mix below)
½ to ¾ cup sugar (I prefer brown sugar)
½ cup old fashioned gf oats
1 ¼ tsp baking powder
1 tsp cinnamon
Sprinkle of nutmeg
½ tsp xanthan gum
½ tsp. salt
1 large egg
6 cups thinly sliced apples
¼-1/3 cup butter, melted

Directions:   Heat oven to 350 degrees. If your oven seems slow make it 375 degrees. Put a rack in the center level of oven. Lightly butter a 9 inch square pan or spray with cooking spray.

Combine all the dry ingredients. Add egg and stir to mix well. Place apples in the baking pan, top with the dry mix and sprinkle with the melted butter. Bake 40-50 minutes until bubbly and the topping is lightly browned. Let cool at least 10 minutes before dishing out. Six servings.

Brown Rice Flour Mix (same as King Arthur’s GF blend)
2 c brown rice flour (finely ground)
2/3 c potato starch – Not potato flour!
1/3 c tapioca flour

French Apple Tart: Ooh La La!

Fresh ripe apples are everywhere from supermarkets to the farmer’s markets and orchard stores. This French apple tart is an old favorite of mine, been making it for years. I have no idea where I got the original recipe from so I can’t give credit for it, I lost my copy and had to replicate it. Plus, I had to change it a bit to make it gluten free but it tastes just as good as before. The cinnamon and lemon topping are what makes it so tasty.

applesIt should be made with an apple that keeps its shape; Granny Smith is the best choice in that regard. But Golden Delicious also works fine. Don’t use one that goes all squishy like Empire or Macintosh. You only need 3 large apples or 4 small ones. It should give you about 6-8 slices of tart. Lesser amount of slices if your family is piggy, the full eight slices if they are not big dessert eaters.

french apple tart

I use my favorite GF tart shell crust which is from Annalise Roberts’ book; Gluten-Free Baking Classics. It is very easy; hand pressed into your tart pan. I would say that this is a cookie crust; sweet, buttery and shortbread in texture, very yummy.

I rarely have any of this tart left over for more than 24 hours. It is very popular with everyone. I like it for how easy it is to make, how handsome it looks and that I can throw it together quickly with only 3 apples and a lemon.

apple tart 001

Crust
1 cup brown rice flour mix
¼ cup sugar
1 tsp. xanthan gum
5 tbsp. cold unsalted butter, in 5 chunks
1 tsp. vanilla extract

Mix the dry ingredients in a stand mixer, cut in the butter by mixing it at a med low speed until crumbly. Add vanilla and mix well. If it is really dry looking add a tbsp. of water. I don’t often do that; when you press it lightly in the pan it does stick together enough. Press (not too hard) into the bottom and up the sides of your tart shell as evenly as you can make it.  Too hard and it gets a bit concrete-like in hardness.

For this recipe I use an extra large 10 inch tart pan. Mine is ceramic so it doesn’t have a removable bottom. Bake it at 350 degrees for 10 minutes. If you have a bottom heat oven like I do you can skip that step.

Filling
3 large Granny Smith apples; peeled, cored and sliced – not thick or too thin. If small use 4 and cut them each into eight slices
2-3 tbsp. sugar
1 tbsp. GF flour

Lay the apple slices in concentric circles in the tart pan over the crust. Mix the sugar and flour and sprinkle over the apples. Cover loosely with foil and bake 25-35 minutes until the apples are soft if pricked with a fork. Do not bake until they collapse; should still hold their shape.

While the tart is just finishing its baking make the topping.

Topping
In a small heavy sauce pan place
2 tbsp. sugar and 1 tbsp. cornstarch and mix them.
Add ¼ cup fresh lemon juice
1 tsp. lemon zest (grate the zest and then juice the lemon)
½ cup water
½ tsp. cinnamon
Cook over medium heat, stirring it constantly with a small whisk or a spoon, until it boils and seems thickened and is no longer opaque. This should take less then five minutes. Remove from heat and pour the hot gloppy topping carefully over the hot apple tart taking your time so you cover pretty much the entire surface of the apples.

Let cool before serving.

This tart is perfect with a scoop of vanilla ice cream on the side. Don’t put it on top or it will not look so nice because of the French cinnamon topping.

Brown Rice Flour Mix (for the crust) FYI: this is the same as King Arthur’s gf blend.
2 c brown rice flour (finely ground)
2/3 c potato starch – Not potato flour!
1/3 c tapioca flour

Originally published in this blog in September 2014.  It is such a great recipe I knew I wanted to share it again this fall.