Cowboy Cookie: Crunchy Addiction!

My freezer is empty of cookies.  This is Not good.  Cookie baking has not been high on my to-do list, but I have someone I want to make a great cookie for, and this one qualifies. I saw this recipe 10 years ago on the net. A year later I finally threw a batch together.  These cookies are created just like that; dump and blend; there is a bit of stickiness in the shaping of them but no matter, just wash those sticky fingers and hands before you put on the oven gloves…

Notes: I like to use all dark brown sugar, I added walnuts, used less vanilla and I prefer Better Batter flour mix. I’ve made them using Cup 4 cup blend, another good option for flour blend. Once I used a half cup KA brown rice flour mix for the last ½ cup of flour.   Its best to beat the eggs; added them roughly one at a time. I got the chunky coconut chips at Frey’s Better Foods here in Hellertown.

coconut chips

Cowboy cookies have been around a long time.  Popular with cowboys I assume! They are sturdy and yummy.  The flavor is a mixture of semi-sweet chocolate chips, cinnamon, brown sugar and oats with a healthy dose of butter.  Totally. nummy. good.
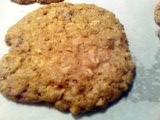
cowboy cookie

I never heard of them before my first batch although apparently, they have been around for decades. I read that Laura Bush baked a version of them in her smack down with another First Lady wanna be. They are hearty and really big so I am guessing they might well be from Texas!
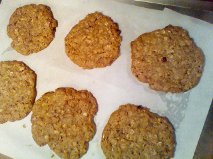
cowboy cookies

My first batch made 24 cookies, the recipe said 20….  One other time 30 cookies. So, mine were a tad smaller than suggested but still really large.  I ended up baking mine for 14 minutes, so I suggest you do likewise.  If you bake them one sheet at a time they should be done in 12 minutes, but I would rather bake 2 sheets simultaneously.  Some of the sets of six cookies were done on the parchment paper and one sheet was just on a cooking sprayed nonstick cookie sheet.  Both ways worked fine.  They spread some but not a lot so leave some space between them.

I plan to freeze most of them, so they last a bit.  I am guessing success will be my ability to pull one of these big boys out of the freezer and snack down after work next week!

Cowboy Cookies, GF and you’d never know it!

Ingredients

1 1/2 cups all purpose gluten free flour (Better Batter works great)

1/2 tsp xanthan gum (omit if your blend already contains it) *BB does!

1 tsp baking powder

1 tsp baking soda

1 1/2 tsp ground cinnamon

1/2 tsp kosher salt

8 ounces semi-sweet chocolate chips

1/2 cup granulated sugar

1 cup packed dark brown sugar

1 1/2 cups old fashioned gf rolled oats

1 1/2 cups coconut chips

2/3 cup chopped walnuts

10 tablespoons unsalted butter, at room temperature

2 eggs at room temperature, beaten

1 teaspoon pure vanilla extract

Directions

Preheat your oven to 325°F. Line rimmed baking sheets with unbleached parchment paper and set them aside.

In a large bowl, place the flour, xanthan gum, baking powder, baking soda, cinnamon and salt, and whisk to combine well.

Place about 1 teaspoon of the dry ingredients in a separate, small bowl and add the chocolate chips to the bowl. Toss to coat the chips, and set the bowl aside.

To the large bowl, add the granulated sugar and the brown sugar and whisk to combine, working out any lumps in the brown sugar. Add the oats and coconut chips and mix to combine. Create a well in the center of the dry ingredients and add the butter, eggs and vanilla, mixing to combine. Add the chips and reserved dry ingredients, and mix until the chips are evenly distributed throughout. If necessary to bring the dough together, knead it with your hands. Divide the dough into 20 pieces, each about 2 ounces. Roll each into a ball and place about 2 inches apart on the prepared baking sheets. Flatten each ball into disk about 1/4-inch thick with your palm or a big spatula.

Place the baking sheets in the center of the preheated oven, two at a time, and bake until lightly golden brown all over (about 14 minutes). Remove from the oven and allow them to cool on the baking sheet for about 5 minutes or until firm before transferring to a wire rack to cool completely.

Enjoy these fat and tasty big cookies; no one will ever guess they are gluten free!

Postscript: these freaking cookies are addictive! They are subtly flavored by the combination of the above-named ingredients.  My guy and my grandson Aiden love them too.   Trust me, they are the bomb!

Note to self; follow recipe exactly and they are even better….  I make sure to beat the eggs first before pouring them on top of the softened butter and the vanilla.  I also remembered to add the chips last and watch them closely in the oven.  They are so yummy I tend to put most of them in the freezer to keep myself from eating more cookies.  FYI: Perfect warm out of the oven.

2024 – My Philosophy of Gluten Free Living

As spring of 2024 begins, I feel compelled to reiterate my reasons for blogging and my philosophy as far as food goes.   Some reasons for that compelled feeling?  I haven’t visited this topic in about 8 years, so I think it is time for an update. Plus, maybe because in some small way I influence those who read my posts.  If you read, you deserve to know why I write.

I was diagnosed just over 11 years ago; January 2013.  It was like a death blow at the time…or so I thought.  It took a couple of weeks to even process this idea of walking away from all-purpose flour, from the usual baked treats: whole wheat breads and cereals, rye bread, bagels, rolls, scones, cookies, pies, cakes and pastries. Gosh that was hard to wrap my brain around.  I won’t lie…it was deeply upsetting and rather depressing.  But after a while I dusted off my butt and got to work making my kitchen over into a gluten free kitchen and in fact, my whole life into a gluten-free zone.  Took about two-three months to fully accomplish, I kept finding yet another gluten filled item in my cupboard or freezer. And I switched over to gf pet food.

Let me clear this up; I am not offended by all you wheat eaters out there.  I eat how I do because I must.  I had to change my lifestyle to survive.  It is not some sort of weight loss plan but a way to avoid an early death.  People who mock folks who must eat gluten free deserve to become allergic to whatever they love to eat; so they can experience what we celiacs go through every single day of our lives.  There are some rude types out there but also a lot of caring folks who go out of their way to make safe food for we who can’t eat gluten anymore.

Being gluten free gets easier as time goes on, just like learning any new skill.  You navigate the waters of buying safe choices, of figuring out how to make gf gravy, how to flour meat/fish and how to make that birthday cake or holiday cookie that your family craves.  And to make it all safe for you.  That is my mission; encouraging you, cheering struggling celiacs on and sharing my recipes, found all over the web, in my gf cookbooks or old/new recipes I have translated into a safe, gluten free version. I have even conquered gf kiffles and love making them for friends and family. christmas baking 2015 030

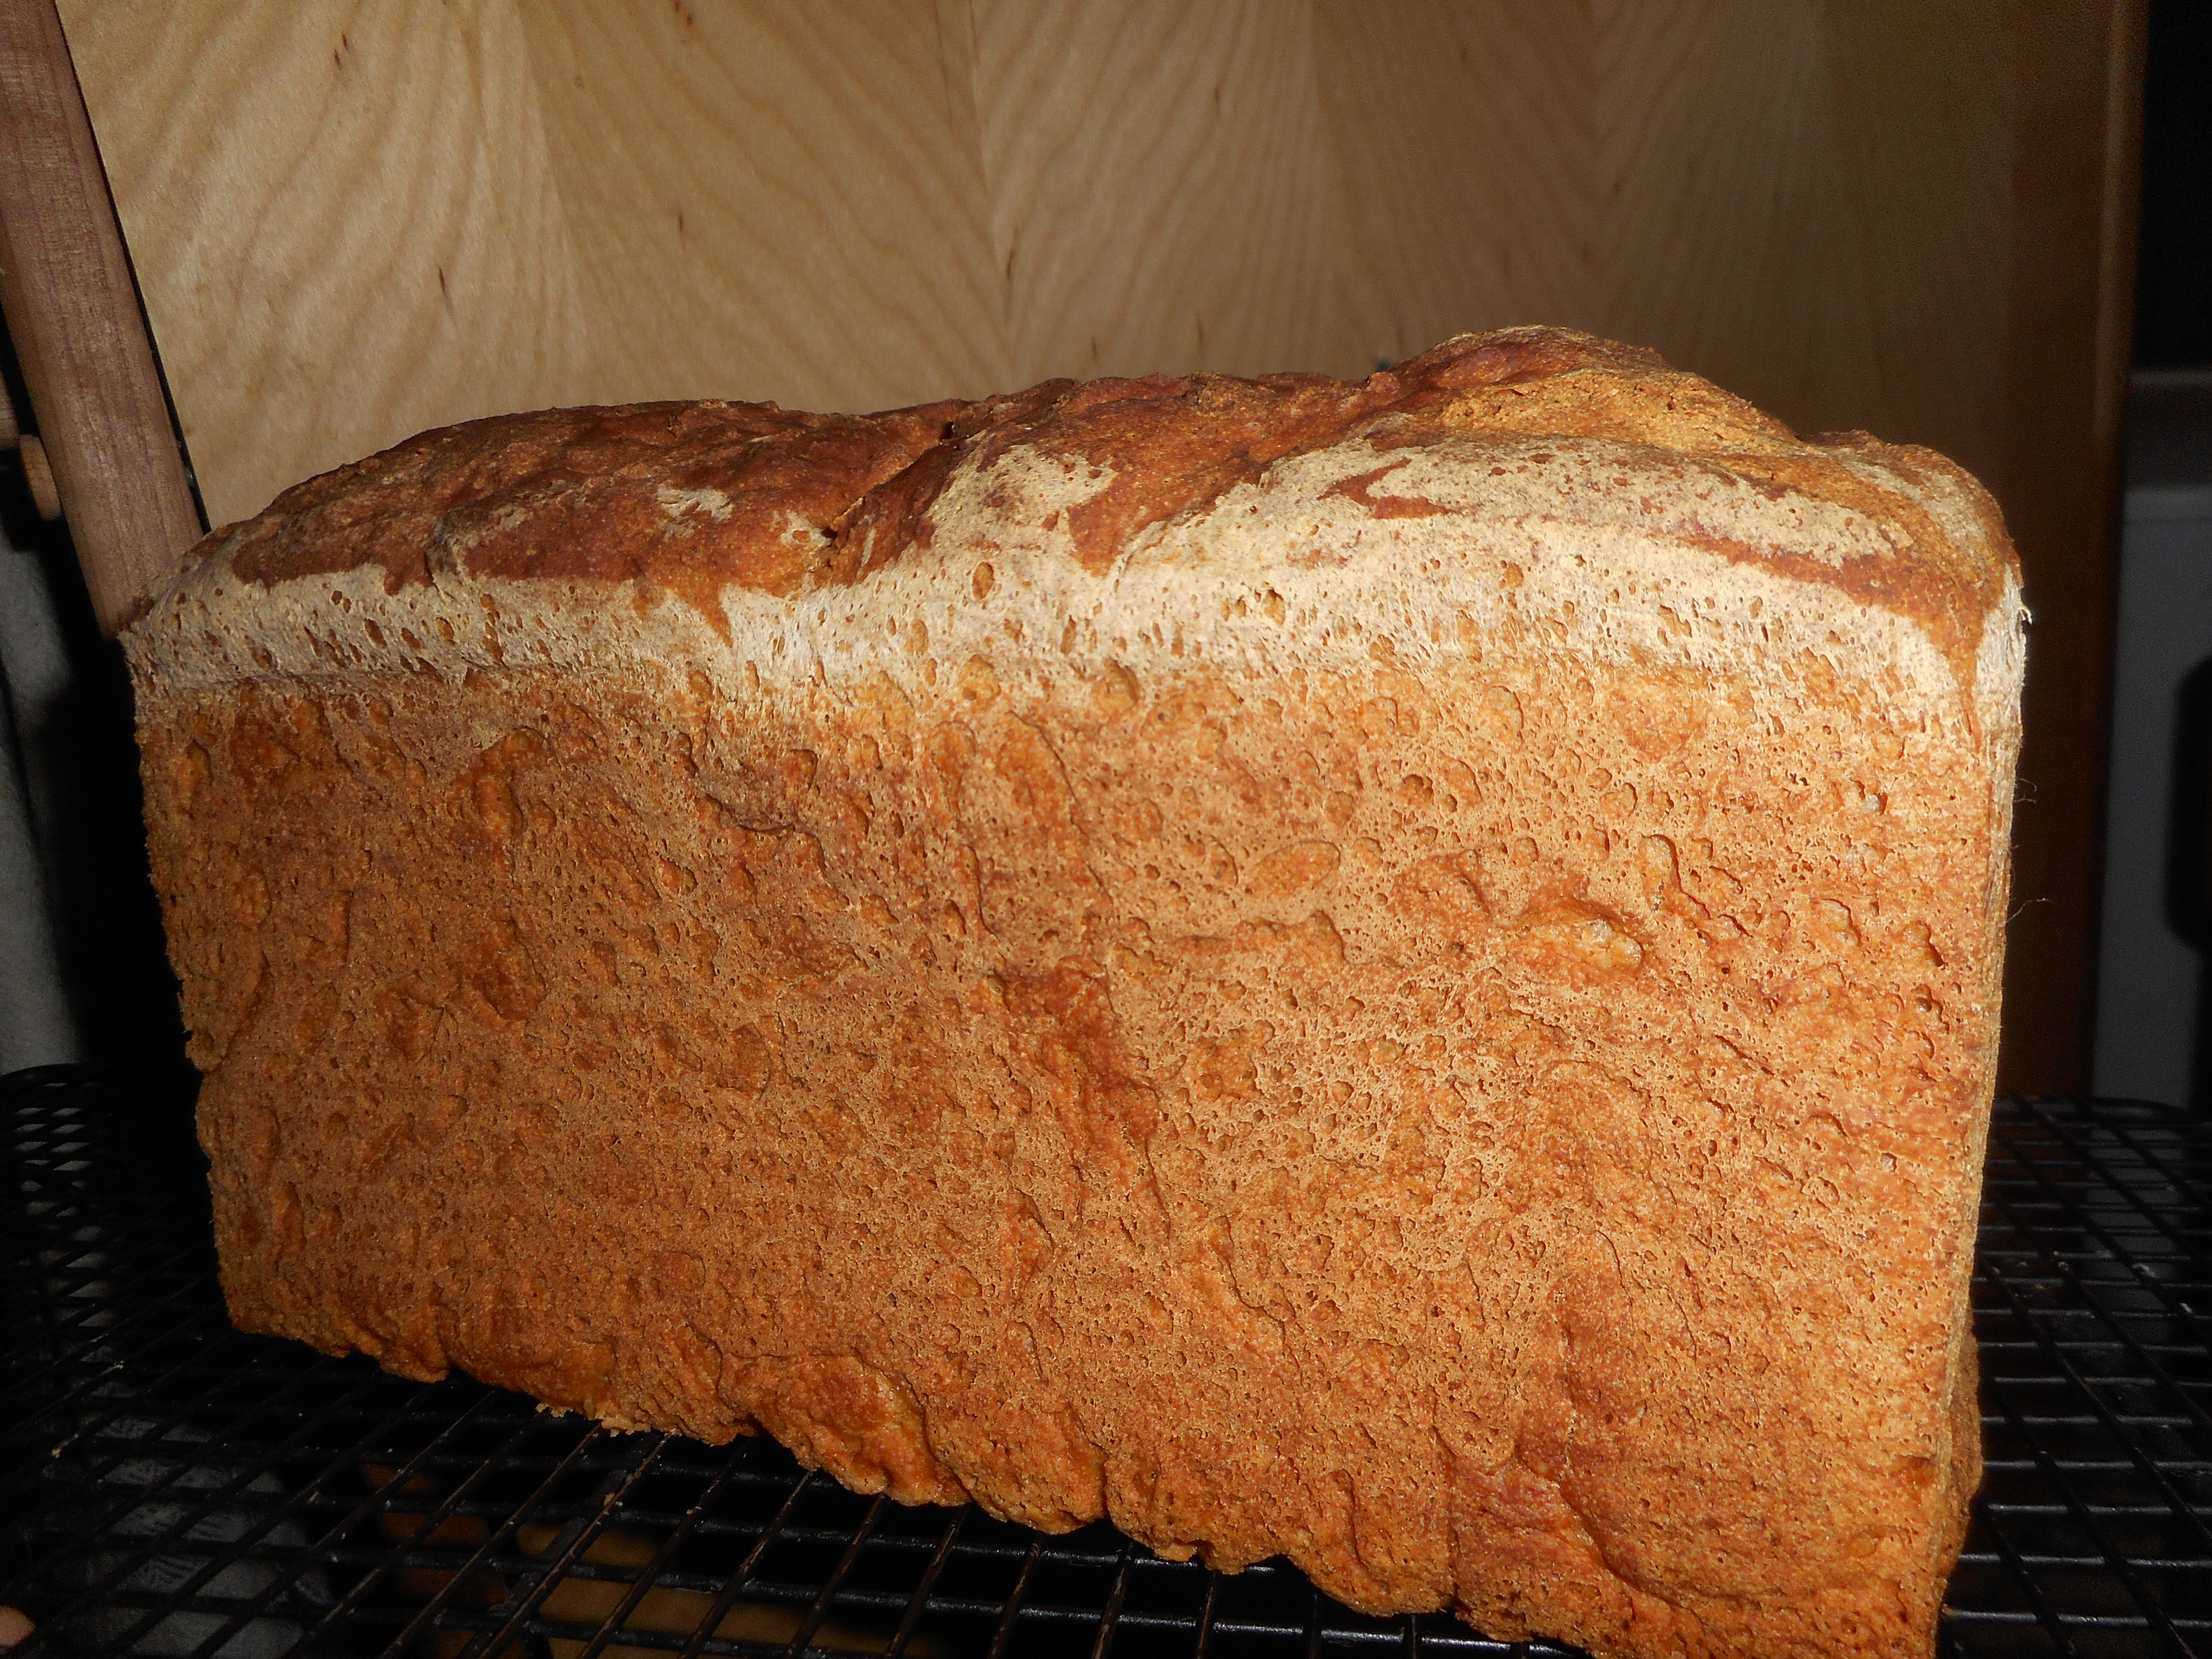
My focus is on eating seasonally, partaking as liberally as possible of fresh fruits and vegetables.  Fruits especially taste the best when eaten in season.  My baking highlights in season fruit and I eat that in season fruit out of hand as well as added to salads.  I eat meats, fish and poultry as well as some vegetarian fare.  I mostly avoid processed foods although I do sometimes eat bacon. I don’t buy a lot of gluten free bread products.  Yet, I crave bread so I occasionally bake in my quest for the best ever gf bread.  So far some success, my french bread with golden raisins and fennel and my gf sourdough bread comes to mind.

I also try more and more to limit my sugar intake: it is a new year’s resolution of mine. In 2015 I discovered coconut palm sugar, pricey but I love how it doesn’t seem to spike my sugar so I use it in muffins that I enjoy as an occasional snack.  apple muffins 002My desserts tend to be fruit based and I often scale back the sugar a bit.  Confession: I still adore the occasional cake but in the interest of healthy eating I am trying to cut back or at least make a lower sugar version; see my sour cream cinnamon cake post recently.  Granulated sugar is being seen more and more as a major villain in our dietary choices. Being pre-diabetic I have long tried to use a bit less of it and choose things like tarts or fruit pie as opposed to a slice of cake with lots of sugary icing.  Humbly I suggest you might try to do as well. alsatian apple tart 002

You can cook gluten free easily enough if you cook meals that are naturally gluten free; rice, potatoes, rice noodles are good examples of starches you can incorporate with your protein item and lots of vegetables.  Be careful of rice mixes that have seasoning packets; often bearers of gluten in them…read the labels carefully.  Sometimes a bit of flour is called for; scalloped potatoes for example. I have subbed in white rice flour or brown rice flour for the white flour.

I hear of many folks successfully using those cup-for-cup mixes that are sold in most stores in old gluten flour recipes.  I do use them especially when I am reformulating an old gluten flour recipe. Still, I tend to use recipes formulated for gf flour as there is a lot of chemistry in baking and gf flour is so pricy.  I hate failing in baking and having to pitch a leaden loaf; not going there if I can help it! I just made a lot of crumbs out of a lousy loaf of sourdough that refused to rise. Two containers of it in my fridge.  My favorite of those gf flour mixes is Better Batter, I do use it on occasion and very successfully so far.

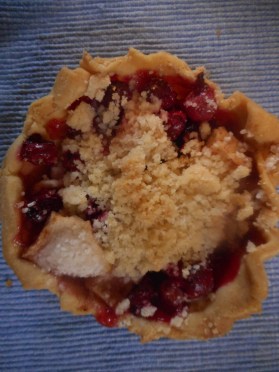
My favorite flour mix is the one Annalise Roberts uses in her recipes; a mixture of brown rice flour, potato starch and tapioca flour; my pie crust is phenomenal tasting using her mix and her recipe.  strawberry rhubarb pie 011I use that flour in my muffins, my chocolate cake, my angel food cake, and a number of yummy cookies I enjoy. You see it often in my blogged recipes.  It is pretty much identical to the all-purpose gf flour mix that King Arthur sells, not their baking mix though; that has added leavening agents. cranberry tartlets 003

Tough items for me are making edible bread, rolls, biscuits and pastries.  It is possible to bake quite decent cakes and cupcakes.  And there are some tasty gf cake mixes in a box out there.  If you love to bake bread, I have written posts about yummy breads I have made from scratch; French bread, yeast zucchini bread and chickpea soup, salad, bread 014the America’s Test Kitchen sandwich bread come to mind.  I have made some decent cinnamon buns. Victory!

In summary, I started writing my blog to cope with the horrors of going gluten-free but I continue because I have found great personal success in cooking and baking safely for myself and my family/friends. I take great joy in serving tasty foods particularly desserts that people clamor for seconds of.  thanksgiving meal 013I want to share that success and help others to be confident enough to bake gf foods for yourself and your family. You can do it, yes you can. I am here to help you; all questions answered gladly, advice given freely, and support is there for you whether your gluten free journey is brand new or has been there for years in your daily life.

Peace and happy eating my friends!

Eggs Benedict 2.0

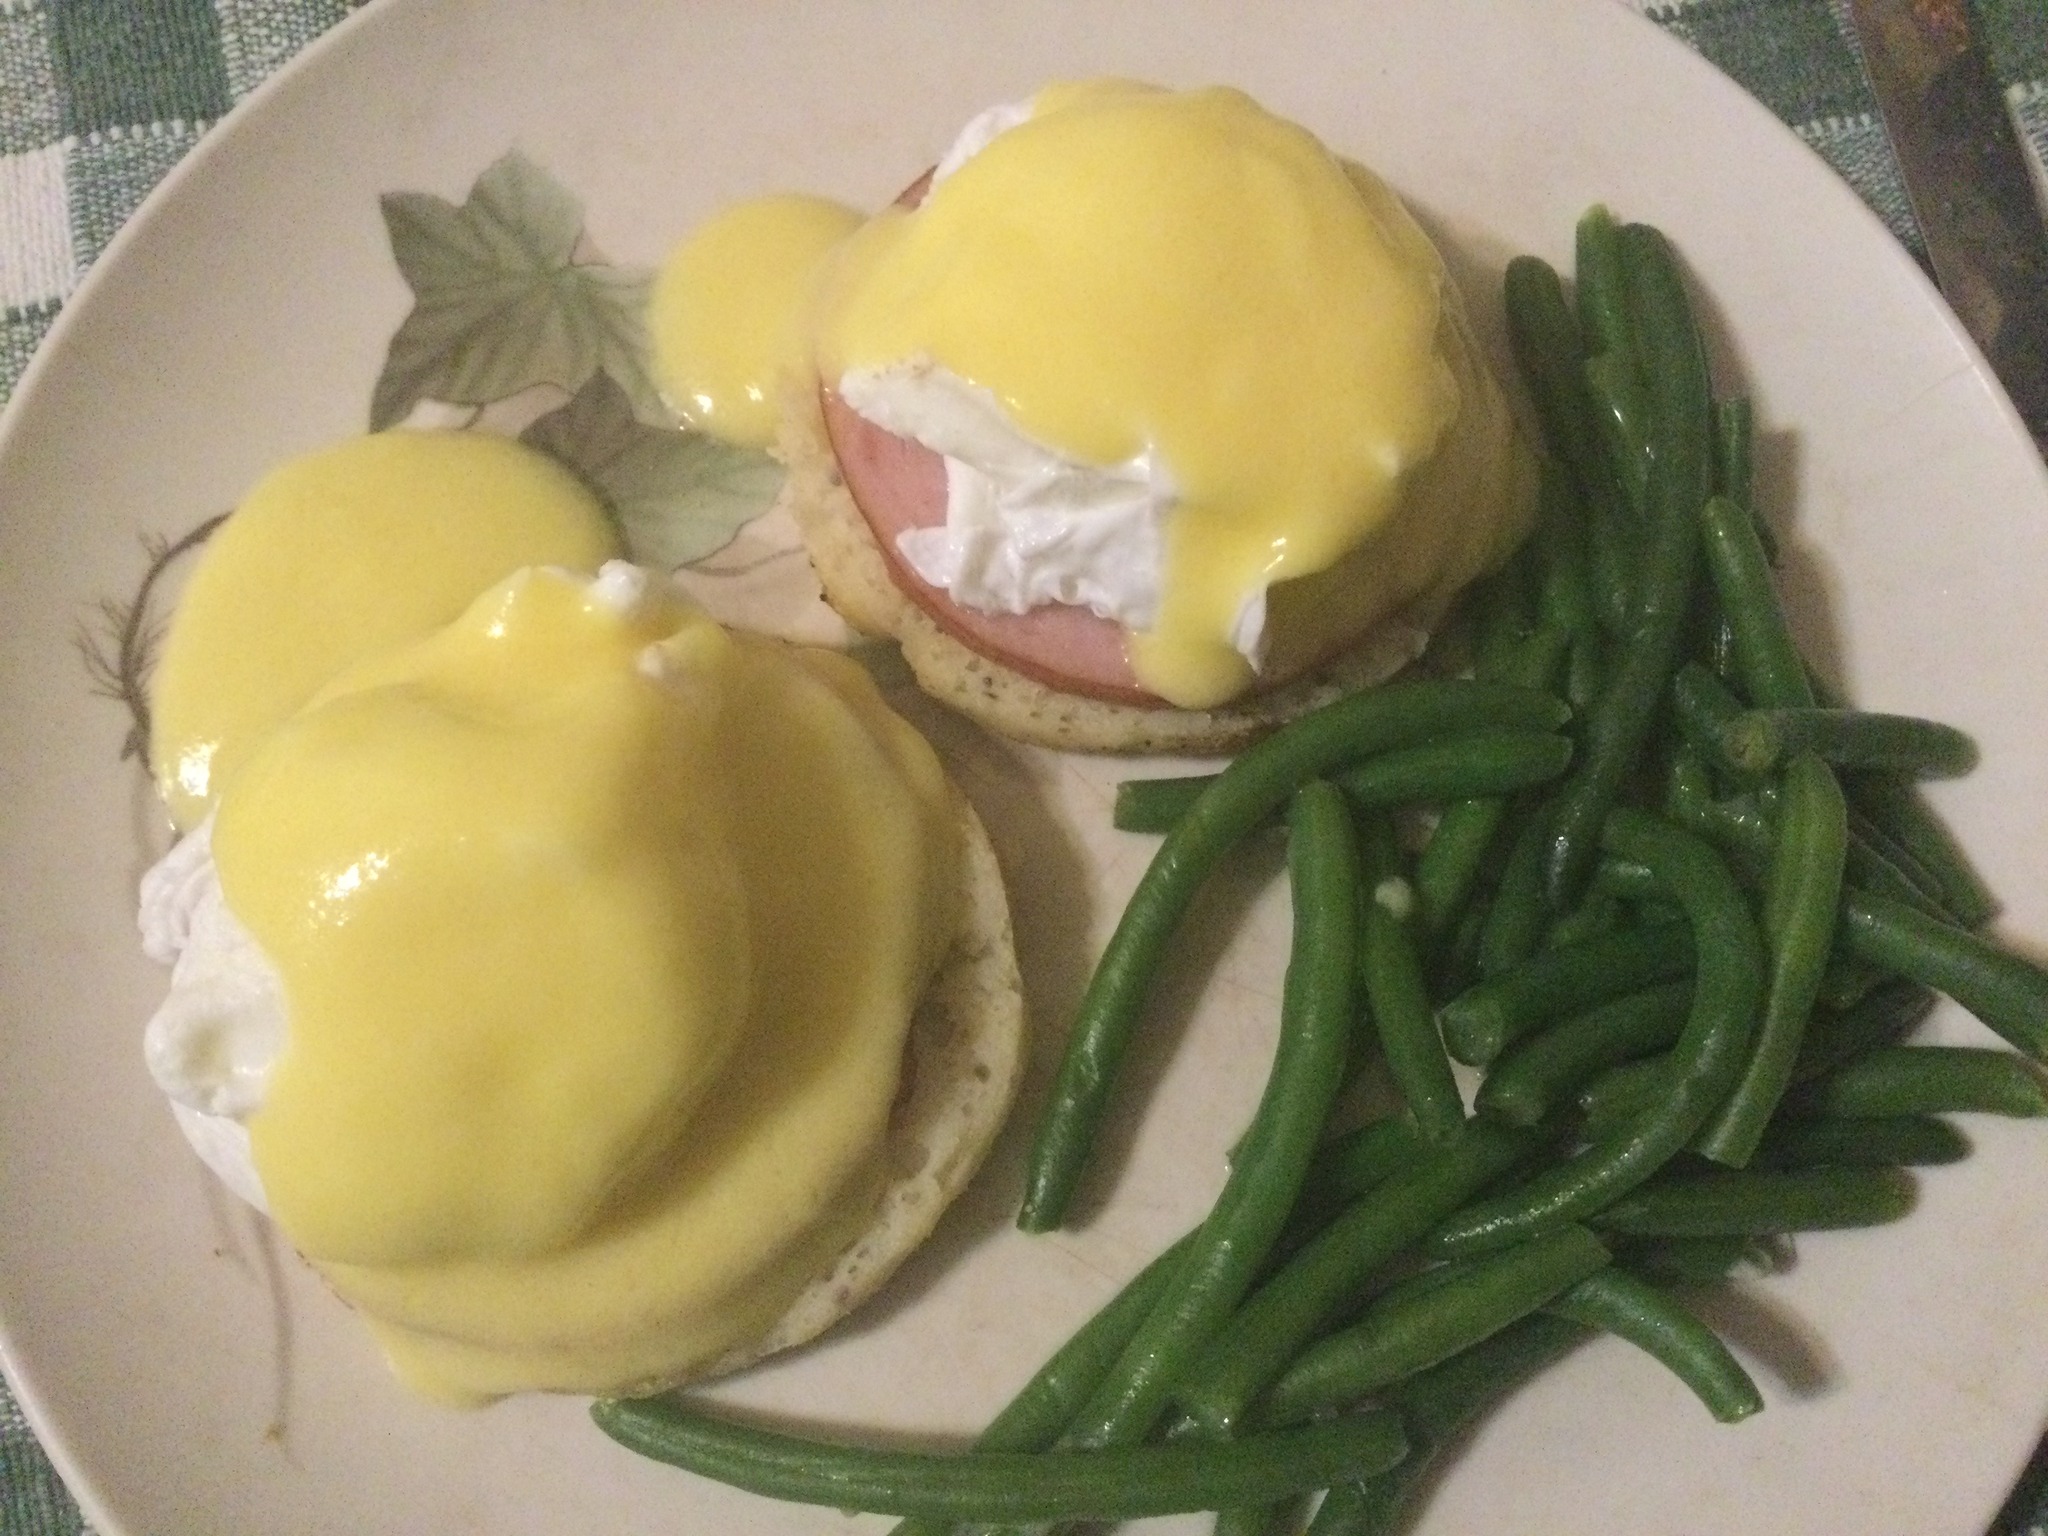
I happen to love eggs benedict especially with high quality home raised eggs and my homemade hollandaise sauce. plus decent Canadian bacon and good gf English Muffins. I give my mom’s easy and foolproof hollandaise sauce recipe below. It is far superior to those weird blender recipes I see out there. and is really easy. Your welcome!

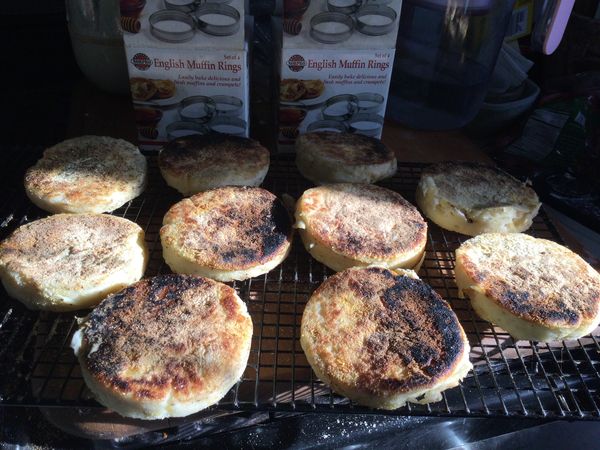
Recently I found a new recipe that I really prefer for the muffins. I have posted about this meal before not not with this particular recipe for English muffins. These are gf sourdough muffins. I used Mock Better Batter flour in mine. The recipe can be found at welcometomyglutenfreejourney.blospot.com

The ingredients are:

2 cups gf flour

1 tsp. xanthan gum (I used 1/2 tsp as my blend has some xanthan gum)

1 tsp. ground chia seeds

2 tsp. sugar

1.5 tsp salt

1/2 cup gf sourdough starter, active (no substitutions will work)

1 tsp. yeast (my insurance policy for no fail muffins)

1 cup warm filtered water; divided in half

1/2 cup room temp butermilk

1 large egg room temp

1 tbsp. sunflower oil or melted butter; I used oil

yellow cornmeal for sprinkling in rings before and after a big dollop of the dough which you spread with your fingers before more cornmeal sprinkles on top.

Go to that site mentioned earlier for specific recipe directions. I added a full cup of water plus a bit more by time I got the dough to be like thick cake batter. Then I let my dough bulk rise in warmed oven for 2 hours. I used cooking spray to grease the rings and a 10 inch cast iron pan which was a bit of a tight fit. I actually had to remove the rings from most during the flipping process. I think they turned out great but mulling over a bigger pan for next time. I got 11 muffins but I think I want them slightly thicker; going for 10 next time. Definitely will be a next time as these had a superior texture and were less work.

My Mom’s Perfect Hollandaise Sauce

Makes about ¾ cup.

1 stick salted butter
2 egg yolks (from large eggs)
Juice of ½ a lemon

Please, no substitutions of any kind will work for this recipe and you MUST make it in a Pyrex measuring cup placed in a pan of hot water; just below the boil and going no more than ½ the way up the sides of the glass measuring cup. The glass insulates the contents and allows for a slow measured melting of the butter and an equally slow and almost alchemical blending of these three ingredients into a smooth sauce. Unsalted butter gives a pale unbalanced sauce and not enough lemon makes the flavor insipid. Any leftover sauce can be gently reheated in a microwave or over water; stir a lot and you can add ¼ tsp. hot water if it separates. Beat it with a spoon until it comes back together.

Anyway, back to the recipe! Cut the stick of butter into 8 chunks and place in a Pyrex glass measuring cup; one cup size please. Add the yolks and the lemon juice, no pits either! Place in a sauce pan half full of hot water. Do not let the water boil or go more than half way up the measuring cup. Stir often with a long handled ice tea spoon; I leave the spoon right in the cup. It will be hard to stir at first as the butter is still solid but the stirring will get easier. Stir almost constantly until the sauce thickens to coat the spoon and then continue stirring it to an almost custard like thickness. Take the cup of sauce out of the water bath and cover it with aluminum foil while you poach the eggs.

Egg Directions:

4 eggs
2 English muffins
4 slices Canadian bacon (round thin slices)

Eggs: get the best and freshest quality eggs possible. Old eggs spread out as they poach and you will have the perfect shaped poached eggs with really fresh ones. I got mine from a friend who raises chickens; far superior in flavor and freshness to anything from a store.

Spray a sauce pan with cooking spray, for two eggs I use a 1 quart pan; use a bigger one for more eggs. Fill it with warm water. Bring the water to an active bubble, add a tbsp. white vinegar. Break each egg into a short cup and use a fork to swirl the bubbling water into a tiny whirlpool then gently tip the egg into the hot water. Do not boil the water. Poach them 3 minutes for a soft squishy egg and 4-5 for firmer eggs. Some like lots of egg yolk liquid and others like a firmer textured egg. Do not overcook them or they are just hard boiled eggs. They should not be firm when you remove them. Lift out with a slotted spoon and drain briefly on a paper towel.

While those eggs were poaching gently heat the bacon in a small frying pan with a tsp of butter. Cook on low about 2 minutes and flip, cook 1 more minutes.

Muffins; split each open with a dinner fork and toast in toaster; pale tan; not really browned.

Assembly: place two hot muffin halves on each plate. Top with a slice of Canadian bacon and then a poached egg. Pour a big dollop of sauce on top. We like them served with briefly steamed asparagus spears in the spring and either green beans or steamed broccoli spears the rest of the year.  Dig in!

Drip is Delish!

The other evening we decided to try out a local eatery, Drip The Flavor Lab Restaurant on Main Street in Hellertown. It is a burger and fried chicken joint and much of the menu can be made gluten free for those who need to eat gf. We got there at peak time around 5:40 on a Saturday evening. The place was packed! All seats taken, people still coming in. We ordered using a fun printed menu that you fill out with a pencil and turn in at the counter. We stood around sharing a snifter class of classic hard cider while we waited for a table to open up. the cider was a classic apple (no sugar added) cider and had a lovely, bubbliness, yet quite crisp and oh-so drinkable. We people watched, and just enjoyed the vibe. Our food got out in decent time and by then we had secured seating at a high top table.

I had the classic Drip burger with slaw and Joe ordered his with all sorts of additions like jalapeno pepper slices, lettuce, tomato and bacon which he swore to me he didn’t order! Plus an order of fries. He ate the whole burger! And some slaw they accidentally gave him as well as fries. I confess I ate a fair amount of the fries; they were in a wire basket and were hot and so crispy. They stayed warm a long time which I loved. My classic burger had just katsup and cheddar cheese. These are smash-burgers which someone eating there told me that they add butter as they fry so they have a rich flavor and a crispy exterior. Mine was perfect; just pink inside and it was so juicy yet crisp. The fresh gluten free bun was smaller than my meat patty but that was no problem. I loved every bite of this awesome burger. The slaw was nice although I like it with lots of green; it was all white pieces of cabbage; ate every bit. 

We shared a second glass of the hard cider; there was a large selection of beers on tap and some hard tea and mojitos. My guy was wishing for a lager but seemed quite content with the bubbly cider. They messed up the add-ons to his burger a little bit but honestly he loved it just as it came out. Prices are not far off other burger joints, not cheap but I feel we got great quality and we enjoyed the hopping atmosphere in this small eatery! That said, it was a bit crowded; the waitress said that Saturdays are their most busy nights. Folks came in and picked up take-outs, meals were rapidly coming out of the kitchen and tables were reset and more folks seated. You might want to try it on another night when it isn’t quite so jammed. Also, I didn’t know they had ice tea and lemonade until we were done. and cold water in a cooler. The front staff is very friendly and accommodating. I simply loved my burger; now I want to go back for the fried chicken! They also have floats and milkshakes…

I didn’t have my phone on me; left in the car so no meal pictures. Look them up on line at https://www.driptheflavorlab.com/  so you can view the menu and hours; they close at 8; a bit early and on Sundays; its 7 pm so don’t turn up late…. I definitely felt they cater quite nicely to those who need to eat gf, I didn’t feel deprived or end up eating bland, sad food as some places do for gf meals. If you live in the Lehigh Valley, Pennsylvania this is a great burger place!

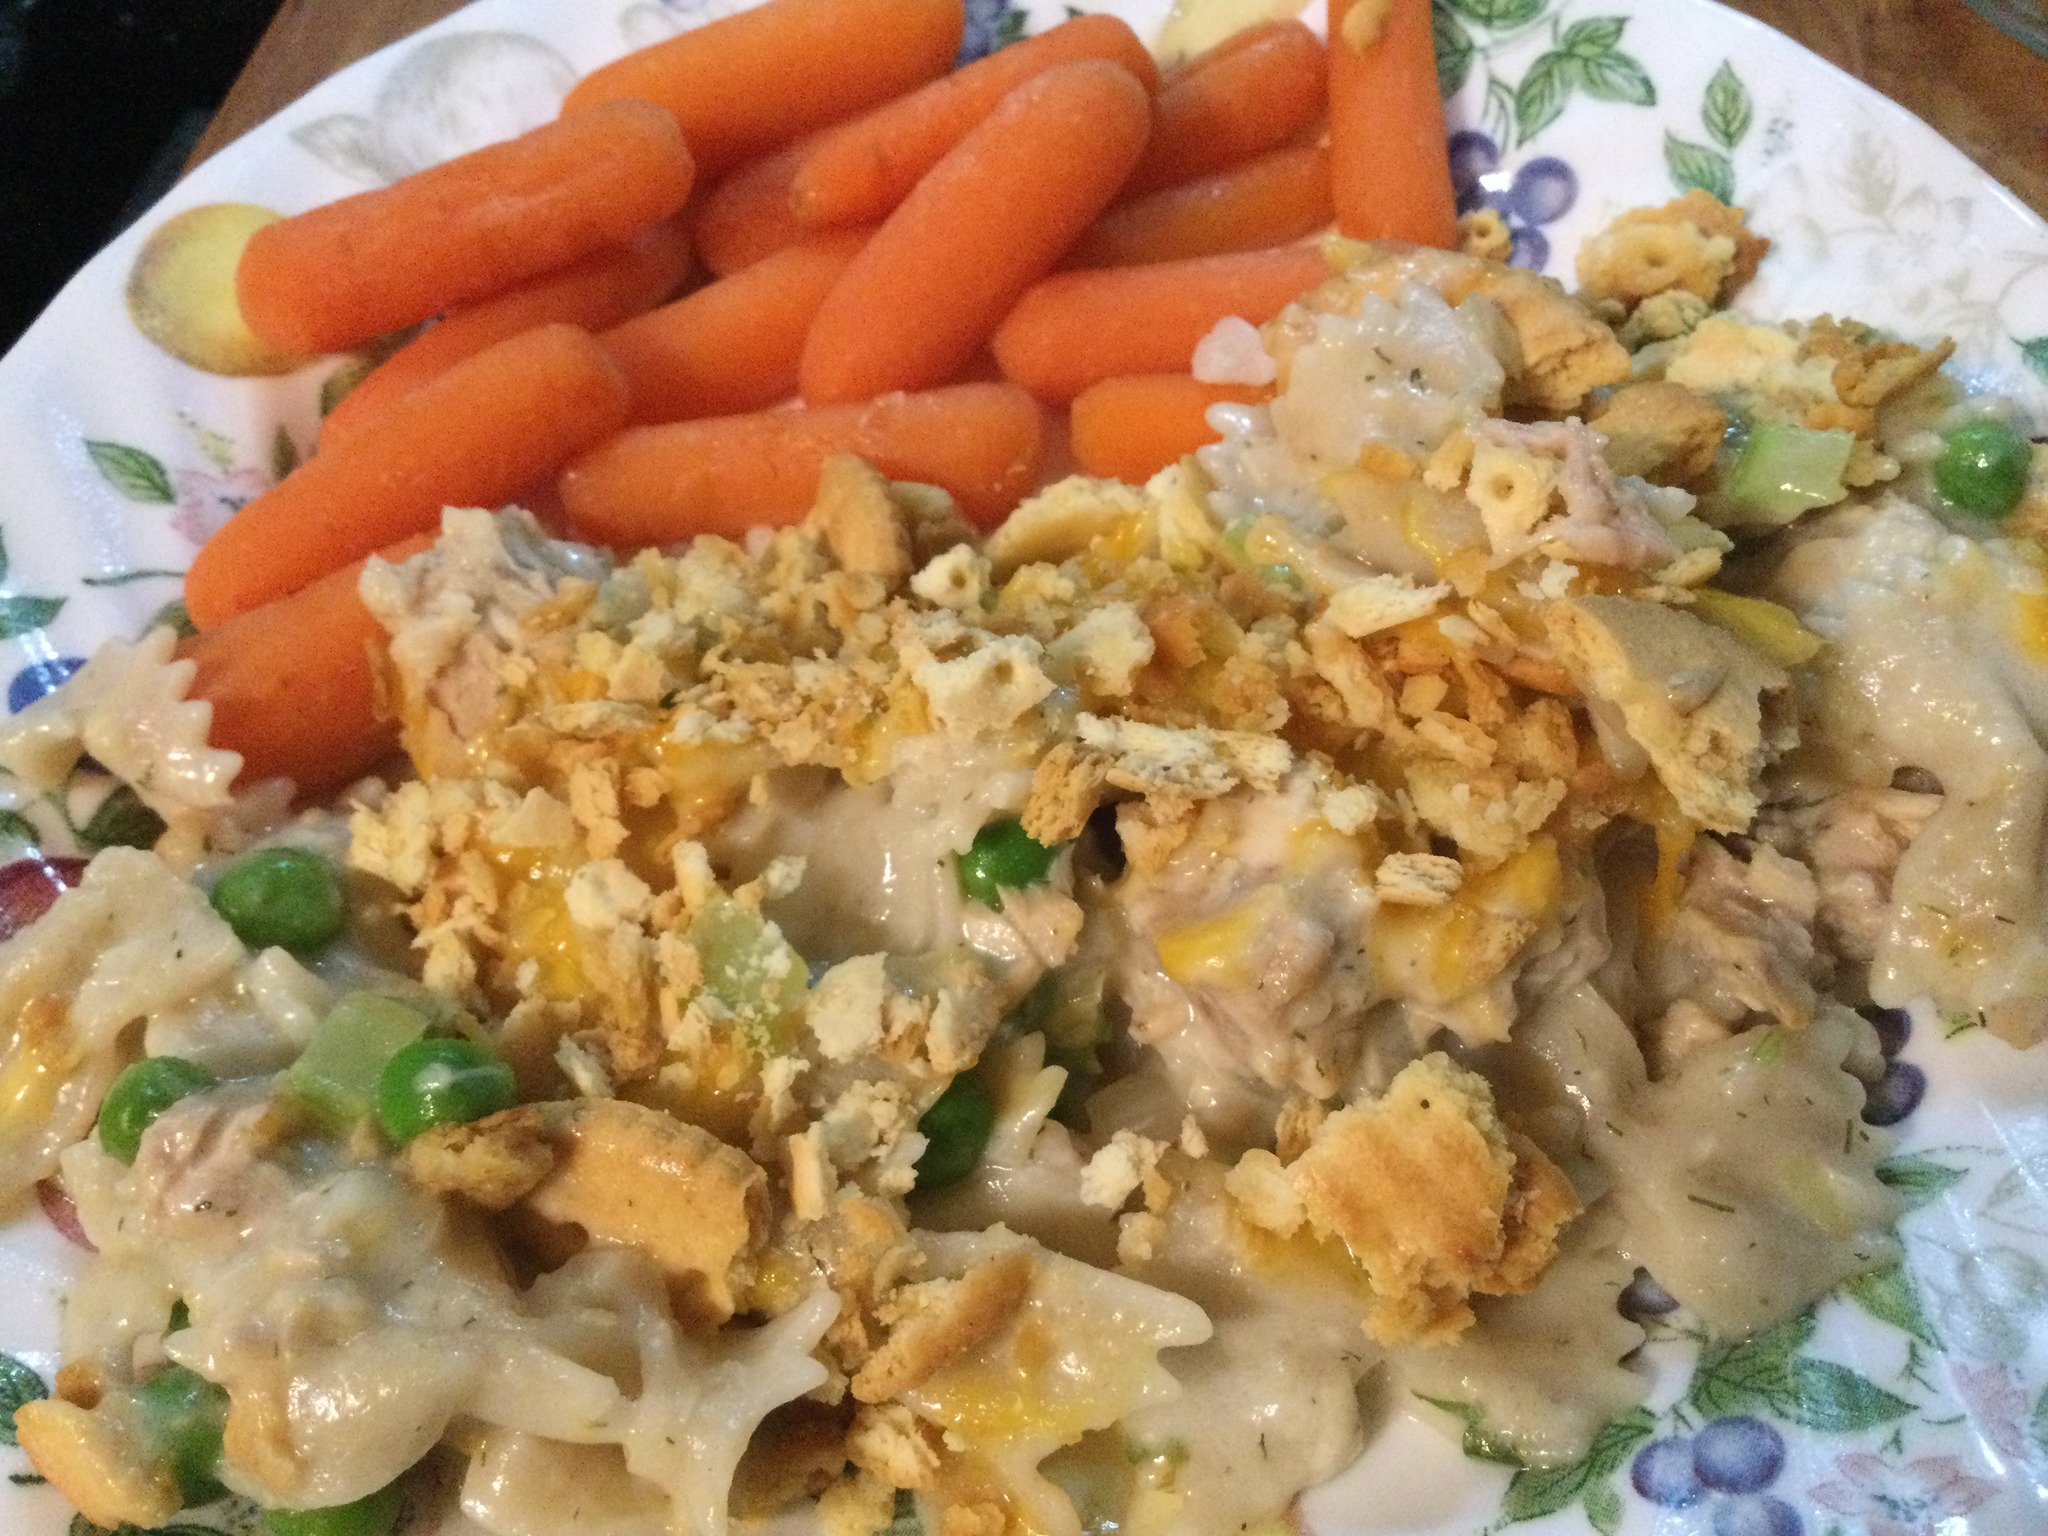
Tuna Noodle Casserole, 2.0

I never make tuna noodle casserole; too blah but I had some new pasta shapes so I attempted it and made a scratch gluten free sauce. What a difference that made! So delicious, a delicate flavor and a huge improvement over bought cans of mushroom soup or cream of chicken soup which are generally not gf anyway. This was as good a tuna casserole if not better than any I have tasted so I plan to make it again for sure. It really isn’t that much work to make a scratch sauce and it makes all the difference in the world in terms of flavor. Just don’t boil the sauce or it may separate.

Notes: you can use any kind of gf pasta or noodles. I used Jovial bowties; just cook them 2-3 minutes less than package says, great look and good flavor. Don’t leave out anything in the sauce; the celery/onions/peas give it such a fresh taste, like early spring! Use the tuna you like; suggest water packed white for this. I find albacore kind of dry so the solid white tastes better to my taste buds; totally your call what tuna you use. Be sure to drain it; your critters will love the juice in their suppers! I served mine with baby carrots cooked with maple syrup. A salad would be nice too!

Angie’s Tuna Noodle Casserole with Crumb Topping

Ingredients:

4 Tbsp. butter, divided

1 rib of celery, diced finely

as1/3-1/2 cup finely diced onion

1 Tsp (1 clove) minced fresh garlic

2/3 cup frozen peas

7 ounces dry pasta; cook it while you cook the sauce; undercook by 2-3 minutes.

4 Tbsp. white rice flour

14 ounces chicken broth; low sodium preferably

7/8-1 cup of milk; I warmed it 1 minute in my microwave

1/4 tsp. sea salt

1/8 tsp. freshly ground black pepper

1/4 tsp. dried dill weed

2 tsp. fresh lemon juice

1-2 Tbsp. finely chopped fresh Italian parsley

1/2 cup fresh grated Parmesan cheese

1/2 cup grated sharp cheddar cheese

2 cans tuna, (5 oz cans) drained

Topping 1/2-3/4 cup crushed gf Schar Company Crackers and 1-2 Tbsp. melted butter; mix in small dish and sprinkle it over before baking the casserole.

Directions: Melt 1 Tbsp. butter in medium frying pan, medium heat. Add onions and celery; cook 4-5 minutes, add garlic and peas, cook one more minute. While they cook, butter a 9×12 glass baking dish and put those hot veggies on a plate while you whip up the nummy good sauce.

Start oven heating to 350 degrees. Melt rest of the butter in the same frying pan, add the flour when it is hot; stir it while the flour blends in, cooking it 30-60 seconds. Add in the broth and then the warm milk, stirring constantly with a whisk. Add the salt, dill, parsley and lemon juice. keep stirring; after a minute or two it should be thick and bubbly. Stir in the parmesan cheese as it bubbles; not at a boil. Taste and adjust sauce as needed. I thought it was perfect with no changes but up to you. Dump back in those veggies; stir; add the tuna and the hot noodles, stir gently and after it looks somewhat blended carefully pour it all into the baking dish. Top with the cheddar cheese and then the buttery crumbs and bake about 25 or 30 minutes until it is bubbling.

It keeps in the fridge for 5-6 days; I added a touch of half and half to my serving before microwaving it; like a couple teaspoons; helps it stay moist when reheated.