
Subscribe to continue reading
Subscribe to get access to the rest of this post and other subscriber-only content.


Subscribe to get access to the rest of this post and other subscriber-only content.
Subscribe to get access to the rest of this post and other subscriber-only content.

Blast this like-winter weather. It’s no fun unless you like to slog through cold rain or sloppy snow. Soup is often my remedy for winter chillies. This is a simple soup made of roasted produce thinned with chicken broth and a touch of milk. It will warm your tummy and fill you up without too many calories. The leek adds a slightly different flavor and the apple a touch of sweetness which I find refreshing. This mellow winter treat is great with a salad for lunch or a sandwich. No fuss, very little muss. Just a short list of ingredients and a fairly simple recipe. Enjoy!

Roasted Butternut squash Soup
1 decent sized butternut squash
1 medium onion
1 leek
2 fat carrots
1 Rome or Gala apple (any baking apple except Granny Smith will do)
1 garlic clove, unpeeled
3-4 cups of chicken broth, preferably homemade
½-3/4 cup of half and half or whole milk, even 1 percent will work!

Directions:
First, cut the butternut squash down the length and scoop out the seeds. No need to peel. Place cut side down on a rimmed baking sheet sprayed with cooking spray. Cut the onion in half and likewise the apple, the leek and carrots; cut off the leek above the light green portion and core the apple halves. Put apples cut side up. Roast them all in a 375 degree oven until the squash is tender when poked with a fork. About 35 to 45 minutes depending on the size of your squash. If the other fruits and veggies are browned and done early slide them off to a plate to cool. Caramelized is fantastic but no burnt leeks in my soup thank you!
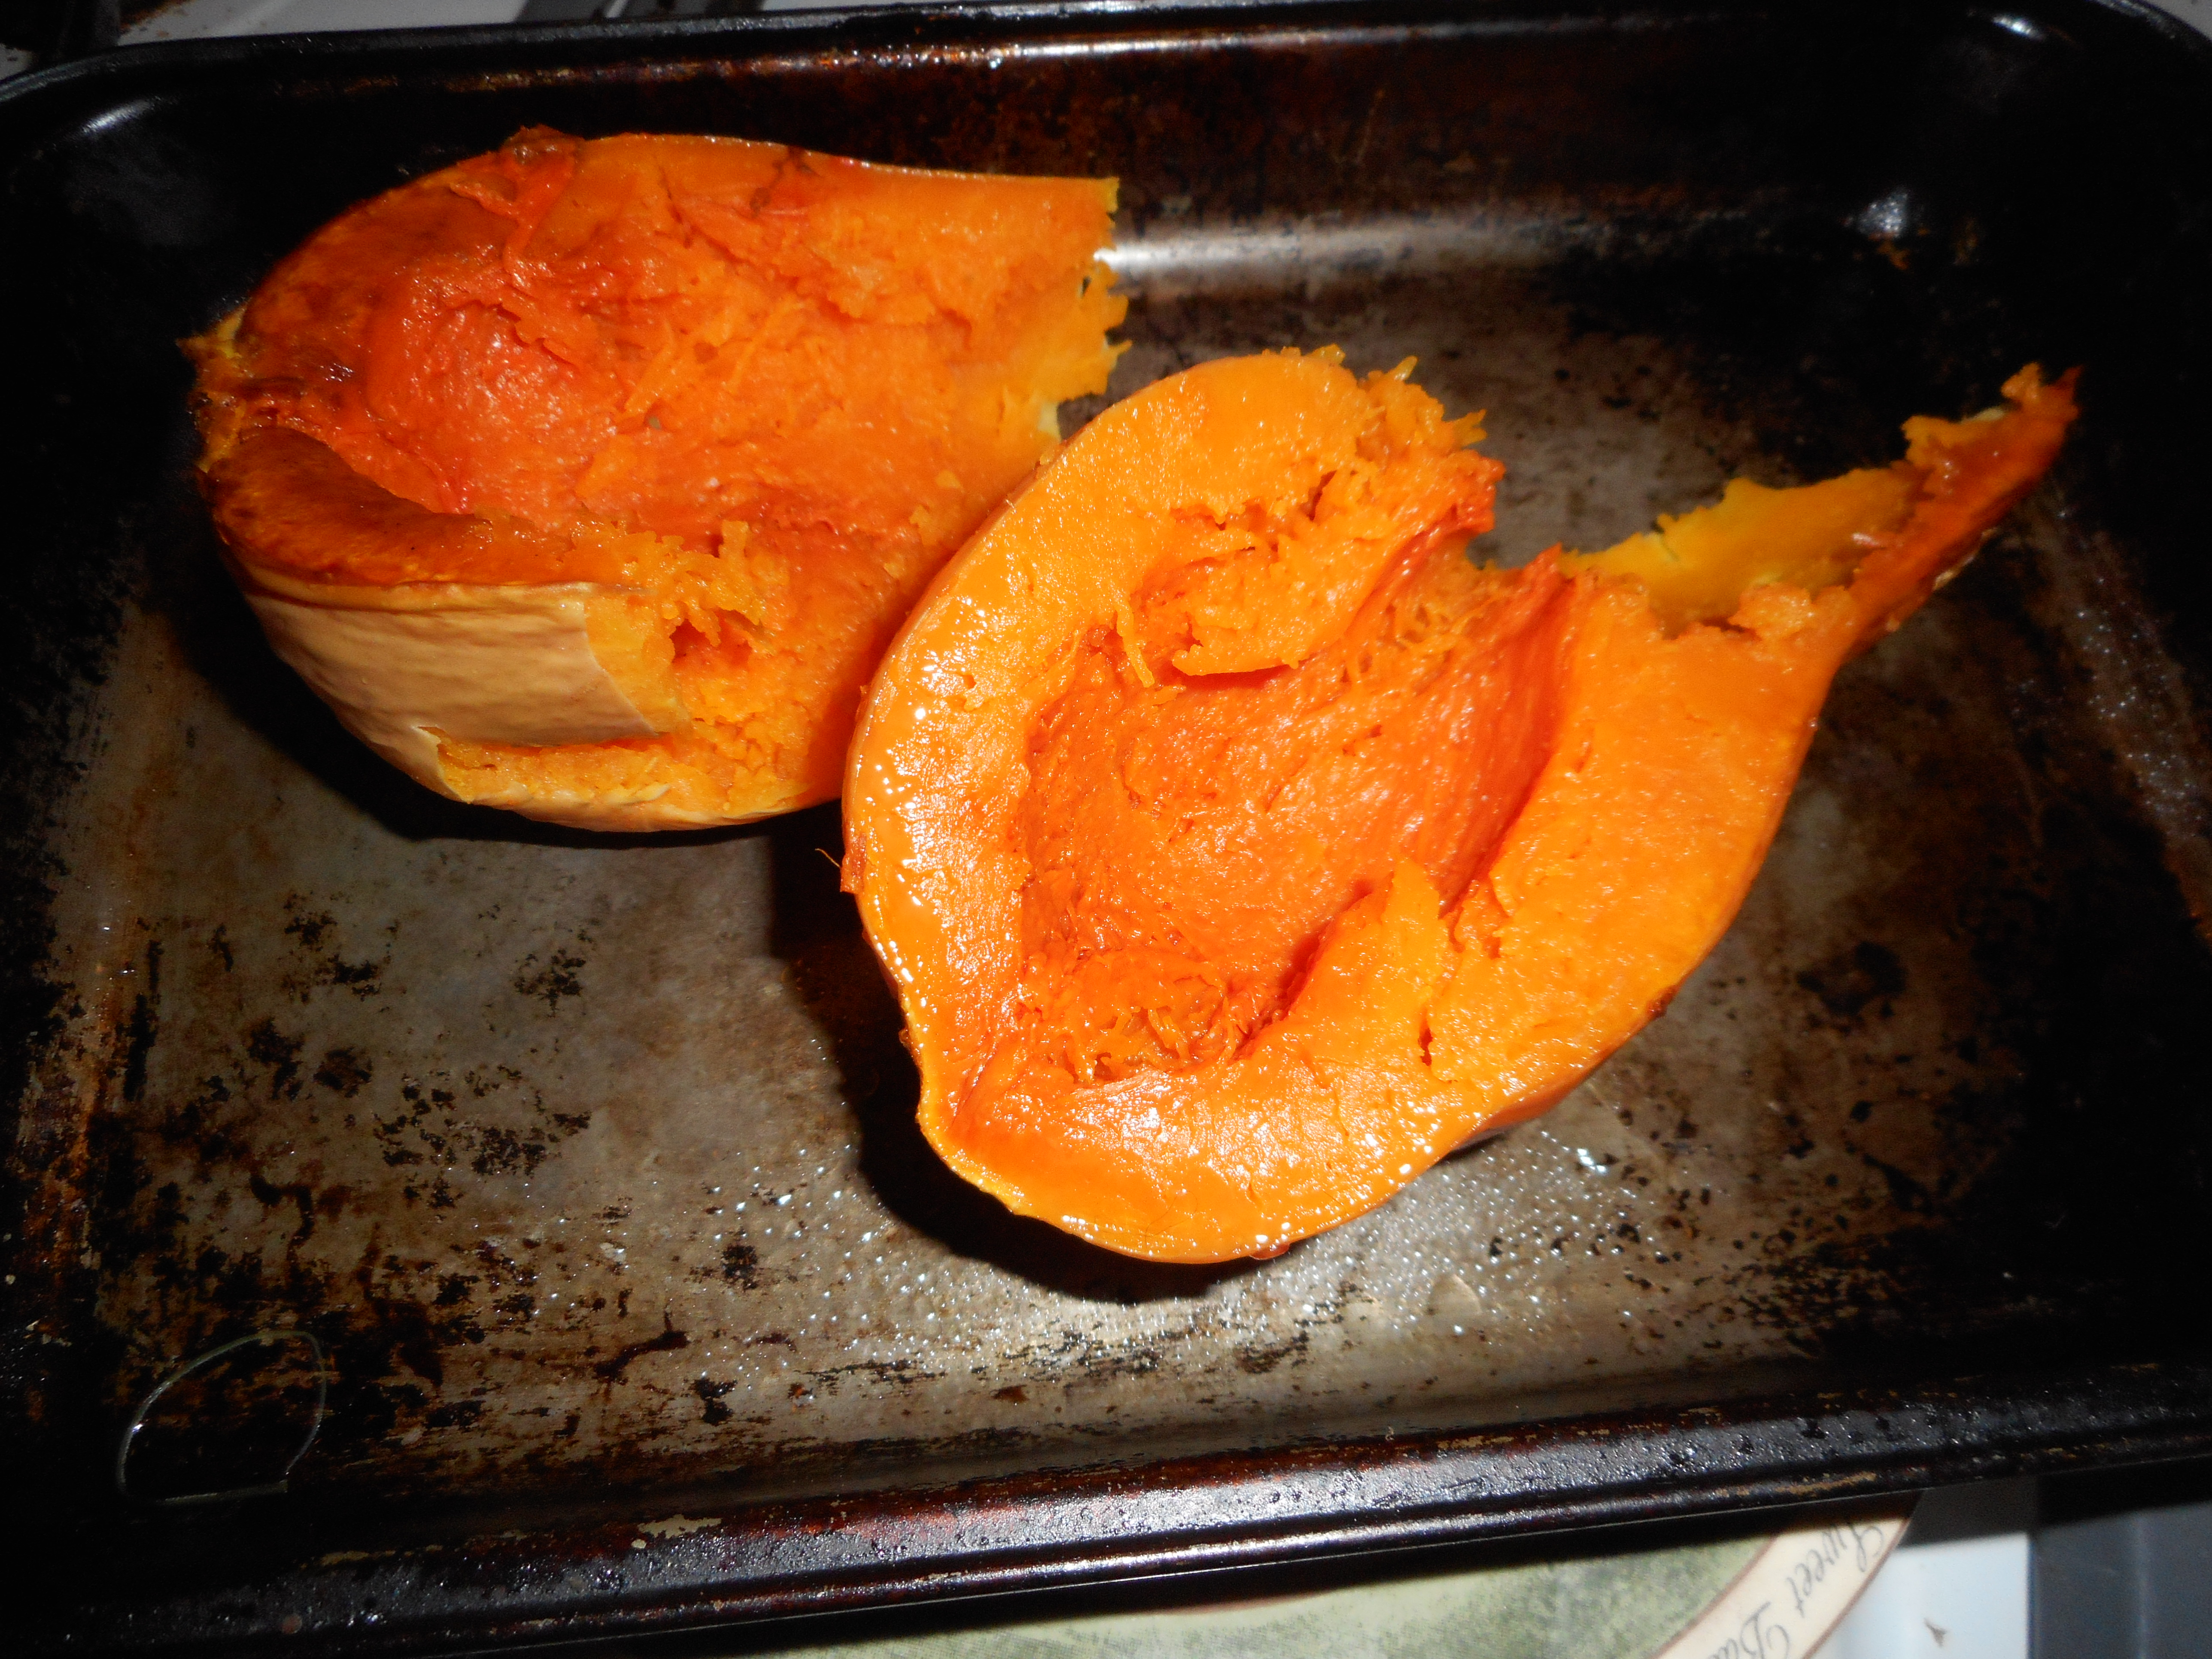
When the squash is cool enough to handle, use a big spoon to scoop out all the meat of it into your blender. Add the scooped out contents of the apple halves, the garlic you have squeezed out of its skin, the carrots and leek halves. Pour in 2-3 cups of chicken broth, blend until smooth, and add more broth until you reach a consistency you like. Mine was kinda thick and porridgey. If you prefer to use a food processor that will work or put the scooped out veggies into a large sauce pan and blend with your immersion (boat motor) blender. This will not be as smooth as the blender makes it but it is more fun and less cleaning as no blender container to wash!
After the blending is done pour it into a large sauce pan and add up to ¾ of a cup of half and half or whole milk. I used a half cup but you may like it creamier.
Originally posted in 2014, no recipe changes made to this version.
Subscribe to get access to the rest of this post and other subscriber-only content.
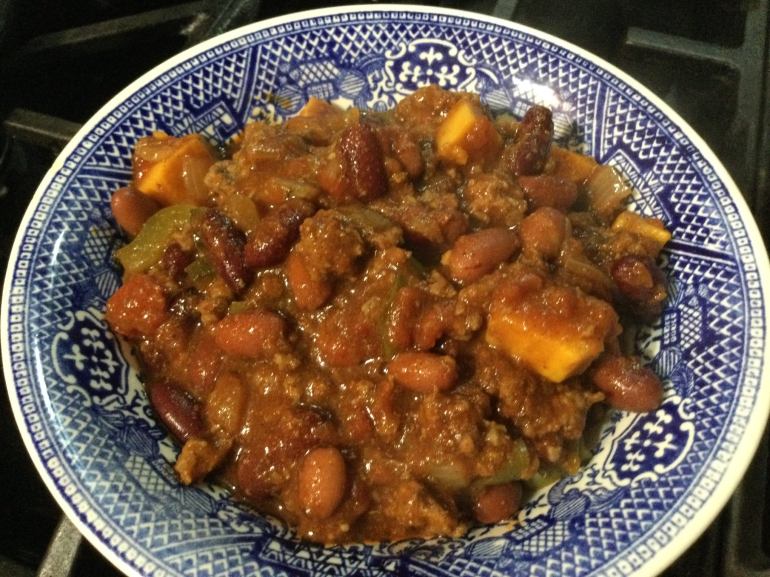
Our PA weather is chilling down. Need something to warm up your tummy? Try some homemade chili. So easy; one pot, if you like beans in it this is your recipe. And a little something different; cubes of butternut squash or yam. Yeap yam, it picks up all those spicy flavors, as does butternut squash. Really great with cornbread, I made some fresh southern style using both cornmeal and gf flour, baked them in an 8 ear cast iron corn cub mold and 6 muffins. I used ground beef, but you can use turkey, venison, or use a plant-based ground meat substitute. This is somewhat spicy but not too much, my tummy can no longer handle the really spicy stuff. You can up the spice or tone it down a bit. Your chili, your choice.
I make a cornbread by Mama Gourmand which is a basic but tasty recipe. Enjoy!


Angie’s Sort of Spicy Chili Con Carne
Ingredients
1 to 1 1/3 lb. ground beef, 90 percent is what I used
Cooking spray
1 medium onion; chopped into ½ cup dice
4 garlic cloves, minced
1 medium poblano pepper diced (I used half a good sized one as I can’t do spicy so good anymore)
2/3 cup diced green or red bell pepper
3 tsp. chili powder
½ tsp. cumin
½ tsp. smoked paprika
½ tsp. coriander
½ tsp. cinnamon
¼ tsp. red pepper flakes
1 Tbsp. Worcestershire sauce
1 28 ounce can crushed tomatoes
¼ cup red or white wine (one you would willingly drink!)
roughly 1 and 1/3 cups peeled and cubed yam or butternut squash;
1-2 cups water
1 tsp. kosher salt
¼ tsp. ground black pepper (more if you want it)
1 14 oz can large kidney beans, rinsed and drained
1 14 oz can small red beans, rinsed and drained
Directions:
Spray la arge wide 4 qt. pot with cooking spray, heat and add ground meat. Let brown as you break it up and spread out the meat. After turning it once add the onions. Cook, stirring a lot, until meat isn’t pink. Add minced garlic; stir in, cook 30 seconds. Add all spices, stir well; cook a minute. Add wine, stir, Add crushed tomatoes. Use cup of water to rinse tomato can and add all to pot. Add diced yams and Worcestershire sauce. Cover and simmer on low at least 30 minutes; I cooked mine for more like an hour. I stirred it a lot, at least every 10 minutes taking care to scrape the bottom, so nothing is sticking. I had to go out so I shut it off, put the lid on and restarted it when I returned. It’s flexible that way. Then add kosher salt to taste; I put in 1 tsp. Add the beans. Stir in carefully and cook 15-25 more minutes. Taste and adjust salt, add more ground black pepper if wanted. Honestly it is even better after a good rest in the fridge; the flavors will blend further. So good with corn bread. I didn’t add any toppings; it was just right without any additions, but you can go to town with scallions, grated cheese, or whatever you like. Enjoy!
I strongly suggest you visit her website but here are the ingredients for her delicious Cornbread, ingredients:
1 cup cornmeal, 1 cup Cup4Cup flour, 1/3 cup sugar, 2 tsp baking powder, 1/2 tsp baking soda, 1/4 tsp salt, 2 lg eggs, 1 cup milk, 1/4 cup melted butter
Be sure to let your batter rest 5-10 minutes before pouring into a hot baking dish; I have a cast iron 7 ears of corn one and I do 6 muffin tins too; liberally buttered right before you dump in the liquid mix.Bake at 375 for 20 minutes.

