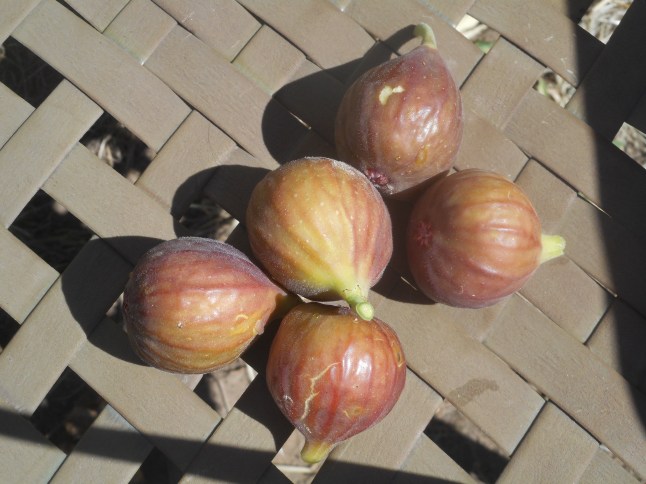
Chopped, early fall 2016 edition. Thirty minute time limit because I am hungry! I have some frozen haddock. There is a packet of fresh tender okra in my fridge. Yeap, I am in possession of a healthy amount of that crazy southern veggie, okra, which I happen to love.  Most times it looks kinda beat up and I pass it by but this day the okra was mighty fine and I selected a packet of it to build my supper around. Also must use ingredients are fresh homegrown tomatoes and a red bell pepper, plus the usual items available in my pantry: onions, garlic, broth. What can I concoct? In about thirty minutes. I was thinking gumbo because of the okra. Yeah, I have heard all the whining about the slimy nature of okra. This cook was determined to not let that travesty occur, so the okra was sliced right before adding to the pan and I didn’t cook it too long. I chopped and sautéed and stirred my pan full of veggies and some haddock. It isn’t quite a traditional gumbo but pretty close and darned delicious considering how quickly it went together. The ripe tomatoes from my garden were the perfect counterpoint to the okra and the flaky fish. I served mine with tiny rice grained gluten free pasta but you could easily use the more traditional cooked white rice to accompany your gumbo. Of course, you could use another protein from the sea like cod, monkfish, shrimp or any firm white fish. Enjoy!


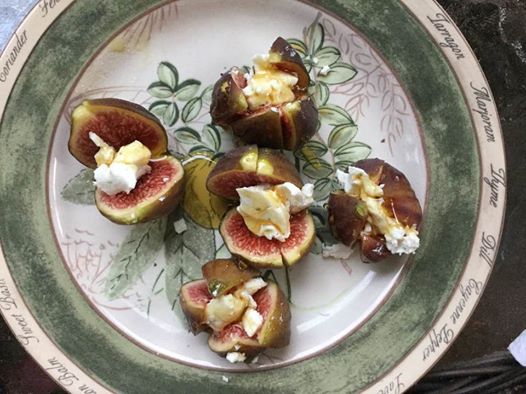
Angie’s Haddock Gumbo; Serves two.
Ingredients:
1 tsp. olive oil
½ cup chopped onion
1 garlic clove minced (about 1 tsp.)
3/4 cup roughly chopped red bell pepper
¼ cup chopped fresh parsley, divided
¼ tsp. dried thyme
¼ tsp sea salt
1 cup broth: fish or chicken or veggie
1 cup chopped fresh ripe tomatoes
1 to 1.5 cups sliced okra; cut in 1/3 inch slices
½ lb thawed haddock cut into ½ inch cubes
1 cup hot rice or cooked rice shaped gf pasta
Directions:
Chop the veggies. Heat the olive oil in a large sauté pan; add the onion and sauté for three minutes on medium heat. Add the garlic, sauté another minute, stirring. Then dump in the pepper. Cook for a minute before adding the thyme, half the parsley, and the salt. Cook for 3 minutes stirring often. Add the broth and chopped tomatoes, stir and bring to a simmer. Cook for about 15 minutes, stirring frequently. Add the okra and cook for five minutes, add the fish cubes, cook for five more minutes add the rest of the parsley. Don’t overcook it until okra is shapeless and gray; it should be just tender and the tomatoes still holding some of their shape. Taste, add more salt if necessary and up to ¼ tsp. fresh ground black pepper. Serve over the rice or pasta.
If you want it spicy, add a dash of Tabasco and a pinch of cayenne when you add the thyme. If you want it soupier; add another ½ to one cup of broth and serve in a bowl.
 This recipe is from Jane Brody’s “Good Seafood Cookbook” with some modifications.


 eaches at Bechdolt’s Orchard. Perfect full peachy flavor. Yessss.