Chopped Strikes Again…Mahi Mahi Style

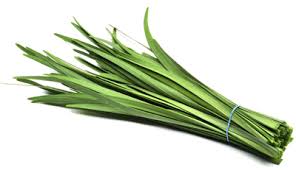
Another episode of Chopped occurred at my house tonight.  I worked late, two jobs actually, starving hungry by time I drove to my house.  So there wasn’t much time for messing around in the kitchen when I got home after 8.  I had defrosted a fillet of mahi mahi.  I like its firm texture and meaty flavor.  My other required “Chopped” ingredients were a zucchini which had been languishing in my fridge veggie bin for more than a few days, a just barely sprouting yellow potato, and some garlic chives growing lush in my herb garden.   Image  Image The second picture is of them blooming, best used before they bloom.
Ingredients (for one)

1 4-6 oz. mahi mahi fillet

¼-½ tsp Cajun seasoning

2 tsp sweet rice flour

1 tbsp olive oil (I prefer EVOL but use what you have)

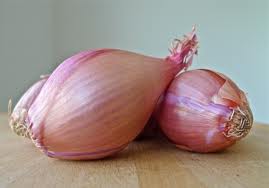
1-2 tbsp chopped shallot (or onion)

½ cup zucchini cut in ¼ inch half rounds

1 tsp. fresh thyme leaves

½ small lemon; zest and juice

1-2 tbsp. snipped leaves of garlic chives

1 potato

1-2 tsp butter

Directions

Place the mahi mahi fillet on a sheet of wax paper; sprinkle it with some Cajun seasoning; about ¼ tsp.  Sprinkle with 1 tsp sweet rice flour, spread it around with your fingers.  Flip it and do the same thing on the other side of the fillet.   Image

Heat a small to medium Teflon frying pan and add the olive oil.  Slide in the fillet.  Cook for 5 minutes on med high heat.  I used half a shallot, just cutting the peeled bulb into thin half rounds.  As the fish cooks sprinkle the chopped shallots around the fillet and then the zucchini rounds. Stir them often. Keep them moving but not on top of the fish.  Carefully turn the fillet after 5 minutes and cook 4-5 more minutes until it is firm and opaque.  Do not let it burn or overcook. Poke the potato in two places and put in the microwave, cook until done.  Let rest while you finish the fish. At the end of the second cooking place the fish on top of the zucchini and zest the lemon peel on top. I used a zester that makes long skinny strands but you can grate it if you don’t have a zester like mine.  Squeeze the lemon juice all over the fish, add the thyme leaves.  Then add 1-2 tbsp. dry white wine; I used some Italian Bollo pinot grigio I had left in the fridge.  Sometimes I make do with the vermouth I keep in the fridge for cooking purposes.  After the mixture cooks for 10-20 seconds add 2 tbsp water and stir up the zuke.  Sprinkle the pan with the garlic chives; I just snip them with a scissors into the pan.  If you don’t have garlic chives you can use regular chives.  Put a tsp of butter in the pan and allow to melt before serving, Gently stir the veggie mixture to coat it with the melted butter.  Taste the mix and add some sea salt and freshly cracked pepper.

Place the fish on a plate, spoon the zuke and shallot mixture next to it; be sure to get all the pan juices. I put some of the veggie mixture on my baked potatoes which I had split and seasoned with salt/pepper and 1 tsp. fresh butter.  Dive in to this healthy and GF meal.  The fresh herbs and lemon juice add a lot of flavor and seasoning.  You might add a side salad to round out the meal.  It took me about 14 minutes to pull it together.

You can sub other herbs as long as they are fresh.  Don’t use too much or you will overwhelm the delicate flavor of your fish.  And yes, you can use any fish you like if you don’t have mahi mahi or dislike it for some reason.  I have begun to love shallots as they have a delicate flavor that does not intrude or cover over the other ingredients but if you only have yellow onion that will work fine. Other veggies might work as well but I do suggest you try the recipe unchanged before you start mixing things up!  Image
My camera is missing in action and my tablet camera seems out of order today.  Phone not available either so no picture of this lovely meal.  I will toss up some photos of the ingredients. 

Of course you can make this for 2-4 people; just increase your ingredients accordingly. It is definitely going to be a go to recipe of mine for busy summer evenings particularly when the zucchini crop come in!

Aside

Super Spring Salad…and Simple to Make

Sometimes I crave sweets, especially dark chocolate and sometimes I crave fruits or vegetables.  Once when I was visiting my sister Margie for the weekend she served a mixed green salad with a snappy vinaigrette that had some Dijon mustard and was just delish.  We both enjoyed it so much we had seconds instead of a dessert!

If you live salad maybe you would like my new favorite spring salad.   It is flexible so put the greens in that you love.  But one caveat, no iceberg lettuce, please.  It has minimal flavor and is the wrong texture for this spring salad.  Not to mention that it is seriously lacking in nutrients.   Image

So, to create my special Easter salad, I got a box of cleaned and washed spring greens from Valley Farm Market in Bethlehem, full of tiny leaves of a variety of lettuces as well as beet and spinach leaves.  I also got some sugar snap peas and a bunch of radishes from there.  The produce is very fresh and of outstanding quality at Valley Farm, located on Stefko Boulevard.  This bunch of radishes looked just picked and still had the greens attached.  ImageI washed them and cut the root tail off and the stems.  I cut each into ¼ inch rounds.  I cut the pea pods in half and steamed the sugar snap peas for 3 or 4 minutes, removing them from the heat just before they were done so the pods still had a bit of snap to them.  I drained them and put them and the radishes in a dish and refrigerated them for 30 or 40 minutes until they were really cold.

The greens were washed, dried in the salad spinner and placed in a large salad bowl.  Mine is translucent plastic from Target, nothing fancy!  Toss in the chilled snap peas Imageand the radish rounds.  Then sprinkle with your favorite vinaigrette dressing.

Here is my basic vinaigrette recipe.  You can alter it to your tastes and leftovers keep for several weeks in the fridge.

I use one of those Good Seasoning’s jars but add my own ingredients.  Fill it to the vinegar line with red wine vinegar, not the cheap store brand (skimpy 1/4 cup).  Then some filtered water to the water line (about 1/3 inch more or two tbsp.). Next I add ½ tsp Dijon mustard, ½ tsp sea salt, a ¼ tsp dried thyme, one garlic clove (peeled and mashed down a bit to release flavor), 1 tsp mayonnaise, ¼ tsp freshly ground black pepper and ½ tsp sugar. Then top off with some extra virgin olive oil, stop a bit before the oil line and finish it with lighter olive oil (1/2 cup plus one tbsp of olive oil).  Shake it up really well.  It tastes best at room temperature and marinate it all put together for at least an hour before you use it the first time.  Keep in the refrigerator if there is any left over. The mustard adds snap and the bit of mayo helps the dressing stay emulsified (fully blended) longer than it would without the mayo.

You can guild the lily with some freshly grated Parmesan cheese if you like.  This is a light and delicate salad that will complement any number of main dishes like pasta, roasted meat or fish dishes.  As I said, you can swap out the peas or radishes for other veggies like raw zucchini, carrot rounds or whatever floats your boat! I like to choose things that look fresh and are in season.  Don’t put too much of any one veggie in; you want them to be like treasures to be discovered in the nest of fresh greens you have lightly coated with a tasty vinaigrette.

Be creative and have fun making fresh, healthy and yummy salads that will round out your meal and keep you feeling great!

Chopped; Wheat Free Style!

IMG_0584Ever watch Chopped on Food Network? I love that show.  Each contestant gets 3-4 weird to normal ingredients that must be in their final dish.  The dish must be tasty, look good and they have to transform the ingredients.  I am fascinated by what they are able to create in a limited time.  Check it out sometime.

So, I often play my home version of Chopped.  But I don’t limit myself to 20 or 30 minutes nor do I ask myself to radically transform the ingredients.  My rules are that I must make something yummy for supper using ingredients I already have in my kitchen and at least 2-3 that I must include in that particular meal.  Generally I have limited time to throw it together due to my hectic work schedule.  So, sort of like a Chopped episode.  At least I don’t have 3 other chefs there trying to out cook me!

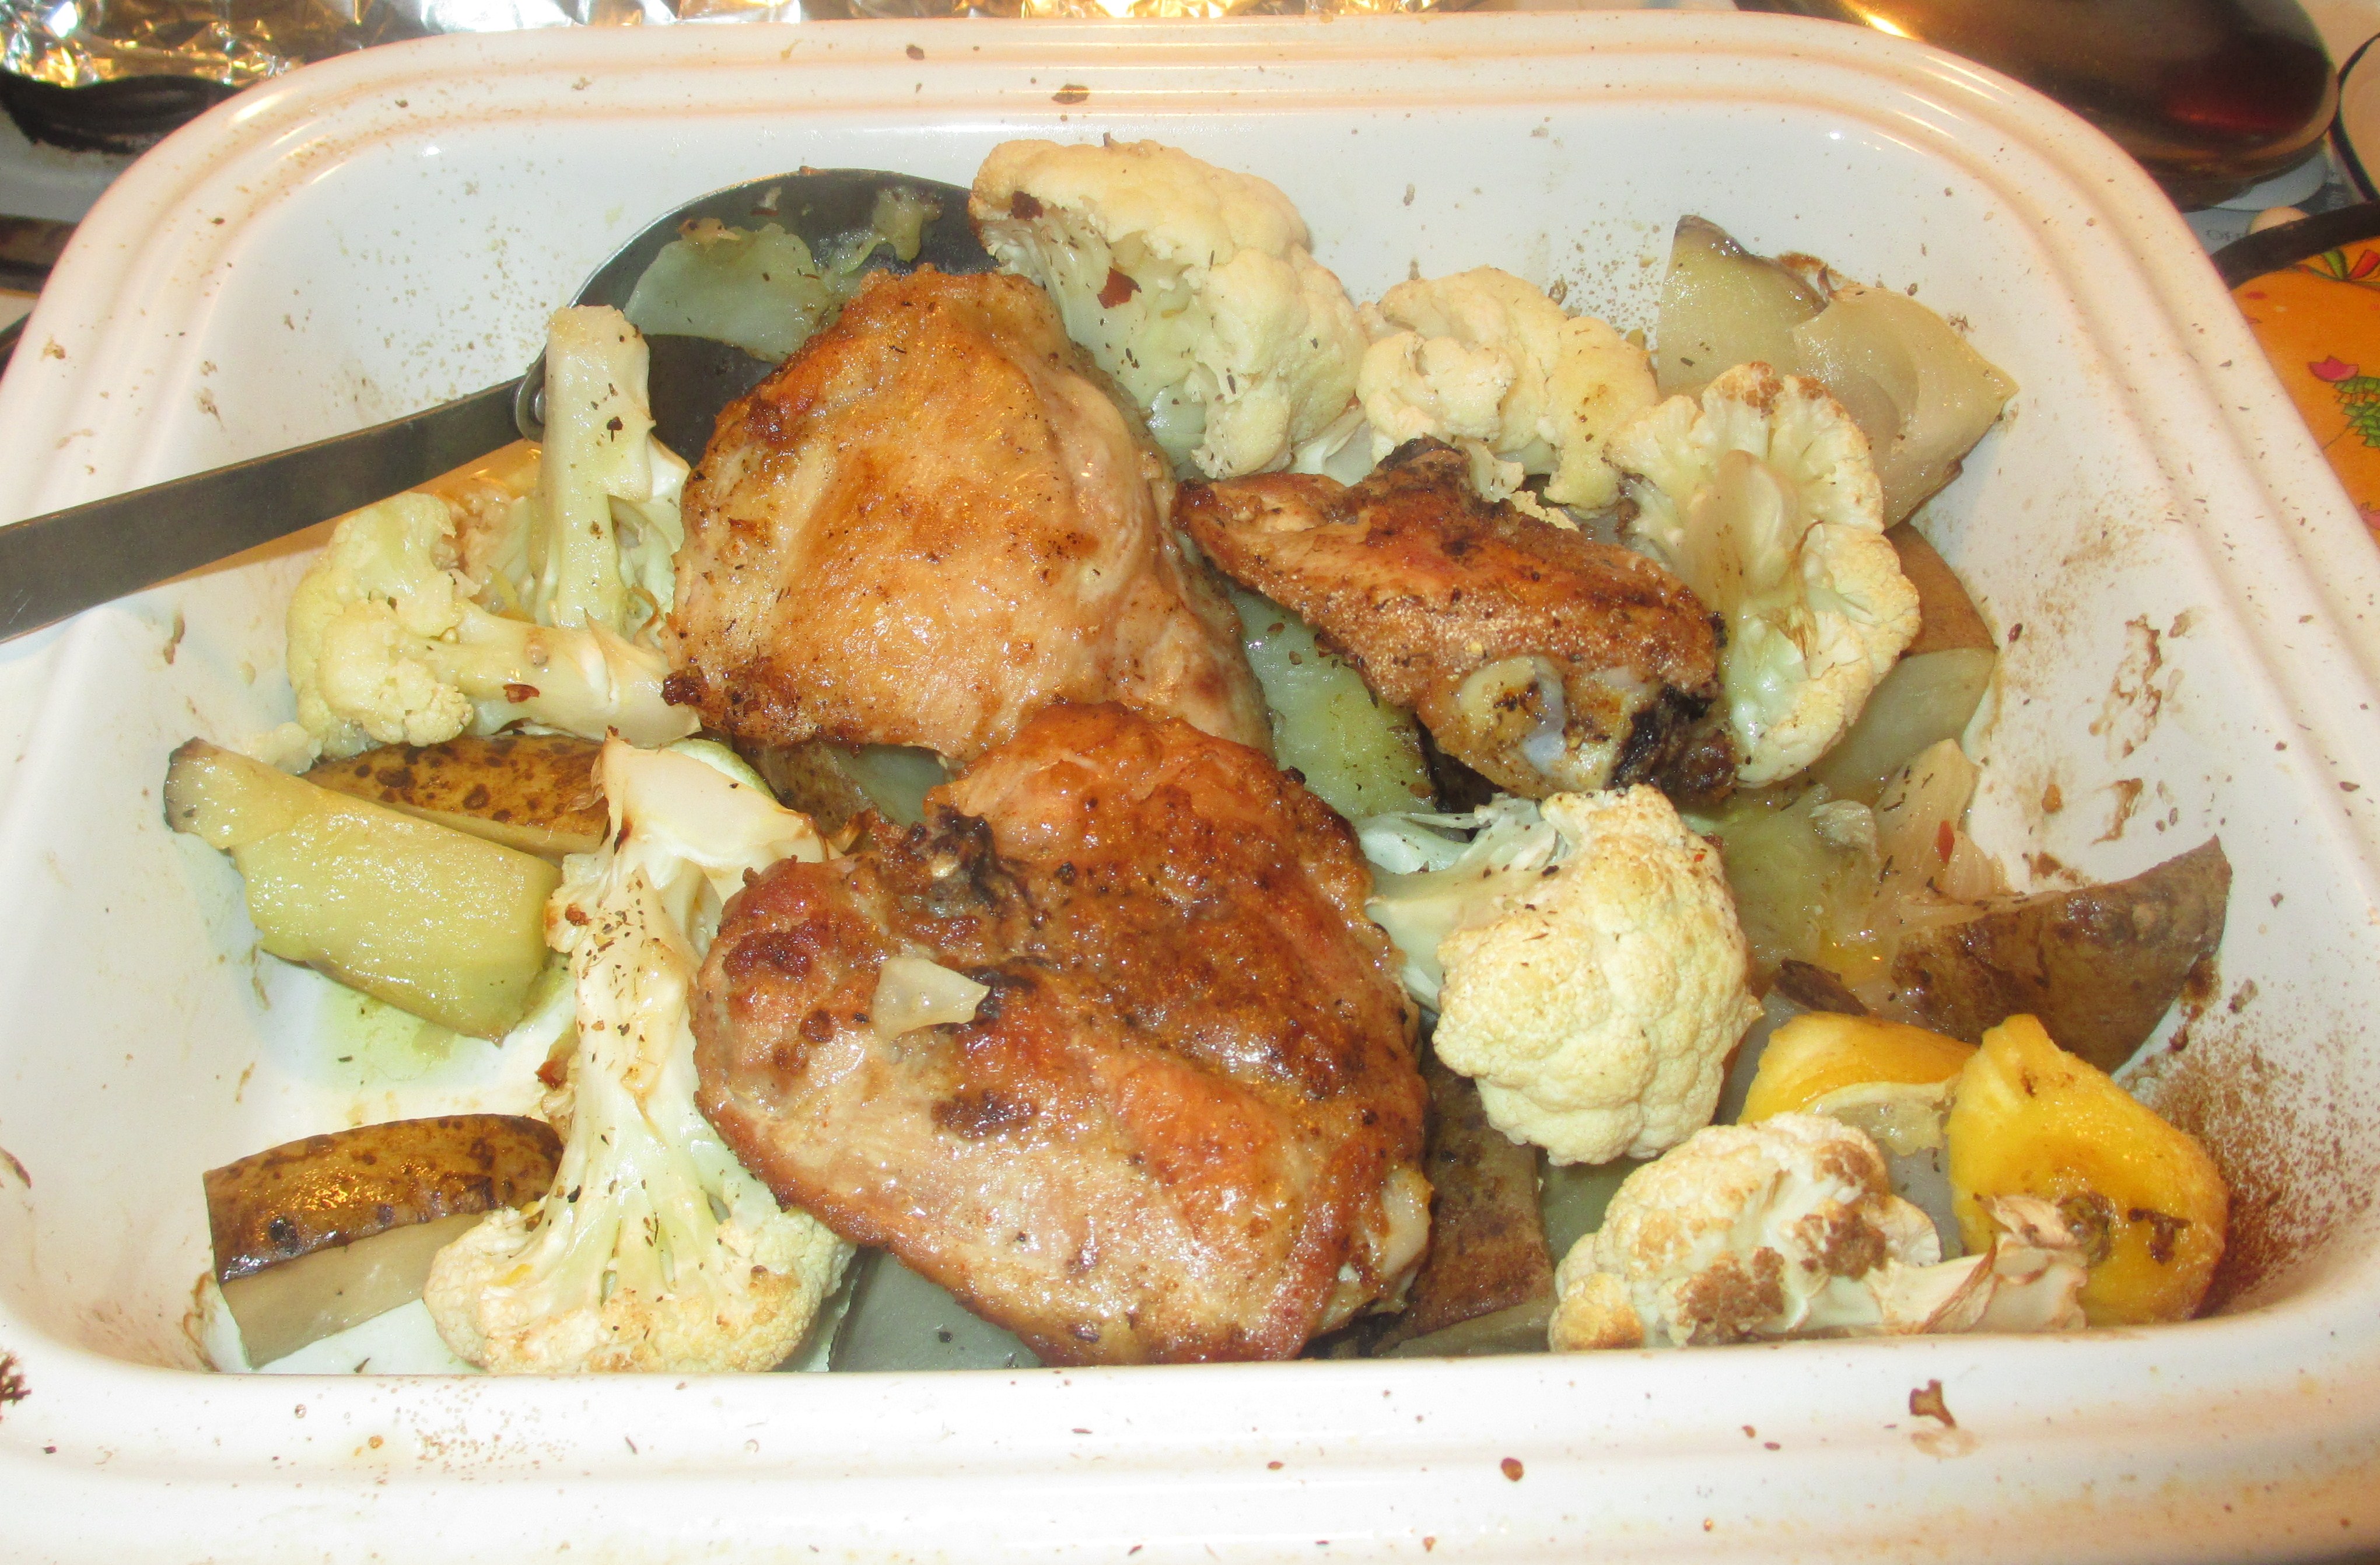
Tonight I had a package of chicken thighs, a head of cauliflower, and half a lemon to build a dinner around.  I added potatoes, onions and garlic as well as some herbs to create a lovely one dish meal that was done in less than an hour.  I started it roasting and was able to complete some chores before sitting down to a wonderful supper.  I did supplement it with a salad of kale, celery and some cooked broccoli, topped off with my own olive oil vinaigrette.  I suppose you could use another cut of chicken, just adjust your cooking time accordingly but thighs cook long and that gave my vegetables enough time to be soft and lightly browned for perfect flavor and texture.  Here is my roughed out recipe

Feeds 4

Ingredients:

One package of 4 bone-in chicken thighs, skin removed

2 Tbsp sweet brown rice flour (can use plain brown rice or sweet white rice flour)

¼ tsp paprika

¼ plus ½  tsp dried thyme

½ to 1 tsp sea salt, good sprinkle of fresh ground black pepper

1 to 2 Tbsp mild olive oil

½ a head of cauliflower, cut up into 2 inch florets

½ a lemon; make zest strips from the skin and you will use the juice too

1 medium yellow onion

2 garlic cloves

3 large russet potatoes

1-2 Tbsp extra virgin olive oil

¼ cup chicken broth.

So I took the flour and put it in a large baggie, added the herbs, salt, black pepper.  Shook them up and shook each chicken thigh in the baggie briefly to coat it.  Heat 1 to 2 Tbps. olive oil in a large frying pan, when hot, add the chicken thighs.  They should not touch each other.  Cook over medium heat for 3-4 minutes on each side or until browned.  I turn them with my old school metal tongs, the kind with the rounded ends, they look like weird scissors.  Perfect for turning chicken pieces.

While it browns get the veggies ready.  Spray a 9×13 glass or ceramic low sided casserole dish with canola or olive oil cooking spray.  Peel and cut the garlic cloves in half, throw in.  Wash and cut the potatoes into 1 inch wide wedges, cut them across into short wedges.  Throw in.  Cut up the onion into 1 inch long chunks, toss in.  Toss in the cauliflower florets. Drizzle the rest of the olive oil over the veggies. Drizzle the juice of the lemon over it and cut up the lemon half and sprinkle small pieces on the dish. Sprinkle them with some more thyme; maybe another ¼ tsp.  Sprinkle with more salt if you like and some fresh ground black pepper.  Nestle the chicken thighs in there, pour the chicken broth over it.  I had some homemade leftover from another meal and it was perfect for this, I even left the chicken fat in it for extra flavor.  Cover the casserole with a sheet of aluminum foil.  Bake in 375 oven for 45 minutes to an hour; until veggies are done when poked with fork and chicken pieces are also done; clear liquid only when pierced.

Dig in and enjoy the subtle flavor of the lemon and herbs with the chicken and cauliflower along with the mellow flavor of the potatoes, onion and garlic.  Simple and gluten free  and a perfect meal on a chilly spring evening.    Use your favorite gf flour for the chicken dipping.  Most any kind will work.  I am betting you could change out the veggies to suit what you have around the house.  Healthy, tasty and cheap especially if you get the cauliflower on sale.  I think I am almost ready for my Chopped episode!

Aside

If the Menu Says Gluten Free Your Staff Should Know What That Means….

So I went out to eat on a Saturday night before going to the movie theater. I chose a certain restaurant as it was fairly close by the movie location. And, on line they boasted of a GF menu. We got seated quickly. A tall, pretty young lady was our server. I informed her of my GF status. She said they had many GF choices. I picked steak fajitas. She said I couldn’t have the rice that normally comes with it as that had gluten. I said that rice has no gluten, that perhaps the seasoning was the reason why it was not GF? She smiled at me in a pitying way and said as though I was a simpleton, “Rice is a grain so it is not GF.” I said rice was something that we who have celiac can eat. She repeated, in that same patronizing voice, that rice is not GF. Hearing it said just that way, again, I decided to just agree with her and accept the lack of rice.       Image

My steak was juicy. The condiments were extensive including guacamole. I put one fajita together and took a big bite. Totally tasty. Still, the corn tortillas were kinda small and they tore easily when full of fajita components. So it was a messy enterprise to eat them. But, really worth the effort. Now if only they could make seasoned rice without any wheat flour in it! Then the GF fajita experience would be perfect for me.

This tiny vignette out of my Saturday evening should give you some idea of how little most people know about celiac disease and being GF. This server should have been well informed and ready to steer me towards GF choices. Instead, she gave me fairly incorrect information and corrected me in a somewhat patronizing fashion.

So…just for the record. The following foods cannot be eating by those with a gluten allergy (celiac disease is the most severe of the gluten allergies): wheat, barley, rye, spelt, farro and any variant on any of those grains. If an ingredient list says starch without identifying it any further then you should consider it to be wheat starch and avoid the product. Safe grains are all rices including wild rice, quinoa, millet, buckwheat, amaranth and some other unusual items like chia, flaxseed, sesame seeds and other seedy items!

But, even a trace amount of gluten can cause a severe reaction in some people with gluten allergies. So you have to be careful about anything you eat or put on your body, read all food labels, take all possible steps to avoid contamination by even tiny amounts of wheat and when eating out, make sure your restaurant server is well aware of your gluten allergy.

Restaurants need to educate their staff more carefully so they can be more knowledgeable and more helpful to customers like me who know what we are allergic to! This is not some mild pesky thing but a very painful mistake if you serve gluten to someone with celiac disease. All serving and cook staff need to be properly educated in terms of not contaminating food with gluten and in discussing GF food choices with customers.  Such training would take less than 15 minutes and could be done in a large group making it quick and relatively painless.  If you are going to say GF on your menu, then every staff person should know the basics of what that means.  Your mistake could make someone very ill.  Patrons need to be properly informed on safe choices and why some things are not safe.  Are you listening local restaurants?

Originally posted in June 2013.

The Devil Made me Do it! Deviled Eggs are a Great Snack!

So I was thinking about my favorite snacks after my recent re-posting of a snack post of last year.  There are now so many GF things to buy but frankly they are fairly expensive and full of weird stuff plus I don’t think some of them taste that yummy.  The other day my sister asked me about deviled eggs.  Then I read an article in Food Network Magazine extolling the delights of many versions of that very same classic picnic food.   You know, the one people used to carry in quaint Tupperware boxes with shallow egg half depressions.  It got me thinking and since Easter and hard boiled eggs are mere days away…I decided a post on an old favorite was in order: deviled eggs.   Image

Deviled Eggs; they are so easy to make, so old school and yet so very tasty.  They are naturally gluten free if you stay away from spice mixes or premade sauces. I don’t even use a recipe.  First I boil the eggs for 10 minutes and let them stand ten more in the hot water.  Chill and peel each egg carefully: I like to gently roll them around on the counter to crack them all over the shells.  Use the oldest eggs in your fridge for boiling; they peel easier and any size works fine.

I rinse them briefly after peeling and slice them the long way. Then dump the yolks into a shallow dish.  I add a scoop of good quality mayo, a ½ tsp or so of Dijon mustard, a splash of red wine vinegar, a sprinkle of sea salt and fresh ground pepper.  Don’t over blend and for goodness sake don’t add too much mayo, vinegar or mustard!  Excessive mustard is particularly egregious as the egg looks okay until you pop it in your mouth and the mustard sets your tongue on fire! Start with a small amount and add more until the taste is where you like it.

Then I scoop them into the empty egg white mounding up the filling. I don’t bother to pipe them in but you can!  An easy way to do that is put the filling in a ziplock bag, zip it and cut one corner out for piping it out of there.  Lastly, I like to sprinkle some paprika over it.  Some people guild the lily with a half olive (black or green as you like) but I prefer them plain.  Eat them the same day they are made, never a problem in my family as we never ever have leftovers.  They fly out of that dish like wings are attached to each egg half!  So, once the egg hunt is over,  you will be left with some eggs and this is a perfect usage that your family will cheer for. 

If you want the fancy versions check out this month’s Food Network Magazine at the library and whip up a few of them. Let me know what tastes good and maybe I will break with tradition and allow a funky topping to interfere with past deviled egg standards. Image