Sourdough Can be Gluten Free and Delicious!

I have been making some gf sourdough breads and other baked goods for quite a few months now; since last winter. Hiatus over summer due to hot kitchen although I did continue to make sourdough bagels regularly. I love them with eggs for breakfast and I often have an open-faced bagel sandwich for lunch. The starter I use is make of brown rice flour and water. Occasionally I treat it to some honey. Currently it sits in the fridge until the day before I bake. Then I feed it more flour and water and stir it up to get active. Hey, I know, sourdough is not for everyone, and it has the reputation of being super tricky and unreliable. I can attest to some of that, but I have my secret weapon; a teaspoon of active yeast is my little helper. Added to the dough with the majority of ingredients it gets that dough to puff up, albeit over about 5-6 hours. Shhh! Don’t tell any serious sourdough bakers; they are somewhat fanatical bakers who are incredibly dedicated to their starters, recipes, the lengthy process and are fairly willing to waste lots of ingredients and hours of time waiting for a rise that often is minimal at best. After a few months of up and down results I have gone over to the dark side; that teaspoon does the trick; it is less than half a packet of yeast but it is enough to boost the rising power of my dough to results that are delightful and give me great joy. Until this year, I hadn’t had sourdough since going gf in January – February 2007. My mom loved sourdough and I sure missed it and looked longingly at the loaf of it at family gatherings. No more longing; I am making my own delicious sourdough breads and bagels.

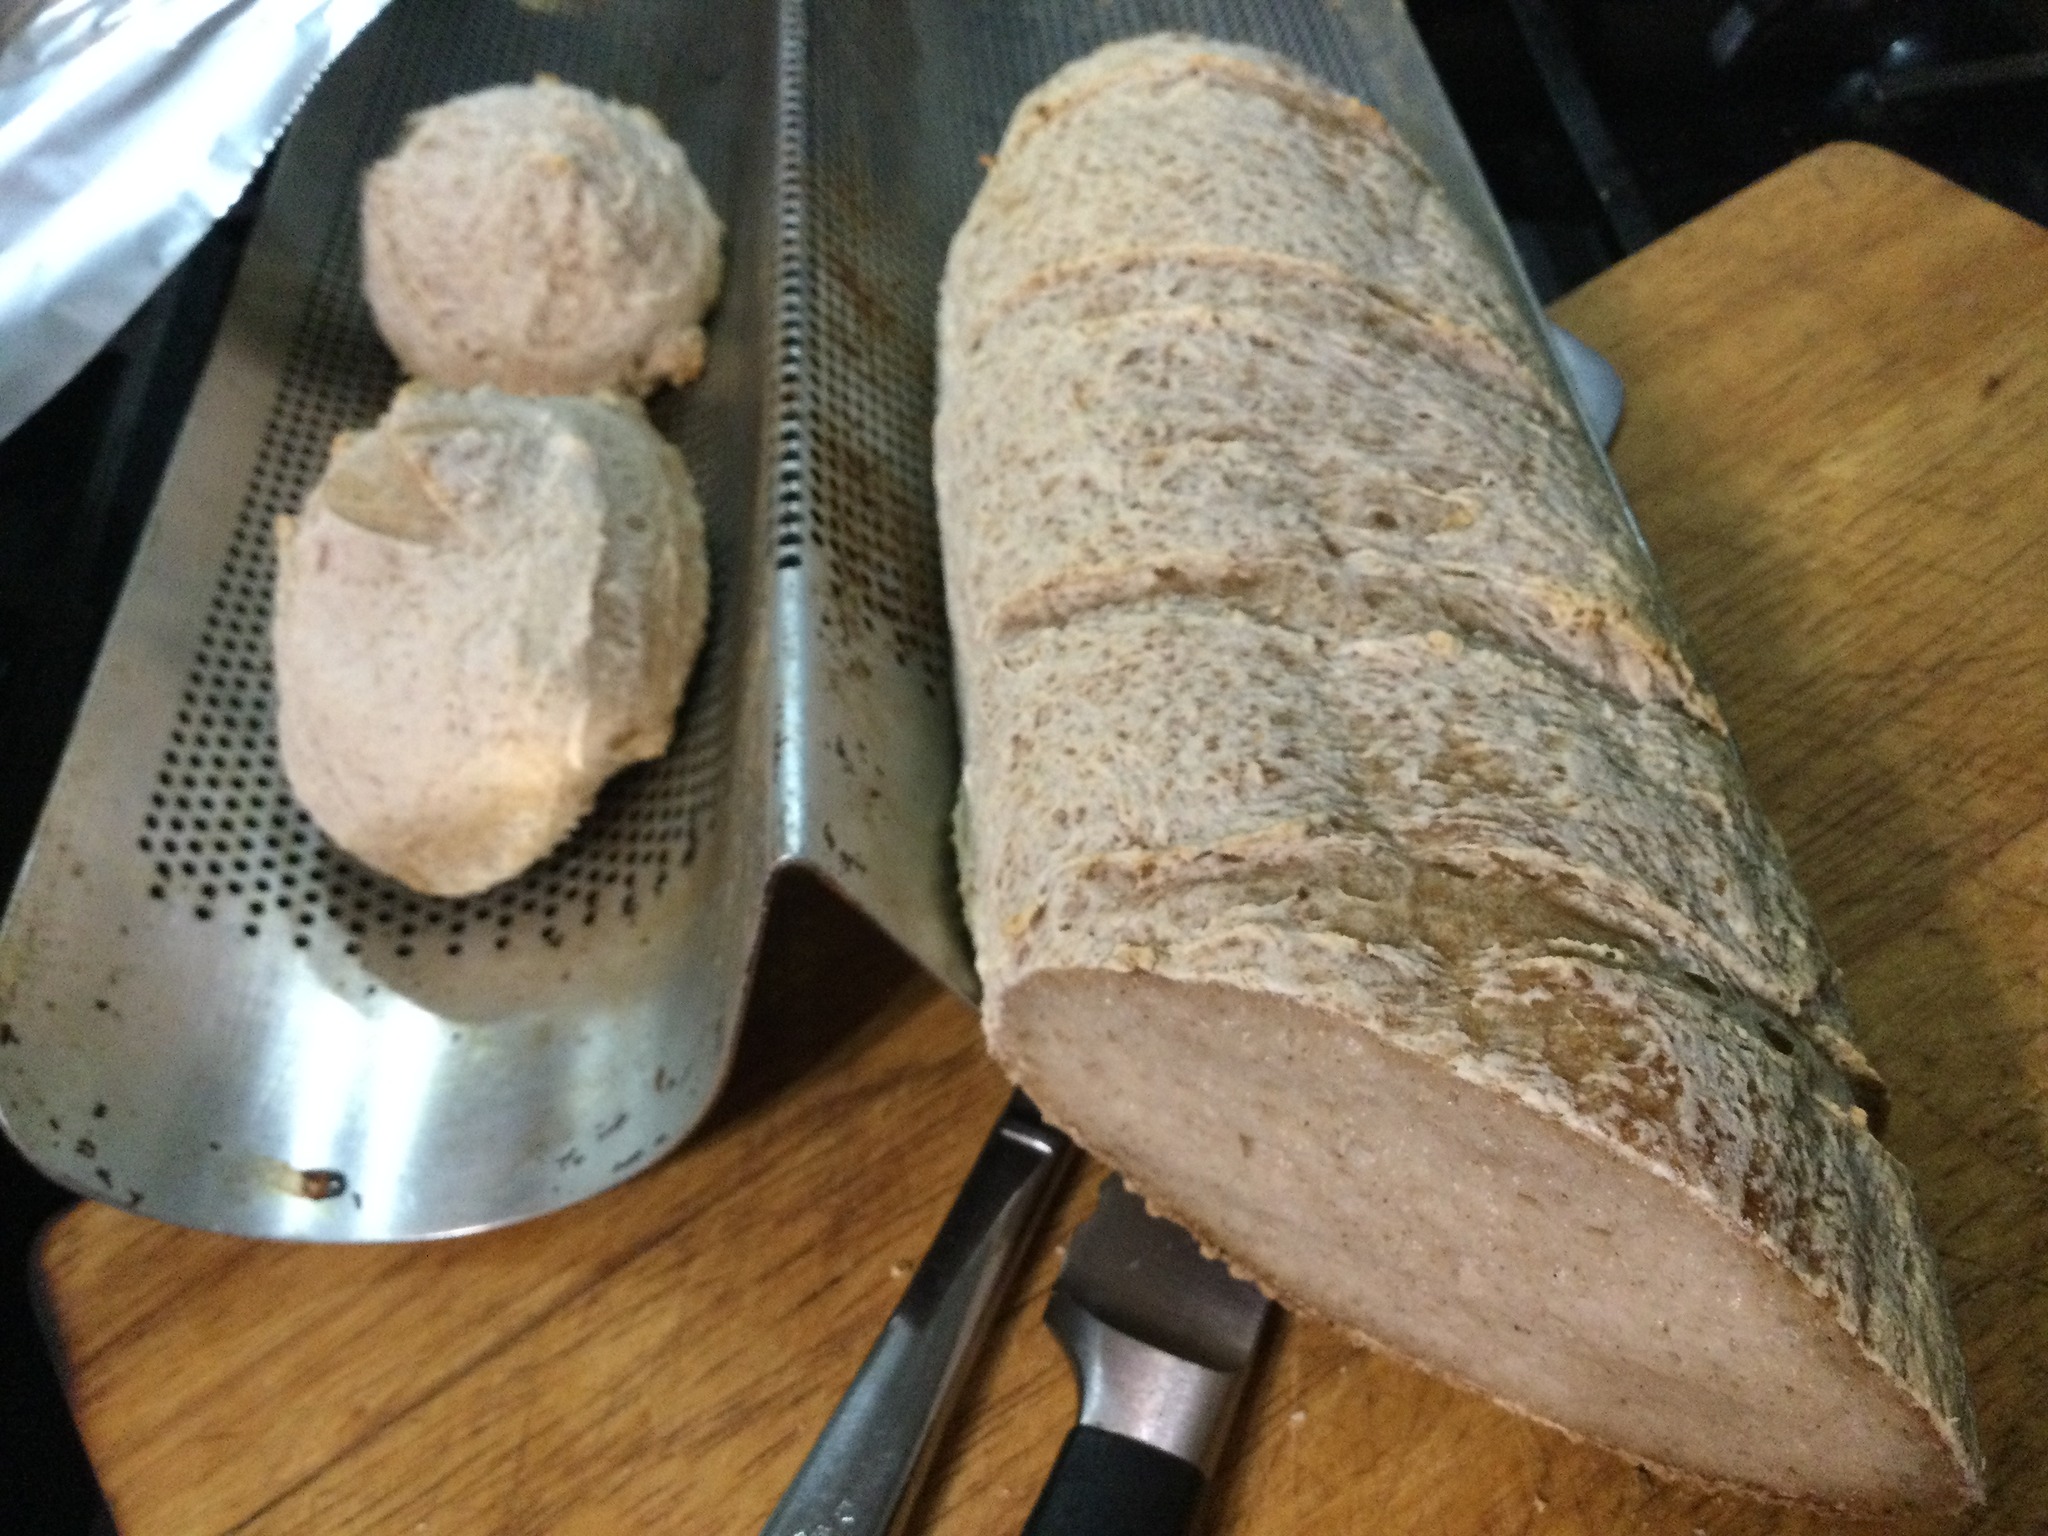
The recipes I use come from a few sources, Aran Goyoaga bakes an amazing looking loaf of sourdough, but my favorite site is Bakerita; I belong to a fb group dedicated to her recipes and advice. Her boule is delicious if exacting in construction. I use her recipe for gf sourdough bagels, and it is super easy and super forgiving. And for those who think bagels are too difficult to make; Wrong! It is a one rise of the dough in the mixing bowl, cut into 8 equal chunks, roll into a ball, poke a hole through the ball and shape into a bagel. Let rise an hour or more, give each bagel a bath in boiling water with baking soda in it; 30 seconds on each side; place back on baking sheet. Dress up with poppy seeds, sesame seeds or Everything bagel mix (my favorite). Bake for an hour and there they are, chewy, golden and just lovely to munch on. I was driven to making my own when I found all the store gf bagels were lacking in texture and flavor and when Aldi’s stopped selling gf Everything Bagels. The last straw for me!! I slice them in half and freeze. Usually get through them in 3 weeks and I bake again.

Bagels, bathed, sprinkled and ready to bake

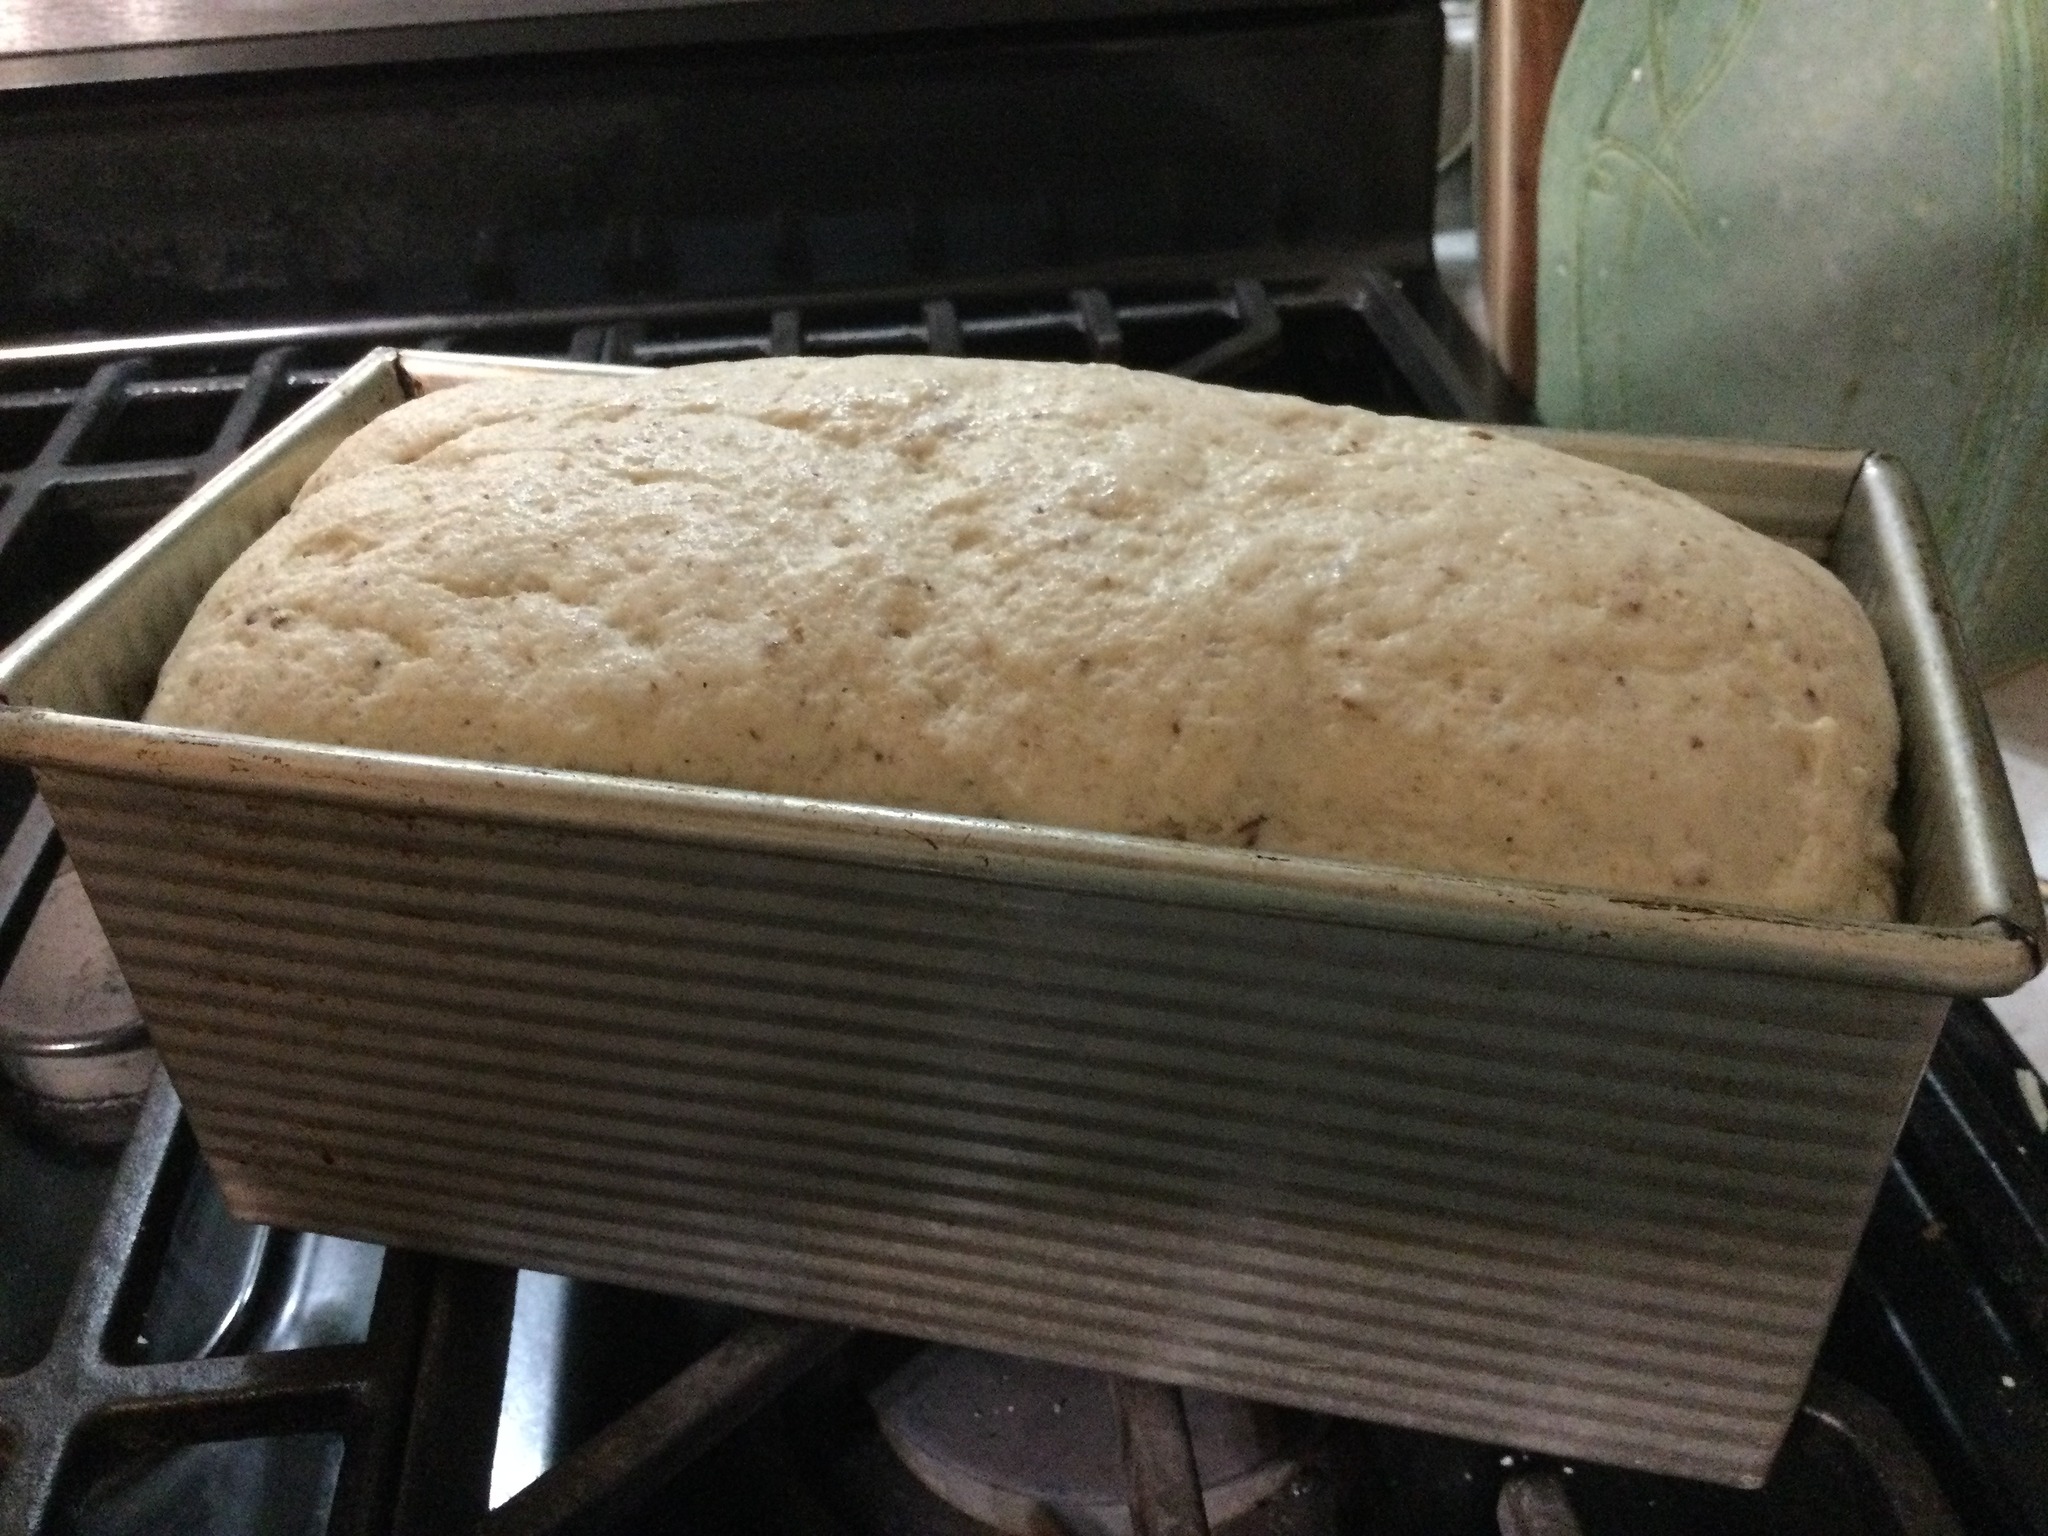
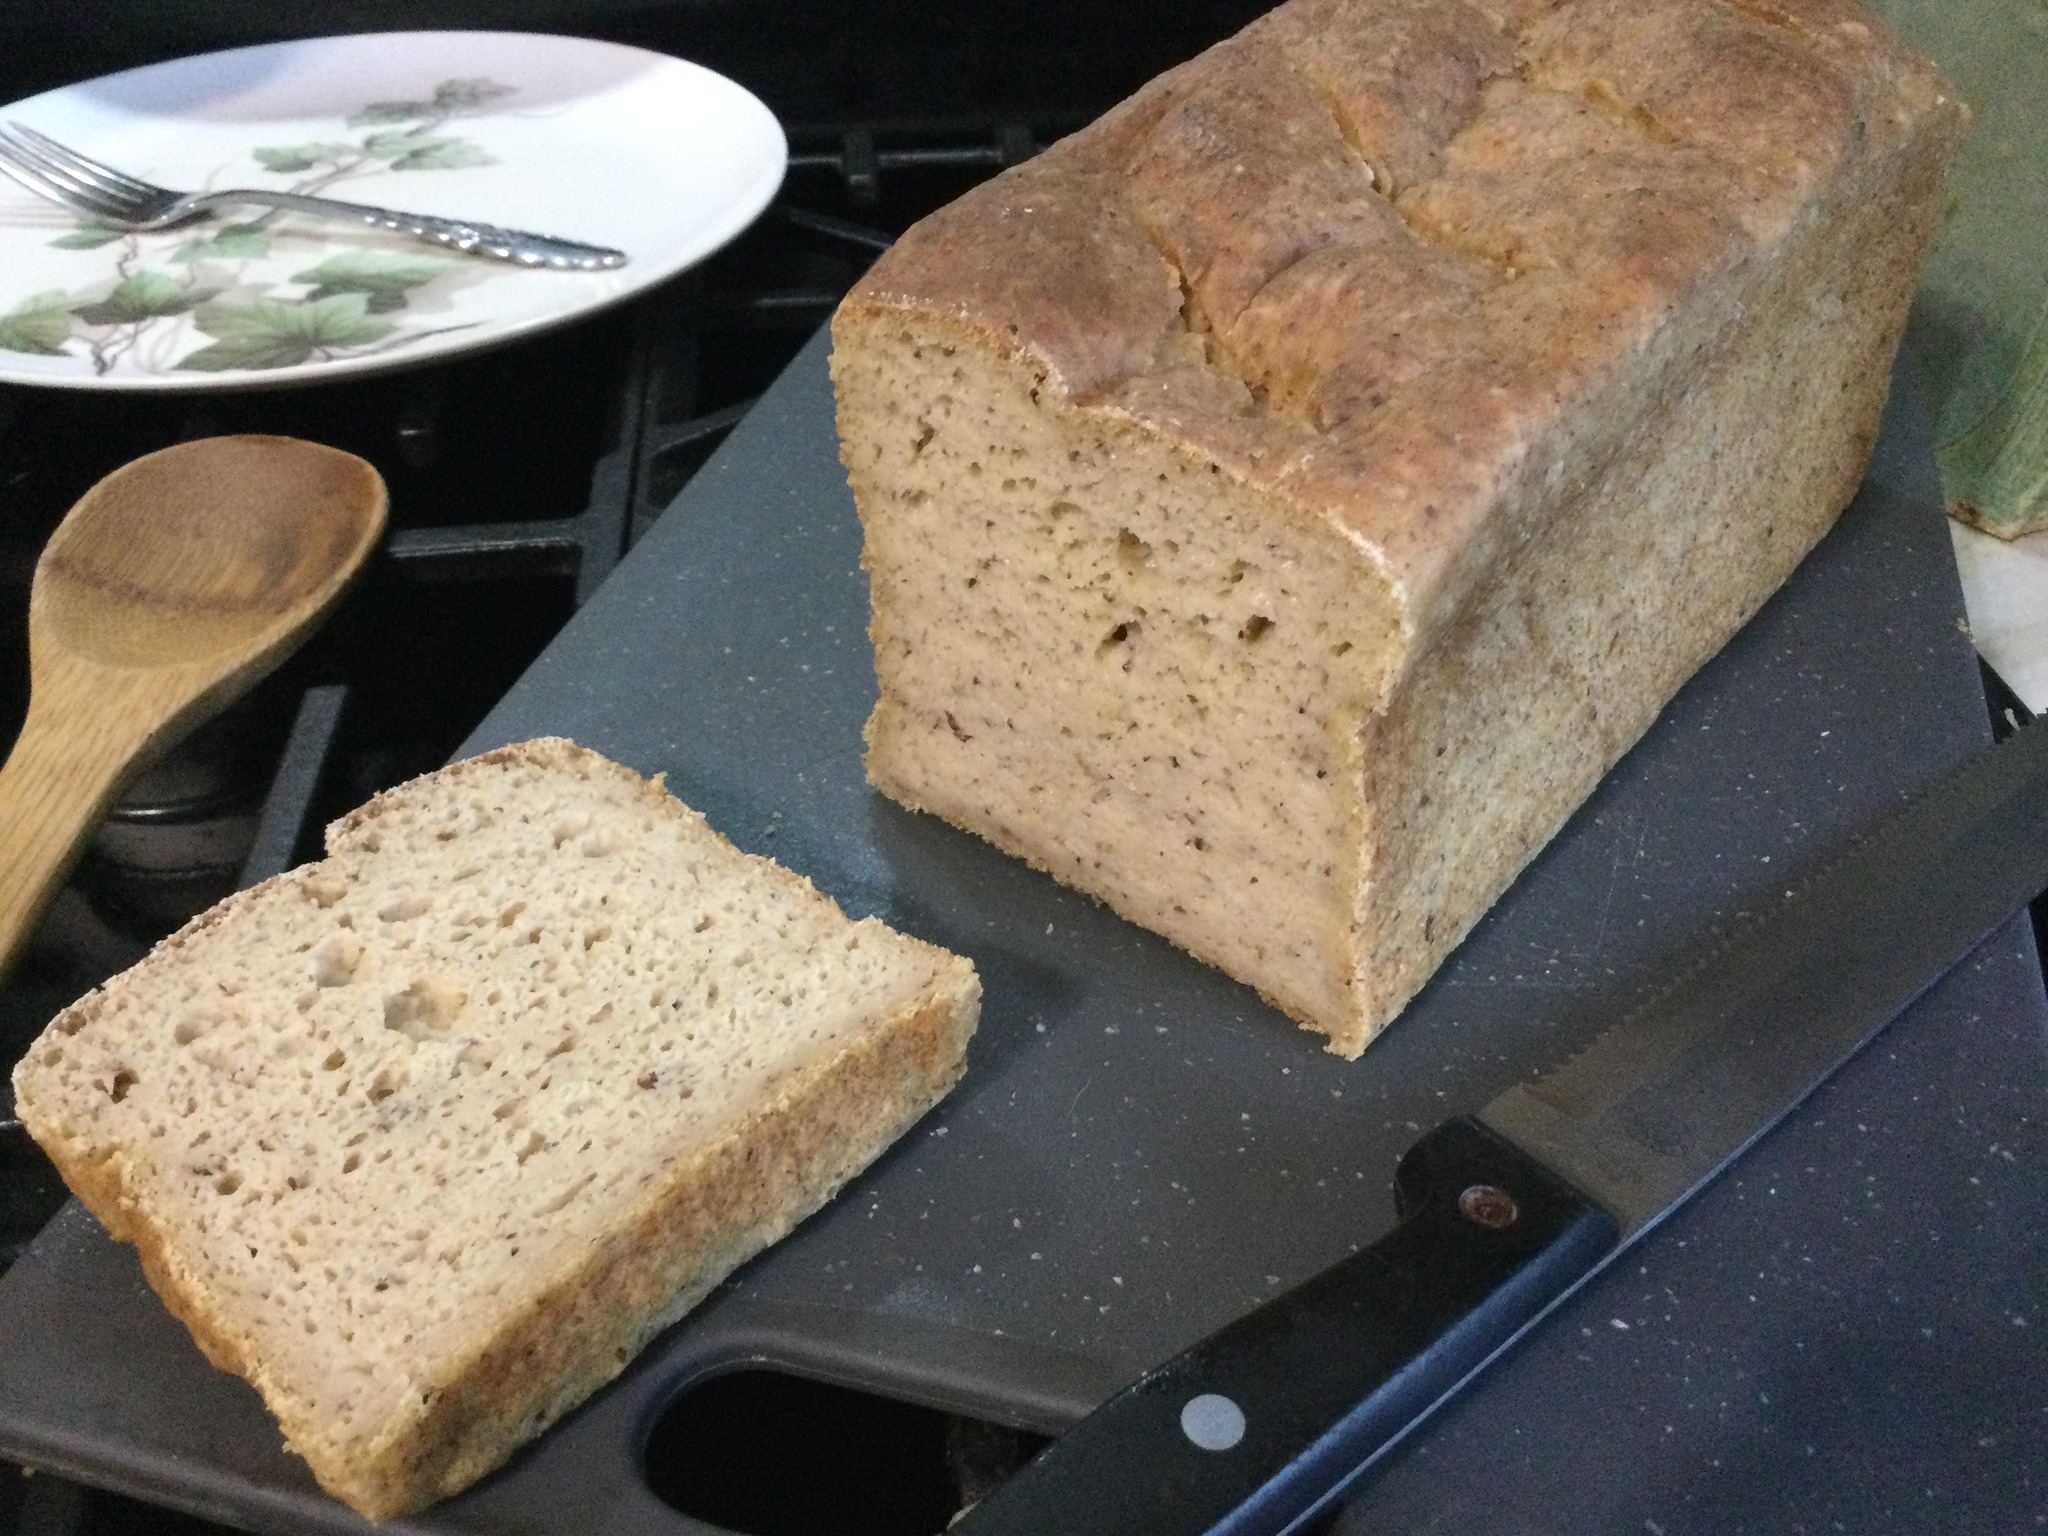
You can look on facebook for Bakerita’s site. Also for a gf sourdough baking group although I warn you, they are so deadly serious about it! And on both these sites there are recipes in the notes for a wide variety of baked goods. I have two of Aran’s cookbooks. I do tend to do the Bakerita recipes more often; if you follow them closely and add that tsp. of instant yeast you will get great results. Aran’s cookbooks have a detailed step by step recipe for creating your own sourdough starter; not that difficult to do. I have made sourdough scones too; see a few past blogs. I tried sourdough crackers with some limited success. The most recent recipe was the Bakerita boule but made as a loaf and allowed to rise 6 hours before baking. It has lovely even holes in the bread and my guy swears it tastes just like sourdough bread he buys. [He is not gf except when he is at my house so he eats wheat-based products regularly and can easily compare my breads to them.]

blueberry rhubarb sourdough scones

I find it a fun and almost scientific process; you weigh all the ingredients; strongly urge you to get a good electric scale that can do both ounces and grams. Essential. As is a stand mixer for most recipes. The bagel recipe can be made without a stand mixer. And bonus, far cheaper than buying the bread and far better flavor! Plus your house wil; smell fantastic as the bread bakes. Finally, there are the family’s accolades at your amazing sourdough bagels. Who know it could be so easy and fun to make bagels. I promise you will love them. Have fun and be adventurous! Sourdough is for us gluten free types! Go out and bake some.

Apple Berry Crumb Pie

This is a twist on apple pie I like for when I am tired of apple pie or in late winter when the apples get sort of sad; they are not as crisp or flavorful so I add some berries to brighten up the mixture. This recipe uses cranberries. I used frozen ones but fresh are great too; lots of them will be in the stores for Thanksgiving. They taste like cherries in this pie! My guy was sure these were tart cherries!! Yay; that means they are a good addition.  I bet you could use other berries or cherries from the freezer case. I am planning on making this pie for Thanksgiving Day.

I have made this pie before I went gf but with a rolled-out crust cutout with big circles. That version had ginger in it. This one is a bit more traditional in the flavors and easier without rolling out a second crust.

The filling is cooked briefly on the stove top to keep the pie from settling too much in the oven.  There are three main components but don’t be scared; this is an easy pie to create.

apple cranberry crumb pie out of ovenCrust:

1 c plus 2 tbsp brown rice flour mix (at bottom of recipe)

2 Tbsp sweet rice flour

1 Tbsp. granulated sugar

½ tsp xanthan gum

¼ tsp salt

6 Tbsp. cold butter cut into 6 chunks

1 lg egg

2 tsp fresh orange or lemon juice

Spray 9 inch metal pie pan with cooking spray, dust with white rice flour.

Mix dry ingredients in bowl of stand electric mixer.  Add butter and mix until crumbly and resembling coarse meal.  Add egg and juice.  Mix until it comes together into big chunks.  Shape into a ball with your hands. Put it on a pie bag or on a crust sized piece of wax paper (14 x 14 inches more or less), flatten the crust ball some; put on top of it another piece of wax paper and chill it all in your fridge 15-20 minutes while you prepare the crumbs and the filling.  I have a wonderful pie bag made by OXO that is nonstick, sturdy construction and just awesome! I have used nothing else but that bag since it was gifted to me a year and 3 months ago.

Crumbs:

¾ c brown rice flour mix

½ c sugar

½ tsp xanthan gum

5 Tbsp.  cold butter cut into 6-8 chunks

Put all four ingredients in the same mixing bowl you made the bottom crust in and mix well with mixer paddle until crumbs form.

Filling:

4-5 cups sliced fresh baking apples (no red delicious or honey crisp)

1/2 cup 2/3 c sugar (use the higher amount if you like it sweeter)

2 cups fresh or frozen cranberries

1/4 tsp cinnamon

1 tsp. fresh orange rind and a Tbsp orange juice

2 tbsp. butter at room temp

2 tbsp. instant tapioca or tapioca or rice flour

Raw or big/fancy crystal sugar to sprinkle on top

Directions: Mix the fruit, spices and sugar in a large bowl, Add the butter to a large sauce pan and melt; dump in the fruit mixture, cook about 6-8 minutes until apples soften and the cranberries are bursting. Then add the rind, juice and tapioca or rice flour, stir.  Let cool a few minutes to room temperature.

Heat oven to 400 degrees.

Pour cooled filling into pie shell, top with crumbs; use them all; sprinkle with your fingers. Top with a Tbsp big crystal sugar if you have any – a nice finishing touch.

Place on baking sheet to catch drips (I have a pie drip pan I love!)  Bake for 30 min and turn down the oven to 375 degrees and bake 20-25 more minutes: until crust is golden and you can see the filling bubbling.  Cut it short or lower temperature if crumbs are browning too much. Cool on rack for at least 1-2 hours before serving.  Enjoy! apple cranberry crumb pie slice

First published in April 2020, no changes to recipe; minor corrections/changes to text.

Classic Apple Pie

Apple is the quintessential American fruit: the story of Johnny Chapman Appleseed is still popular,  apples are a favorite fruit of elementary age students and apple pie is king for many pie lovers.  A ripe apple is a crunchy sweet treat. Just walk through an apple orchard in autumn: the delicious scent in the air will cause you to purchase lots of apples.  An apple pie in the oven always perfumes the house for hours, acting like a magnet for children and male friends! I normally make an apple crumb pie but sometimes I go that extra step to make a top crust, sure pleases my guy even through he professes to love crumb pies…

I put this scratch pie together in a few steps; make the double recipe of crust dough; put it in fridge to chill while I peeled, sliced and cut up the apples.  If you plan to pre-bake your crust those ten minutes of baking the empty pie crust are also a good time for preparing the apples.  Each step is fairly easy but the results are spectacular.  Of course, you could buy a ready-made unbaked crust but this crust I use is fairly easy if you use a stand mixer and it is really tasty: my mom hardly believes it is gluten free! I really don’t know how to convince her but this disbelief of hers is proof of the great flavor and texture of this particular basic gf pie crust.  I used a mixture of baking apples, but not Granny Smith unless they have gotten a tad soft and definitely no apples meant for only eating raw like Red Delicious.

It goes without saying that this pie is great with a slice of vanilla ice cream.

Fresh out of the oven!

The entire pie got eaten and no one remembered to take any more pictures of it; like of a single slice… sadly it is long gone.

Double Crust Apple Pie

Crust:

2 1/4 c brown rice flour mix (at bottom of recipe)

1/4 c sweet rice flour

2 Tbps. granulated sugar

1 tsp xanthan gum

1/2 tsp salt

12 Tbps. cold butter cut into 6 chunks

2 lg eggs

4 tsp fresh orange or lemon juice

Directions: Spray a nine inch pie pan with cooking spray, dust with white rice flour. Set aside.

Mix dry ingredients in bowl of stand electric mixer.  Add butter and mix until crumbly and resembling coarse meal.  Add eggs and juice.  Mix until it comes together into big chunks.  Shape into two balls with your hands. Put them on a crust sized piece of wax paper (14 x 14 inches more or less), flatten the crust balls some; wrap well and chill it all in your fridge 15-20 minutes.

Roll out one flattened ball of chilled into a pie crust in a pie bag or between the two sheets of wax paper, try to get the thickness even, no thick middle! Peel off one side of paper and place in the pie pan, be sure to center it.  Remove other slice of wax paper.  Crimp edges all around or wait to do it with the top crust.

Filling:

6-8 medium-large sized apples, I like a mixture of yellow delicious and at least one other cooking variety; red Rome, Jonathan, empire, Courtland, or any tart apple you like to bake with.

Peel apples, quarter, cut out core, slice into 1/3 inch thick slices. Should have at least six cups. Place in a large bowl

¼ cup brown sugar

1/2 cup granulated sugar (more if you like it sweet)

3 tbsp. minute tapioca or 3 tbsp. gf flour mix (recipe below or any decent blend)

1 tsp. cinnamon

A good sprinkle of ground nutmeg

1-2 tbsp lemon juice

Mix the dry ingredients, sprinkle the apples with lemon juice; add the dry ingredients. Heap in pie crust, Top with:

1  Tbsp. cold butter cut into small bits (optional)

Roll out top crust after you put the filling in the pan that is lined with the first crust. Peel off wax or parchment and lay over apples, crimp edges with fingers to seal them.  Prick or slash the top to let out steam. Bake in a preheated 375 degree oven for 55-65 minutes until bubbly and the crust is light brown.  You can cover the pie loosely with aluminum foil for the first 30 minutes.  I have a bottom heat oven so my crust gets crisp but if you have issues with soggy bottom crusts; prebake your crust for 10 minutes; then fill, top and bake immediately.

Cool the pie at least 4 hours to allow the juices to reabsorb before serving at room temperature.

Brown Rice Flour Mix (same as  King Arthur basic gf blend)
2 c brown rice flour

2/3 c potato starch

1/3 c tapioca flour

The crust recipe is from Annalise Roberts’ great cookbook: Gluten-Free Baking Classics. My filling is slightly different.

Originally posted in 2017

Apple Crumb Pie

Apples, a favorite American fruit and they are the main ingredient in America’s favorite pie.   This crumb topped pie is easier than a two crust pie. I gave you the amounts for a 9-inch pie; I myself generally make it 10 inch; use 10 cups sliced apples and higher end of amounts of sugar, tapioca and spices.  Bake 60 minutes.

I put this pie together in a few steps; make the crust dough; put it in fridge to chill while I peel, slice and cut up the apples. I also throw together the crumbs before rolling out the pie; you don’t need to rinse the mixer bowl from the crust then.  If you plan to prebake your crust those ten minutes of baking the empty pie crust are also a good time for making the crumbs and preparing the apples too!  Each step is fairly easy but the results are spectacular.  Of course, you could buy a readymade unbaked crust but this crust I use is really tasty: my mom never believed it was gluten free!  This disbelief of hers was proof of the great flavor and texture of this particular basic gf pie crust.unbaked-apple-crumb-pie

It goes without saying that this pie is great with a slice of vanilla ice cream.  Winter is still a good time for an apple pie but by spring the apples are iffy, and I stop baking pies with them.  Be seasonal whenever possible when it comes to fruits, and you will get the best flavor and taste in your fruit-based desserts.

Apple Crumb Pie

Crust:

1 c plus 2 Tbsp. brown rice flour mix (at bottom of recipe)

2 Tbsp. sweet rice flour

1 Tbsp. granulated sugar

½ tsp xanthan gum

¼ tsp salt

6 Tbsp. cold butter cut into 6 chunks

1 lg egg

2 tsp fresh orange or lemon juice

Directions: Spray a nine-inch pie pan with cooking spray, dust with white rice flour. Set aside.

Mix dry ingredients in bowl of stand electric mixer.  Add butter and mix until crumbly and resembling coarse meal.  Add egg and juice.  Mix until it comes together into big chunks.  Shape into a ball with your hands. Put it on a crust sized piece of wax paper (14 x 14 inches more or less), flatten the crust ball some; put on top of it another piece of wax paper and chill it all in your fridge 15-20 minutes.

Roll out the flattened ball into a pie crust in a pie bag or between the two sheets of wax paper, try to get the thickness even, no thick middle! Peel off one side of paper and place in the pie pan, be sure to center it.  Remove other slice of wax paper.  Crimp edges all around.

Filling:

8 cups thin apple slices from 8-9 medium-large sized apples, I like a mixture of yellow delicious and at least one other cooking variety; red Rome, Jonathan, empire, Courtland, or any tart apple you like to bake with. Note: I have made it just with Cortland or with Golden Delicious apples; excellent pies!

Peel apples, quarter, cut out core, slice into 1/3 inch thick slices. Mix in a large bowl with:

¼ cup brown sugar

3-5 Tbsp. granulated sugar (3= tart, 5 if you like it sweet)

2 Tbsp. minute tapioca

1 tsp. cinnamon

A good sprinkle of ground nutmeg

A small sprinkle of ground ginger

1 Tbsp lemon juice

Heap in pie crust.

Crumb topping

Put all four ingredients in the same mixing bowl you made the bottom crust in and mix well with mixer paddle until crumbs form.

¾ c brown rice flour mix

½ c sugar

½ tsp xanthan gum

1/3 c cold butter cut into six chunks

Finishing directions: Sprinkle the top of the pie with crumb mix; use as much as you like.  I like about 2/3 of the mixture.  Up to your personal taste…  Bake in a preheated 375-degree oven for 55-60 minutes until bubbly and the crust is light brown.  You can cover the pie loosely with aluminum foil for the first 30 minutes.  I bake my pies at the lowest possible level shelf, so my crust gets crisp but if you have issues with soggy bottom crusts; prebake your crust for 10 minutes; then fill and bake immediately.

Cool the pie at least 3 to 4 hours before serving at room temperature.

Brown Rice Flour Mix
2 c brown rice flour

2/3 c potato starch

1/3 c tapioca flour

The crust and crumbs are from Annalise Roberts’ great cookbook: Gluten-Free Baking Classics. My filling is slightly different.

Originally posted February 2015.

Zucchini and Tomato Quiche in a Potato Crust

Sometimes you just don’t feel like making a traditional crust. This was one of those times. I had a homegrown zucchini, some cherry tomatoes, cheese, eggs, and 2 potatoes. Quiche for supper! This is a different filling recipe than my usual one; it is more eggs, half and half instead of milk and no cottage cheese; cubed mozzarella cheese. It was a delicious change of pace especially with the julienned fresh basil leaves sprinkled all over the top. You could use other veggies; I went with what I had. The garden’s bounty and it didn’t fail me.

Just baked, still pretty hot.

Angie’s Zucchini and Tomato Quiche

Ingredients

2 large russet potatoes, washed well and sliced very thin: about 1/8 inch thick.

cooking spray

5 large eggs

1/3 cup half and half

about 4-5 ounces cubed mozzarellla cheese

about 1/3 cup sliced onion; I used one small onion

2 Tsp EVOL

approximately 1 to 1-1/2 cups sliced zucchini

1/4 tsp garlic powder

1/2 cup or so cherry tomatoes, halved

6-7 large basil leaves Jullianned

Directions:

Heat oven to 375 degrees. Spray a 8.5-9 inch metal pie pan with olive oil cooking spray. Line it with potato slues on the bottom and half way up the sides. Spray again all over with the olive oil cooking spray. Bake 20 min; don’t let it get really brown. Turn oven down to 350 after removing pie shell.

Mix eggs and half and half in blender; 10 seconds or so.

Sautee the onion rings in some EVOL; maybe 2 tsp of it. Add squash after 2-3 minutes. Cook until softening; maybe 5 minutes. Sprinkle with garlic powder. Pour into warm potato crust. Sprinkle with tomato halves and cheese cubes. Pour egg mixture gently over it Sprinkle with basil leaves.

Bake in 350 degree oven 30-35 minutes; if it looks like it is browning too much turn heat back to 335 degrees.

Cool to lukewarm before cutting. Enjoy!