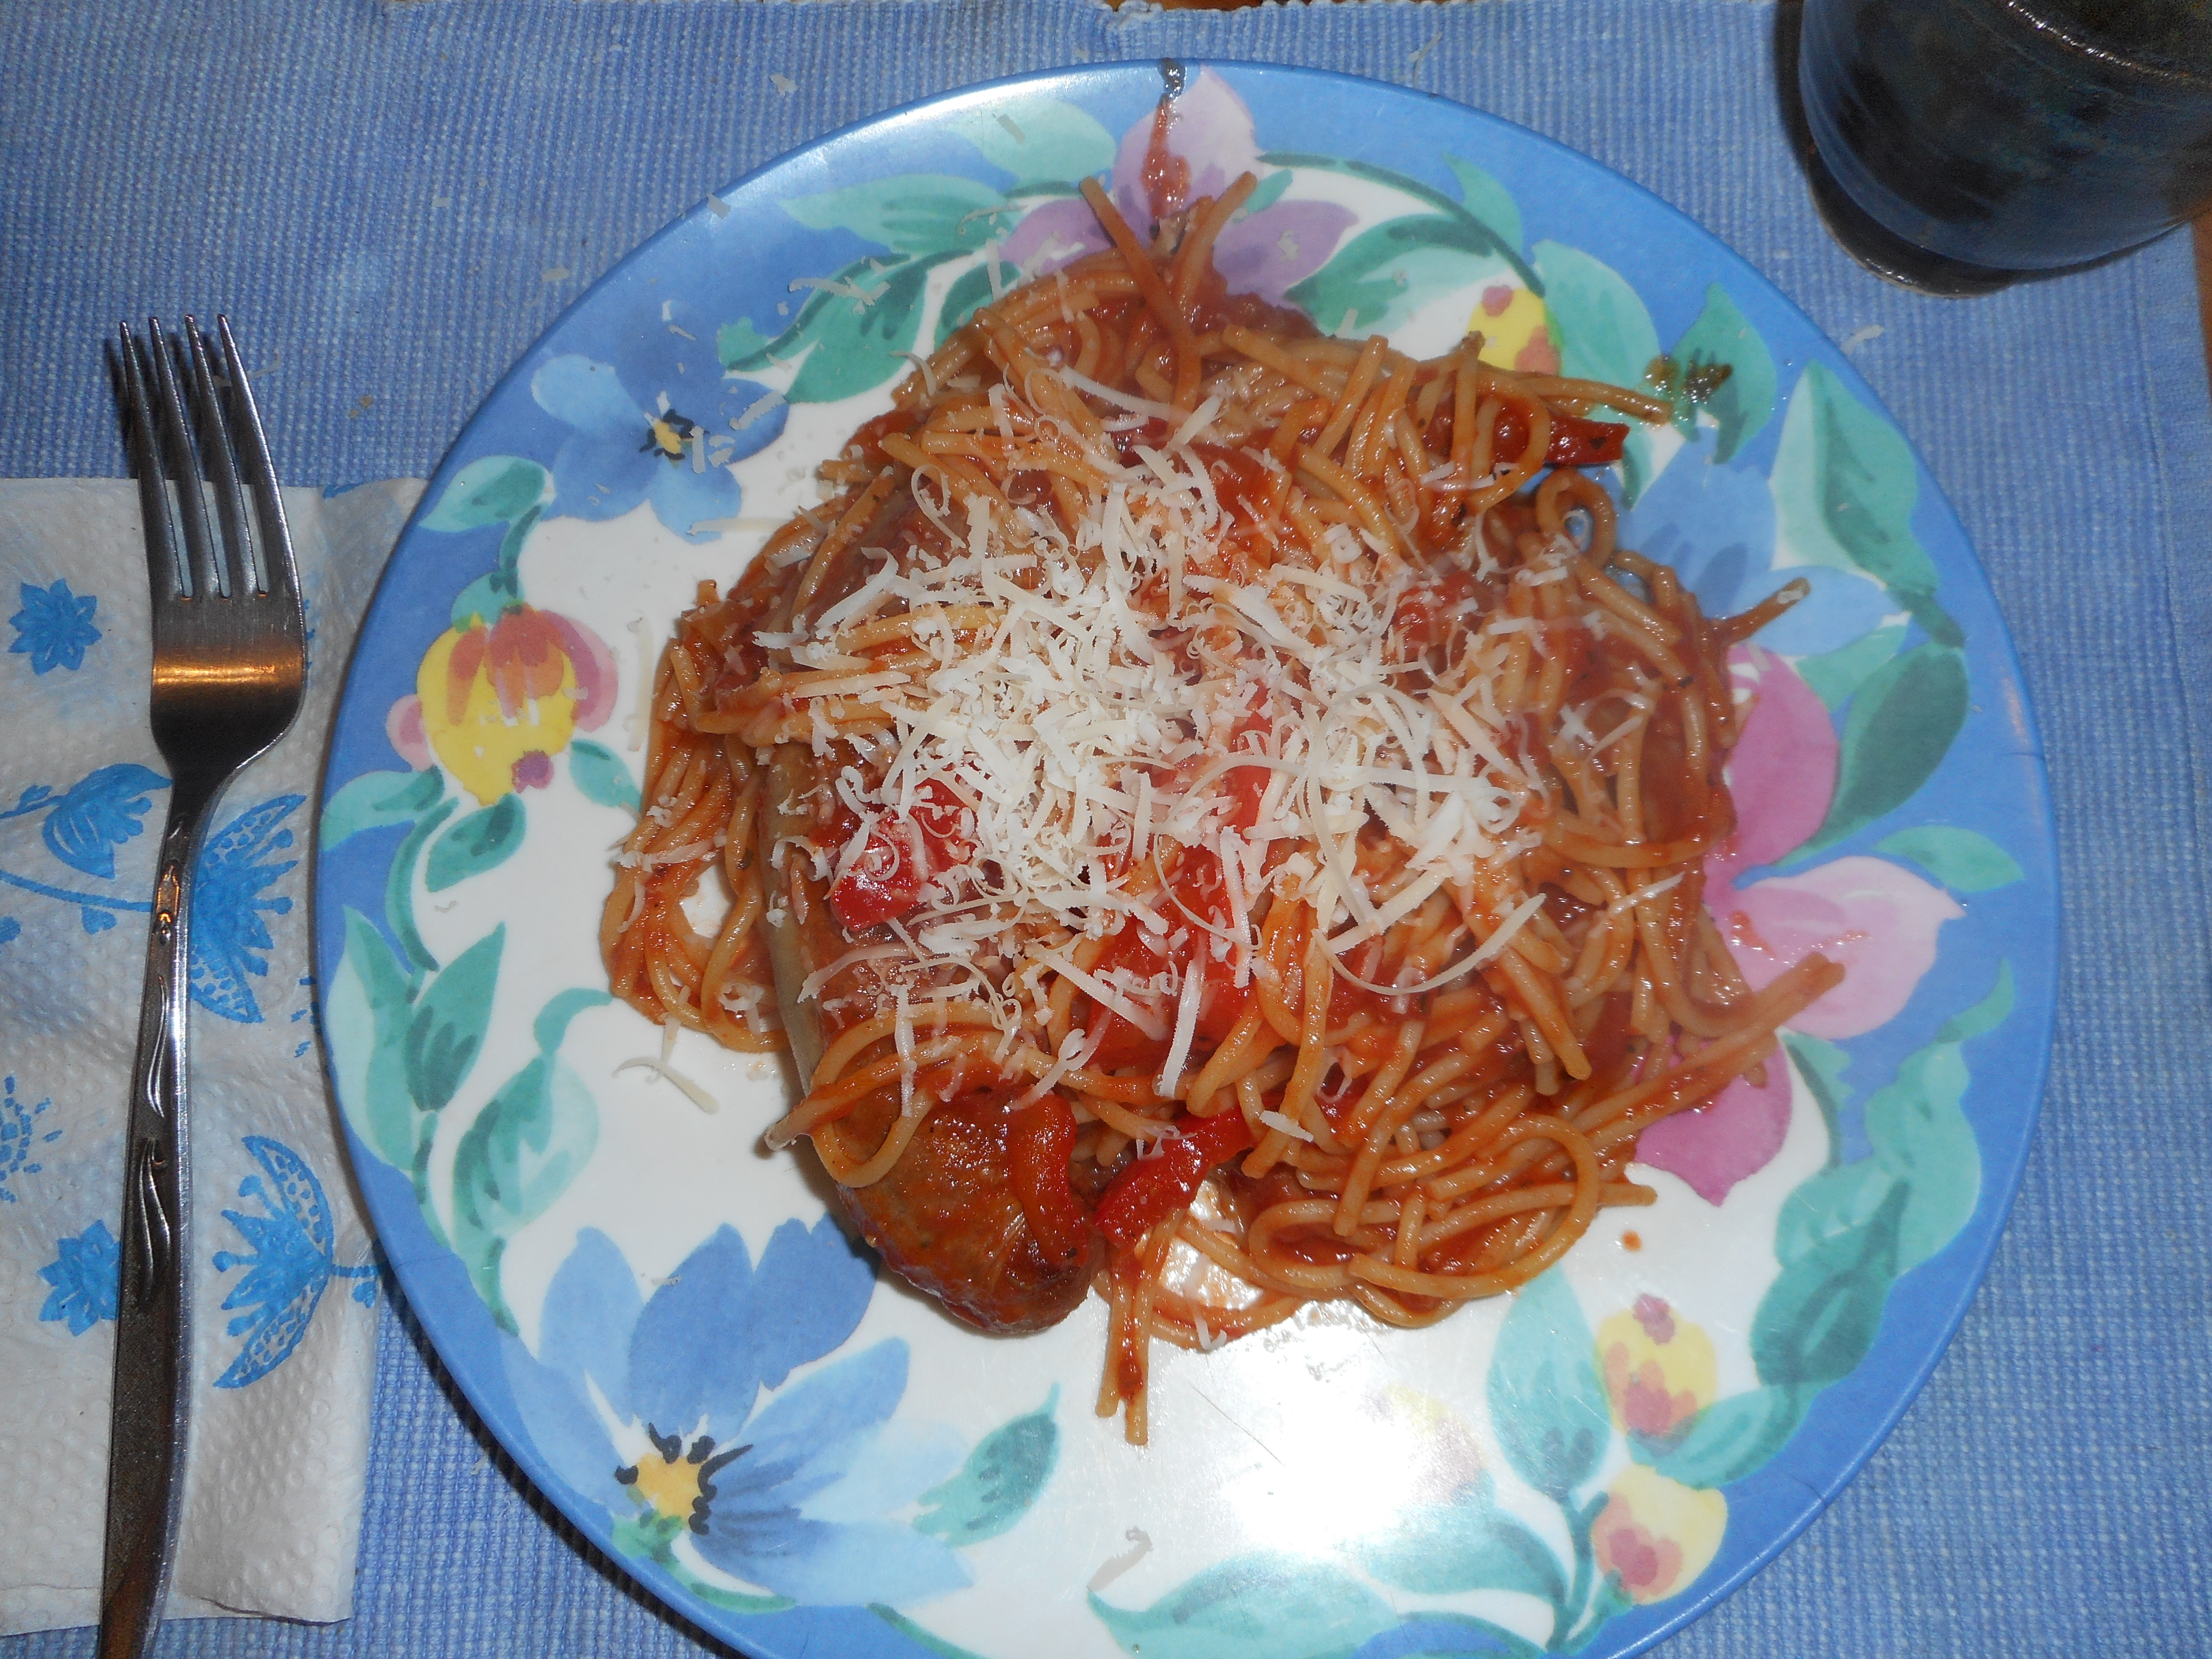
It can be problematic for someone with celiac to eat at most Chinese restaurants. The only one I hear having lots of gf options is PF Changs which is not located anywhere in the Lehigh Valley. I have friends who eat at chinese places and ask about gf options – they get little or no response. Not even sure the staff understands what gluten free means. Not comforting. I miss a few Chinese take out dishes but there is one I actually have always liked my homemade version best; fried rice. Been making it for many years from scratch and it is far tastier than any I have ever been served at/from any Chinese restaurant. It is not that fried rice normally has a gluten component; it is cross contamination as well as unsafe soy sauce that are usually the issue. So go homemade.
Fried rice is not that difficult to construct and you get the bonus that you know what is in there; not so easy to know at the local take out counter. It’s a great supper idea if you have leftover white or brown steamed rice on hand. Leftover Easter ham; perfect for it! Otherwise, I often buy a small ham steak and just cut that up. It can be modified quite a bit to whatever is in your fridge and pantry. I put in broccoli this time for my grandson who adores it. I often add water chestnuts or even bamboo shoots. If I don’t have fresh pea pods; no biggie: go with the flow and just increase the frozen peas a bit! I don’t always put in zucchini or broccoli; your choice. My kind of recipe…. Must haves in my recipe are rice, a protein, scrambled eggs and an assortment of small dice vegetables. Once you chop the veggies and if have that leftover rice it goes together very fast. I find that hot rice doesn’t work as well as cold so try to make the rice earlier if not the day before. My ingredient measuring is somewhat fluid, go with what you have and what you think you will like.
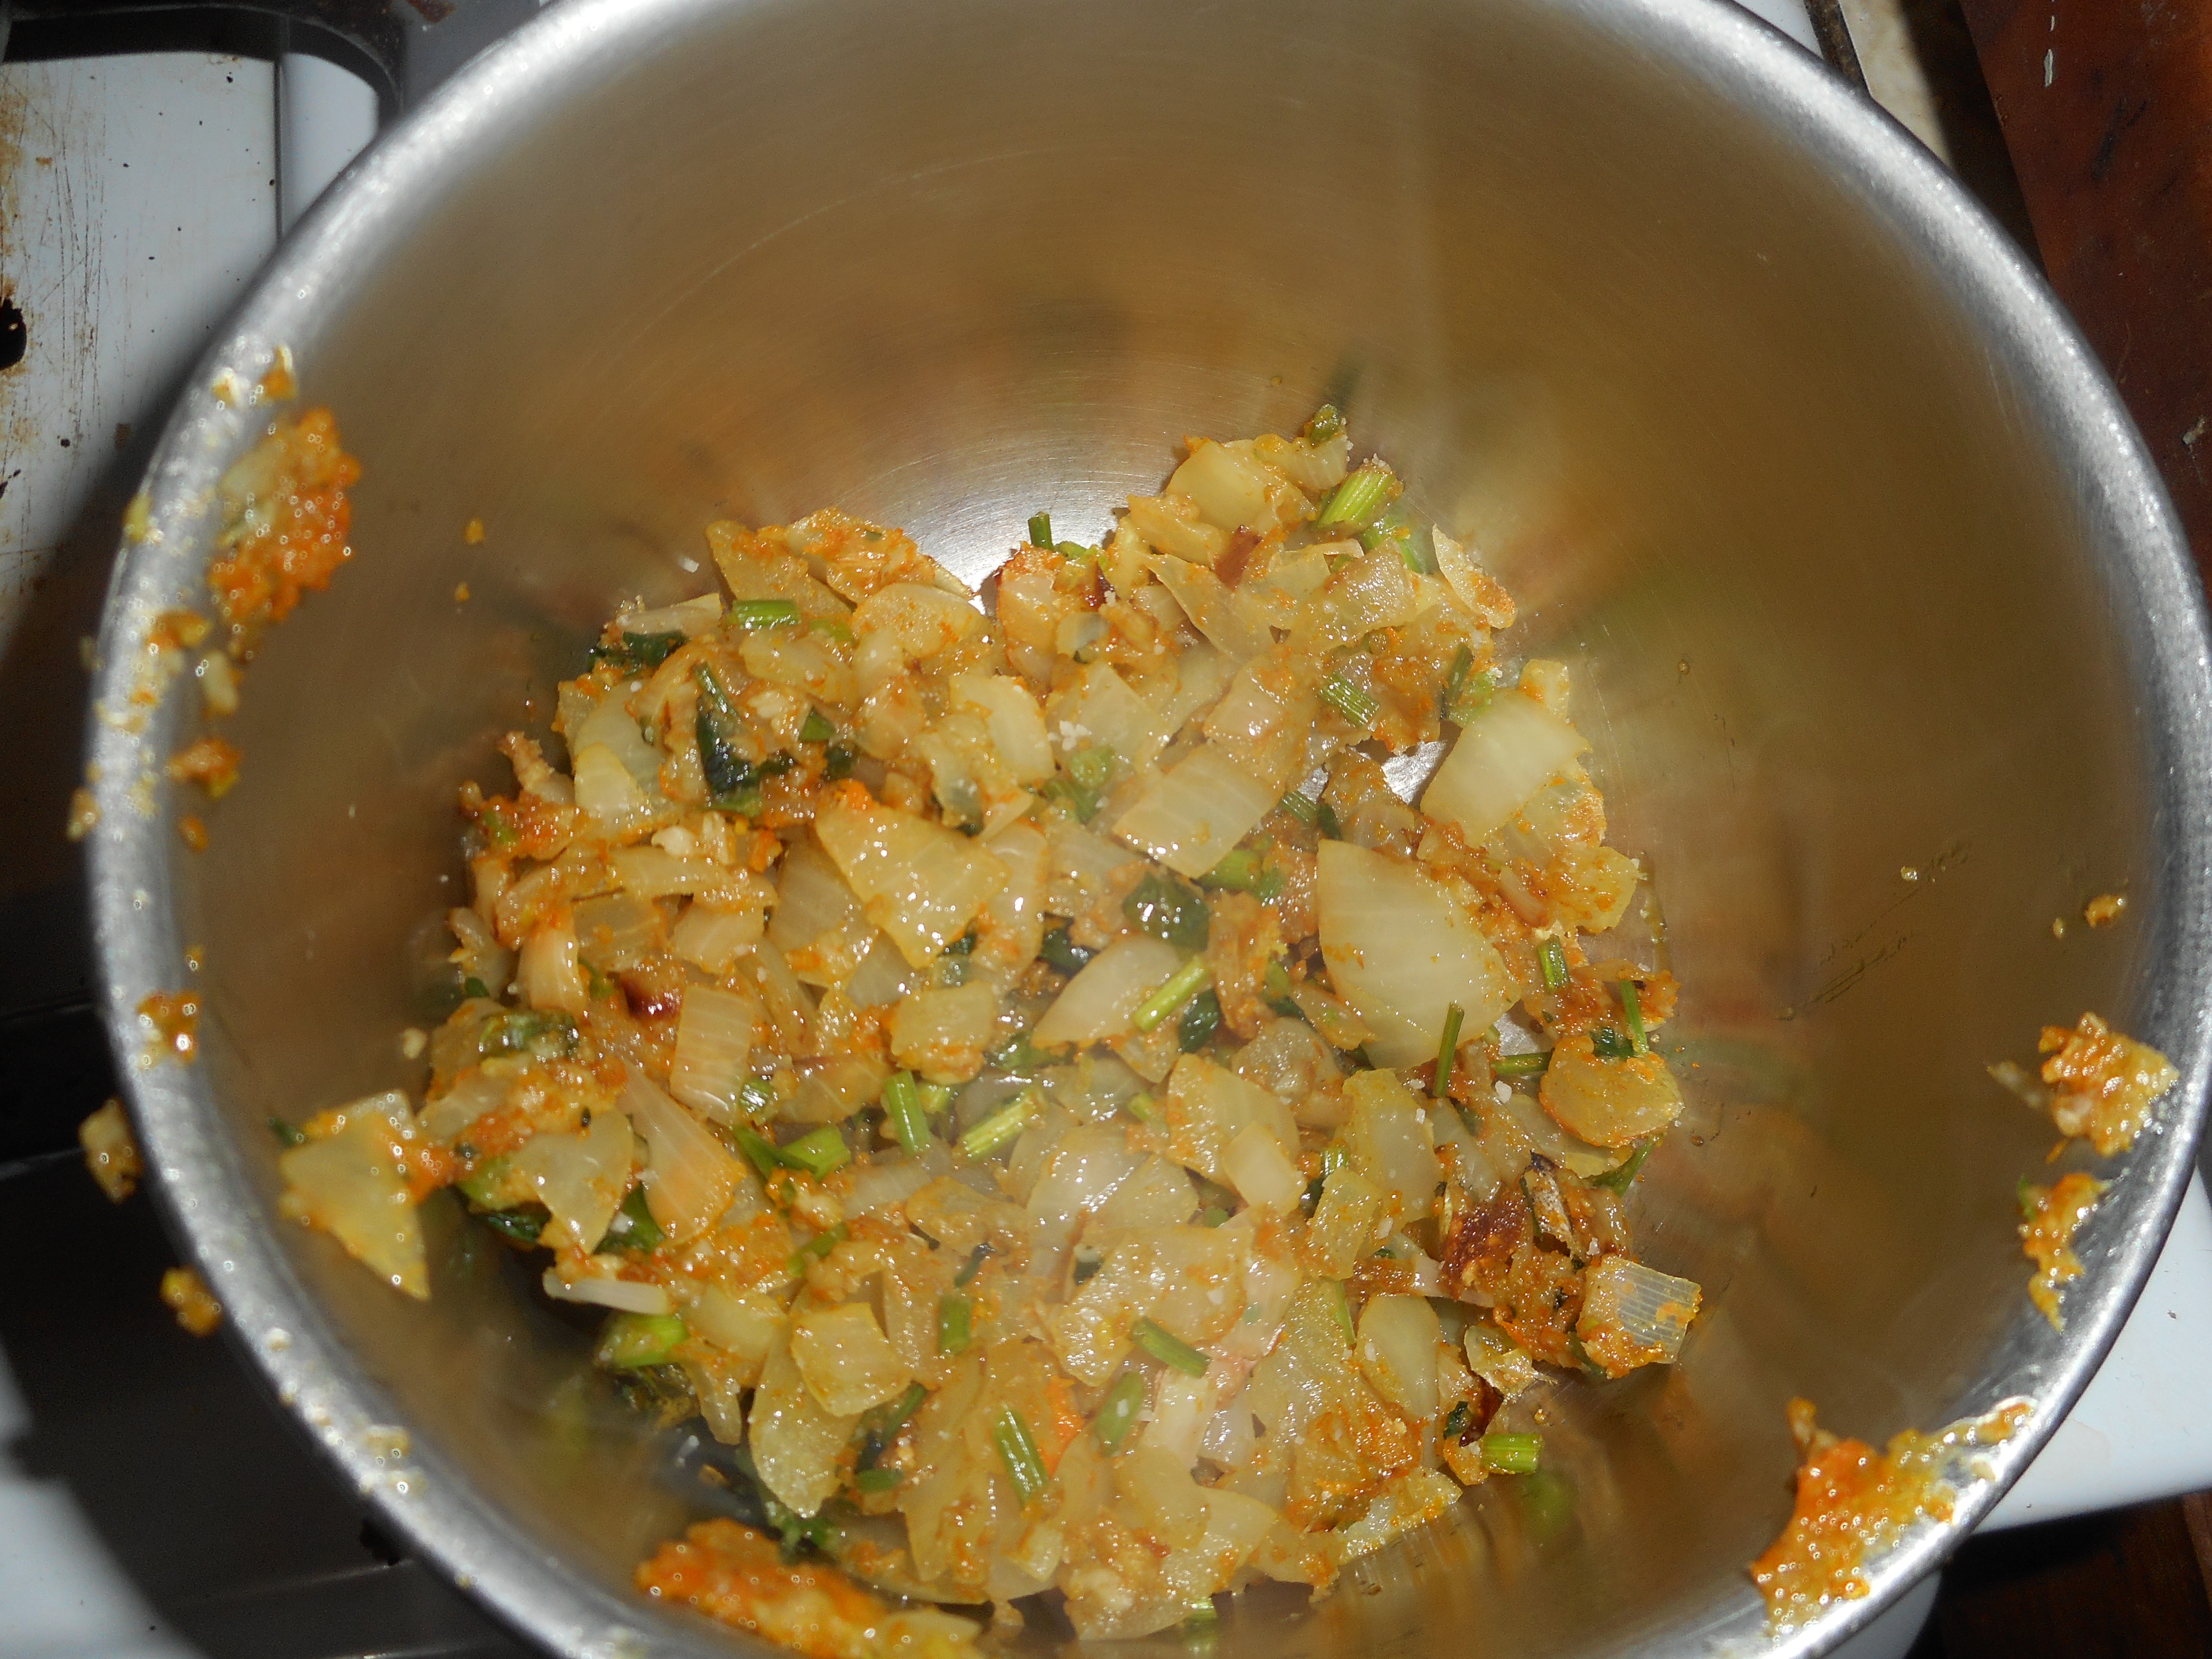
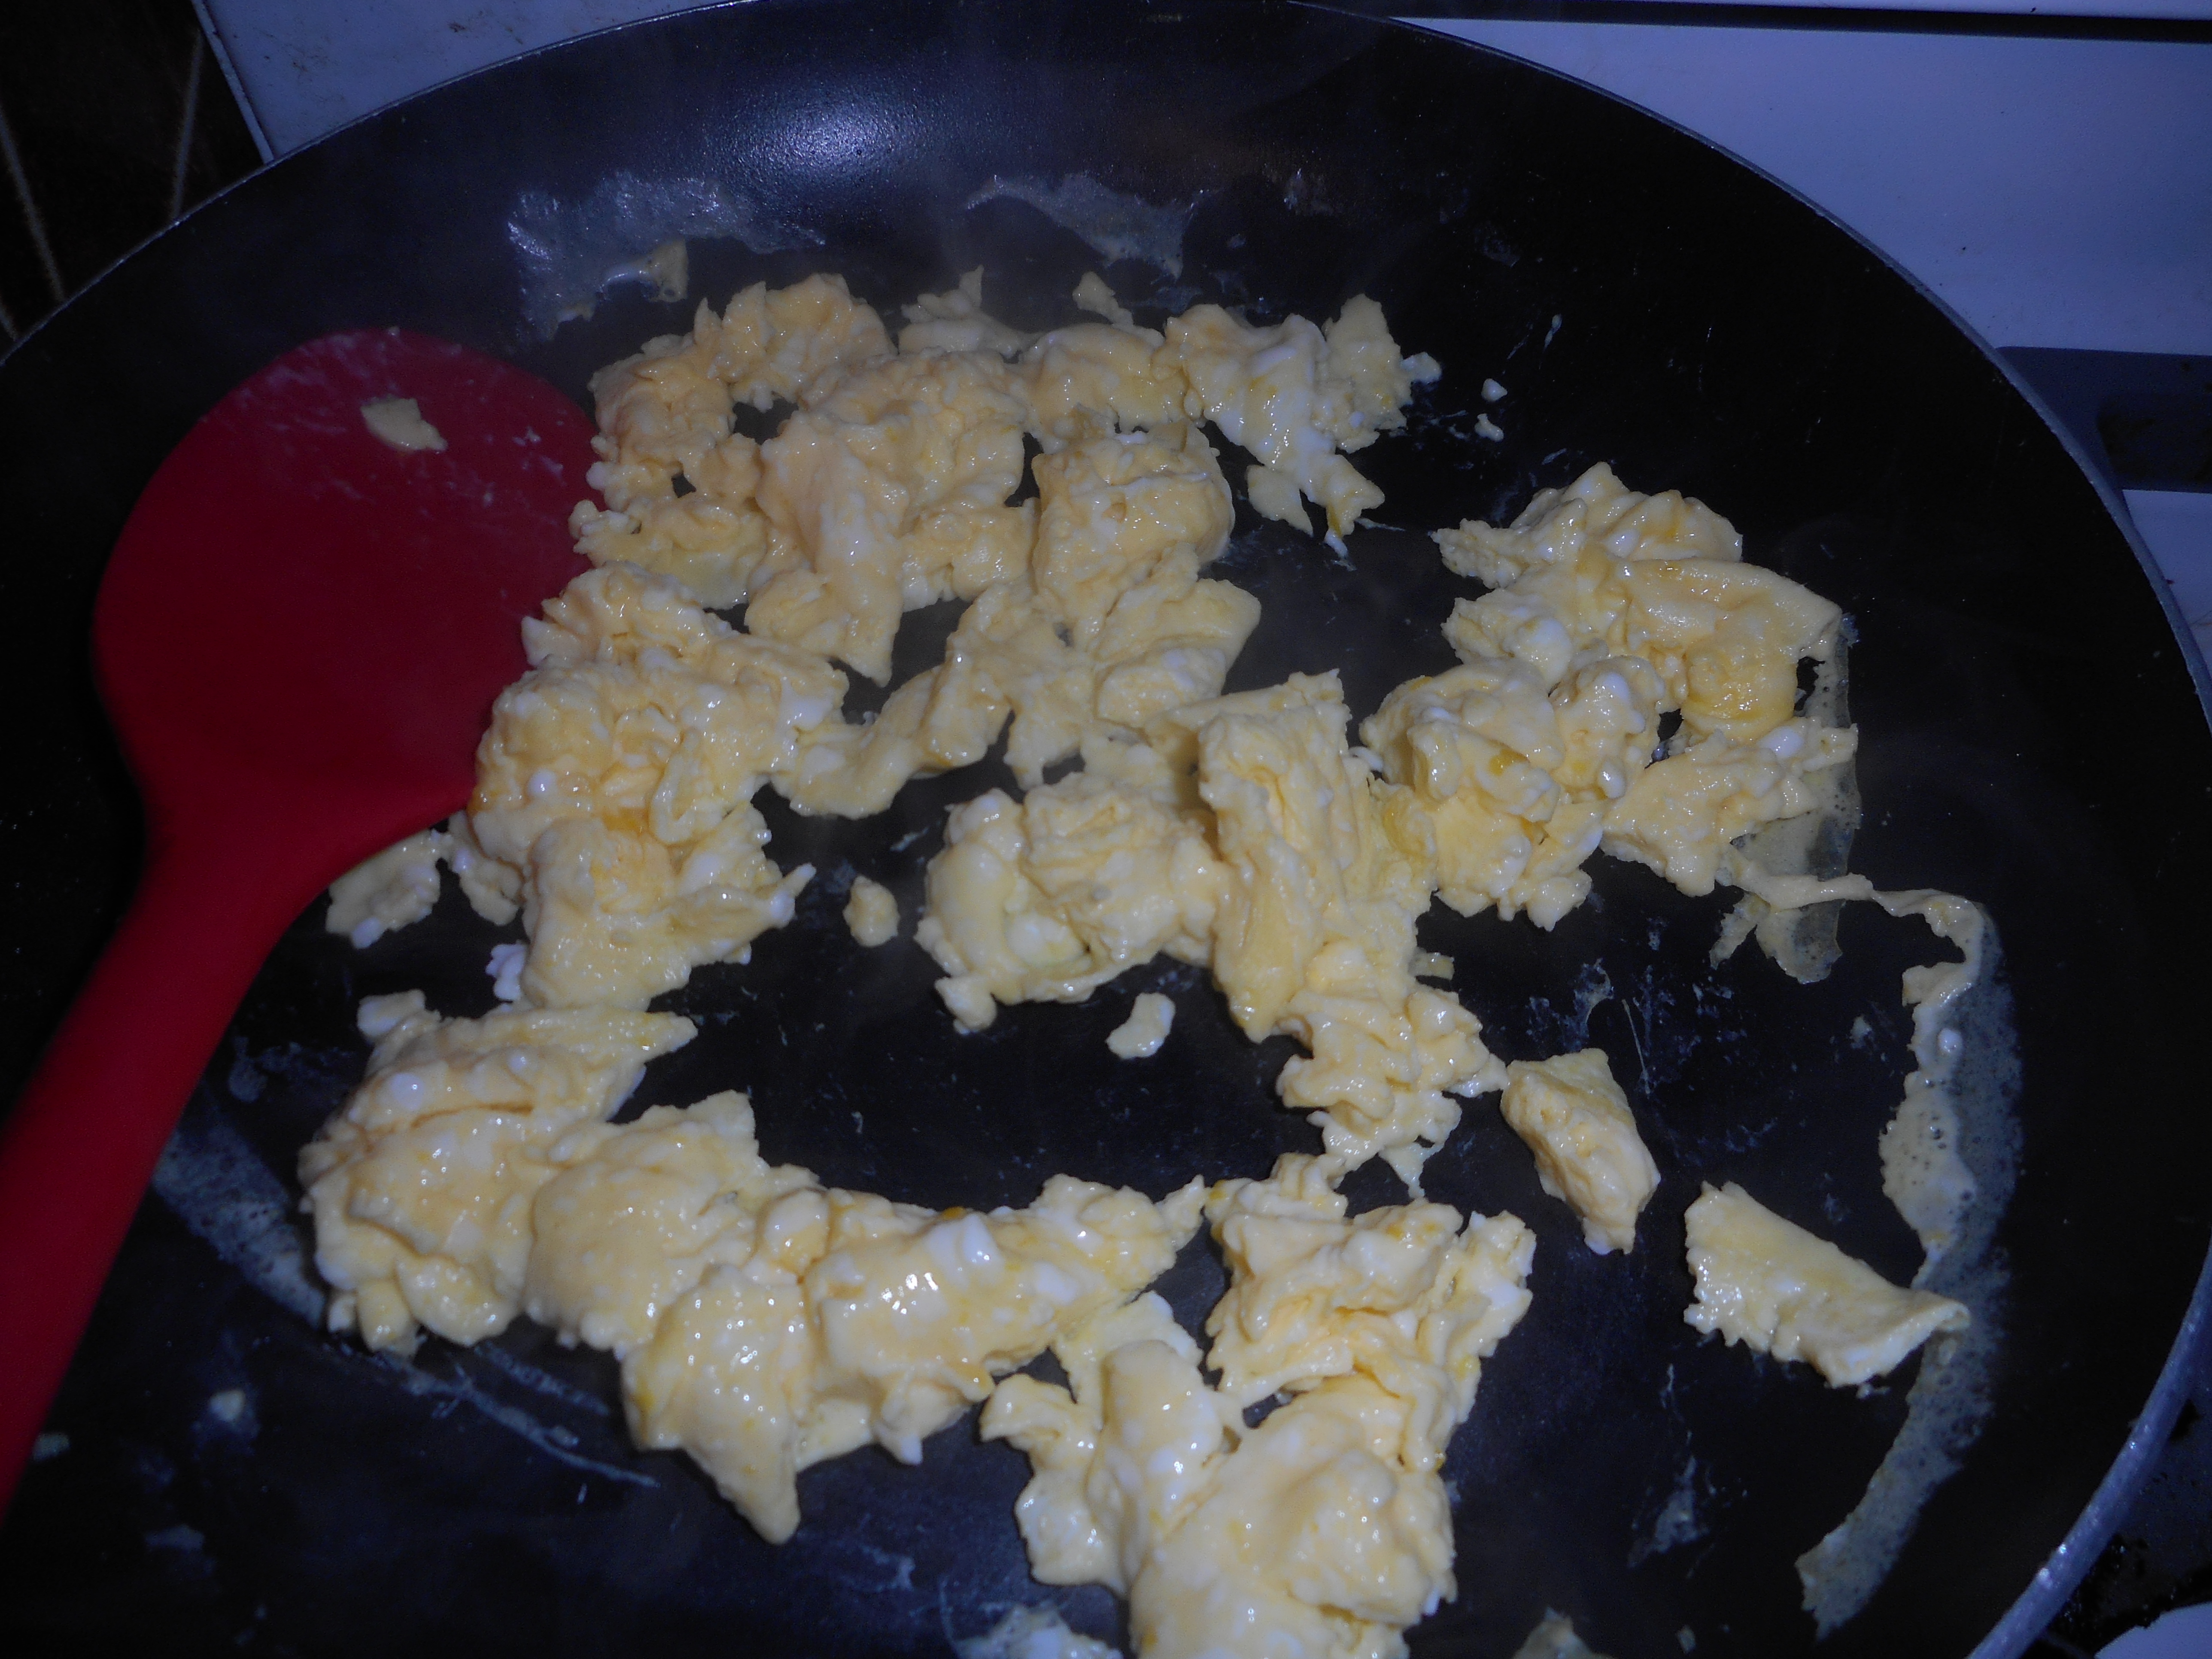
The middle set of these pictures is the scrambled eggs; just poured into the pan and right after I turned the heat off.


Angie’s Fried Rice
Ingredients
1 tbsp. olive oil
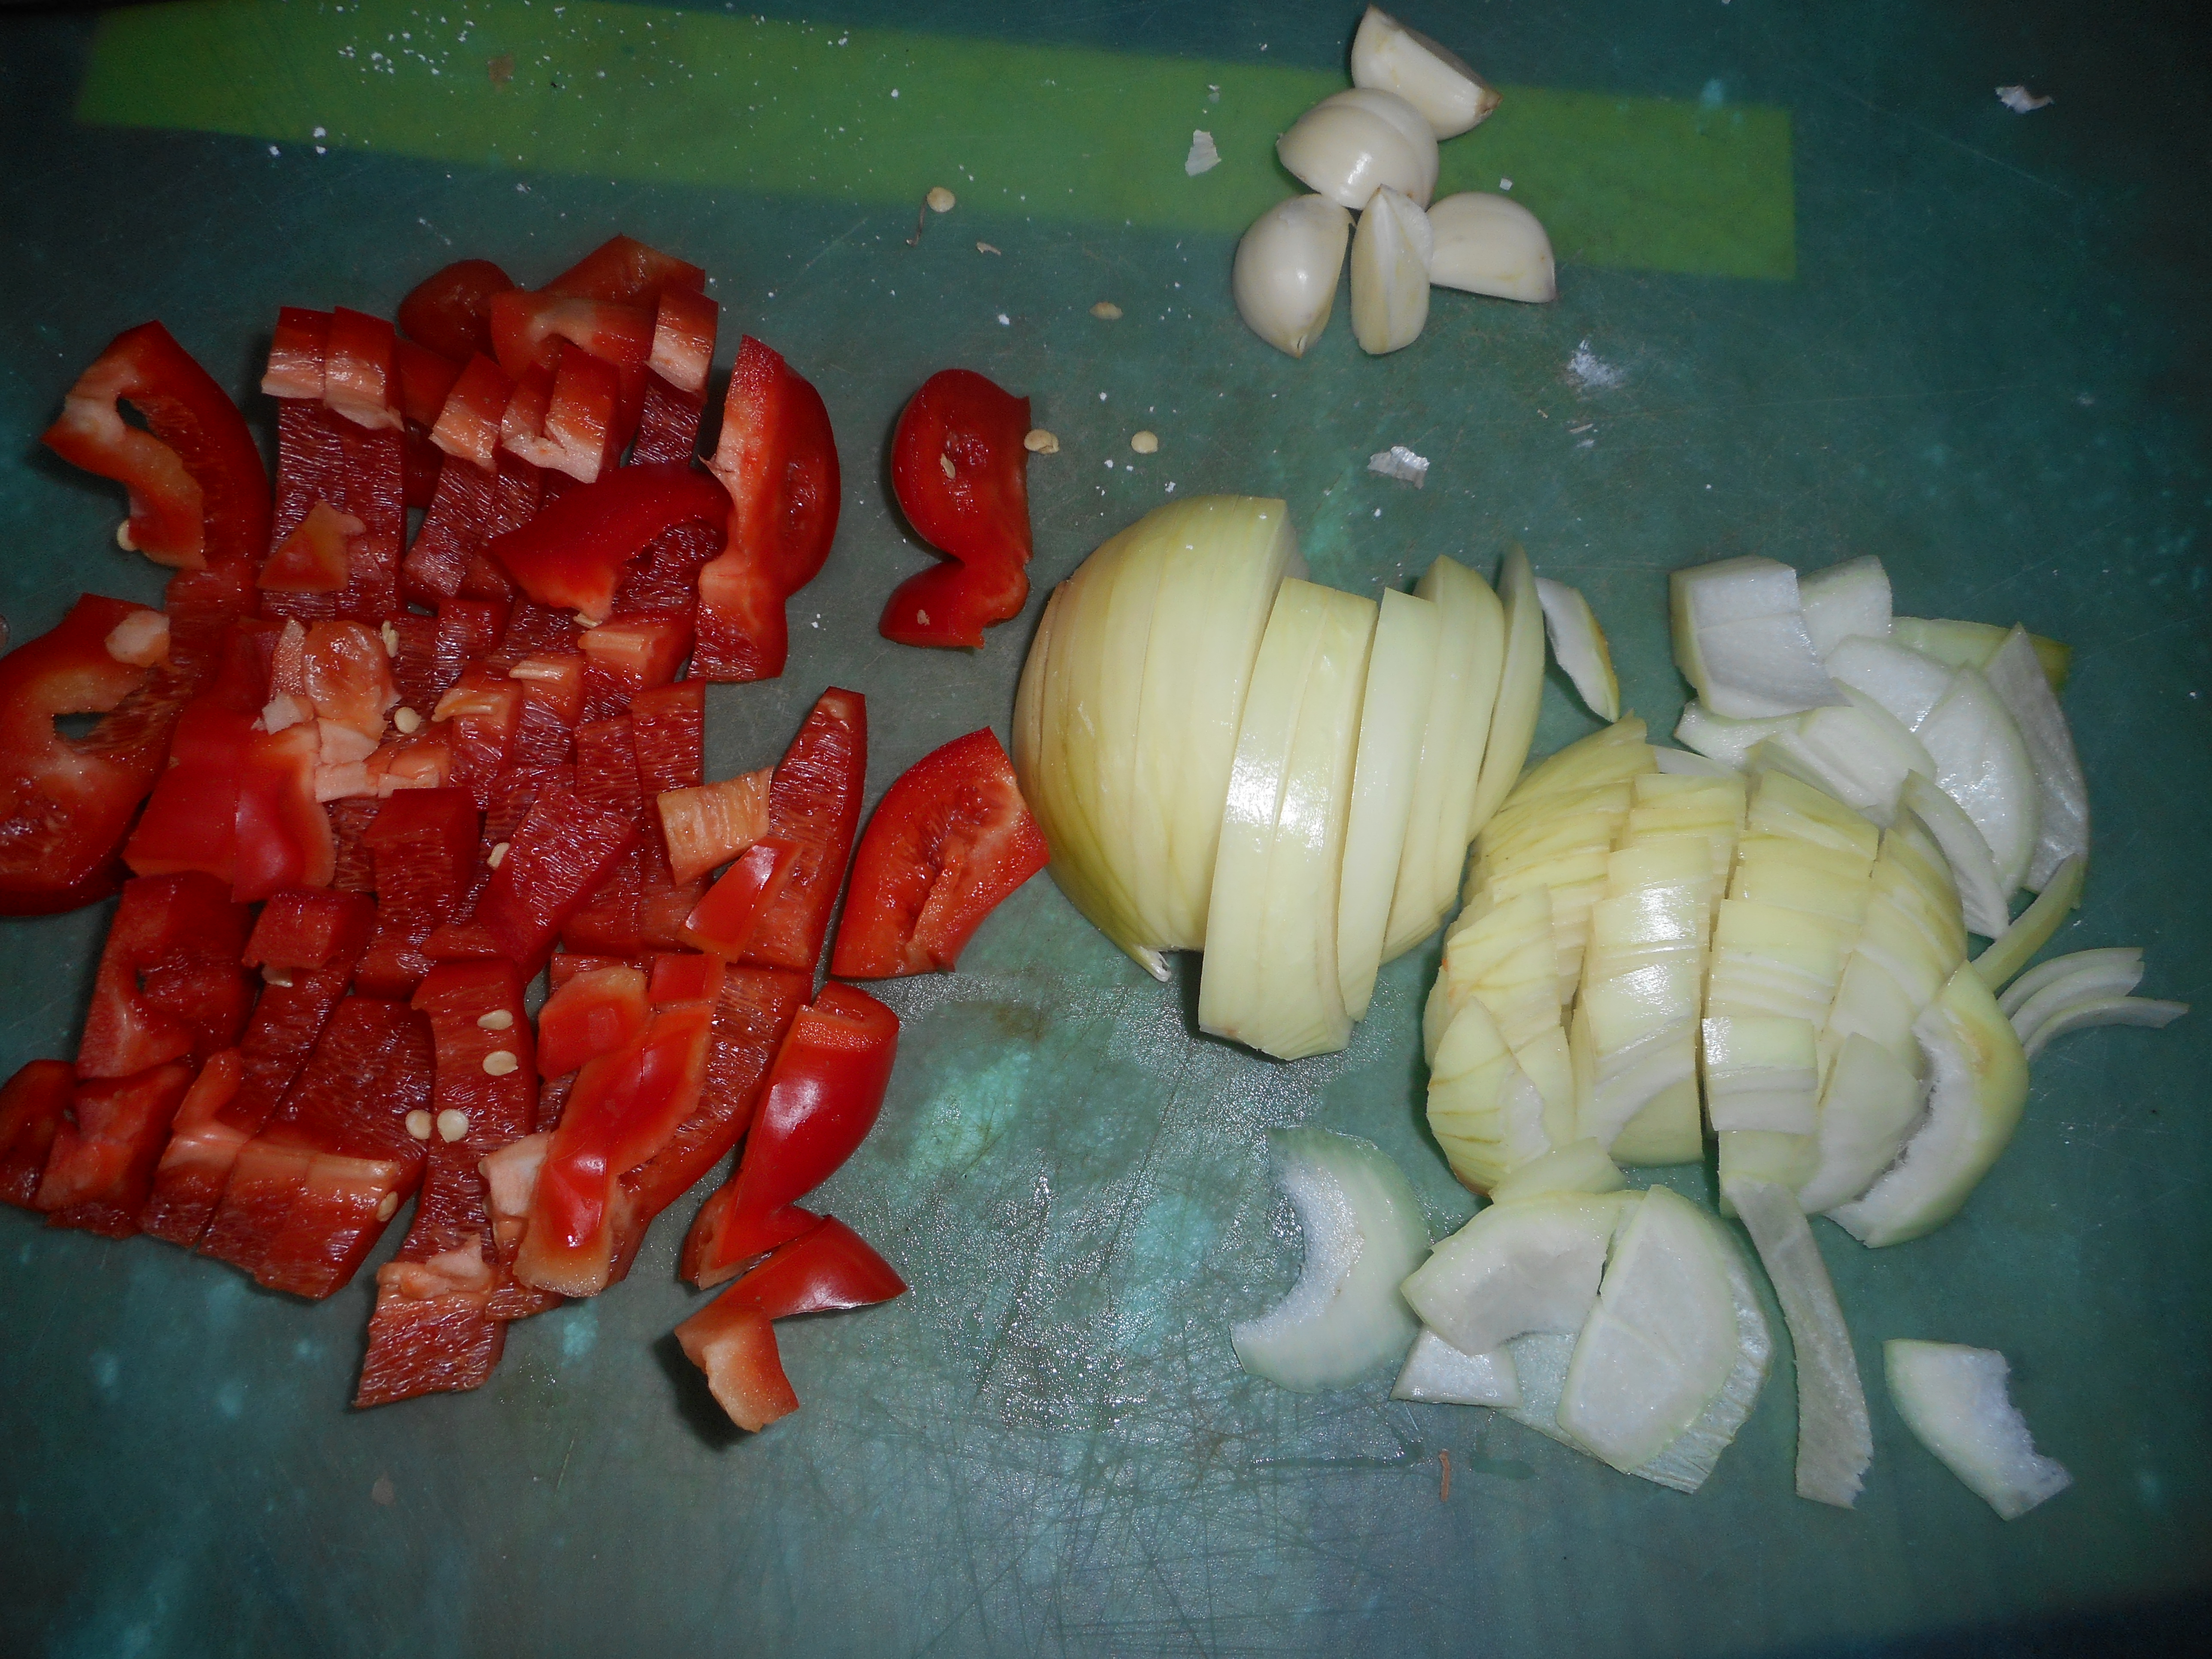
1 med onion diced
1 carrot unpeeled and small diced
½ a red pepper, small diced
1 stalk celery, small dice
1 garlic clove minced
½ cup cut up zucchini; cubed more or less
½ cup broccoli flowerets cut up
2 tbsp water
2 eggs
½ cup fresh pea pods, cut in half
1-2 tsp. gf soy sauce or Bragg liquid aminos (tastes like soy sauce)
1 tsp. rice vinegar
½ tsp sea salt, black pepper, fresh ground…to taste
½ cup frozen peas
½ can chopped water chestnuts (optional)
½ lb cooked ham cut in 1/3 to ½ inch cubes
1 ½ to 2 cups Leftover rice; either white or brown
Directions
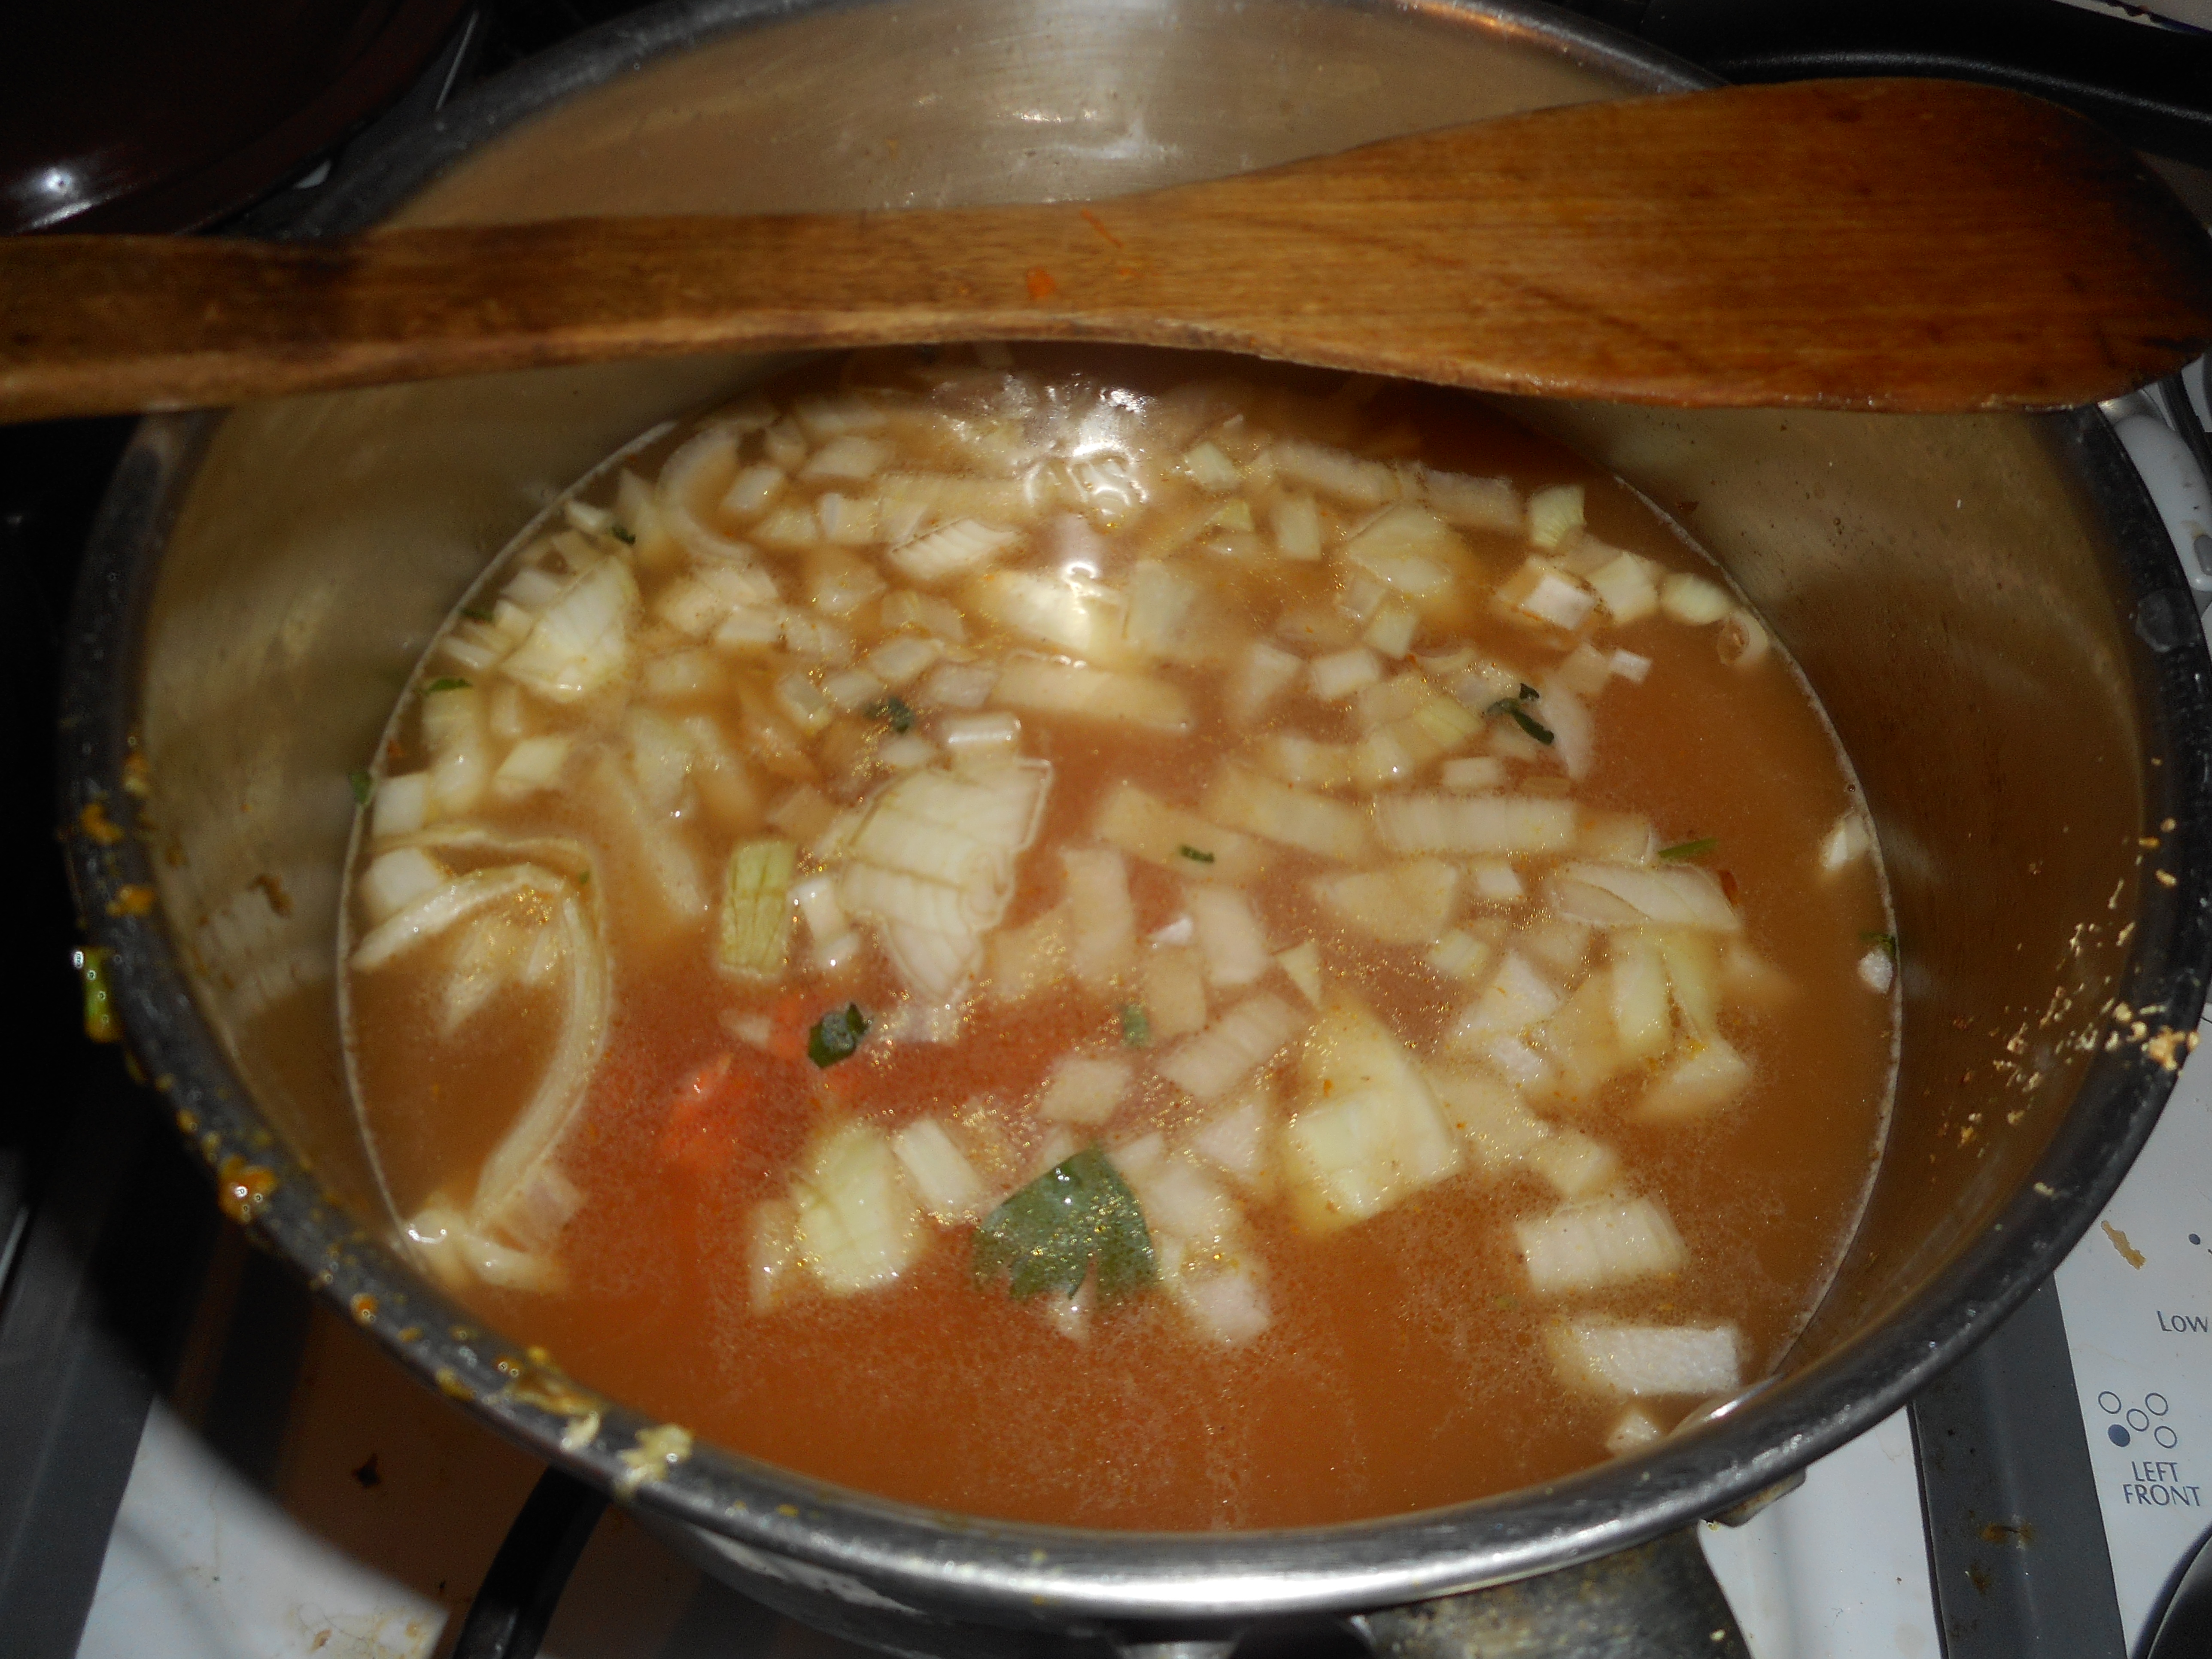
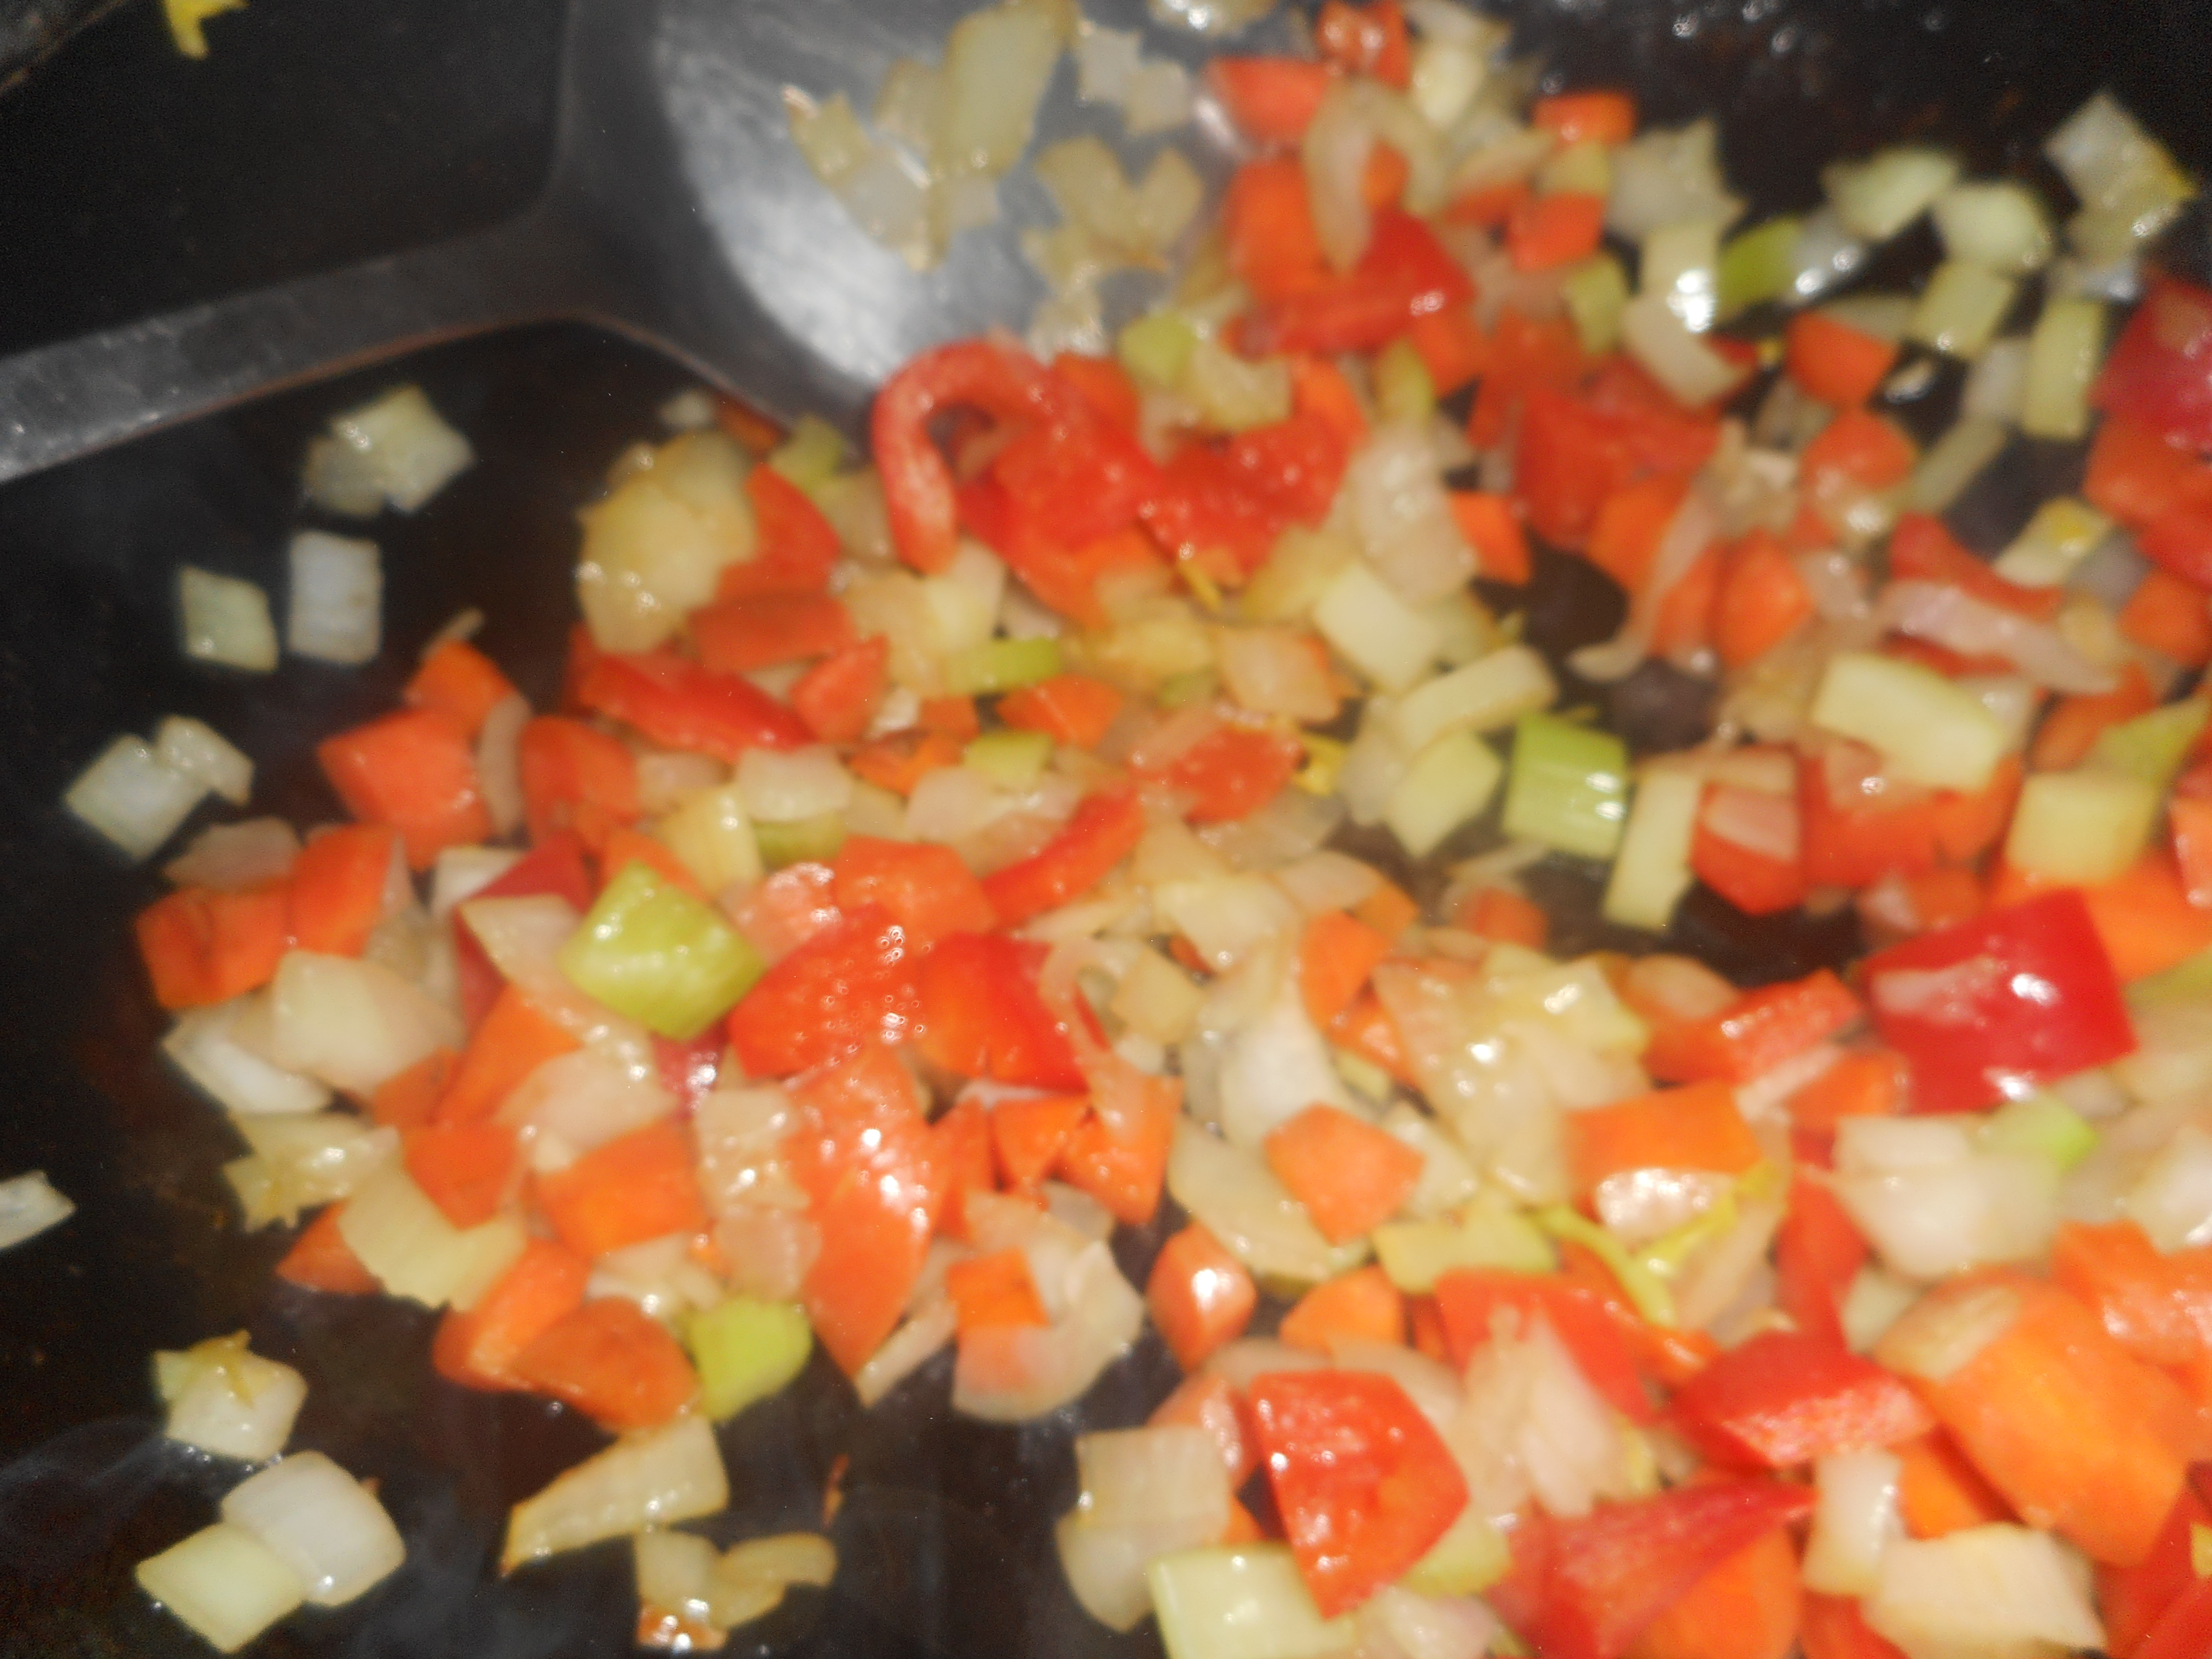
Heat a small wok over med high heat; add oil, stir around, add the onion and carrot, cook a minute, add the red pepper and celery, cook 2 minutes, add the garlic, cook a minute. Add the squash, broccoli and water, cook 2 minutes. While that cooks, mix the eggs with a tbsp of water and scramble over medium heat in a nonstick pan for less then 2-3 minutes. Do not over cook. Set aside for the finishing touches.
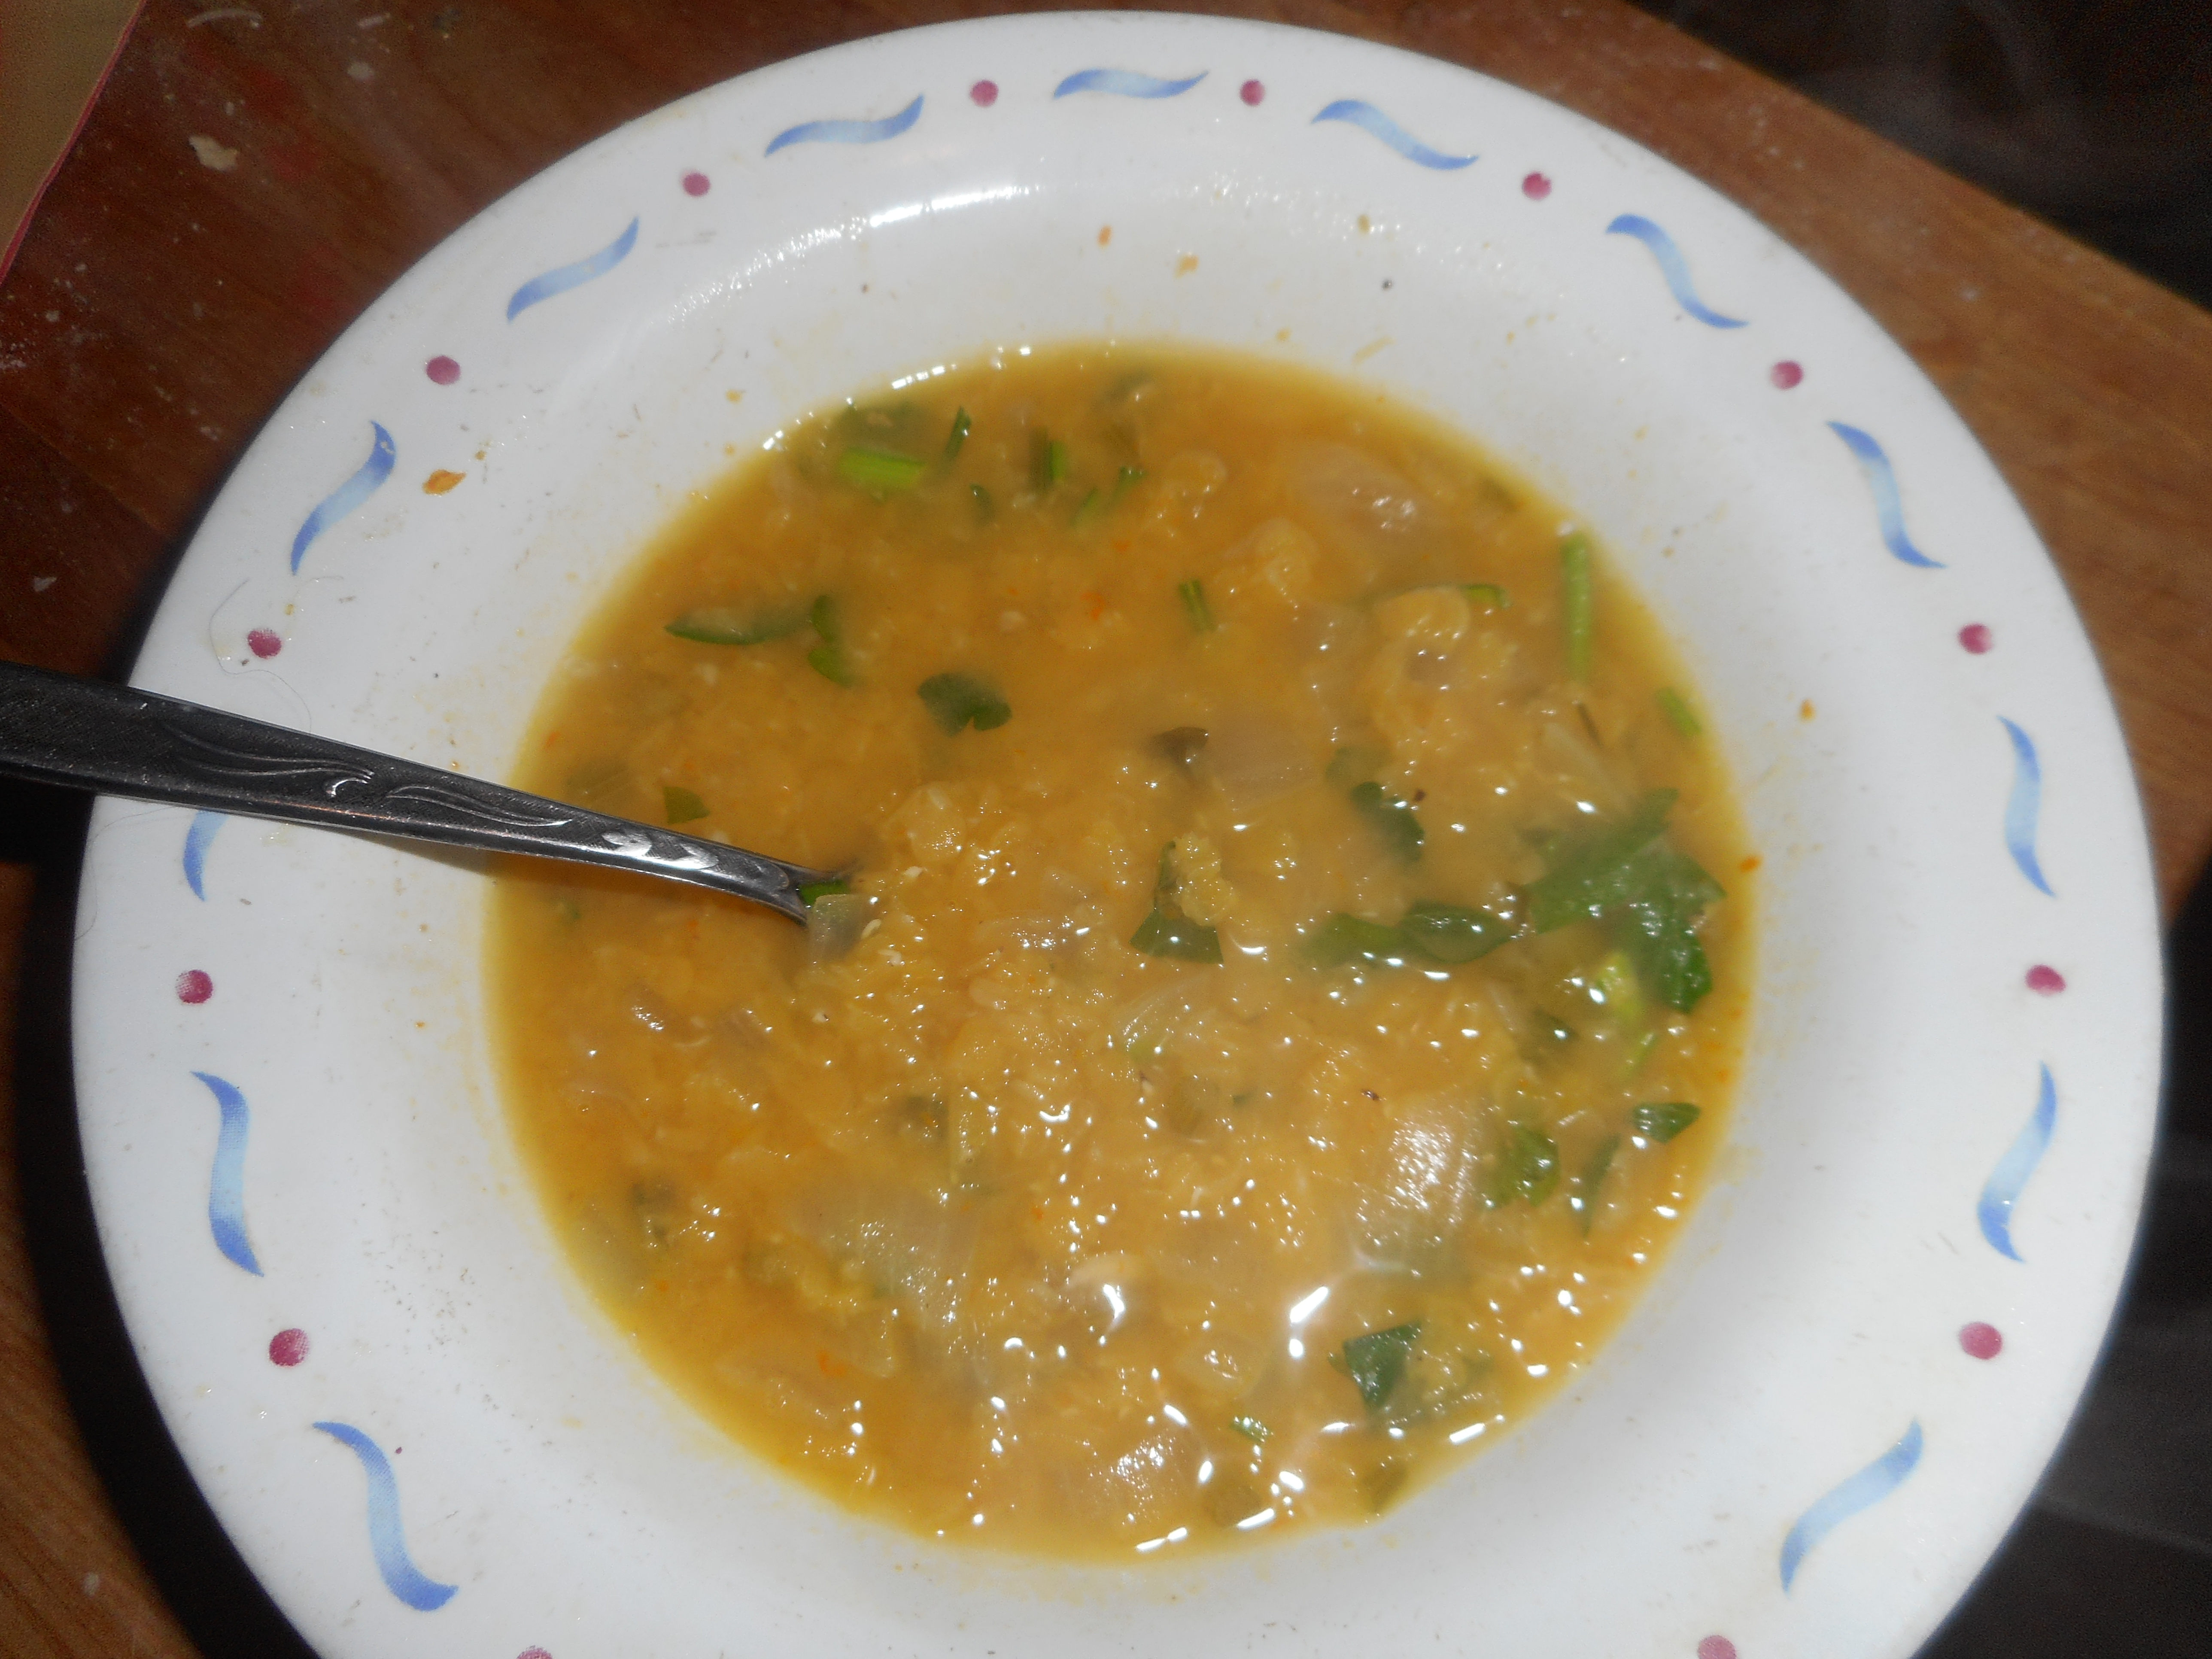
Add the peapods, the soy sauce, the rice vinegar and salt/pepper, stir. Add the frozen peas, water chestnuts and cooked ham. Cook 2 minutes. Add the rice, stir well, adjust seasoning; add more soy sauce if needed. If you like it crispy cook it a bit longer, if not; it is finished. Add the eggs you scrambled and stir well before serving. A meal on a plate, cooked in the wok. If you don’t have a wok use a sauté pan.
Could serve 4 if you are not too piggy! Three if you are…. I will let you guess what goes on in my house.