Storage: I am Queen of Jars, Tupperware and Freezer Bags

jartupperwarefreezer bagsjar1

Where to put all those bags of freaky flours? So many kinds…made of grains I never even heard of before…so how to properly store them? I did some reading in various cookbooks and celiac informational books on this issue. Some need to go in the freezer; so I now have a long row of bags tucked in my freezer and a number of glass or heavy duty plastic canisters and jars about the kitchen. For sure you should freeze the brown rice flour because it has rice bran which spoils much faster than processed white rice. I have sweet brown rice flour which is in the freezer too. I also put my almond flour, coconut flour and teff flour in there as well. In the fridge I put the potato starch which apparently needs the cooler zone of a refrigerator. Some just need to be in a sealed jar; amaranth, white rice flour, quinoa flakes and tapioca flour. Be sure to label each item carefully as they look a lot alike. Cornstarch is already in a box…I am buying a lot of that these days….

And then there are the flour mixes. For my favorite new cookbook I created a bread flour mix canister and a brown rice flour mixture used for most everything else: two big jars. And I found a great recipe for baking powder biscuits. It has its own dry ingredient mix, was out of jars so it is in a freezer zip bag; won’t keep outside the freezer for long. Then there is the four flour mix which is basic to my new bread baking book, yet another sizable canister. And, you will need to carefully label each mixture; I like to put the name of the book it is from to help me remember exactly what recipes it is meant for. So I needed like 4 canisters for flour mixes I am using now and frankly there are several other mixes in the bread book that I want to try out… Oyy, where will I store all those jars?

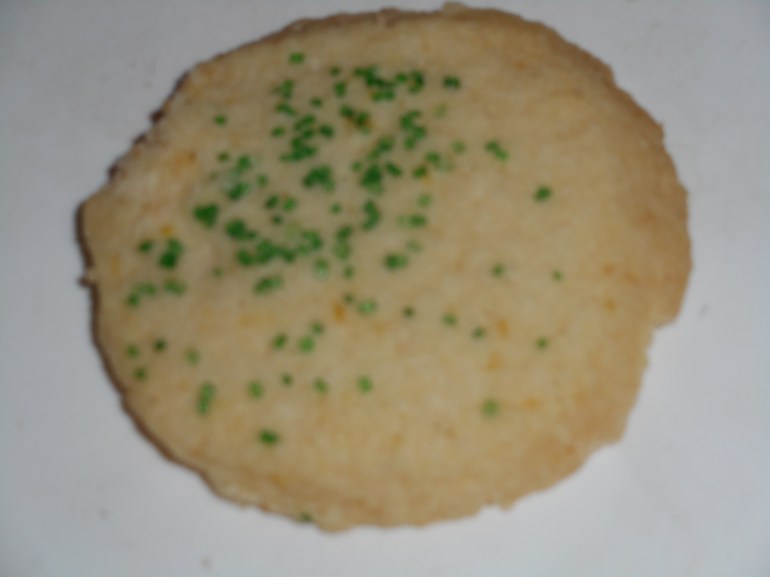
When I bake a batch of cookies, they need to be placed in my big cookie jar as soon as they are completely cooled. I never used that cookie jar for its named purpose before but it is totally necessary for storing GF cookies if you want them to stay fresh tasting. To keep for more than 3-4 days: freeze them in a heavy duty plastic freezer bag. Same goes for muffins, yeast bread, quick breads and what ever else I bake. These GF baked goods do not keep as long as wheat breads and cookies. It is very convenient to pull out a cookie from the freezer and munch on it after school. And I love having some slices of sandwich bread in the freezer ready for making lunch in the morning. Always label the frozen stuff and date it -just makes things simpler in the long run.

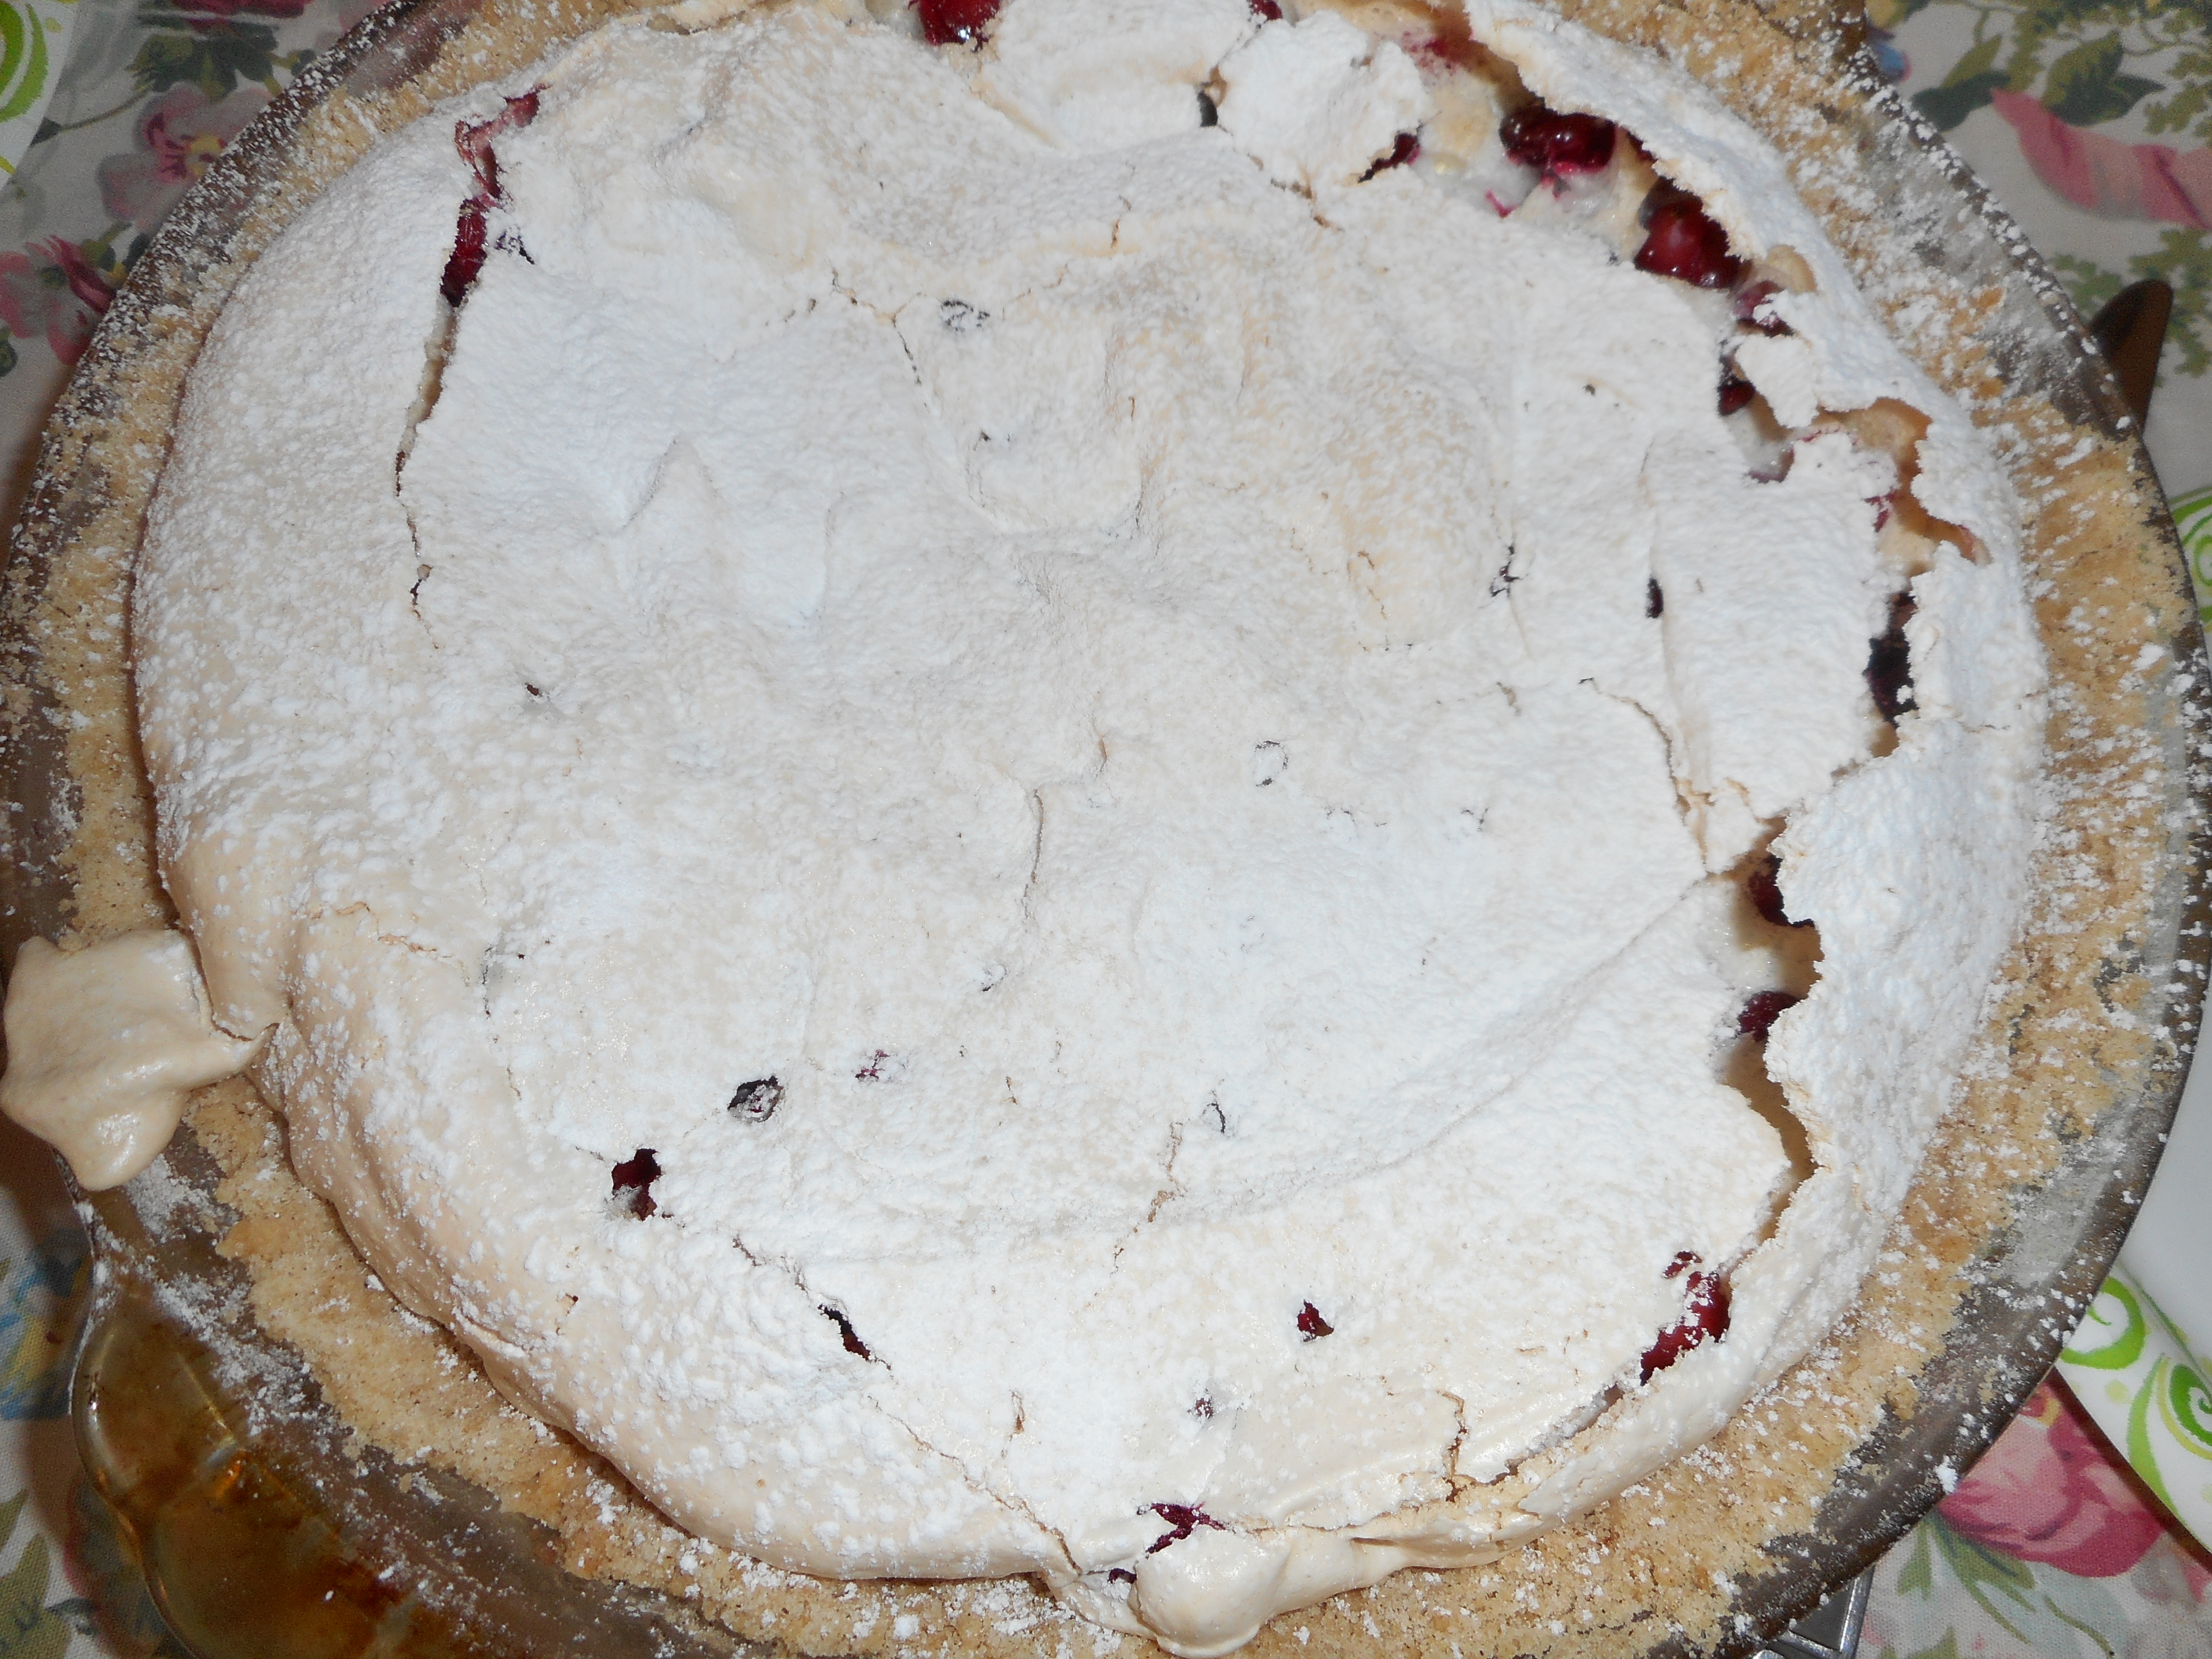
The almond biscotti I made last week is still tasty. The basic nature of biscotti is that it is rather dry and I suspect this is why it keeps so well.  It is in a Tupperware which is great for storing biscotti.

I also have a bread bag; it is woven fabric and has a plastic bag liner. My sister gave it to me years ago. I love it as bread keeps for days in it; wheat bread kept twice as long in it as just plastic wrapped up breads. Well, no more wheat but I kept some GF Italian bread in it the other week for several days past when it should have gone bad and it was still yummy. You can buy one on the internet; check e-bay. It is worth every penny. I posted a photo of it with my cookie canister the other week.

Again, the moister the bread, the quicker it goes bad (mold!) so keep that in mind. I have a loaf of OJ bread stored in my fridge to lengthen its life. I often slice and freeze half of what I made soon after baking so nothing gets wasted…with just me eating them a lot would go bad before I could eat it. I read comments by people just wanting one GF cookie. Freeze a whole bunch and then you can munch them one at a time – actually good advice for any baker. Some cookies are really tasty still frozen; the crunchy texture and unexpected chilly bite is a great treat! Now….if I can just find the right spot to store all my flour mixes…..

Originally posted March/April 2013.  I reposted this because people new to gluten free baking are asking how to store their flours.

Eating Out at Bella’s Is a GF Yumm Fest!

Over the Christmas holidays I had a work related supper gathering at Bella’s here in Hellertown.  I was glad they chose Bella’s because not many places in the area have an actual gluten free menu.  I have eaten there twice in the past year and enjoyed some fantastic shrimp on pasta with a pink vodka sauce.  Yes, I got the same thing twice; it was soo good I could not consider anything else on the menu when we went back a few months later.

bella sign

This meal was no exception to the yummy rule.  I ordered the gluten free ravioli in the pink vodka sauce with some grilled chicken on top.  It was a healthy serving of ravioli, maybe not as extravagant as their linguine serving but plenty of pasta!  The sauce was every bit as good as the last two times.  I am not a big fan of pink vodka tomato sauce but their chef makes an extraordinary version and so Bella’s is the place where I order that particular pasta sauce.  It was full of flavor and smooth and went perfectly with the baked ravioli which were delicious in the traditional cheese ravioli form. The grilled chicken was tasty: in manageable chunks and was cooked properly.  There was a good sprinkling of fresh parsley which I appreciated.  And the waiter brought the cheese mill and added some fresh grated Romano on top.  Grazie!

Having enjoyed every bite of this beautifully presented dish I would happily order it again.  Next time I will take a picture of the plate before I dig in (to post here!) and take some home as I felt stuffed, like a thanksgiving turkey, after eating the entire entrée. Of course, I also ate a house salad and did have a small complimentary glass of house white wine.  The salad was decent and the wine was pretty good.

They had a couple of yummy sounding gluten free dessert choices but I was way too full for any of them.  Still, it was nice to know there were dessert options if I saved some room for such…next time!

I did not have any symptoms after the meal, so it was prepared properly and totally safe, just like the other two meals I ate there in the past year.  The service was great, the atmosphere is very comfortable and I highly recommend eating there to all my gluten free friends.  They now have some gf pizza on the menu; maybe next time!

bella 2

Warm Up to Shepherd’s Pie

So cold right now, I think we all are craving warm comfort food.  I made this last week for company and it was a big hit.  The potato crust is satisfying and the gravy chock full of meat and veggies is richly flavored and addictive.  This is an Alton brown recipe with a few minor changes.  I added red wine, more veggies and I left the egg out when I made the potato crust.   The red wine makes the gravy taste perfect. Plus I changed the flour to make it a gf choice.

new baby pix 001

I know the list of ingredients might be daunting but it does go together fast. Just chop all the veggies first and brown the ground meat while your potatoes cook.  We had home grown potatoes for the crust; oh so flavorful and homegrown peas and local corn in the filling.  Yumm!  The leftover made a great lunch the next day.  Sure warms the tummy on a chilly chilly day.

I used a bit over a pound of meatloaf mix and some ground turkey meat.  You can use ground beef or even turkey.  All work fine.  I also have a recipe for a vegetarian shepherd’s pie full of veggies with amazing gravy!

I meant to take more pictures while I made this but forgot; next time….

Shepherd’s Pie

Ingredients

For the potatoes:
2 pounds russet potatoes
1/3 cup half-and-half
3 tbsp. unsalted butter
3/4 teaspoon kosher salt
1/4 teaspoon freshly ground black pepper
1 egg yolk (optional)
For the meat filling:
2 tablespoons canola oil
1 cup chopped onion
3-4 carrots, peeled and diced small
2 cloves garlic, minced
1 1/2 pounds ground lamb or meatloaf mix
1 teaspoon kosher salt
1/2 teaspoon freshly ground black pepper
2 tablespoons rice flour
2-3 teaspoons tomato paste
1 cup chicken broth

½ cup dry red wine

1 teaspoon Worcestershire sauce
2 teaspoons freshly chopped rosemary leaves
1 teaspoon freshly chopped thyme leaves
1 cup frozen corn kernels
1 cup frozen peas
Directions

Peel the potatoes and cut into 1/2-inch dice. Place in a medium saucepan and cover with cold water. Set over high heat, cover and bring to a boil. Once boiling, uncover, decrease the heat to a simmer and cook until tender and easily pierced, approximately 10 to 15 minutes. Place the half-and-half and butter into a glass cup and heat in the microwave until warmed through, about 30 seconds. Drain the potatoes in a colander and then return to the saucepan. Mash the potatoes and then add the half and half, butter, salt and pepper and continue to mash until smooth. Stir in the yolk until combined.  I did not add the yolk and it wasn’t missed.

Preheat the oven to 400 degrees F.

While the potatoes are cooking, prepare the filling. Place the canola oil into a 12-inch saute pan and set over medium high heat. Once the oil is hot, add the onion and carrots and saute just until they begin to soften, approximately 3 to 4 minutes. Add the garlic and stir to combine. Add the meat, salt and pepper and cook until browned and cooked through, approximately 3-4 minutes. Sprinkle the meat with the flour and stir, cook for another minute. Add the tomato paste, chicken broth, wine, Worcestershire, rosemary, thyme, and stir to combine. Bring to a boil, lower the heat, cover and simmer slowly 11 to 12 minutes or until the sauce is thickened slightly.

Add the corn and peas to the meat mixture and spread evenly into an 11 by 7-inch glass baking dish.  I used a lovely oval ceramic dish. Top with the mashed potatoes, starting along the edges and filling in, get it all the way to the edges to create a seal to prevent the mixture from bubbling up and smooth with a spatula. Place on a sheet pan on the middle rack of the oven and bake for 25-30 minutes or just until the potatoes begin to brown. Remove to a cooling rack for at least 15 minutes before serving.

Recipe courtesy Alton Brown, 2008 with some changes.  Read more at: http://www.foodnetwork.com/recipes/alton-brown/shepherds-pie-

Lemon Shortbread Cookie Bliss

Sometimes you want those fancy, full of stuff kinda cookies and that is fine but occasionally a simple but delicious cookie is the way to go, like shortbread.  Dainty crisp shortbread cookies are great with a cup of tea or coffee.  I hadn’t tried them gluten free until this holiday season.  I now wonder why it took so long.

meyer lemons

I baked lemon ones using Meyer lemon peel but you can use whatever lemons you buy at the grocery store.  Mine were sprinkled with a touch of green colored sugar.  Top yours as you wish or leave them plain.

No forming needed.  You glop the soft dough onto a long piece of plastic wrap, close it and roll on the table to shape.  Chill well and cut the dough into slices, onto the baking sheet and into the oven.  Simple to make and they are perfect for many festive occasions. I can’t wait to try some other variations on these shortbread cookies.

shortbread cookie 001

Lemon Shortbread Cookies

½ cup unsalted butter, room temperature

¼ cup granulated sugar

1 tsp. vanilla

½ lemon extract

1 tsp. lemon zest

¾ cup brown rice flour mix; recipe below

1/4 cup sweet rice flour

¼ tsp.  xanthan gum

1/8 tsp. salt

Directions:

Beat together the softened butter and sugar with an electric mixer until light and fluffy, add the vanilla, lemon extract, and zest and mix.

Mix flour, xanthan gum in small bowl; add to butter/sugar mix.  Mix until a soft dough is formed.

Place lumps of dough in a line along a big sheet of plastic wrap; from it into a 1 ¼ inch log of dough.  Twist ends shut, smooth into a round long by rolling it on the table top.  Chill it at least an hour; until firm.

Heat oven to 350 degrees, racks to center of oven.  Lightly spray 2 baking sheets with cooking spray.

Slice into ½ to 5/8 inch rounds. Place 1 ½ inch apart on sheet, sprinkle with colored or plain sugar.  Chill in fridge 15 minutes. Bake 12-14 minutes until lightly golden. Mine all took 14-15 minutes.  Let cool on cookie sheet 2-3 minutes so they solidify; transfer to a cookie cooling rack.  Store in airtight cookie jar once cooled.

My recipe says the dough can be kept in the fridge for a week or in freezer for up to two months.  It made about 32 cookies. They went fast!

They are delicate; if left out in the air unsealed they will get soggy and loose their crisp, delicate texture.

To make them plain leave out the lemon extract and zest and add another ½ tsp. vanilla.

Brown Rice Flour Mix base mix
2 c brown rice flour

2/3 c potato starch

1/3 c tapioca flour

This recipe is out of Annalise G. Robert’s great cookbook: Gluten Free Baking Classics, second edition.

Crunchy Tasty Cranberry Crackle Tart

Like a fruit tart and a pavlova had a baby: this is the felicitous result.  Light and delicate, making it perfect after a hearty feast.  It is really guilt free if you eat it minus any toppings like the whipped cream or ice cream.

I found this recipe on line, back before Thanksgiving, at splendidtable.com.  I loved the look and sound of it but didn’t find time to make it until Christmas Eve.  Once I tasted it; love at first bite.   I devoured it with vanilla ice cream on top at the Christmas lunch, nice flavor combination.  New Years Eve is coming up and I want to bake another, this time serving it like you do a Pavlova, with lightly sweetened real whipped cream on top. Yumm!

crackle tart 007

It is really easy to throw together.  If you are gf you can use the recipe I provide, I adapted her recipe to make it gluten tree. At holidays like Christmas Wegmans often has gf redi-made crusts. If you are a wheat eater use whatever cookie tart crust you like.  I included cinnamon in the crust and found it added a lot to the complexity of the flavors.  The crust absolutely needs to be pre-baked before you put the tart together.

I should say I seldom use fresh cranberries; I generally make a fresh relish – old family recipe – for Thanksgiving but never got it made this past November.  So I had the bag of cranberries in the fridge in the fruit bin.  Yeah, it sat there a month: I did have to pick through it (you always should) after I rinsed them and remove and squishy ones.  There are usually a few of those mixed in and they aren’t great for anyone to eat.  Let them dry. Anyway, my point is; this tart is fantastic tasting even if you aren’t a huge cranberry fan.

I used some smooth raspberry jam (what I had) but you could probably use most any jam.  Just chose one full of real fruit in a flavor you enjoy as you can definitely taste the jammy flavor mixed in with the crust and the meringue topping. I loved it with raspberry jam, a favorite flavor for me.

crackle tart 005

Fresh out of the oven

I didn’t take a lot of pictures as I wasn’t really planning to blog this recipe but it was so tasty I had to get it out there for people to try.

——————-

Sweet cookie crust, gf

Place the following in a stand mixer bowl and combine:

1 cup GF flour (recipe below)

¼ cup granulated sugar

1 tsp xanthan gum

½ tsp. cinnamon

Add 5 tbsp cold butter, cut into 6-7 chunks.  Mix on medium low until the butter is just crumbs blended in.

Add 1 tsp. vanilla extract and 1 tbsp water.  Blend well.

Pour the crumbs into a ten inch tart pan that was sprayed with cooking spray.  Or a glass pie pan.  Spread it up the sides.  Press gently in so it is a cohesive crust but do not press really hard or it will be like concrete when you finish baking it!

Bake at 350 degrees for 18 minutes. Set the crust on a rack to cool to room temperature.  Do not let it get more than light brown.

crackle tart 006

Just before cutting it

Brown Rice Flour Mix
2 c brown rice flour

2/3 c potato starch

1/3 c tapioca flour

Filling

2 tablespoons chunky cherry, raspberry or strawberry jam

2 large egg whites, at room temperature

Pinch of fine sea salt

1/2 cup sugar

1 1/2 cups cranberries (if they’re frozen, don’t thaw)

Confectioners’ sugar, for dusting.

When you’re ready to fill and bake the tart: Preheat the oven to 300 degrees F.

Gently spoon the jam on top of the crust and spread it evenly over the bottom, I used the back of my big spoon for this operation. In a large bowl with a hand mixer, beat the egg whites with the salt at medium speed just until they are fluffy and fairly opaque. With the mixer going, add the sugar in a slow, steady stream, then keep beating on high until the whites are shiny and form definite peaks; they will look like marshmallow.  This is a meringue.

Pour the cranberries into the bowl of meringue and, using a flexible spatula or spoonula fold them into the meringue. Try to distribute the fruit evenly, but don’t mix too much– you want to keep the meringue fluffy. Spoon the meringue over the jam and spread it to the edges, making it swirly if you’d like. The jam might push up around the sides of the meringue, and that’s fine.  Don’t fret if it looks like not enough filling, it will puff up in the oven to fill the pie pan.

Bake the tart for 1 hour, at which point the top will be light beige and cracked here and there. (If you’d like more color, you can bake it a bit longer or even put it under the broiler.)  I did not go there!  Transfer the tart to a cooling rack and cool to room temperature.  I did cut it while slightly warm and we all thought that was just perfection.  If you’d like, and I do, dust the tart with confectioners’ sugar before serving. Whipped cream on top is also great.Storing: The tart is best the day it’s made, although it’s still pretty nice the next day. Leave the tart at room temperature, covering only the cut part with a piece of wax paper or plastic wrap.  I doubt you will have any the second day anyway. It is that tasty.