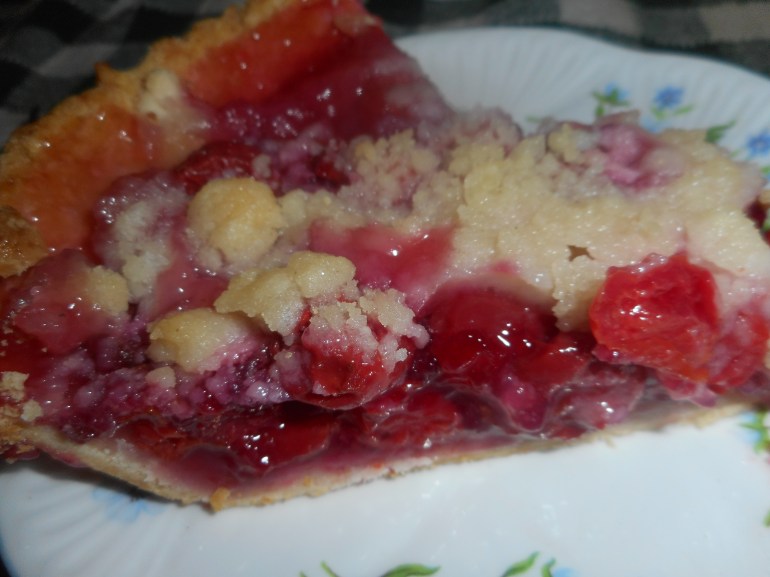
Pie is a classic American dessert, who doesn’t like a big slice of juicy pie? Cherry pie is perfect for the weeks before and after the Fourth of July or anytime you can get frozen sour cherries. My sister sometimes uses jarred cherries but I prefer fresh or frozen sours. You can make it gf easily with this recipe – my crust is really tasty; my family practically cheers when I serve homemade pie and my family does not need to eat gluten free.
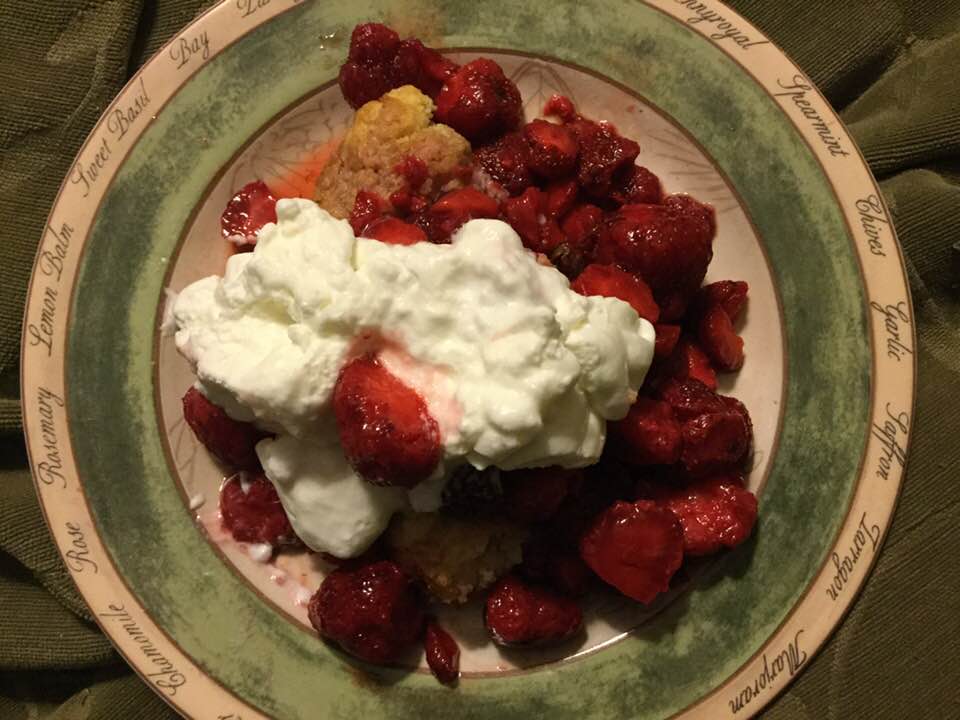
Fresh tasting, locally sourced fruits are exactly in the spirit of summer. I have picked mine at an orchard down in New Jersey around Milford about 25 minutes SE from Hellertown.
The sugar, cinnamon and almond extract create an intense cherry flavor. If you prefer a lattice it can be made by doubling this pie crust and some careful construction work. I tend to go the easy route of the crumb as everyone loves it. You could make a smaller 8 inch pie; use a cup less fruit and cut the sugar some, ditto for the tapioca. This pie is fantastic with a scoop of vanilla ice cream on the side.
This recipe is a blending of my own pie filling and the pie crust and crumb recipes from Annalise Robert’s cookbook, Gluten-Free Baking Classics. I used a touch less sugar, more fruit, and made a few other changes to create my own special pie. Her cookbook is a fabulous resource and I can’t recommend it enough to anyone trying to bake gluten free for a family member. There is nothing like the classic desserts that we used to enjoy seasonally to comfort a celiac who can’t eat what they used to.
Angie’s GF Cherry Crumb Pie
Crust:
1 c plus 2 tbsp brown rice flour mix (at bottom of recipe)
2 tbsp sweet rice flour
1 Tbps. granulated sugar
½ tsp xanthan gum
¼ tsp salt
6 Tbps. cold butter cut into 6 chunks
1 lg egg
2 tsp fresh orange or lemon juice
Spray 9 inch metal pie pan with cooking spray, dust with white rice flour.
Mix dry ingredients in bowl of stand electric mixer. Add butter and mix until crumbly and resembling coarse meal. Add egg and juice. Mix until it comes together into big chunks. Shape into a ball with your hands. Put it on a crust sized piece of wax paper (14 x 14 inches more or less), flatten the crust ball some; put on top of it another piece of wax paper and chill it all in your fridge 15-20 minutes while you pit the fruit.
Filling:
6 cups pitted fresh sour cherries: place in medium bowl (If frozen do not defrost and bake the pie maybe ten extra minutes until good and bubbly)
1/4 tsp. almond extract (I add that to the pitted cherries before the dry mixture)
Mix the following 3 ingredients in a small bowl and pour over the cherries:
¾ cup granulated sugar
3-4 tbsp. tapioca flour
1/4 to ½ tsp. cinnamon
Roll out pie crust between two sheets of wax paper or in a pie bag; try to get the thickness even, no thick middle! Peel off one side of paper and place in pie pan, centered. Remove other slice of wax paper. Crimp edges all around. Fill with sweetened fruit mix. Sprinkle the crumb topping (1 1/4 to 1½ cup) evenly over this mixture. The more crumbs the thicker the crust they will form; for a really thick crust use all the crumbs from the recipe below.
NOTE: If you love your pie really sweet add another ¼ cup granulated sugar to the dry mix part of the filling. I found the pie to be plenty sweet, but everyone has their own sweetness level.
Bake in a preheated 375-degree oven for 30 minutes with a piece of aluminum foil on top of the pie, then 15-20 more minutes uncovered until bubbly and the crust is light brown. If you use frozen berries, don’t defrost them more than halfway and you might have to cook the pie up to 15 extra minutes; make sure it is bubbling and light brown before taking it out of the oven. Cool at least 2 hours before serving at room temperature.
Note: I bake pies on the bottom rack of my oven, and it gives me a great browned crust. If your oven isn’t great at the bottom crust getting brown, you might pre-bake the crust 10 minutes before filling and topping the fruit.
Crumb topping
Put all four ingredients in the same mixing bowl you made the bottom crust in and mix well with mixer paddle until crumbs form. Don’t over mix or you will get a soft dough; not a good thing…done it and not happy with myself…
¾ c brown rice flour mix
½ c granulated sugar
½ tsp xanthan gum
1/3 c cold butter cut into six chunks
Brown Rice Flour Mix (Same as King Arthur GF blend)
2 c brown rice flour
2/3 c potato starch
1/3 c tapioca flour


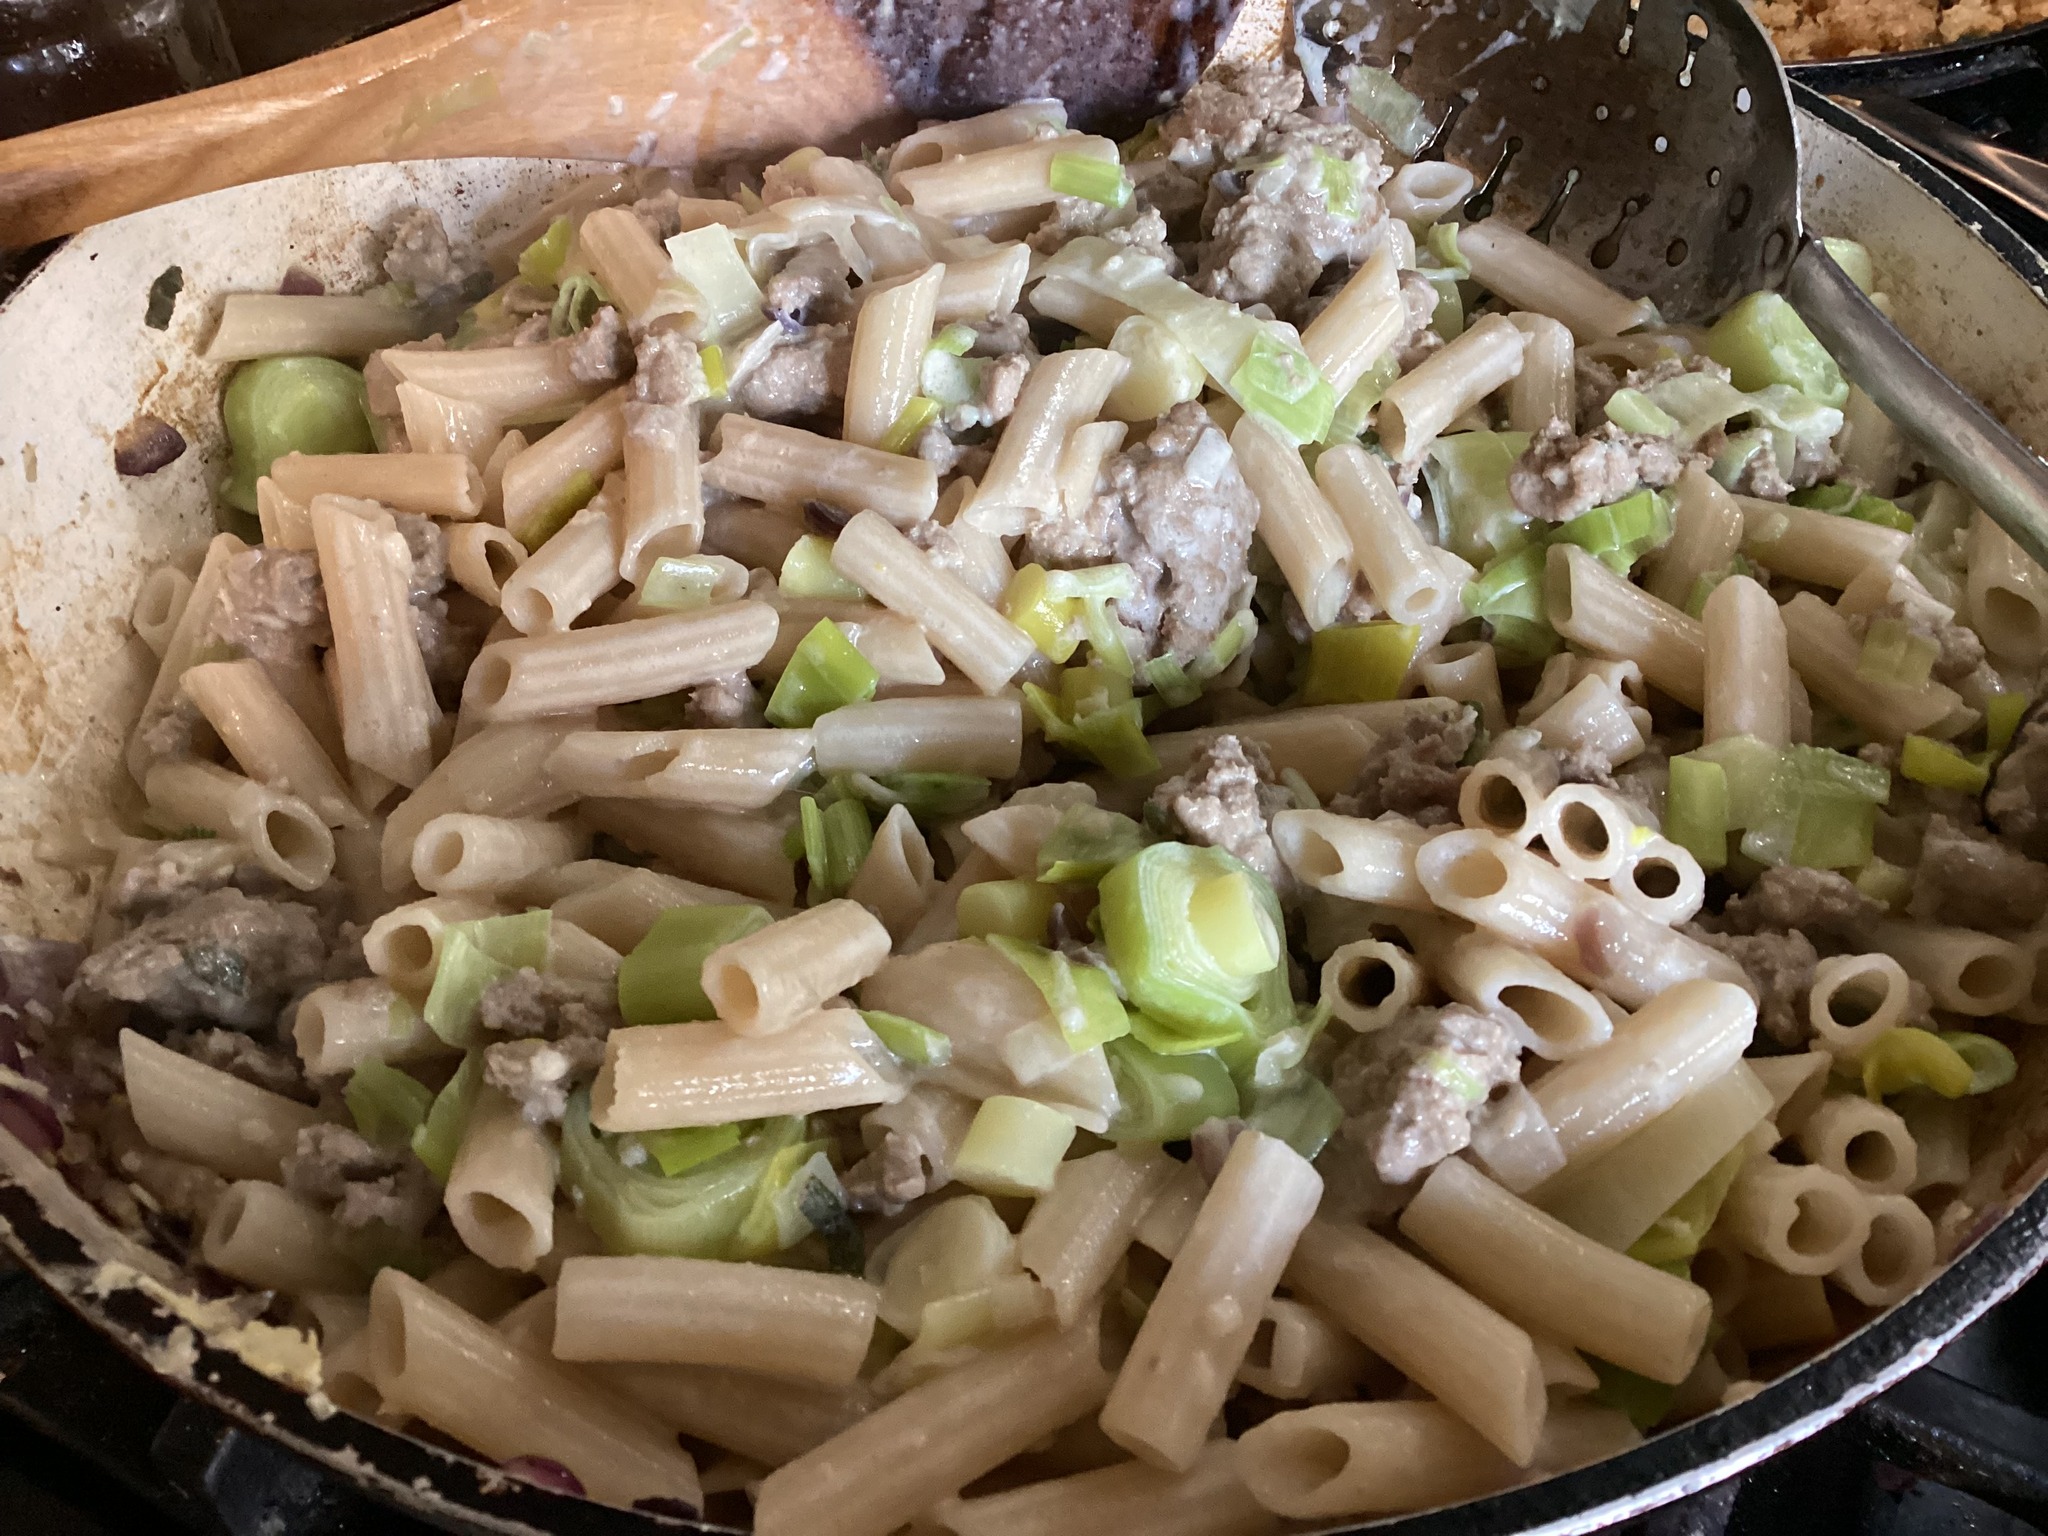
 Uncured means they have less junk added in the curing process of many sausages. Definitely a yummy and healthy-ish choice for sausage in any recipe. They cook in about 8-10 minutes. They make a quick supper with some pan-fried potatoes and a veggie. And grilling them is on the package as an alternative to the frying pan. I need try them on my grill. Maybe for camping next year…