Why This Blog….

Let me provide some minor clarifications for those who had questions about me and my blog.  Yes, I have celiac disease, diagnosed 2.5 years ago but probably sick for 3 years before; getting worse until the docs started seriously looking for a cause.  And yes, I had it as a kid; why I always had a tummy ache, couldn’t get to sleep, couldn’t gain any wait, thin as a rail and very anxious.  Bunch of other symptoms we won’t mention here for brevity’s sake. Illness disappeared by age 18 (no one could figure that one out back then) and did not return until serious stress about 5 years ago. This is not that uncommon with childhood celiac.

I do have one person in my family who has celiac, rest claim not.  I have my doubts. It does run in families.  I wish they would all get tested.

I never ever post recipes that I haven’t made myself.  Most recipes are versions of ones I have found in cookbooks or on line say at foodnetwork.com.  I seldom make a recipe exactly as it originally is.  I am a collector of cookbooks but I have gotten rid of a lot of baking ones.  They made me sad.  I have several new gf ones I am fond of.

I eat lots of vegetables and fruits: adore them but not fond of creamed corn, stewed tomatoes or succotash. Love potatoes, pasta and some beans. I do eat some sort of meat protein most days but completely enjoy a well crafted vegetarian entree.  I am not fond of raw proteins.  Nope. Nor organ meats or wild critters like rabbit or snake.  Not tried alligator yet.  Love elk, or deer and accept all donations of excess frozen venison. And yes, I love baking pies and muffins….made some apple muffins last night!

apple muffins veggie mix 006

Love cooking, love sharing food, love sharing recipes, that’s me.  Enjoy writing an awful lot; gives me a real rush to share my own posts.  I do this for that joyful moment when I push the publish button.  I hope I help educate those without celiac and give food/meal ideas to those who cook for someone with celiac.  Cooking should be fun as well as creative.  Substituting stuff for things you don’t have is okay! Being celiac is a challenge, not a death sentence.  I eat great and feel fantastic and I think that shows in many areas of my life.   My motto is Cook, Eat, Love and Write.  I cook so you have something great to eat!

Peach Oatmeal…It’s What’s For Breakfast at My House!

Healthy breakfasts are a way to start the day off great.  One of my go to breakfasts is oatmeal.  I love it the way it comes out in this recipe; not sticky or goopy, no way I would eat that kind of glop!  I use a lot of water and drain it before adding yummy stuff.  This substantial breakfast is minimal work and I let it cook while I made my lunch or feed the animals.  Less than ten minutes later I am eating a healthy tasty bowl.

A year ago I posted on making healthy breakfasts; there was an instant oatmeal I raved about as well as a bunch of other choices https://myworldwithoutwheat.wordpress.com/2014/12/02/gf-breakfast-is-doable-and-delish/.  Nice, but this whole oatmeal recipe is my fav and I wanted to share my recent fruit topping discovery.  It sounds so elementary but I just never seemed to try it…until now.    Here goes.

oatmeal peachy 001

This was a big juicy peach I cut up for this breakfast treat.

Angie’s Oatmeal with Fresh Peach (one serving)

½ cup old fashioned oatmeal, gluten free if you have celiac

Sprinkle of salt

1 tsp. butter

1 tbsp. brown sugar

1 peach

Sprinkle of cinnamon (optional)

Directions:

Heat a quart pot 2/3 full of water, sprinkle in some sea salt.  When it comes to the boil add the oatmeal.  Turn heat to medium low.  Cook 8 to 9 minutes.  Drain into a strainer.  Pour into a bowl, add butter, sprinkle with brown sugar and a peach that you have diced into small bits.  Cinnamon on top if you like that sort of flavor too. It’s that simple and that peachy good! Great use of late season peaches…could use frozen ones once the fresh ones are gone.

I also make this with sliced bananas or blueberries.  So healthy and very filling. Sometimes I make it topped with dried cranberries, chunks of walnuts, a tiny bit of butter and some real maple syrup.  I sprinkle that version with cinnamon and nutmeg.

oatmeal

Oatmeal is naturally gluten free but it is often processed on equipment that does wheat or is contaminated with wheat kernels from the farm; if you have celiac you really need to buy oatmeal that is labeled gluten free so your chances of cross contamination are nil.

I do eat instant or dry cereal but this oatmeal is so much more satisfying.  And so little effort too.  Enjoy!

Dilly Pickle Project: Delightful!

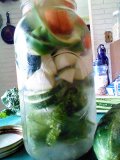
Something I have never made – dill pickles canned in jars.  They seemed too complicated and I didn’t know if what I created would taste as good as store pickles.  My mom made them when I was a kid.  I remember that if a jar got forgotten in the basement, say in the very back of a dark shelf, for like a year… the big pickles would get hollow in the middle and slimy and off flavored.  Kinda off putting.  I love to make jam, jelly, and marmalade but somehow I haven’t ever attempted the authentic dill pickle. I have made raw refrigerator pickles but that recipe does not require canning or much of a recipe; a brine you keep adding veggies to and munching them down. I re-ran that recipe recently but knew it was only  a warm up for this particular project. And it had to be gluten free for me; this is naturally gluten free. Yay!

Well, a good friend had some pickling cukes to spare from her garden and I decided to screw up my courage and make a run at replicating dill pickles. No one I knew had a recipe they could recommend.  So, I searched on the food network website for a fairly simple dill pickle, chose a basic recipe; made a few small changes and went for it. After waiting about 4-5 days while the flavor mysteriously ripened I opened a chilled jar and found the pickle slices to be fantastic in flavor and crunch.  Eureka!  I ate enough slices to almost give myself a sour stomach; note to self: stop after 6-7 slices.

I feel like a tricky topic has been made easy; the pickle has been conquered. I am ready for my next burger with the perfect pickle slices to heighten the flavor experience. You too can do the pickle successfully. I promise!

First get all the supplies: beg, borrow or buy some pint canning jars, an equal number of the rings that tighten the lids and brand new canning lids (they must be brand new to seal properly)  You will also need a deep pot to put the jars in. I have a jar lifter someone gave me and it is very helpful in removing hot jars of pickles or jam out of boiling water. A canning funnel is also pretty much needed; so you can easily pour in jam, top the pickles with brine or otherwise fill the jars with your food product. I use a pair of tongs for picking up boiling hot lids or rings and for getting a hot jar out of the water to fill with my latest canning experiment.

cuke 010

The cukes: I got 4 big fat pickling cucumbers from a garden; you can buy ones in the store; look for ones labeled for pickling; they are kinda bumpy and rather cute.  No European burpless for this project; only old fashioned cukes, no waxed ones either!

The process: the empty clean jars have to be filled with hot water and heated to a boil, I let them boil for ten minutes generally. The lids and rings need to be heated briefly. Your big pot has to be deep enough to cover the jars with an inch of boiling water.  I process pickles for ten minutes.  Sounds difficult; nope; just let them boil in that pot of water for ten minutes, lift out and let them cool on a kitchen towel until the lids let out a ping that tells you the jar lid is safely vacuum sealed.  Done.  Yeap. That’s all there is to it!

lemon chicken and pickles 002

Spicy Dill Pickles
Yield: 7-8 pickles (can double)

Ingredients

7-8 small cukes or 4 big pickling cucumbers or Kirbies
Pickling Liquid:
1.5 cups water
1 cups white vinegar
2 tbsp. kosher or coarse salt
1 tablespoon granulated sugar
skimpy ½  teaspoon ground cumin
1/2 teaspoon black peppercorns
4 teaspoon turmeric
1 whole cloves
1 small bay leaf
1/2 medium onion, sliced
1/2 stalk celery, sliced
1/2 carrot, peeled and sliced
½ tsp red pepper flakes or 1 jalapeno pepper sliced (I did the flakes)
4 garlic cloves, peeled
3-4 dill flowers (mine were very dried out but still flavorful)

1 small sprig thyme

Directions

Bring a large stockpot water to a boil. Add cucumbers, immediately remove from heat if they are the small ones or leave in there a minute if big fat cukes, and drain in a colander. Rinse with cold water and reserve.

Combine the pickling liquid ingredients as well as salt and sugar in a medium saucepan and bring to a boil. Place whole cucumbers in a large container with remaining vegetables and herbs. Pour hot pickling liquid over cucumber mixture and let cool. Stir it up and tap down all the solids until liquid rises to top. Cover with plastic wrap and let stand at room temperature 1 day.

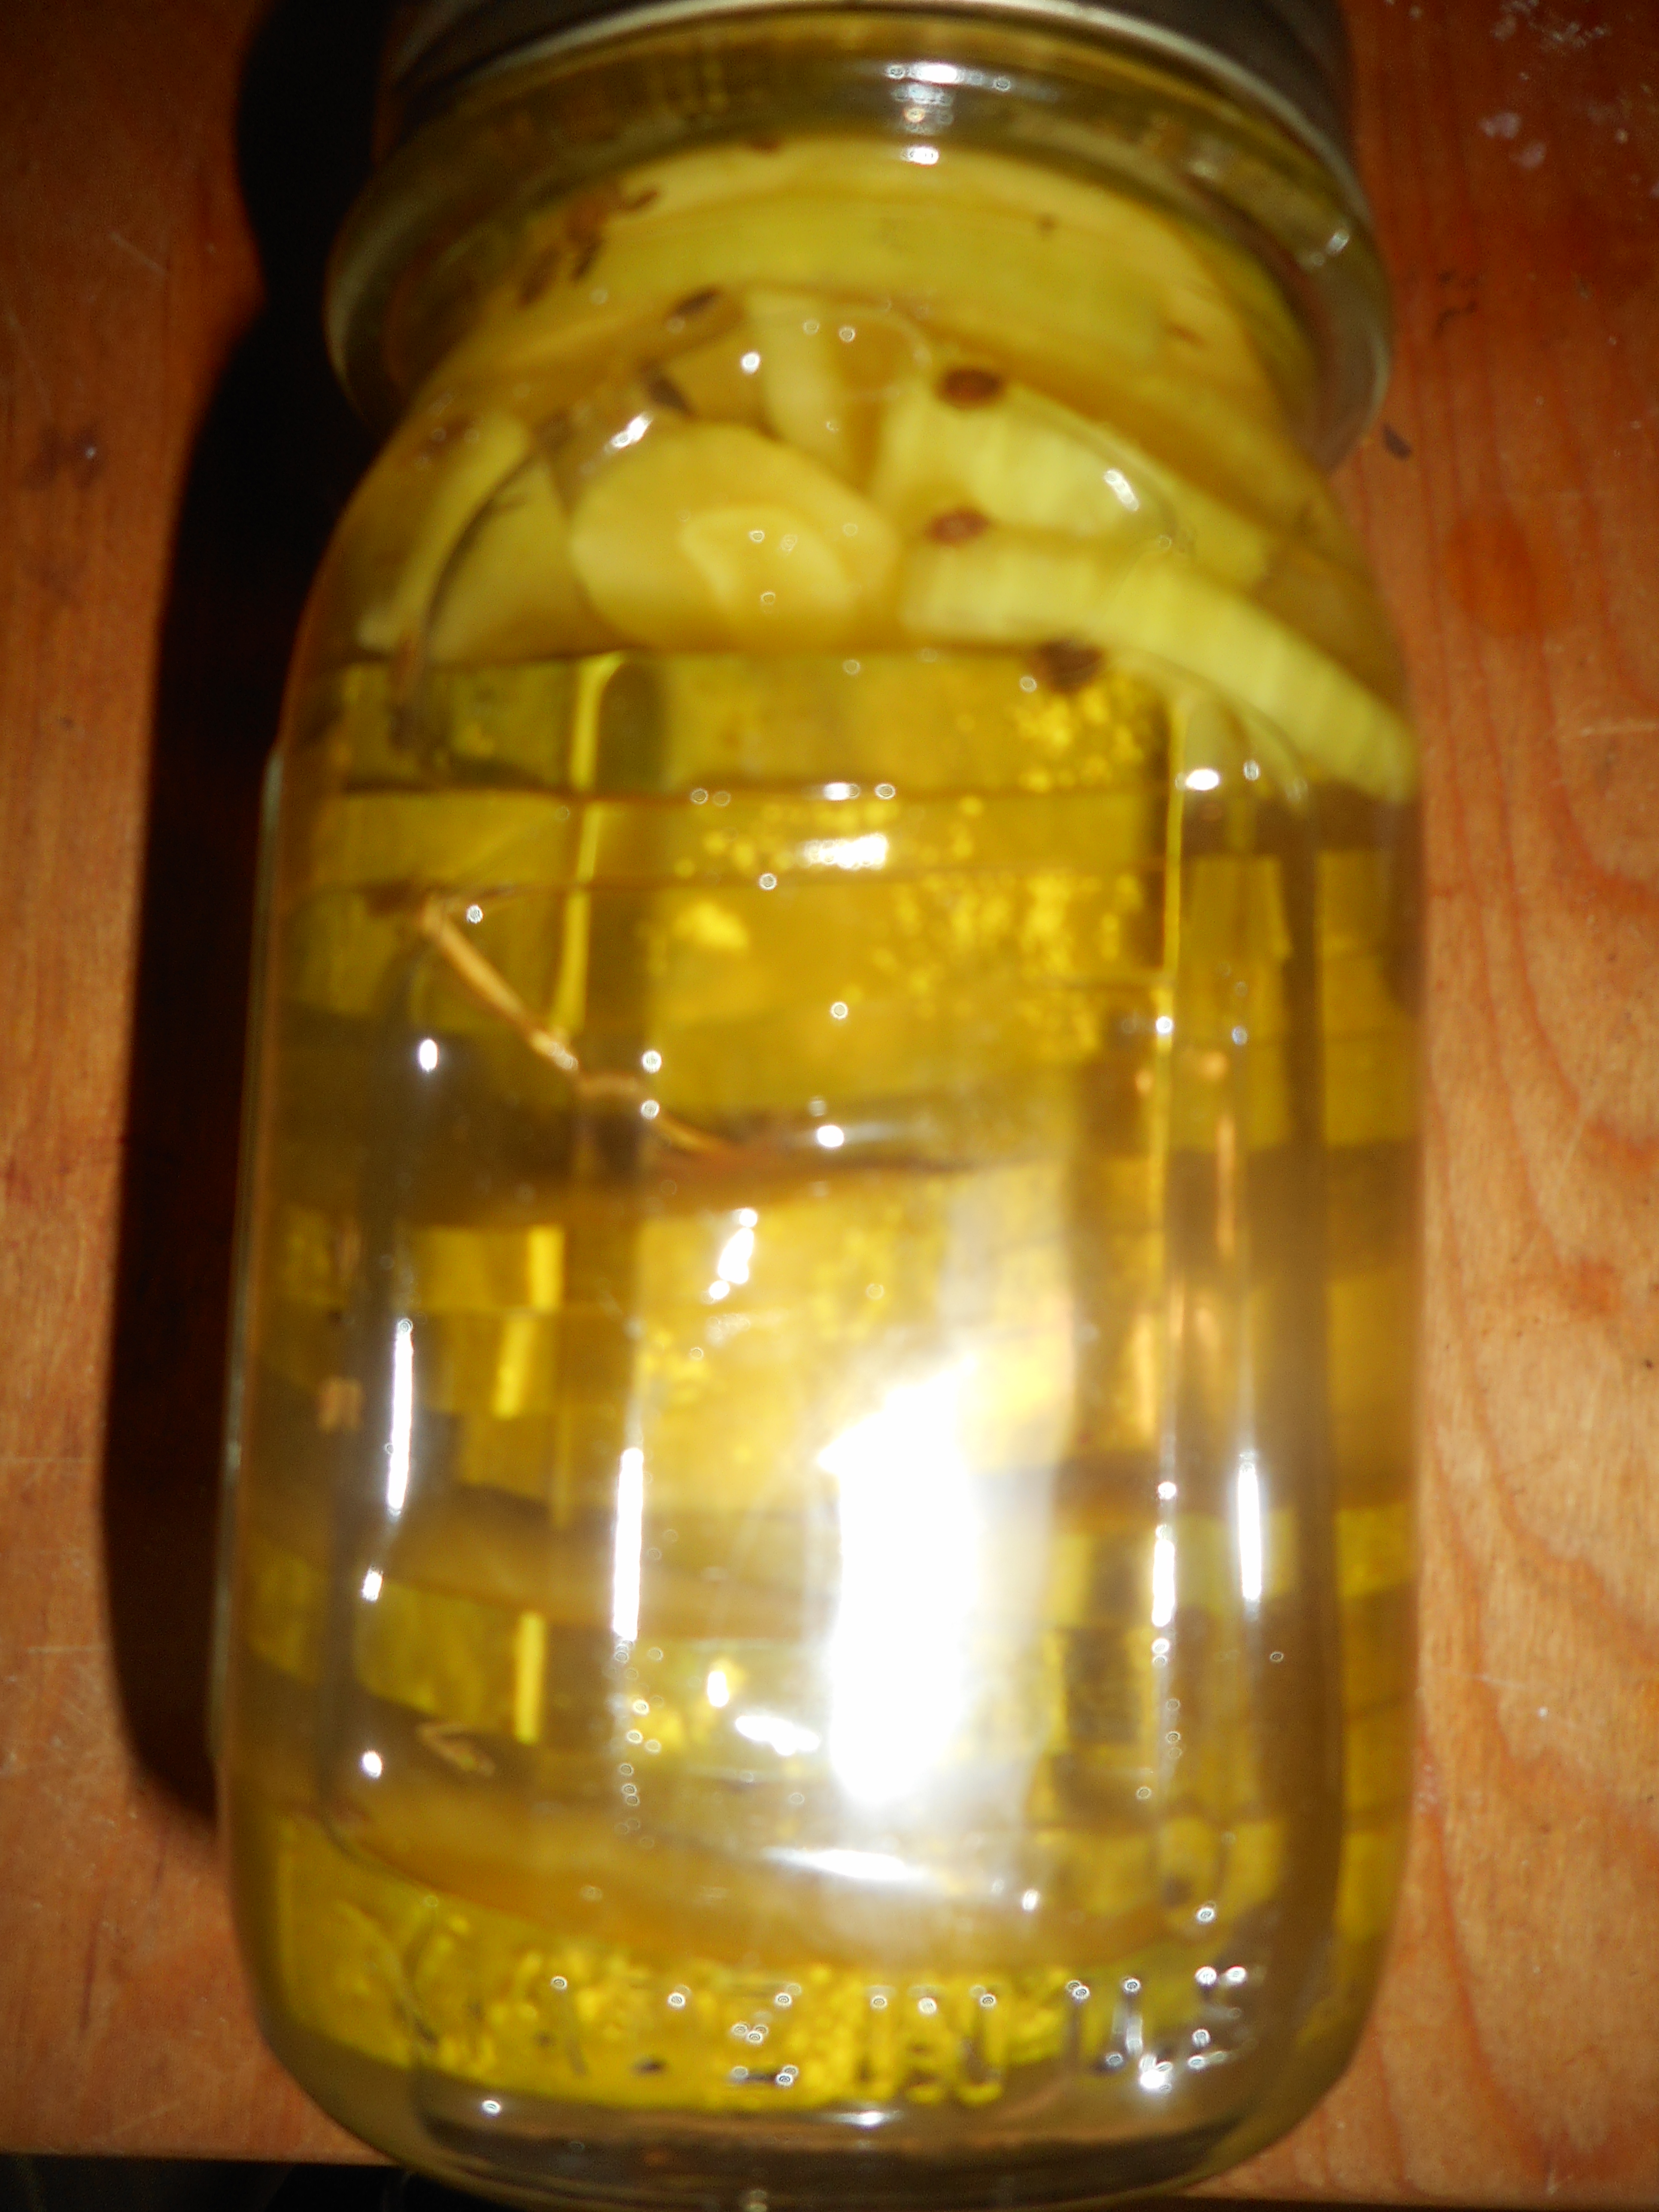
I then sliced the cucumbers into ¼ inch slices and heated them before canning in pint jars. I  believe it will work equally well if you cut them into spears. If they are not too big you could leave them whole; mine were huge so I had to cut them up. I covered the pickle slices and other veggies with the pickling liquid up to ¼ inch from the rim.  Do stick a knife or chop stick in to stir and break up any bubbles before sealing. Put on the lid, the rim and hand tighten, I often use a thin kitchen towel as the jar is hot and it is difficult to tighten the lid down otherwise. Process ten minutes in a hot water bath.  Or, transfer to a sealed container and refrigerate 3 days before serving.

They are said to store indefinitely but I think they will taste best in the first 3-4 months while they are crisp.  I ate some of mine about 5 days after canning and they were perfect!

Read more at: http://www.foodnetwork.com/recipes/dill-pickles-recipe.print.html?oc=linkback

Pickle Pickle Who’s Got the Pickles?

Some of us adore pickles and some dislike them.  If you are a pickle fan read on.  If not, read anyway as these are far better than the tired flabby canned pickles found at the grocery store.  A good gardening friend gave me this recipe.  It is really easy and rather fun to construct.  Even better is that you can pickle most any veggies. I have tried zucchini, carrots, cauliflower, green peppers and red peppers.  Of course, cucumbers are in there too!

You do need a couple grape leaves.  You might be able to find a neighbor with a grape vine.  I am betting you could use wild grape leaves from a state park or along a country road.   They really add to the authenticity of it so snag a few from somewhere.

Also needed are 3 dill heads (the flowers of a dill plant).  This might be more problematic but if you know a real gardener, aka someone like me, you can beg the dill heads as frankly they are not used much for cooking and I was happy to give some to the friend who gave me this recipe.  Grow your own dill for next summer; it is so easy to do and it does reseed and come back year after year.  Dill is lovely in potato salad and in other salads like my stuffed tomatoes which I plan to blog about later this week!

Refrigerator Pickles

2 cups white vinegar

¼ cup salt, I used kosher salt in mine

4 cups water (I used 3)

¾ cup sugar

3 garlic cloves cut up

3 dill heads

2 grape leaves

Bring the first four ingredients to a boil in a sauce pan and let cool fully.  Put the other three ingredients in the bottom of a gallon jar.  Cut up your veggies and pile in the jar.  Top with the vinegar mixture. Put on the lid. Put in the fridge and let marinate for 3 days before trying it.

I have done pickling cucumbers, short zucchini spears, broken up cauliflower heads, thin slices of white turnip and peppers.  I want to try broccoli next!  Maybe celery?

My grandson Aiden who is almost four clamors for the pickle jar to come out when he eats meals here.  I say, eat your food and you can have some pickles! He gobbles up his food and waits expectantly for me to fish out a pickle or two.

I like how fresh they are and how crunchy the pieces still are. Plus they have no additives or preservatives.  You can keep adding veggies as you use them up.  I think the tough part is fishing them out of the jar.  The other day I lost a fork in there but luckily it didn’t go to the bottom of the jar; a cuke round stopped its descent! Now, go pickle fresh veggies and have some fun with it….

Originally posted by me late last summer 2014.

Peachy Keen Muffins

You might think that I have run out of muffin recipes to test. Not so!  It is peach season and this year’s crop is very flavorful so I wanted to try using them in muffins. This recipe is my version of peach muffins from Annalise Roberts’s wonderful cookbook: Gluten Free Baking Classics.  They are perfect in texture and totally yummy. I got my peaches from Bechdolt’s Orchards, just south of Hellertown on Rt 412.

peaches

I used coconut palm sugar for this recipe; it has a very low hypoglycemic index rating which is super for keeping my blood sugar even. It does make them a bit brown in color and a touch drier so I usually add a tbsp of extra milk. coconut palm sugar I do sprinkle them with a bit of chunky sugar just before baking.  I feel no guilt; these muffins are low fat, low sugar and totally yummy!

Do freeze any you won’t eat in 2 days in a ziplock freezer bag as diced peaches in muffins shorten the storage time because they are so moist.  These treats defrost great; about 25 seconds on one-third power does the trick.  They make super school or work snacks and I sometimes take a couple on a hike, wrapped carefully so they don’t turn into crumbs on the way up the mountain! I don’t bother to defrost them before leaving; they do that all on their own in about an hour.

This batter is kinda lumpy looking but that is the chunks of peaches in it.  It may not look wildly appetizing but the results will be delicious once  baked into muffins.

mom's new watch 003mom's new watch 004peach jam 004

Peachy Keen Muffins

2 cups brown rice flour mix (see below)

2/3 c granulated sugar (preferably coconut palm sugar)

1 tbsp. baking powder

1 tsp. baking soda

¾ tsp xanthan gum

¼ tsp salt

½ tsp ginger (I may up this next time to make it more zingy)

1/4 tsp cinnamon

2 c diced ripe peaches (no juice)

2 lg eggs beaten

½ c milk (plus 1 tbsp. if you use the palm sugar)

½ c canola oil

½ tsp vanilla extract

Directions: Heat oven to 350, placing the rack in middle of oven.  Spray muffin pans with cooking spray.  One batch makes 14-16 muffins.

Mix all dry ingredients in bowl of stand mixer or big bowl

Add diced peaches; stir to coat them with dry mix

Combine milk, vanilla and oil.  Beat in eggs.  Add liquids to big bowl; stir until well blended.

Fill muffin pans 2/3 full.  Sprinkle with coarse sugar. Bake 18-22 min until golden brown. Do not overbake or they get dry.  Remove immediately from the pans and cool on a rack. Freezes well for up to 3 weeks.  Keeps in tight cookie jar for maybe two days.

Brown Rice Flour Mix (aka King Arthur GF All Purpose Flour; it is the same)
2 c brown rice flour

2/3 c potato starch (not potato flour)

1/3 c tapioca flour