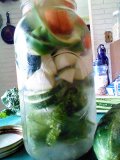
Pickle Pickle Who’s Got the Pickles?

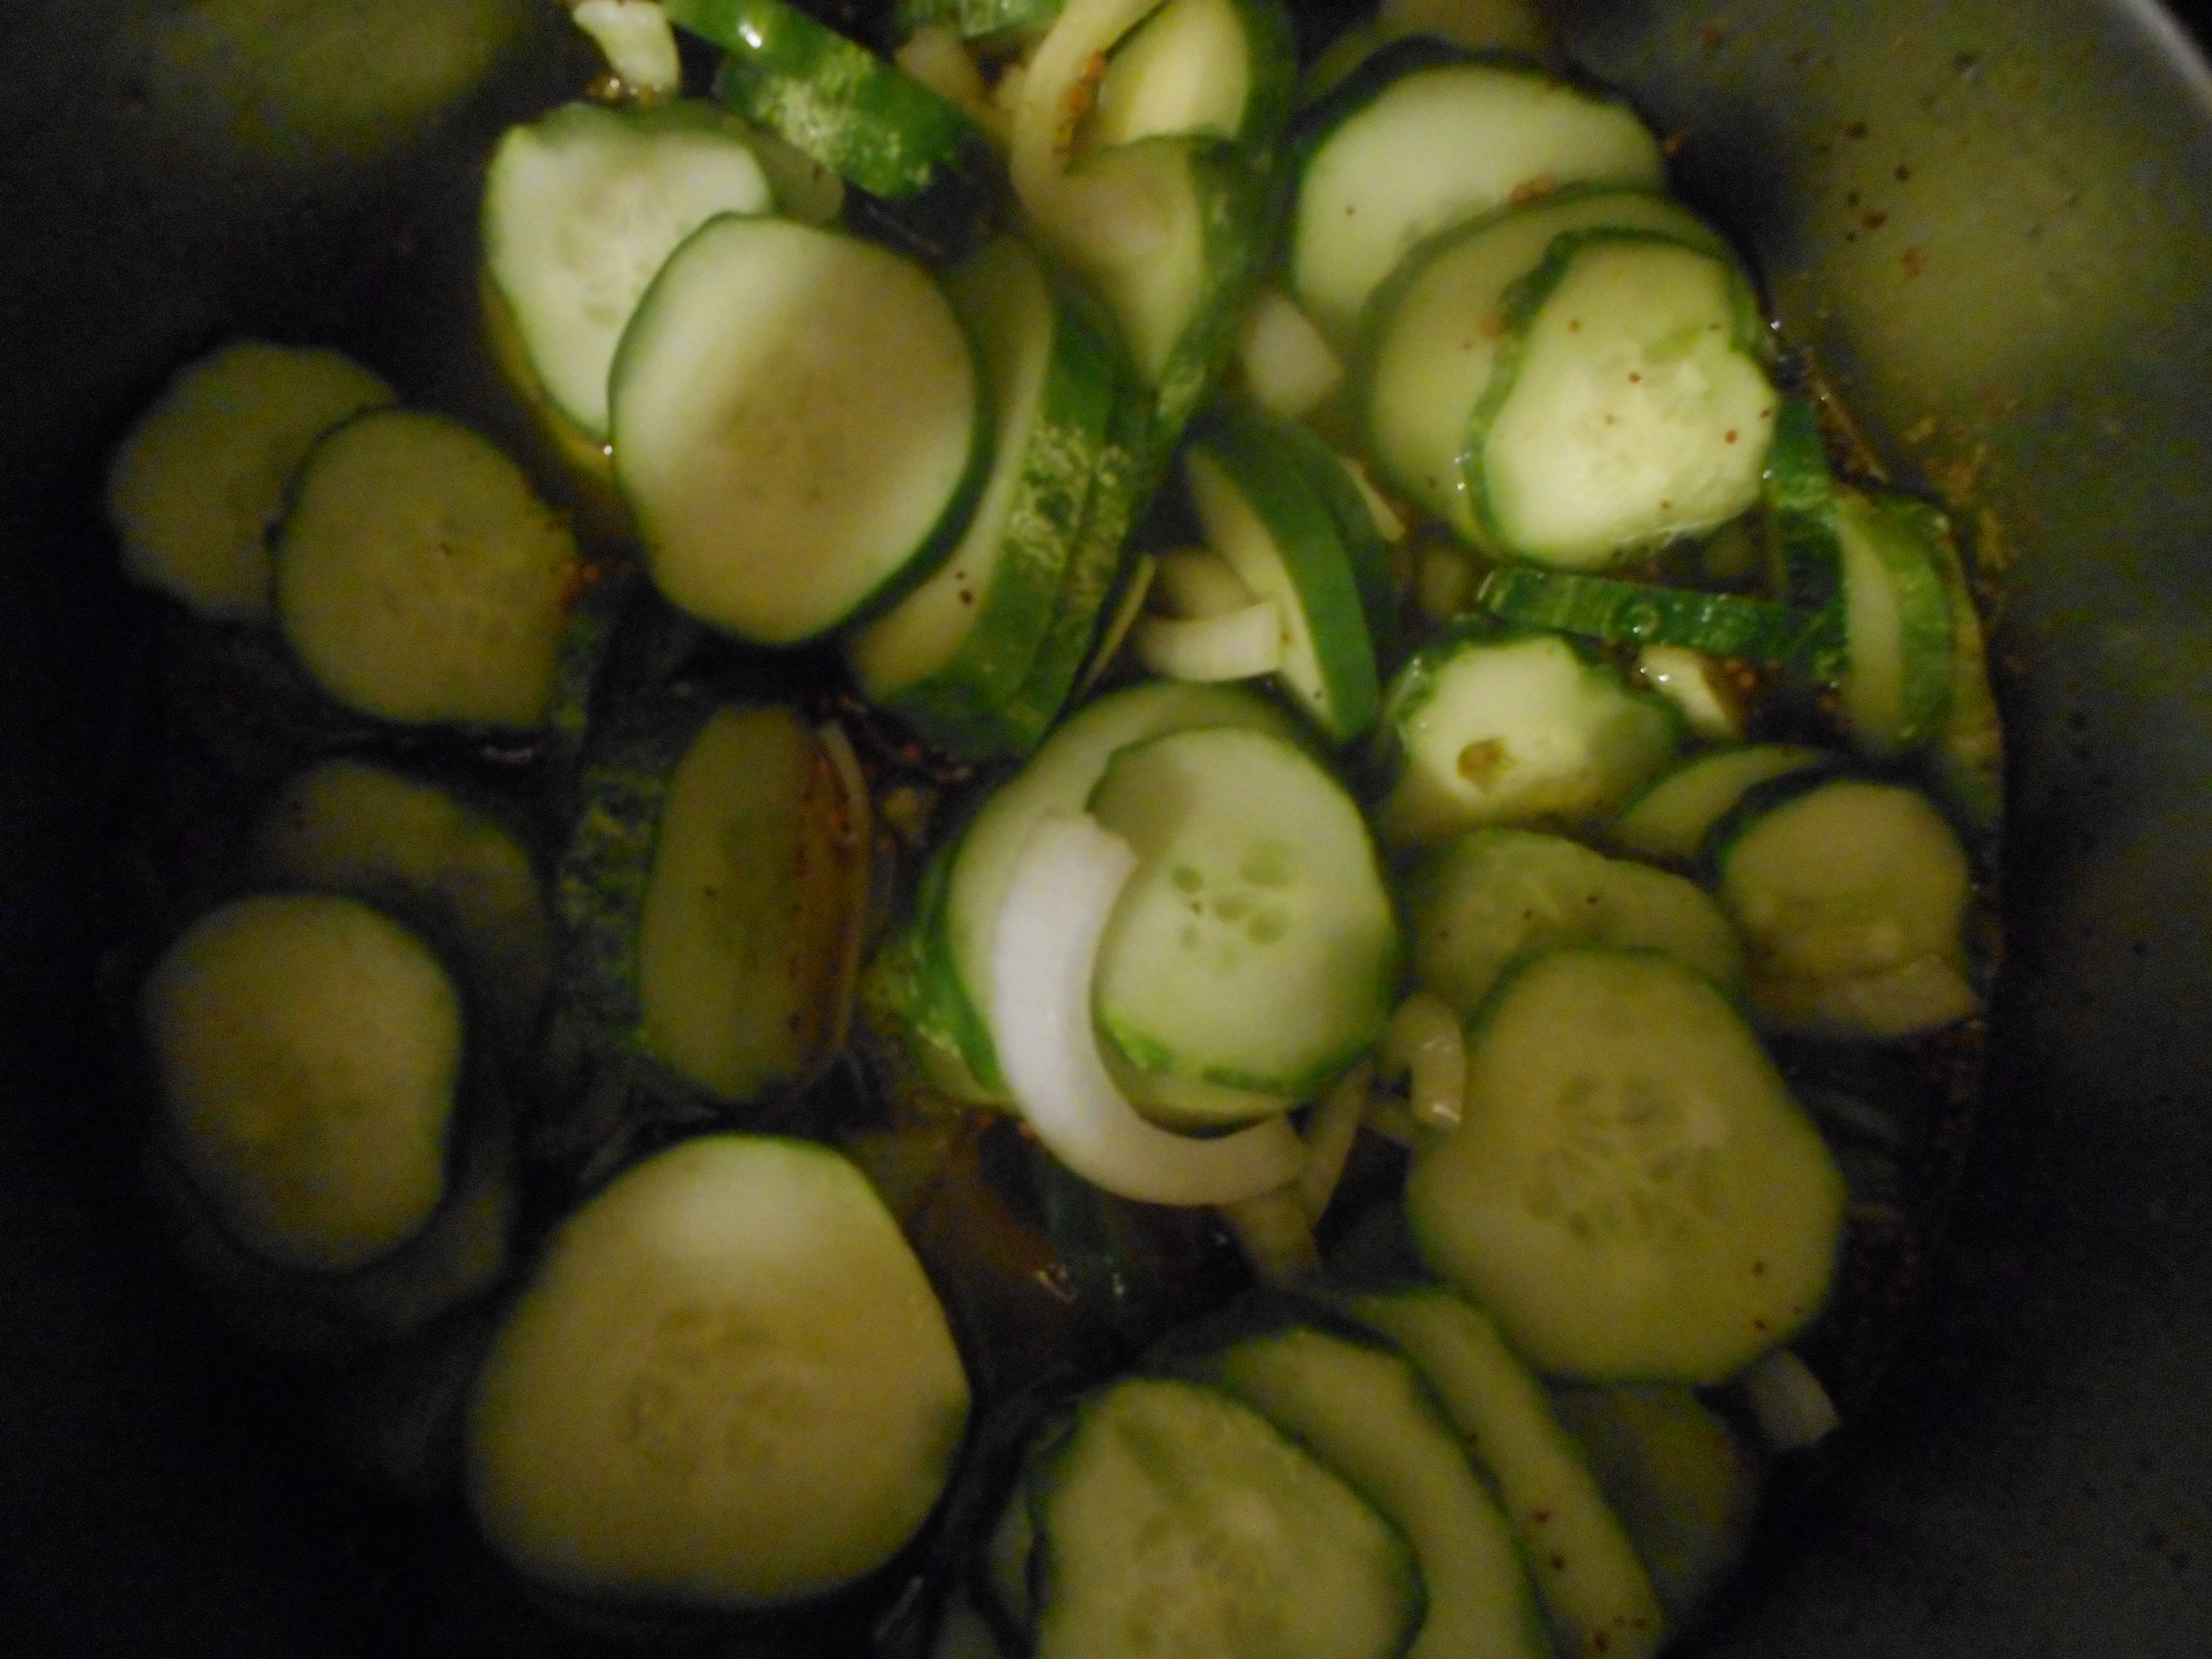
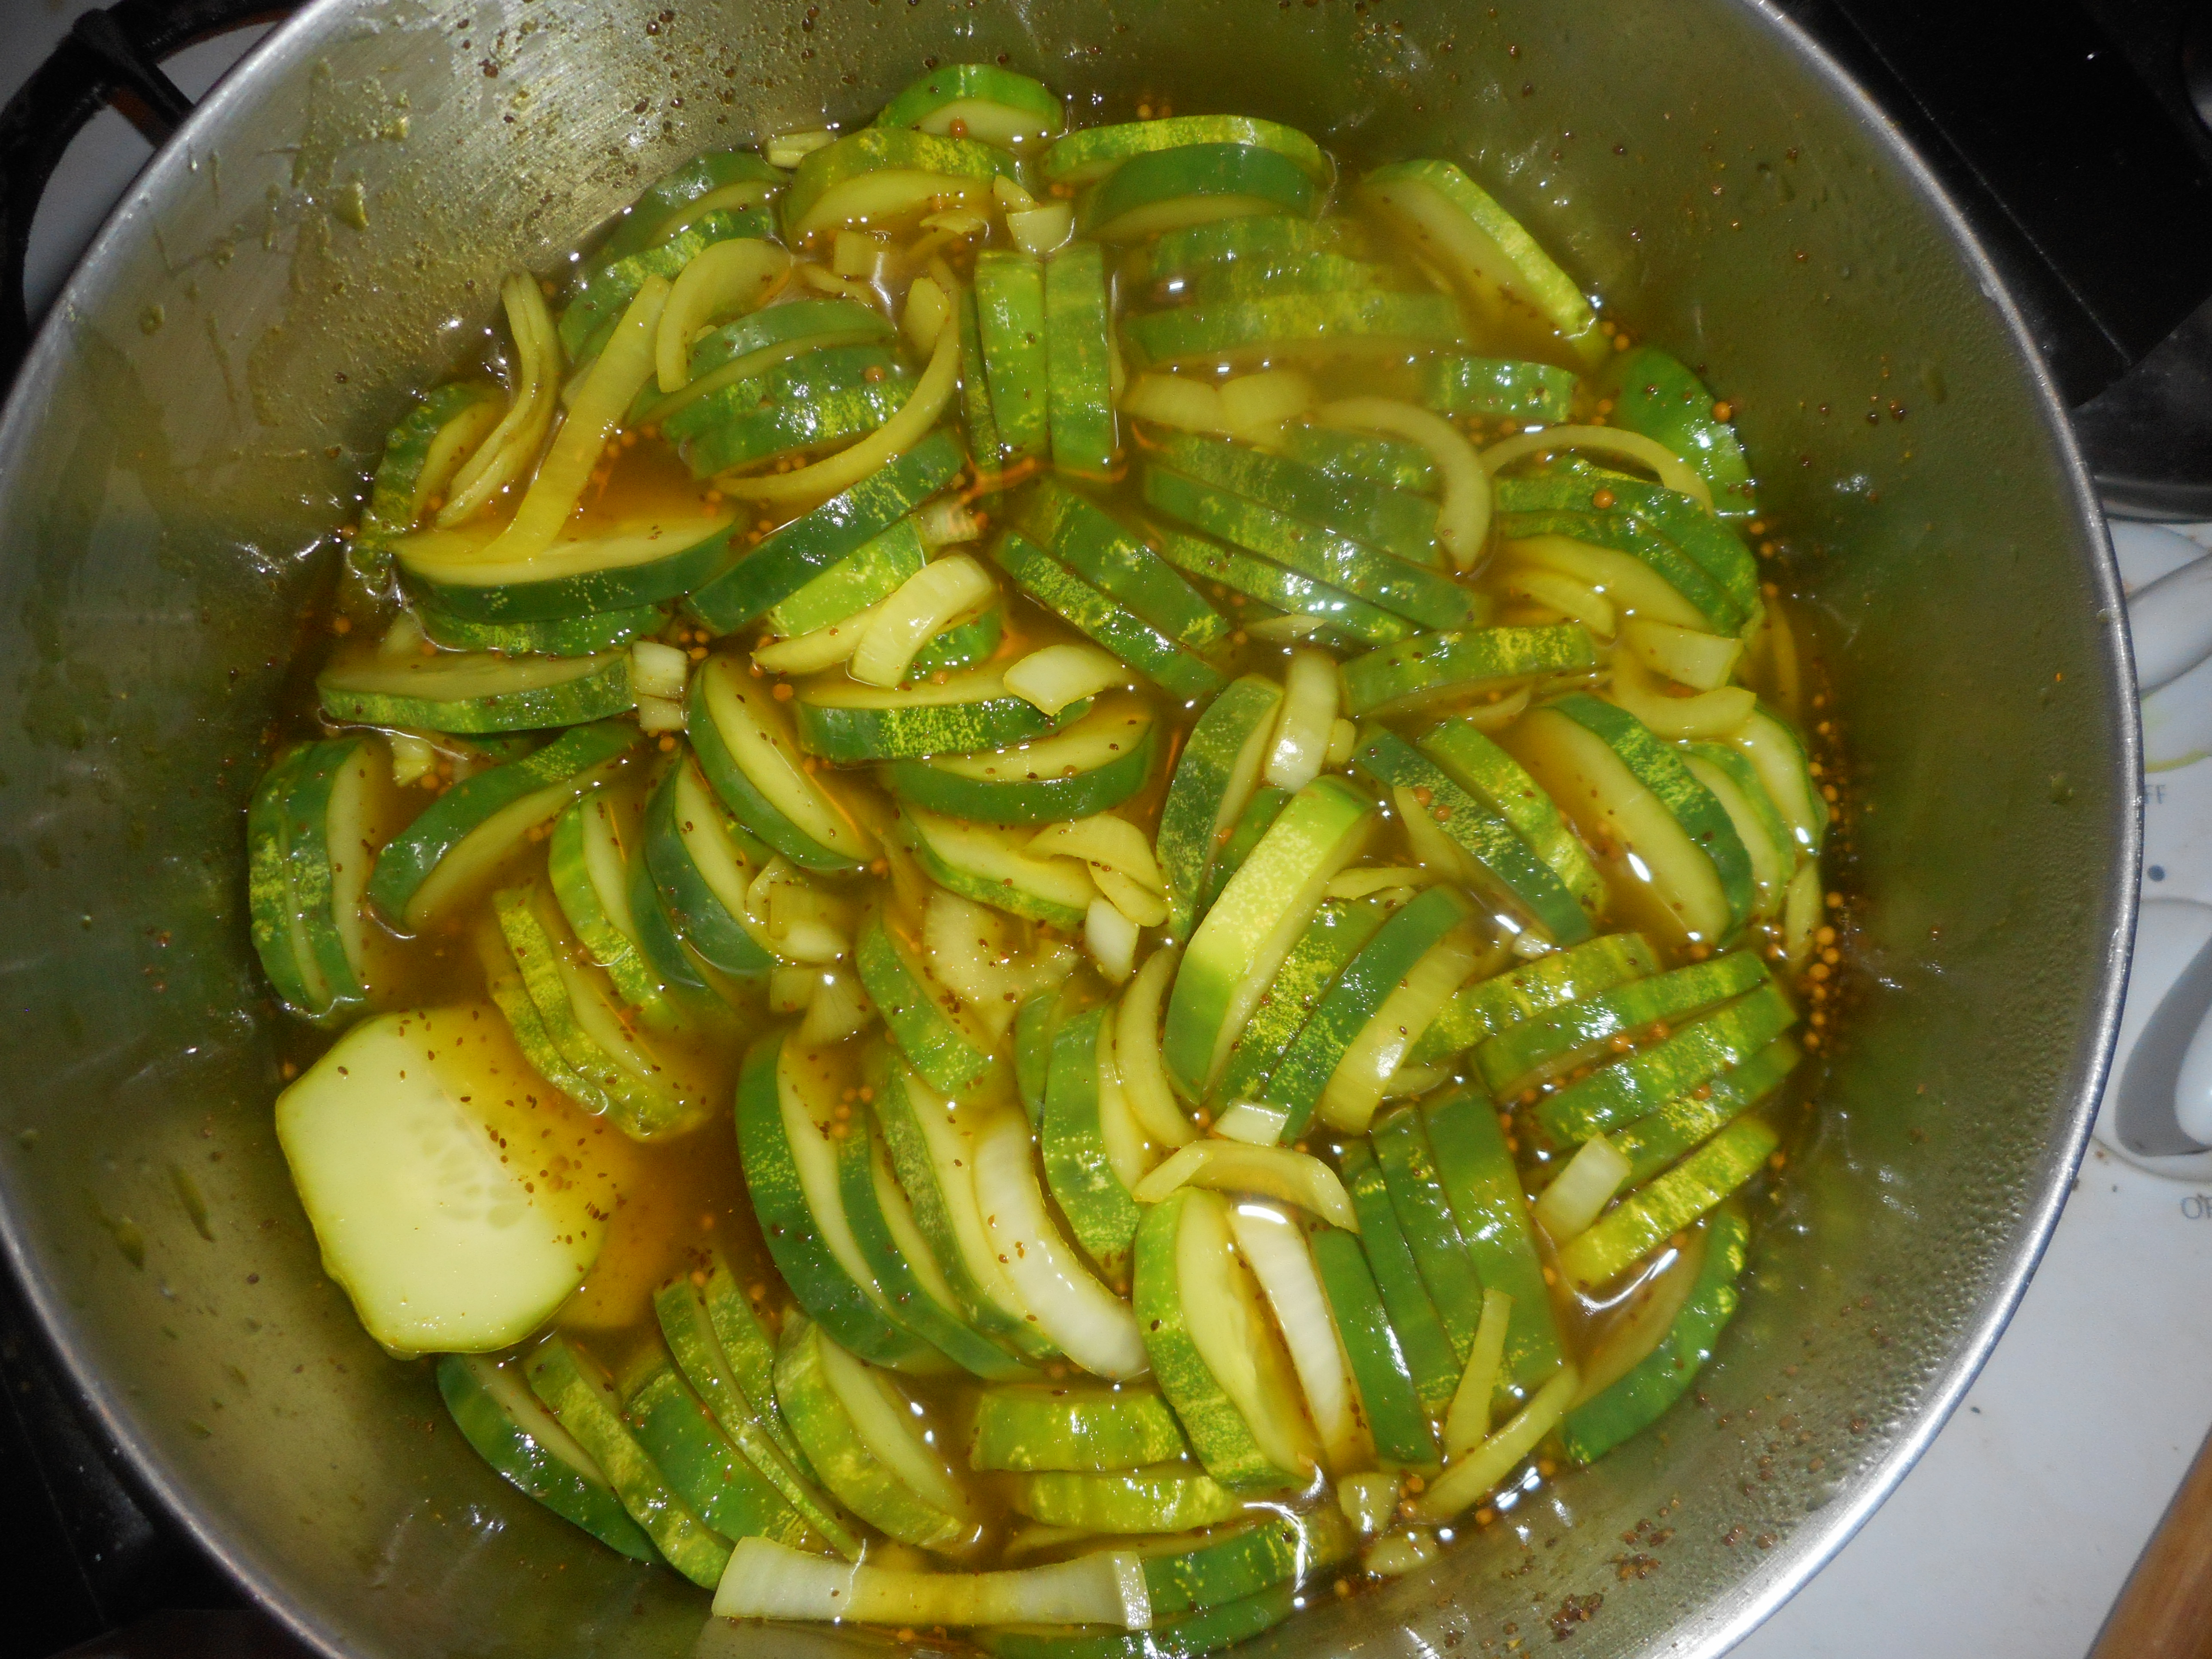
Some of us adore pickles and some dislike them.  If you are a pickle fan read on.  If not, read anyway as these are far better than the tired flabby canned pickles found at the grocery store.  A good gardening friend gave me this recipe.  It is really easy and rather fun to construct.  Even better is that you can pickle most any veggies. I have tried zucchini, carrots, cauliflower, green peppers and red peppers.  Of course, cucumbers are in there too!

You do need a couple grape leaves.  You might be able to find a neighbor with a grape vine.  I am betting you could use wild grape leaves from a state park or along a country road.   They really add to the authenticity of it so snag a few from somewhere.

Also needed are 3 dill heads (the flowers of a dill plant).  This might be more problematic but if you know a real gardener, aka someone like me, you can beg the dill heads as frankly they are not used much for cooking and I was happy to give some to the friend who gave me this recipe.  Grow your own dill for next summer; it is so easy to do and it does reseed and come back year after year.  Dill is lovely in potato salad and in other salads like my stuffed tomatoes which I plan to blog about later this week!

Refrigerator Pickles

2 cups white vinegar

¼ cup salt, I used kosher salt in mine

4 cups water (I used 3)

¾ cup sugar

3 garlic cloves cut up

3 dill heads

2 grape leaves

Bring the first four ingredients to a boil in a sauce pan and let cool fully.  Put the other three ingredients in the bottom of a gallon jar.  Cut up your veggies and pile in the jar.  Top with the vinegar mixture. Put on the lid. Put in the fridge and let marinate for 3 days before trying it.

I have done pickling cucumbers, short zucchini spears, broken up cauliflower heads, thin slices of white turnip and peppers.  I want to try broccoli next!  Maybe celery?

My grandson Aiden who is almost four clamors for the pickle jar to come out when he eats meals here.  I say, eat your food and you can have some pickles! He gobbles up his food and waits expectantly for me to fish out a pickle or two.

I like how fresh they are and how crunchy the pieces still are. Plus they have no additives or preservatives.  You can keep adding veggies as you use them up.  I think the tough part is fishing them out of the jar.  The other day I lost a fork in there but luckily it didn’t go to the bottom of the jar; a cuke round stopped its descent! Now, go pickle fresh veggies and have some fun with it….

Originally posted by me late last summer 2014.

Peachy Keen Muffins

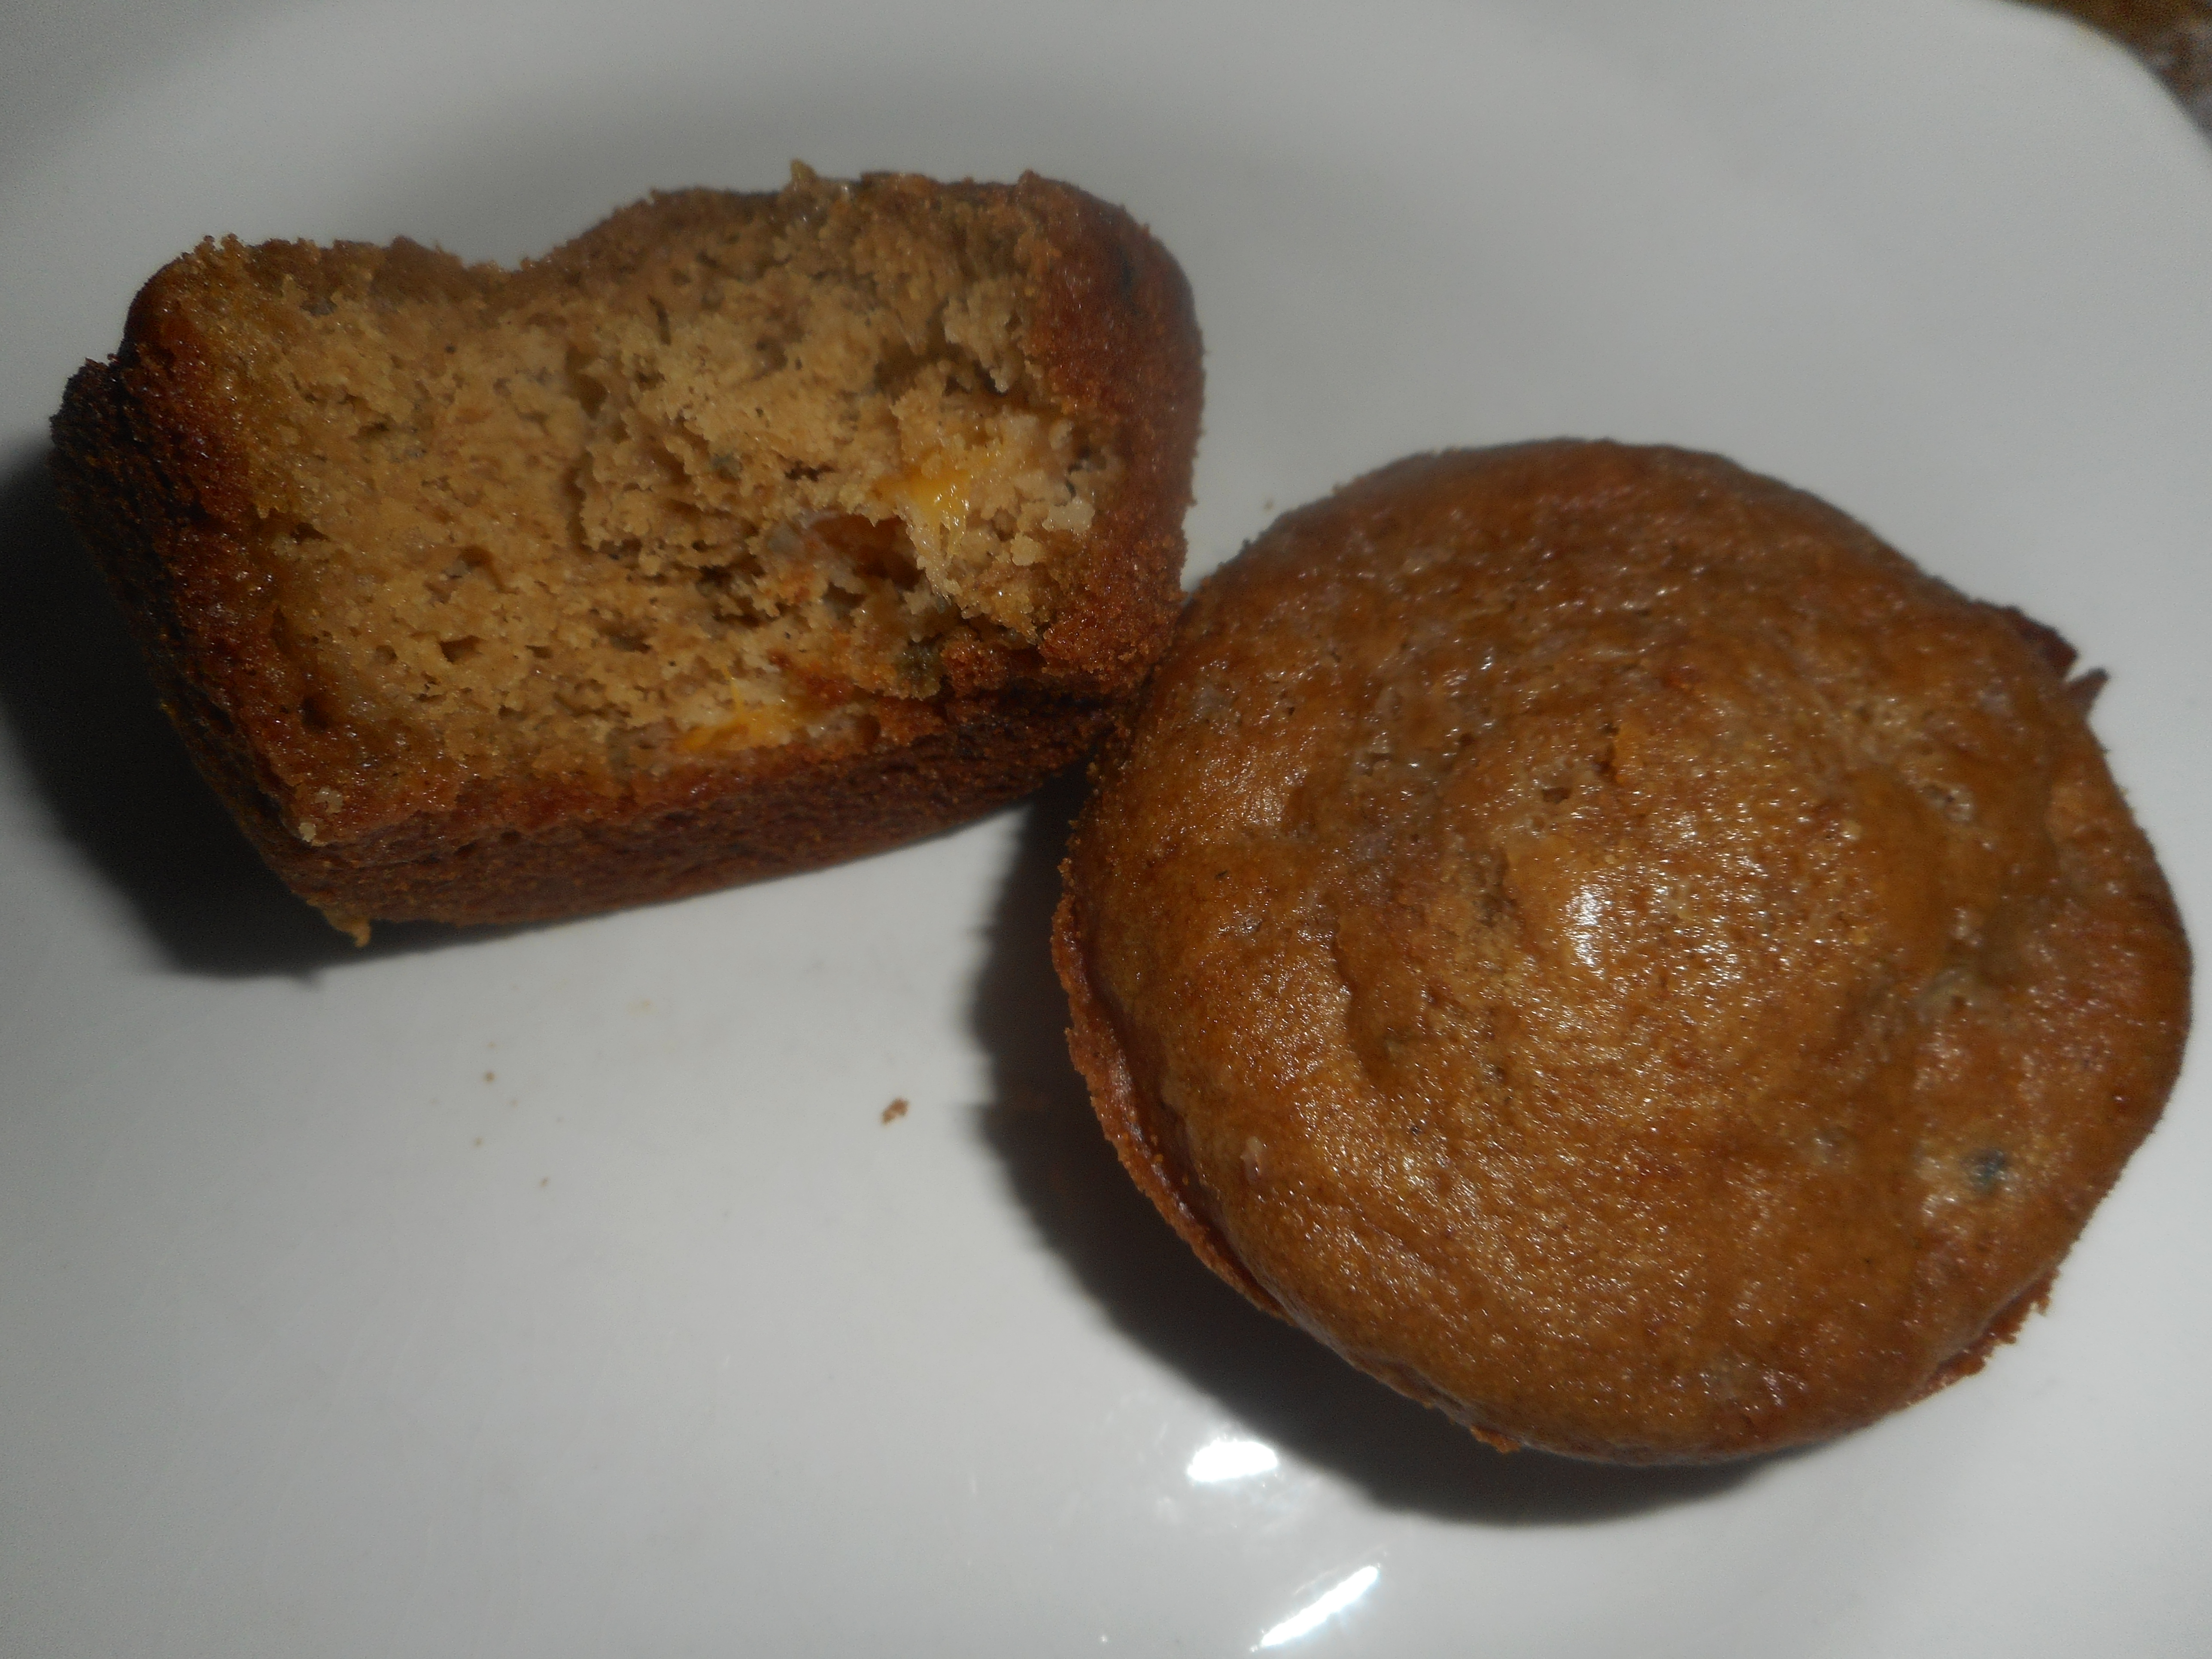
You might think that I have run out of muffin recipes to test. Not so!  It is peach season and this year’s crop is very flavorful so I wanted to try using them in muffins. This recipe is my version of peach muffins from Annalise Roberts’s wonderful cookbook: Gluten Free Baking Classics.  They are perfect in texture and totally yummy. I got my peaches from Bechdolt’s Orchards, just south of Hellertown on Rt 412.

peaches

I used coconut palm sugar for this recipe; it has a very low hypoglycemic index rating which is super for keeping my blood sugar even. It does make them a bit brown in color and a touch drier so I usually add a tbsp of extra milk. coconut palm sugar I do sprinkle them with a bit of chunky sugar just before baking.  I feel no guilt; these muffins are low fat, low sugar and totally yummy!

Do freeze any you won’t eat in 2 days in a ziplock freezer bag as diced peaches in muffins shorten the storage time because they are so moist.  These treats defrost great; about 25 seconds on one-third power does the trick.  They make super school or work snacks and I sometimes take a couple on a hike, wrapped carefully so they don’t turn into crumbs on the way up the mountain! I don’t bother to defrost them before leaving; they do that all on their own in about an hour.

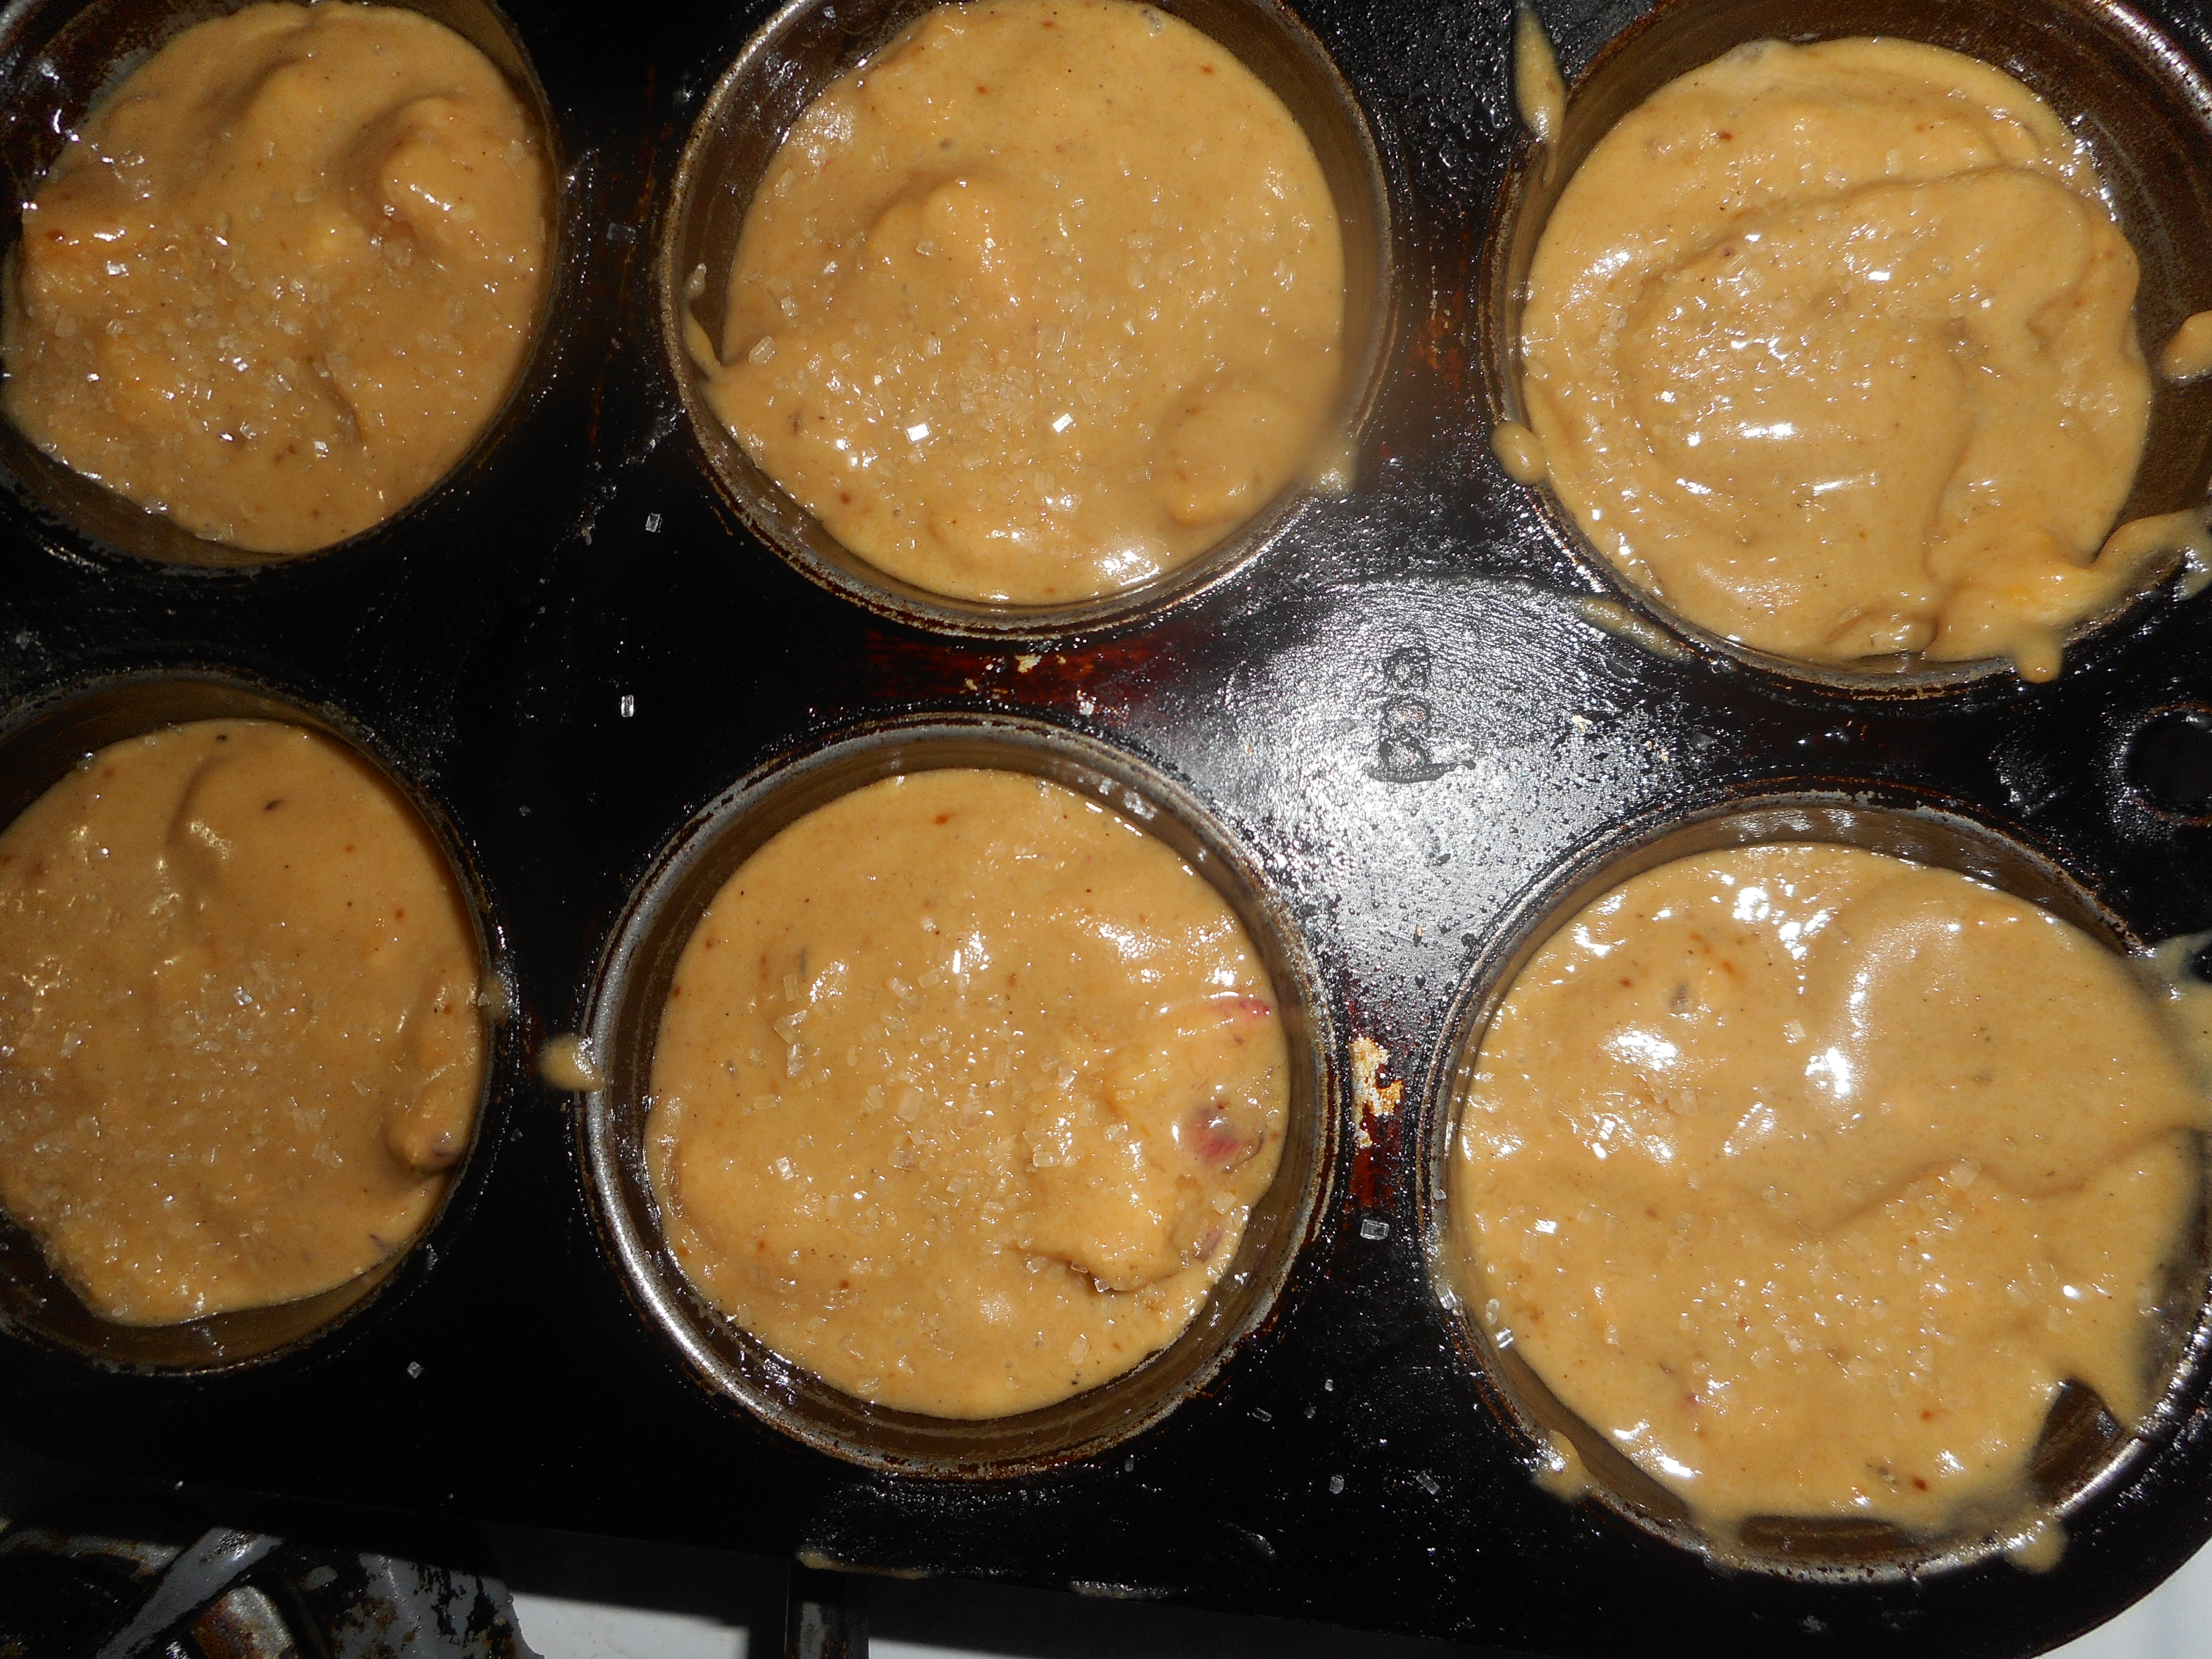
This batter is kinda lumpy looking but that is the chunks of peaches in it.  It may not look wildly appetizing but the results will be delicious once  baked into muffins.

mom's new watch 003mom's new watch 004peach jam 004

Peachy Keen Muffins

2 cups brown rice flour mix (see below)

2/3 c granulated sugar (preferably coconut palm sugar)

1 tbsp. baking powder

1 tsp. baking soda

¾ tsp xanthan gum

¼ tsp salt

½ tsp ginger (I may up this next time to make it more zingy)

1/4 tsp cinnamon

2 c diced ripe peaches (no juice)

2 lg eggs beaten

½ c milk (plus 1 tbsp. if you use the palm sugar)

½ c canola oil

½ tsp vanilla extract

Directions: Heat oven to 350, placing the rack in middle of oven.  Spray muffin pans with cooking spray.  One batch makes 14-16 muffins.

Mix all dry ingredients in bowl of stand mixer or big bowl

Add diced peaches; stir to coat them with dry mix

Combine milk, vanilla and oil.  Beat in eggs.  Add liquids to big bowl; stir until well blended.

Fill muffin pans 2/3 full.  Sprinkle with coarse sugar. Bake 18-22 min until golden brown. Do not overbake or they get dry.  Remove immediately from the pans and cool on a rack. Freezes well for up to 3 weeks.  Keeps in tight cookie jar for maybe two days.

Brown Rice Flour Mix (aka King Arthur GF All Purpose Flour; it is the same)
2 c brown rice flour

2/3 c potato starch (not potato flour)

1/3 c tapioca flour

Fresh Peach Pie: Perfect September Dessert

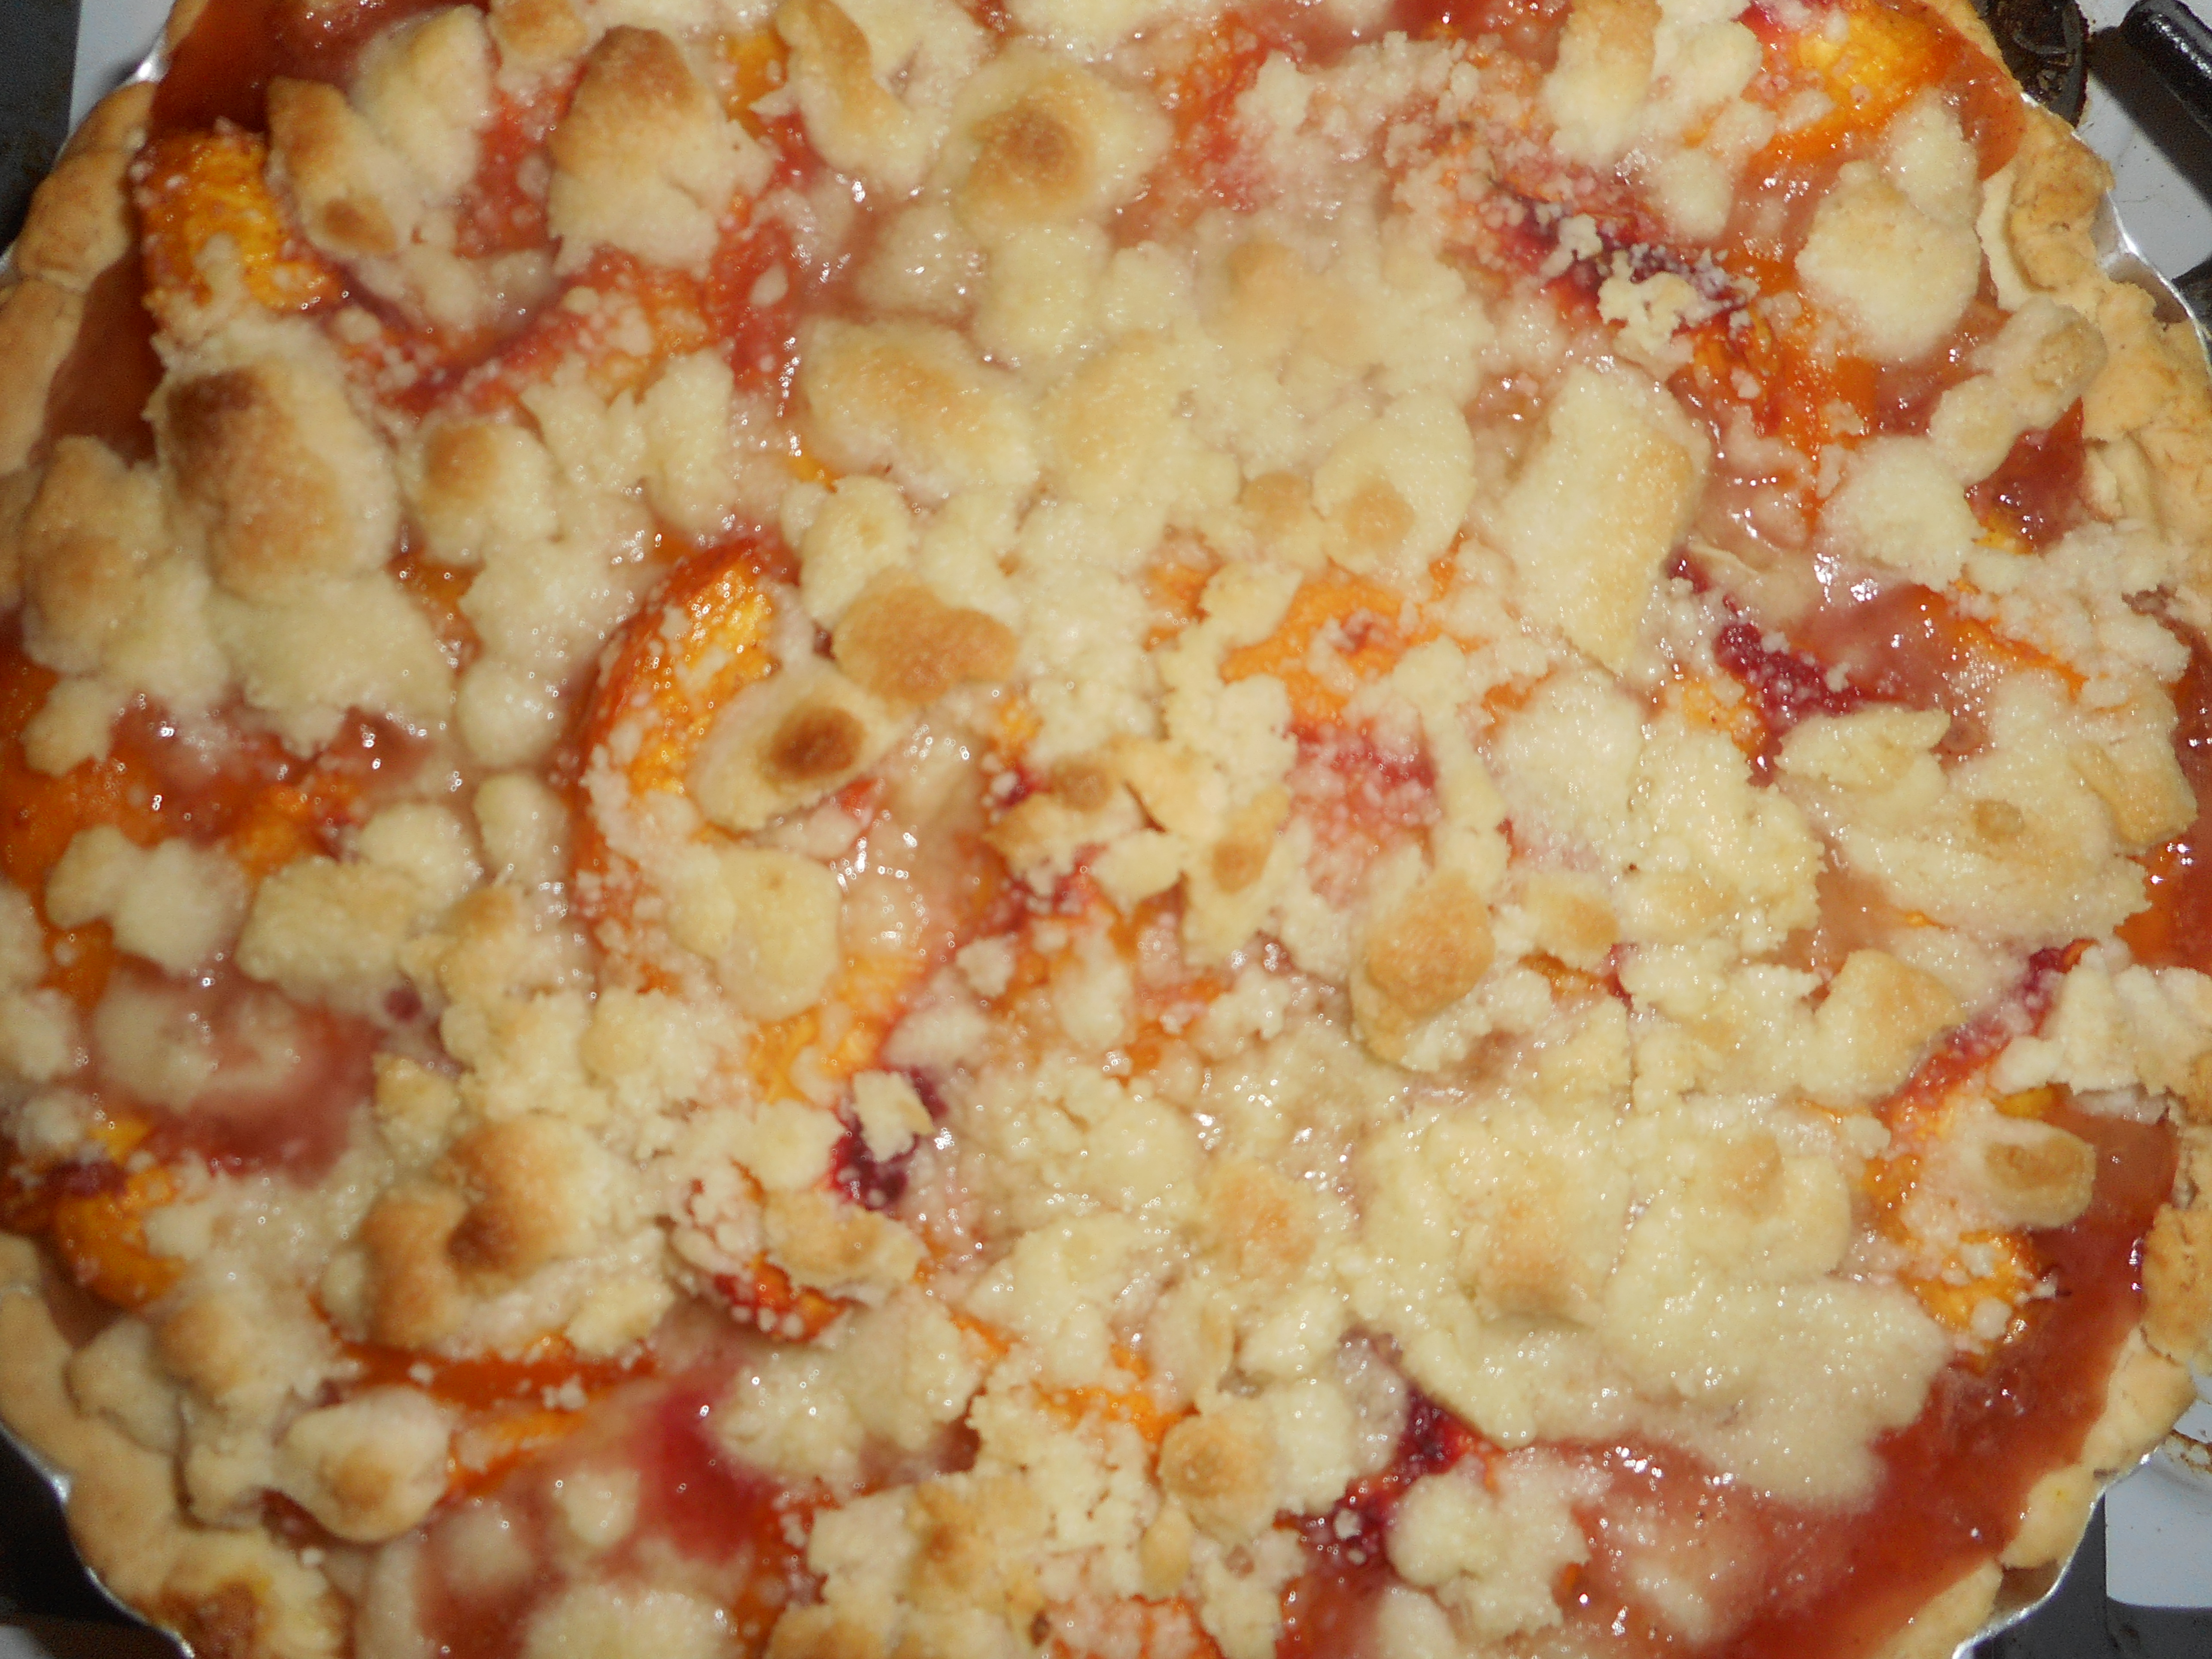
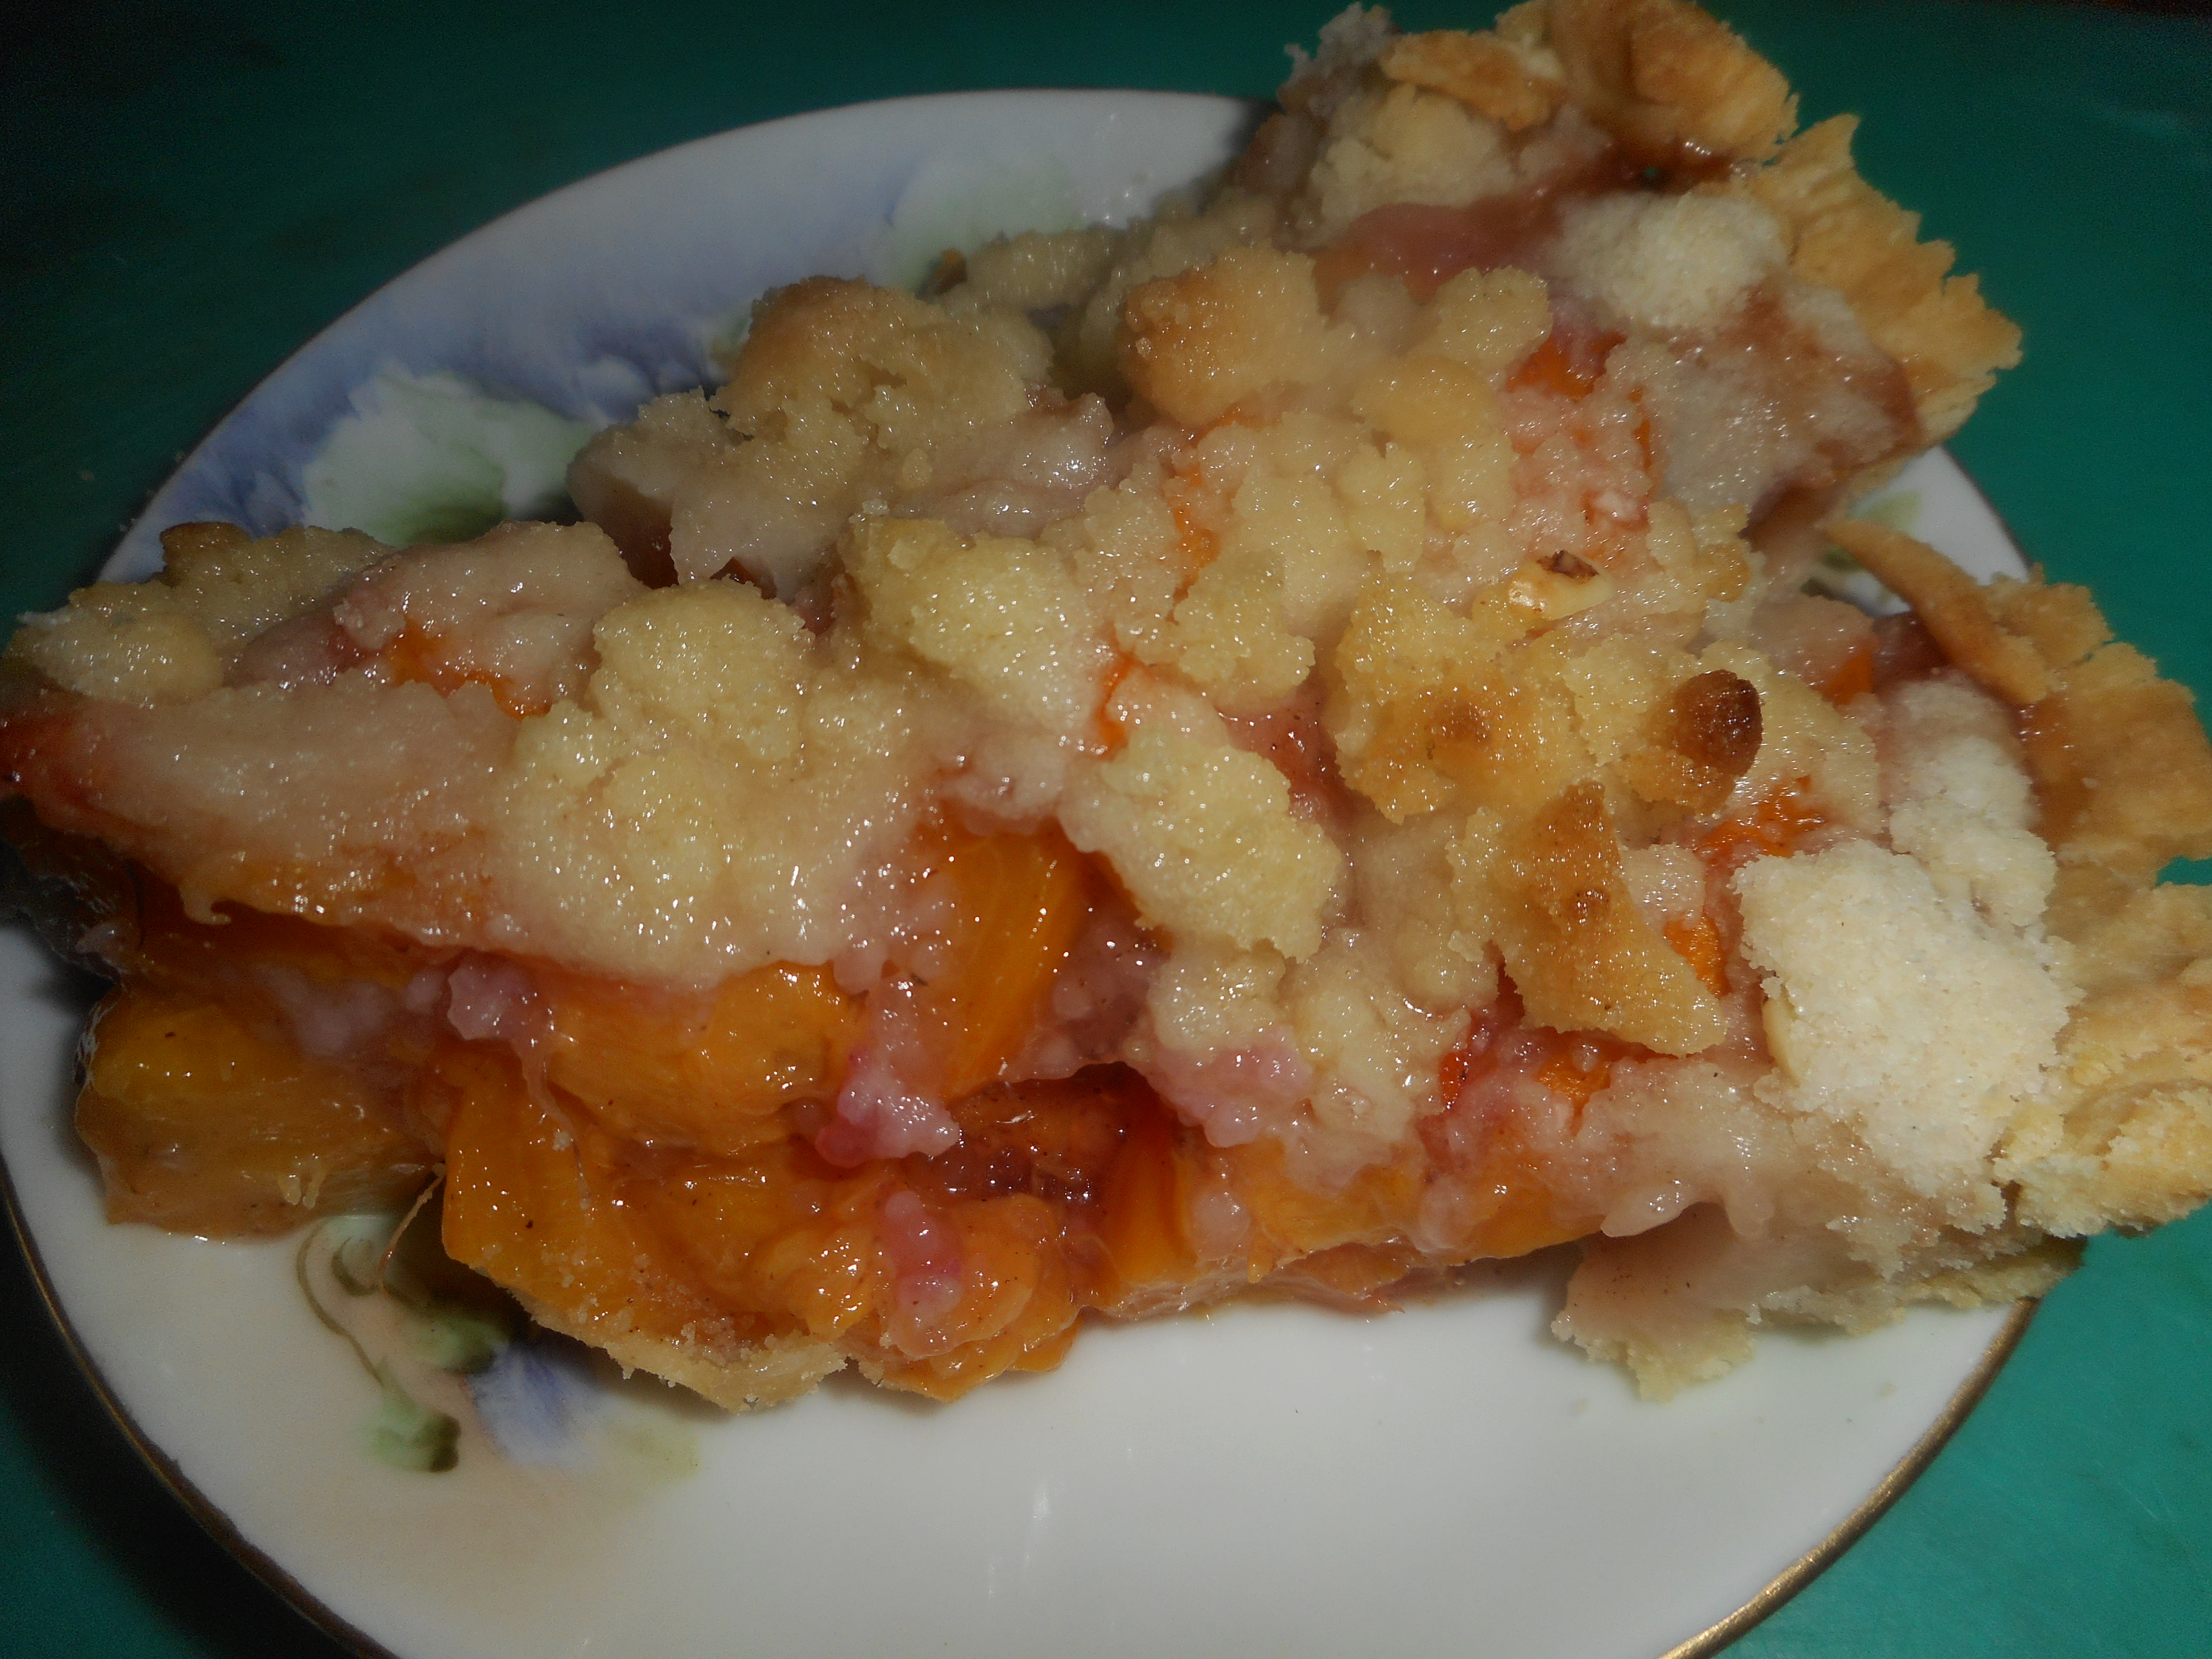
Early September is near the peak of peach season so get some peaches and whip up a delicious gluten free peach pie.   The pie I made Saturday was juicy and flavorful down to the last slice. Your family will thank you for your efforts.

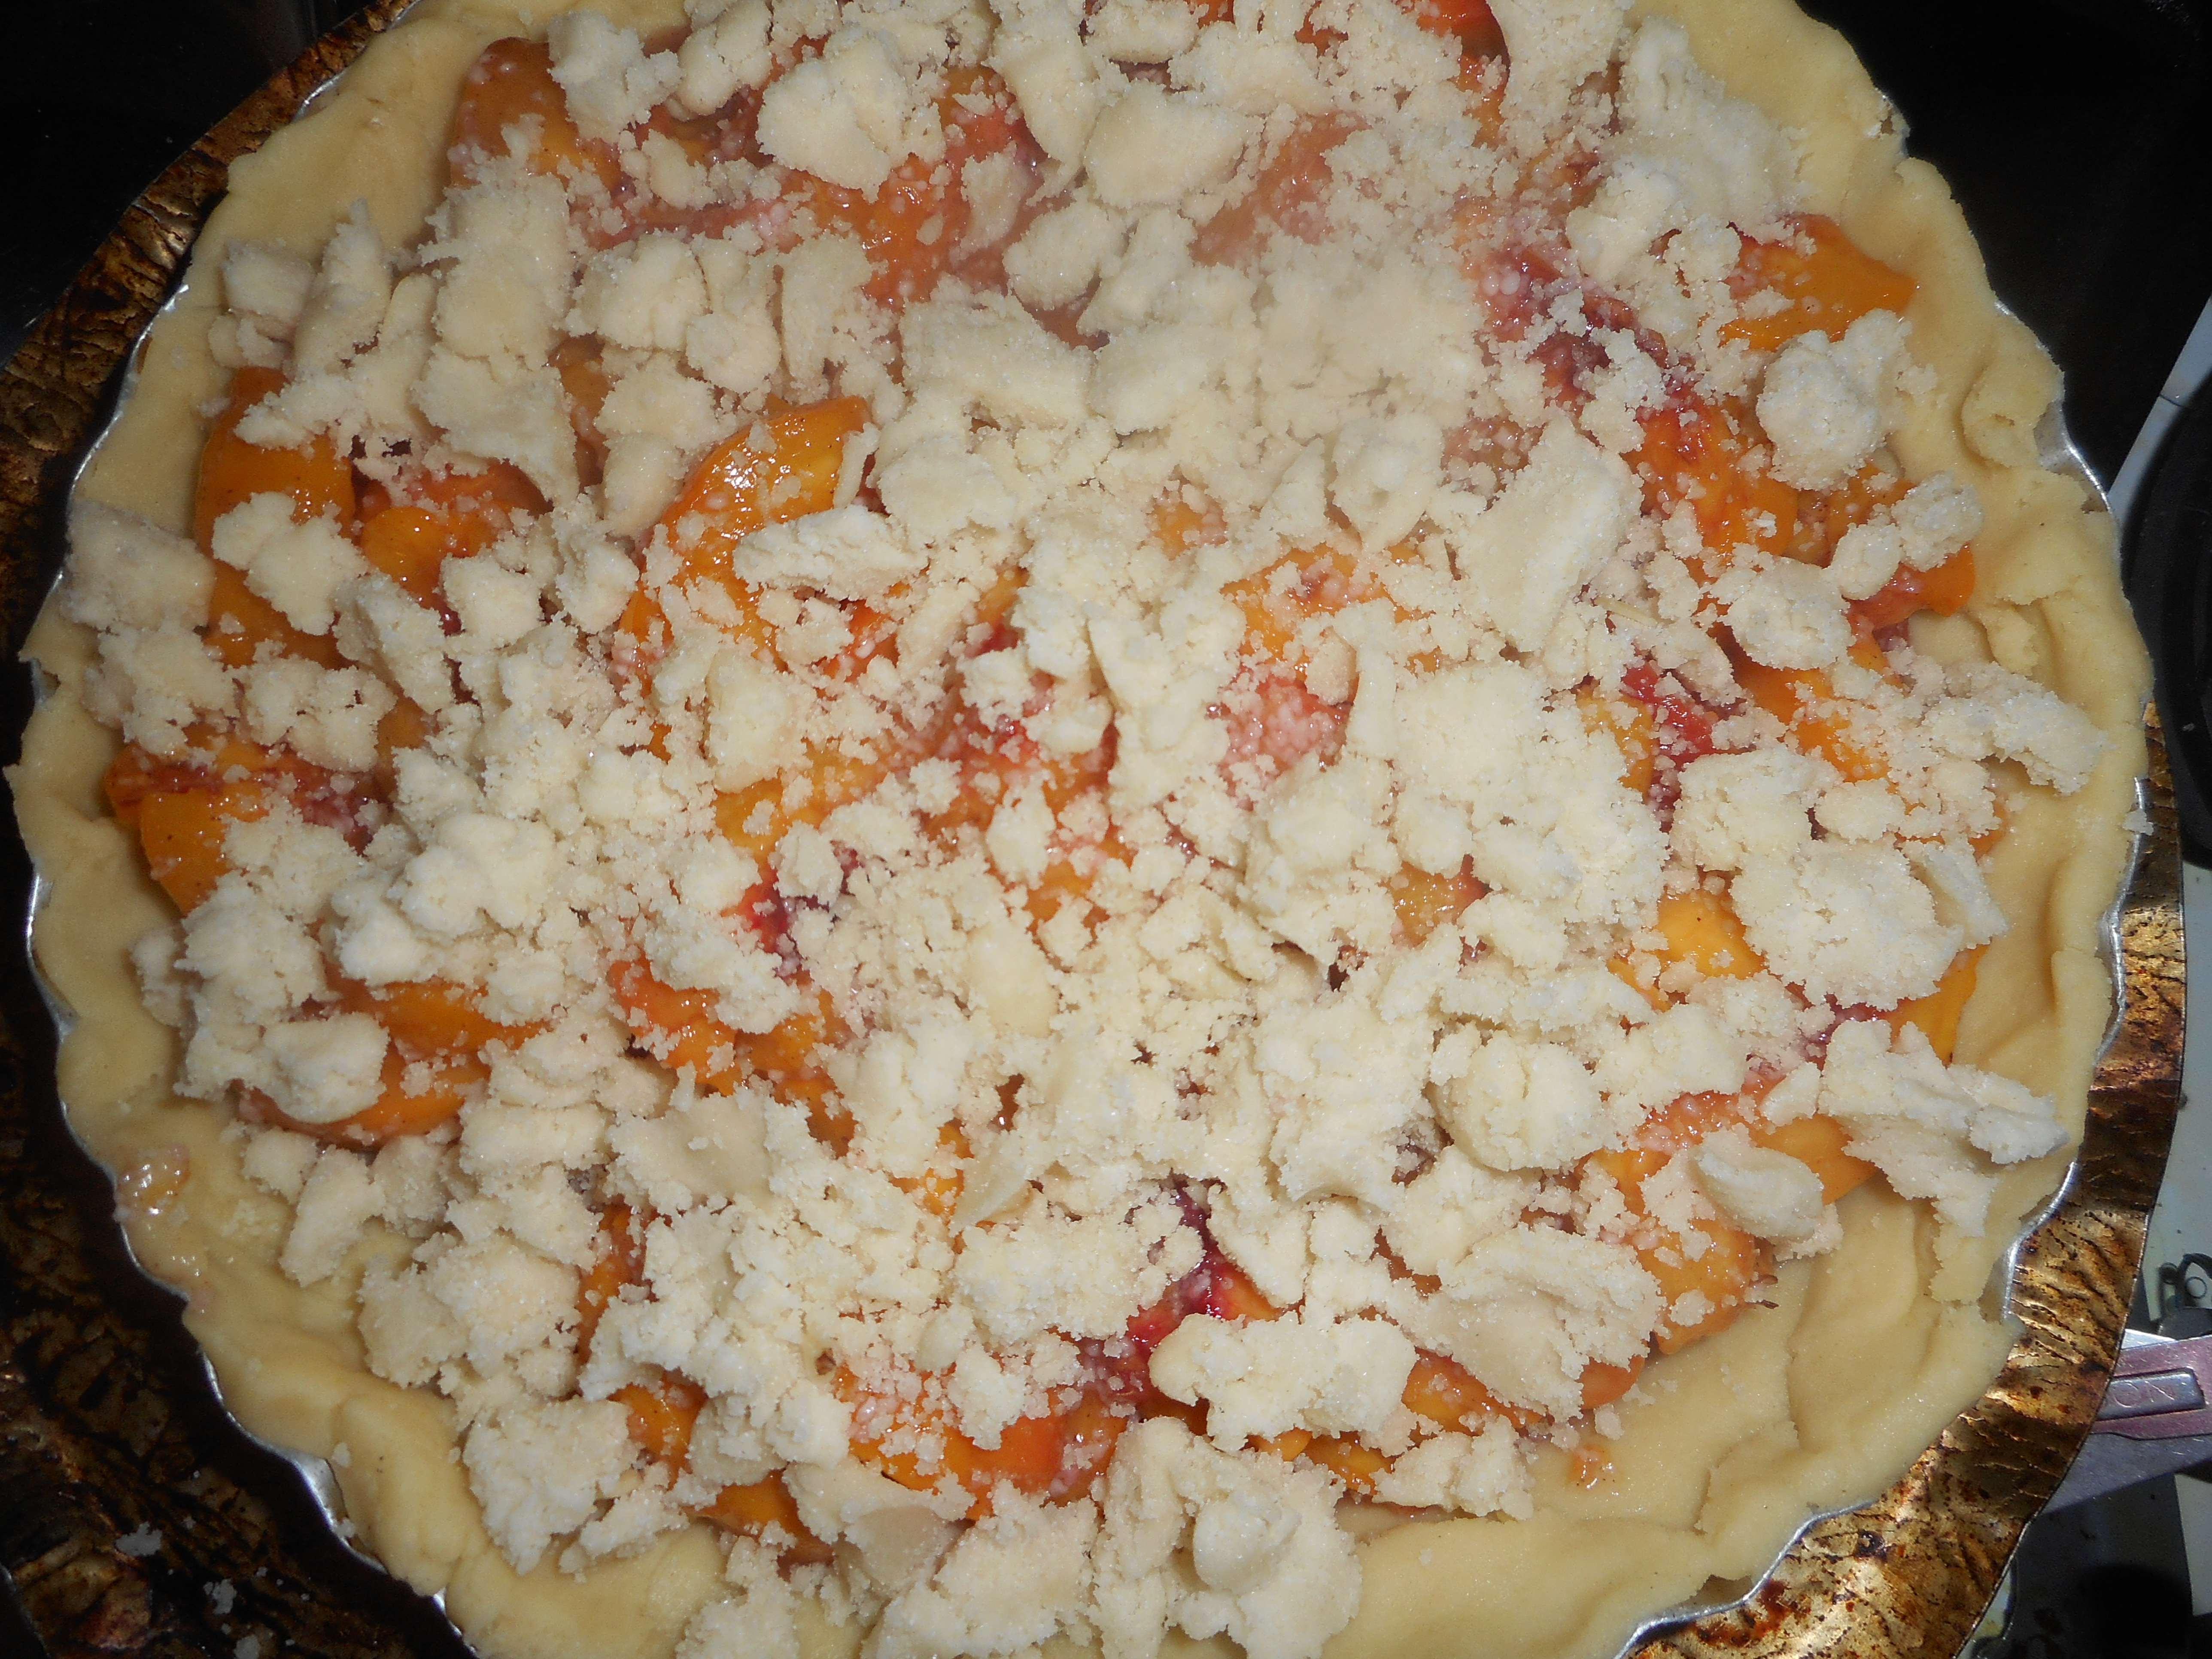
But, this is a pretty easy pie to create.  Slice and dump together the filling, crumb topping made in unwashed mixer bowl you just made the bottom crust in. You can store any leftover crumb mixture in a sealed container in the fridge; it keeps a few weeks.  I let my mix spin in the stand mixer for extra big crumbs for this pie; love that look. If you prefer a solid crust just double the crust part and top your pie with it.  Be sure to cut some slits for steam escape. If you can’t make pie crust;  you can buy readi-made gluten free crust and use that.

Please make every effort to use local fruit; can get peaches at orchards like Bechdolt’s near Springtown, at most farm stands and at farmer’s markets; one on Saturdays in Easton or Sunday’s in Hellertown.  This pie really showcases great tasting peaches. If you use lousy peaches your pie will be lack luster. But, here’s the thing: store peaches can be poor in flavor and texture due to improper chilling so I strongly suggest you get locally grown, sweet, ripe peaches to make your pie.  I love when they have a pink blush; it makes the pie so pretty and perhaps even tastier!

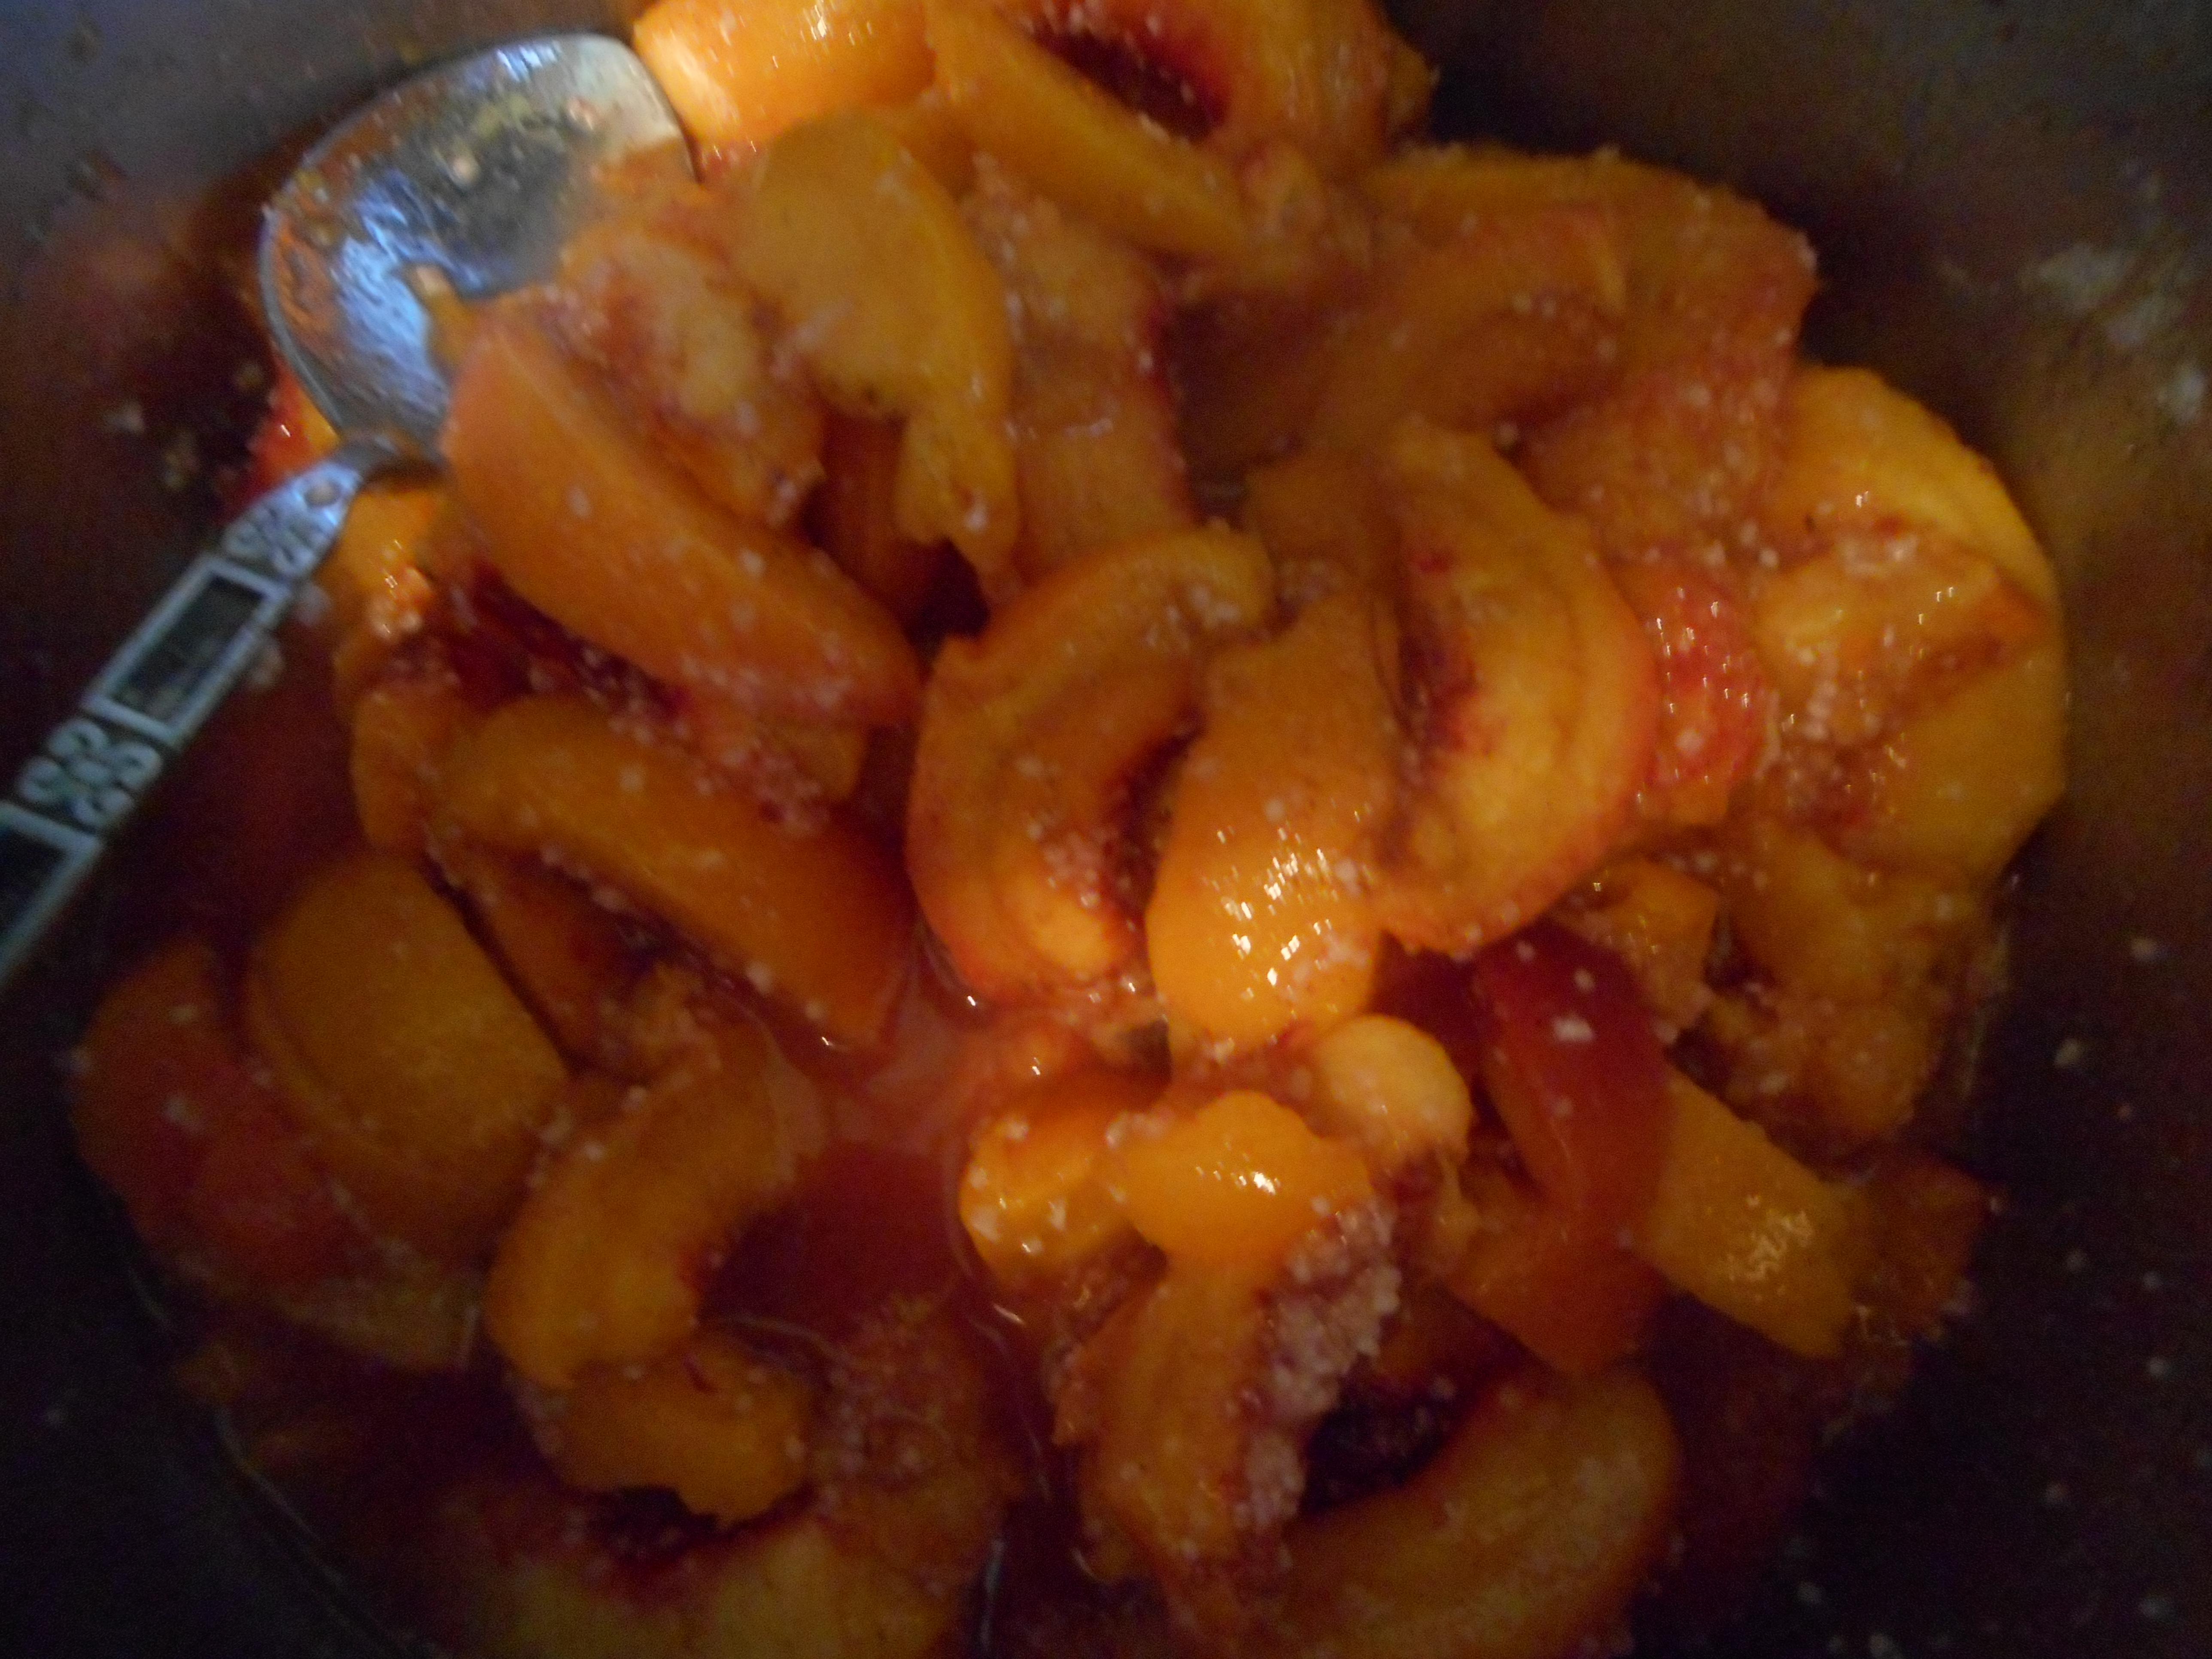
To peel; heat 3 inches of plain water, drop the peaches gently in 4-5 at a time and cook them 2-3 minutes.  Use the lesser time for more ripe peaches. Allow to cool somewhat before peeling.  I like to do that over a bowl to catch the juices as I slice each peach.

Bake and enjoy late summer in a pie with just a few minutes of effort. Don’t eat it hot; it should be cooled to just warm if you like it so or room temperature or even a bit chilled.  You could certainly serve this dessert with vanilla ice cream.  And this pie works perfectly with fresh nectarines, bonus: no peeling required!

mom's new watch 005mom's new watch 006mom's new watch 007mom's new watch 008

Angie’s GF Peach Crumb Pie

Crust:

1 c plus 2 tbsp brown rice flour mix (at bottom of recipe)

2 tbsp sweet rice flour

1 Tbps granulated sugar

½ tsp xanthan gum

¼ tsp salt

6 Tbps cold butter cut into 6 chunks

1 large egg

2 tsp fresh orange or lemon juice

Directions:

Spray 9 inch metal pie pan with cooking spray, dust with white rice flour.

Mix dry ingredients in bowl of stand electric mixer.  Add butter and mix until crumbly and resembling coarse meal.  Add egg and juice.  Mix until it comes together into big chunks.  Shape into a ball with your hands. Put it on a crust sized piece of wax paper (14 x 14 inches more or less), flatten the crust ball some; put on top of it another piece of wax paper and chill it all in your fridge 15-20 minutes while you prepare the filling.

Filling:

6 cups sliced fresh peaches, peeled and cut in slices and drop in medium bowl. Mix in:

½ cup sugar

1/4 tsp. cinnamon

1/4 cup quick tapioca

Add and stir in

1 tbsp. fresh lemon juice

¼ tsp. almond extract

Let stand while you roll out the crust. This gives the tapioca time to soften a bit which improves how the pie comes out.

Roll out pie crust in a pie bag or between the two sheets of wax paper, try to get the thickness even, no thick middle! Peel off one side of paper and place in pie pan, centered.  Remove other slice of wax paper.  Crimp edges all around.  Fill with fruit mixture.

Crumb topping – Put all four ingredients in the same mixing bowl you made the bottom crust in and mix well with mixer paddle until crumbs form. If you let them go extra long you get big fat crumbs if you want that look and I did!

¾ c brown rice flour mix

½ c sugar

½ tsp xanthan gum

1/3 c cold butter cut into six chunks

Sprinkle the top of the pie with crumb mix; use as much as you like.  I like about a heaping cup of the mixture.  Up to your personal taste… It sinks partially into the fruit mixture and adds lots of sweetness and eye appeal.

Bake in a preheated 400 degree oven for 45-50 minutes until bubbly and the crumb crust is light brown.  Cool at least 1 to 4 hours before serving at room temperature.  I think it is best served the same day you make it, or no more then 12 hours after baking for optimal flavor.  The crumbs will get soggy if too much time passes. Mine was still very good the next day; just not as great as when really fresh.

mom's new watch 013

Note: if you find your bottom crust is not browning enough bake it empty at 375 degrees for ten minutes before filling it with the fruit.  I have a bottom heat pizza style oven which gives me perfect pie crust so I don’t ever have pale pie crust.

Brown Rice Flour Mix (Same as King Arthur GF All purpose blend)
2 c brown rice flour (finely ground)

2/3 c potato starch – Not potato flour!

1/3 c tapioca flour

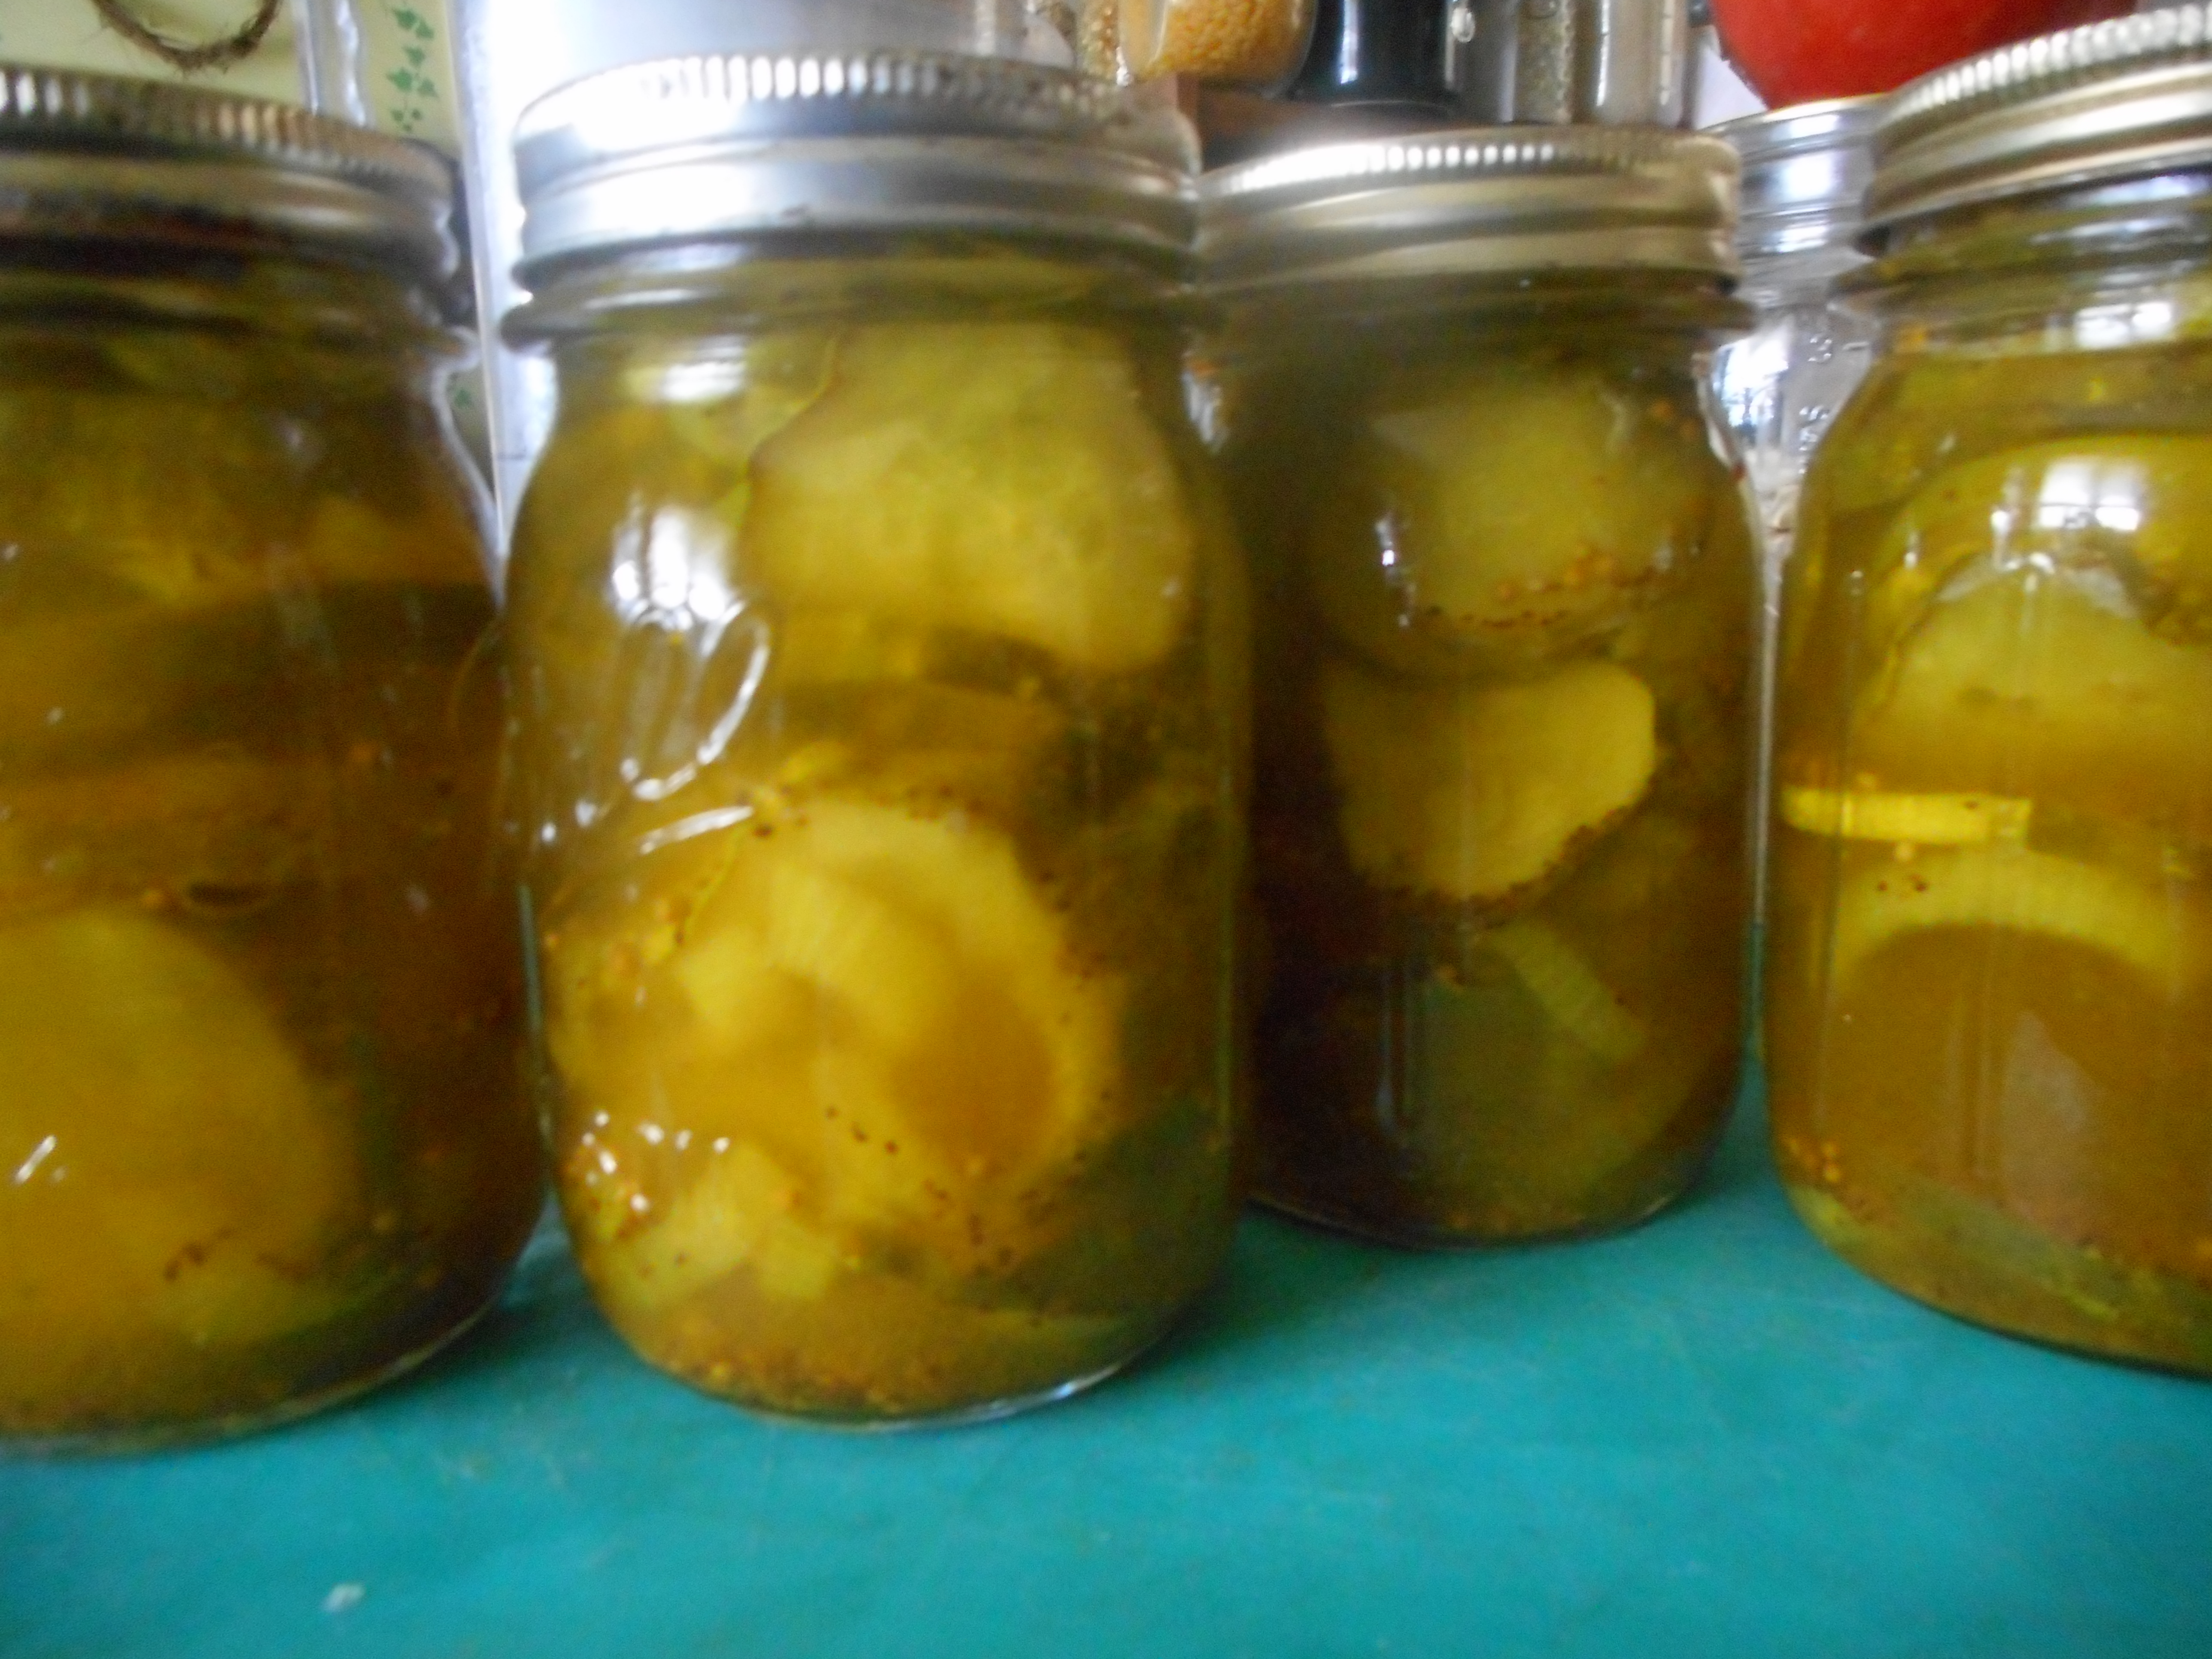
Bread and Butter Pickle Project – Beautiful Pickles!

I am watering someone’s plants while they take an extended vacation.  Since their pickling cucumbers are going to waste I decided to try something new; I made pickles this week.  Old fashioned bread and butter pickles which are tangy and sweet slices of yummy pickly goodness.  I think the name may come from the Depression era; from poor folk eating them often like you might enjoy bread and butter for a cheap meal.

This recipe comes out of an old Rodale cookbook, Stocking Up.  I did swap honey for sugar; not enough honey around here this week and I will have to try that next summer.  Plus I cut the recipe in like a fourth; not enough cukes for a huge batch; otherwise pretty close translation.  FYI: they need to have sugar, turmeric, mustard and onions to be called bread and butter pickles.

They have to sit a few weeks so I am trying to be patient.  Want pickles now.  Oh well, I guess store pickles will have to do at present.

cuke 010

If you get a few pickling cukes; they are kinda cute; all bumpy and gray green, try this recipe and impress your family. Pickle making seemed so mysterious but it is really not hard at all and I enjoyed the process.  They are fun to make and gluten free, of course!

pickles 005pickles 006pickles 009

Bread and Butter Pickles

6 decent sized pickling cucumbers

2 medium sized onions

2 tsp. sea salt.

+++++++++

2 ¼ cups white vinegar

1 1/3 cup sugar

¾ tsp. celery seed

¾ tsp. ground ginger

¼ tsp turmeric

¾ tsp. mustard seed

Directions: Rinse off your cucumbers, peel the onions, slice cucumbers into rounds and onions into medium thick slices, put in colander, sprinkle with salt. Let stand an hour. Drain well.  Make a vinegar mix with the rest of the ingredients; put in a pot and bring to a boil.  Add the cukes and onions, bring back to boil.  Pack in sterilized pint jars using a ladle; leaving ¼ inch head space.  Put on brand new lids and rings (which can be used) – tighten, process ten minutes in a boiling water bath.  Let cool, store a few weeks before opening. Enjoy! Makes 4 pints.

Peachy Keen Peach Cobbler

Peaches; peachy keen, peaches and cream, peach ice cream and peach cobbler.  Well, this post will be on peach cobbler and it is is peachy keen!  Still, I often make it with blueberries.  I am guessing most any fruit might work; blackberries, raspberries, cherries, plums, nectarines and apricots come to mind.

apple muffins 007

This recipe is modified from one in Bette Hagman’s book, More from the Gluten-Free Gourmet and is based on a flour mix that will give you 4 cups of the dry ingredients.  One cup will make an 8×8 pan of cobbler topping.  I bet two cups dry mix will make a big 9×13 cobbler.

I have made it over a camp fire a few times, delish and not that difficult either.  But that will be a separate post as there are some tricks to campfire baking.

I have tried a number of cobbler recipes but nothing has been better than this one so I stick to what works for me.  If you use nectarines there is no peeling involved which makes it easy to throw together. I need to make a cherry cobbler but cherry season has passed.  Oh well, there are frozen cherries at the grocery store and in my freezer……

Mix this up and store in an airtight container in the freezer to keep it fresh.

I always get the fruit cooking before putting the topping together so the fruit is hot and ready for the topping and can go right into the oven. All of these pictures are of peach raspberry cobbler.  An interesting combination I can recommend to you.

peach cobbler in saucepanpeach cobbler in pan

Dry Cobbler Mix

2 ¼ cups white rice flour

½ cup potato starch

½ cup tapioca flour

1 tsp. baking soda

4 tsp. baking powder

1 tsp salt

1 tsp. xanthan gum

1/3 cup sugar

Cobbler Topping

1 cup dry baking mix

2 eggs

2 tbsp melted butter or canola oil

1/3 cup milk/buttermilk

½ tsp. vanilla

Mix the wet ingredients and then add to the dry mix in a big bowl.

Fruit Filling

4 cups sliced ripe peeled peaches, nectarines, blueberries

½ tsp. almond extract

½-2/3 cup sugar depending on how sweet you want it

3 tbsp. GF flour

½ tsp cinnamon

Directions:

Mix the fruit and almond extract in a sauce pan. Stir together the sugar, cinnamon and flour and mix into the fruit.  Cook on the stove top for 5-10 minutes until it is thickened and hot.  Pour into a buttered 8 inch square pan, top with big blops of the cobbler topping.  Bake at 350 degrees for 25 minutes.  The top should be light brown and spring back when you poke it with your finger.  If it looks damp or squishy bake it 5 more minutes.

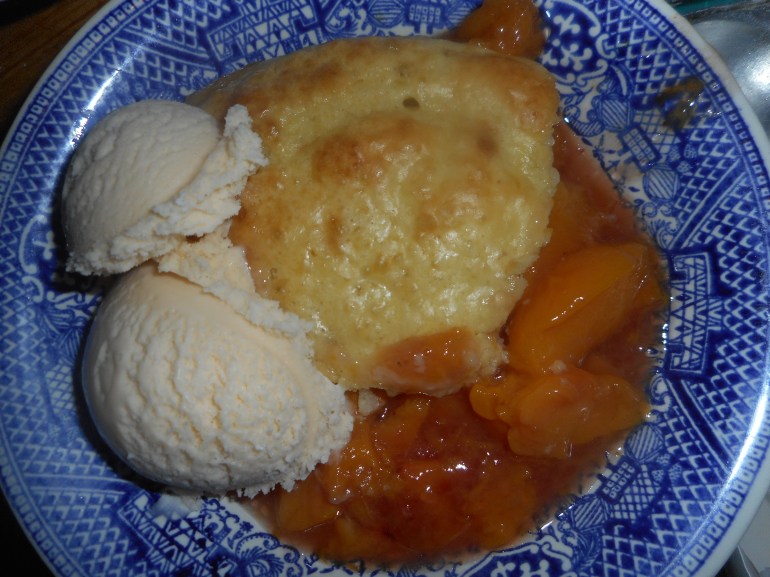
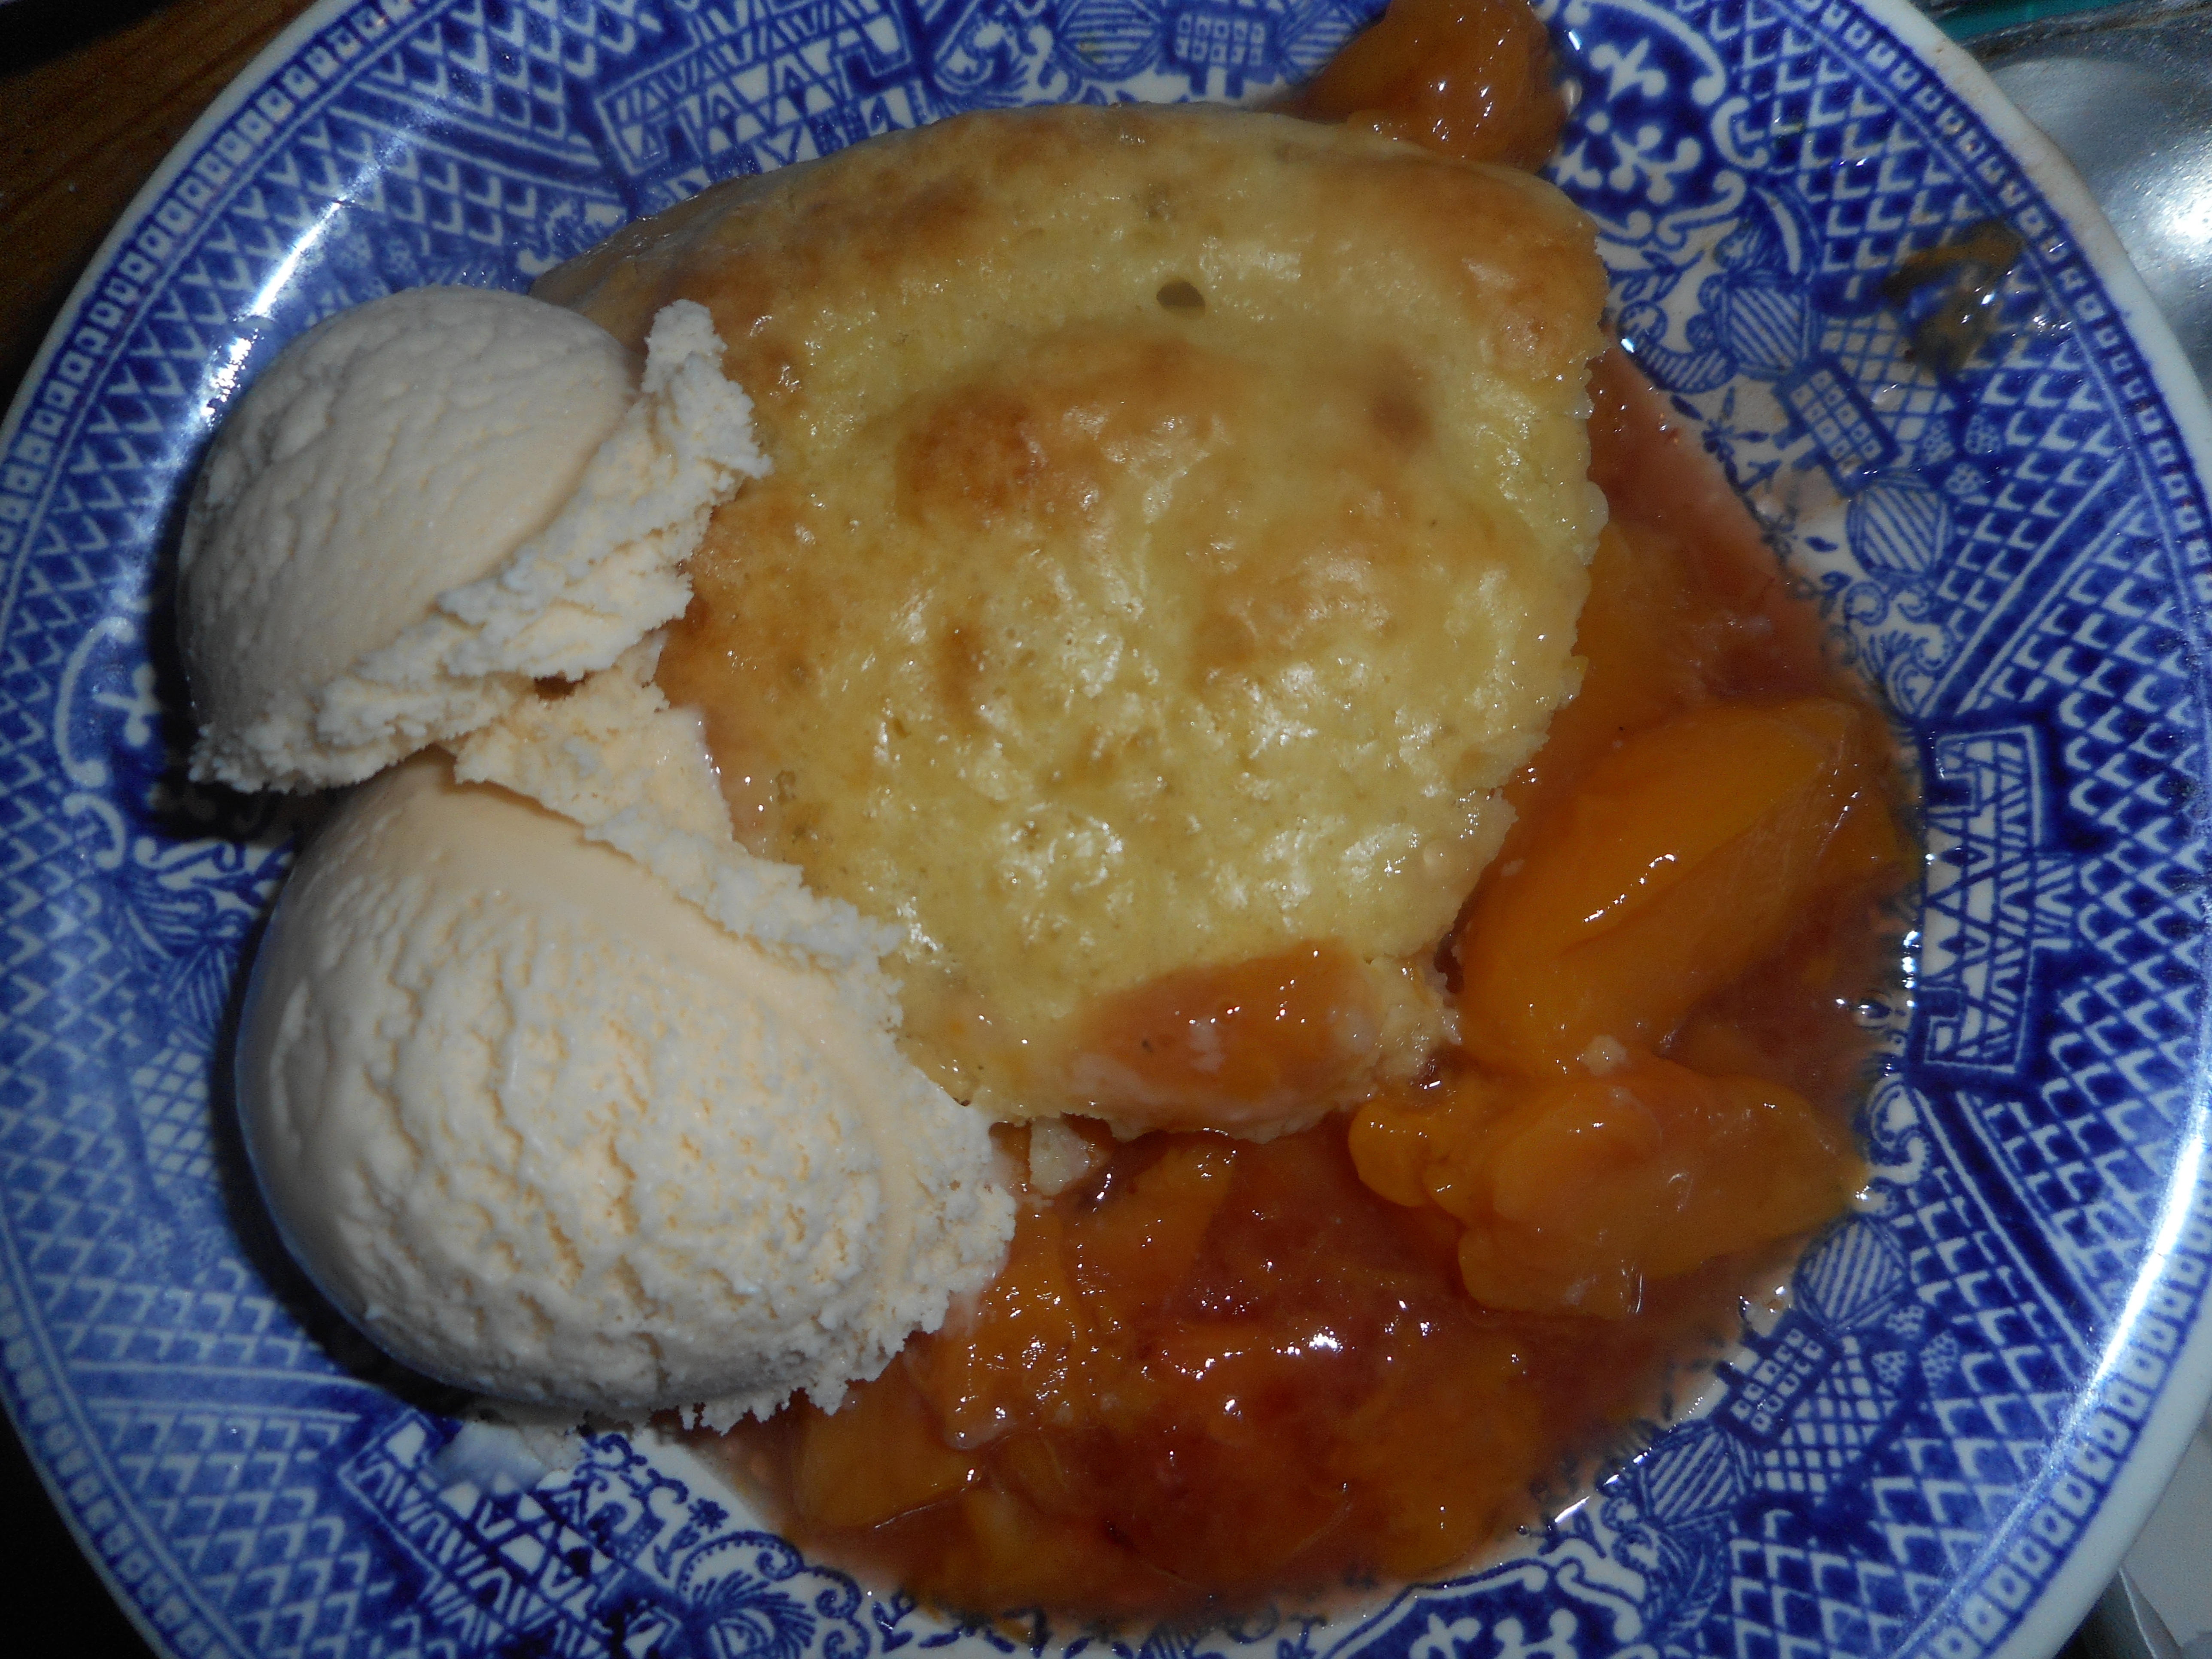
Let cool 5-7 minutes before serving as it will burn your mouth right out of the oven!  Some people love it with a scoop of vanilla ice cream; had some that way in September 2015.  This peach raspberry cobbler shown below is perfect just on its own.

peach raspberry cobbler

Between you and me, I just made some cobbler with 4 fat peaches and a handful of fancy frozen raspberries. It tastes amazing!  The zing of the raspberries and the ripe peachy flavor mingle with the tender cobbler crust in an incredible blend that must be tasted and enjoyed ASAP!  Originally posted in August 2014.