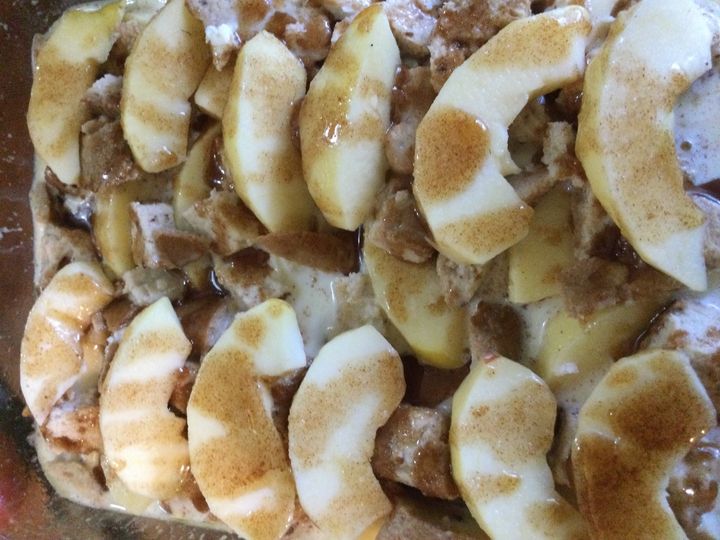
This is a great take on bread pudding, adding fruit for flavor and added nutritional value. Apples are good for you and knowing they are in the pudding makes me able to rationalize this rich and delicious dessert concoction. I found this recipe online; it had a caramel sauce but honestly it seems sweet enough without that addition. I make a version that is more or less halved the original one. It’s in my fridge calling to me!
I used some Wide pan whole grain Aldi’s gluten free bread that was getting dry; perfect usage for it. I used more apple than the original as I love apple flavor. When in doubt I increase fruits/veggies in most dishes.
This can be gluten free as it was for me or use any bread you want. Enjoy!
Angie’s Apple Bread Pudding
Ingredients:
2 large eggs
1/4 cup sugar
1 cup heavy cream
1 cup 2 percent milk
2 small apples, peeled and cored and sliced on the thin side
2 Tbsp. melted butter, melted in a glass ramekin
1/2 tsp. cinnamon, divided
3-4 cups of cubed bread; I used 4 slices plus the end crust
1/2 tsp. vanilla extract
Directions:
Preheat oven to 350 degrees. Butter an 8 inch square baking pan or a 9×4 baking pan; I used cooking spray.
Cut the bread into the cubes and get the apples ready. I like thin slices as they go further and cook easily. Crack eggs into a large mixing bowl; whisk briefly to blend, add milk and cream and whisk good. Measure the sugar and set 1/2 Tsp sugar aside; add that to the 2 Tbsp. melted butter and add 1/4 tsp. cinnamon; blend and set aside. Pour the rest of the cinnamon, sugar and the vanilla into the milk and egg mixture and whisk until well blended. Put the bread cubes in the liquid and press into it to absorb the wet into the dry cubes using a large wooden spoon. Then pour half of it into the buttered pan and put apple slices all over the bottom; half of what you cut up. top with the rest of the bread/egg mixture and then with the rest of the apples. Pour the melted butter/cinnamon mixture over the top to cover the apples and bread mixture evenly. Bake about 40 minutes; should still be slightly jiggly when you take it out. Let the pan cool at least 15-20 minutes before serving.
I wanted a special dessert using some leftover ladyfingers. I only had 4 but honestly, I wanted to try making lemoncello tiramisu and a whole big dish of said tiramisu would destroy what is left of my waistline! I cannot resist tiramisu so making a small test version for a lunch dessert for someone’s birthday treat seemed like a good idea. This will make 3 full-sized desserts. I put mine in antique teacups, so fun and gives me a good shape to create it within. Use whatever cup you have; in 4–7-ounce size. I used homemade Limoncello using Meyer lemons my brother sent me from Texas. I altered the recipe I liked to make less of it and because it doesn’t have whipped cream and I wanted some of that in there. Be sure to chill it about 3 hours, bare minimum of 2.
Apples are the centerpiece of the fall harvest culture. Pumpkins are popular but they are a relatively new comer to the contest. Some may think pumpkins are the way to go in baking but I firmly believe the apple is king in Autumn in America. Crisp, sweet, flavorful and so very good for you. Apple crisp is nice as it goes together quickly and travels well. I took a pan of it camping last weekend and it was very good indeed warmed up on the campfire.
If you can, get the organic ones as the sprays they use on growing apples are not at all good for you. I have made apple crisp with some baking apples from a pick it yourself farm near Milford NJ and it was very tasty indeed. I especially suggest you get your apples at an actual apple orchard. Another orchard just south of Hellertown is Bechdolt’s Orchard which grows many apple varieties. Go there if you want the freshest tastiest apples in the Saucon Valley area. Apples grow all over the globe so shop where you can get them fresh and crisp! The variety is up to you but I would not suggest any that are not meant for baking; don’t use red delicious as they are for eating only, same goes for honey crisp apples.
This recipe is out of Gluten-Free Baking Classics Cookbook by Annalise G. Roberts with a few minor changes. I am betting you can use any GF flour mix in this recipe, not like a cake or other baked goods that have very specific flour requirements.
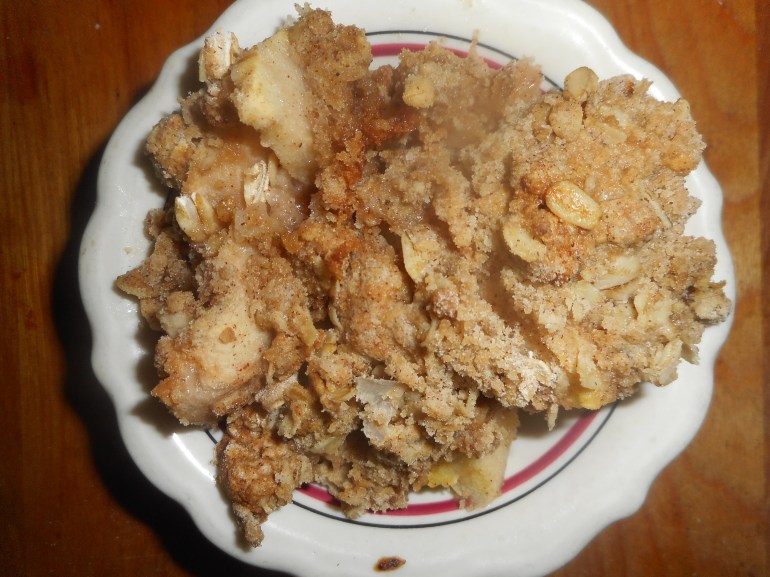
And it is so much easier than a pie. No crust to mix or roll out. Just a simple mixed up topping to add to the cut up apples. Bake it and voila: a yummy yet fairly healthy dessert!
I have made the topping several ways. You can cut un-melted butter into the dry ingredients; it makes for a firmer crumb than the melted version below. I have made it egg free but it really somehow needs that egg to pull it together to mimic a wheat flour based crisp. The oats can be left out if you don’t like them or can’t eat them. I personally love oats in my crisp. A quarter cup of chopped nuts can be added to the topping; really a nice touch too! I don’t like it too sweet so I use the lesser amount of sugar. This is entirely a personal choice. You can up the nutritional value by adding flaxmeal to the dry mix; 2-3 tbsp.
For those who love ice cream, this recipe is absolutely perfect with a big scoop of vanilla ice cream next to it. I like it warm from the oven but it also is tasty cold the next day, if you have any left over that is!
Angie’s Apple Crisp
1 cup GF flour (mix below)
½ to ¾ cup sugar (I prefer brown sugar)
½ cup old fashioned gf oats
1 ¼ tsp baking powder
1 tsp cinnamon
Sprinkle of nutmeg
½ tsp xanthan gum
½ tsp. salt
1 large egg
6 cups peeled and thinly sliced apples
¼-1/3 cup butter, melted
Heat oven to 350 degrees. Put rack in center level of oven. Lightly butter a 9 inch square pan or spray with cooking spray.
Combine all the dry ingredients. Add egg and stir to mix well. Place apples in the baking pan, top with the dry mix and sprinkle with the melted butter. Bake 40-50 minutes until bubbly and the topping is lightly browned. Let cool at least 10 minutes before dishing out. Six servings.
Brown Rice Flour Mix (same as King Arthur’s Basic GF blend)
2 c brown rice flour (finely ground)
There is this lovely Italian dessert that I haven’t had in a decade, it was my favorite back when I didn’t have to worry about gluten. Sure do miss it…. Well, while we were on vacation in Delaware we discovered Schar gf ladyfingers in a grocery store. Immediately my brain thought tiramisu! So, we snagged that package and brought it back to my kitchen.
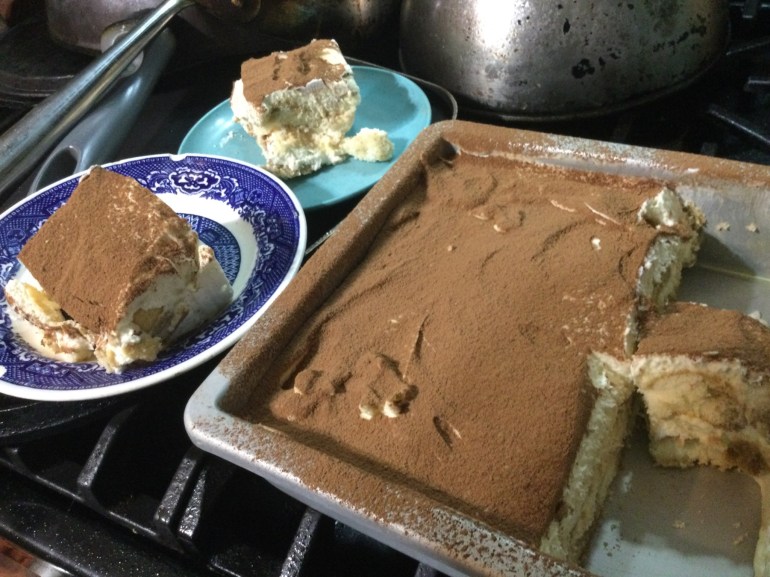
I understand there are various ways to make tiramisu; this is the way I did mine; with fresh real whipped cream, some folks use beaten egg whites. Maybe next time. Just know that my tiramisu was just so creamy and rich…. It was addictive in all ways possible. You could make your own ladyfingers but it was easier to use store made. ones.
Notes: I used a single use coffee bag and about 2/3 cup boiling water; let it stand 10 minutes and it was ½ cup which is what I needed. Easy! Or make some expresso and go full Italian! And one last important tip: do not warmup the mascarpone cheese at all before using; it will turn to butter in the blink of an eye! Trust me!
Kinda drab looking in the pan but it is a delightful treat for dessert!
GF Tiramisu; makes 9 medium sized servings
Ingredients
1 package gf ladyfingers
2 egg yolks
3 Tbsp. sugar
2 Tbsp marsala for the egg mixture
1 cup mascarpone cheese
———–
¾ cup COLD heavy whipping cream
½ tsp. vanilla
————
½ cup strong coffee cooled to room temp- could use up to 2/3 of a cup should be cold
1 Tbsp. marsala for the coffee mixture
1 Tbsp cocoa powder
Instructions: Make the coffee and let it cool. Put the sugar and egg yolks in the top of a double boiler. Do not let the water in the bottom half reach the top pan. Stir constantly with a whisk until the sugar is totally dissolved in the egg yolk 4-5 minutes on low heat. It should be a pale yellow, silky smooth when done Add the marsala and whisk. Remove from heat, cool to room temperature.
When the egg mixture and the coffee are both cooled you can put it together. I used a 7 inch square pan; I think an 8 inch will work too; will be thinner. Spray the pan lightly with cooking spray. Put the mascarpone cheese in a large bowl, beat briefly to make it smooth. Add the whipping cream and beat until stiff peaks form; 3-4 minutes. Add the vanilla and mix in briefly. Fold in the egg/sugar mixture until smooth; do not beat any more than necessary
Put the coffee in a low wide bowl; mix in the marsala. Doing one ladyfinger at a time dunk in the coffee briefly and lay in the pan to cover the bottom. Pour half the pudding mixture on top of the ladyfingers and smooth the top. Repeat the ladyfinger layer and top with the rest of the pudding. Put in fridge for 6-10 hours before serving. Sift cocoa on top with a sieve before cutting and serving. Enjoy!
A less than stellar photo but we were eager to taste this treat!
This is a variation on my favorite rhubarb custard pie which is my go-to recipe for a great spring dessert. I added strawberries to please my guy who isn’t a huge rhubarb fan. The strawberries add their special flavor and he really enjoyed this pie this past weekend. So did I! Our new favorite pie…
This is an easy pie even though it has several steps. It is different from the usual rhubarb pie because the texture is a bit closer to a crumb cake, no wet (aka slimy texture) and no ultra-sour flavor. I think this new strawberried version is great for those who doubt the power of rhubarb! This GF crust will work for any pie with a traditional dough and the GF crumb topping is a great choice for any crumb pie topper. This is my mixture of three recipes with some modifications which come together to create one of my favorite GF pie recipes. I know it has several steps but each one is easy and you can use these crust and crumb techniques for other pies.
I like it because it has a great texture and the flavor is complex but subtly rhubarby. It isn’t really soft or all that custardy (if I didn’t say the word custard you would never know) but has a more cake-like texture. It is a game changer of a pie. I promise you that!
Fruit in the unbaked pie shell.
Angie’s GF Strawberry Rhubarb Custard Pie
Crust:
1 c plus 1 tbsp brown rice flour mix (recipe for blend at bottom of pie recipe)
2 tbsp sweet rice flour
1 Tbsp. granulated sugar
½ tsp xanthan gum
¼ tsp salt
6 Tbsp. cold butter cut into 6 chunks
1 lg egg
2 tsp fresh orange or lemon juice
——————
Spray a 9 inch metal pie pan with cooking spray, dust with white rice flour. I must confess I forget this step a lot of the time and it doesn’t seem to matter much….
Mix dry ingredients in bowl of stand electric mixer. Add butter and mix until crumbly and resembling coarse meal. Add egg and juice. Do not leave out the juice; it is critical to the crust texture and structure! Mix until it comes together into big chunks. Shape the sticky mess into a ball with your hands. Put it on a crust sized piece of wax paper (14 x 14 inches more or less), flatten the crust ball some; put on top of it another piece of wax paper and chill it all in your fridge 15-20 minutes while you chop the rhubarb into ½ inch chunks.
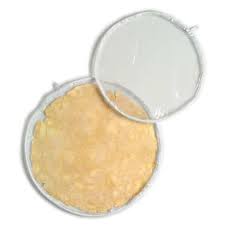
This pie is ready to bake!
My sister Karen bought me one of those pie crust plastic bag thingies; has a zipper around the edge. By OXO: I love it; it works better than wax paper which can get soft and tear as you roll out the crust. King Arthur Flour sells an inexpensive one on line. I highly recommend you get the OXO version for making scratch pie crust. Or maybe improvise with a sheet of heavy duty plastic! Strong enough to work with the rolling pin and better than wax paper.
Filling:
4-5 cups cut up fresh rhubarb – place in medium bowl
1 1/2-2 cups sliced fresh strawberries
Mix with dry mix made of
2/3 – 1 c sugar (depends on how sweet you like your pie) I go with 2/3 cup
¼ c brown rice flour mix (see below recipe)
1/4 tsp nutmeg
Sprinkle cinnamon
Roll out pie crust in a pie bag or between the two sheets of wax paper, try to get the thickness even, no thick middle! Peel off one side of paper and place in pie pan, centered. Remove other slice of wax paper. Crimp edges all around. Fill with dry rhubarb mix. Pour the following wet mix evenly over this mixture:
Liquid mix: 3 large eggs beaten lightly with 1/3 c milk (not skim), and ¼ tsp almond extract.
Crumb topping
Put all four ingredients in the same mixing bowl you made the bottom crust in and mix well with mixer paddle until crumbs form.
¾ c brown rice flour mix
½ c sugar
½ tsp xanthan gum
1/3 c cold butter cut into six chunks
Sprinkle the top of the pie with the crumb mix; use as much as you like. I like about 2/3 of the mixture. Up to your personal taste… It sinks into the rhubarb and wet mixture to create an almost cake like texture and the crumb crust adds lots of sweetness and eye appeal.
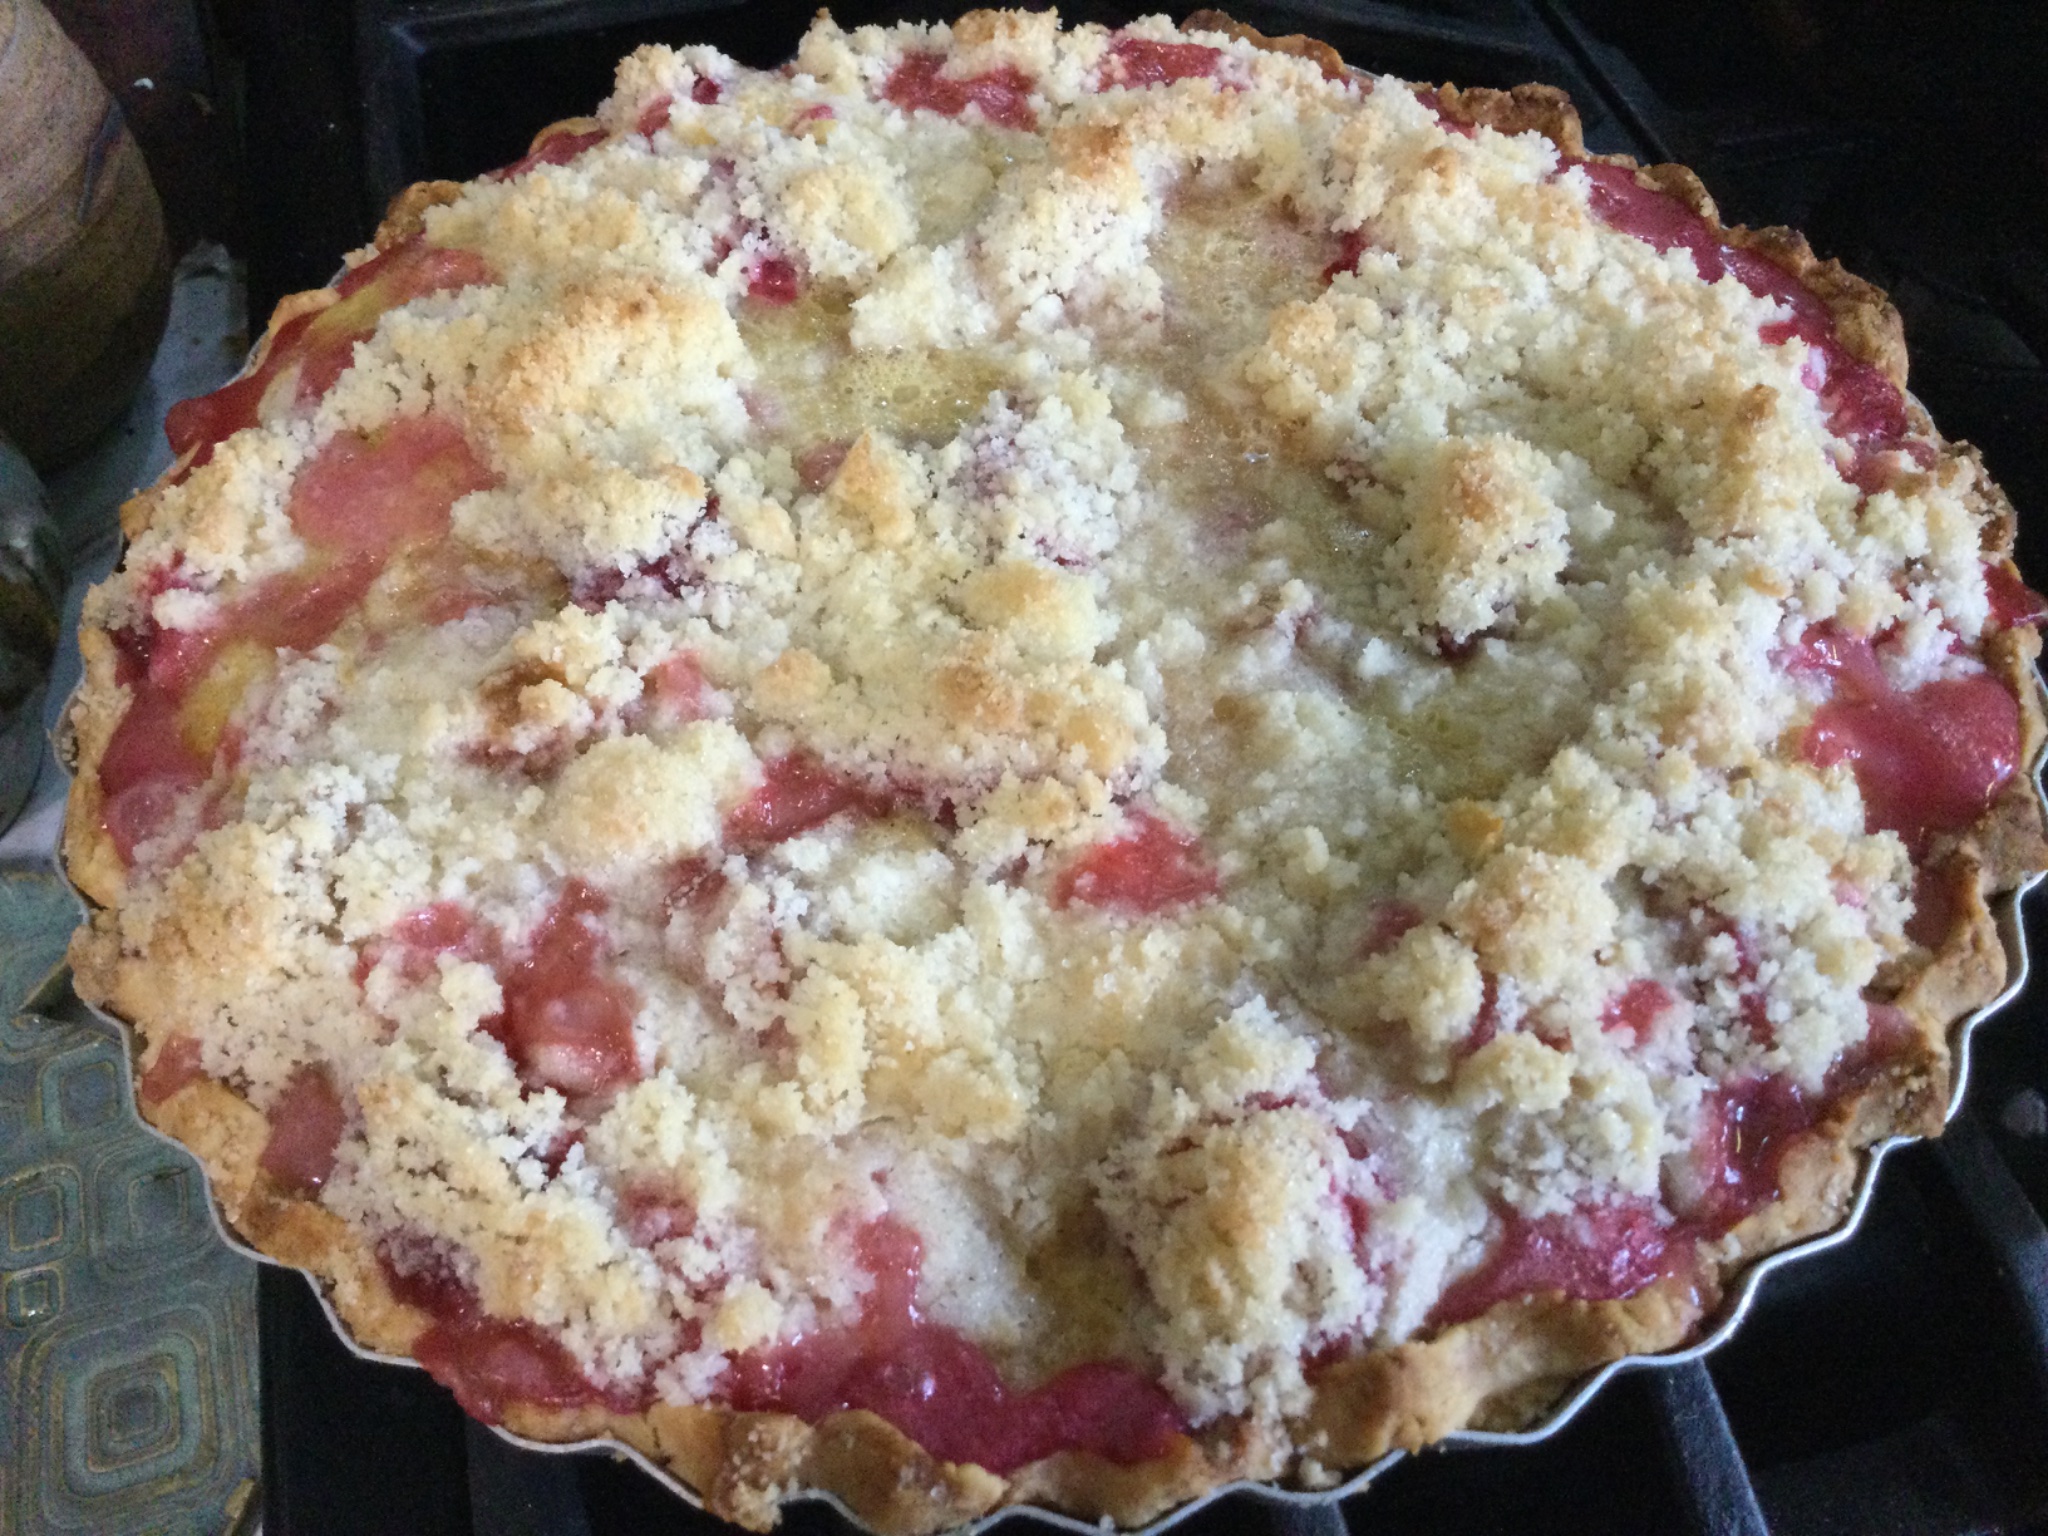
Bake in a preheated 375 degree oven for 55-60 minutes until bubbly and the crust is light brown. Cool at least 3 to 4 hours before serving at room temperature.
The pie is just out of the oven, hot and smells wonderful!
Brown Rice Flour Mix (same as King Arthur’s Basic GF Blend) 2 c brown rice flour