Sandwich Bread Worth Baking

Gluten Free bread is not generally known for rising high in the pan.  Nor does it often taste good enough to enjoy once the first day has passed.  Worse yet, it is mostly terrible in sandwiches, all crumbly and messy. I have tried a few recipes and, especially in the sandwich bread area, nothing was worth mentioning much less putting in this blog.  Until I baked the sandwich bread from the How Can It Be Gluten Free Cookbook, created by the America’s Test Kitchen team.  This cookbook promises “revolutionary techniques and groundbreaking recipes” right on the cover.  What I love about it is the discussion on how they came up with the final recipe; all the changes and reasons why things were added/subtracted or changed to create the best possible final result.  I guess it is the science teacher in me but those discussions are my favorite part of this book.
chickpea soup, salad, bread 014

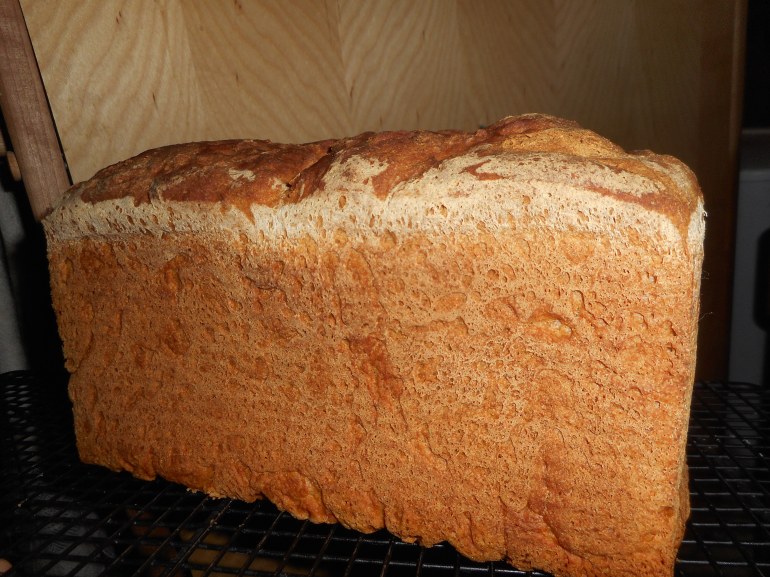
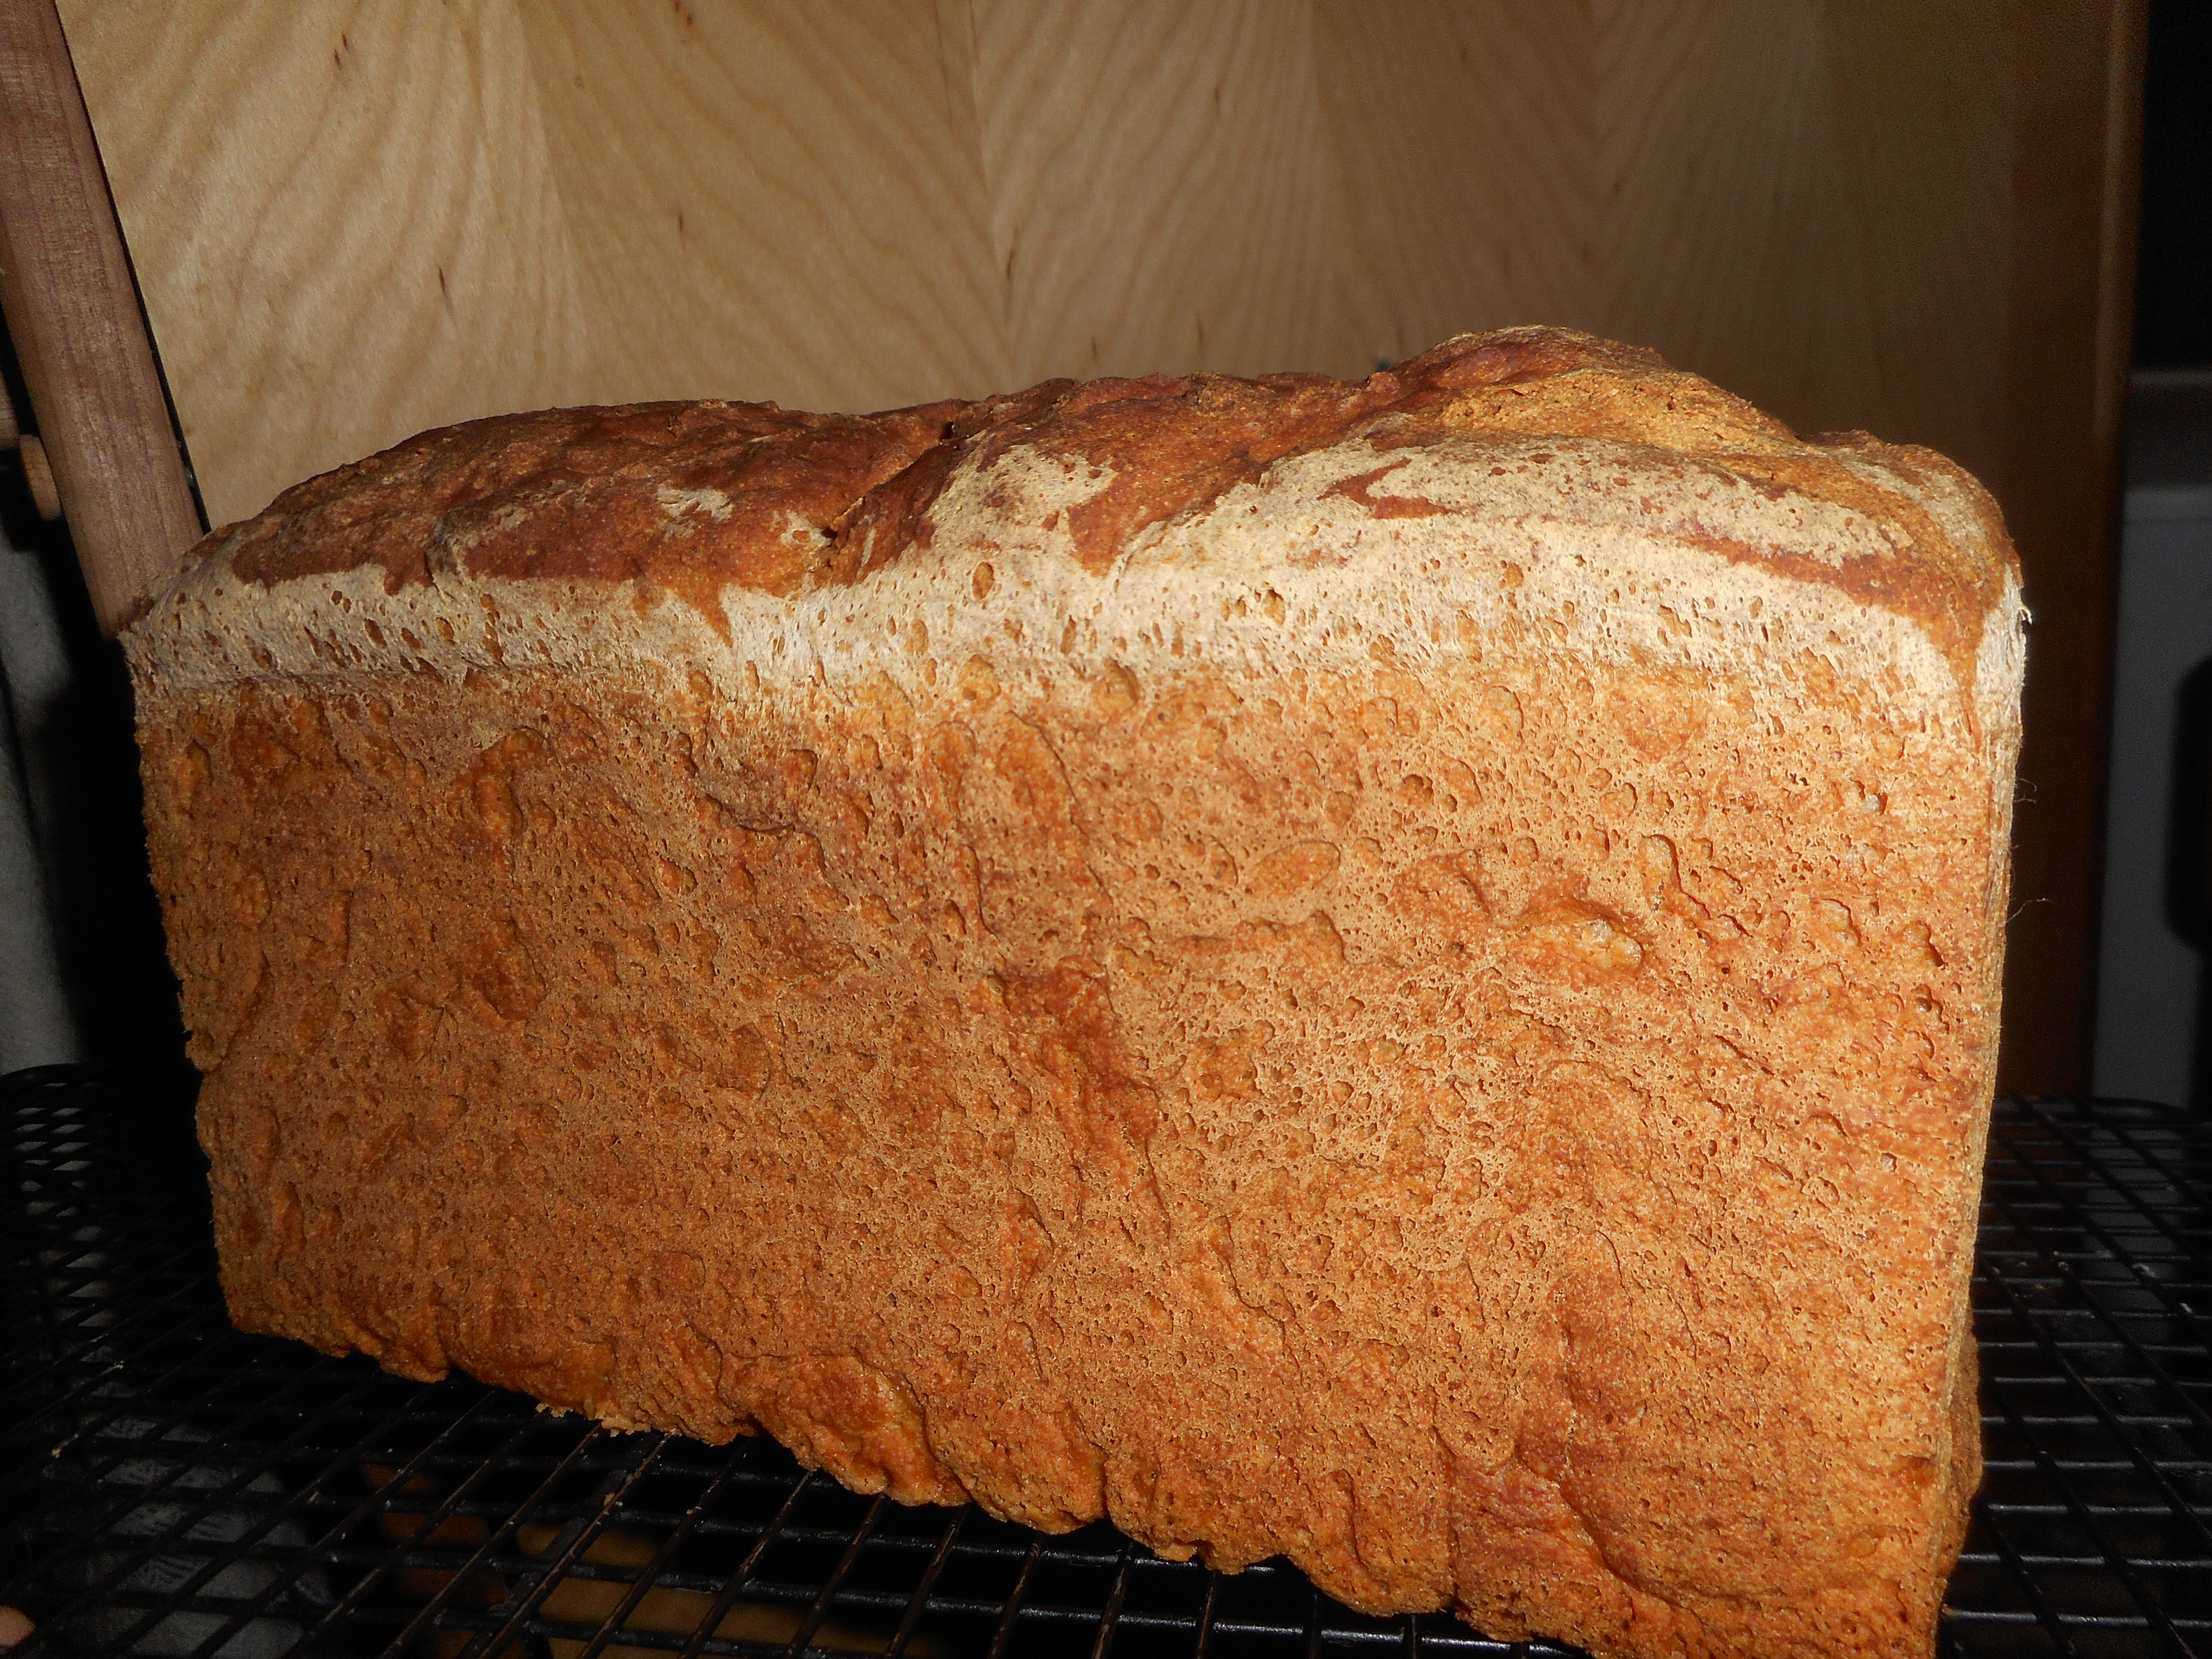
A tall handsome loaf!

The bread recipes use one extra ingredient which put me off, I’m sort of getting tired of excessive ingredients and so many flour mixes after only two years of living gluten free.  Anyway, the ingredient is powdered psyllium husk.  The cookbook says psyllium husk powder is critical to building a stronger protein network that traps gas and steam, key to producing a taller loaf (pg171).  It took me a while but finally, I got a bag of it at Frey’s Better Foods right here in town, $6.75 in a twist tied baggie; bulk packaging lowers the price quite a bit from the commercially packaged versions.  It is a brown/gray powder.  Doesn’t look magical.  But apparently, it is!  My loaf rose and rose, to the top of my special tall sided 8 ½ x 4 inch pan.  And it stayed tall through the baking process, no shrinking or sagging either as it cooled.  It is found on page 171, classic sandwich bread.  I thought it tasted sort of like multigrain bread, not as white as I expected, which is fine by me.  The creating is typical of gf breads: mix the dry ingredients and in a separate bowl the wet ones, mix and beat well.  You do have to make up their flour mix: a blend of white and brown rice flours, potato starch, tapioca starch and non fat dry milk powder.  Not too fancy but yes, another big jar of flour mix to store somewhere…
sandwich bread, winter salad 001

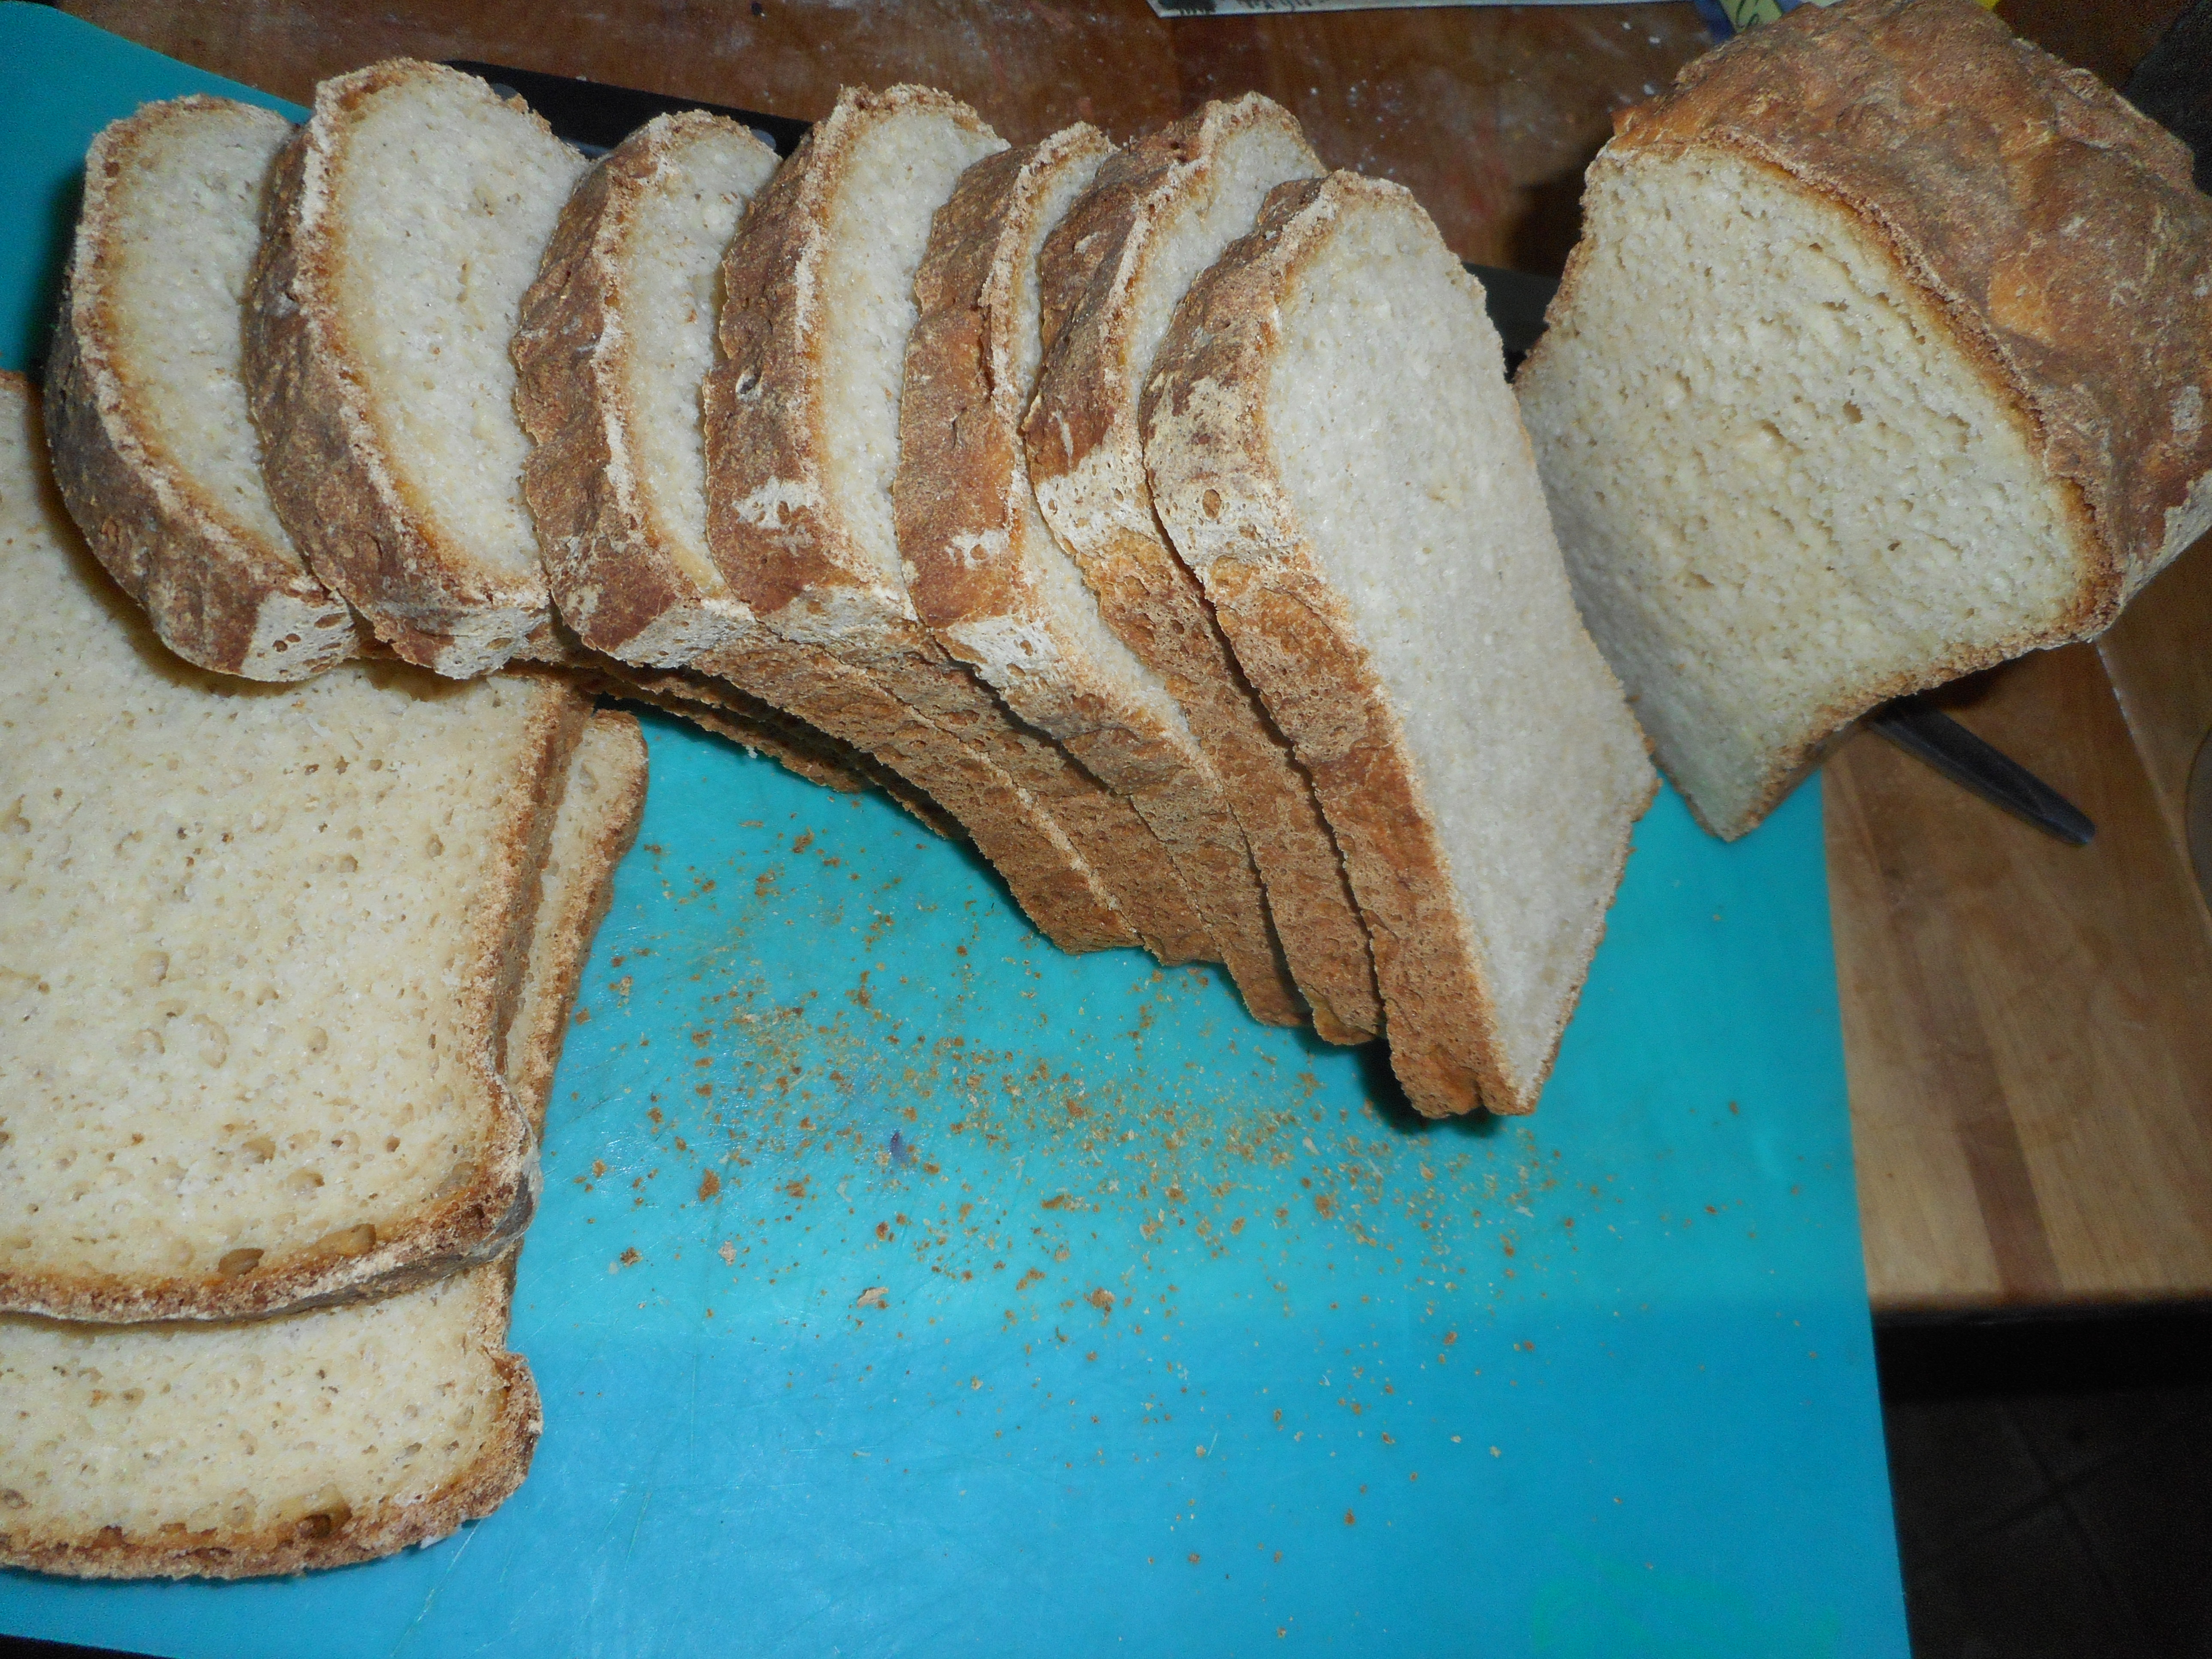
Cuts nice, lots of slices for sandwiches or toast.

Anyway, it was tall and handsome and sliced easily into individual slices to enjoy now and to freeze for later.  There are lots of other recipes in this book that I plan to try. If you are serious about gluten free baking this recipe and this book are well work a good look.  I am having a sandwich today for lunch and I am excited, bread that looks normal and holds together, no more crazy crumbling sandwiches!
chickpea soup, salad, bread 015

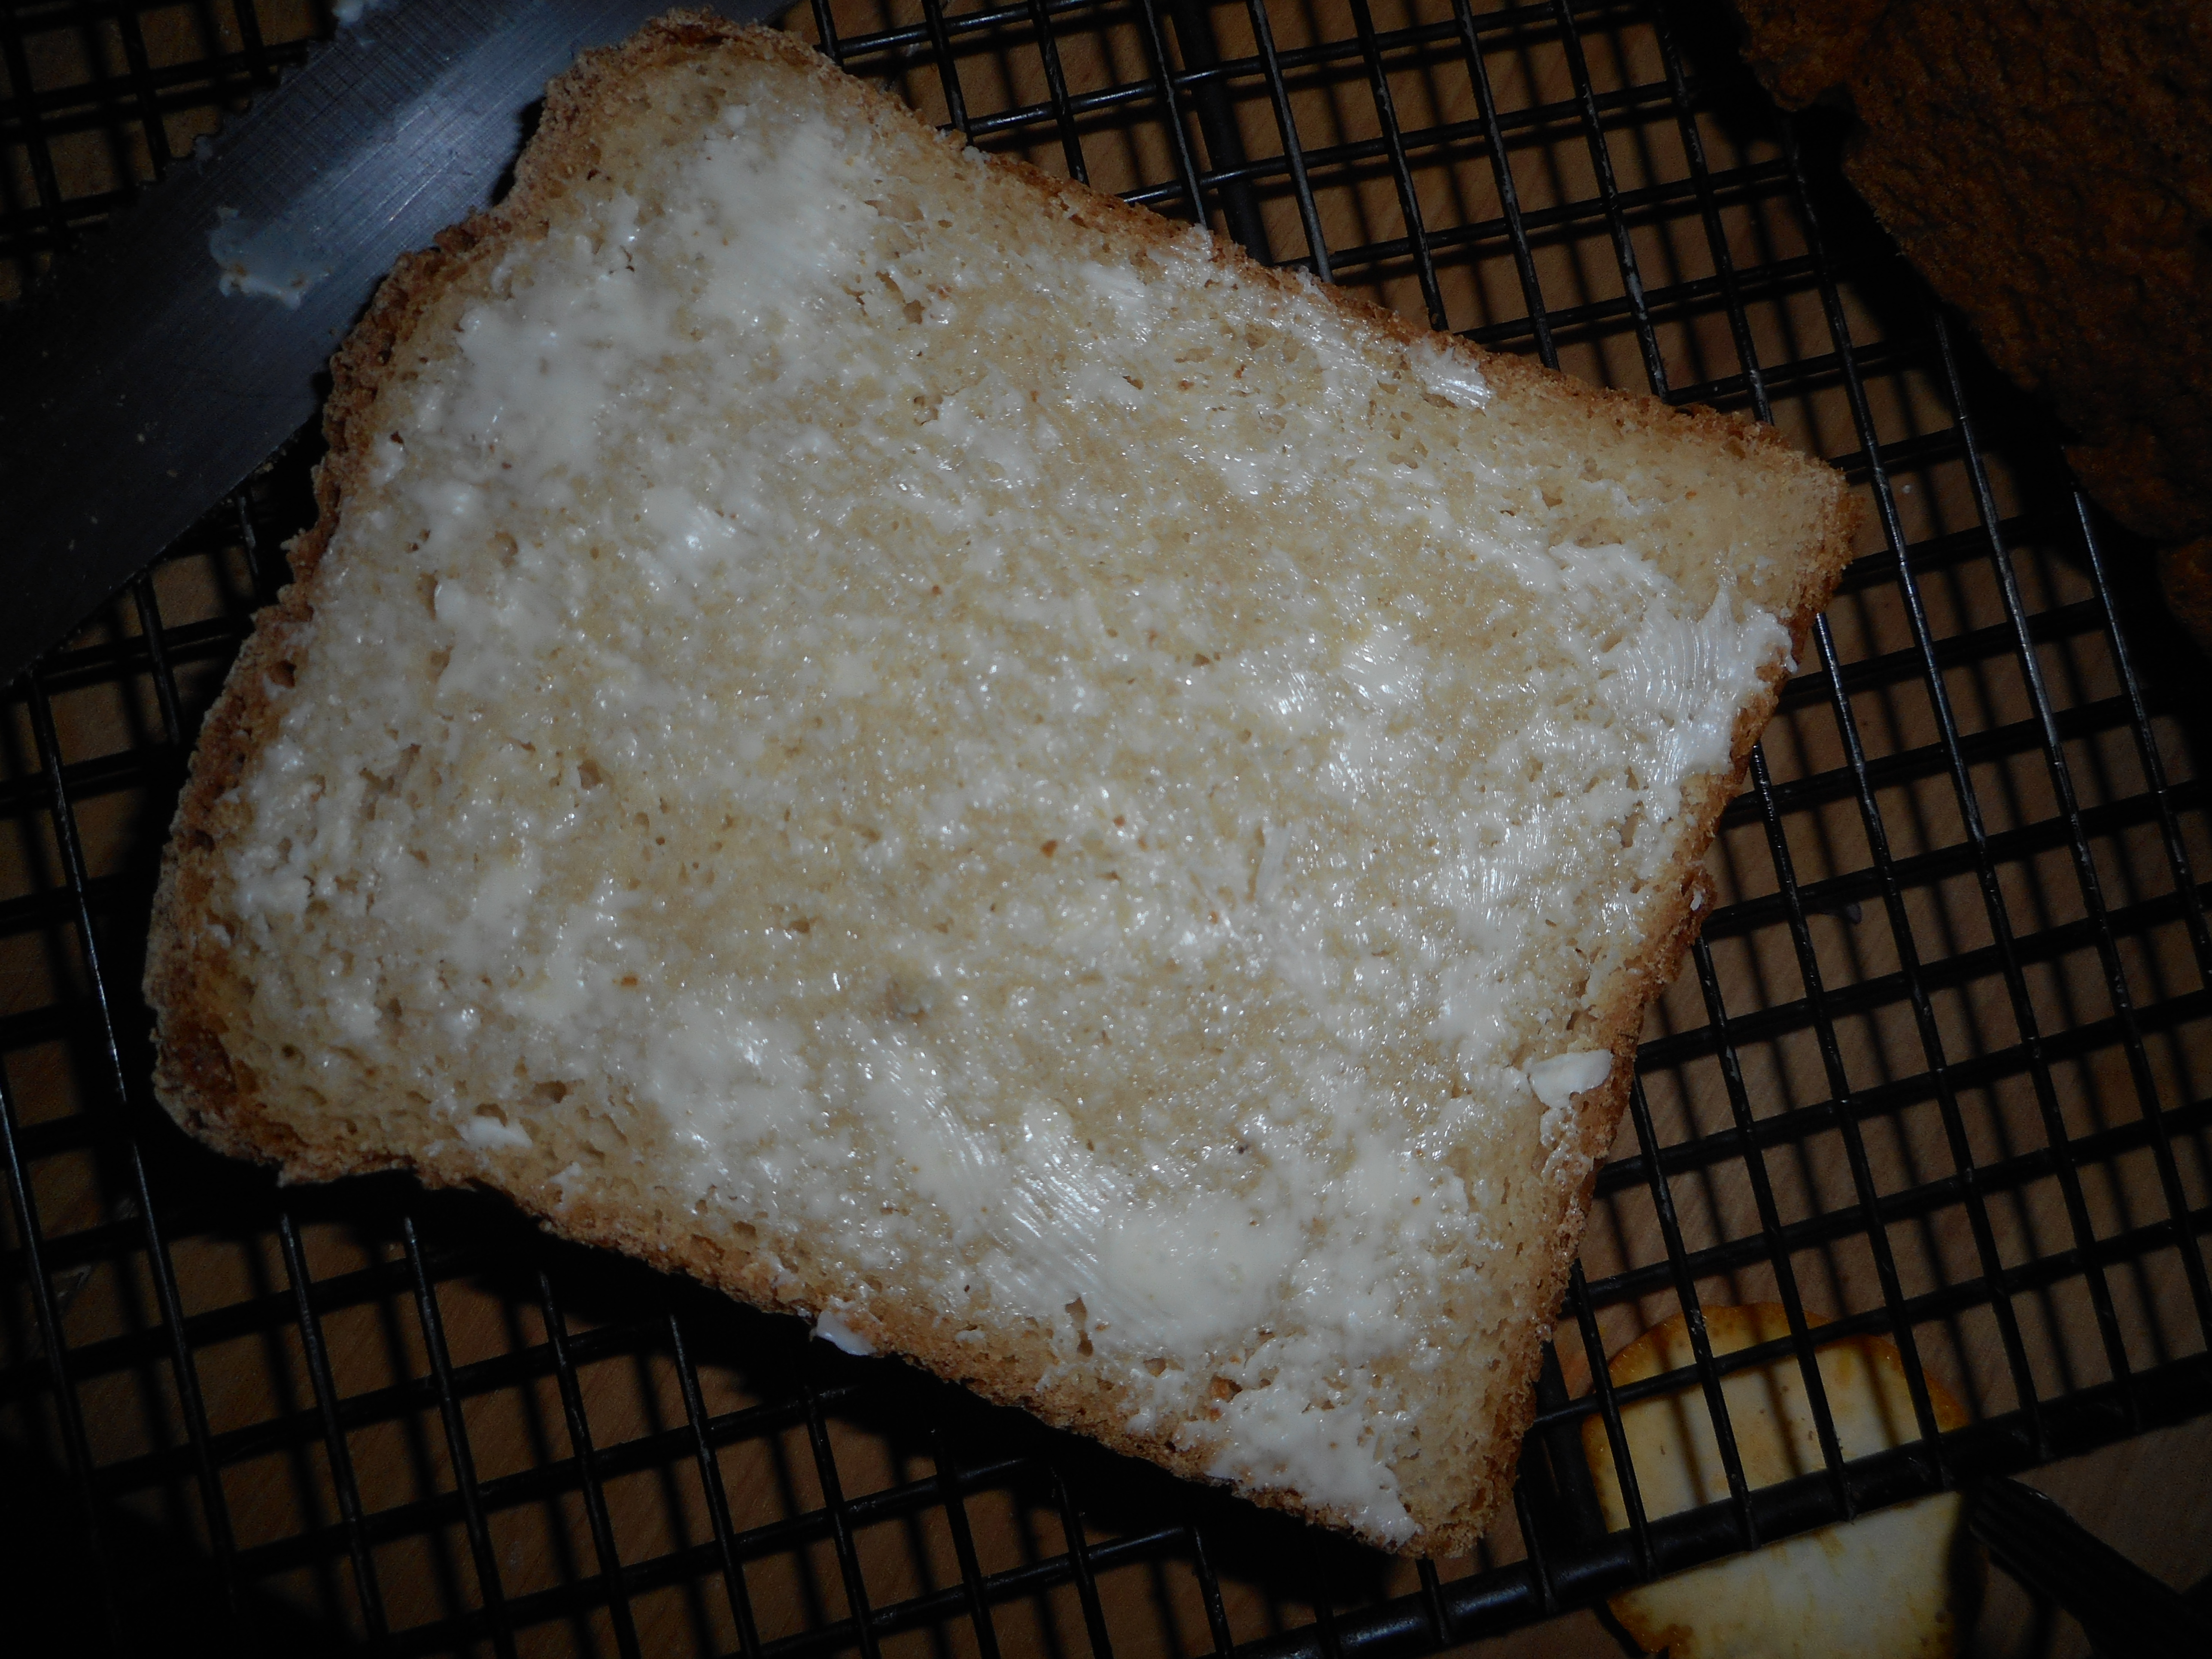
Still slightly warm, buttered and ready for my first taste!

Classic sandwich bread

2 cups warm water, about 110 degrees

2 large eggs, room temp

2 tbsp butter melted

3 cups plus 2 tbsp ATK flour mix (recipe below)

1 1/3 cup oat flour

½ cup non fat dry milk powder

3 tbsp powdered psyllium husk

2 tbsp. sugar

2 ¼ tsp. dry yeast

2 tsp baking powder

1 ½ tsp salt.

Directions:

Spray an 8 ½ by 4 inch loaf pan with cooking spray.

Wisk the wet ingredients in a small bowl.  Mix all the dry ingredients in the large bowl of your stand mixer. Slowly pour in the wet ingredients, mixing slowly; scrape bowl sides down as you go; takes about a minute.  Increase the beater speed to medium and beat for 6 minutes, it should look very thick; sort of like a cookie dough. Glop it into the prepared pan, trying to fill the corners well. Then, smooth the top with your dampened fingers and spray with a bit of water.  Make a foil collar for your pan; if you have the tall pan like I do such a collar is not necessary.  The recipe says you can use a stapler to secure it around the pan. Cover the dough with a piece of plastic wrap and let rise at room temp until doubled. I heated my oven to 100 degrees and turned it off – popped the bread in and this gave it a nice warm temperature as my kitchen’s room temp is much too chilly for bread dough.  It took about 55 minutes for mine to rise; recipe says an hour.

Spray the loaf lightly with water before popping into the oven to bake at 350 until golden and firm and it sounds hollow if you tap on it. Although how you can tap on a hot loaf of bread is sort of beyond me!  Try to remember to rotate it half way through the time, I forgot…. Mine was done at an hour and 15 minutes; recipe says 1 ½ hours.  Let cool in pan ten minutes, cool on wire rack for two hours before cutting.  So don’t be diving into this bread warm; not happening.  If you cut gf bread too soon it can collapse and or get gummy in texture.  I hate the gummies so I resist the temptation to cut early and so should you!  This makes good toast too and great gf crumbs.

Chickpea Pastina Soup for Supper

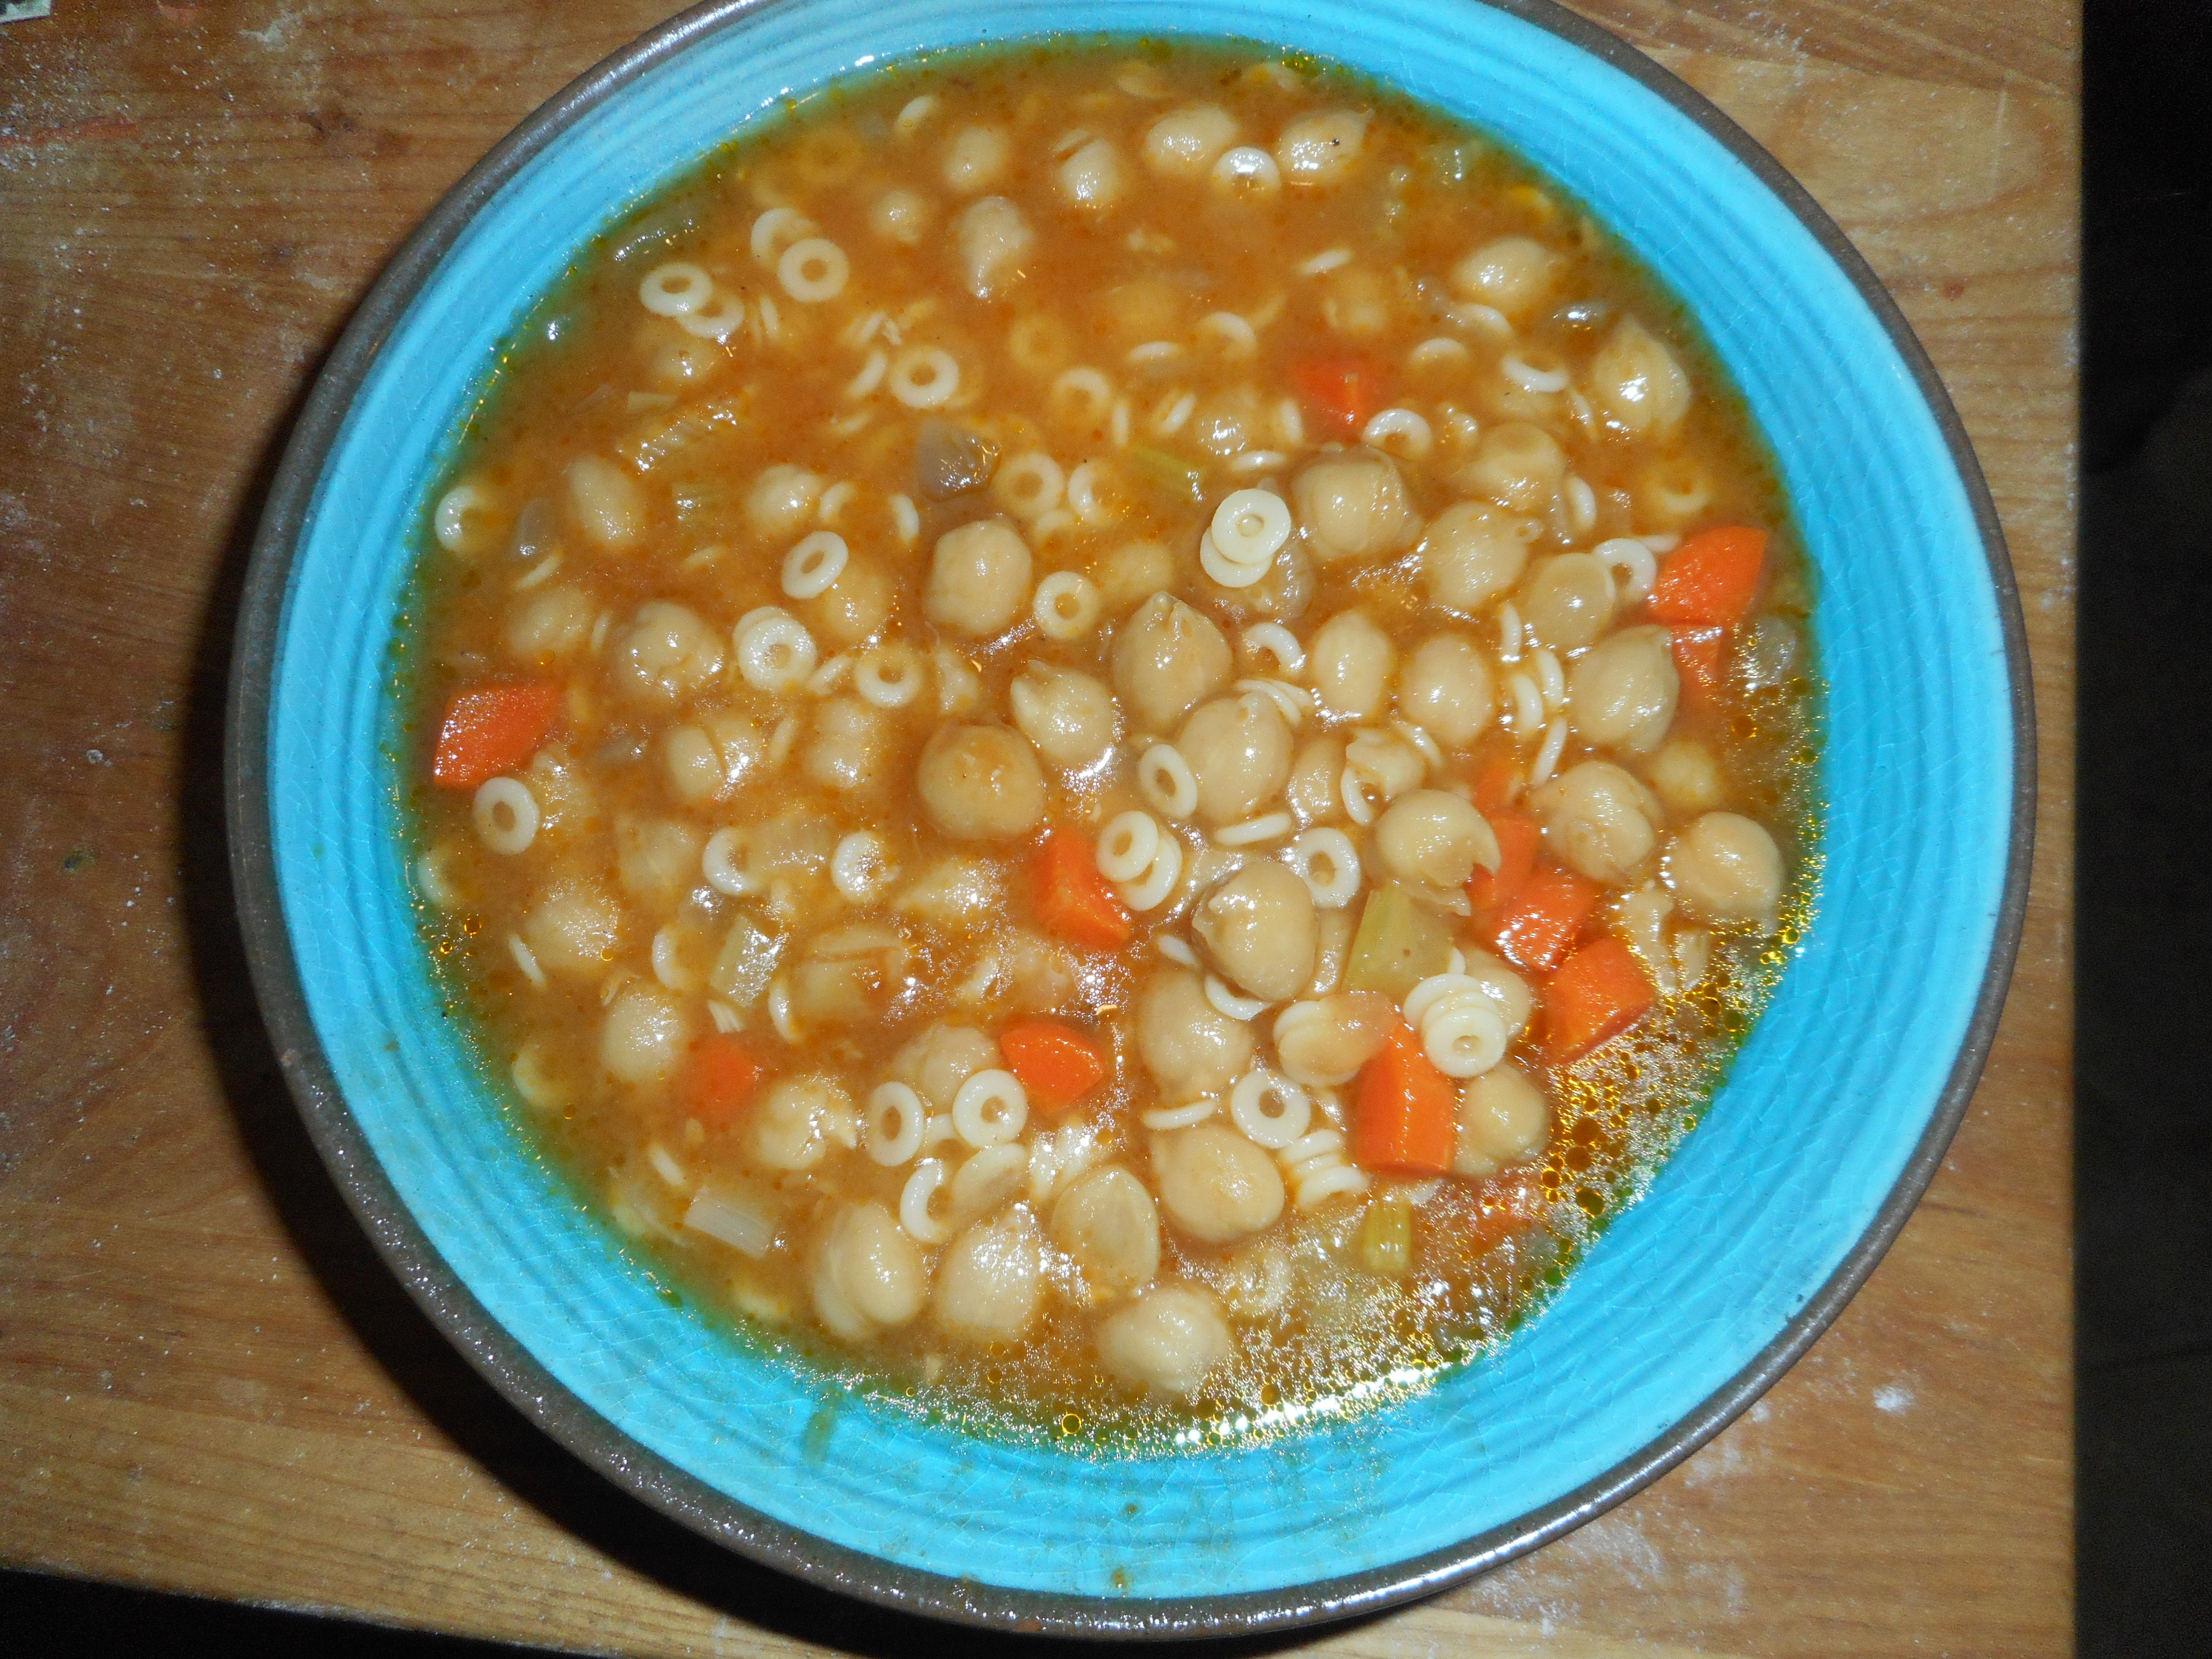
Another week, another storm, another hearty soup! This storm I made a chickpea and pasta soup.  It is simple yet filling and savory.  The seasonings are simple, relying on the chickpeas for the predominant flavor. I used up some potato water leftover from mashed potatoes the night before, adding an extra layer of flavor.  I have made this soup many times, in several variations.  This version is my favorite.

It is naturally gluten free, just be careful about the chicken broth you use; most are not safe for celiacs. I really like Kitchen Basics, safe and great flavor.  For my pasta I chose Shar anellini which are tiny rings, about of the size of jewelry jump rings. I suppose you could make it with canned  chickpeas but I would not recommend that; the time you spend cooking up the beans is worth it for their flavor and firmer texture are very important to the success of this winter soup.

chickpea soup, salad, bread 017

What’s left in the pot after I have a bowl for supper!

Tuscan ChickPea and Pasta Soup

1 ½ cups dried chickpeas

6-7 cups liquid: water, chicken broth, potato water, a mixture is okay

¼ cup EVOL (extra virgin olive oil)

1 cup finely chopped red onion

1 large carrot, chopped small

1 ½ celery stalk, chopped small

2 garlic cloves minced

1 ½ tbsp. tomato paste mixed with ¾ cup chicken broth

Salt/pepper to taste

1/3 cup pasta; anellini work well

Directions:

Put the chickpeas in a big sauce pan, cover them with water, bring to a boil, cook 2 minutes, turn off and cover.  Let sit 60 minutes.  Drain and rinse them well.  Clean out the pot, put the beans in and cover with broth or water.  Cook 1.5 to 2 hours until tender.  Stir occasionally, add water as needed and taste – I like them done but al dente; still a touch firm.

In a large heavy bottomed soup pot, heat the olive oil.  Add the onion, cook 1 minute, add the carrot and celery bits, cook 4 minutes, add the garlic, saute one more minute. Add the broth/paste mixture.  Stir well.  Cover and cook 15-20 minutes adding more water or broth if it seems low.  It is not that brothy of a mixture.  Add 1 tsp. or more of sea salt, a few grinds of fresh black pepper and the pasta; cook the length of time the package says.  Turn off and let rest a few minutes before serving it.  Be sure to taste the soup and adjust the seasoning.  I often have to add more water or broth so it has the consistency I want for serving.

chickpea soup, salad, bread 016

It’s perfect on a cold winter evening with a slice of gf bread or some biscuits and a green salad.

This is an adaptation from a recipe out of a favorite cookbook “Italy Al Dente” by Biba Caggiano.  I changed some ingredients and revised the proportions a touch.

Ten Bean Storm Soup

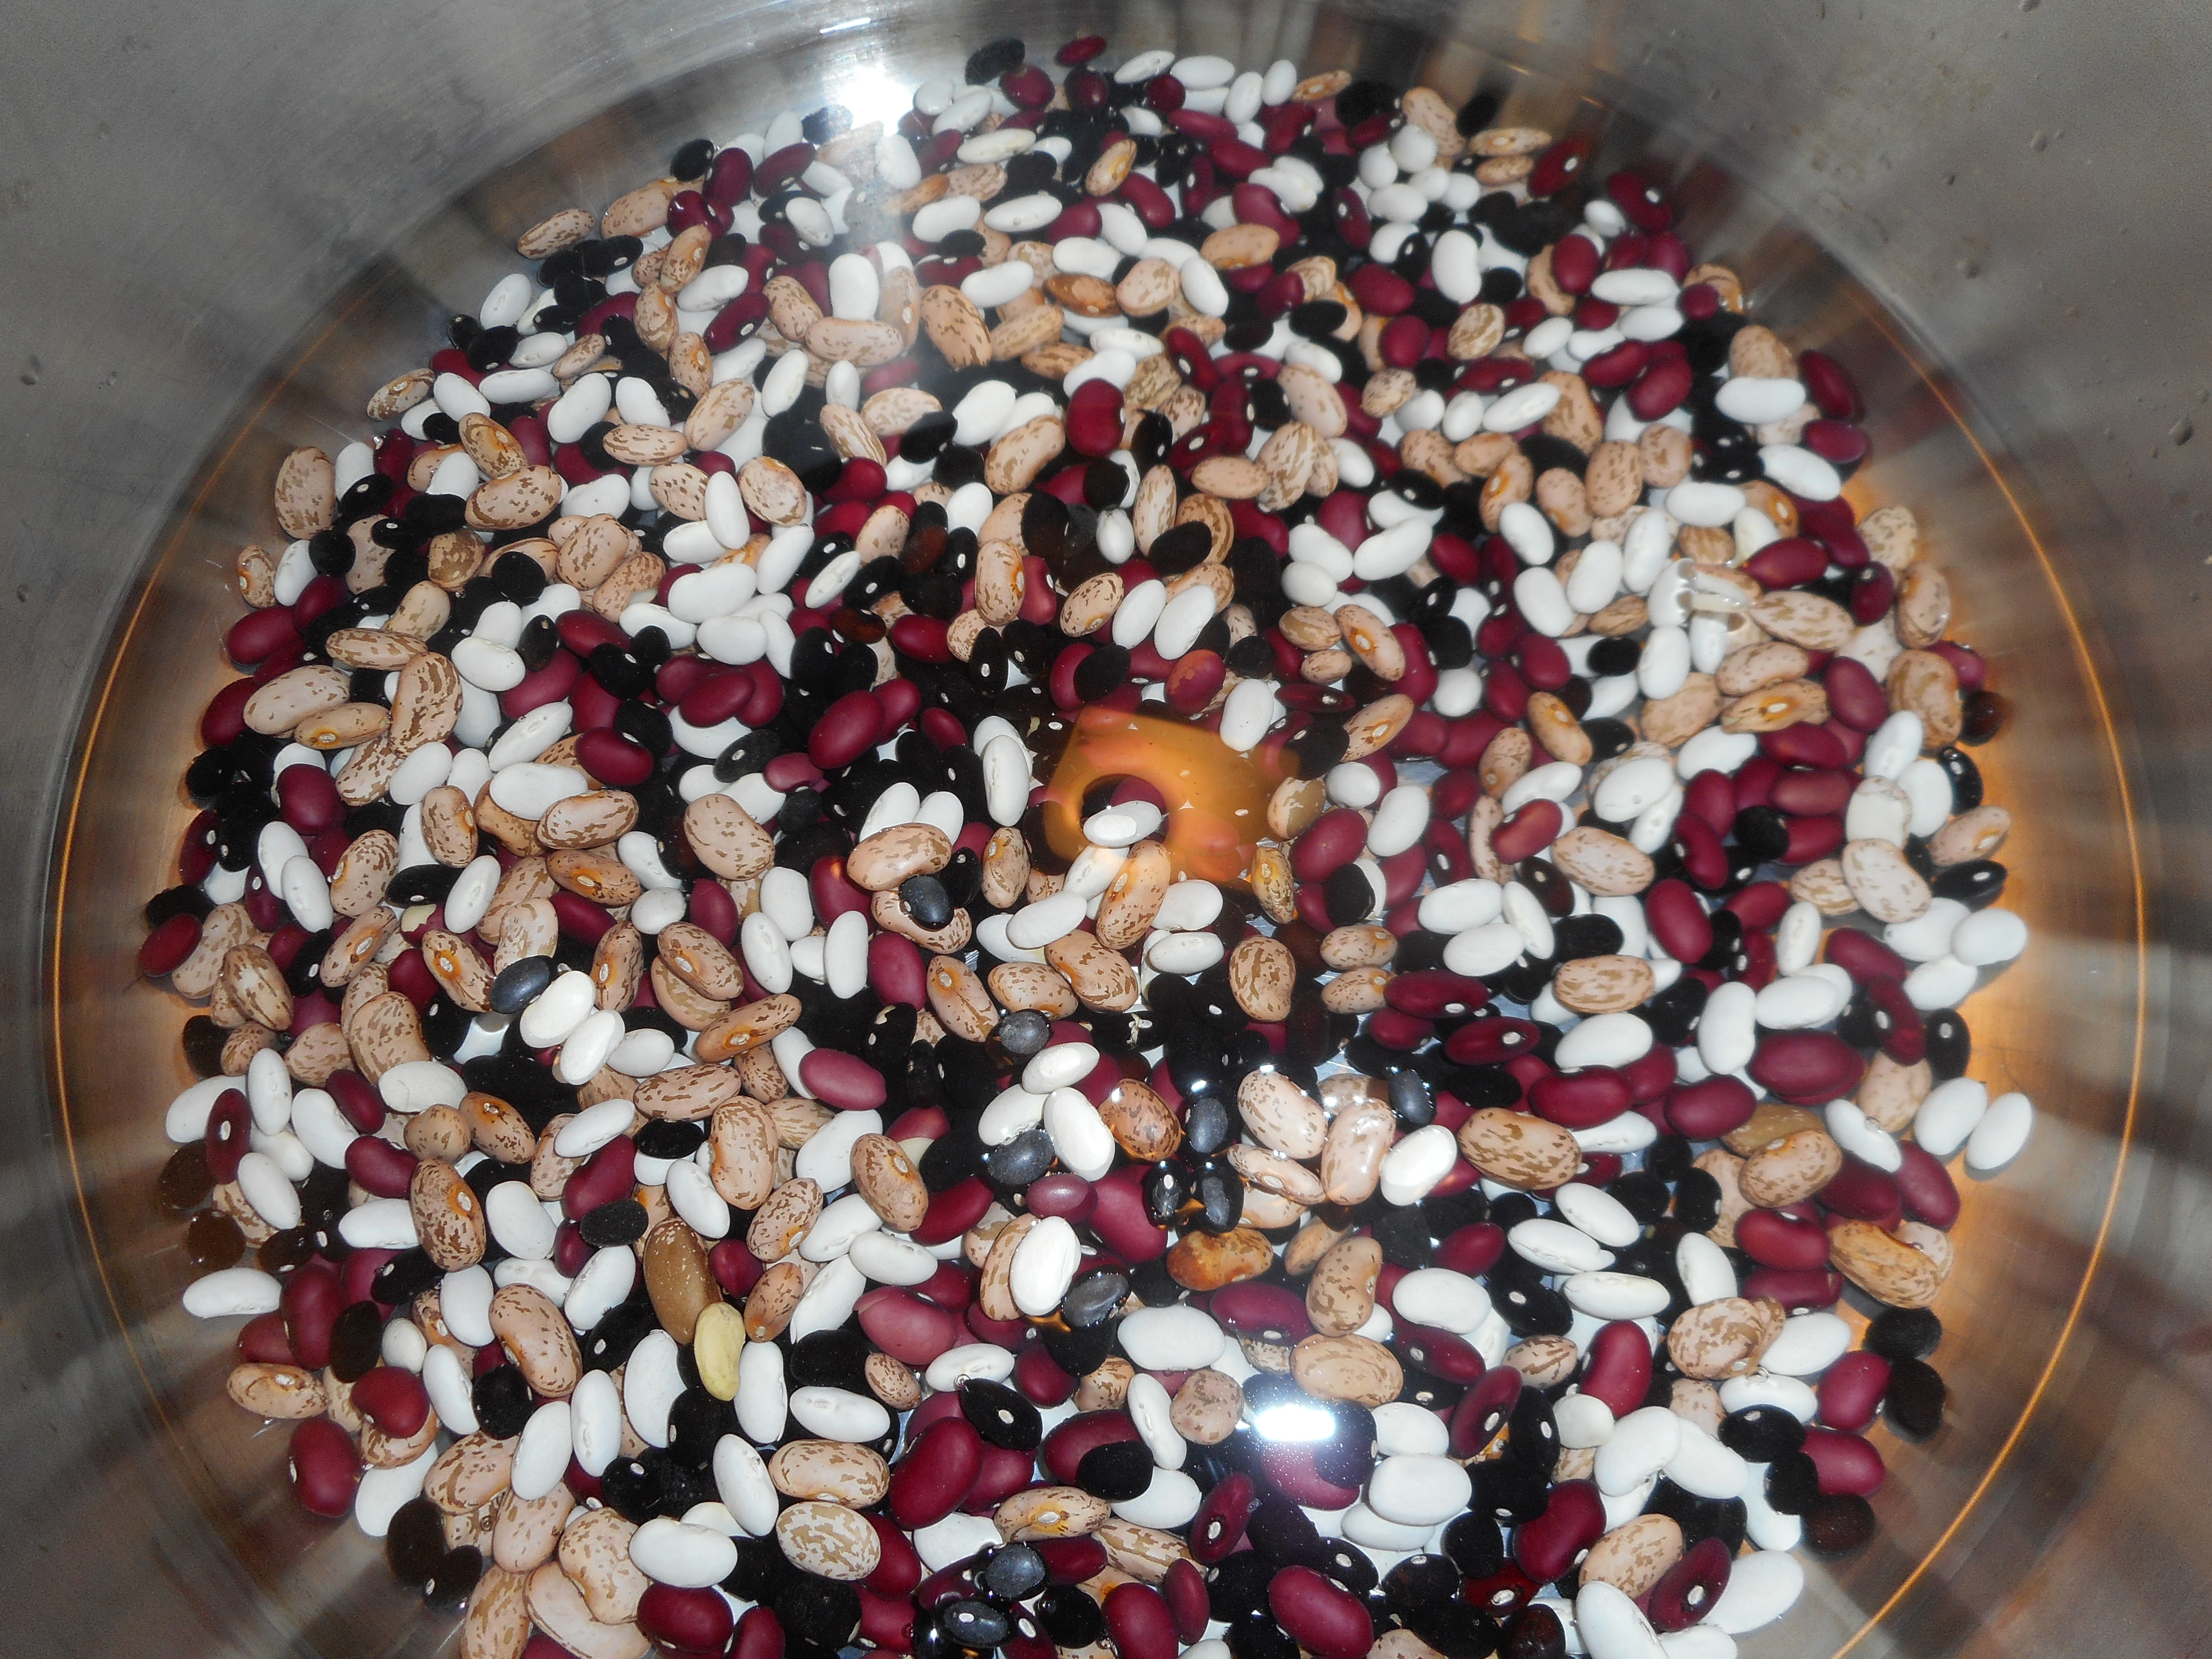
Day two of this storm, or is it day three? Hah! Anyway, time for another hearty one pot meal.  This one is my multi-bean soup with Italian sausage.  I started with a 1.3 lb bag of 4 bean mix and added two kinds of lentil and a bit of a few others.  The critical thing is that, if you have celiac, most 16 or 15 bean mixtures for soups contain barley which we are hugely allergic to. After much searching I found a four bean mix out at Echo Hill country store (Berks County) and added some French lentils; maybe ¼ a cup and some red lentils; another ¼ cup plus a ¼ cup of dried garbanzo beans and a sprinkling of dried limas.  You can use what ever blend you like but I like a good mix for a rich thick stew.  Let me know if you find any other mixtures that are barley free.

bean mix

My soup has Italian sausage but you can leave that out if you want a vegetarian version.  Ditch the bouillon cube if you are going that direction.  I personally love sausage in a bean stew. Gives you lots of meaty flavor and a healthy dose of protein. I am guessing you could use other things like smoky ham chunks or maybe a ham hock?

I enjoyed a hot bowl of this potage with a slice of toasted multigrain gf bread.  It made a full meal without anything else being necessary.   A fresh crunchy salad would go well if you want to round your dining experience out with some greens!

ten bean soup 005ten bean soup 009

Ten Bean Soup with Sausage

Soak 1- 1/12 pounds of dried beans in water to cover.  I set the lentils aside and added them after the soaking as they don’t need the same treatment the other beans need.  Either bring to a boil and let stand an hour or just let stand in the cold water overnight.  I did the quick version!  Drain them well and rinse even better before returning the swollen legumes to the rinsed pot. You want to get rid of the soaking liquid as it is full of the stuff that causes intestinal gas so rinse dem beans! Cover with fresh filtered water, an inch or so above the beans and add a bay leaf.  Cook 1 hour, pour in more water as needed and stir so it doesn’t stick or burn.  Then, add the lentils and cook another hour until the beans are nearly tender.  It is hard to say when beans get done, depends on a number of factors including the age of the beans, I taste often to check for tenderness. And stir that pot! As they are approaching that almost done spot start the rest of the dish.

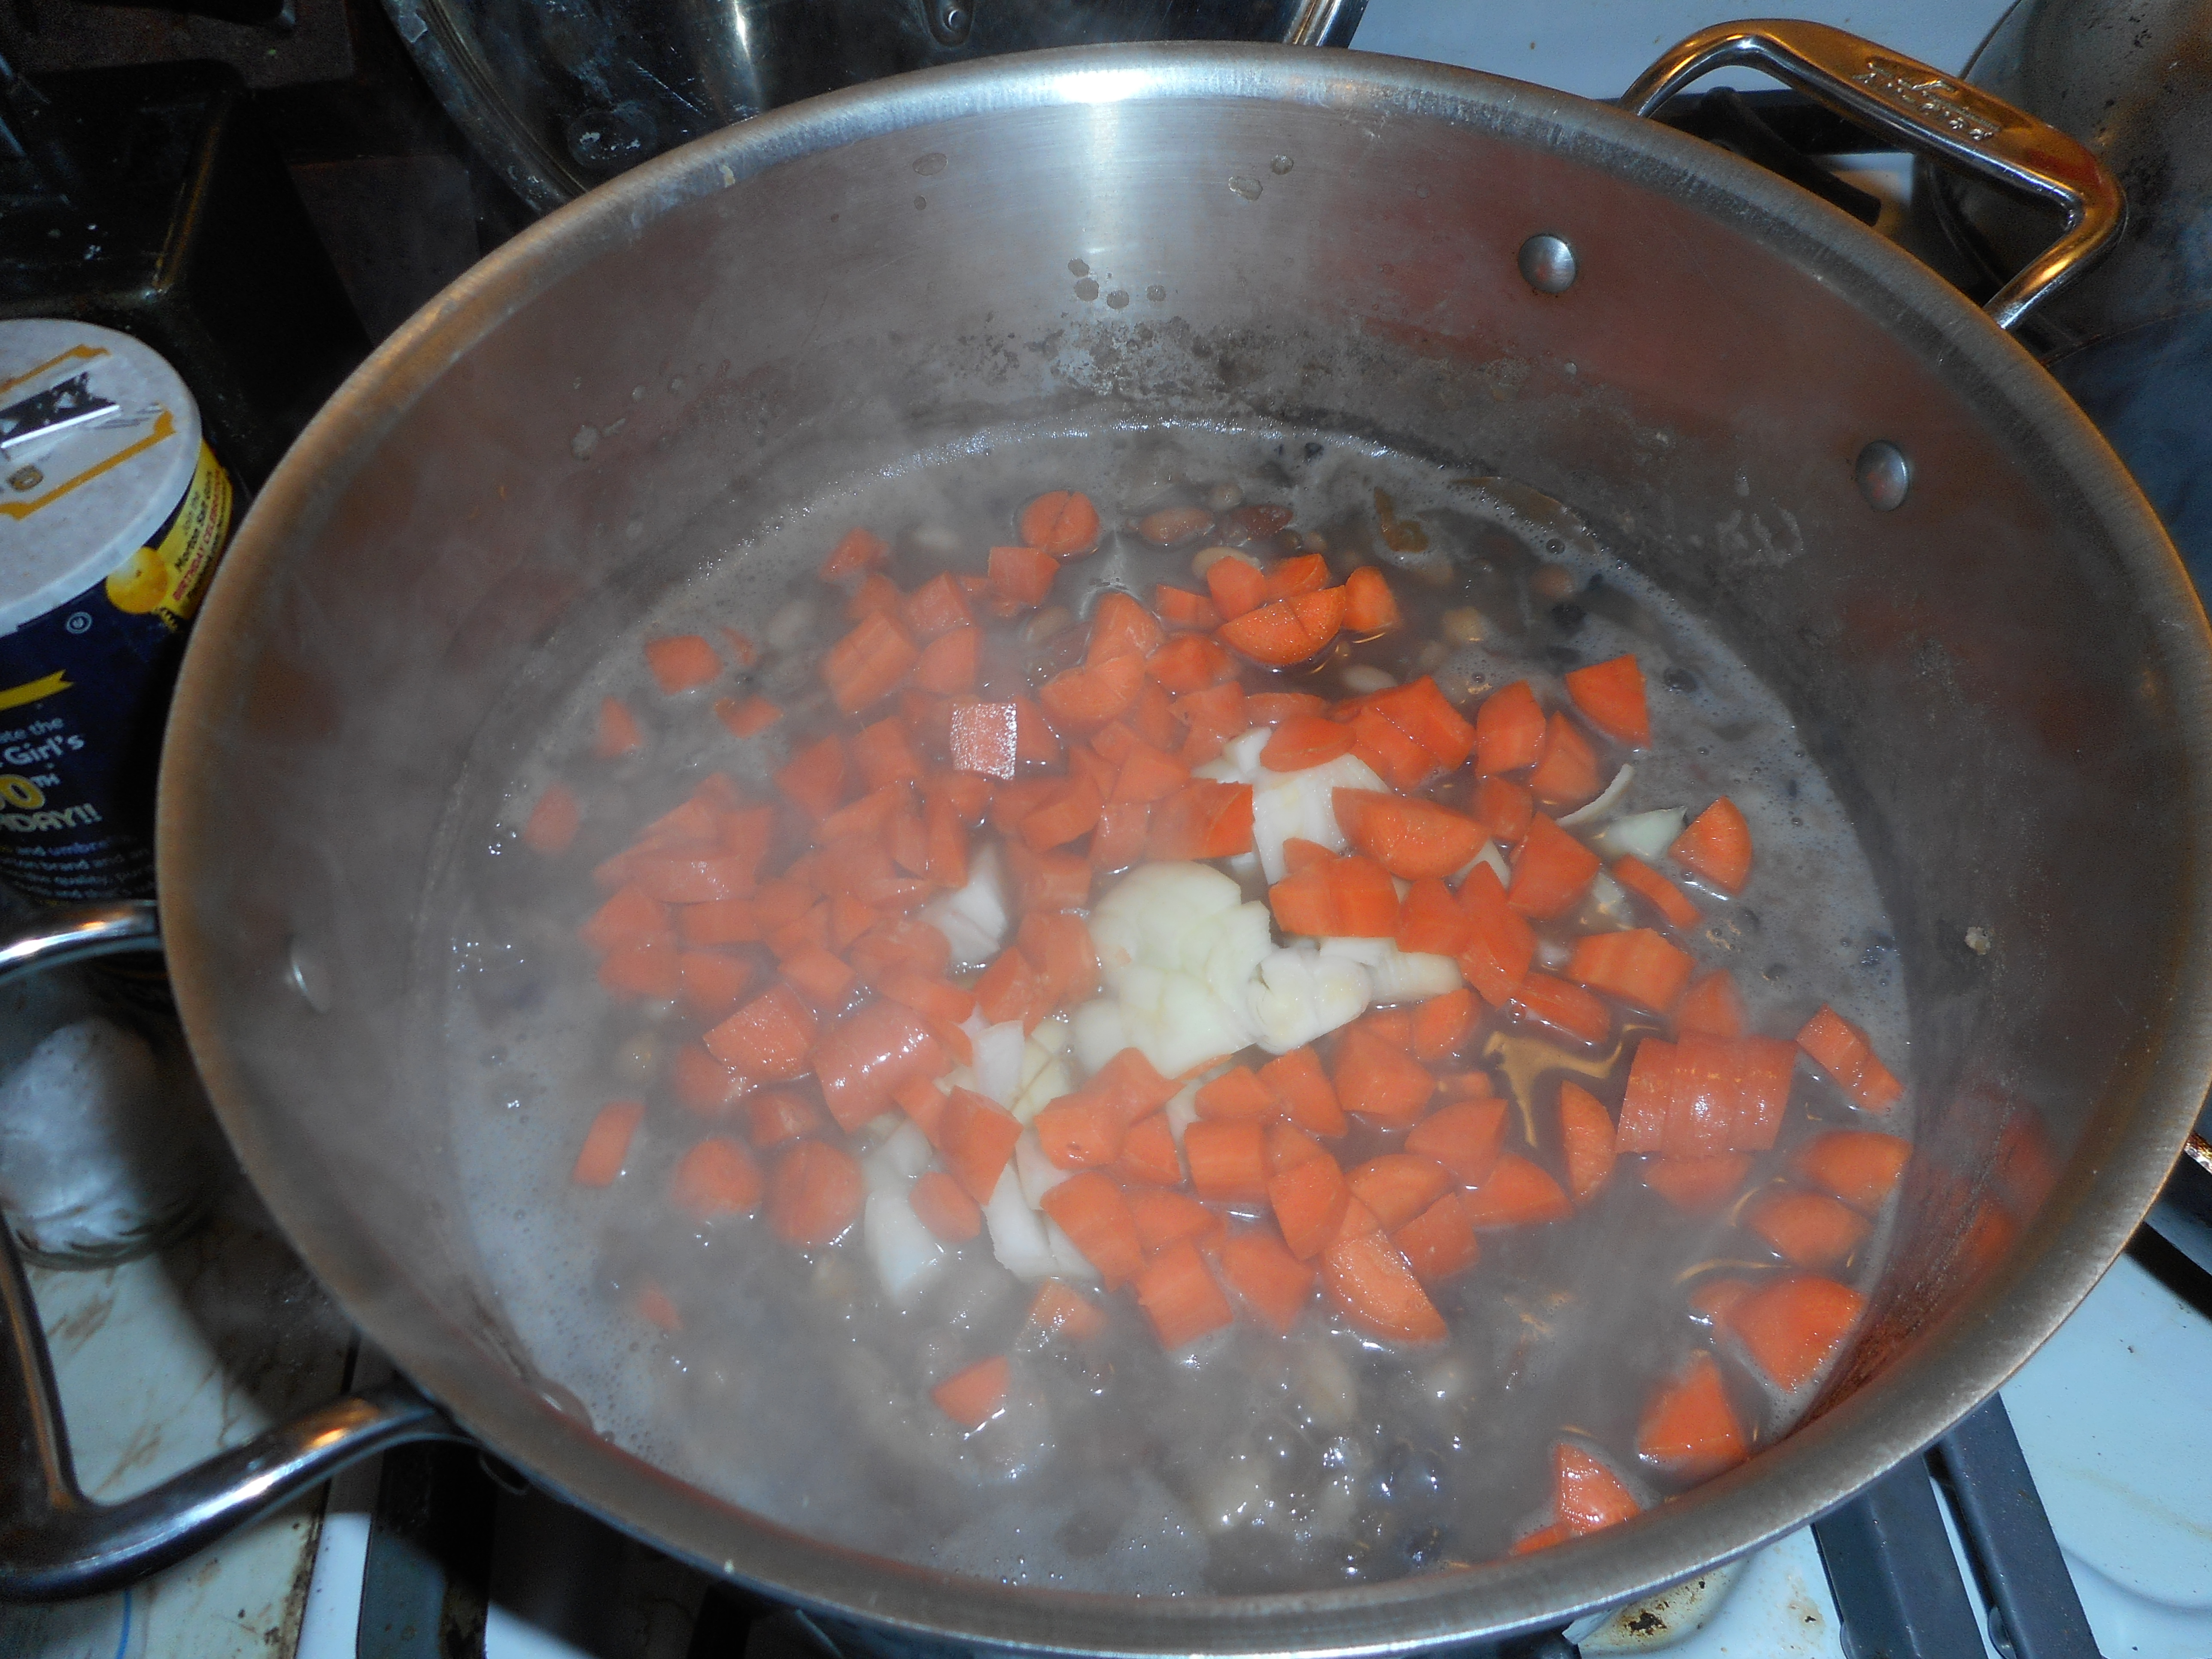
Chop into dice:  3 sizable carrots  and 1 large onion

Mince: 2 big garlic cloves

Add the veggies, stir and cook 10 minutes. Stir occasionally. Add water if needed.  I like the soup thick but it can’t be solid so add water.

ten bean soup 010ten bean soup 011

As that cooks start the sausage.  Sauté one lb Italian sausage: brown in a Teflon pan with a touch of olive oil until top and bottom are browned and sausage is mostly done. Let cool a bit and slice into rounds or chunks, set aside.

Add to the soup:

½ a 14 ounce can of spicy diced tomatoes (plain if you like less heat)

½ tsp. dried oregano

Sprinkle dried basil

¼ tsp smoked paprika

1 beef bouillon cube

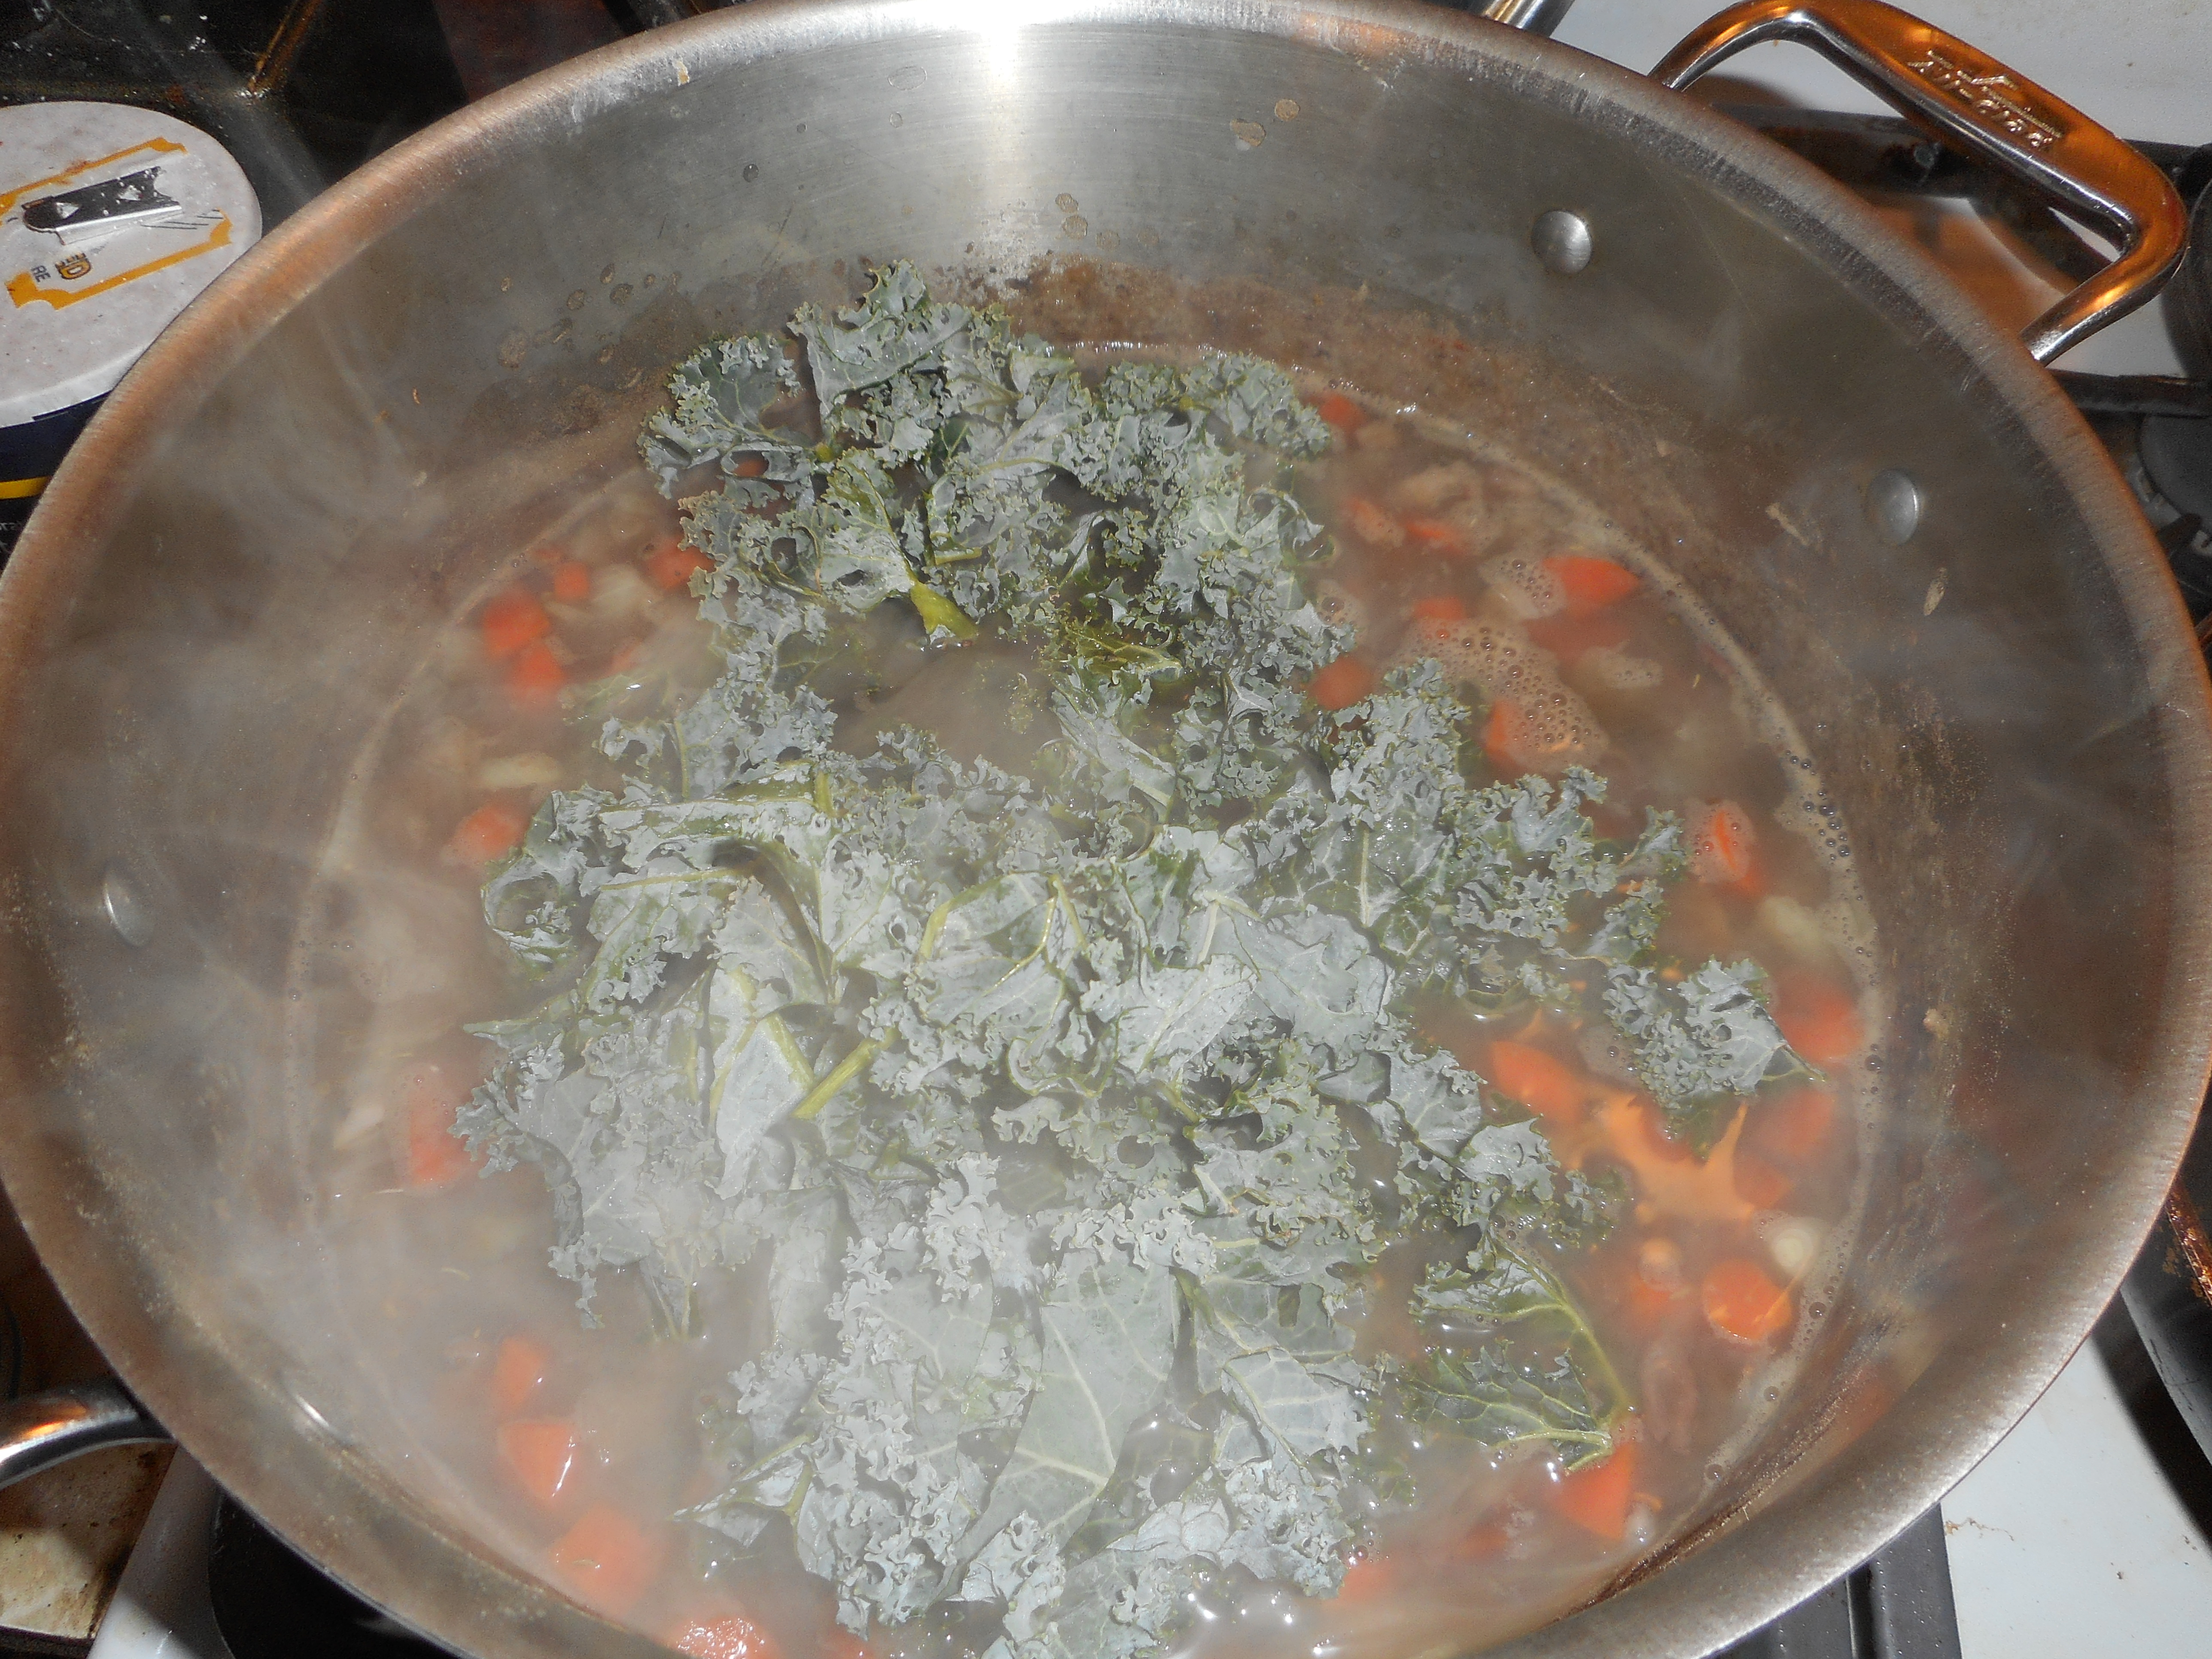
½ bunch of kale leaves cut into big shreds; I cut off the bigger stems as they can be tough.

1-2 tsp sea salt

Some fresh ground black pepper

ten bean soup 016

Kale closeup! Soup is done. Yumm~

Cook ten minutes, add more water if it gets too thick. Stir occasionally.  Taste and add more spice if you think the soup needs more. Add the sliced sausage and cook five minutes more.  Taste and add more salt/pepper as you see necessary.  Let stand 5-10 minutes before ladling out.  Now that is comfort food that is good for you too!  ten bean soup 017

Pasta e Fagioli meaning Pasta and Bean Soup, Fantastico!

The soup I love to serve in the dead of winter is pasta fagioli meaning pasta and bean soup, Neapolitan style.  It is full of veggies and flavor.  Not to mention beans and pasta.  Yes, I make it now with gluten free pasta, same recipe as always.  I use elbow pasta by Barilla; great flavor and held its shape well.

elbowsTry not to overcook it though as gf pasta goes from done to mush easily if you are not paying attention!  This rib sticking soup will be a meal if you add a salad and a slice of gf bread.  I made it for my family the other week with a lovely new bread recipe which I will have to share sometime soon.  It was a big hit.  Warm, flavorful, satisfying and sure fills the tummy.  I made it with dried beans I soaked overnight and cooked until pretty soft.  White beans work too, navy beans come to mind as suitable.

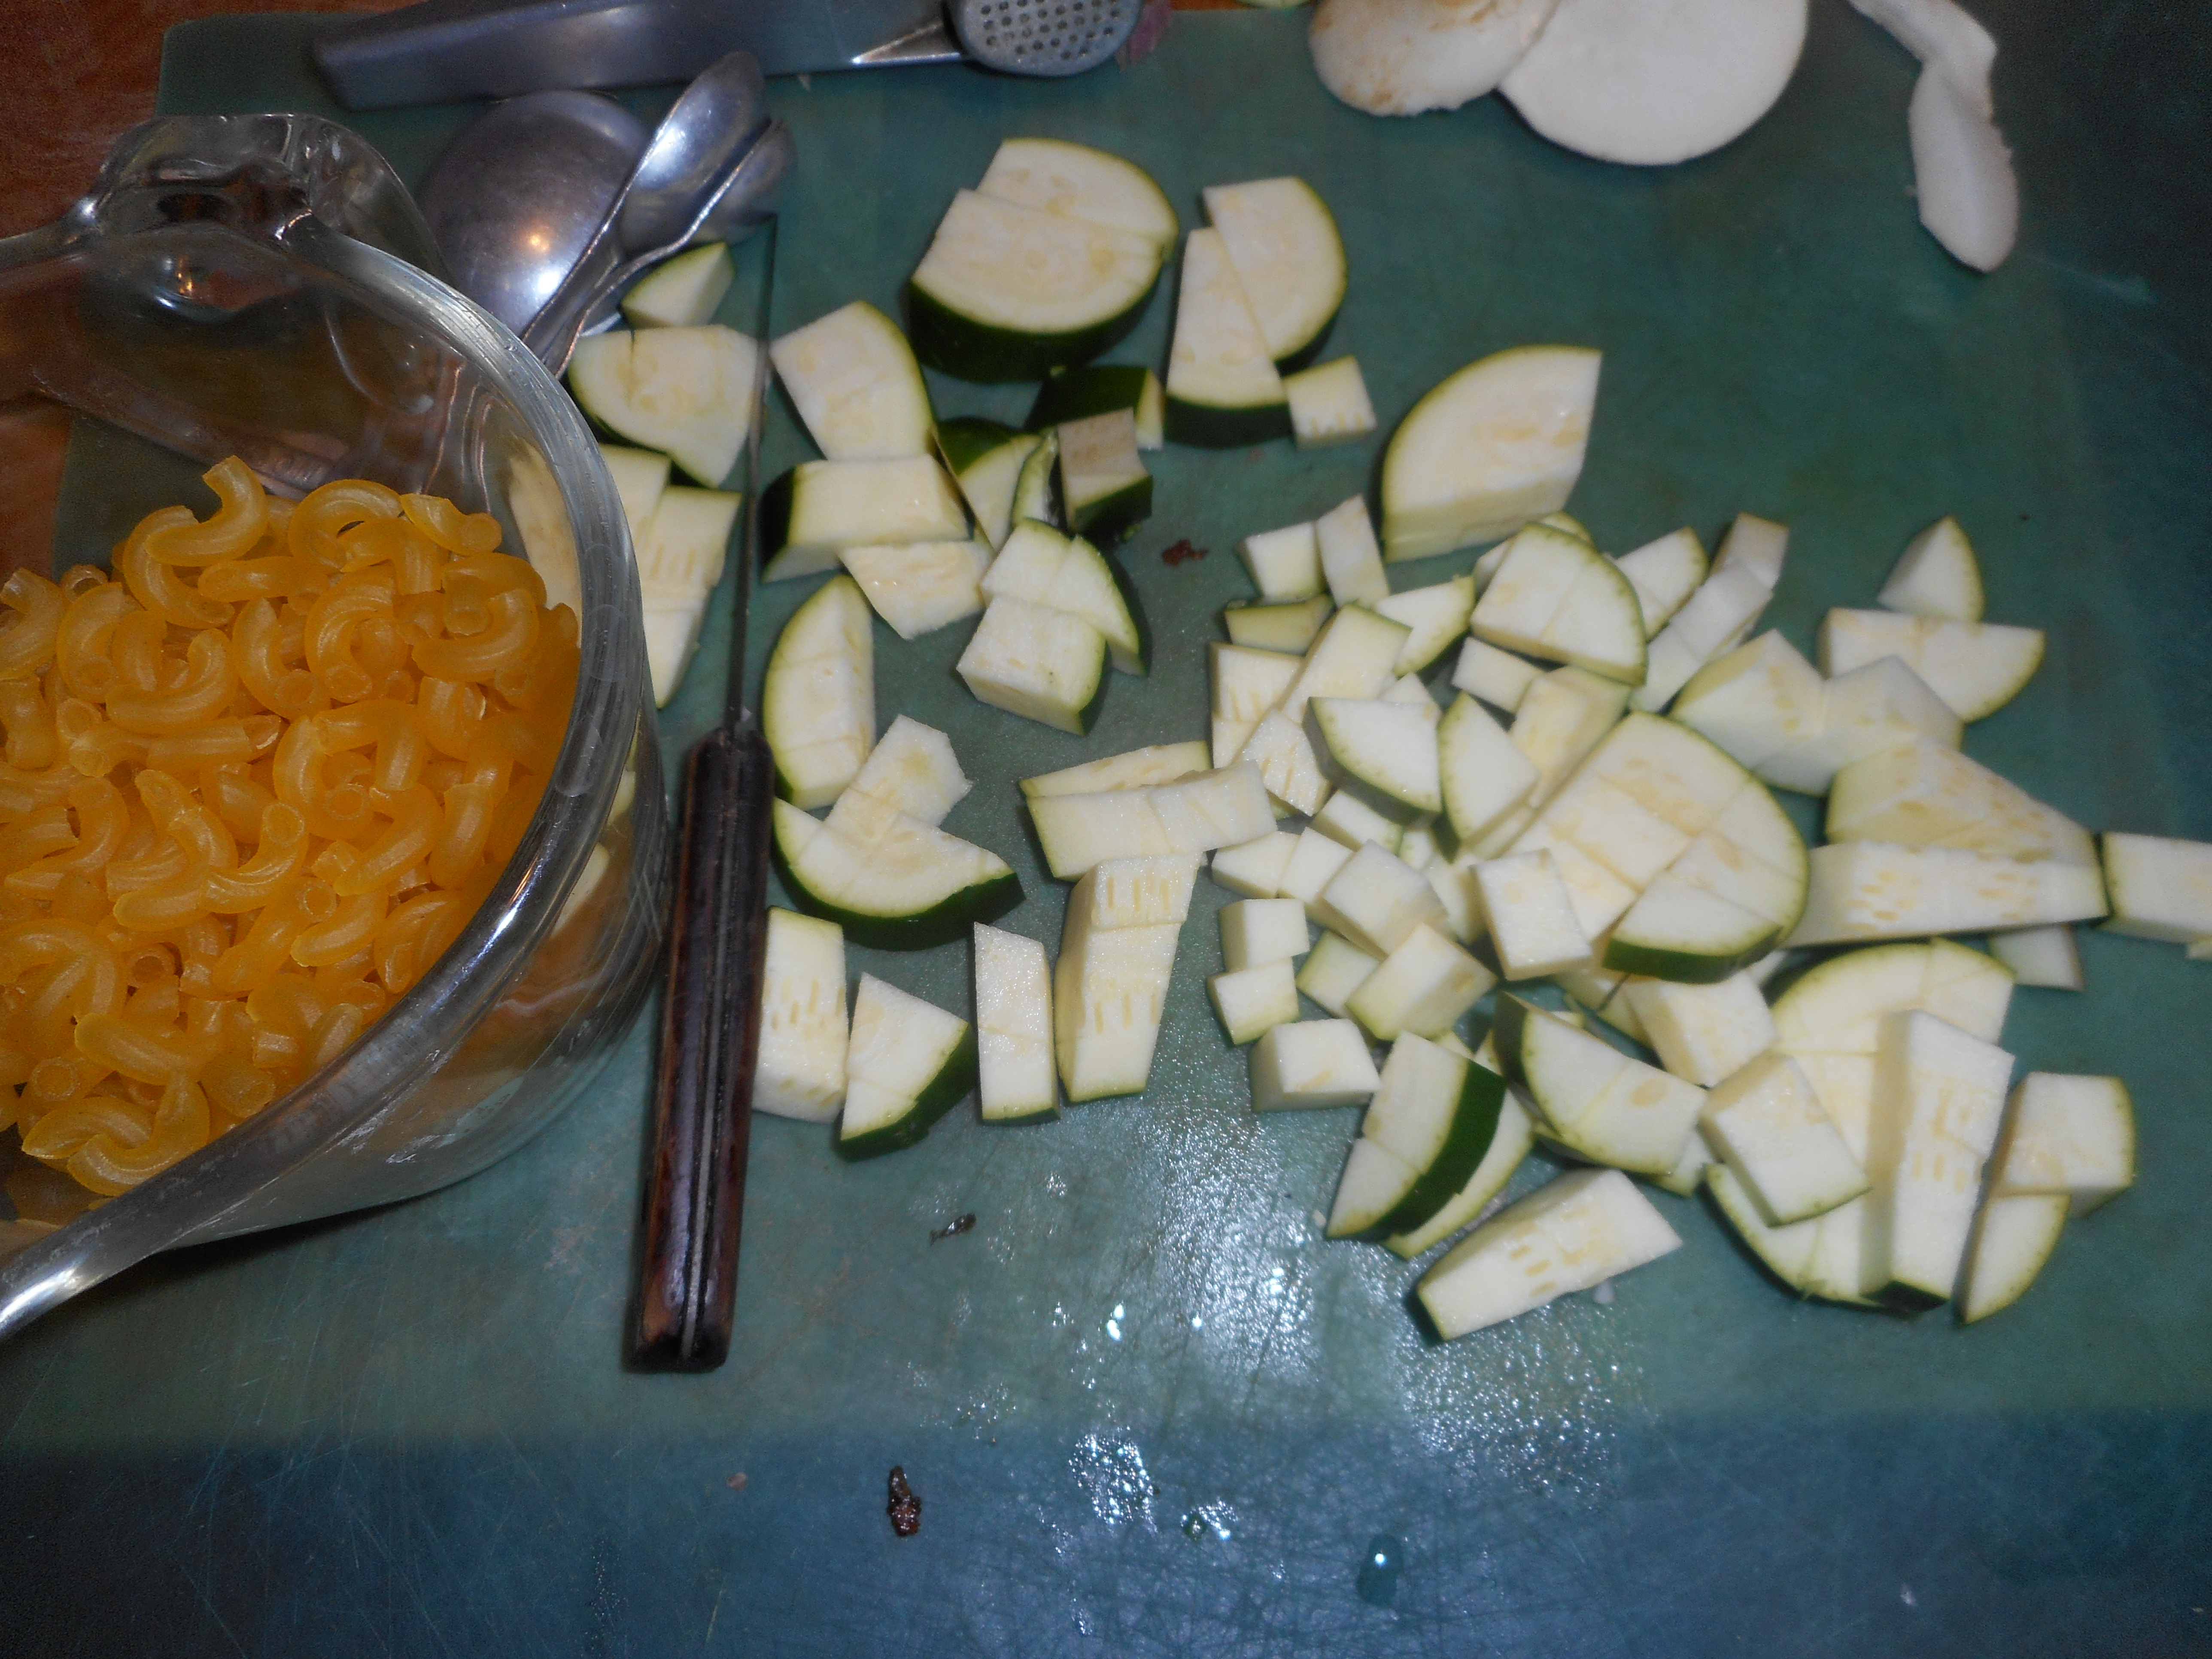
My version has lots of veggies; if you don’t want them all; leave some out! My secret weapon: I use small cubes of turnip as they hold their shape well and add a subtle tasty flavor to the soup.  No one ever guesses they are in there; looks like cubes of potato.   Or add more veggies, what is in your fridge?  I have used green beans, summer squash cubes or peas. I always add a cheese rind saved from a chunk of Parmesan cheese. It really ups the flavor of the soup.  And if you get a bit of it in your soup bowl the oozy cheesy goodness will be your prize!

stew and Liam 001  turnips

Pasta Fagioli Soup

1 lb of dried cranberry, navy or kidney beans, soaked overnight in lots of         filtered water.  Be sure to pick over them for foreign objects.

1 bay leaf

1 quarter inch thick slice of prosciutto (leave out for vegetarian version)

¼ cup EVOL (extra virgin olive oil)

1 cup chopped yellow onions

1 cup chopped carrots

½ cup chopped celery

½ cup chopped turnip

3 minced garlic cloves

2 tbsp. chopped fresh parsley

1 can plum tomatoes chopped (or 1 lb fresh ones chopped in the summer when they have decent tomatoes available)

1 tbsp tomato paste

¼ tsp red pepper flakes

1 to 1 ½ tsp sea salt

1 cup elbow macaroni, gf

Drain the soaked beans, rinse well, return to cleaned pot and cover with fresh filtered water, add bay leaf and cook 1-2 hours until soft. Add water if it gets low.  Turn off and let rest while you make soup.

Heat EVOL in big sturdy soup pan, I like a thick bottom to keep the soup from burning easily. Add onion and cook 5-6 minutes, add garlic, stir and cook a minute, add prosciutto which you have diced up into small squares and the parsley. Cook for a couple minutes, add the tomatoes, tomato paste, carrots, celery, turnip, hot pepper and stir well.  Add a tsp. of salt.  Cook uncovered about 12-14 minutes.

stew and Liam 002

Add any bean water in the pan. I often end up adding 1-4 cups of water during this point if there is no bean liquid. Mush up half the beans in a food processor or with a potato masher. Add to soup. Stir well, reheat and cook 5 minutes, add rest of beans, stir, reheat and then add the pasta.  Cook just the length of time the box says, stirring it every 2-3 minutes. Taste and add more salt if needed and some fresh black pepper.  You can add more parsley if you like. Turn off and let stand 10-20 minutes before serving.  Don’t serve it boiling hot from the pot! In summer time I serve it closer to room temperature which is lovely too.  I sometimes drizzle some best quality EVOL on the top of each bowl before digging in.

We gobbled up all the soup and I totally forgot to take a picture of it in a soup bowl.  It was that good! Picture taken and posted after the next batch!

Storage: I am Queen of Jars, Tupperware and Freezer Bags

jartupperwarefreezer bagsjar1

Where to put all those bags of freaky flours? So many kinds…made of grains I never even heard of before…so how to properly store them? I did some reading in various cookbooks and celiac informational books on this issue. Some need to go in the freezer; so I now have a long row of bags tucked in my freezer and a number of glass or heavy duty plastic canisters and jars about the kitchen. For sure you should freeze the brown rice flour because it has rice bran which spoils much faster than processed white rice. I have sweet brown rice flour which is in the freezer too. I also put my almond flour, coconut flour and teff flour in there as well. In the fridge I put the potato starch which apparently needs the cooler zone of a refrigerator. Some just need to be in a sealed jar; amaranth, white rice flour, quinoa flakes and tapioca flour. Be sure to label each item carefully as they look a lot alike. Cornstarch is already in a box…I am buying a lot of that these days….

And then there are the flour mixes. For my favorite new cookbook I created a bread flour mix canister and a brown rice flour mixture used for most everything else: two big jars. And I found a great recipe for baking powder biscuits. It has its own dry ingredient mix, was out of jars so it is in a freezer zip bag; won’t keep outside the freezer for long. Then there is the four flour mix which is basic to my new bread baking book, yet another sizable canister. And, you will need to carefully label each mixture; I like to put the name of the book it is from to help me remember exactly what recipes it is meant for. So I needed like 4 canisters for flour mixes I am using now and frankly there are several other mixes in the bread book that I want to try out… Oyy, where will I store all those jars?

When I bake a batch of cookies, they need to be placed in my big cookie jar as soon as they are completely cooled. I never used that cookie jar for its named purpose before but it is totally necessary for storing GF cookies if you want them to stay fresh tasting. To keep for more than 3-4 days: freeze them in a heavy duty plastic freezer bag. Same goes for muffins, yeast bread, quick breads and what ever else I bake. These GF baked goods do not keep as long as wheat breads and cookies. It is very convenient to pull out a cookie from the freezer and munch on it after school. And I love having some slices of sandwich bread in the freezer ready for making lunch in the morning. Always label the frozen stuff and date it -just makes things simpler in the long run.

The almond biscotti I made last week is still tasty. The basic nature of biscotti is that it is rather dry and I suspect this is why it keeps so well.  It is in a Tupperware which is great for storing biscotti.

I also have a bread bag; it is woven fabric and has a plastic bag liner. My sister gave it to me years ago. I love it as bread keeps for days in it; wheat bread kept twice as long in it as just plastic wrapped up breads. Well, no more wheat but I kept some GF Italian bread in it the other week for several days past when it should have gone bad and it was still yummy. You can buy one on the internet; check e-bay. It is worth every penny. I posted a photo of it with my cookie canister the other week.

Again, the moister the bread, the quicker it goes bad (mold!) so keep that in mind. I have a loaf of OJ bread stored in my fridge to lengthen its life. I often slice and freeze half of what I made soon after baking so nothing gets wasted…with just me eating them a lot would go bad before I could eat it. I read comments by people just wanting one GF cookie. Freeze a whole bunch and then you can munch them one at a time – actually good advice for any baker. Some cookies are really tasty still frozen; the crunchy texture and unexpected chilly bite is a great treat! Now….if I can just find the right spot to store all my flour mixes…..

Originally posted March/April 2013.  I reposted this because people new to gluten free baking are asking how to store their flours.