Apple is the quintessential American fruit: the story of Johnny Chapman Appleseed is still popular, apples are a favorite fruit of elementary age students and apple pie is king for many pie lovers. A ripe apple is a crunchy sweet treat. Just walk through an apple orchard in autumn: the delicious scent in the air will cause you to purchase lots of apples. An apple pie in the oven always perfumes the house for hours, acting like a magnet for children and male friends! I normally make an apple crumb pie but sometimes I go that extra step to make a top crust, sure pleases my guy even through he professes to love crumb pies…
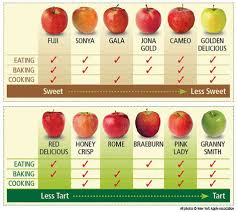
I put this scratch pie together in a few steps; make the double recipe of crust dough; put it in fridge to chill while I peeled, sliced and cut up the apples. If you plan to pre-bake your crust those ten minutes of baking the empty pie crust are also a good time for preparing the apples. Each step is fairly easy but the results are spectacular. Of course, you could buy a ready-made unbaked crust but this crust I use is fairly easy if you use a stand mixer and it is really tasty: my mom hardly believes it is gluten free! I really don’t know how to convince her but this disbelief of hers is proof of the great flavor and texture of this particular basic gf pie crust. I used a mixture of baking apples, but not Granny Smith unless they have gotten a tad soft and definitely no apples meant for only eating raw like Red Delicious.
It goes without saying that this pie is great with a slice of vanilla ice cream.

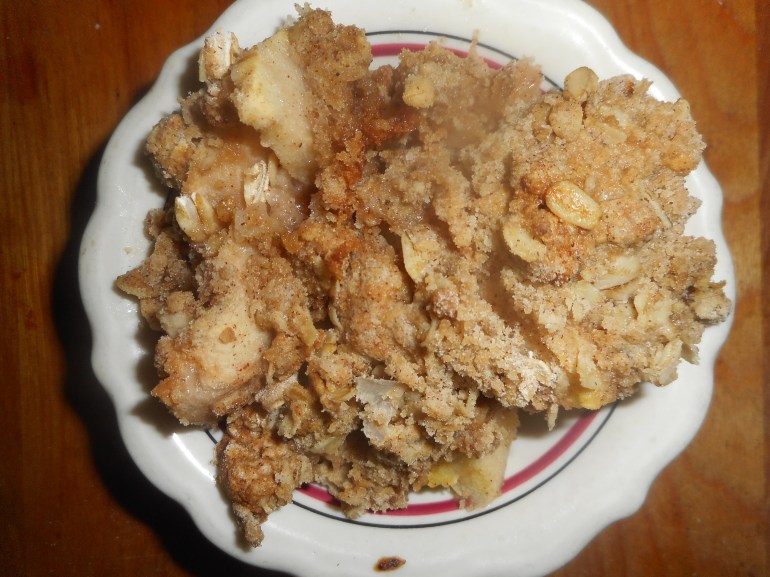
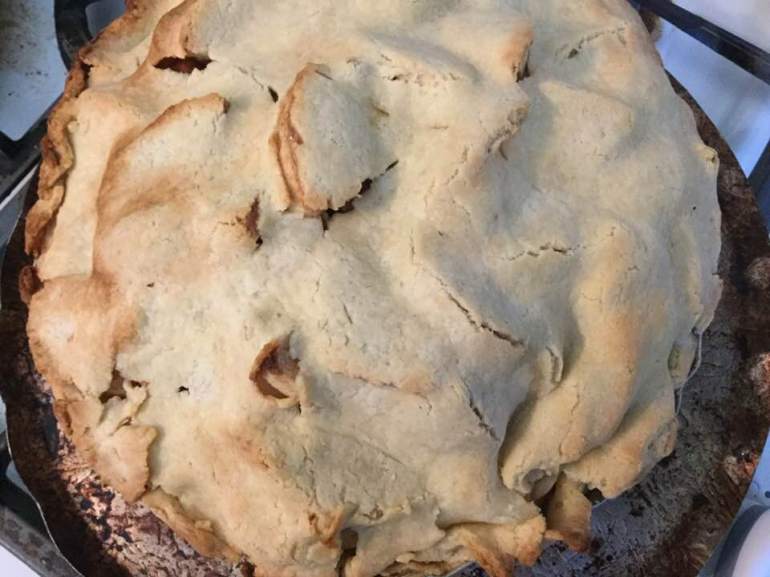
Fresh out of the oven!
The entire pie got eaten and no one remembered to take any more pictures of it; like of a single slice… sadly it is long gone.
Double Crust Apple Pie
Crust:
2 1/4 c brown rice flour mix (at bottom of recipe)
1/4 c sweet rice flour
2 Tbps. granulated sugar
1 tsp xanthan gum
1/2 tsp salt
12 Tbps. cold butter cut into 6 chunks
2 lg eggs
4 tsp fresh orange or lemon juice
Directions: Spray a nine inch pie pan with cooking spray, dust with white rice flour. Set aside.
Mix dry ingredients in bowl of stand electric mixer. Add butter and mix until crumbly and resembling coarse meal. Add eggs and juice. Mix until it comes together into big chunks. Shape into two balls with your hands. Put them on a crust sized piece of wax paper (14 x 14 inches more or less), flatten the crust balls some; wrap well and chill it all in your fridge 15-20 minutes.
Roll out one flattened ball of chilled into a pie crust in a pie bag or between the two sheets of wax paper, try to get the thickness even, no thick middle! Peel off one side of paper and place in the pie pan, be sure to center it. Remove other slice of wax paper. Crimp edges all around or wait to do it with the top crust.
Filling:
6-8 medium-large sized apples, I like a mixture of yellow delicious and at least one other cooking variety; red Rome, Jonathan, empire, Courtland, or any tart apple you like to bake with.
Peel apples, quarter, cut out core, slice into 1/3 inch thick slices. Should have at least six cups. Place in a large bowl
¼ cup brown sugar
1/2 cup granulated sugar (more if you like it sweet)
3 tbsp. minute tapioca or 3 tbsp. gf flour mix (recipe below or any decent blend)
1 tsp. cinnamon
A good sprinkle of ground nutmeg
1-2 tbsp lemon juice
Mix the dry ingredients, sprinkle the apples with lemon juice; add the dry ingredients. Heap in pie crust, Top with:
1 Tbsp. cold butter cut into small bits (optional)
Roll out top crust after you put the filling in the pan that is lined with the first crust. Peel off wax or parchment and lay over apples, crimp edges with fingers to seal them. Prick or slash the top to let out steam. Bake in a preheated 375 degree oven for 55-65 minutes until bubbly and the crust is light brown. You can cover the pie loosely with aluminum foil for the first 30 minutes. I have a bottom heat oven so my crust gets crisp but if you have issues with soggy bottom crusts; prebake your crust for 10 minutes; then fill, top and bake immediately.
Cool the pie at least 4 hours to allow the juices to reabsorb before serving at room temperature.
Brown Rice Flour Mix (same as King Arthur basic gf blend)
2 c brown rice flour
2/3 c potato starch
1/3 c tapioca flour
The crust recipe is from Annalise Roberts’ great cookbook: Gluten-Free Baking Classics. My filling is slightly different.
Originally posted in 2017