
Okay, it is still winter and pretty cold but spring looms with daylight savings time beginning plus I am a tiny bit weary of posting soups. I do enjoy other sorts of food you know! There is this recipe I’ve been making for years. The other day I was chowing down my lunch and someone said, “What is that lovely roasty smell?” and I was able to say with a smile that it was my turkey meatballs with lemon gravy.
They are not fancy; the recipe, which I tore out of a woman’s magazine a decade ago, said they are supposed to replace regular meatballs as healthier but I just like them for their homey taste and the excellent sauce! You can also make them with ground chicken; very good as well. I never seem to have enough sauce so you could make even more of that and be happy with the amount. I used to have them over noodles all the time but now that I am gf I occasionally use white or brown rice, both work very well with this sauce. I am guessing quinoa would be nice as well.
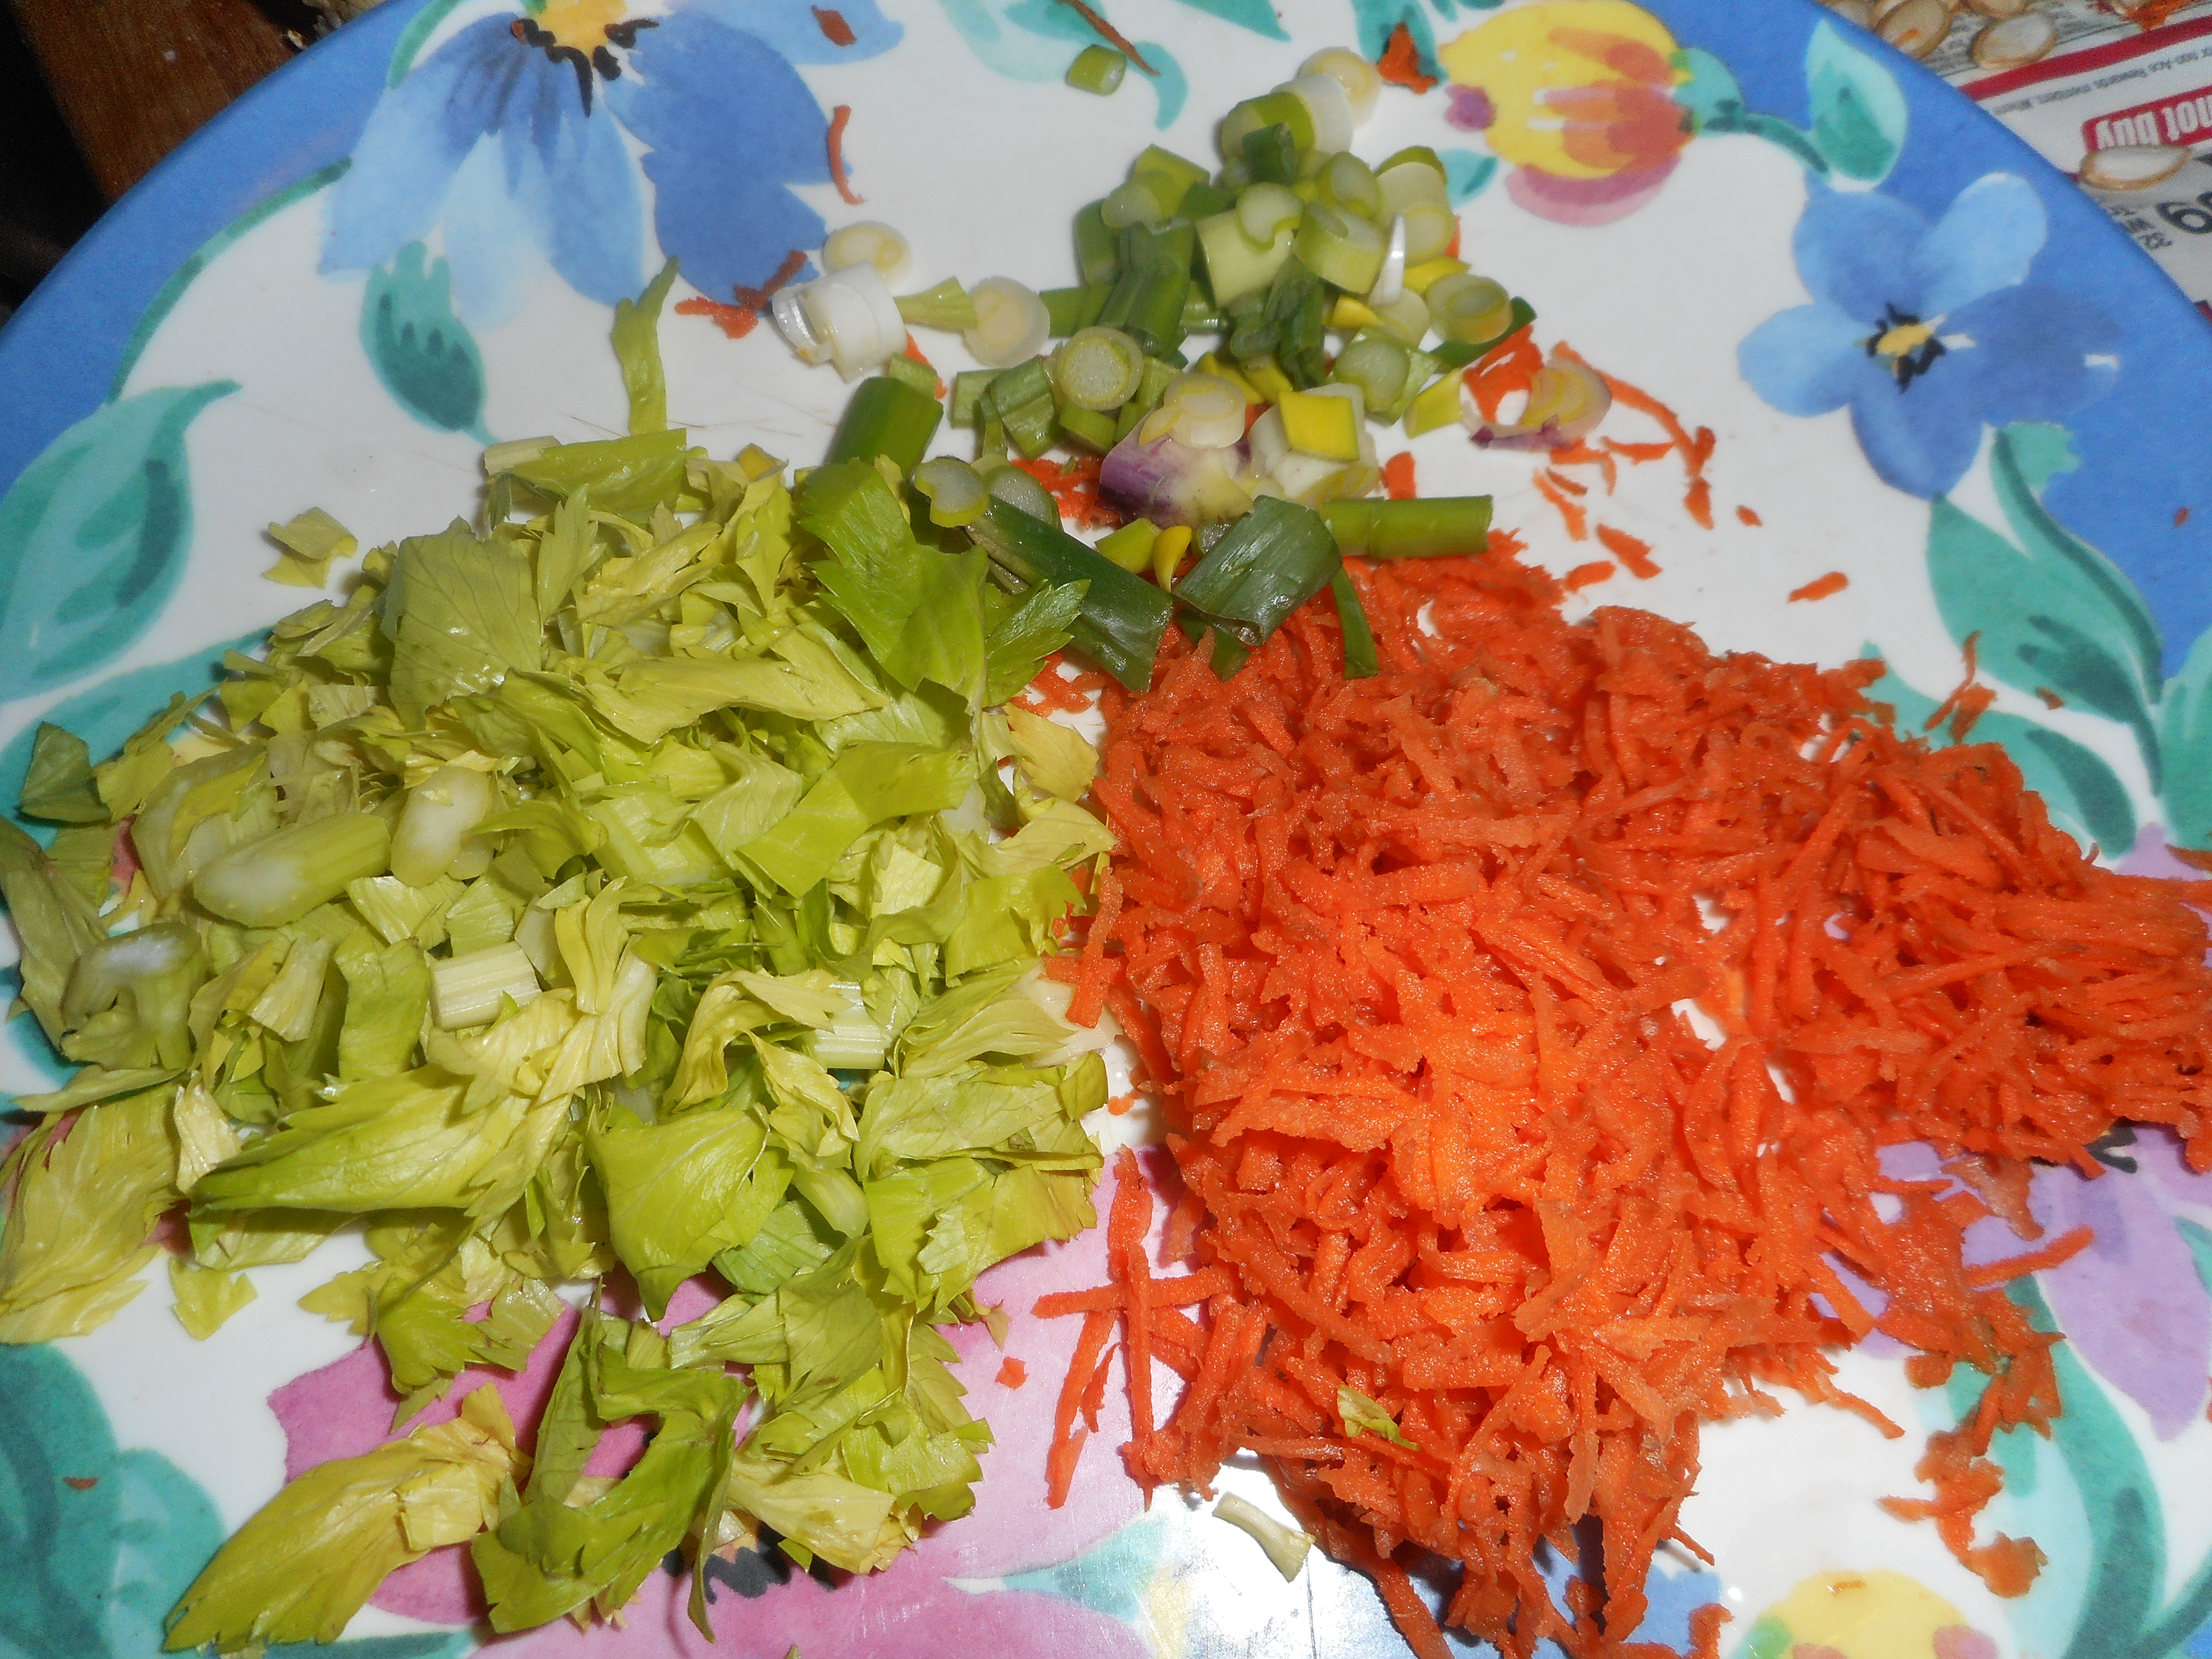
It is the lemon that makes them taste so good but I also like the carrot and scallions in the sauce. Home flavors and pretty healthy, this is a satisfying meal with a starch and a veggie added on. And you can put it together in 30 minutes. Perfect for a week night supper.


Lemon Sauced Turkey Meatballs
1 lb ground turkey
1 medium onion, minced
1 large egg
¼-1/3 cup gf bread or cracker crumbs
1 tsp. Worcestershire sauce.
½-3/4 tsp. lemon zest
½ tsp sea salt and same of pepper
2 tbsp. olive oil
1 cup chicken broth
1/3 cup plain low fat or full fat yogurt
2 tbsp. gf flour of your choice
1 tbsp. fresh lemon juice
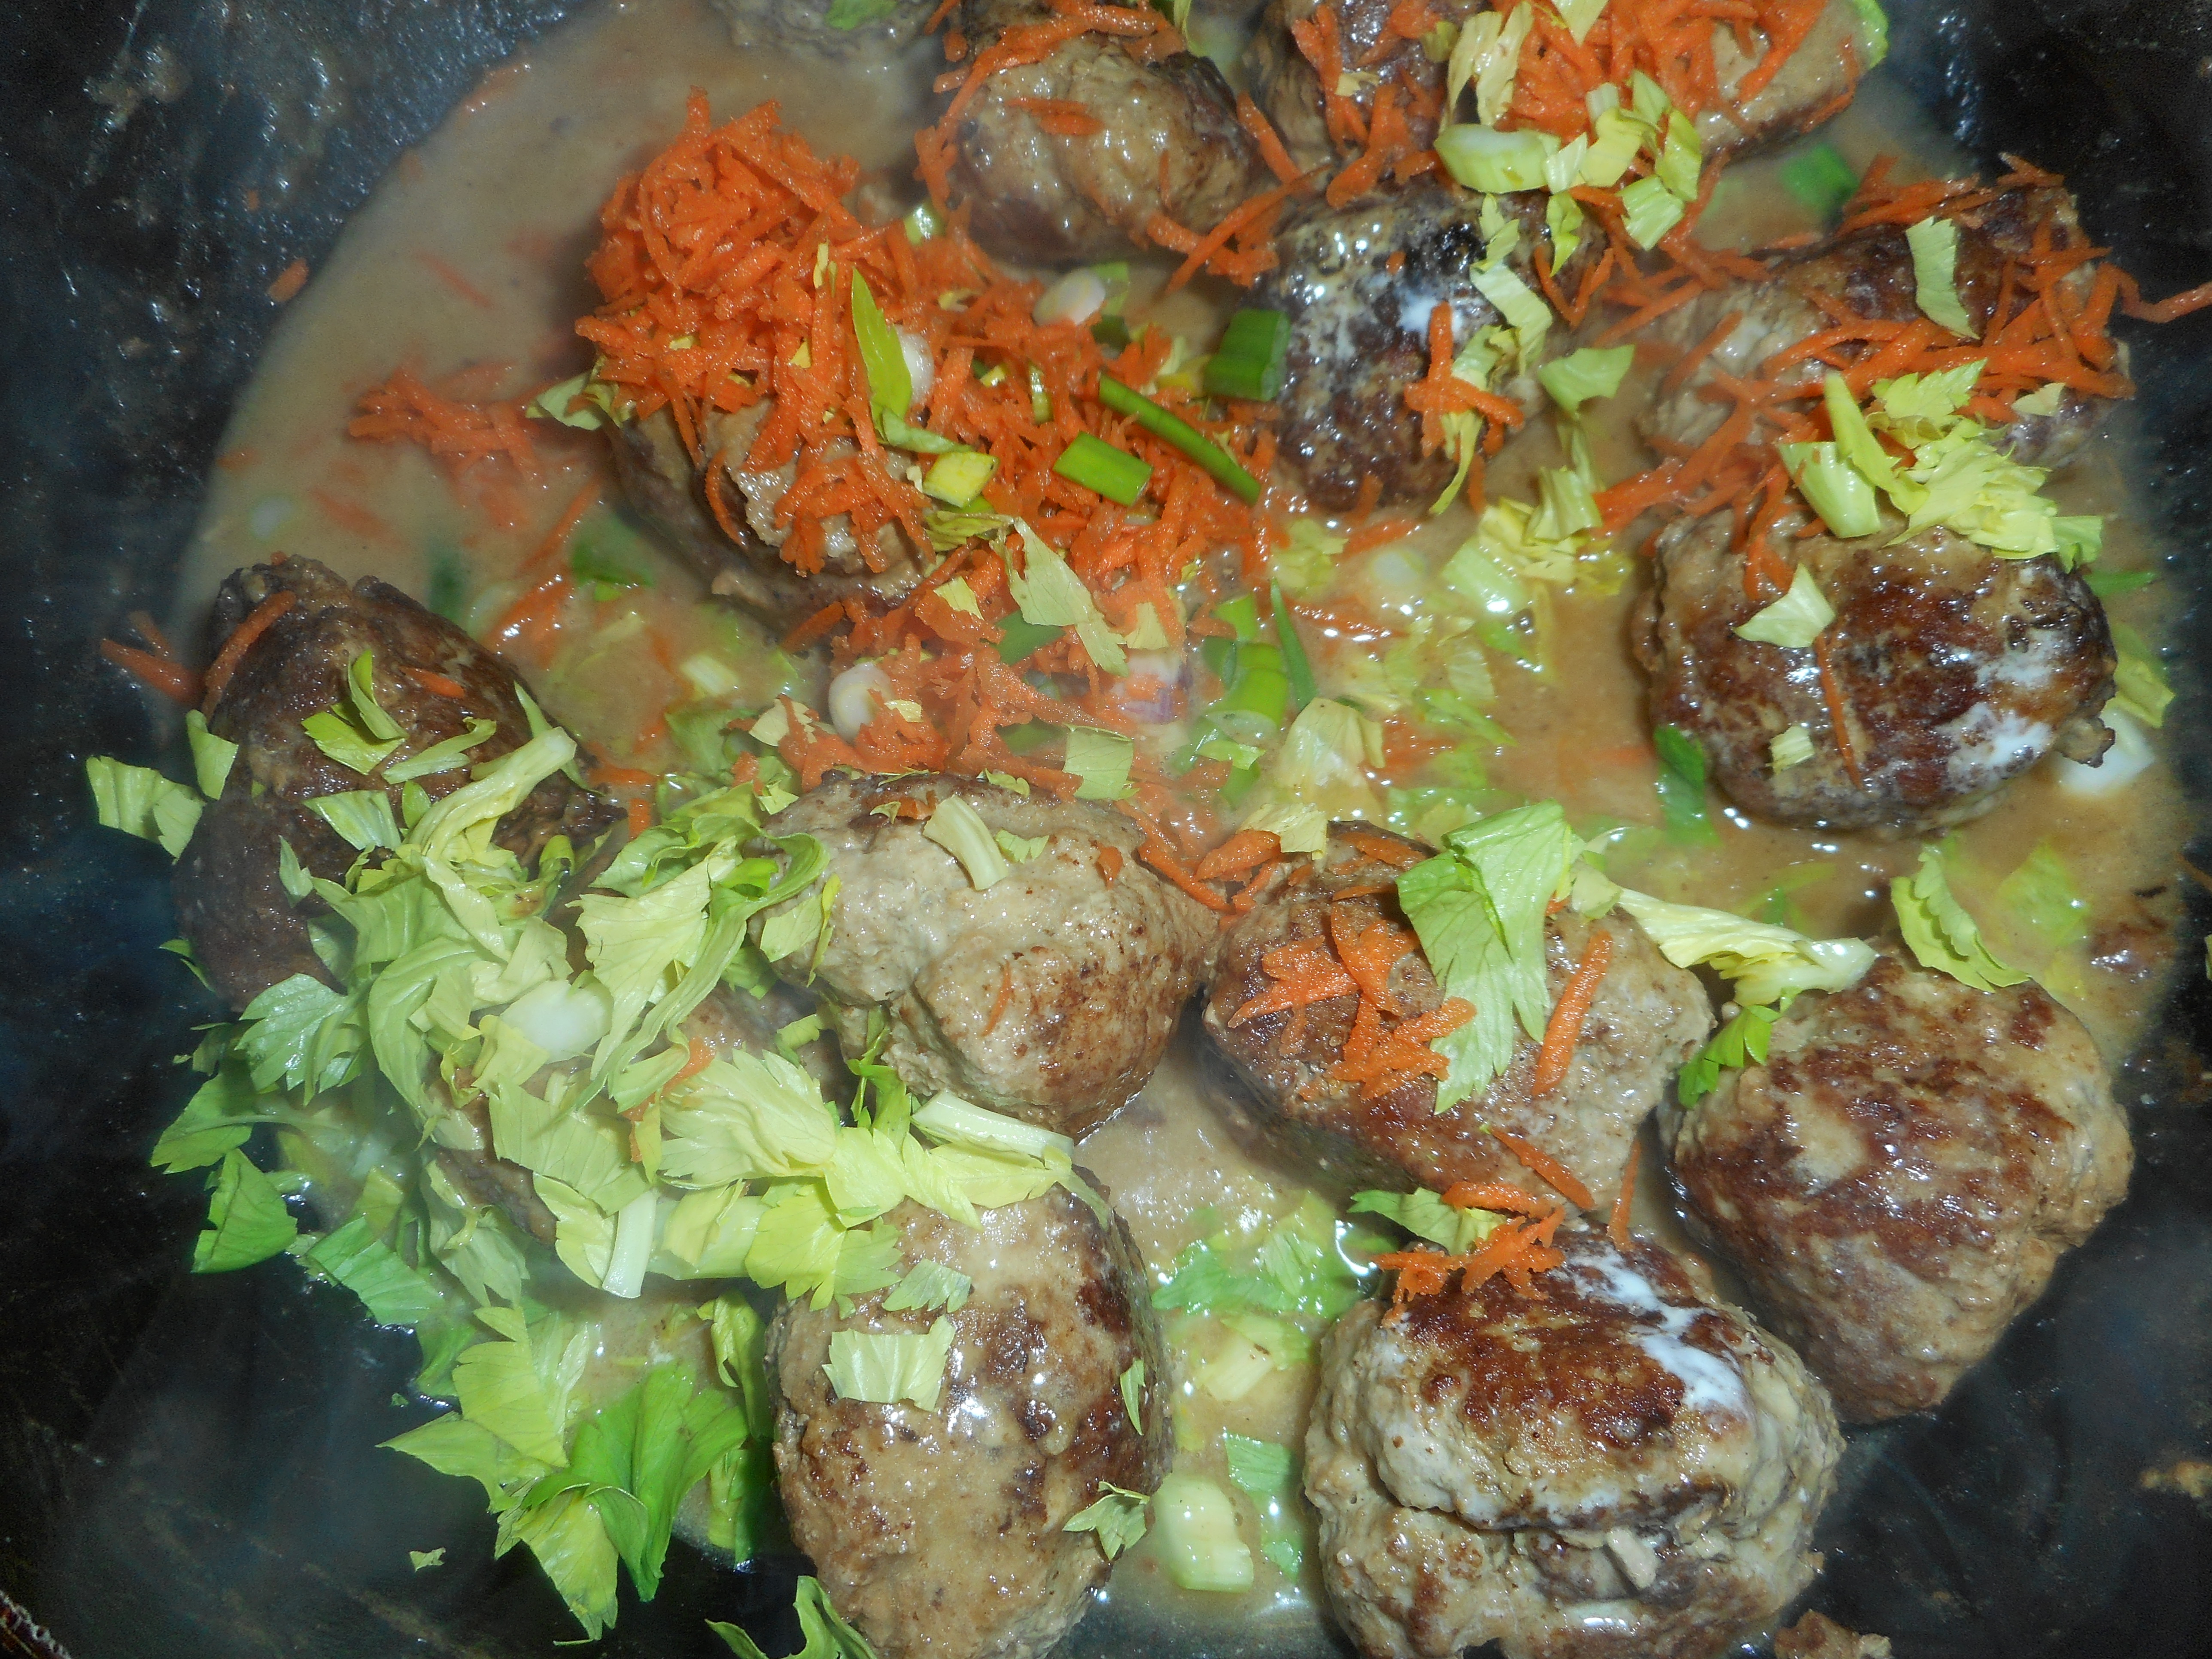
1 carrot grated fine
2 scallions chopped into small rounds
1/3 cup celery leaves chopped fine, optional
Directions:
Mix the meatballs up in a large mixing bowl; dump in the ground turkey, add the onion, crumbs, Worcestershire sauce, lemon zest, sea salt, pepper to taste and egg. Mix until fairly well distributed. Form into 12-16 meatballs.
Heat the oil in a wide Teflon or cast-iron pan. Add the meatballs. Brown them on all sides, turning carefully with a spatula and a fork. When browned add the broth and cover. Cook 12-15 minutes, add up to ½ cup more broth if needed; there should be at least ½ cup left when they are cooked. Add the flour to the yogurt, stir and add to the pan. Add the lemon juice and stir in the carrot, celery if using it, and the white parts of the scallions. Cook 2-3 minutes. Add the rest of the scallions and stir. If it seems too thick add some more chicken broth. I like this concentrate I found, Better than Bouillon, very handy and GF. Perfect when you need less than 15 ounces of broth.

Serve the meatballs and sauce over rice or noodles. I have been experimenting lately and served a topping of pickled red onions; really nice zingy addition…up to you. For that I cut up part of a red onion and top with cider vinegar to cover, let stand at least 30 minutes. Will keep overnight in fridge. It is a fun topper on salads too.
First published in 2015. Recipe unchanged in this repost.