I always loved rice pudding as a child, creamy custard studded with raisins and topped with a good sprinkle of cinnamon. But the rice itself was kinda drab, not much flavor and it was not well blended with the rest of the pudding. A few years ago, I found a recipe that caused a rice pudding revolution in my kitchen: it used sweet rice which is a white short grain oriental rice. You could substitute Arborio rice if you like, what I have used in my most recent batch. I buy sweet rice in oriental grocery stores but I think Wegmans may carry it too. Each grain absorbs the milk as it cooks and releases a lot of creaminess as well as providing a soft squishier rice that gives the pudding a more blended feel than my mom’s usage of long grain rice that stayed firm and separate from its pudding surrounding.
This recipe is naturally gluten free. No one eating it will think, “Oh, darn, another of those weird GF recipes!” They will just think, “I wonder if she will think I am piggy to want seconds of this?
In a pinch you could skip the second part where you briefly bake the pudding but I rarely do, I think it helps form the best texture. Do sprinkle the top with cinnamon unless it is something you despise. I recommend whole milk as it makes pudding taste so good but if you prefer two percent that will work. I do not recommend skim milk for pudding. Ick on the texture and flavor of such a mutant pudding! And this recipe is great with chopped dried apricots, dried cherries, golden raisins, or even currents or in it instead of raisins. My original recipe had lemon peel and apricots in it. Recently I put a few long orange peelings in it and a cinnamon stick while it cooked on the stove top which gave it a delicate orange flavor which played well with the raisins. So, you can alter it to suit your mood and your ingredients. I sometimes just use 3 whole eggs rather than end up with two extra egg whites. Especially with the price of eggs these days. For 3 eggs you get a whole pan of lovely pudding so it is worth it!
I made it this week in the “classic” form; with raisins and sprinkled with cinnamon. I so enjoy a cup of creamy rice pudding.

These cold days make pudding such a treat. What could be more comforting after a cold walk with the dog than a bowl of wickedly creamy homemade rice pudding.
Creamy Rice Pudding
Ingredients
¾ cup sweet or Arborio rice
1 quart whole milk
1/3 cup raisins
1/3-1/2 cup granulated sugar, depending on your sweetness needs! I go with 1/2 cup
2 egg yolks
2 whole large eggs (or just 3 whole eggs, no extra yolks)
1 tsp pure vanilla
A good sprinkle of cinnamon
Directions:
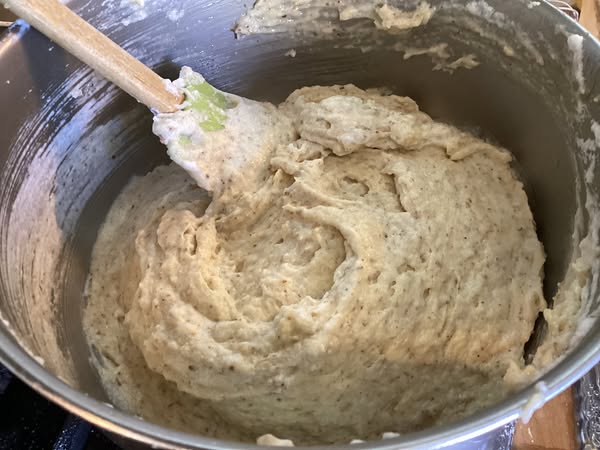
Rinse the rice in a strainer briefly, (I forgot to do this last week!) place in a heavy bottomed 1 ½ quart saucepan, pour in the milk (4 cups) and stir frequently as it heats on medium to a bubbly simmer. Add the raisins and turn down the heat to low, cover and cook 25 minutes. Be sure to stir it every 5-7 minutes to separate the rice and keep it from scorching on the bottom. Add the sugar, stir well. Mix up the egg yolk and whole eggs in a bowl with a whisk and add in some of the hot mixture; maybe 1/3 to ½ cup. Dump it all back in the pot and stir well. Turn off the heat and add the vanilla.
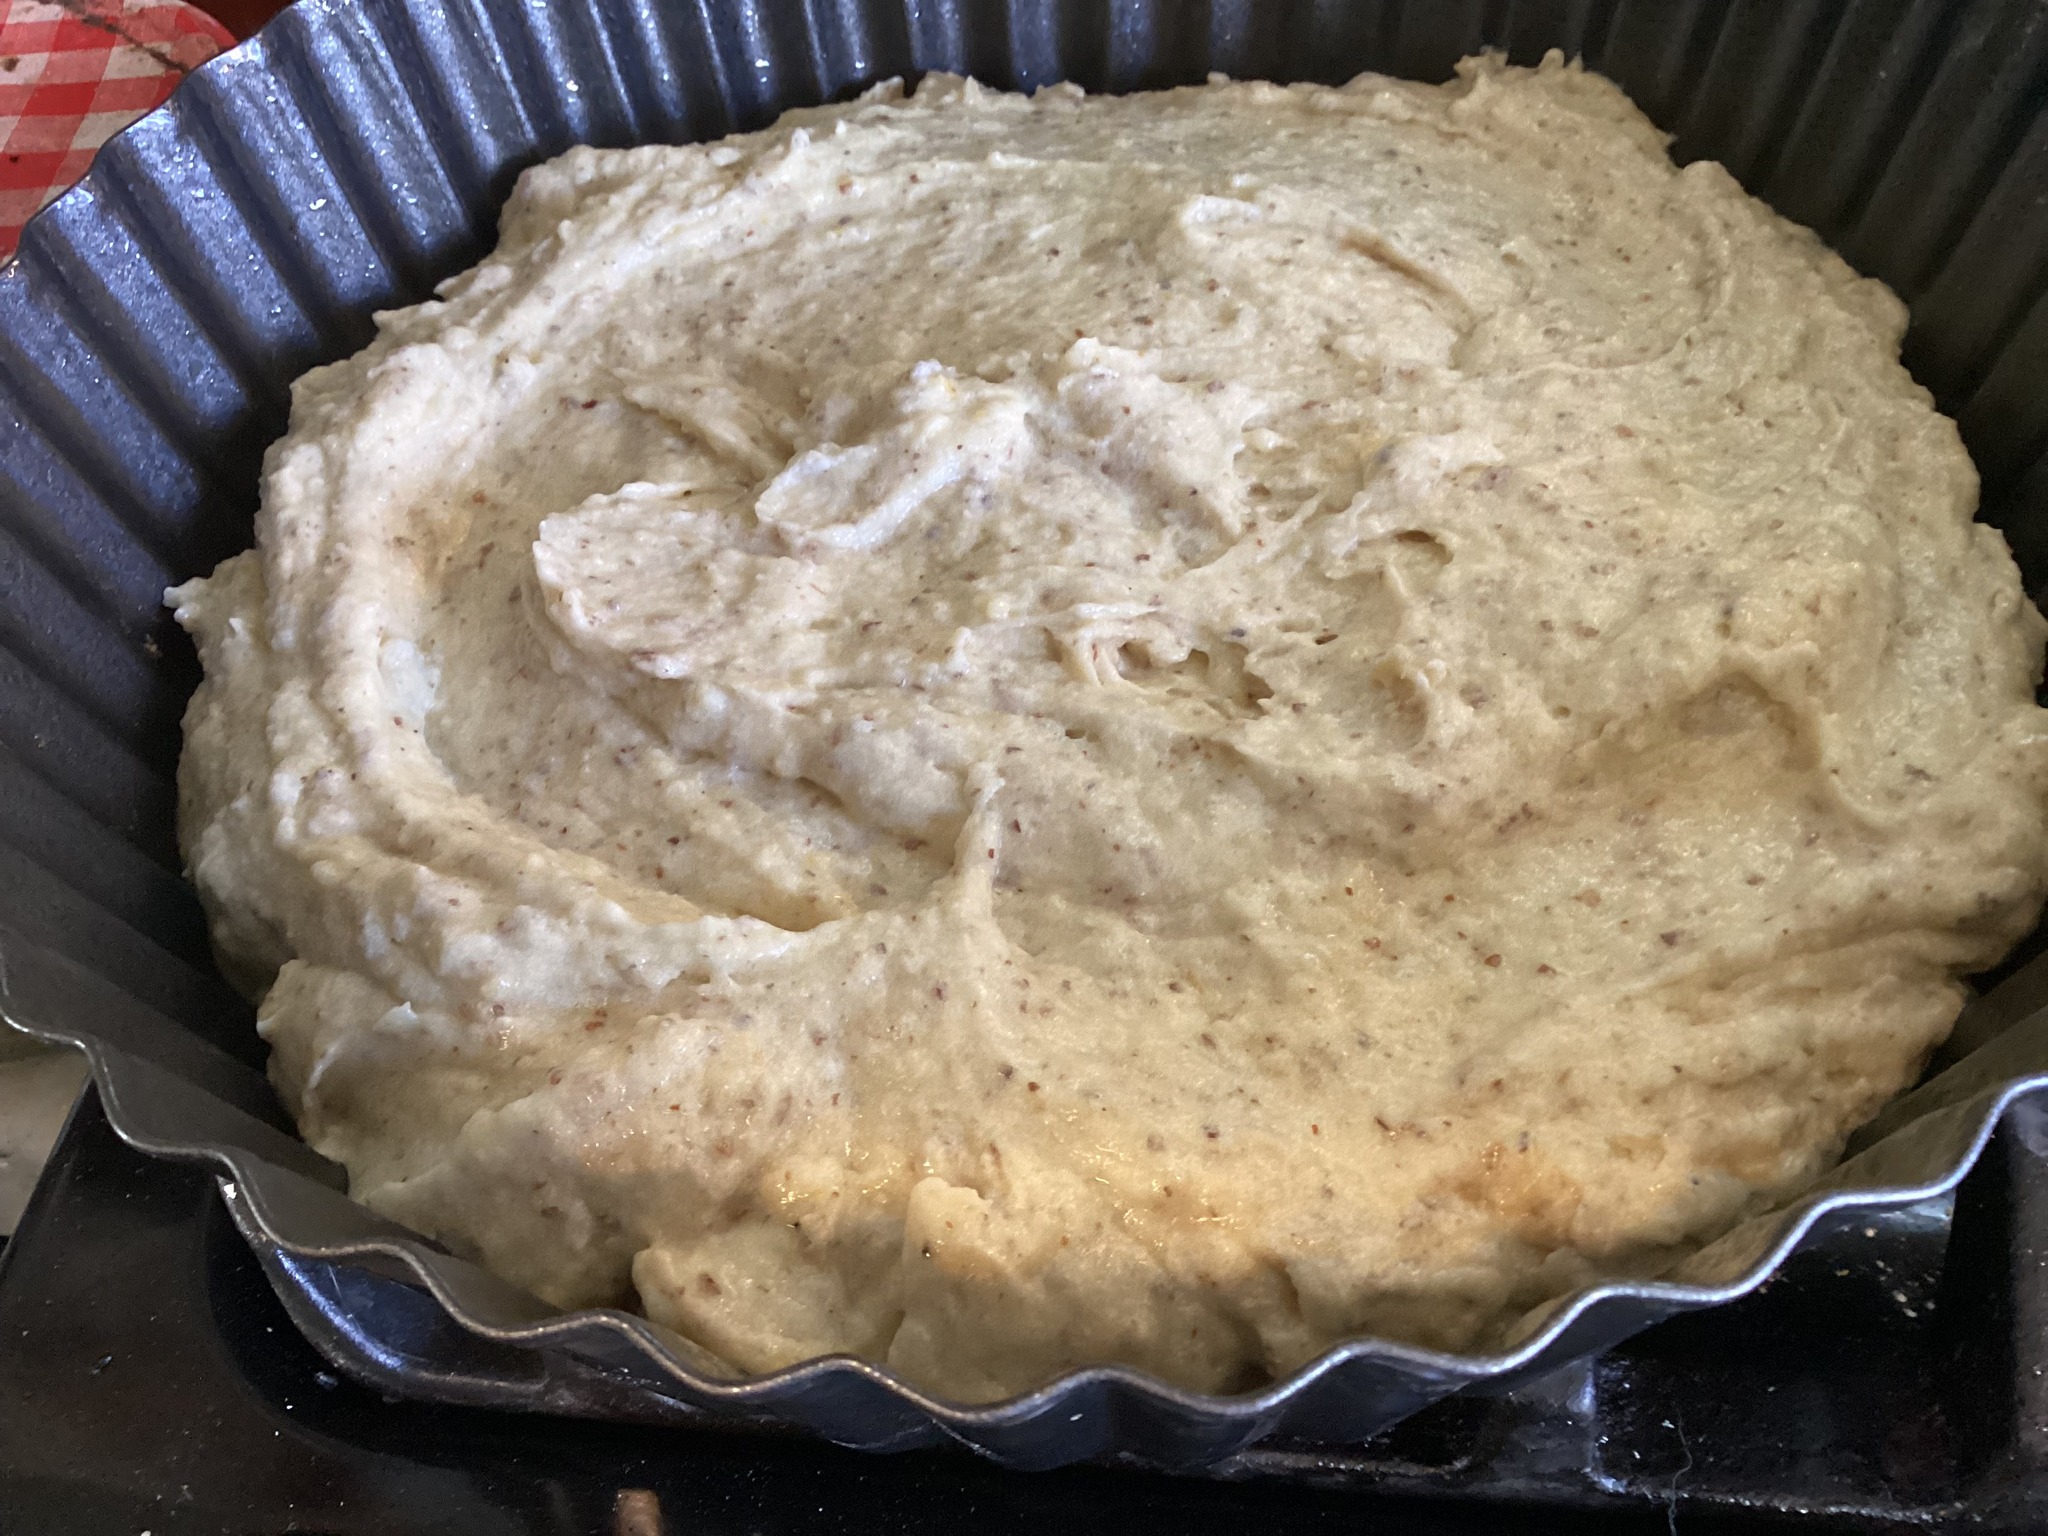
Heat your oven to 300 degrees. Butter the bottom and sides of a low ceramic or glass baking dish. I like an oval myself, that shape is what my mom usually used! Pour in the pudding, removing any lemon or orange peel and the cinnamon stick if you used such and sprinkle it well with cinnamon to dust the surface. Bake for 20 minutes. Often,I put it in a hot water bath created with a 9×13 cake pan and some hot tap water. Did this last week. This method produces a lovely delicate custard, worth the extra fuss.
It is tasty warm and wonderful the next day. Some people guild the lily with toppings of whipped cream, grated lemon or orange peel or even whipped mascarpone cheese. Up to you how you dress it up! I occasionally serve a homemade cookie on the side for added crunch value. Enjoy!
Originally published in 2015; minor text changes made.