Graham Crackers 2.0…. GF and BETTER

Graham crackers make great pie crust for unbaked pies. And for cheesecakes. But GF ones are kinda lacking in the texture and flavor department if you eat a whole one; so hard on the teeth and they are soo expensive for the few you get. So I finally decided to try and make my own. Read a few recipes and then modified to make them my own. These are made with Earth Balance spread as I had some I wanted to use, no eggs; practically vegan; just the honey is an issue.

Pretty easy to make in my stand mixer. Then you roll out between two sheets of parchment and use the pizza cutter to draw lines between them. Can prick with a fork to form perforations. They will be soft and take the impressions of what you draw on. They do puff up some in the oven; beware edges falling off: a bit fell off one edge of my sheet of crackers and burnt up. Stinky when burnt!

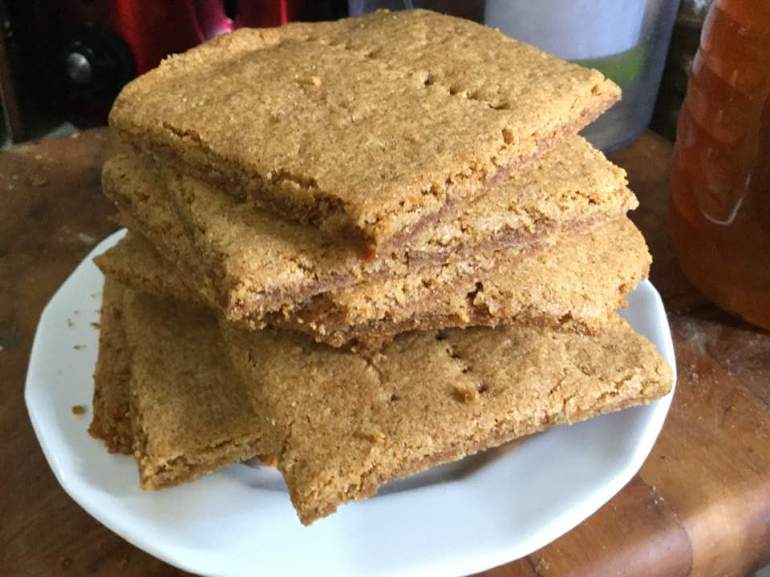
graham crackers unbaked

Not too excited before baking, rolled out between parchment paper, kinda sad looking.

graham crackers out of oven

Freshly baked. Still soft and un-separated from other crackers.

GF Graham Crackers

Ingredients:

1  1/2 cups King Arthur Basic GF blend

1/2 cup brown sugar

1  1/2 tsp. cinnamon

1 tsp. baking powder

1/2 tsp. baking soda

1/2 cup butter or Earth Balance spread; cold

1 tsp. vanilla

3 Tbsp. water

3 Tbsp. honey

Directions: Put dry ingredients in stand mixer bowl. Blend. Add butter cut in cubes; blend until crumbly. Add vanilla, honey, water. If needed add an extra tsp of water.

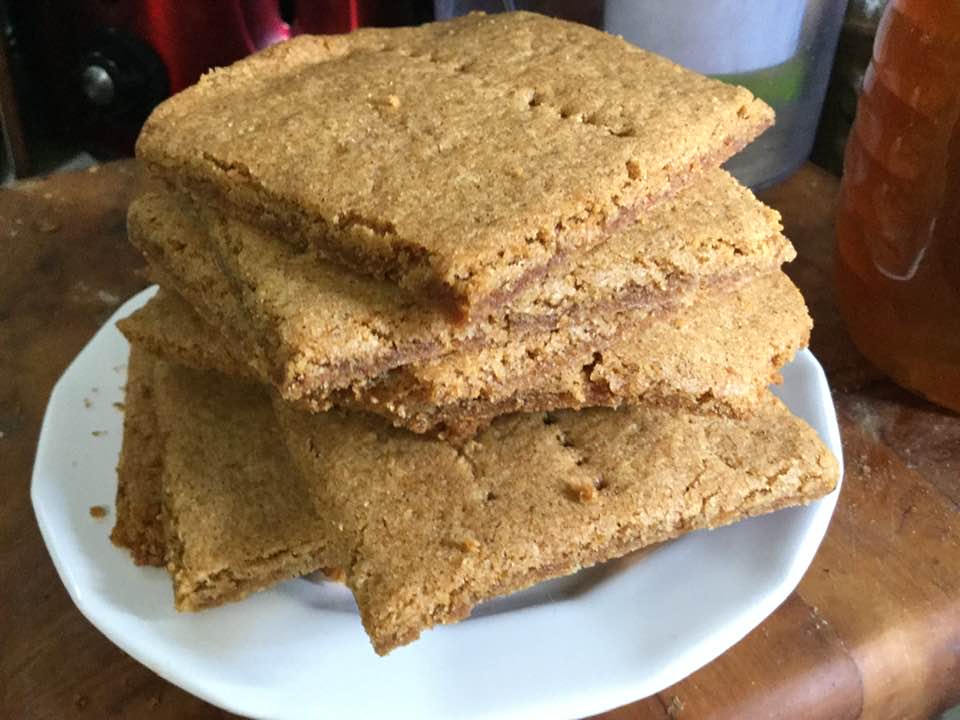
Lay out a sheet of parchment paper on big baking board. Blop out batter on it. Top with another sheet of baking paper and roll thin to fill the space. Cut apart with a pizza cutter to make 15 cookies. Poke with a fork to add perforations as desired. Bake at 325 degrees for 17-20 minutes. At 17 minutes they will be soft cookies. 20 is needed for crunchy ones to break up for pie crust or to make s’mores with.  Let cool in pan 10 minutes then cool completely on drying rack. Store in plastic bag to keep moisture out.  They are delicious all by themselves. The homemade s’mores turn out well too!graham crackers on plate


Comfort Food; A Few Suggestions

I don’t know about you but I am craving comfort foods right now. So, this will be a list you can easily pull up recipes from.
Today I made my favorite guilty pleasure; creamy rice pudding; here is the link to it. https://myworldwithoutwheat.com/2015/02/21/not-grandmas-rice-pudding/
Another comfort treat is bread pudding; make it with leftover cookies or fancy gf bread if you have some: https://myworldwithoutwheat.com/2019/01/02/holiday-bread-pudding/
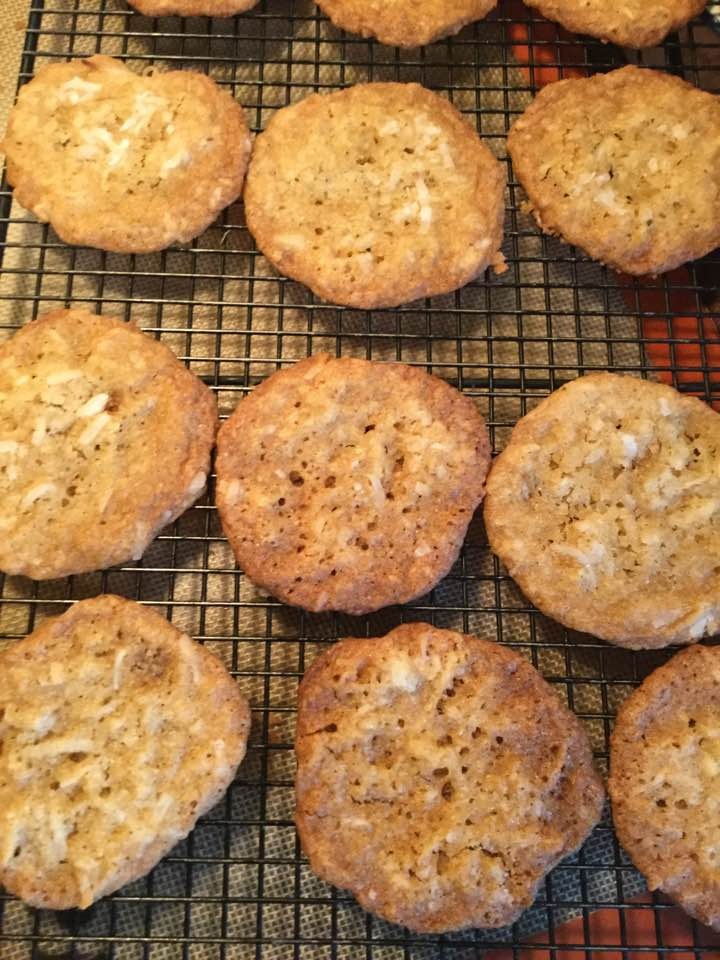
coconut cookies baked
How about a great cookie recipe?

Brownies To Love!

Peanut Butter Beauties


https://myworldwithoutwheat.com/2018/01/17/chocolate-chippers-that-please-everyone/ as well as http://www.kingarthurflour.com/recipes/gluten-free-chocolate-chip-cookies-recipe.
https://glutenfreeonashoestring.com/gluten-free-oatmeal-peanut-butter chocolate-chip-cookies/

Quick and Delish Muffins: pear muffins

Banana Muffins…Tried and True

Kitchen Sink Muffins – 2.0 Version


Pie/Tarts:

Banana Custard Pie, 2.0

Shoo Fly Pie (Shoe Fly Pie at my house!)

Alsatian Apple Tart; Deliciously Creamy


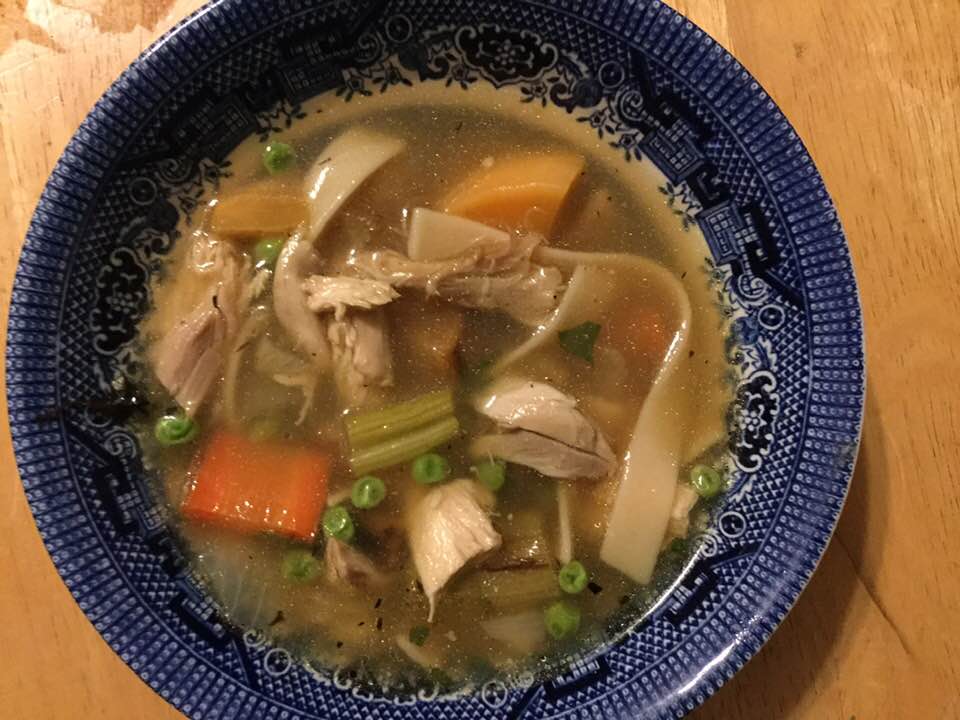
Soup/Stew: roasty chicken soup

Roasty Chicken Soup for Chilly Spring Days

Chunky Mushroom Soup

Nor’easter Lentil Stew

Stormy Day Bean Soup

Pasta e Fagioli meaning Pasta and Bean Soup, Fantastico!


Easy Entrees:
Beef: https://myworldwithoutwheat.com/2016/03/31/corned-beef-hash/
Casserole:

Hearty Shepherd’s Pie ‘Cause it Still be Like Winter!


Chinese food:

Chinese Chicken with Broccoli

Sweet and Sour Pork Stir Fry


Chicken: https://myworldwithoutwheat.com/2019/03/25/chicken-tenders-crunchy-meal-treat/
Fish: https://myworldwithoutwheat.com/2014/06/23/fabulous-fish-fry/
Shrimp: https://myworldwithoutwheat.com/2018/04/15/shrimp-risotto-made-easy/
And a few salads for those who prefer something light.
Salads:

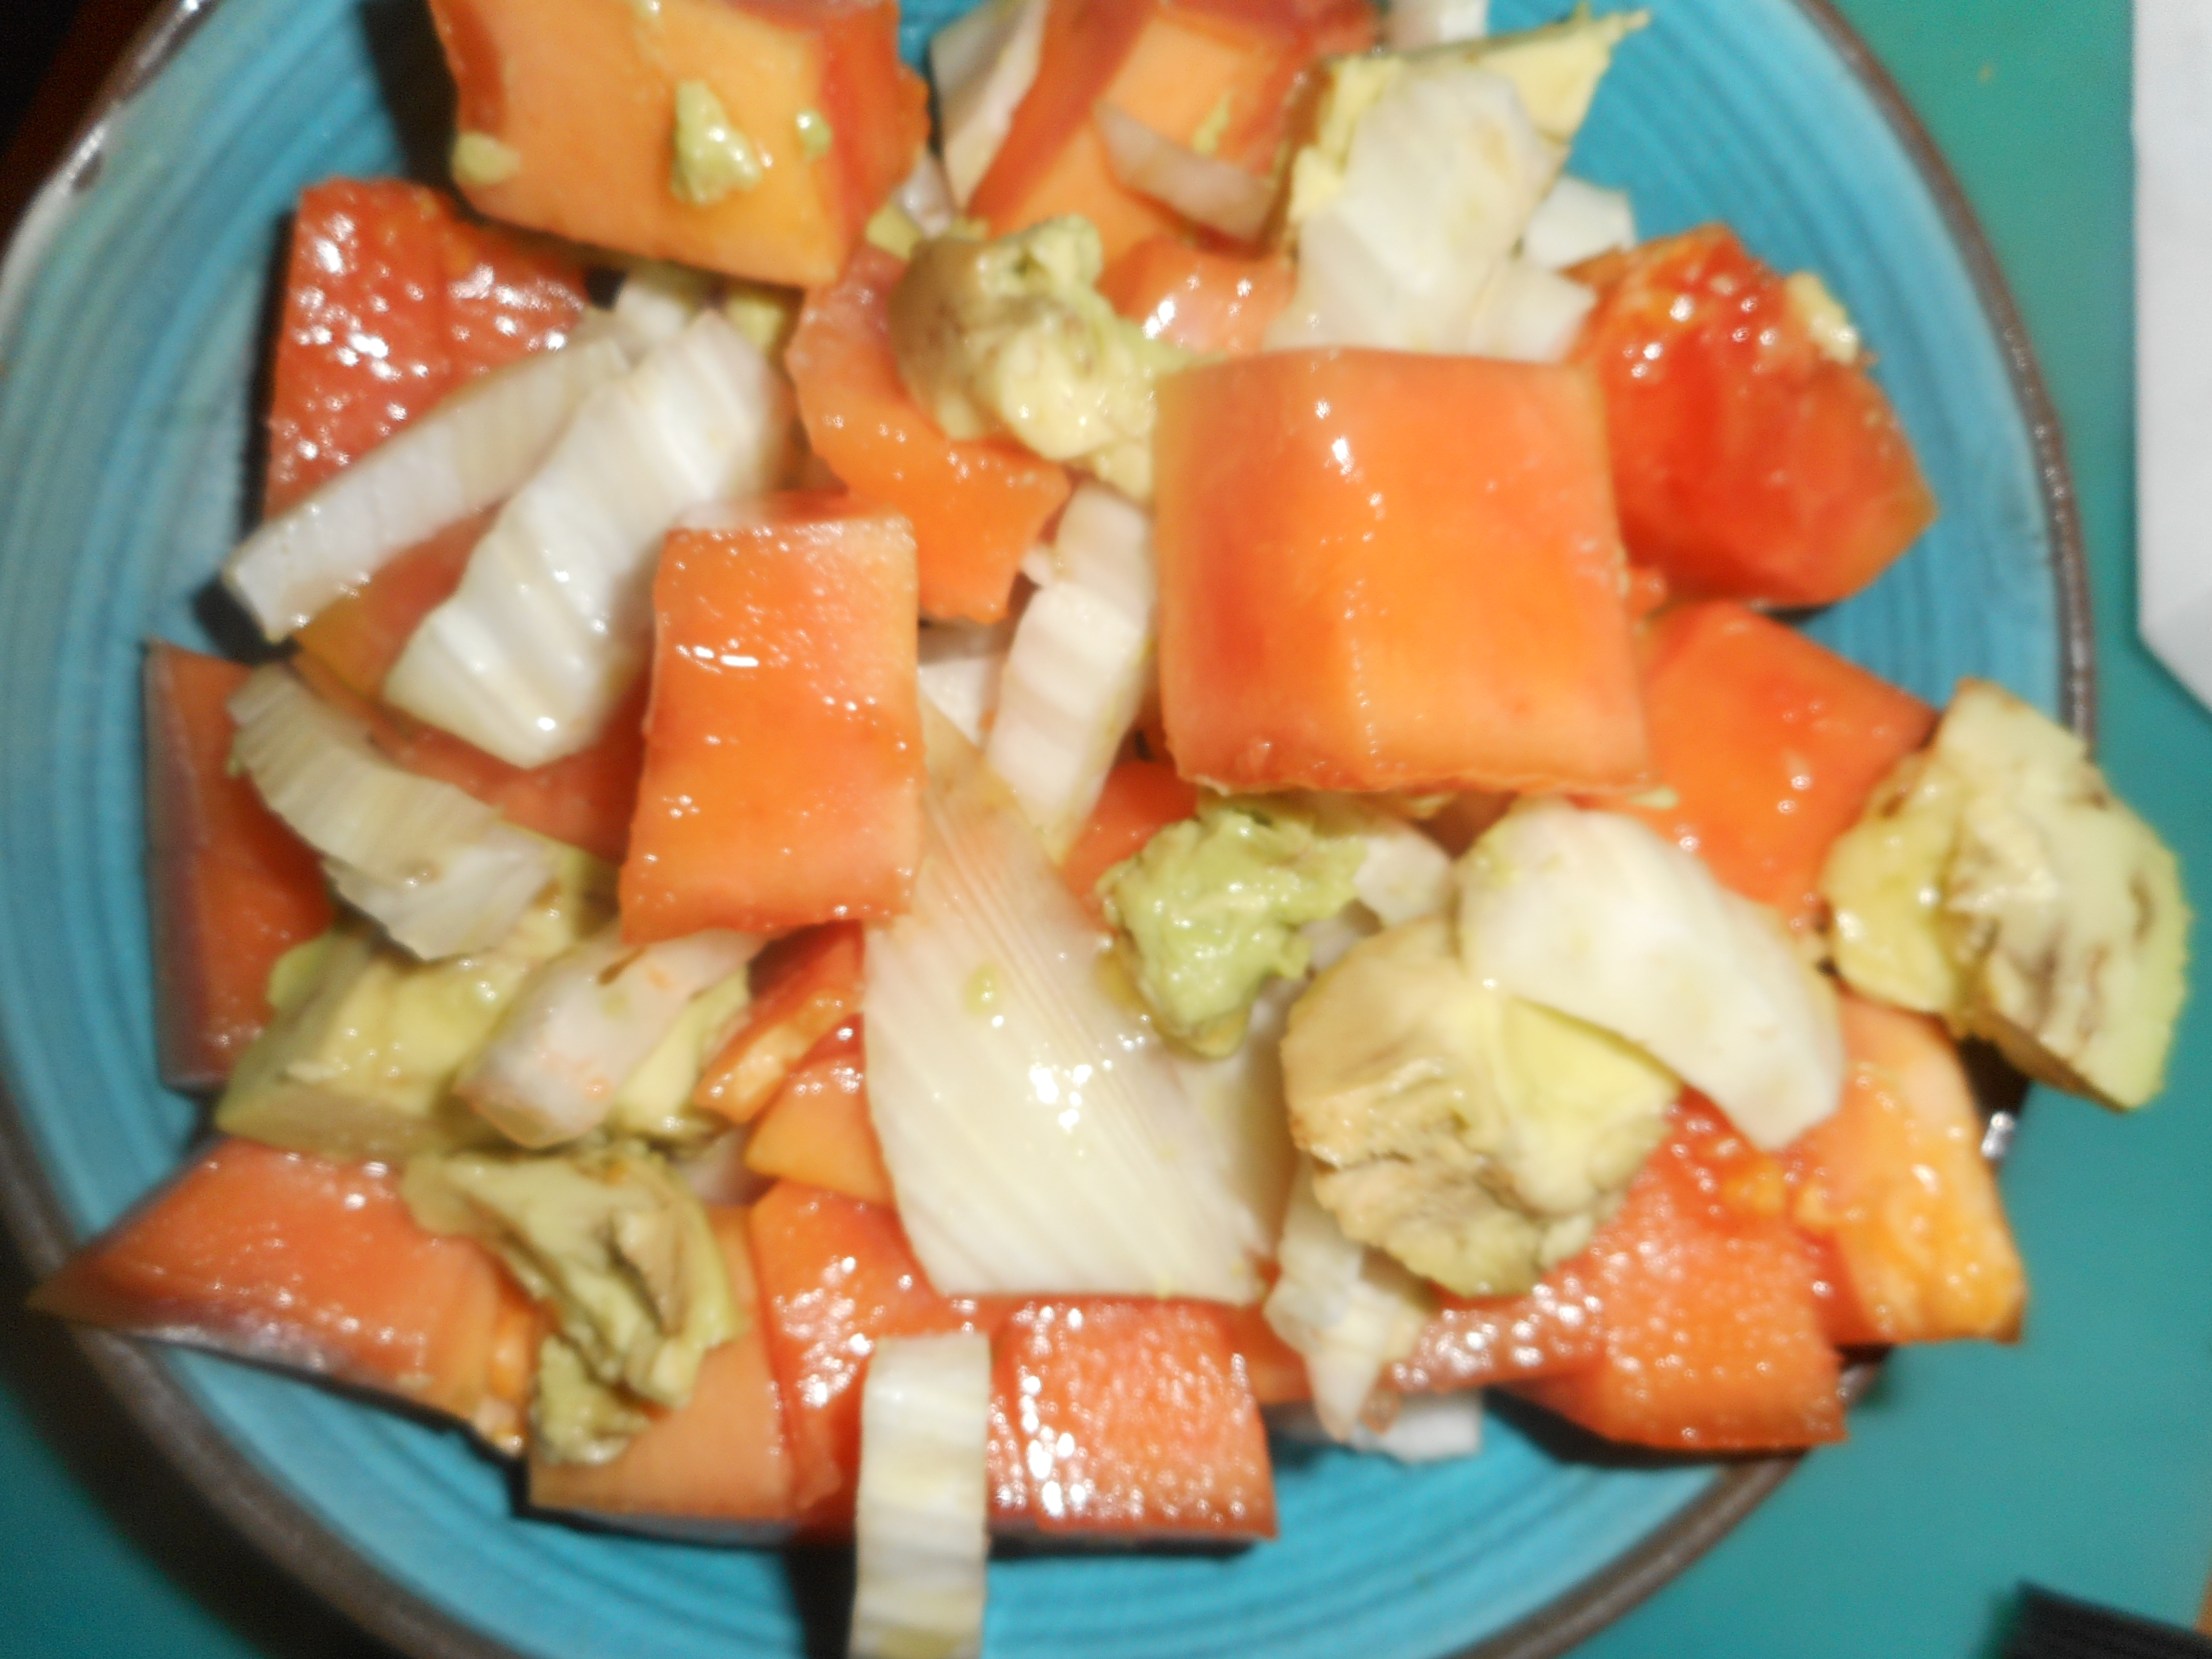
papaya salad, Easter eggs 004

Papaya and fennel salad…healthy and yummy

Fun Winter Salads

Super Spring Salads

I hope you found something comforting to make from my list. Enjoy!!

Meyer Lemon Tartlets; Delicate and Delightful

We were lucky enough last month to get a small shipment of fresh Meyer lemons from my brother who lives in Texas and has a tree in his back yard. I saw a bag of 4/5 of them in Giant Food Market this past week so they are available locally.

I have made plenty of full sized lemon tarts but not so much in my small 3 inch across flat bottomed tartlet pans, I made this recipe maybe a couple of years ago. I have two 4 piece pans so I could make up to 8 at a time. I made 6 tartlets and had a tiny bit of filling left over. 

We ate a couple last night for dessert and I served them with full fat plain Greek yogurt from Aldi’s which has great flavor and a thick smooth texture. It is rich and still somehow light.  A better topping than ice cream which melts…rather unfortunate in a lemon tart and the yogurt is less work than making whipped cream. StonyField Organic Low Fat is my preferred choice for great quality yogurt you might find in Giant or Wegmans.

I make my standard pie crust dough and chilled it before rolling out chunks of it. I didn’t make thick fancy edges; smaller edges being better for putting the lemon filling as the forward taste of these tartlets. I ended up with six shells.

Notes: You can make these tartlets with regular lemons that you freshly juice. You might want to up the sugar by ¼ cup if you do that.  Also, these tarts should be stored in the fridge until serving. Enjoy!

tartlet shells

lemon tartlet

Meyer Lemon Tartlets  makes six

Crust:

1 c plus 2 Tbsp. brown rice flour mix (at bottom of recipe)

2 Tbsp. sweet rice flour

½ tsp xanthan gum

¼ tsp salt

6 Tbsp. cold butter cut into 6 chunks

1 large egg

2 tsp fresh orange or lemon juice

Directions: Mix dry ingredients in bowl of stand electric mixer.  Add butter and mix until crumbly and resembling coarse meal.  Add egg and juice.  Mix until it comes together into big chunks.  Shape into a ball with your hands. Put it on a crust sized piece of wax paper (14 x 14 inches more or less), flatten the crust ball some; put on top of it another piece of wax paper and chill it all in your fridge 15-20 minutes.  Roll chunks of it out to thin circles and fit into tartlet pans. Mine have removable disc bottoms and I highly recommend them. Prick the bottoms with a fork to prevent puffing up and bake at 375 degrees for about 11 or 12 minutes until lightly browned. Let cool.  You need six tartlet shells as the filling is enough to fill six.

Lemon Filling:
Continue reading

The Best Lemon Squares

I’ve been making lemon squares for years; including all the years I’ve been gluten free. Tried a few recipes; okay but my clear favorite for taste and easiness to make is the one out of my beloved “Gluten-Free Baking Classics” by Annalise Roberts; cannot stress enough how reliable and tasty her stuff bakes up. This one definitely falls into both those categories.

I used the wonderful Meyer lemons my brother sends me; so delicate a flavor and perfectly scented. Use whatever lemons you have as this is a delightful treat that even your non-gf friends will clamor for.

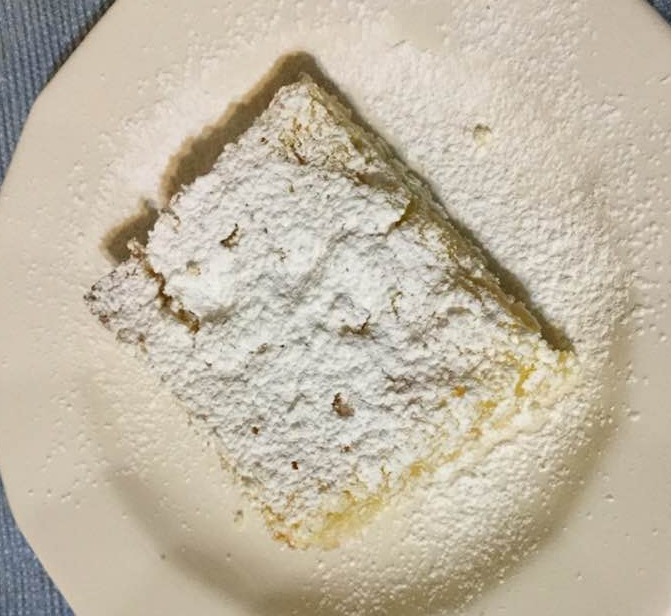
lemon bar

Lemon bar with lots of powdered sugar!

“The” Lemon Squares

Crust:
1 cup King Arthur basic gf blend flour
¼ c sugar
1 tsp. xanthan gum
5 Tbsp. butter.

Heat oven to 350 degrees. I put the oven shelf near the bottom of the oven. In your stand mixer, blend flour, sugar and gum; add butter which you cut up into 8-10 smaller pieces. Blend until small crumbles. While it does that spray an 8 inch metal pan with cooking spray and dust with gf flour. Pour crumbs into pan and spread evenly as possible into corners and up a bit of the sides. Press a bit but not too hard to get the best result. This recipe’s filling doesn’t go very far up the sides so just a bit up. Bake 15 minutes.

While it bakes make the filling; I use the same mixing bowel and paddle. FYI: I Have a great new paddle with a scraper edge that my guy bought me; it is fantastic at mixing batters better; far less scaping necessary. Best gift in kitchen!

3 large eggs
¾ cup sugar
2 Tbsp. KA basic gf blend flour
½ tsp. baking powder
1/8 tsp. salt
2 tsp. grated fresh lemon rind; then juice it for
1/3 cup fresh lemon juice (2 lemons should do it)
½ tsp. pure lemon extract

Beat eggs in the mixing bowl after the crust goes into the pan until kinda foamy. Then add rest of ingredients and mix well; be sure the flour is blended in. Pour over the warm crust and bake for 20 more minutes. Let cool before cutting. I like to sprinkle mine with a bit of powdered sugar; 1-2 tbsp worth.
I think it tastes even better the second day. Needs to rest a bit and let the flavors ripen to their fullest.

Alsatian Apple Tart; Deliciously Creamy


I bought a great gf cookbook a few  years ago.. I have been too busy to do much fancy baking plus my wrist has made it impossible to roll out pie crust; this is my first rolled out crust since last June. Annalise G. Roberts wrote my favorite gf cookbook “Gluten-Free Baking Classics”.  In “ The Heirloom Collection” she re-creates many classic recipes we all love but in a gluten free version. Eighteen cakes, thirteen muffins, scones and quick breads, sixteen cookies, twenty breads as well as eleven tarts. And some other misc. baked goods. SO many yummy looking things to bake. All gluten free. And knowing Annalise Roberts, all yummy!  Of all I have made from it this is possibly my favorite recipe. I know you will enjoy it too.

She starts with a section on how to take a wheat flour based recipe and make it gluten free; very interesting: I have a few cherished recipes I would love to convert.  She is such a reliable and careful baker; all her recipes turn out exactly as promised. With so many great looking recipes and if you have any of her other cookbooks you will definitely want this one.

Anyway back to my tart: I was looking for an apple recipe that only needed a few apples, cause that’s all I had and this tart caught my eye. I had everything I needed and I remember how delightful it was last time. My brother ate two slices and his wife ate my crust happily; apparently she never does that.  Aiden loved it as well.  Definitely a hit.

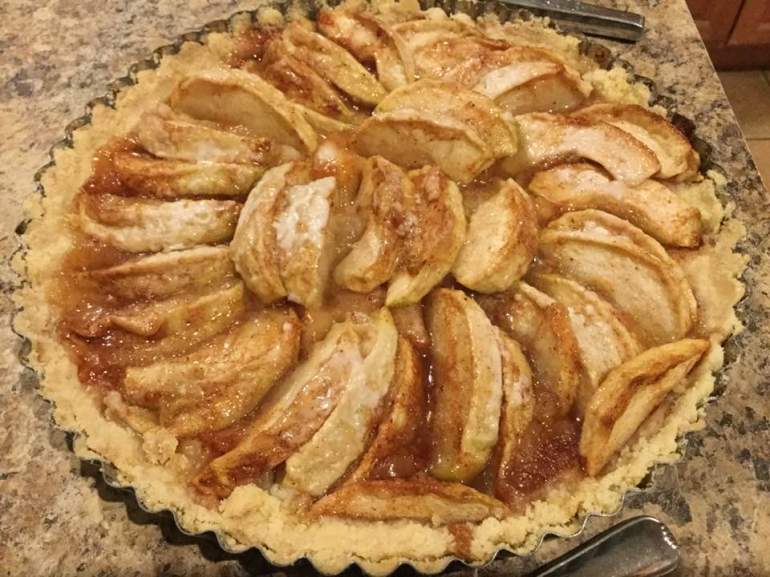
It was a very easy recipe; make the tart shell and while it pre-bakes, peel and slice the apples and mix up the custard. Arranging the apples took me 3-4 minutes and another 30 seconds to pour over the custard and carefully place it in my oven for a transformational baking.alsatian apple tart 002

This tart has a lovely texture; the apple slices are soft but held their shape and the custard is silky and subtle. The long baking makes the crust very crisp. No ice cream needed; this is perfect just by itself.

alsatian apple tart 007

After making this tart the first time I noticed that this is the baked good featured on the back cover of the book; a place of honor for a fantastic apple treat. So freaking good; you must try it even if you use a wheat crust. Alsace-Lorraine is an area in Germany close to France; over the years it has been passed back and forth a few times. One of my ancestors is from this area so I was thrilled to find a recipe my great great grandmother might have baked!alsatian apple tart 004

Alsatian Apple Tart
6 large slices or 8 skinny ones

Crust:
1 c plus 2 tbsp brown rice flour mix (at bottom of recipe)
2 tbsp sweet rice flour
1 Tbps. granulated sugar
½ tsp xanthan gum
¼ tsp salt
6 Tbps. cold butter cut into 6 chunks
1 lg egg
2 tsp fresh orange, lemon juice, even lime juice works

Spray a nine – ten inch tart pan that has a 1 ½ inch side with cooking spray, set aside. I use a ceramic ten inch pan but if you have one of those tricky deep tart pans with a removable bottom that would work perfectly.

Mix dry ingredients in bowl of a stand electric mixer. Add butter and mix until crumbly and resembling coarse meal. Add egg and juice. Mix until it comes together into big chunks. Shape into a ball with your hands. Put it on a crust sized piece of wax paper (14 x 14 inches more or less), flatten the crust ball some; put on top of it another piece of wax paper and chill it all in your fridge 15-20 minutes.

Roll out the flattened ball into a pie crust in a pie bag or between the two sheets of wax paper, try to get the thickness even, no thick middle! I like to sprinkle a bit of my flour mix on the crust as it gets thinner so it doesn’t stick to the pie bag/wax paper. Peel off one side of paper and place in the tart pan, be sure to center it. Remove other slice of wax paper. Crimp edges all around. Bake at 375 for 12-15 minutes until light brown.  Let cool.

Filling:

3-4 medium to large sized apples, yellow delicious work particularly well as they don’t squish down too much. I have used Fuji in the past as it also doesn’t get too mushy.

Peel apples, quarter, cut out core, slice into 1/2 inch thick slices (8 for a medium apple)

Mix in a medium mixing bowl with:

6 tbsp. sugar
2 eggs; stir well
Add 1 cup heavy cream, 1 tbsp. milk, 1 tsp. vanilla extract, ¼ tsp. cinnamon.

Arrange the apple slices in the warm/hot tart shell, squash them close together. Pour the custard filling over the apples.

Bake in a preheated 375 degree oven for 50-55 minutes until the custard is set and the crust is light brown

Cool the pie at least 1 hour before serving. You can sprinkle the slices with confectioner’s sugar if you like to gild the lily; not really necessary in my mind.

Brown Rice Flour Mix (same as King Arthur GF Flour mix)
2 c brown rice flour, finely ground
2/3 c potato starch (Not potato flour)
1/3 c tapioca flour

This recipe is from Annalise Roberts’ great cookbook: Gluten-Free Baking Classics – The Heirloom Collection.

Originally published in November 2015, minor changes to text.