
Subscribe to continue reading
Subscribe to get access to the rest of this post and other subscriber-only content.


Subscribe to get access to the rest of this post and other subscriber-only content.

Subscribe to get access to the rest of this post and other subscriber-only content.
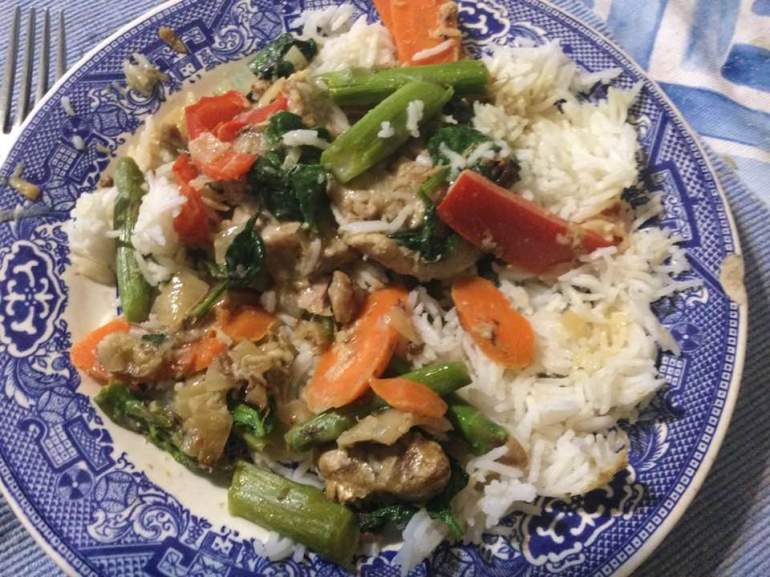
I was looking for a simple Thai curry without using curry pastes to flavor it. I was thinking some coconut milk for great flavor and I found a few recipes. I blended two or three together to make the best Thai chicken curry I have ever created. I loaded it with fresh vegetables and love it’s clean fresh flavor. And I hope you will too. You can use different vegetables – what you have and what you like. I found the amount of sauce to be perfect, actually ate it with a big spoon so I could get every soupy bit!
Notes: Please use full fat coconut milk for the correct consistency and flavor. I used boneless chicken thighs. It could be easily made with boneless split chicken breasts. I let my guy eat most of the hot pepper rings, to each his own. I do like how it makes it sing with a bit of controlled heat. Do not leave the fish sauce out; you won’t even know it is in there, but it really enhances the flavor. Enjoy!
Thai Chicken Coconut Lime Curry
Ingredients
2 Tbsp mild olive oil
1.5-2 lbs. boneless and skinless chicken thighs
1/2-2/3 cup chopped onion
1 large carrot peeled and sliced thin on the diagonal: 1/4 inch width
1 large red pepper cut in long strips and then cut the strips in half
2 cloves of garlic pressed
1 Tbsp. fresh ginger grated (I freeze mine and it grates well that way)
1/3 of a jalapeno pepper or a red chili pepper of the heat you prefer, slice in narrow rings, remove seeds
1 can full fat coconut soup, shake it up before opening
1 Tbsp. fish sauce
Zest a lime and then juice it (need 2 Tbsp lime juice)
1 cup asparagus stems snapped into 1.5-inch lengths. If it won’t snap; pitch the rest
OR tender green beans cut in a similar length
2 cups of baby spinach washed and drained
More lime – wedges to squeeze over each dish
Instructions: Prep work of cutting up all veggies into small pieces as described and similar lengths other than chopped onions which will be smaller. Prep work of cutting boneless thighs into halves or thirds depending on size. I would leave breasts the half size, so they don’t overcook. A whole breast would be too big. Split in half is perfect I am thinking.
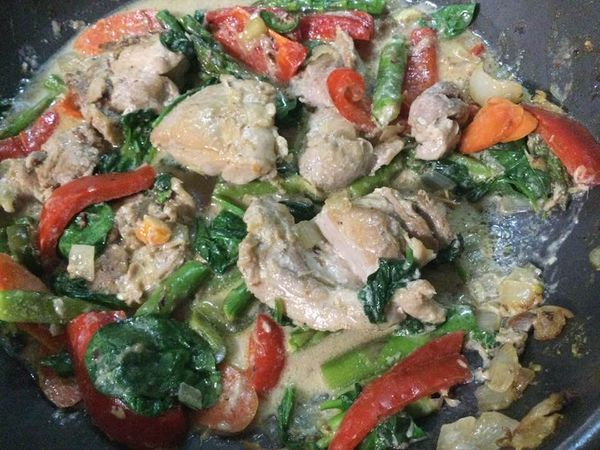
I used a 15-inch-wide paella pan, mine is nonstick and gives me the room for all the veggies in this dish. Just use a large sauté pan that will hold everything. Heat it a few minutes, add 1 tbsp of the mild oil. When it is hot add the chicken. Brown it for 3 minutes on each side and then use tongs to remove them to a plate. Add the other tbsp. oil and then the onion when the pan is fairly hot. Turn the heat to medium low and cook until starting to get soft 4 minutes (stir it as it cooks so no burnt onion bits). Add carrot slices and red pepper strips; cook another 2 minutes. Add the fish sauce, grated ginger, garlic, stir well, add the coconut milk, stir well as it gets hot, stop just before a boil ensues. Return the chicken thighs to the pan and simmer, covered, for 10 minutes. Turn the chicken pieces over, cook 5 minutes, nestle the asparagus spears into the sauce and cover it again. Add the lime juice and zest and the spinach leaves after 5 more minutes, keep covered. By now the asparagus should be soft enough to stick in a fork. If not, cook another minute. The spinach just needs to wilt; it will continue to do that even after you turn off the heat.
If you like cilantro throw on a third of a cup of chopped fresh cilantro at the end, we don’t so I didn’t. If you can get Thai basil, use that instead! I can only find it if I grow it myself. So summer is the season for Thai basil. Great hot basil taste which is perfect in Thai curries.
Serve this curry over hot Jasmine rice. I make mine in a sauce pan that I cut a brown paper bag circle to fit between the pot and the tight-fitting lid, it should overhang by an inch or so; the paper liner keeps liquid from escaping and drying out the rice before it is done. Or make it in your Instant Pot. I made a full cup of uncooked rice, and it was just about the perfect amount of rice. Enjoy!


Hot late summer days make me crave a cool soup. One with minimal cooking: that is easy and tasty. Plus, I want to use some of my garden produce. This classic Spanish soup called gazpacho is perfect for all of that and my family loves it. It absolutely must be made with ripe summer tomatoes, never ever attempt it with any less than the best vine ripened fruit. You can get great tomatoes at farm stands, farmer’s markets and even the grocery store; look for the grown local label for the best flavored tomatoes. Please do not use greenhouse tomatoes grown far away and shipped while not really ripe. Your soup will not be full of tomato flavor and it will taste disappointing. These ripe locally grown tomatoes are vital to the flavor of gazpacho.
I make my gazpacho in the blender but I believe a food processor works okay too. No heat, minimal fuss.
My version allows you to add chopped raw veggies in the amount you prefer just before you slurp it down. I prefer its fresh pure flavors to those soulless restaurant versions that are gelatinous and crammed full of a wide assortment of chunked veggies…uggh.
I had a version of gazpacho similar to mine in a Philadelphia restaurant made with golden yellow tomatoes which was beautiful looking and quite tasty too, the jar of gazpacho in my fridge right now is yellow as I had 6 big yellow ones to use for this purpose.
Warning: you do need to peel the tomatoes but that goes pretty fast. I heat about a wide sauce pan filled 3 inches deep with water to a boil and pop the ripe tomatoes in for 3 minutes. I put in 4 at a time; done in a couple batches. Let them cool a bit and then peel off the skin and cut out the blossom end (top) and they are ready to use. You can easily halve this recipe; just one blender-full of tomatoes for that and half the rest of the ingredients.
One more important instruction: gazpacho HAS to chill really good; make it early in the morning to serve as a late lunch or better yet; for supper. The colder the better, I actually put my soup bowls in the freezer for 15 or 20 minutes and yank them out just before filling and serving this cold summer delight.
It is a flexible recipe; depends on the size of your tomatoes. This should make close to 60 ounces or just shy of 2 quarts; cut in half if you don’t want too much. But you will wish you had made more…I promise! It will keep 3-5 days in the refrigerator.

tomato juice for thinning the soup

skinned tomatoes ready for soup making
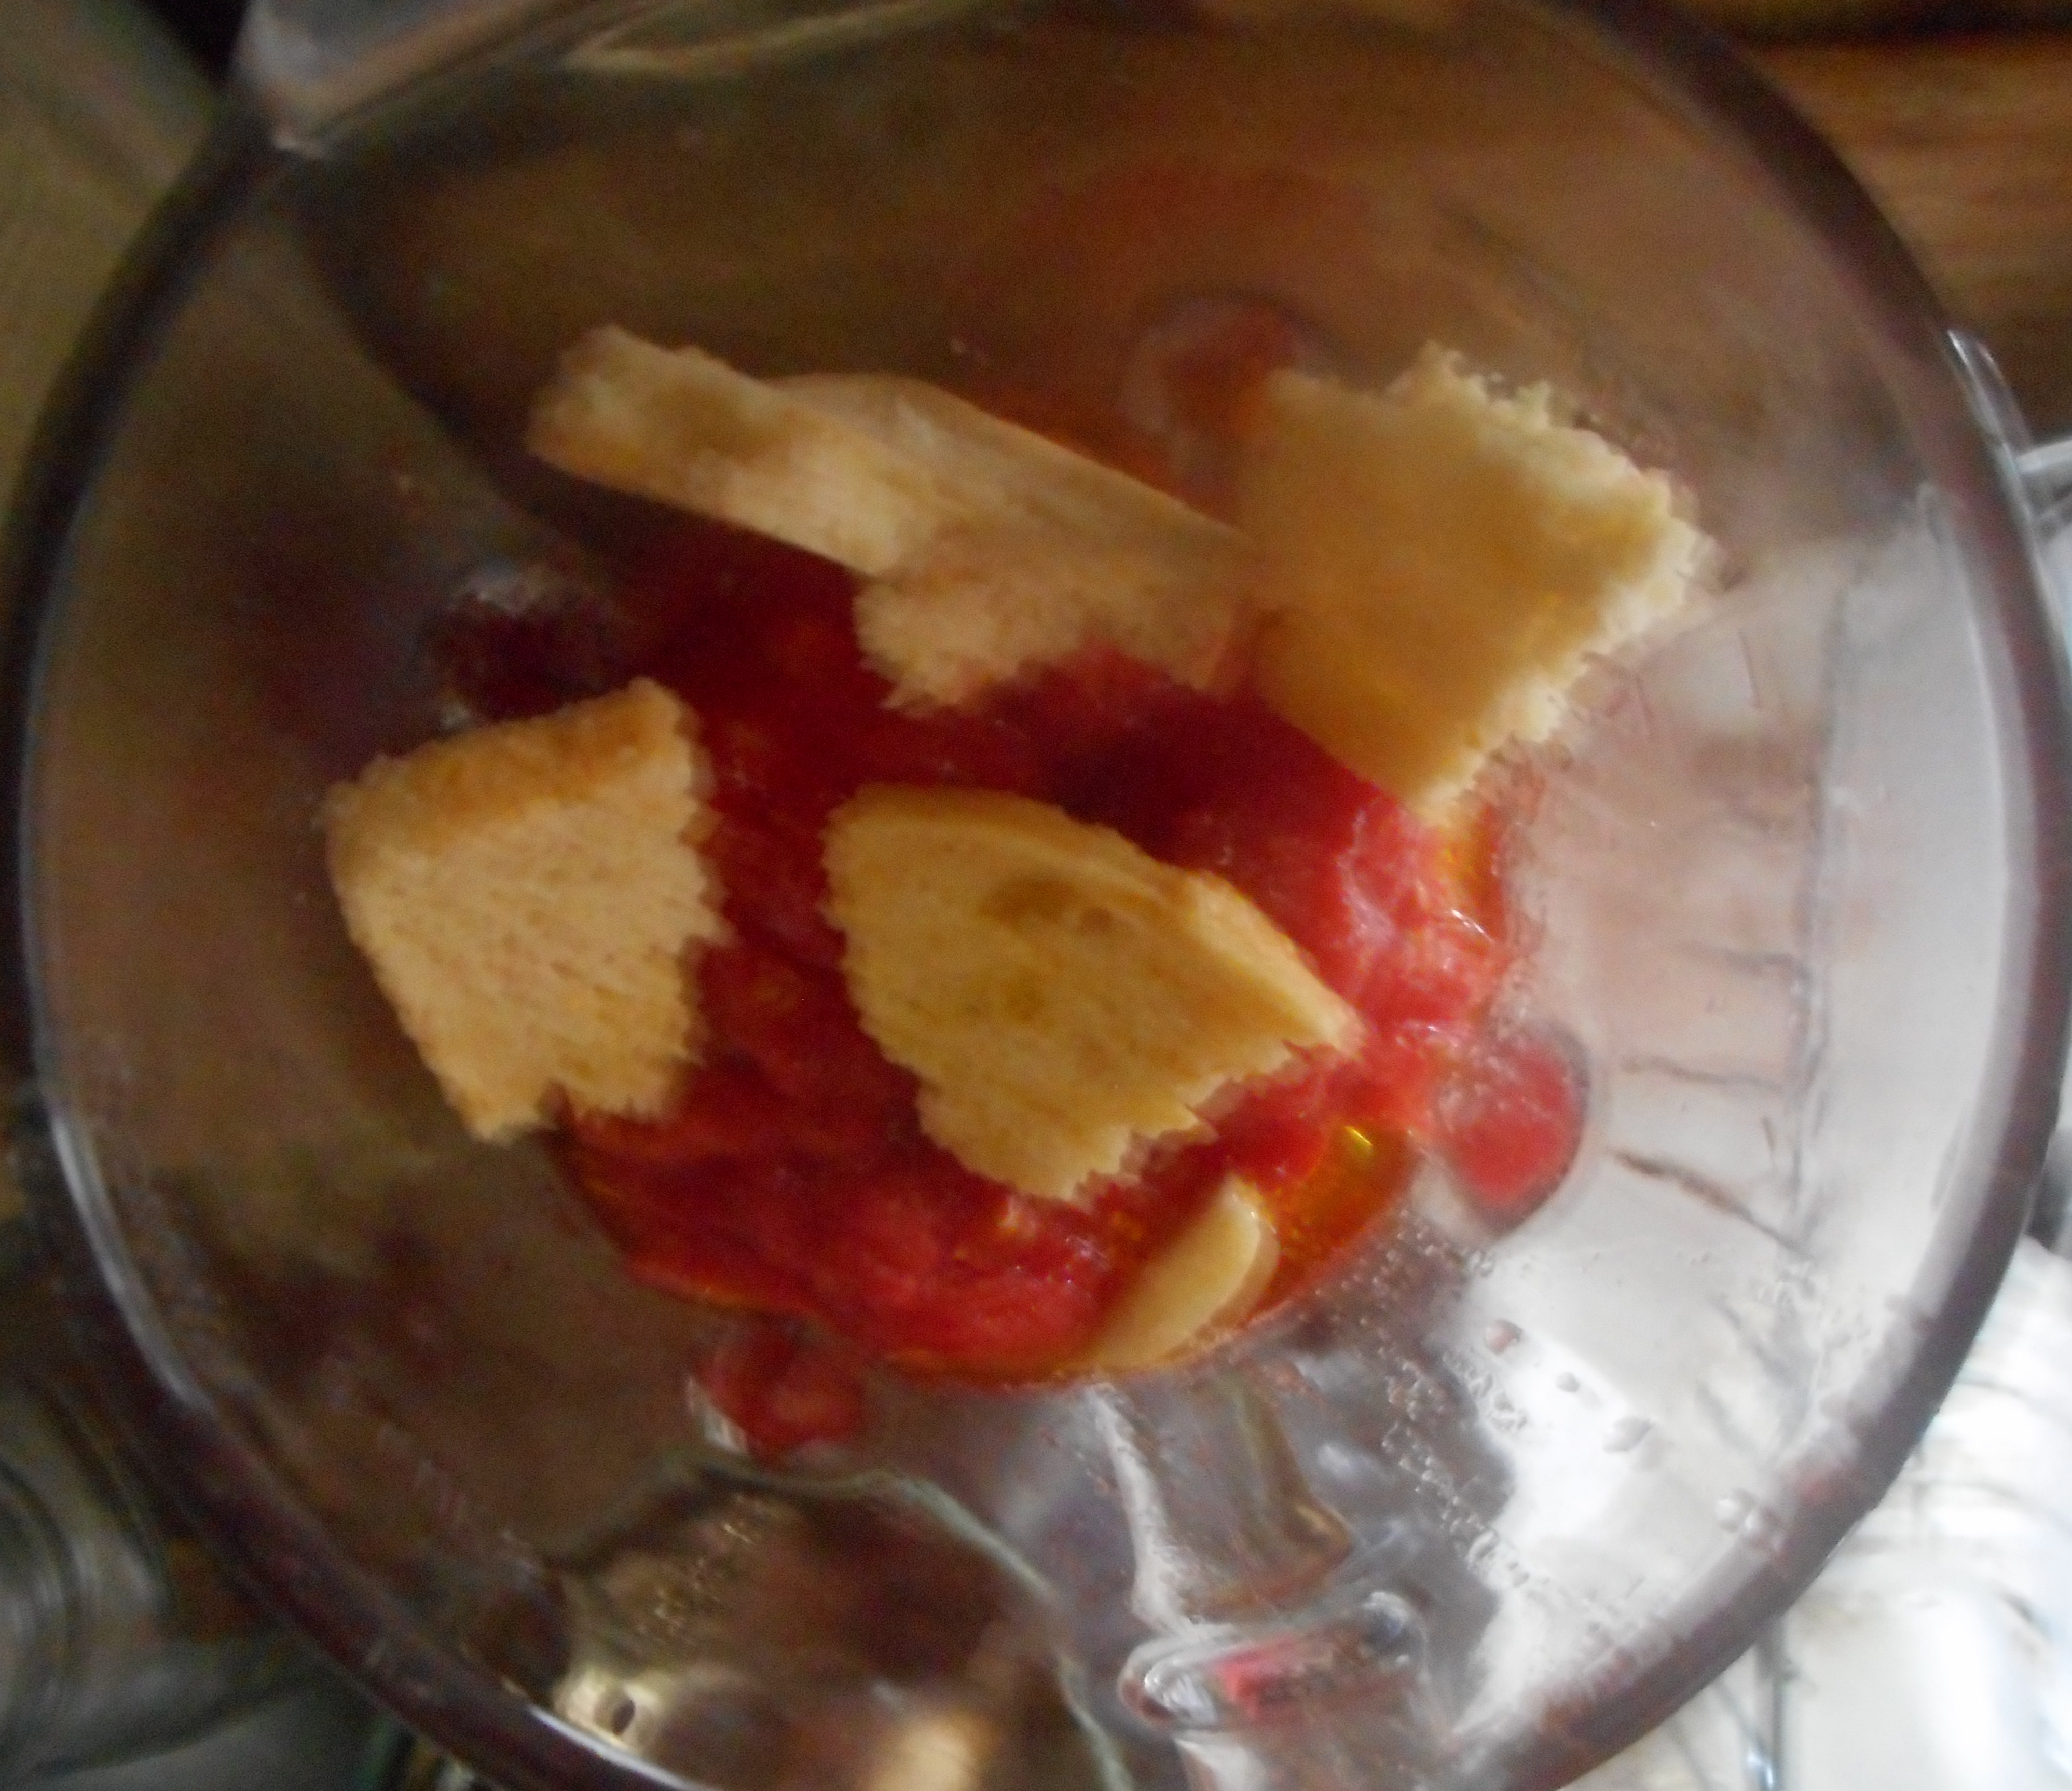
I am about to press the puree button!

Still in blender, just pureed soup.
Summer Chill Gazpacho (makes like 8 servings; I often halve this recipe)
Soup ingredients:
8 to 10 ripe fat tomatoes (large ones)
About ¼ cup EVOL; best you can afford
2 slices white bread (GF if you have celiac)
1 lemon
2 garlic cloves, peeled
1 to 1 ½ tsp. sea salt
Toppings:
2 large tomatoes diced, heirloom if possible
1 cup diced burpless cucumber
2 scallions, sliced thin, green and white parts or
Directions: peel the tomatoes as described above. When I peel them I do it over a bowl to capture the juices and seeds. I save them, strain off the seeds and I add back the juice as needed to thin the finished soup. Put 4-5 tomatoes in the blender; add a slice of bread broken up, 2 tbsp. olive oil, the juice of half a lemon and one garlic clove. Put the lid on and blend well. Note: do not fill the blender more then ¾ full. Taste; add salt; ½ to ¾ tsp.
Repeat entire process with the rest of the ingredients and thin with reserved tomato juice – it should be thick but not porridge thick. Just know that it will thicken as it rests and chills in your refrigerator. Mix the two batches together in a big glass bowl; never metal because of the acidity of tomatoes and cover tightly with plastic wrap. Then chill it at least 3 to 4 hours.
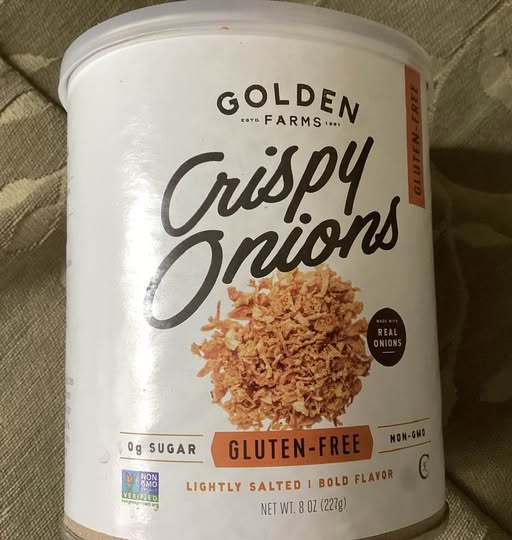
Serve with bowls of toppings to sprinkle on top of the thick soup; diced ripe tomatoes, scallion slices and cucumber ( preferably burpless) cut in small dice. If you want to guild the lily, top with croutons (gf ones if you have celiac), I don’t bother. This most recent batch has been topped with Crispy Onions by Golden Farms.
Note: gluten free bread often gives a slightly different texture to the soup; somewhat less smooth in the look of it and the taste. It’s okay as it doesn’t affect the flavor: it still is delicious and a bowl of it is so very refreshing on a hot day. Serve with a sandwich and you have a perfect summer lunch.
Note: This recipe has not been changed but some additional information is in this repeat posting of this most delicious soup!

Hi, it’s been 13.5 years since I went GF. I have never regretted that decision. It is very challenging at times to be gf but I actually thrive on challenge so I’m still learning a lot and eating great healthy food! I don’t really feel deprived, and I have grown decently skilled at gf baking. We eat good around here!
The last 18 plus months I have been making a lot of gf sourdough breads, rolls, bagels and scones. Maybe obsessed is a better word. I just made yet more bagels; been a while and this time I swapped some of the sorghum flour for oat flour and they were wonderful in the texture and flavor department. You might want to try gf sourdough; definitely a game changer in the bread/roll department. Great flavor and texture. I still make a Japanese milk bread regularly; it is awesome fresh and makes great grilled sandwiches.

I had shoulder surgery in mid-June so I haven’t been baking or cooking anything complex. I did do those bagels, and I am planning a press in crust blueberry pie Saturday morning. Rolling out dough is very challenging; I did make a few pita breads and rolled out 3 of them one handed; pretty awesome with hummus or Aldi’s feta dip. Before my surgery I made gingersnaps, rhubarb custard pie and beautiful hot cross buns that were the best I’ve ever had. I haven’t been posting much as for a few weeks it was pretty hard to type. FYI: I often add something interesting to my posts after I send it out so if you follow my blog, I recommend that you look at the actual post a few hours later for the updated version! I generally try to get everything in, but I can’t resist adding more to each post.

We were to a gf restaurant a few weeks ago in Quakertown and loved it; Yo Mama’s Kitchen in the Qmart. Definitely worth the time to go and try a meal there. Freaking amazing to find a place with a totally gf menu. Kinda surreal actually! You won’t be disappointed by their casual menu, big servings and delish! I just did a review of this place. Look on fb for their page, menu and hours there as well as mouthwatering pictures of the food. I only wish there were more restaurants like this place!

Finding more gf offerings in stores; Wegmans in particular has expanded their gf selection greatly in the past 10 plus years; seems to be the best and biggest selection around my neck of Pennsylvania (Lehigh Valley).

I’m debating probiotics for better gut health. Debating making fermented foods once the summer heat abates.
Hopefully by late summer I can roll out a pie crust again… Enjoy your summer my friends and eat safely!
